

In This Article Show
Keeping kids busy, especially on rainy days or during quiet classroom time, can be tough. Paper baskets are a simple, low-mess craft that still feels special because you can fill them with notes, treats, or tiny toys.

This list gives you fun, easy basket projects you can make with basic supplies at home. Let’s jump into creative, beginner-friendly paper basket ideas you’ll love to make and use.
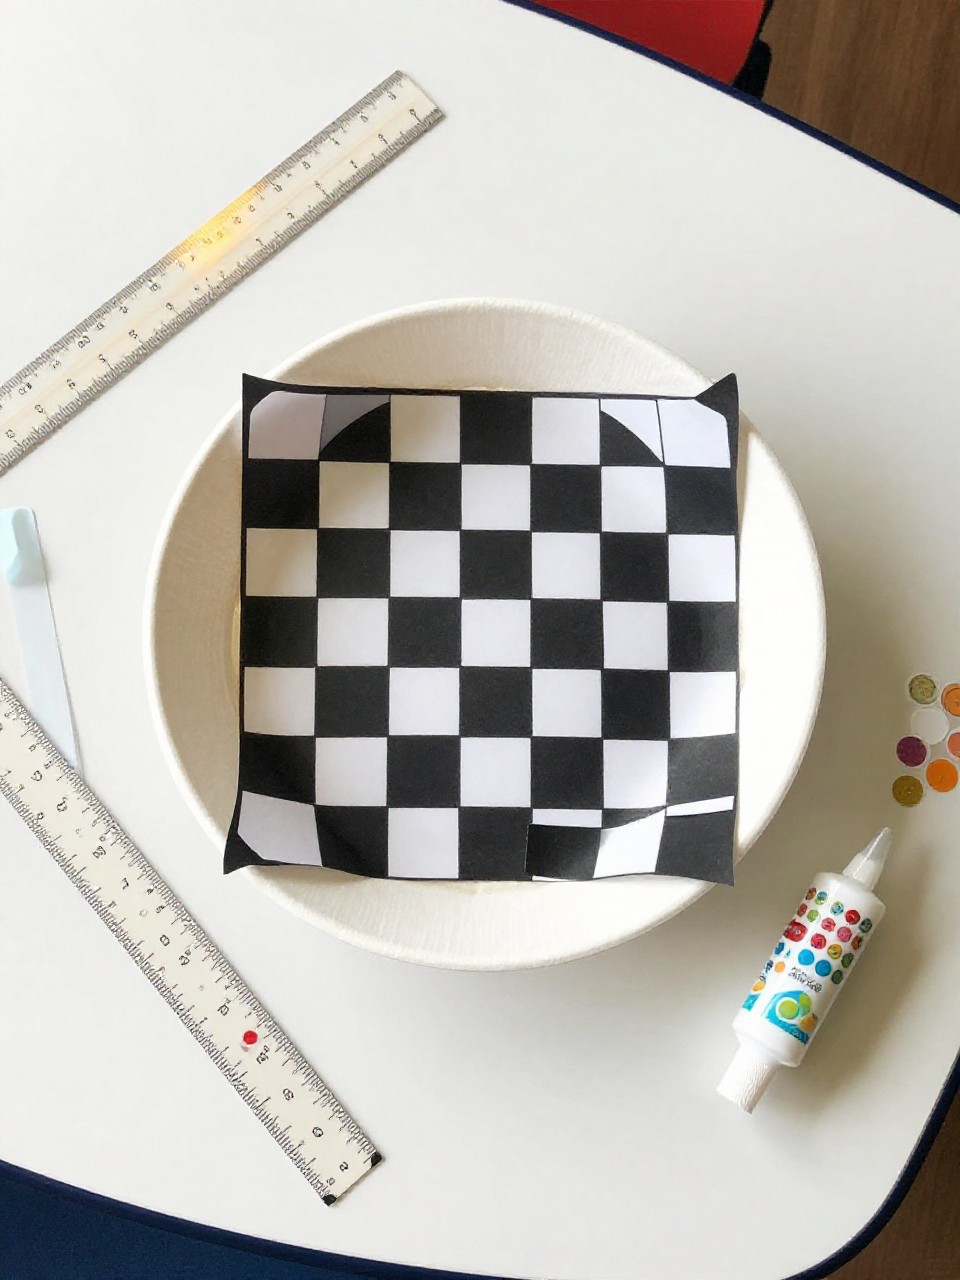
1. Classic Woven Paper Basket
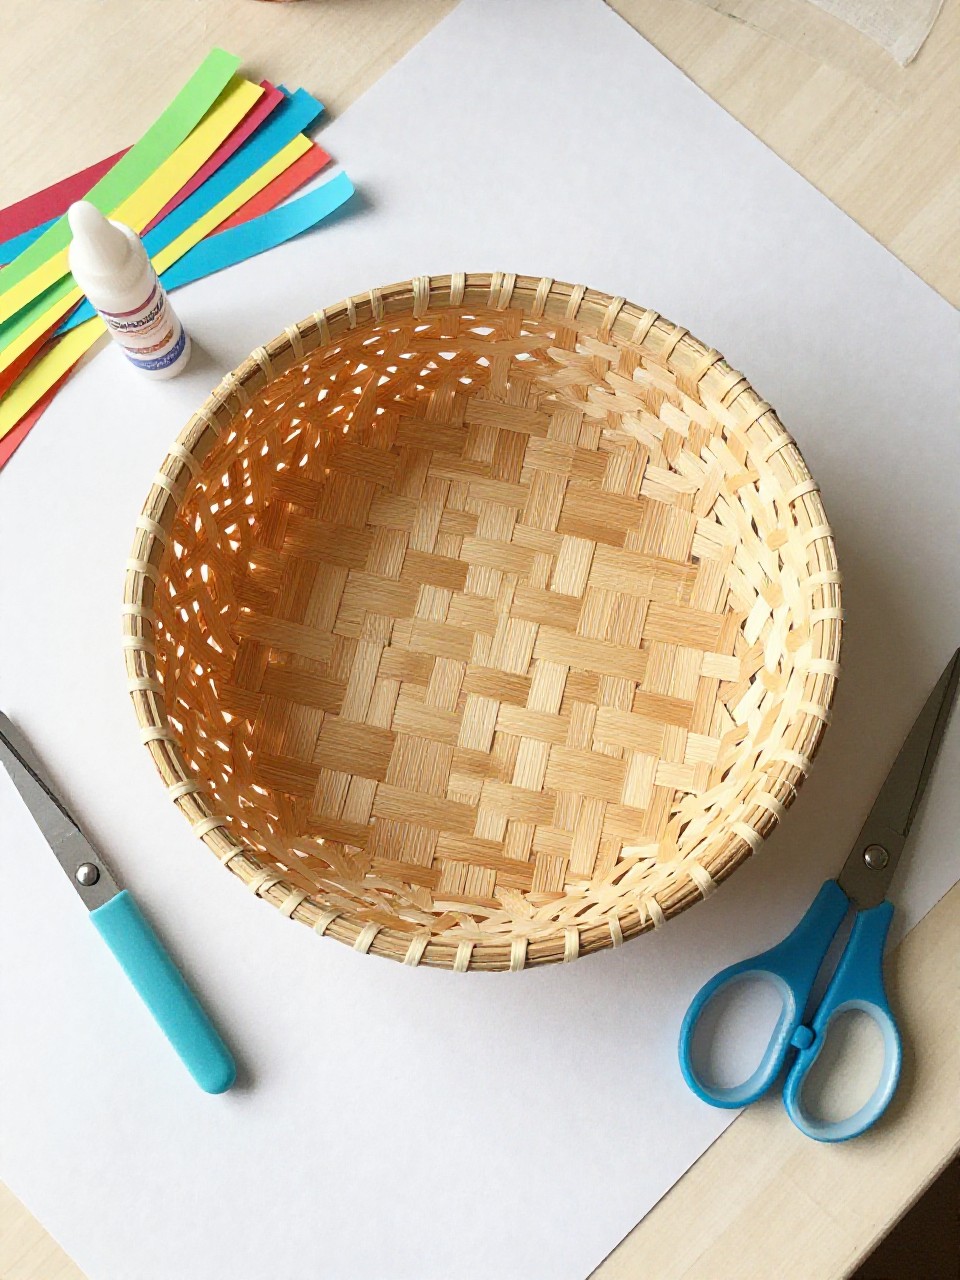
This basket looks like a tiny checkerboard box with bright strips weaving over and under. Kids enjoy the simple pattern and love seeing a flat page turn into a sturdy container in minutes.
Materials Needed:
- Colored construction paper (two contrasting colors)
- Scissors
- Glue stick
- Ruler
- Pencil
How to make it:
- Fold one sheet in half and cut slits from the fold to 1 inch from the edge to make a loom.
- Cut the second color into strips and weave them over-under through the slits.
- Glue edges to secure, trim corners, and fold up sides to shape a box.
- Glue side tabs, press flat to dry, then fill your basket.
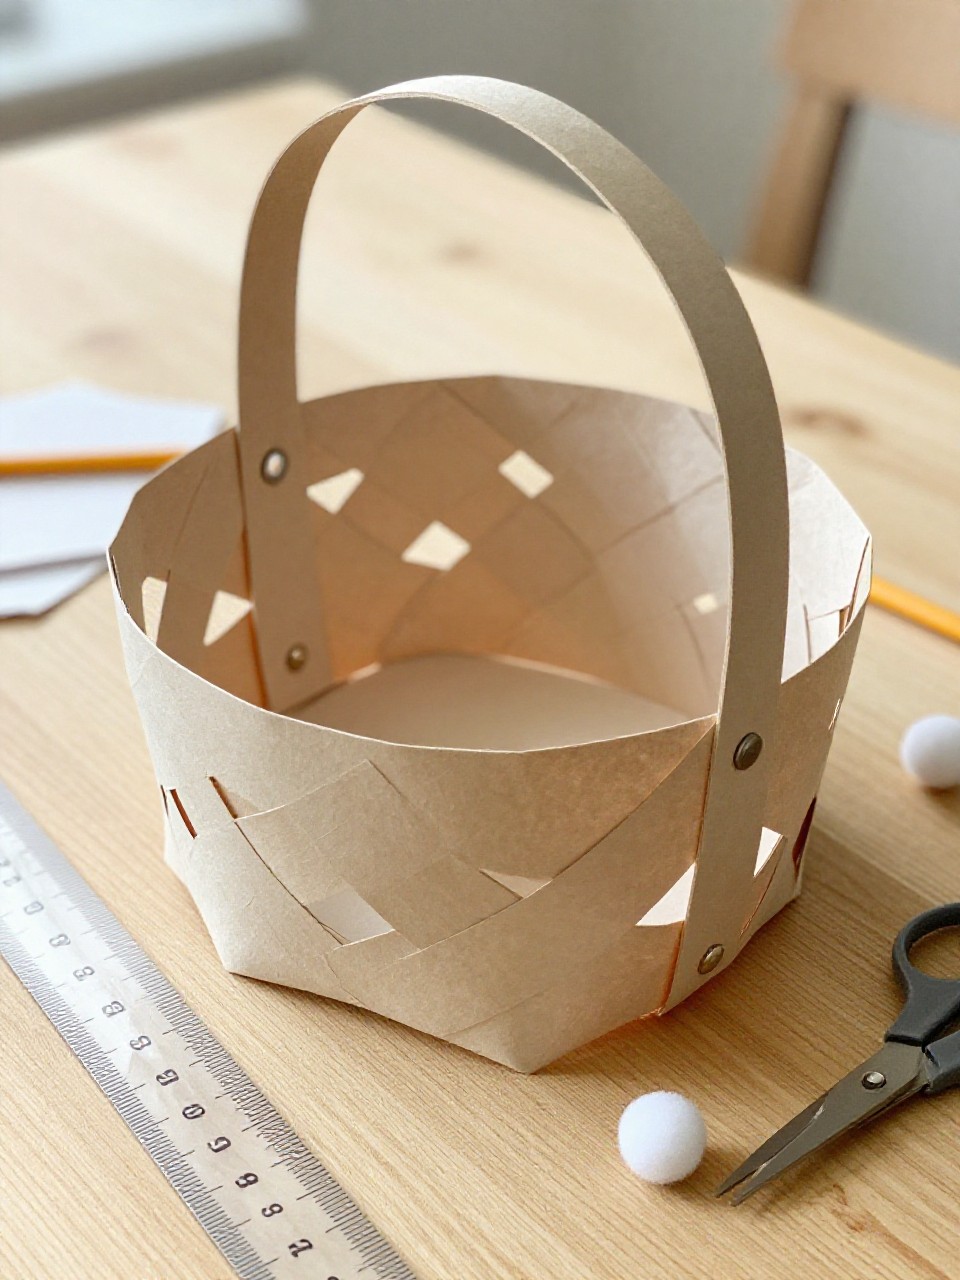
2. Paper Strip Easter-Style Basket
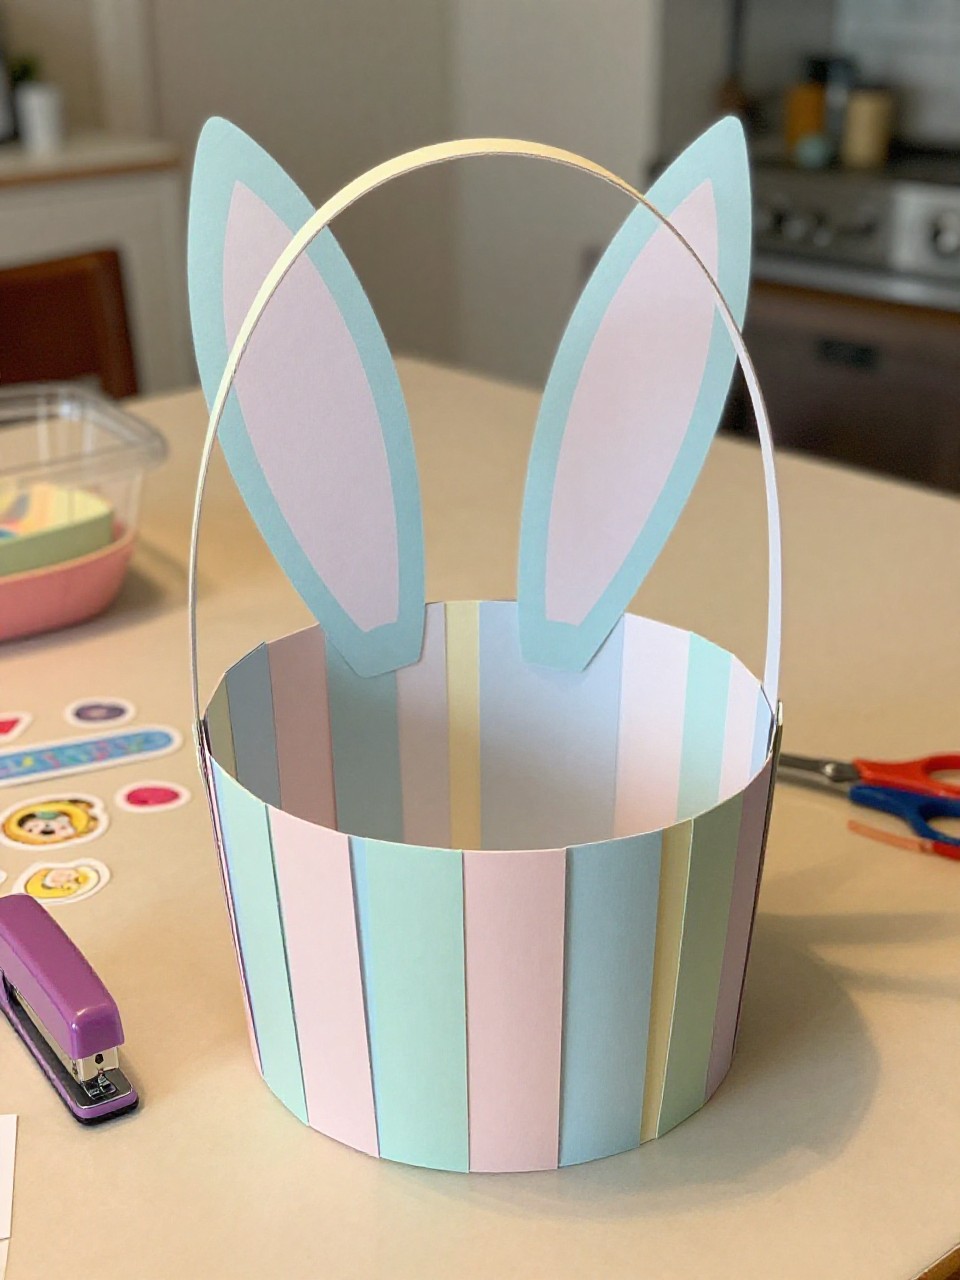
This basket is a round, open-top container with evenly spaced paper “ribs” and a cute handle. It’s satisfying because the simple bend-and-glue steps quickly form a festive basket for treats or eggs.
Materials Needed:
- Pastel cardstock (for sturdy strips)
- Stapler or glue
- Pencil
- Ruler
- Optional: stickers
How to make it:
- Cut 8–10 long 1-inch strips and one shorter strip for the handle.
- Gather strip ends and staple or glue them in a bundle; repeat on the other end to form a sphere.
- Press to flatten the bottom and adjust spacing, then decorate with stickers.
- Attach the handle, let dry, and fill with lightweight goodies.
3. Origami Square Paper Basket
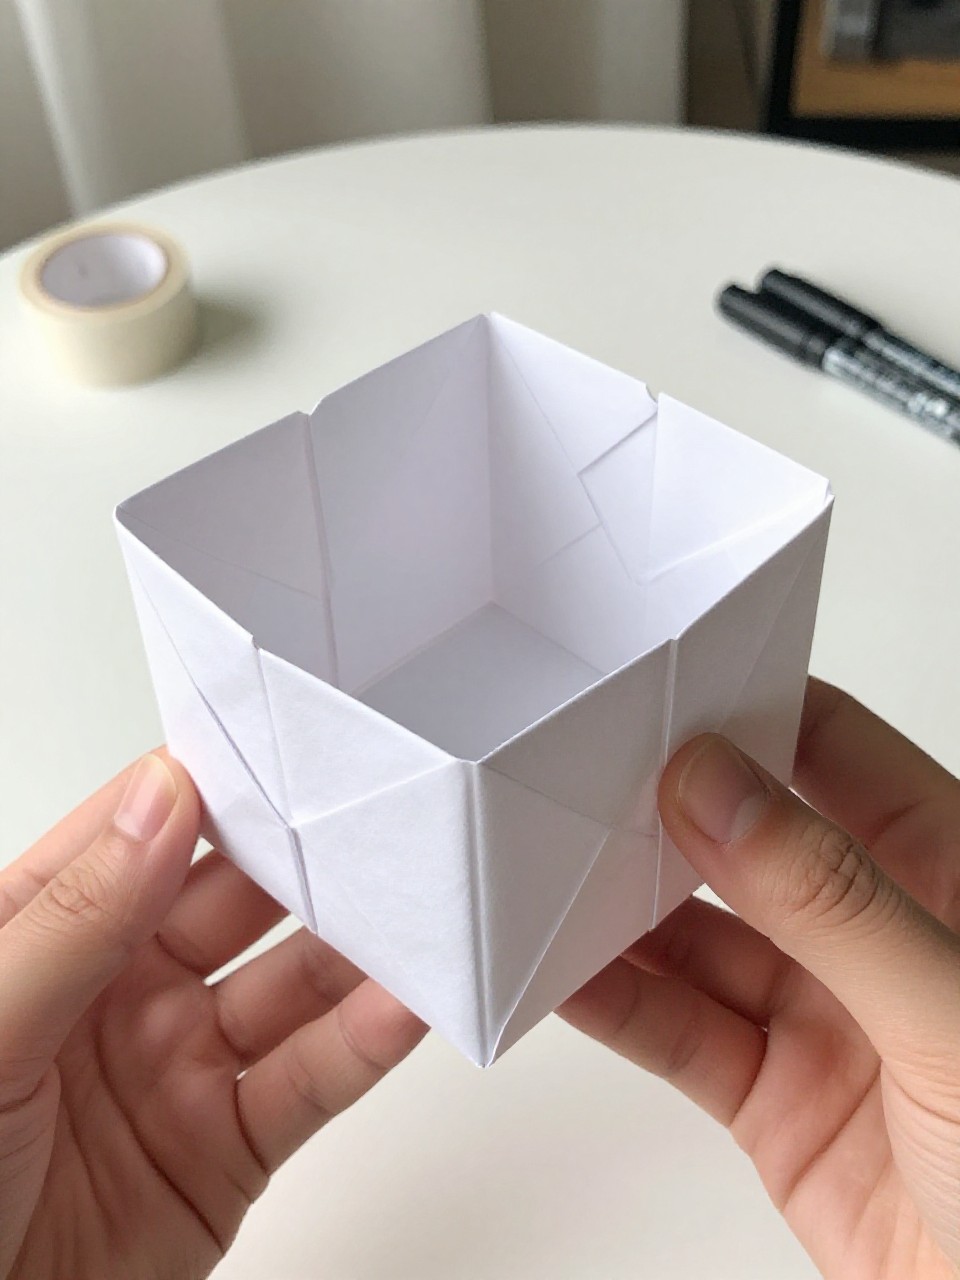
This basket is a crisp, folded square cup with neat corners and a clean look. Kids enjoy the magic of folding a flat sheet into a box without glue.
Materials Needed:
- Square origami paper or trimmed construction paper
- Optional: washi tape for a handle
- Optional: markers
How to make it:
- Start with a square; fold in half both ways, then into thirds to mark guides.
- Fold corners to the centre and lift side flaps to form walls.
- Crease edges well and add washi tape around the rim for color.
- Add a waif handle if you like, then display small notes or candies.
4. Paper Plate Picnic Basket
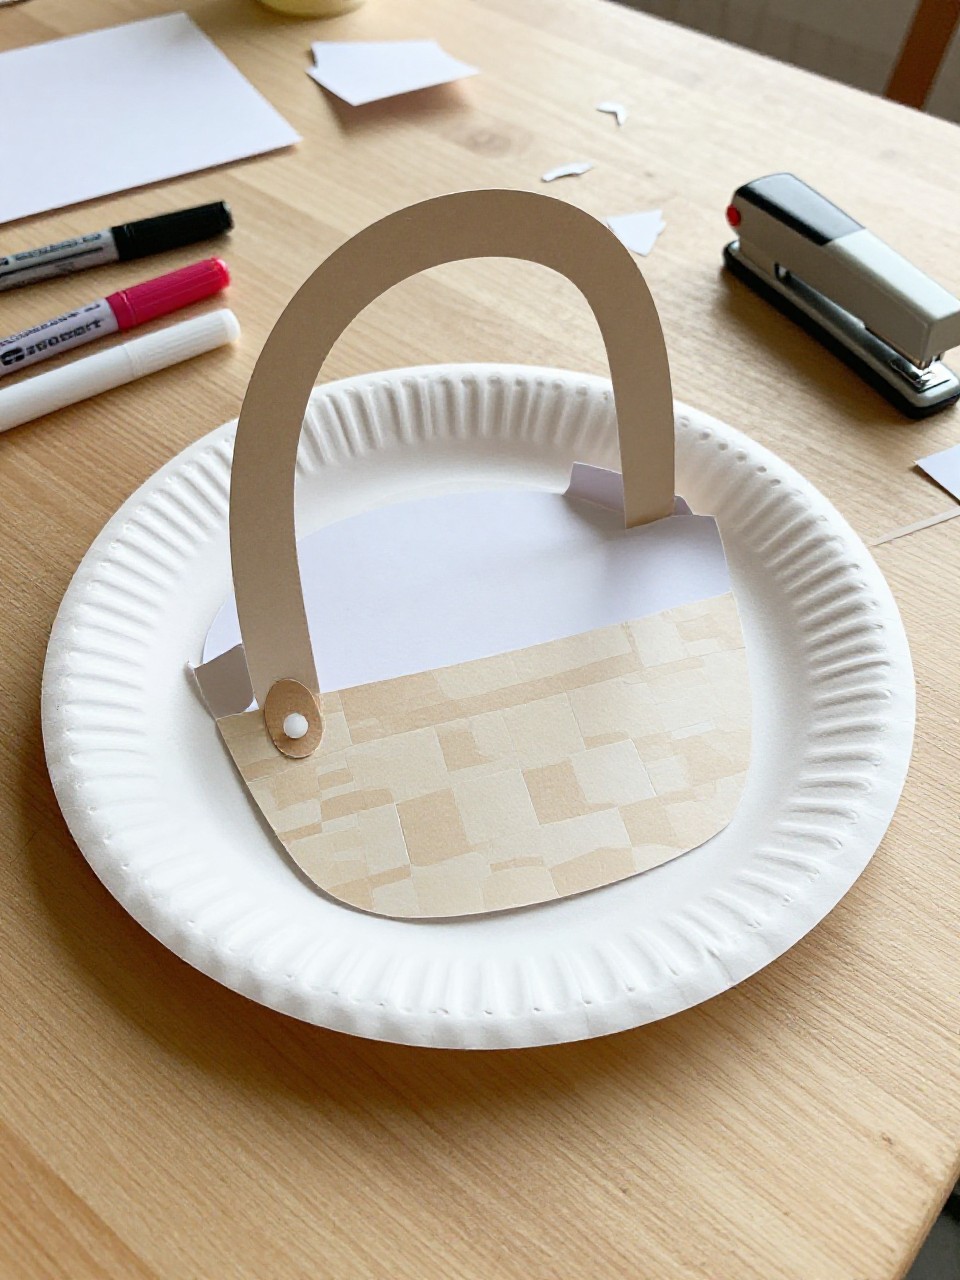
This basket looks like a tiny picnic tote made from a folded paper plate with a gingham pattern drawn on. Kids love coloring the “cloth” design and carrying it with a simple handle.
Materials Needed:
- Paper plate (sturdy)
- Markers or crayons (red and black for gingham)
- Stapler or glue
- Strip of cardstock for handle
- Hole punch and brads (optional)
How to make it:
- Fold the plate in half to form a clam-shell shape.
- Staple or glue the sides, leaving the top open.
- Draw a gingham pattern on the outside for a picnic feel.
- Attach a handle with glue or brads, let dry, then carry your basket.
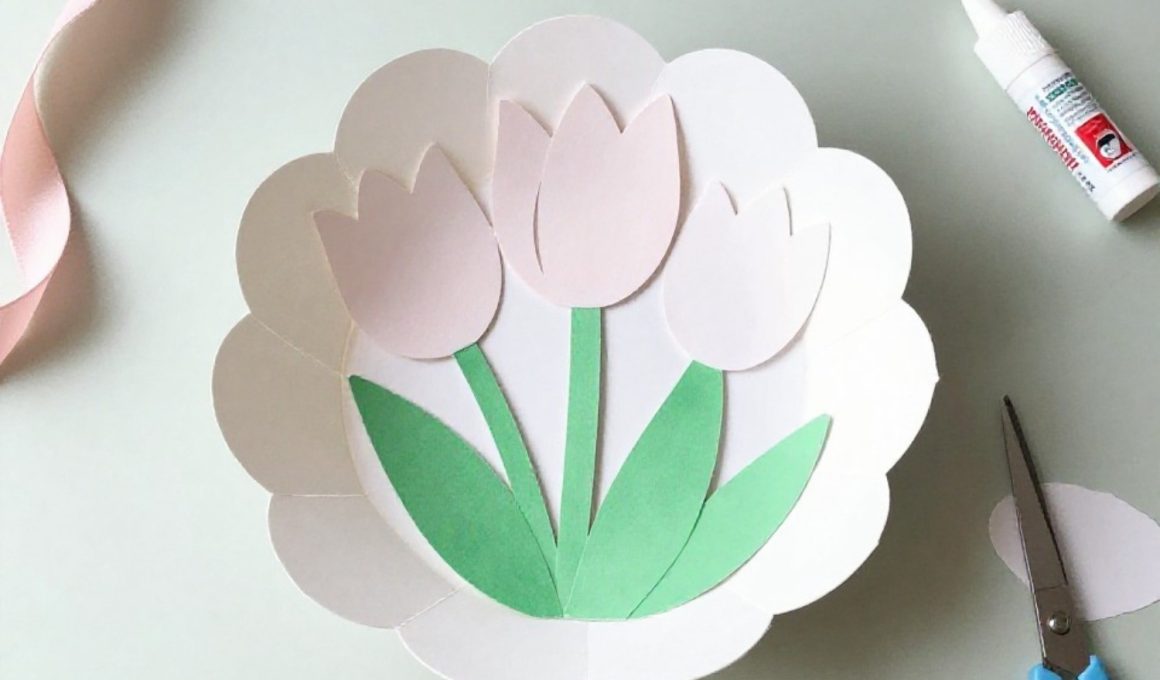
5. Tulip Petal Paper Basket
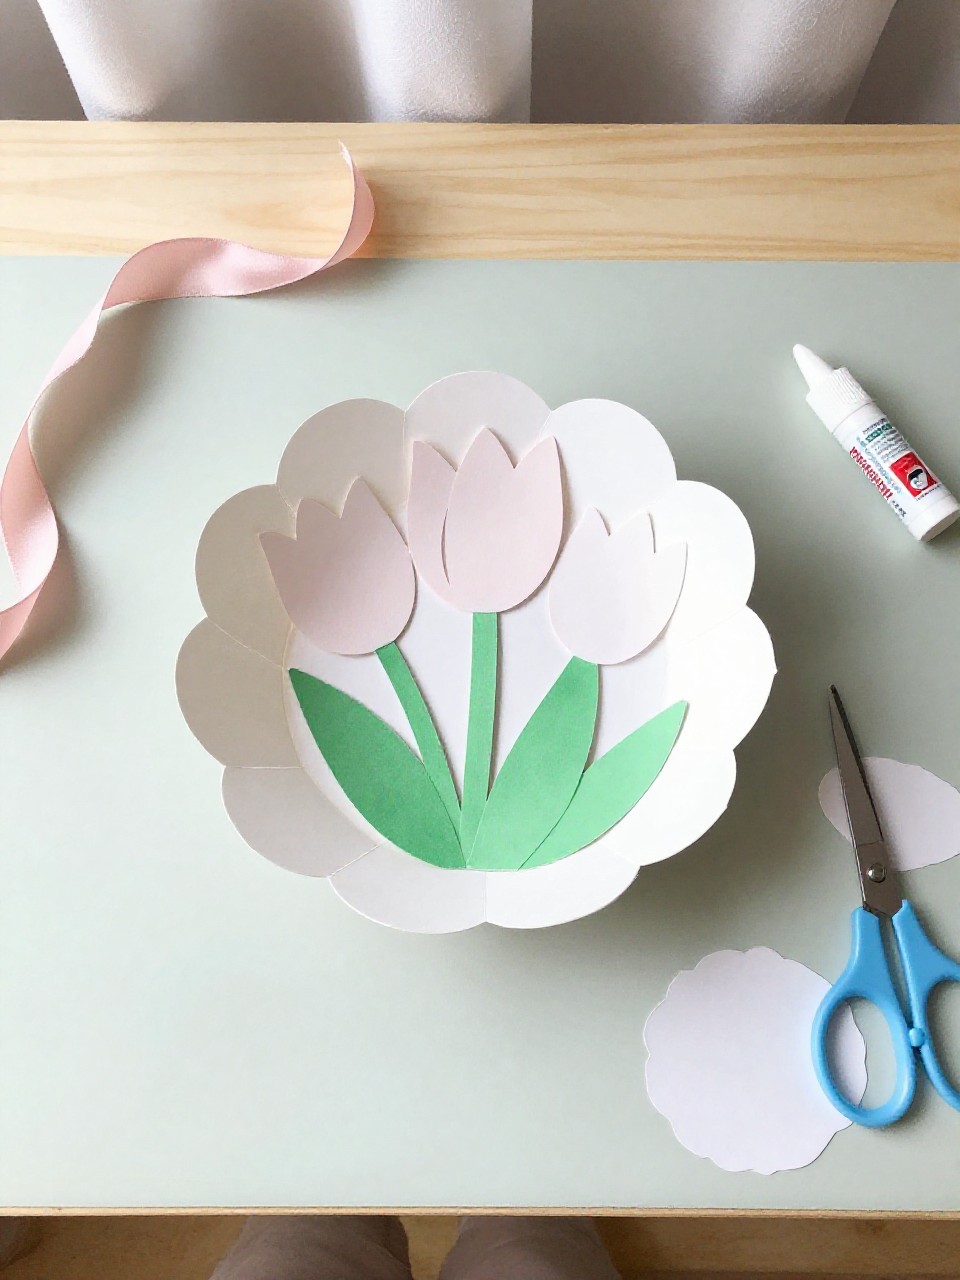
This basket has petal-shaped sides that curve up like a tulip bloom, tied at the top with a bow. Kids enjoy tracing, cutting, and seeing the petals meet to make a flowery holder.
Materials Needed:
- Colored cardstock
- Pencil and scissors
- Glue or double-sided tape
- Ribbon or yarn
- Optional: stickers
How to make it:
- Draw and cut a circle; mark four evenly spaced petal shapes reaching toward the center.
- Snip small slits at the petal tips; fold petals up around an invisible cup shape.
- Overlap petal edges and glue or tape to hold.
- Tie a ribbon through the slits, add stickers, and let dry before filling.
6. Newspaper Weave Basket
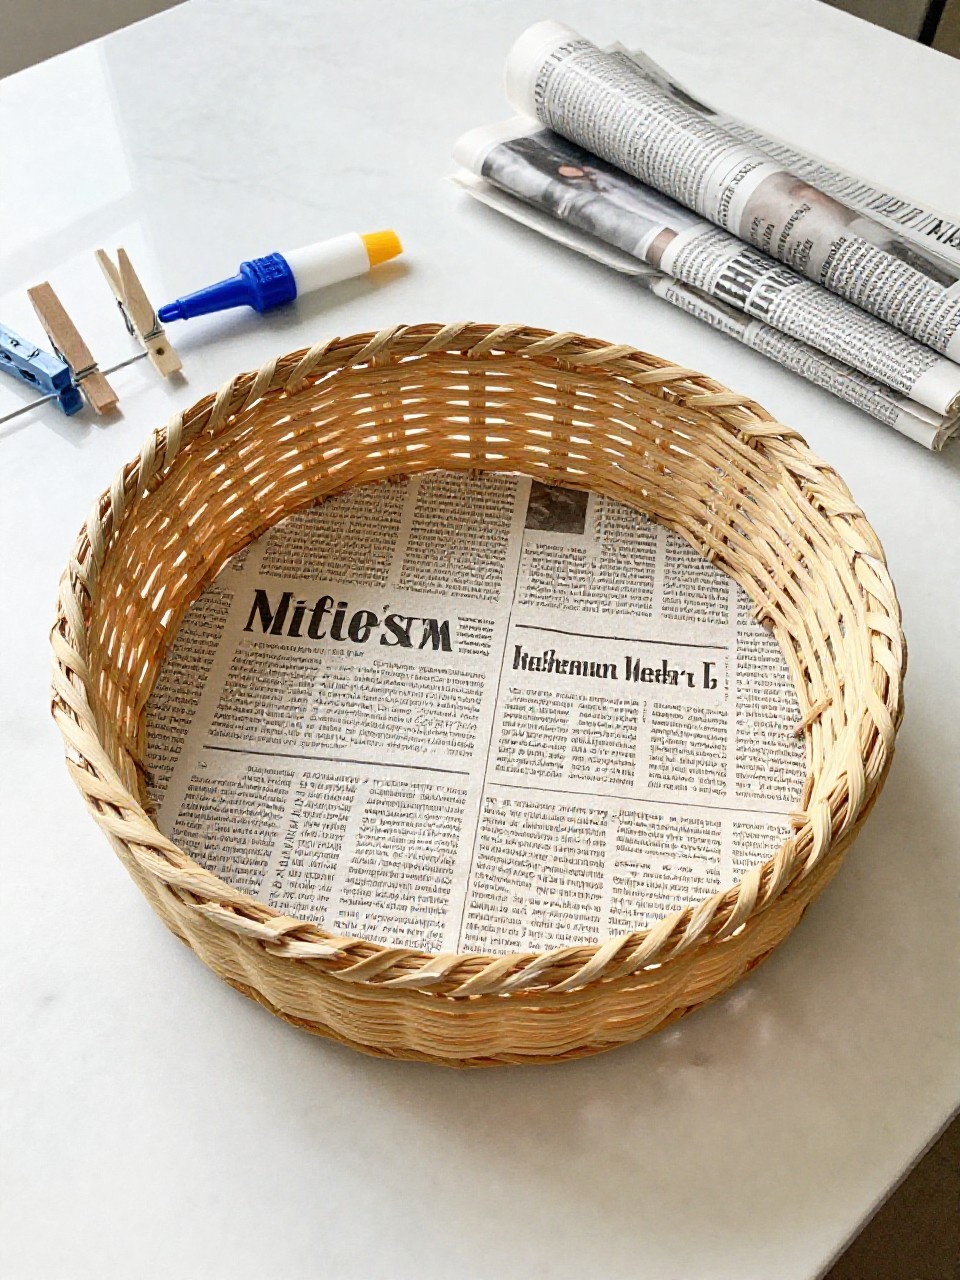
This basket looks rustic with black-and-white text strips woven into a sturdy square. Kids love upcycling and watching old pages turn into something useful.
Materials Needed:
- Newspaper pages
- White glue (thinned slightly with water)
- Paintbrush
- Clothespins or paper clips
- Optional: acrylic sealer
How to make it:
- Roll newspaper strips tightly around a pencil, slide off, and flatten into paper “reeds.”
- Weave a square mat, then bend reeds up to create sides.
- Clip corners with clothespins and paint with thinned glue to harden.
- Let dry, seal if desired, then remove clips and use the basket.
7. Rainbow Paper Circle Basket

This basket forms from stacked, slit circles that bend up into a colorful bowl. Kids enjoy the bright layers and simple cutting that creates a curved shape.
Materials Needed:
- Rainbow-colored construction paper
- Compass or round objects to trace
- Scissors
- Glue stick
- Optional: glitter glue
How to make it:
- Trace and cut 4–5 circles in different sizes and colors.
- Cut small evenly spaced slits toward the center and gently bend flaps up.
- Glue the smallest circle in the center, stacking larger circles beneath for a bowl shape.
- Add glitter glue accents and let dry before filling.
8. Paper Cup Sleeve Basket
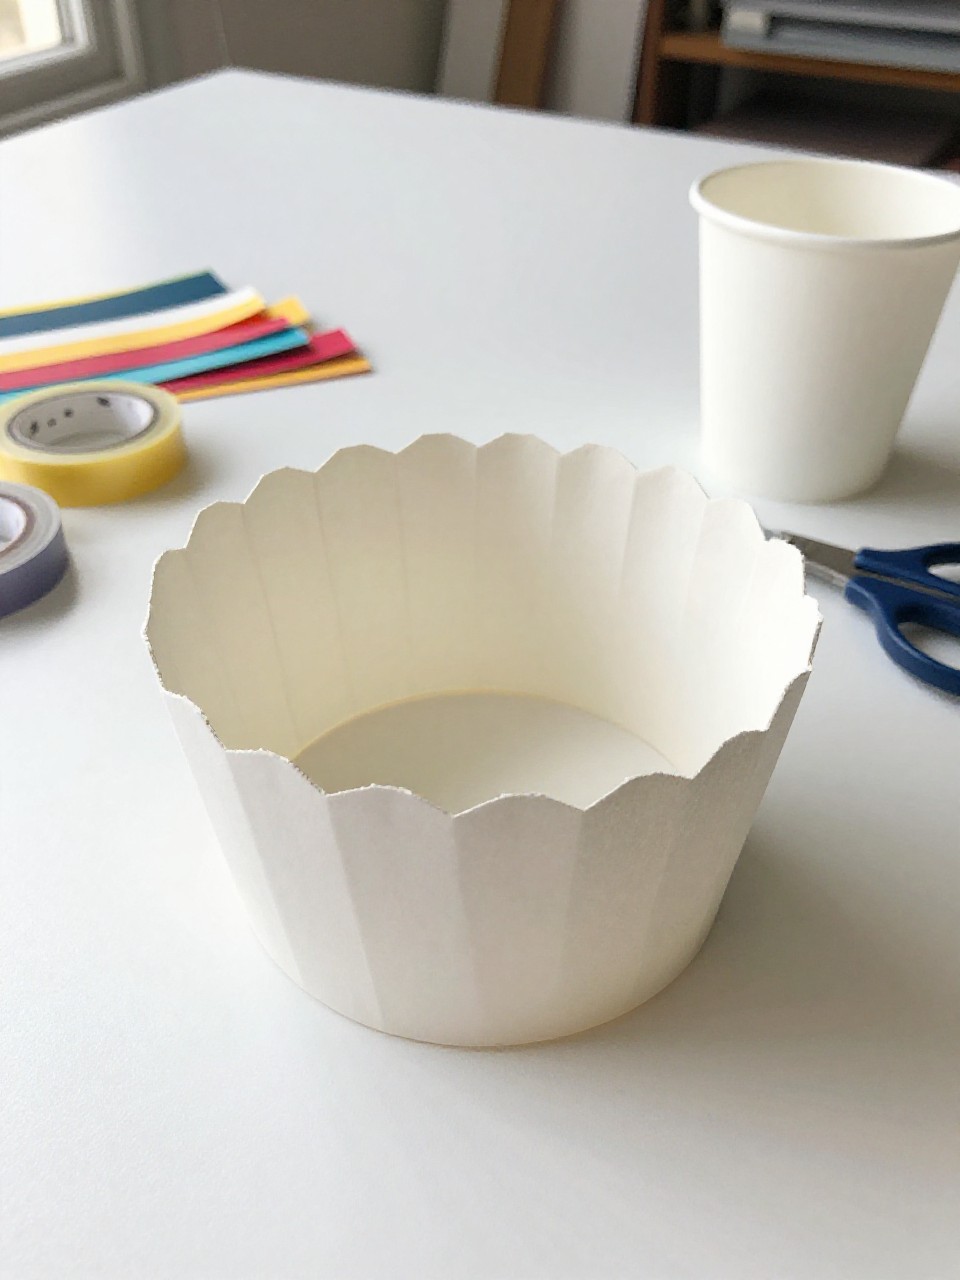
This basket uses a trimmed paper cup wrapped with woven paper strips to look like a tiny market basket. Kids love how quick it comes together and how sturdy it feels.
Materials Needed:
- Paper cup (any size)
- Colored paper strips
- Glue stick or double-sided tape
- Scissors
- Optional: hole punch and yarn handle
How to make it:
- Cut off the top rim of the cup to desired height.
- Wrap and glue paper strips around the cup, tucking edges neatly.
- Add a contrasting band at the top and bottom for style.
- Punch two holes, tie on a yarn handle, and let dry.
9. Heart Window Treat Basket
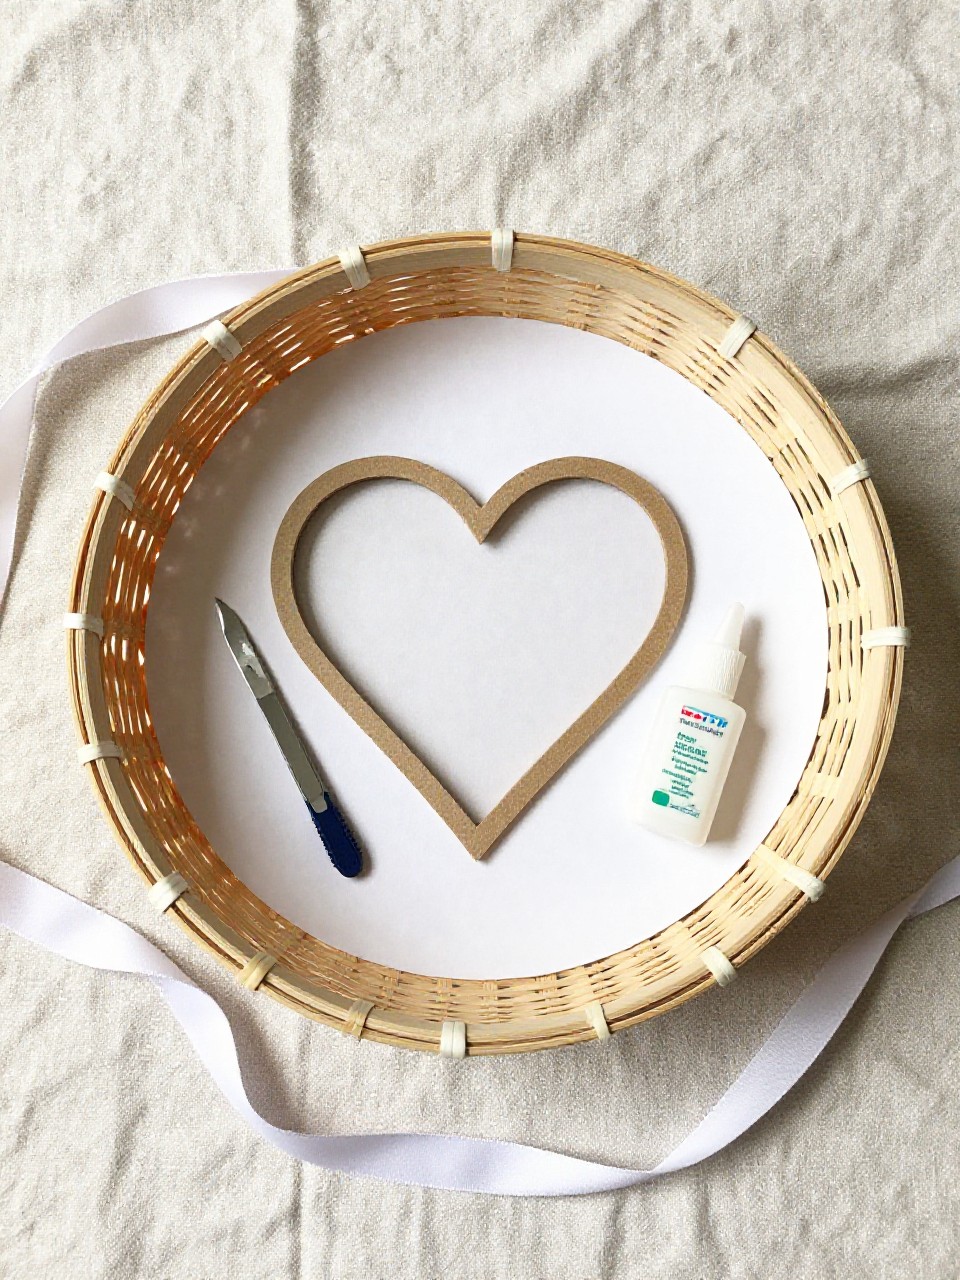
This basket is a small box with a heart-shaped cutout covered in clear plastic, perfect for showing treats inside. Kids enjoy tracing the heart and peeking through the window.
Materials Needed:
- Red or pink cardstock
- Clear plastic from packaging or laminating sheet
- Glue
- Scissors and craft knife (adult help)
- Ribbon (optional)
How to make it:
- Cut a simple box template from cardstock and trace a heart on one panel.
- Cut out the heart; glue clear plastic behind it.
- Fold the box on score lines and glue the sides to form the basket.
- Add a ribbon handle, let dry, and fill with candy or notes.
10. Paper Berry Basket with Crisscross Sides
This basket looks like a farm berry box with open crisscross sides and a square base. Kids enjoy the farm-stand style and the quick slot-and-tab build.
Materials Needed:
- Green or teal cardstock
- Ruler and pencil
- Scissors or craft knife
- Glue or double-sided tape
- Hole punch (optional)
How to make it:
- Cut a square base and 4 side panels; slit small diagonal cuts to make crisscross slots.
- Slide slits together on each panel, then glue panels to the base.
- Punch tiny holes around the rim for a classic look.
- Let dry and add paper “berries” or pom-poms inside.
11. Mini Gift Bag Basket
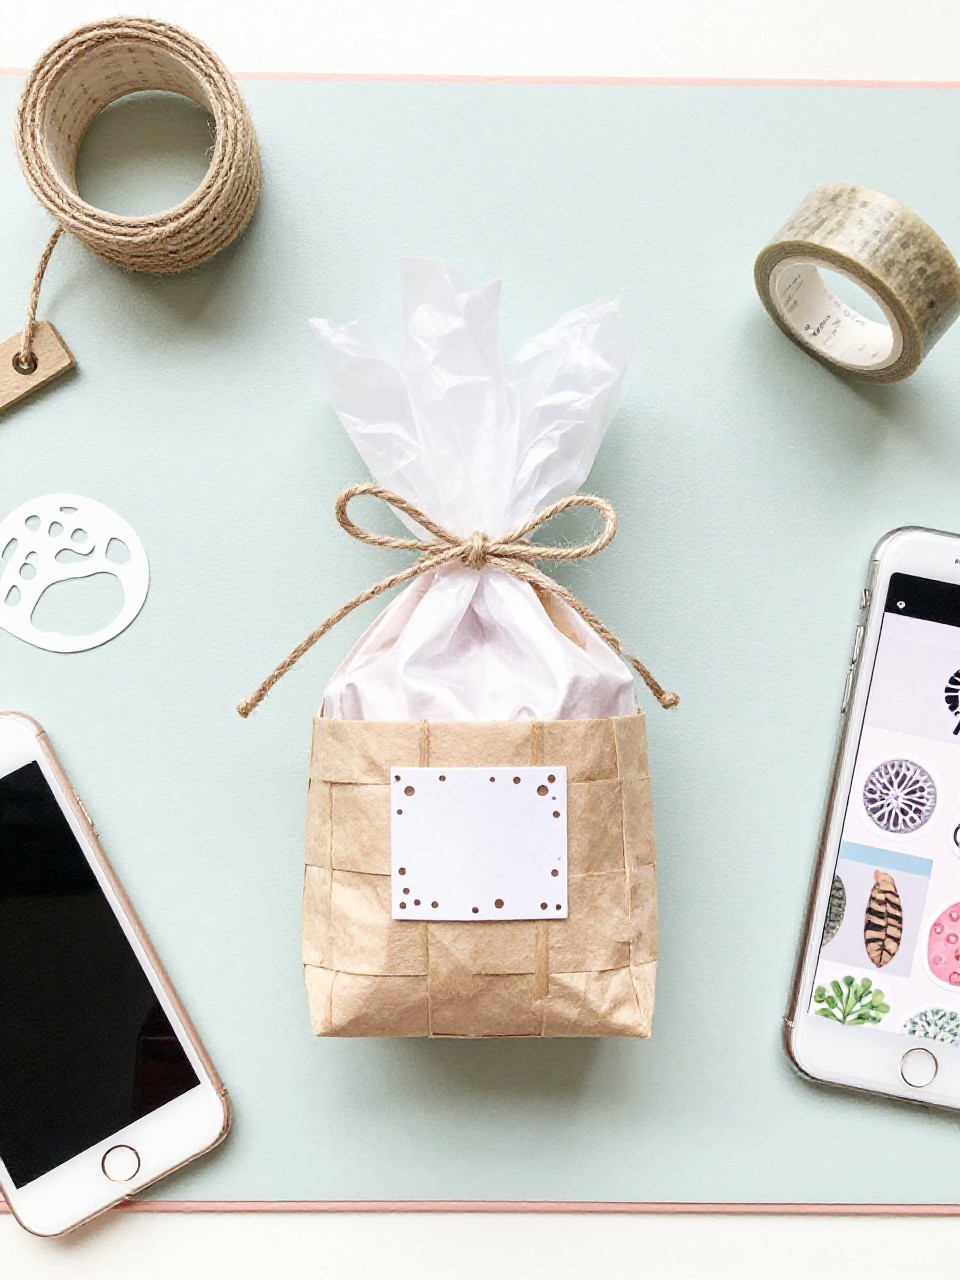
This basket looks like a tiny gift bag with straight sides and a neat folded bottom, topped with twine handles. Kids enjoy decorating the panels and turning it into a favor basket.
Materials Needed:
- Patterned scrapbook paper or cardstock
- Glue or double-sided tape
- Hole punch
- Twine or ribbon
- Stickers (optional)
How to make it:
- Cut a rectangle; score and fold to make four sides and a bottom flap.
- Tape or glue the side seam and fold in the bottom to lock.
- Punch two holes on each side and thread twine for handles.
- Add stickers, press seams, and fill with lightweight items.
12. Paper Coil Rope Basket
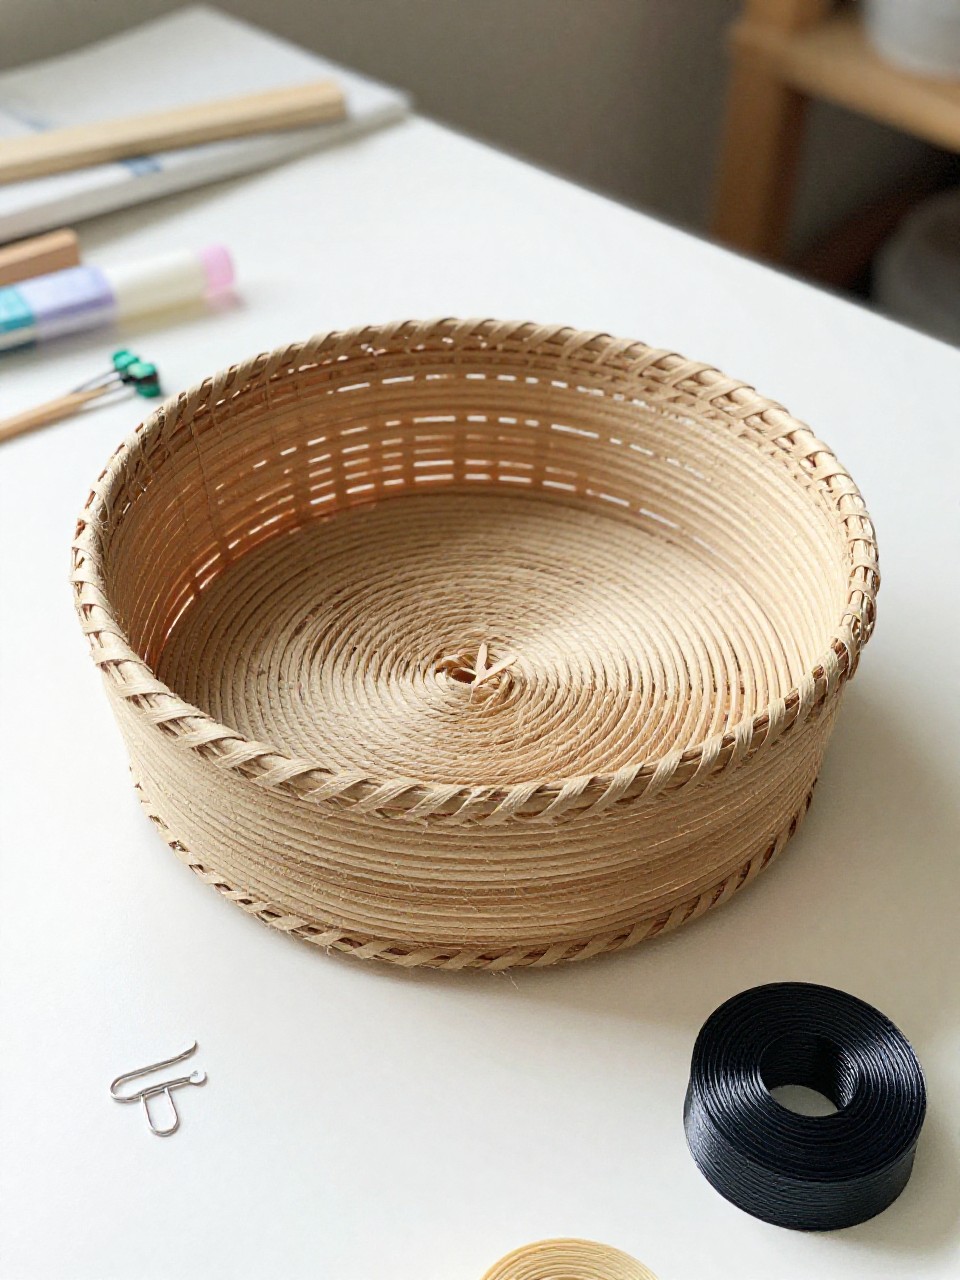
This basket looks like a tiny coiled rope bowl, but it’s made of rolled paper strips glued in spirals. Kids love rolling coils and watching the bowl grow layer by layer.
Materials Needed:
- Magazine pages or colored paper
- Glue
- Pencil or skewer for starting the roll
- Clips (optional)
- Mod Podge or clear-drying glue
How to make it:
- Roll strips tightly, glue the end, and press flat to make coils.
- Glue coils together to form a flat base.
- Add more coils around the edge, tilting slightly upward to build walls.
- Brush with Mod Podge to harden and let dry fully.
13. Paper Lace Doily Basket
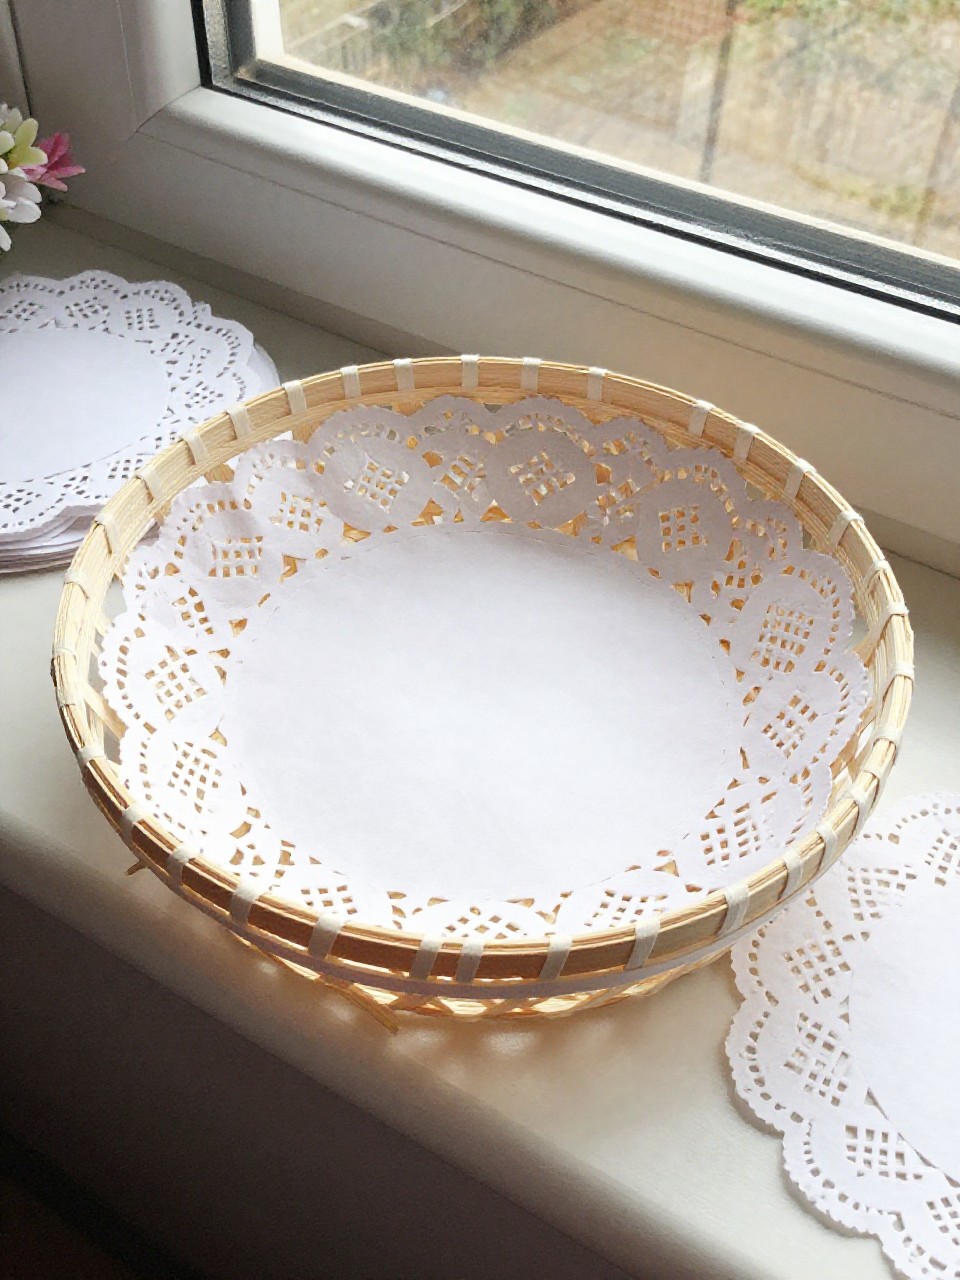
This basket is delicate with lacy doily sides forming a sweet, vintage-style holder. Kids enjoy the quick fold-and-staple steps and the pretty patterns.
Materials Needed:
- Paper doilies (round or square)
- Stapler or glue
- Ribbon
- Small cardstock circle for base
- Optional: faux flowers
How to make it:
- Glue a cardstock circle to the center of a doily for strength.
- Gently pleat the doily edges up around the base and staple or glue overlaps.
- Add a second doily if needed for taller sides.
- Tie on a ribbon handle, decorate with a tiny flower, and let dry.
14. Geometric Folded Hexagon Basket
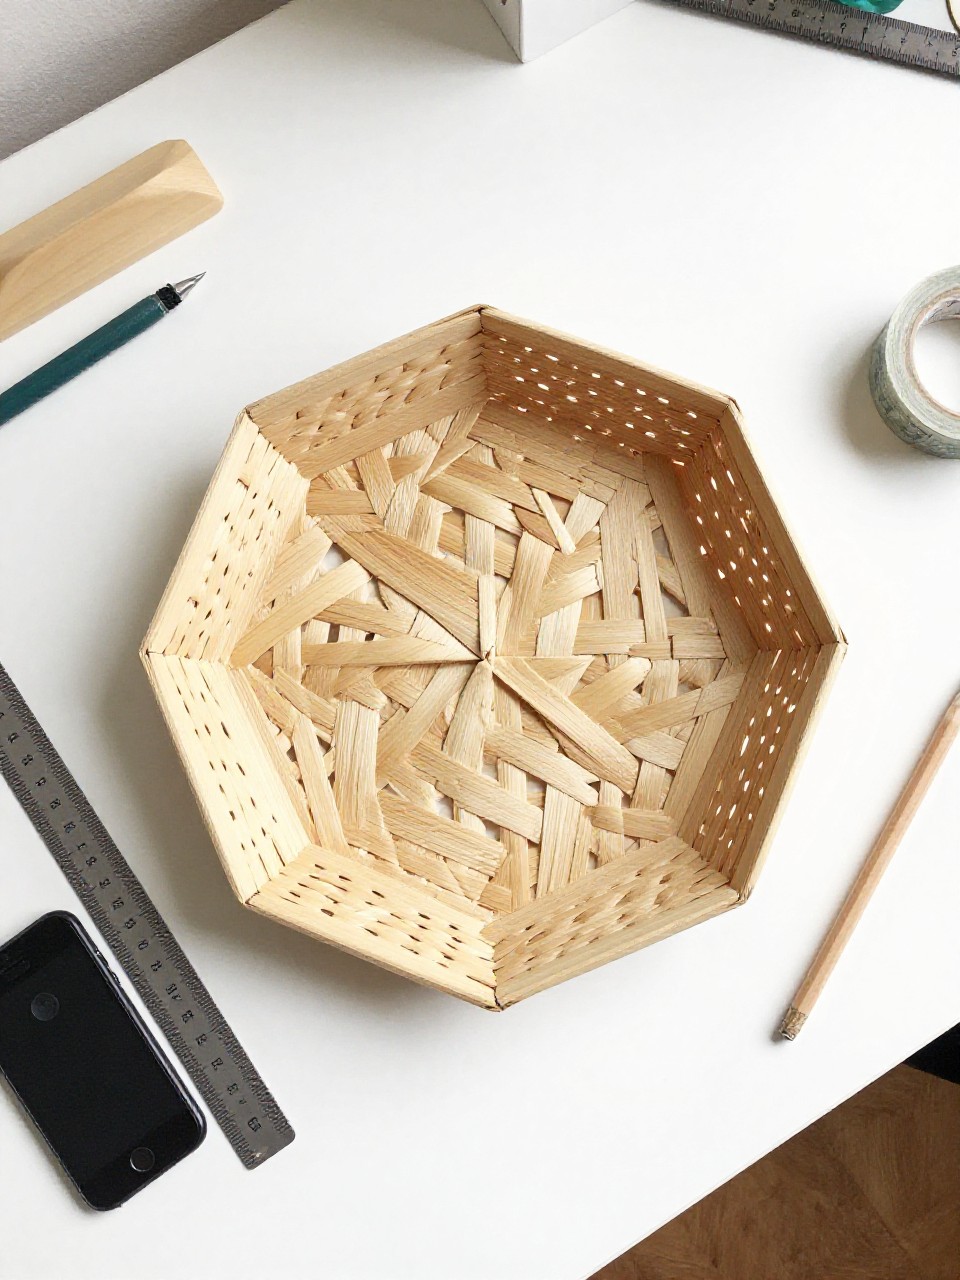
This basket is a modern hexagon cup with clean folded panels and a bold rim. Kids enjoy the puzzle-like folds and how strong the walls feel.
Materials Needed:
- Bright cardstock
- Ruler and bone folder (or blunt butter knife)
- Pencil
- Glue
- Washi tape (optional)
How to make it:
- Draw and cut a hexagon; score fold lines from each corner toward the center to form walls.
- Fold panels up and add small glue tabs to join edges.
- Wrap washi tape around the rim for color and strength.
- Hold in place to dry, then use for desk trinkets.
15. Paper Fringe Flower Basket
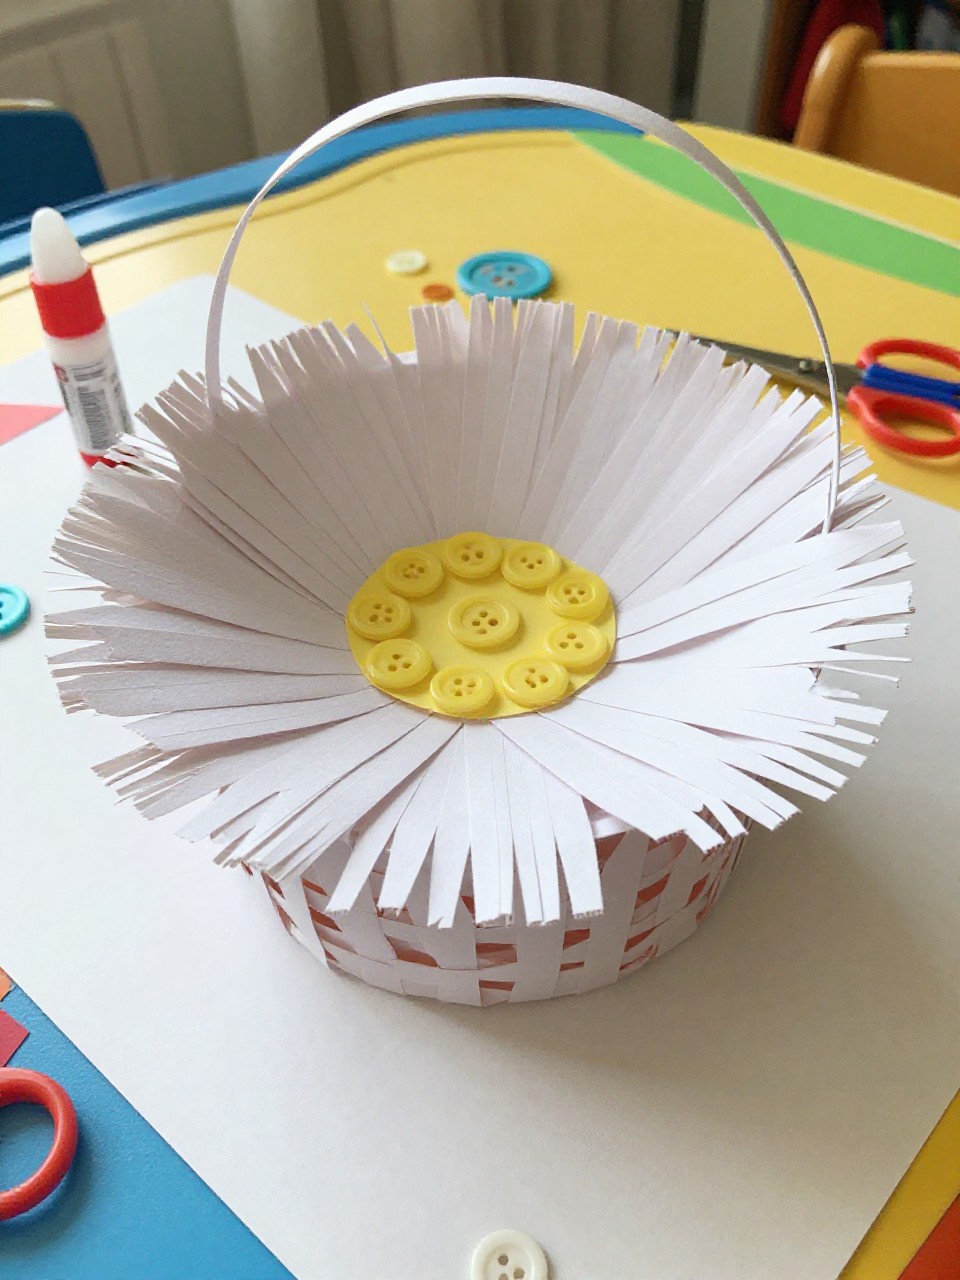
This basket looks like a round pot covered in fringed paper “petals” with a simple handle. Kids enjoy snipping fringe and fluffing it to make a soft, full look.
Materials Needed:
- Cardstock for base and handle
- Colored paper for fringe
- Scissors
- Glue stick
- Optional: buttons or gems
How to make it:
- Make a small cylindrical base from cardstock and glue the side seam and bottom.
- Cut long strips, snip fringe along one edge, and wrap-glue around the cylinder.
- Layer more fringe rows in different colors and add a button “flower center.”
- Glue on a handle, let dry, then fluff the fringe.
16. Checkerboard Takeout-Style Paper Basket
This basket looks like a takeout box with a checkerboard weave around the sides and a wire-free paper handle. Kids enjoy the mix of folding and weaving for a cool snack caddy.
Materials Needed:
- Two colors of cardstock
- Scissors and ruler
- Glue or double-sided tape
- Hole punch (optional)
- Stickers (optional)
How to make it:
- Cut a takeout-style cross-shaped template with four panels and a square base; score folds.
- Cut slits on each panel and weave in contrasting strips.
- Glue panels together, secure the bottom, and add a paper handle.
- Decorate with stickers, press seams, and let it dry before use.