

In This Article Show
Keeping kids busy can be tough, especially on rainy days or during long afternoons at home or in the classroom. Paper plates are cheap, easy to find, and perfect for quick crafts that don’t make a big mess.
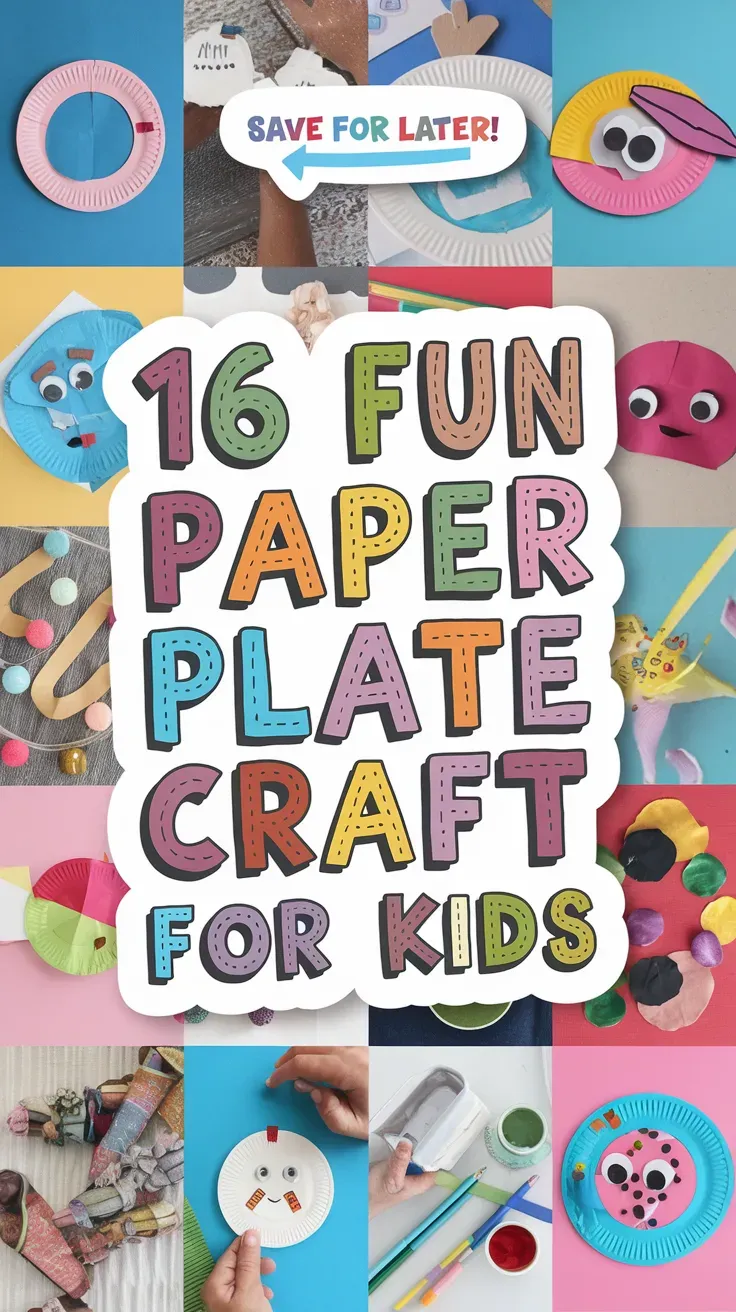
This list gives you fun, simple ideas that spark creativity without needing fancy supplies.
You’ll find projects kids can finish in one sitting and proudly display. Let’s jump into these paper plate crafts!
1. Paper Plate Rainbow Spinner
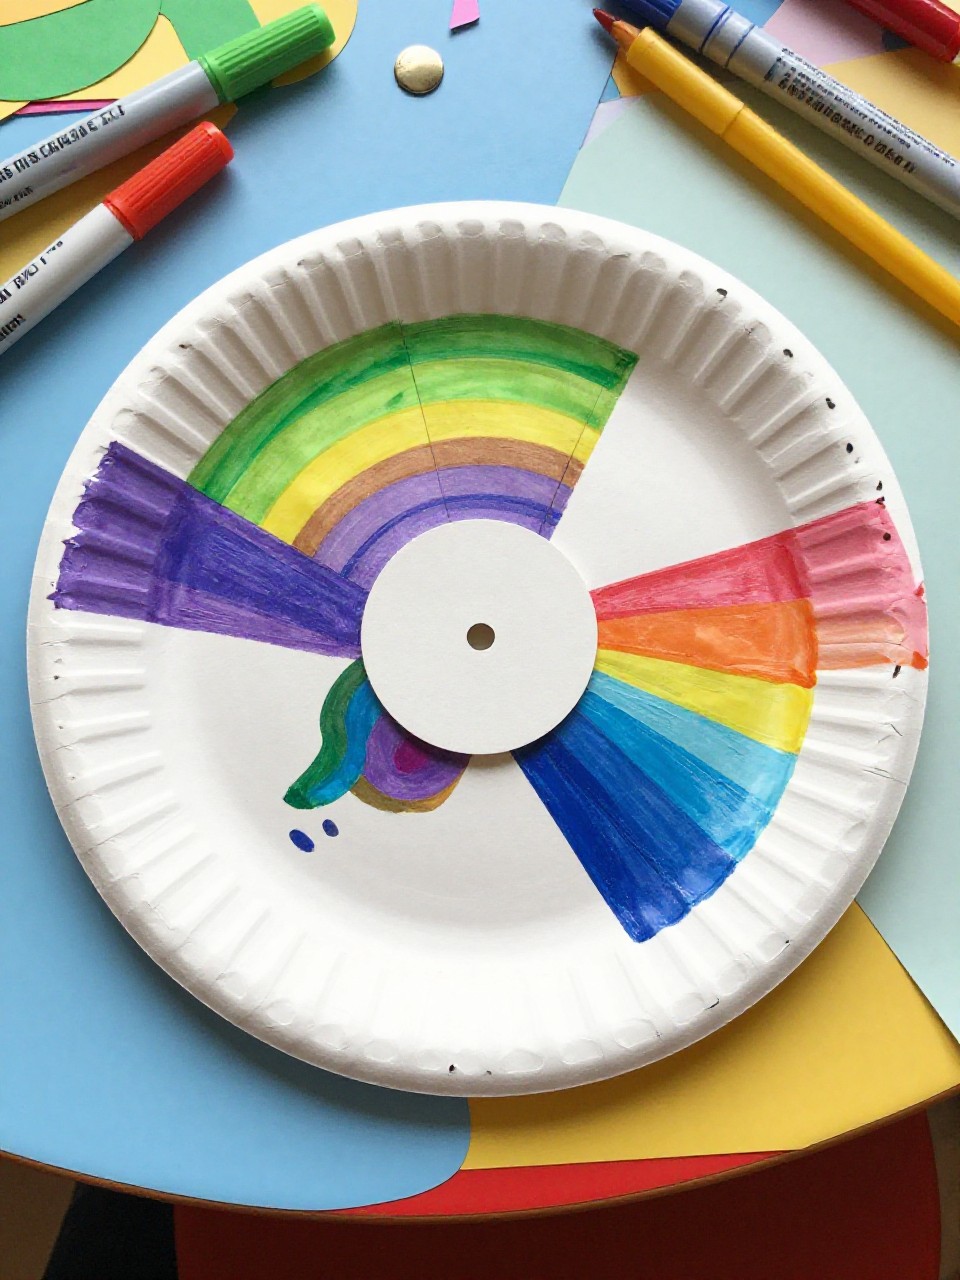
This bright spinner shows a full rainbow circle with a simple brad in the center so it twirls. Kids love watching the colors blur as it spins, and the steps are easy enough for beginners.
Materials Needed:
- Paper plate (sturdy)
- Washable markers or paint in rainbow colors
- Brass paper brad (split pin)
- Pencil and scissors
- Hole punch (optional)
How to make it:
- Draw light pencil lines to divide the plate into 6–8 wedges; color each wedge a rainbow color.
- Poke a hole in the center and insert the brad so it can spin.
- Add clouds or raindrop stickers around the rim for flair.
- Let any paint dry, then spin and watch the colors blend.
2. Paper Plate Animal Mask
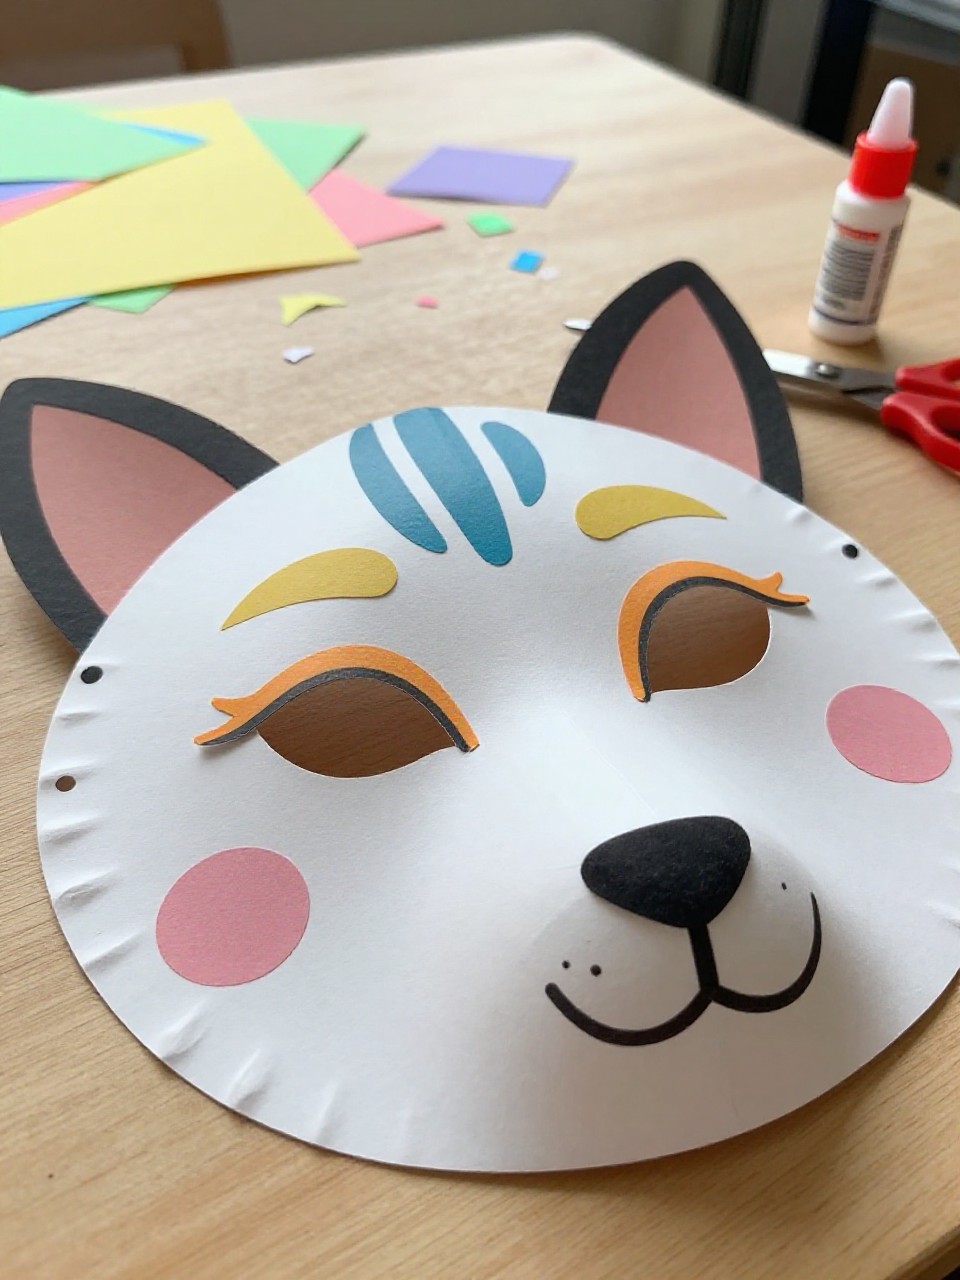
This craft turns a plate into a cute animal face like a cat, dog, or panda with ears and whiskers. Kids love choosing their animal and acting it out, making this perfect for pretend play.
Materials Needed:
- Paper plate
- Paint or crayons
- Construction paper (for ears, nose)
- Elastic string or craft stick
- Glue and scissors
How to make it:
- Cut out eye holes in the plate and paint or color the base to match your animal.
- Cut paper ears and a nose; glue them in place.
- Draw whiskers and spots with markers; add a tongue or tiny bow.
- Tape an elastic to the sides or glue a craft stick handle; let dry before wearing.
3. Paper Plate Sun Catcher
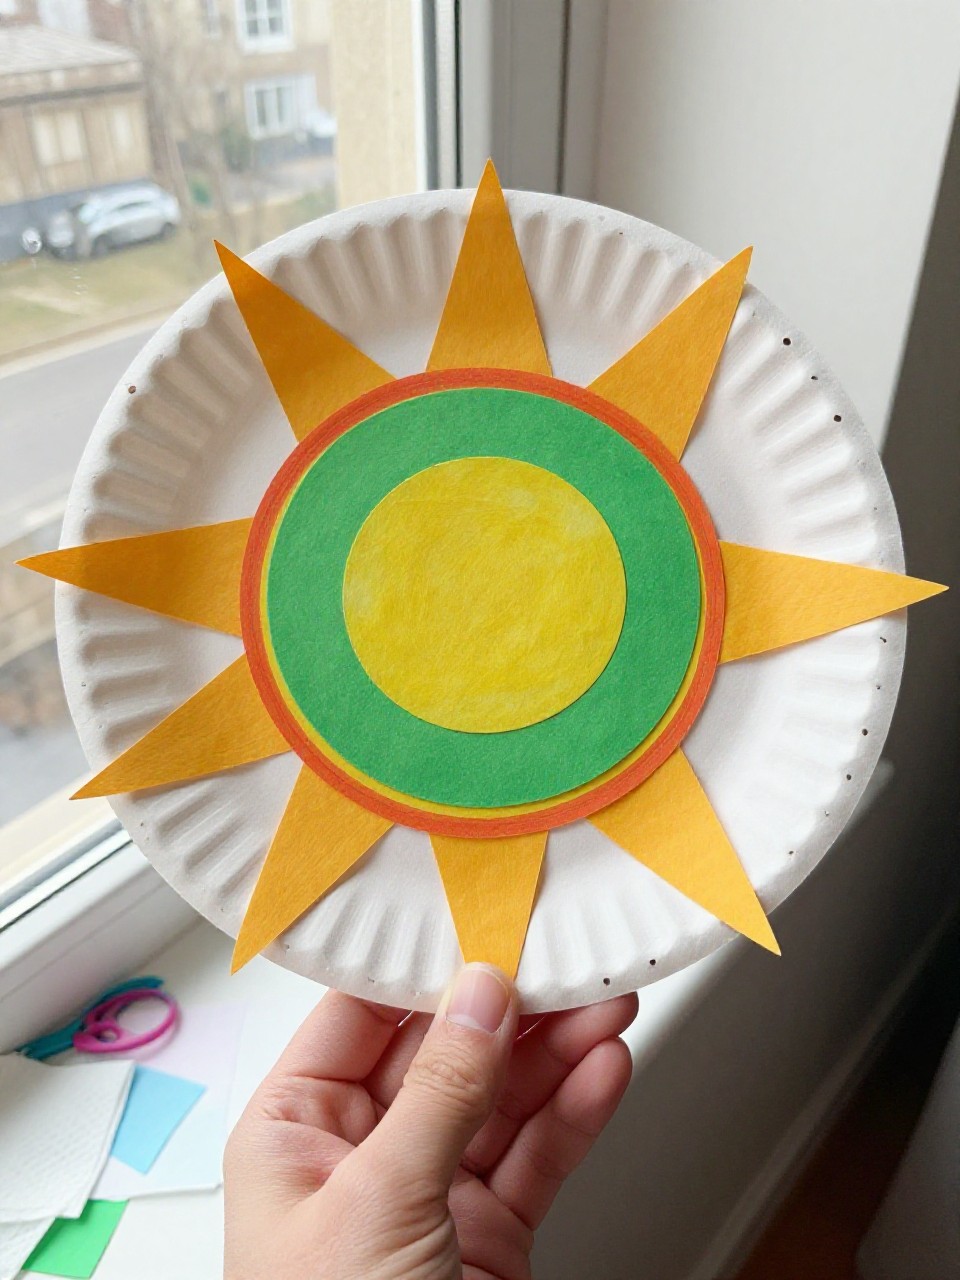
This sun catcher looks like a glowing circle with colored tissue paper “stained glass” in the center. Kids love sticking the tissue shapes and seeing light shine through it on a window.
Materials Needed:
- Paper plate
- Clear contact paper or packing tape
- Tissue paper squares
- Marker and scissors
- Ribbon or string (for hanging)
How to make it:
- Cut a large circle out of the center of the plate, leaving a ring.
- Stick clear contact paper behind the opening, sticky side facing forward.
- Press tissue paper squares onto the sticky area to fill it with color; trim edges.
- Punch a hole, add ribbon, and hang in a sunny window.
4. Paper Plate Ocean Aquarium
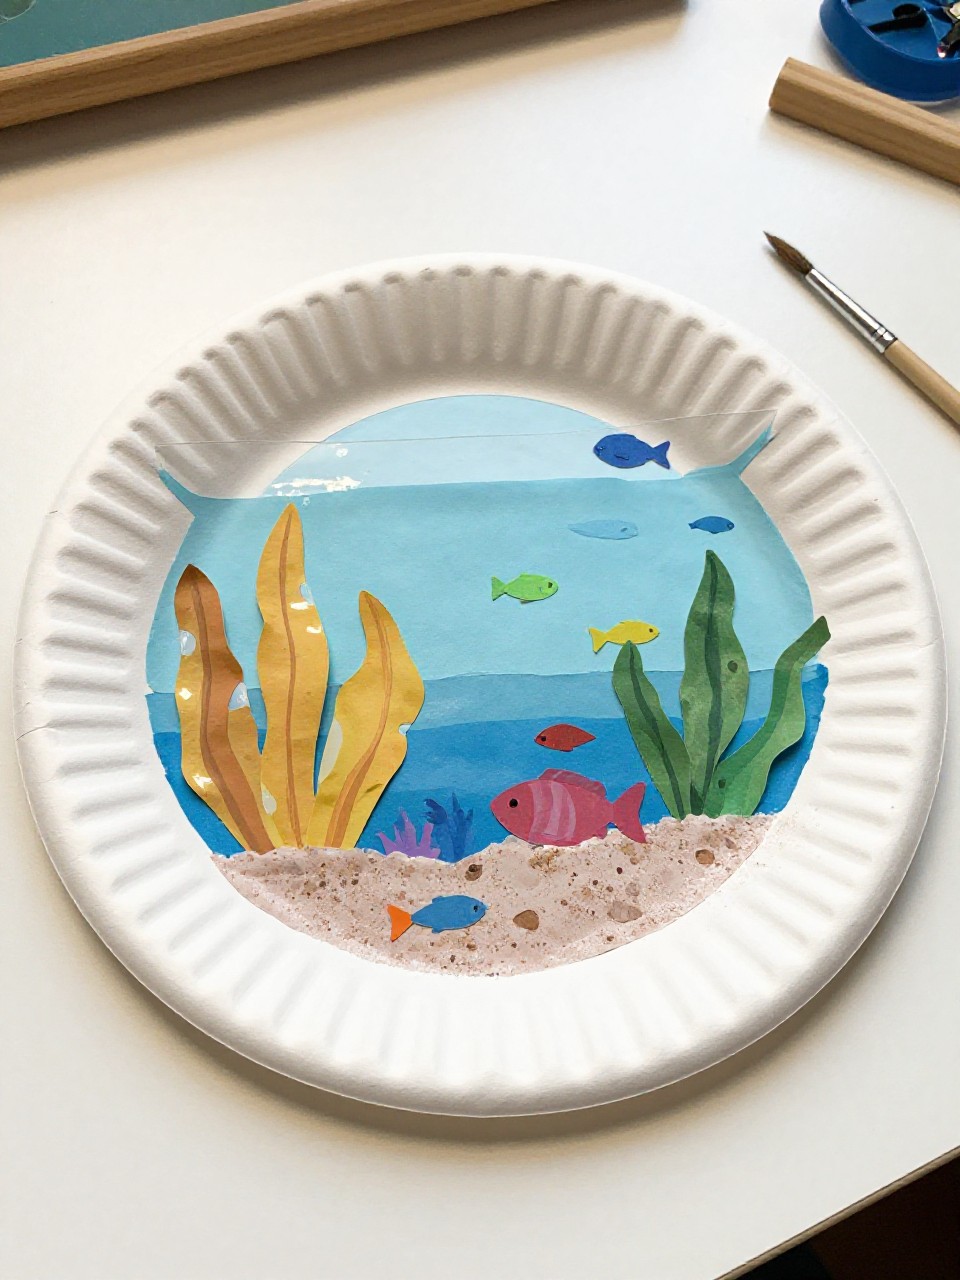
This mini aquarium shows blue water, fish cutouts, and tiny seaweed inside a paper plate “porthole.” Kids enjoy choosing sea creatures and building a small world they can shake or display.
Materials Needed:
- Two paper plates
- Blue paint or blue tissue paper
- Construction paper fish and seaweed
- Clear plastic sheet (from packaging) [optional]
- Glue, markers, and scissors
How to make it:
- Paint one plate blue for water; leave the second plate plain.
- Glue fish and seaweed onto the blue plate; add bubbles with a white crayon.
- Cut a window circle out of the second plate; glue a clear plastic sheet behind it if using.
- Glue plates together rim-to-rim, let dry, then display your “aquarium.”
5. Paper Plate Flying Saucer

This UFO craft looks like a round silver saucer with porthole dots and a tiny alien peeking out. Kids love zooming it around the room and adding sparkly stickers for “lights.”
Materials Needed:
- Two paper plates
- Silver paint or foil
- Stickers or sequins
- Glue and scissors
- Green paper for alien [optional]
How to make it:
- Paint both plates silver or wrap them in foil.
- Glue plates together rim-to-rim to make a domed saucer.
- Add sticker “lights” around the edge and glue a small alien cutout on top.
- Let dry and fly your saucer around the house.
6. Paper Plate Flower Garden Wreath
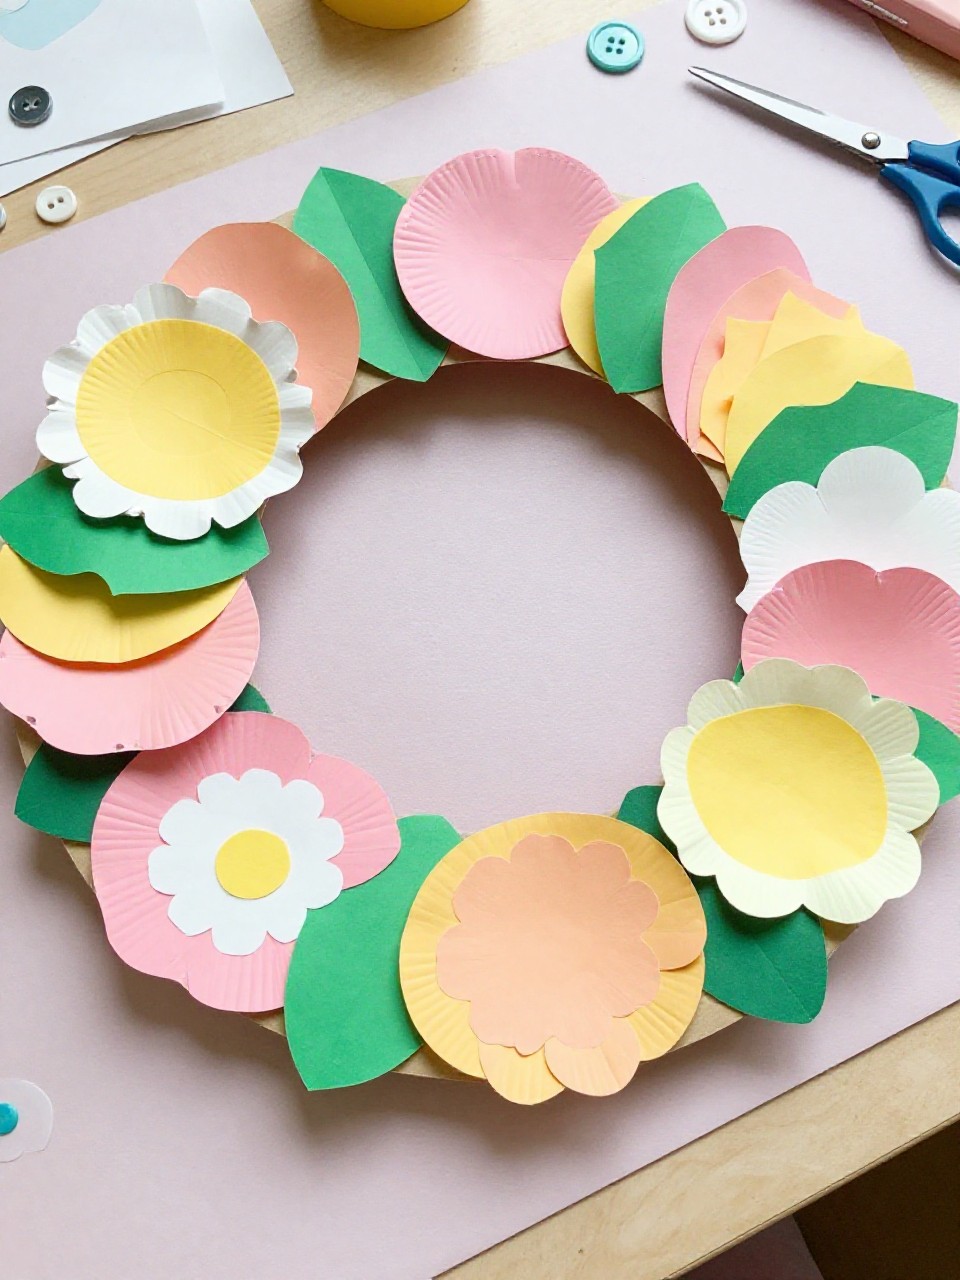
This wreath shows a circle of bright paper flowers around a cut-out plate ring. Kids enjoy layering petals and choosing cheerful colors for a springy door hanger.
Materials Needed:
- Paper plate
- Colored paper or cupcake liners
- Buttons or pom-poms [optional]
- Glue and scissors
- Ribbon for hanging
How to make it:
- Cut out the center of the plate to make a ring.
- Cut flower shapes from colored paper or flatten cupcake liners and layer them.
- Glue flowers around the ring; add buttons or pom-pom centers.
- Tie on ribbon and hang on a door or wall.
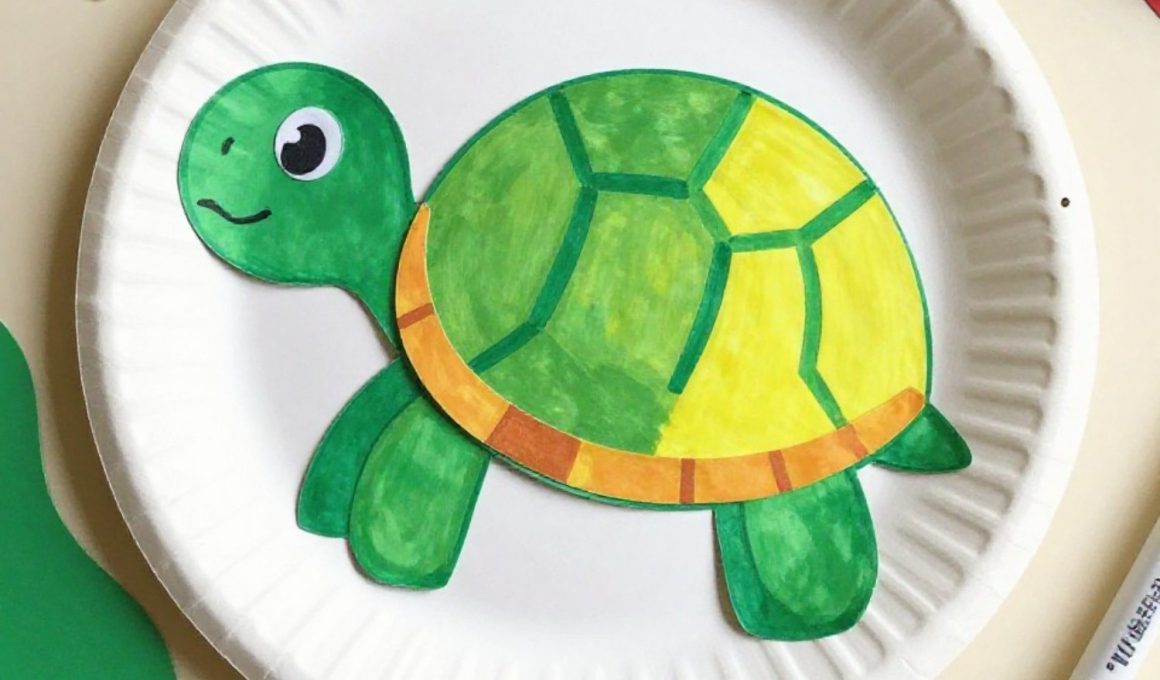
7. Paper Plate Color Wheel Turtle
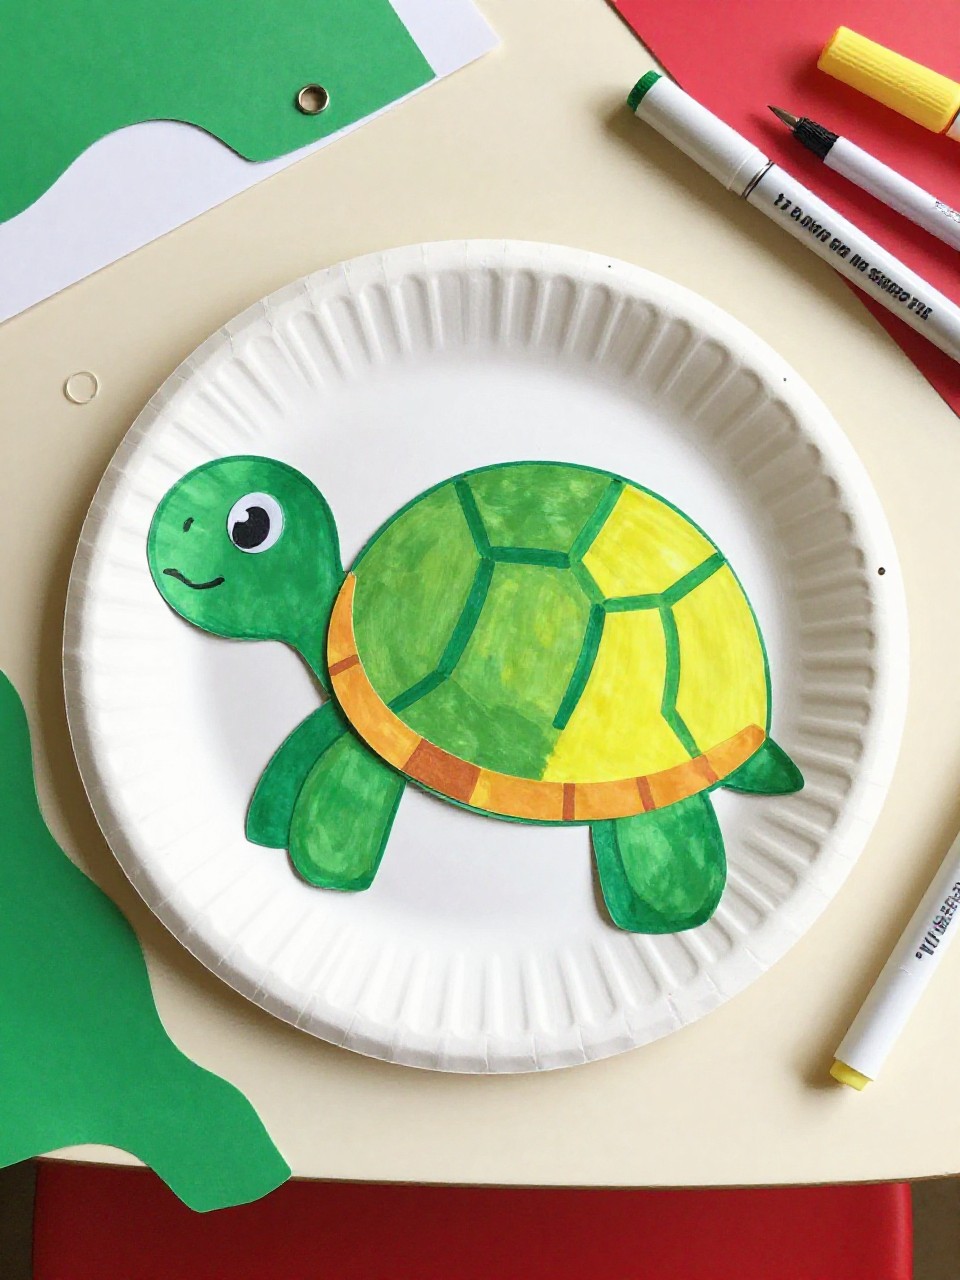
This turtle has a spinning color wheel shell on top of a cute turtle body. Kids like mixing colors and learning color names as they rotate the shell.
Materials Needed:
- Paper plate
- Green construction paper
- Paint or crayons in multiple colors
- Brass brad
- Glue, marker, and scissors
How to make it:
- Color the plate in pie slices of different colors.
- Cut a turtle head, legs, and tail from green paper; glue them behind the plate.
- Poke a hole and add a brad if you want the shell to spin against an extra paper circle.
- Draw eyes and patterns, then let dry and play with the spinner shell.
8. Paper Plate Dreamy Night Sky
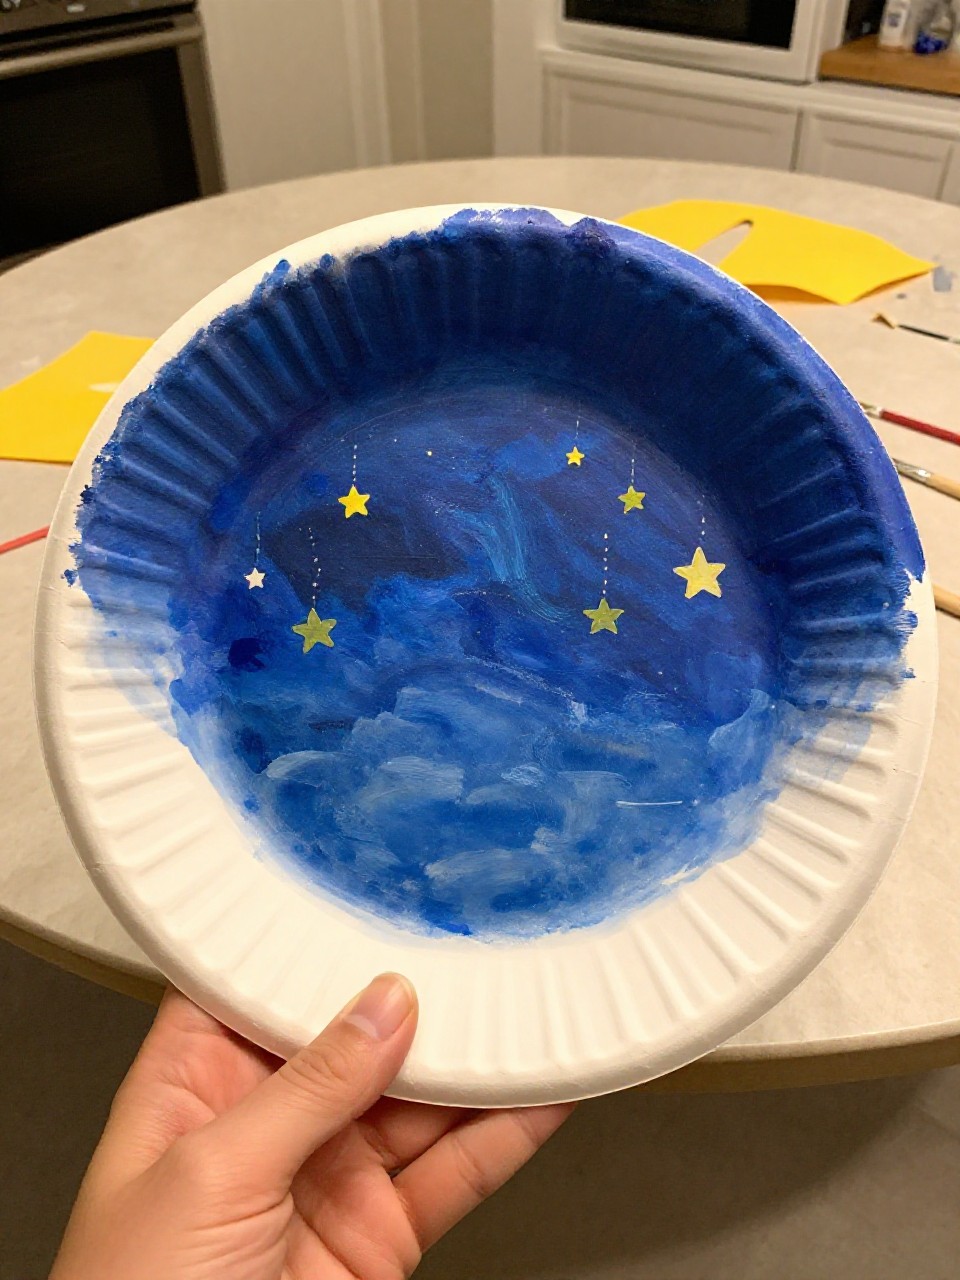
This scene shows a deep blue plate with painted stars, a crescent moon, and hanging paper stars on strings. Kids love splattering “galaxy” paint and watching the stars dangle.
Materials Needed:
- Paper plate
- Dark blue and white paint
- Yellow paper for moon and stars
- String or thread
- Glue, hole punch, and scissors
How to make it:
- Paint the plate dark blue; splatter white paint for stars.
- Cut a moon and small stars from yellow paper; glue the moon onto the plate.
- Punch holes along the bottom and tie on short strings with stars at the ends.
- Let dry and hang by a top hole to display the sky.
9. Paper Plate Pizza Party
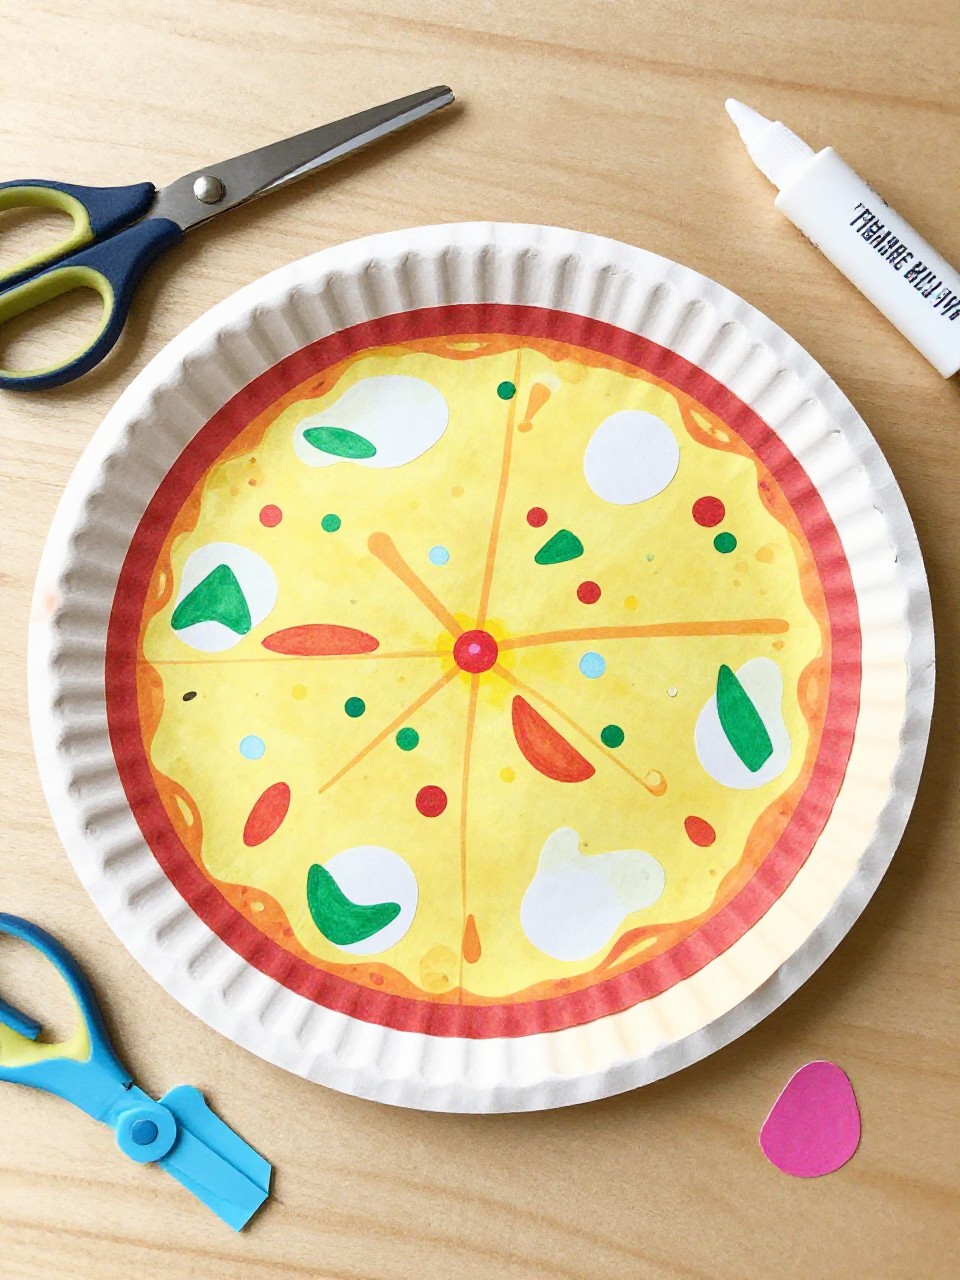
This craft looks like a cheesy pizza with painted sauce, tan crust, and paper toppings like pepperoni, olives, and peppers. Kids have fun “ordering” custom slices and practicing cutting small shapes.
Materials Needed:
- Paper plate
- Paint or crayons (tan, red, yellow)
- Colored paper for toppings
- Glue and scissors
- Marker for details
How to make it:
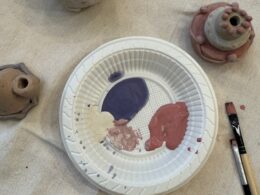
- Paint the rim tan for crust and the center red for sauce; add yellow cheese squiggles.
- Cut paper circles, rings, and strips for toppings.
- Glue toppings onto the pizza; add marker seeds or grill marks.
- Cut into slices if you like and serve your pretend pizza.
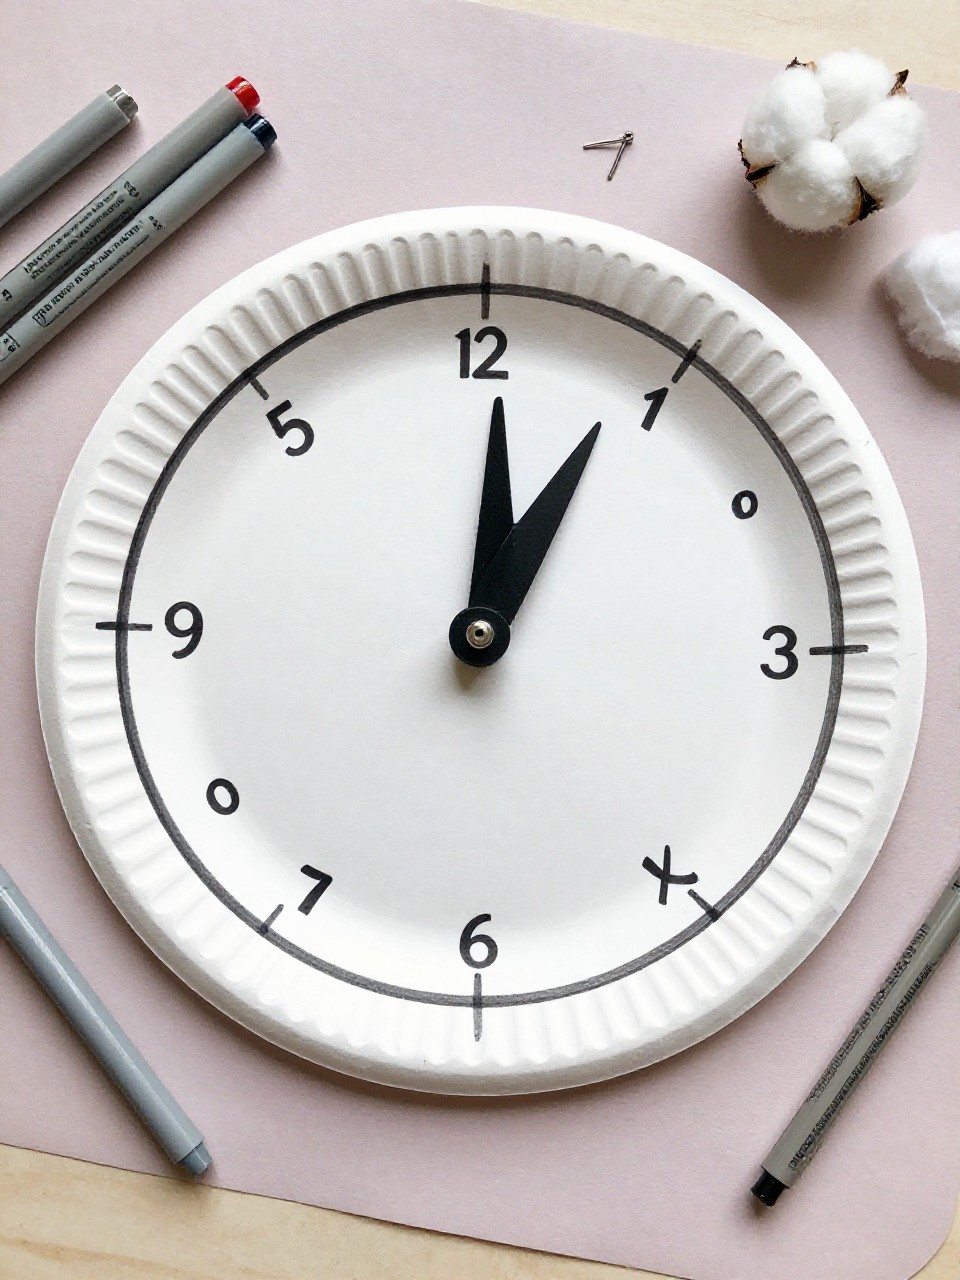
10. Paper Plate Clock Craft
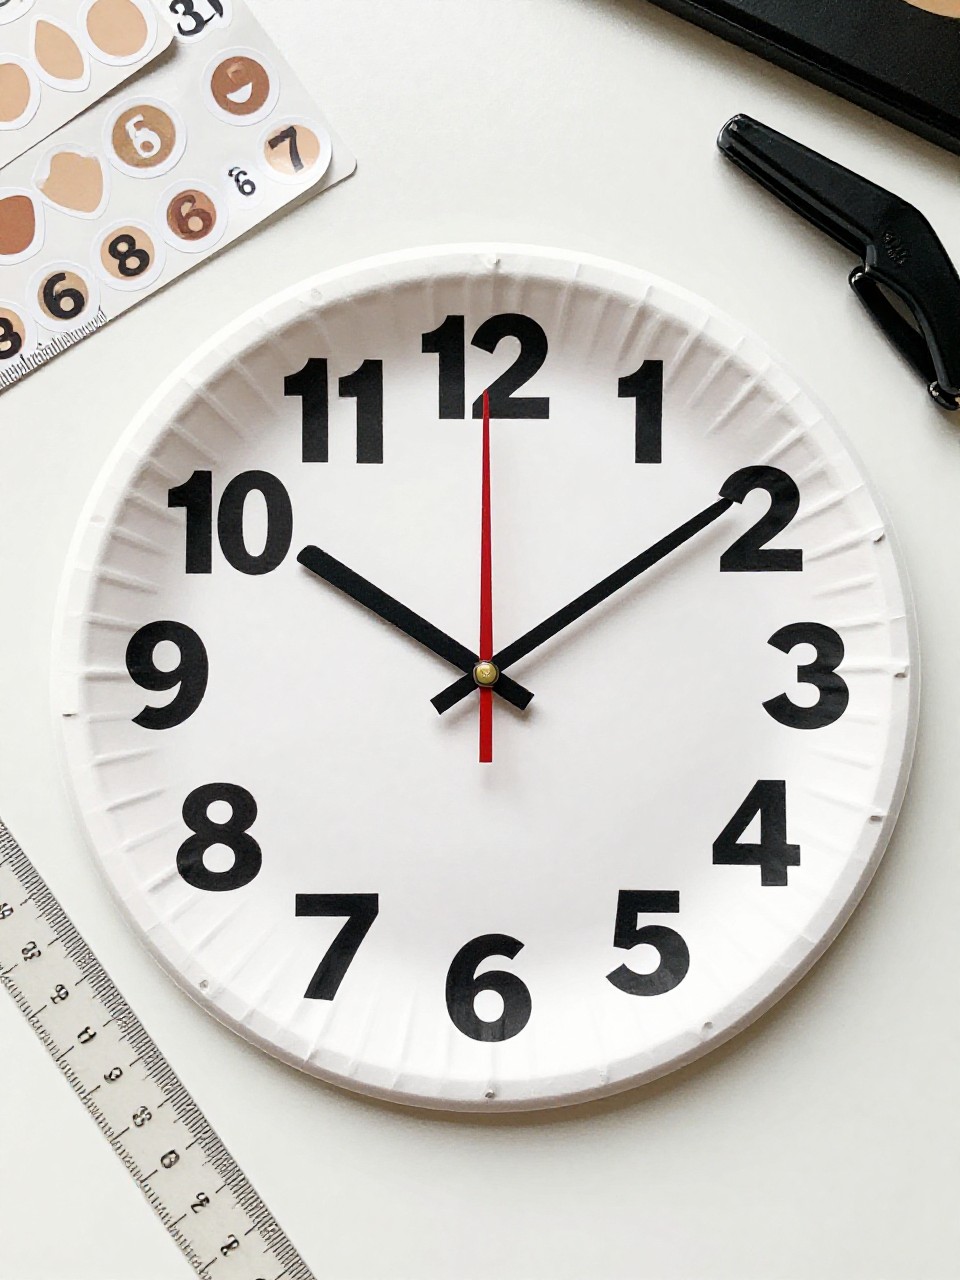
This looks like a simple classroom clock with big numbers and two moving hands. Kids enjoy spinning the hands to learn time and decorating the face with patterns.
Materials Needed:
- Paper plate
- Number stickers or marker
- Colored paper for clock hands
- Brass brad
- Ruler, scissors, and hole punch
How to make it:
- Write or stick numbers 1–12 evenly around the rim.
- Cut two arrow hands from paper; punch holes in their bases and the plate center.
- Attach hands with a brad; make sure they spin.
- Add borders or doodles, then practice telling time.
11. Paper Plate Butterfly Puppet
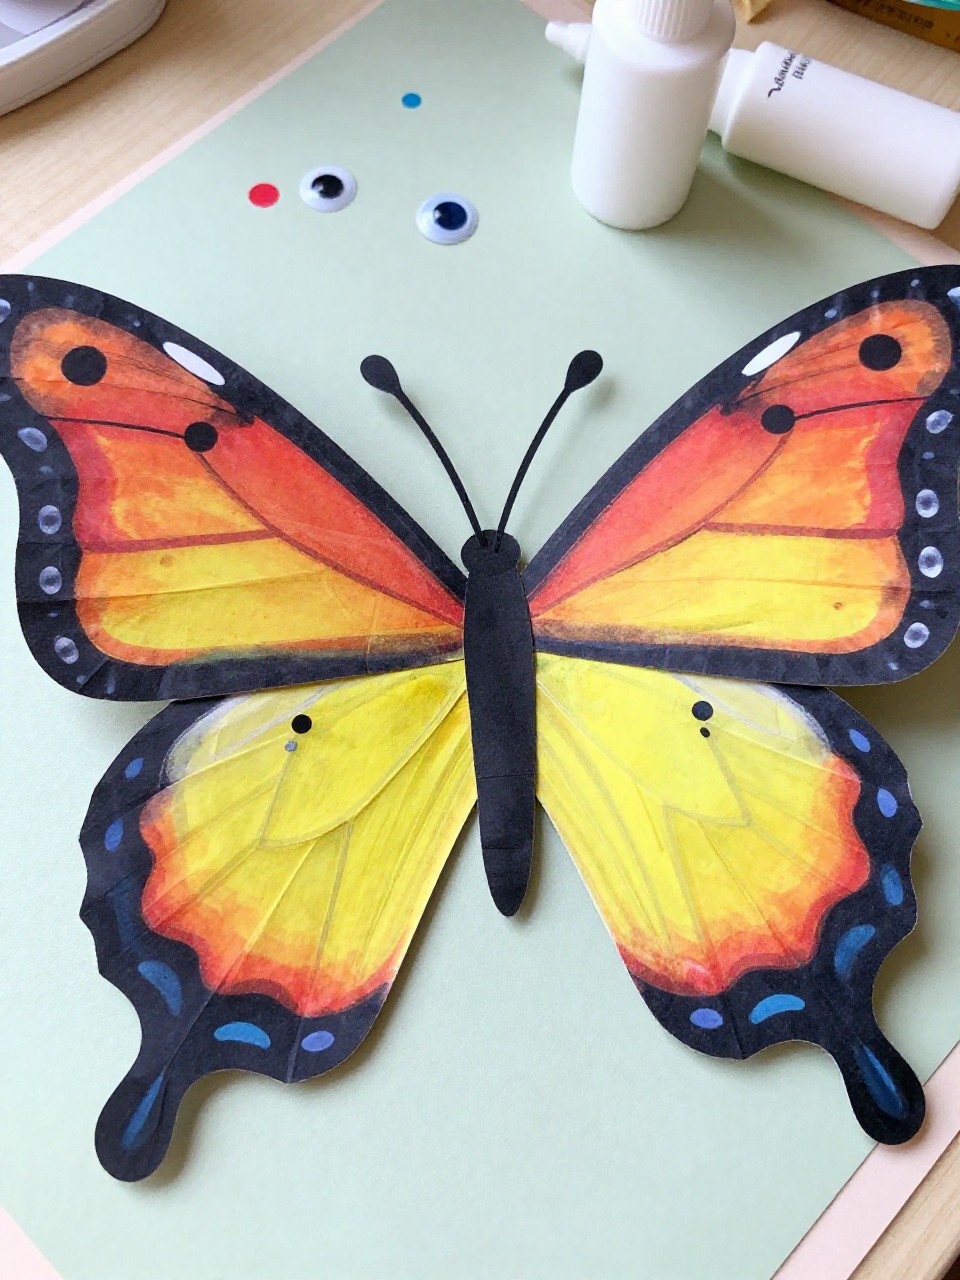
This butterfly has a split plate for colorful wings and a craft stick body down the center. Kids love flapping the wings and adding bright dots and patterns.
Materials Needed:
- Paper plate
- Paint, markers, or dot stickers
- Craft stick
- Googly eyes [optional]
- Glue and scissors
How to make it:
- Cut the plate in half to make two wings.
- Decorate both wings with colors, dots, and lines.
- Glue both wings to a craft stick “body” and add eyes and antennae from scrap paper.
- Let dry and flap your butterfly like a puppet.
12. Paper Plate Drum Shaker

This instrument looks like a round drum sealed with a rim and filled with gentle rattling beads or rice. Kids love decorating both sides and making simple rhythms.
Materials Needed:
- Two paper plates
- Dry rice or beans
- Markers or paint
- Stapler or strong glue
- Ribbon or washi tape [optional]
How to make it:
- Decorate the outsides of both plates first.
- Add a small handful of rice or beans to one plate.
- Place the second plate on top, decorated side out, and staple or glue around the edge.
- Seal the rim with washi tape or ribbon, then shake to play.
13. Paper Plate Jellyfish
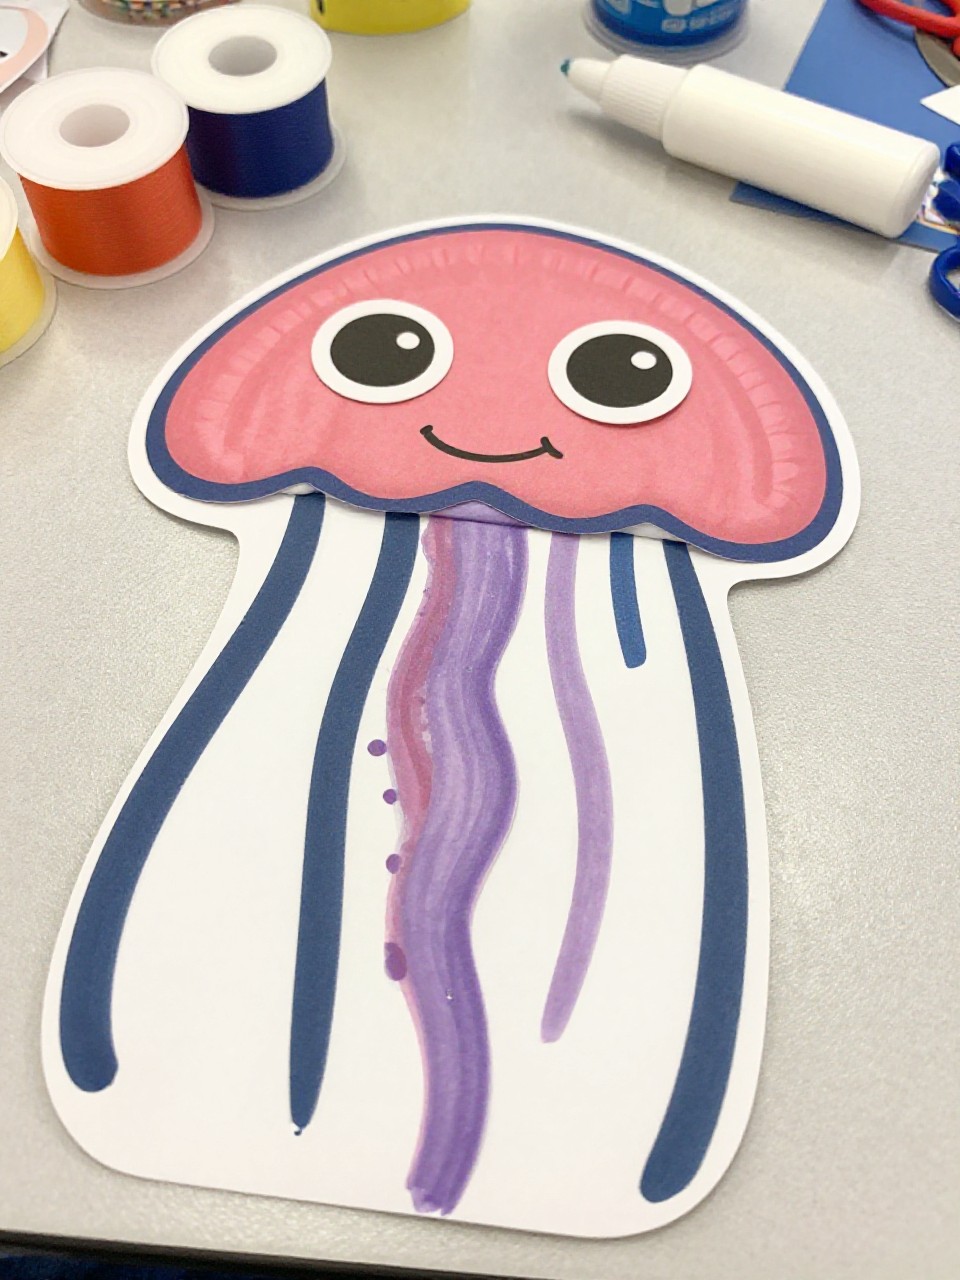
This jellyfish features a half-plate body with wavy ribbon or paper strip tentacles hanging down. Kids enjoy curling the tentacles and choosing ocean colors.
Materials Needed:
- Paper plate
- Paint or crayons (ocean colors)
- Ribbon, yarn, or paper strips
- Glue and scissors
- Googly eyes [optional]
How to make it:
- Cut the plate in half and color it in blues, purples, or pinks.
- Glue eyes on the curved edge and draw a smile.
- Attach ribbons or strips along the straight edge as tentacles.
- Let dry and hang the jellyfish by a small top hole.
14. Paper Plate Animal Habitat Diorama
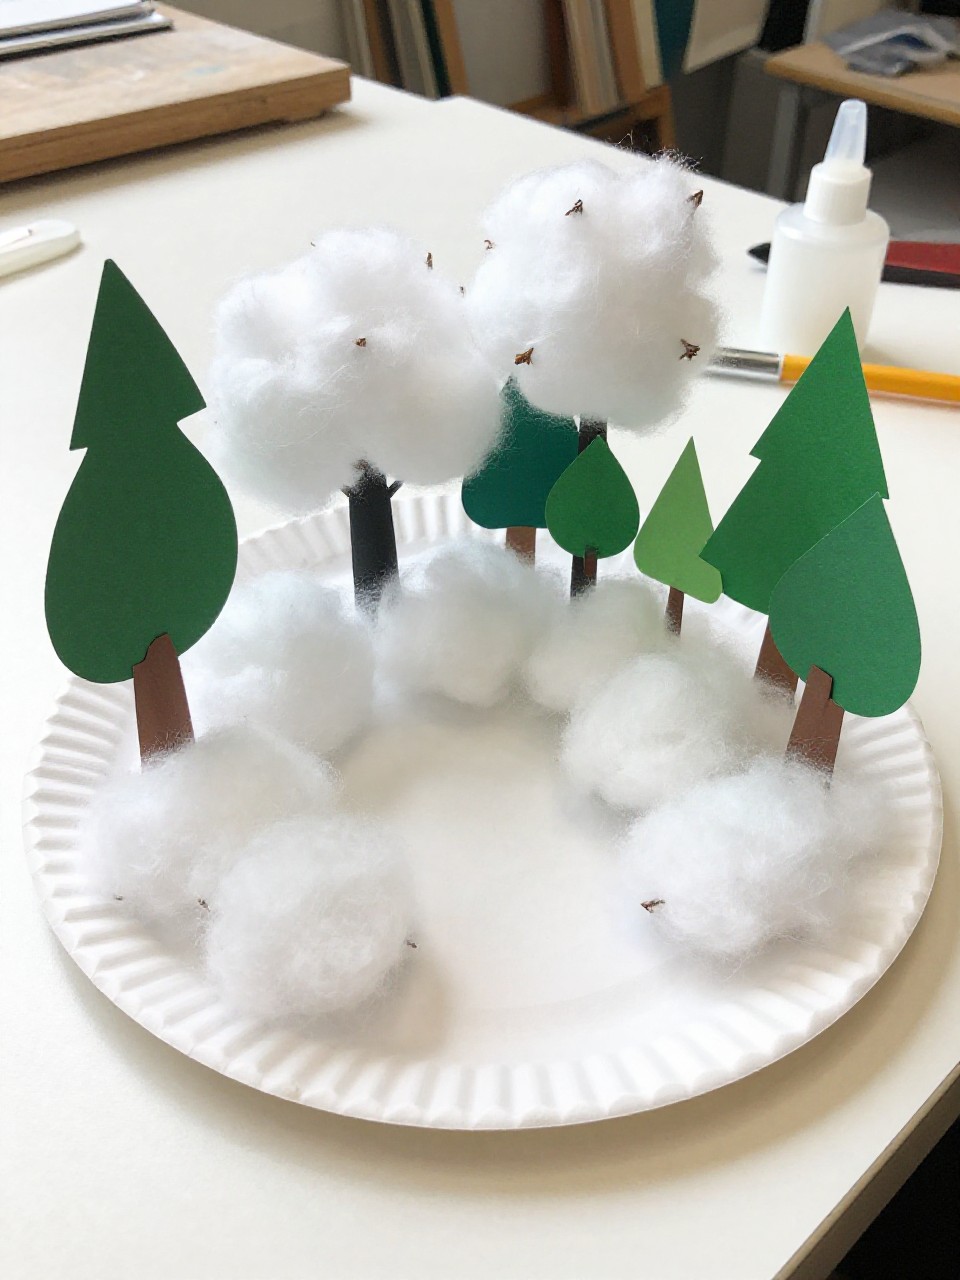
This diorama shows a mini scene like a forest, desert, or arctic landscape inside a deep plate. Kids enjoy choosing animals and building layers of background, ground, and props.
Materials Needed:
- Deep paper plate or bowl-style plate
- Paint or colored paper
- Animal cutouts or stickers
- Glue and scissors
- Cotton balls, sand, or tissue [optional textures]
How to make it:
- Paint or cover the inside back of the plate for sky.
- Add a ground layer with paper, cotton “snow,” or a sprinkle of sand glued on.
- Place animal cutouts and small trees or rocks to create depth.
- Let dry and display your habitat upright.
15. Paper Plate Watermelon Fan
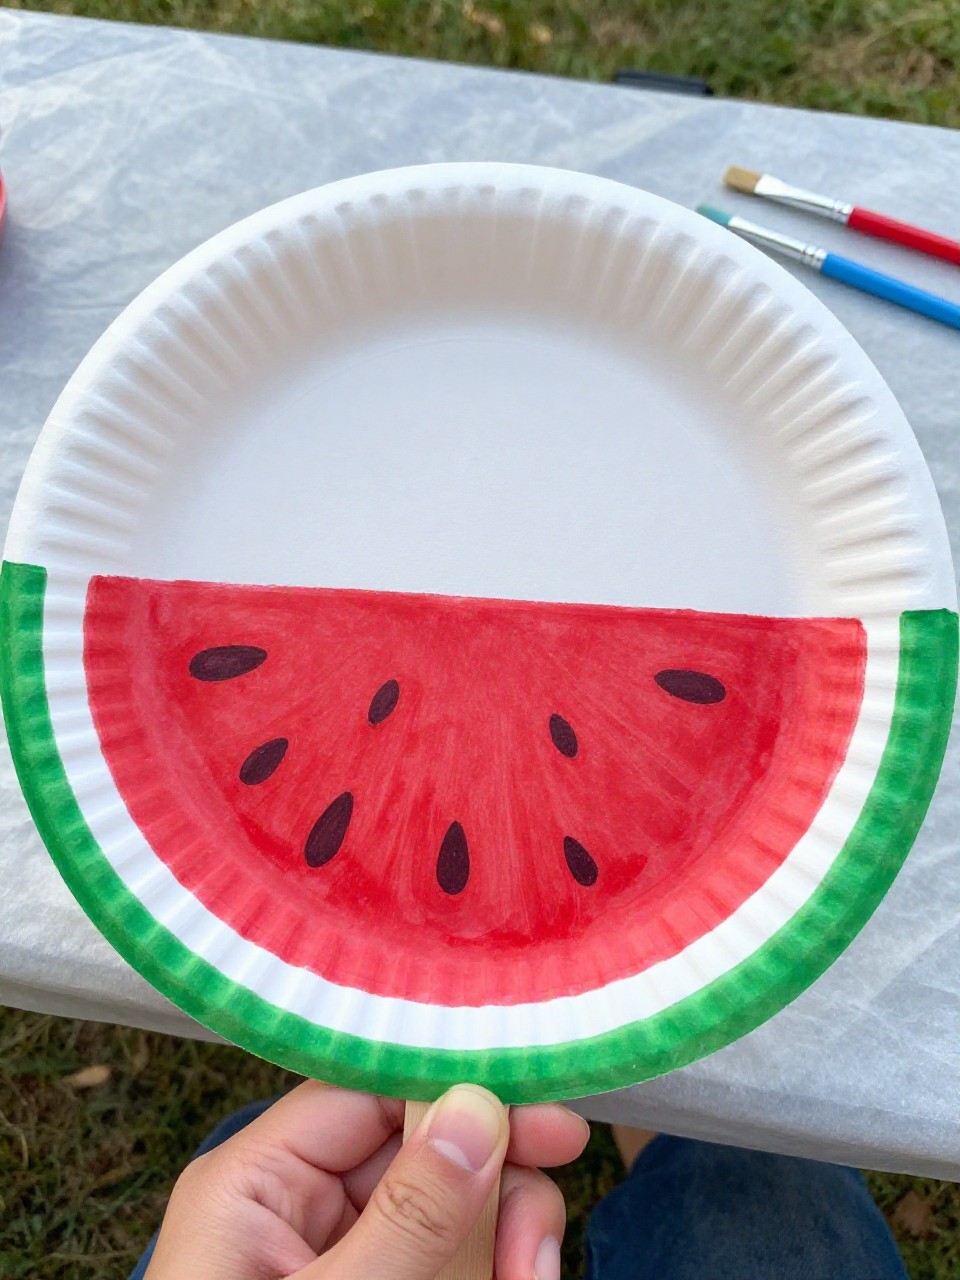
This fan looks like a juicy watermelon slice with green rind, pink center, and black seed dots, attached to a stick. Kids love using it as a summer fan and painting the bold colors.
Materials Needed:
- Paper plate
- Pink/red and green paint or markers
- Black marker for seeds
- Craft stick
- Glue or tape and scissors
How to make it:
- Cut the plate in half to make a slice shape.
- Paint the curved edge green for rind and the center pink/red; let it dry.
- Draw black seeds in the middle and add white highlight lines.
- Glue or tape a craft stick handle to the back to make a fan.
16. Paper Plate Weather Wheel
This wheel shows weather icons like sun, clouds, rain, and snow in separate sections with a pointer to choose the day’s forecast. Kids enjoy spinning the arrow during morning routines.
Materials Needed:
- Paper plate
- Markers or crayons
- Small paper arrow
- Brass brad
- Stickers or cotton balls [optional]
How to make it:
- Divide the plate into 4–6 sections and draw weather icons in each.
- Add cotton clouds, raindrop stickers, or glitter “snow” if you like.
- Cut a paper arrow, punch a hole with the plate center, and attach with a brad.
- Spin to today’s weather and display on a bulletin board or fridge.