


In This Article Show
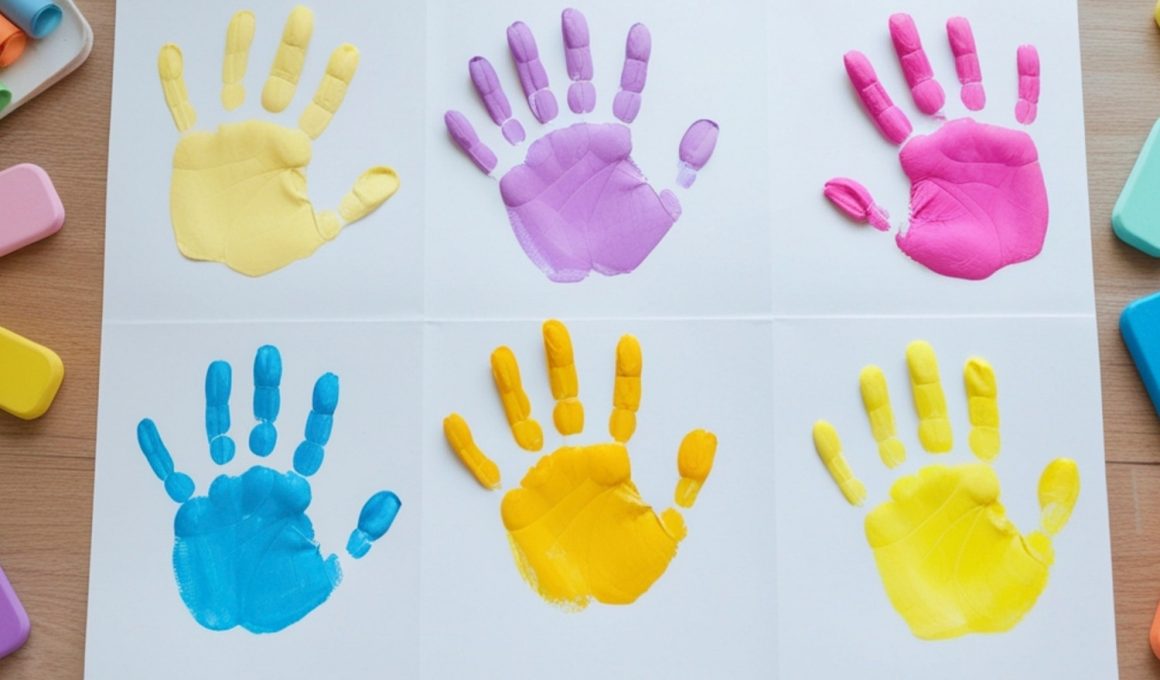
Keeping kids busy in summer can be hard, especially when it’s hot or you need a quick activity that doesn’t make a big mess. These handprint crafts are simple, cute, and perfect for both home and classroom.
Each one uses a child’s hand as the star, so every project feels personal and fun. Below you’ll find easy, summer-themed ideas with short steps and basic supplies—let’s jump into sunny, smile-worthy crafts.
1. Sunny Handprint Sun
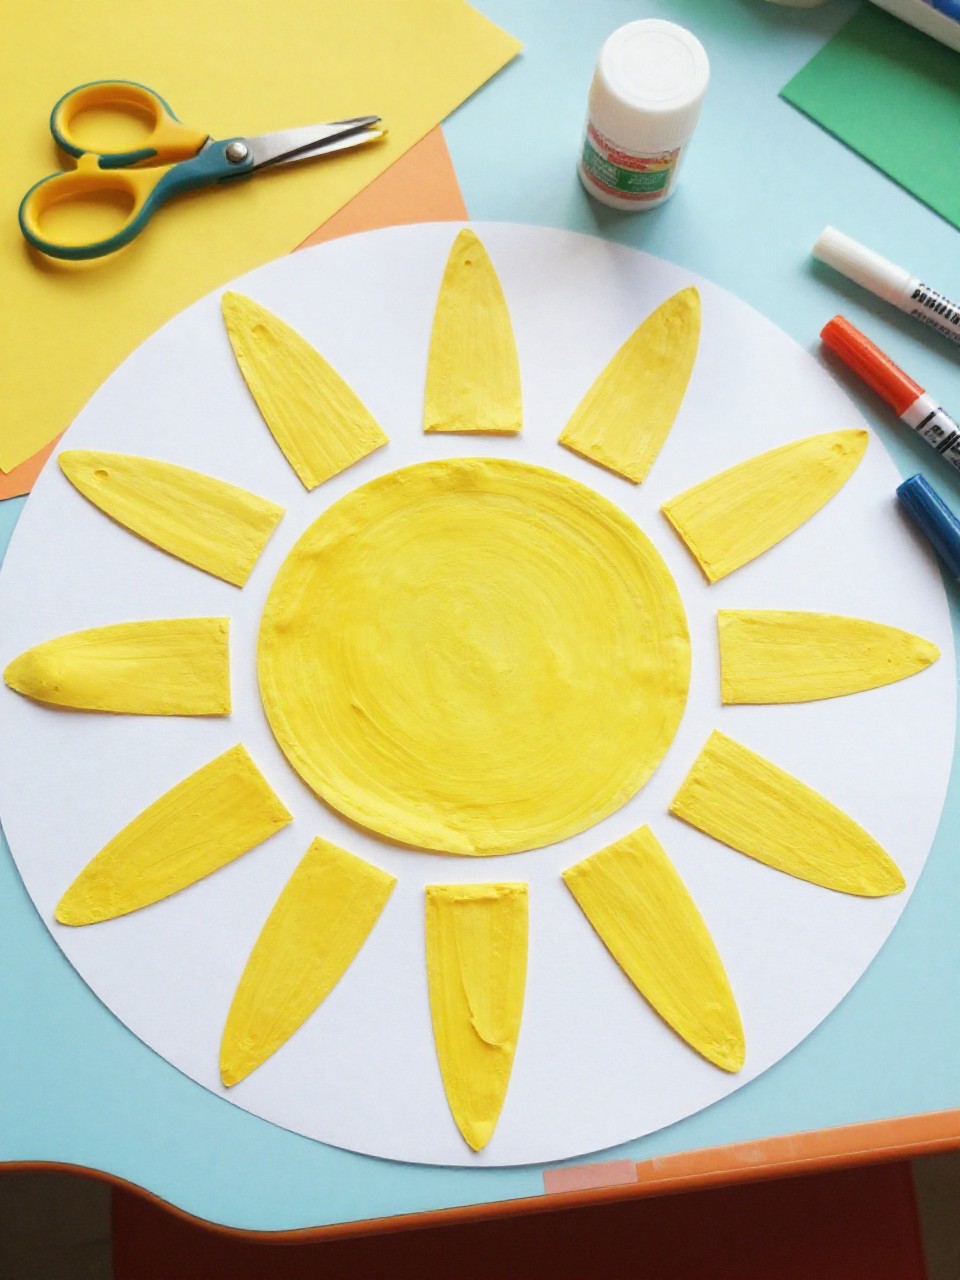
This craft makes a bright paper sun with a round center and handprint rays fanning out like sunshine. Kids love tracing their hands and choosing warm colors, and it’s easy enough for a quick afternoon project.
Materials Needed:
- Yellow and orange construction paper
- Pencil and scissors
- Glue stick
- Black marker for a smile [optional]
- Googly eyes [optional]
How to make it:
- Cut a circle from yellow paper for the sun’s face.
- Trace and cut 8–12 handprints from yellow and orange paper.
- Glue the handprints around the circle as rays; add eyes and a smile.
- Let dry, then hang in a sunny window.
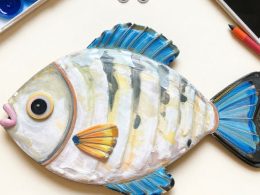
2. Ocean Wave Handprint Fish
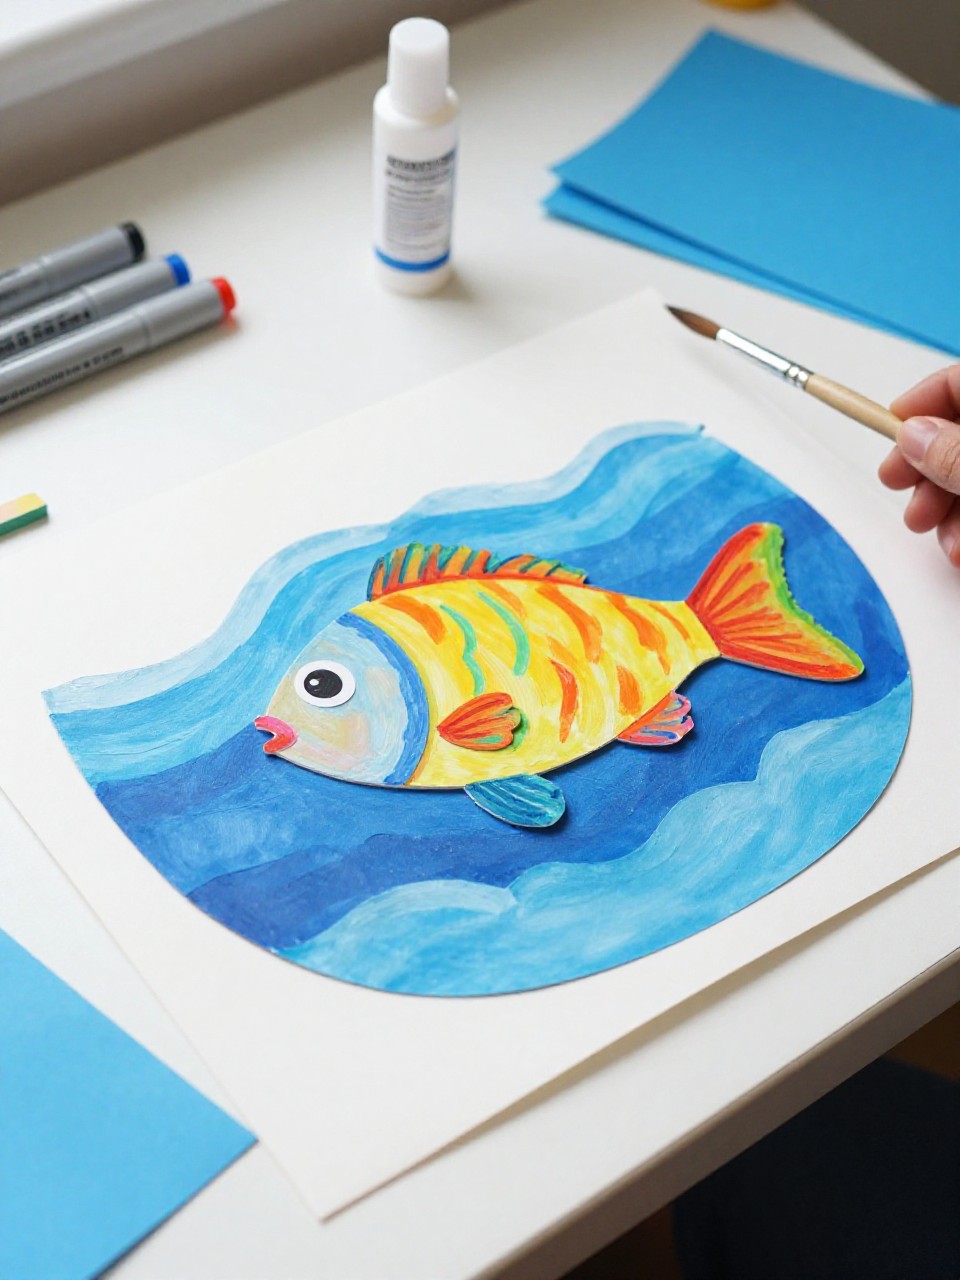
A bright handprint becomes a fish swimming in blue paper waves, with a small paper fin and bubbly background. Kids enjoy choosing bold colors and adding dots or stripes, and the result looks lively and summery.
Materials Needed:
- Blue, white, and colored construction paper
- Paint or markers
- Scissors and glue
- Googly eye [optional]
- White crayon for bubbles [optional]
How to make it:
- Trace a hand on colored paper and cut it out to be the fish body (fingers as fins).
- Cut blue wave strips and glue them to a background sheet.
- Add the handprint fish between waves; draw scales, mouth, bubbles, and glue on an eye.
- Press flat to dry and display.
3. Handprint Popsicle Art
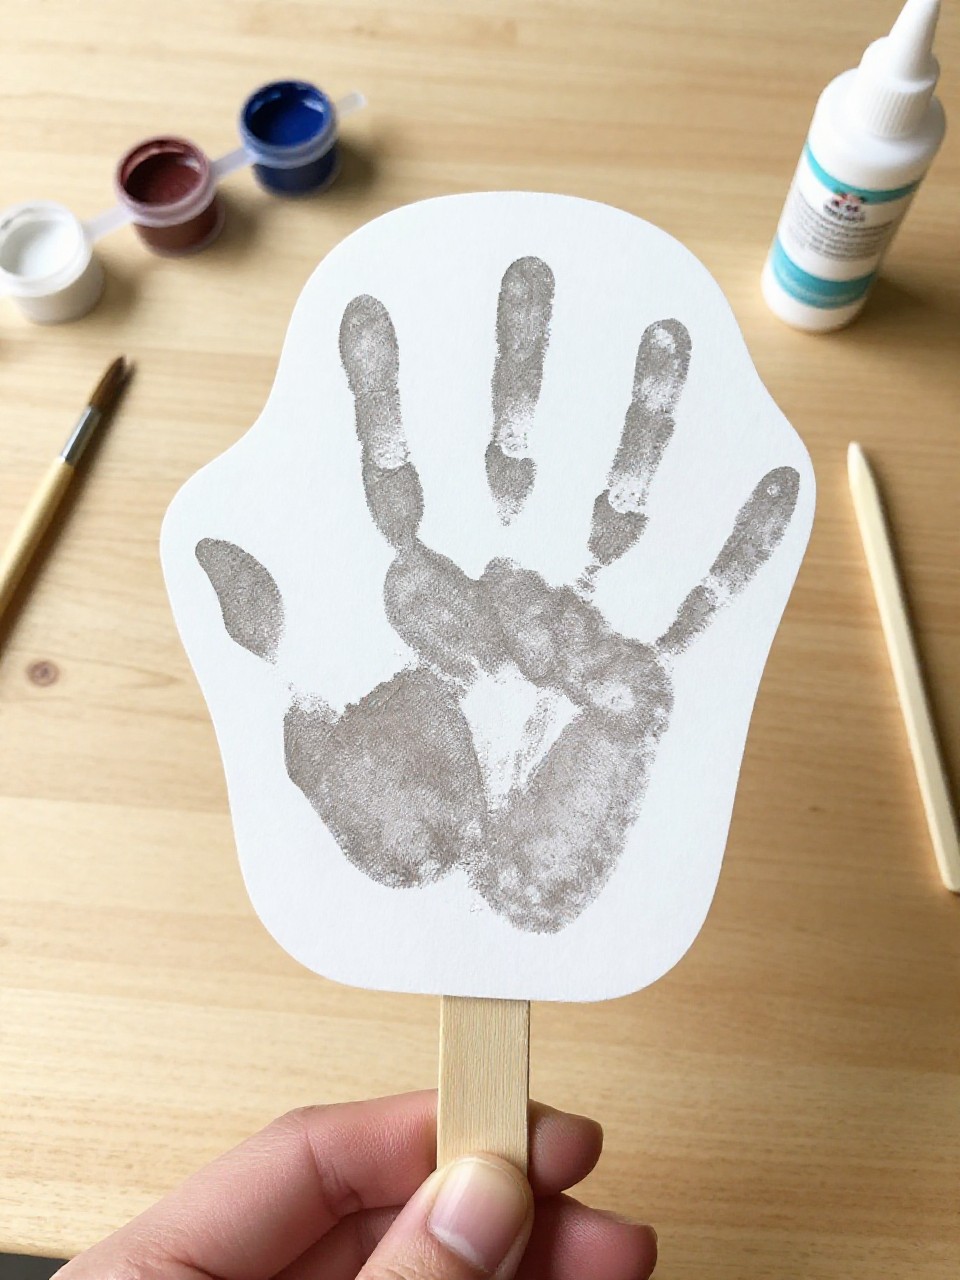
This picture looks like a smiling popsicle made from a handprint on bright paper, attached to a real popsicle stick. Kids love picking “flavors” with paint and adding sprinkles or a face.
Materials Needed:
- Bright cardstock
- Washable paint in popsicle colors
- Large craft sticks
- Glue or tape
- Markers and glitter glue [optional]
How to make it:
- Paint the palm and fingers one color; press a handprint onto cardstock with fingers pointing down.
- Round the top corners to shape it like a popsicle.
- Glue a craft stick at the base; draw a face or sprinkles.
- Let dry and prop on a shelf.
4. Beach Day Handprint Crab
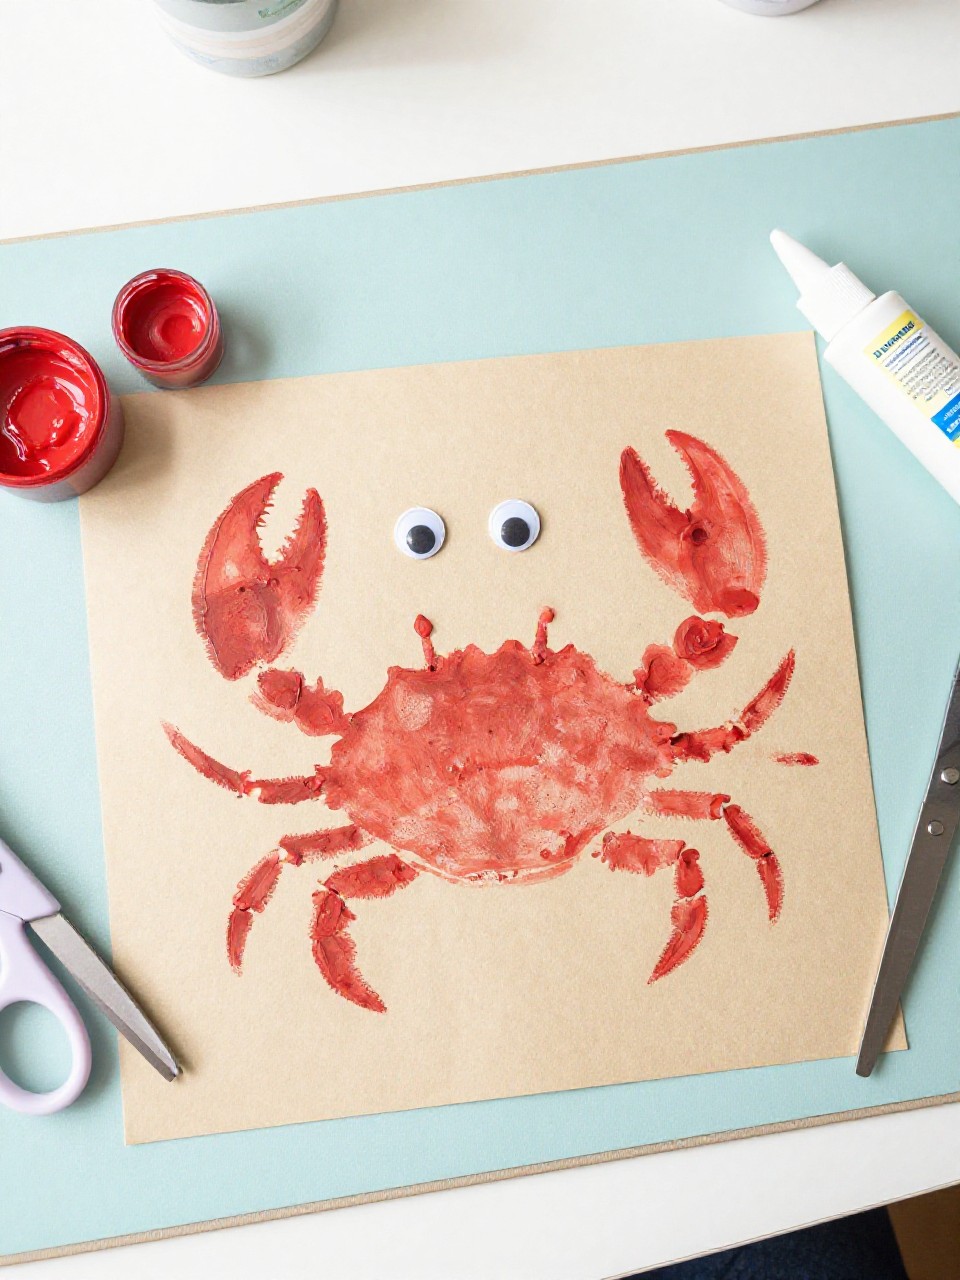
This craft makes a cute red crab where the palms are the body and the fingers are legs, sitting on a sandy background. Kids enjoy the funny shape and googly eyes, and it’s quick for mixed ages.
Materials Needed:
- Red paint or red paper
- Tan or blue cardstock for background
- Googly eyes
- Glue stick and scissors
- Sand or brown crayon for texture [optional]
How to make it:
- Make two red handprints with palms touching to form a round body (thumbs up as claws).
- Glue or paint them onto a beach-colored background.
- Add eyes on top and draw a smile; sprinkle sand or color for texture.
- Let dry flat before hanging.
5. Handprint Watermelon Slice
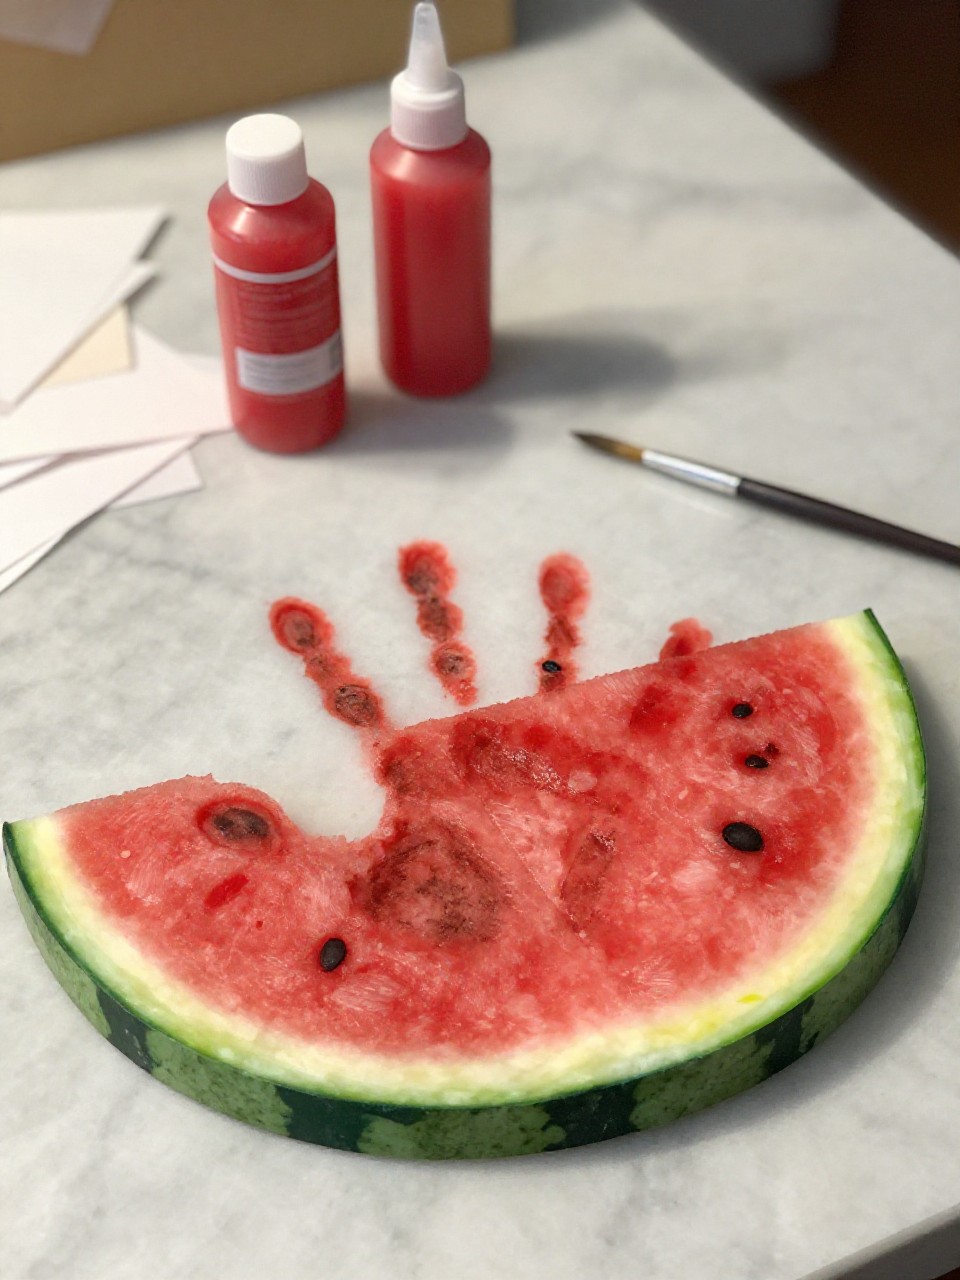
A green-and-pink handprint becomes a juicy watermelon wedge with tiny black seed dots. Kids love the bold colors and dotting on “seeds,” and it makes a cheerful summer wall piece.
Materials Needed:
- White cardstock
- Pink/red, green, and black paint or markers
- Pencil and scissors
- Glue stick [optional]
- Glitter or white paint for shine [optional]
How to make it:
- Press a pink/red handprint on cardstock with fingers closed.
- Cut a curved wedge around the print; paint a green rind stripe along the edge.
- Add black dots for seeds and a white highlight if you like.
- Dry, then mount on colored paper.
6. Palm-Print Flamingo
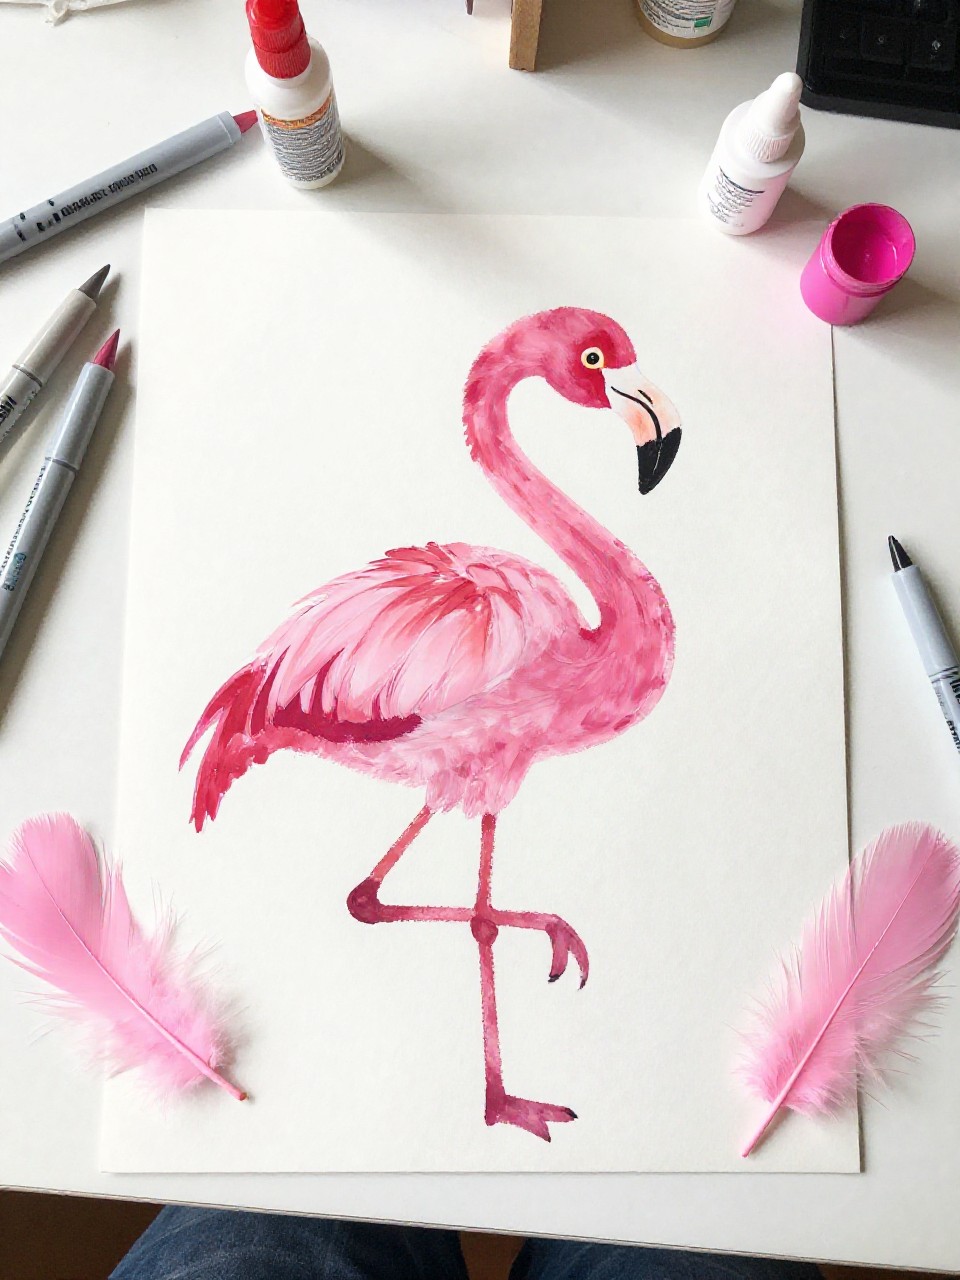
A pink handprint forms the feathery body of a flamingo with a long neck and stick legs. Kids enjoy adding fluffy details and the graceful shape feels fancy but easy.
Materials Needed:
- Pink paint or paper
- White cardstock background
- Black marker and orange/yellow marker
- Googly eye or drawn eye
- Feather or pink tissue bits [optional]
How to make it:
- Make a pink handprint with fingers pointing down for feathers.
- Draw or cut and glue a curved neck, head, and beak; add an eye and legs.
- Glue on a feather or tissue bits for extra fluff.
- Dry and display near a window.
7. Tropical Handprint Palm Tree
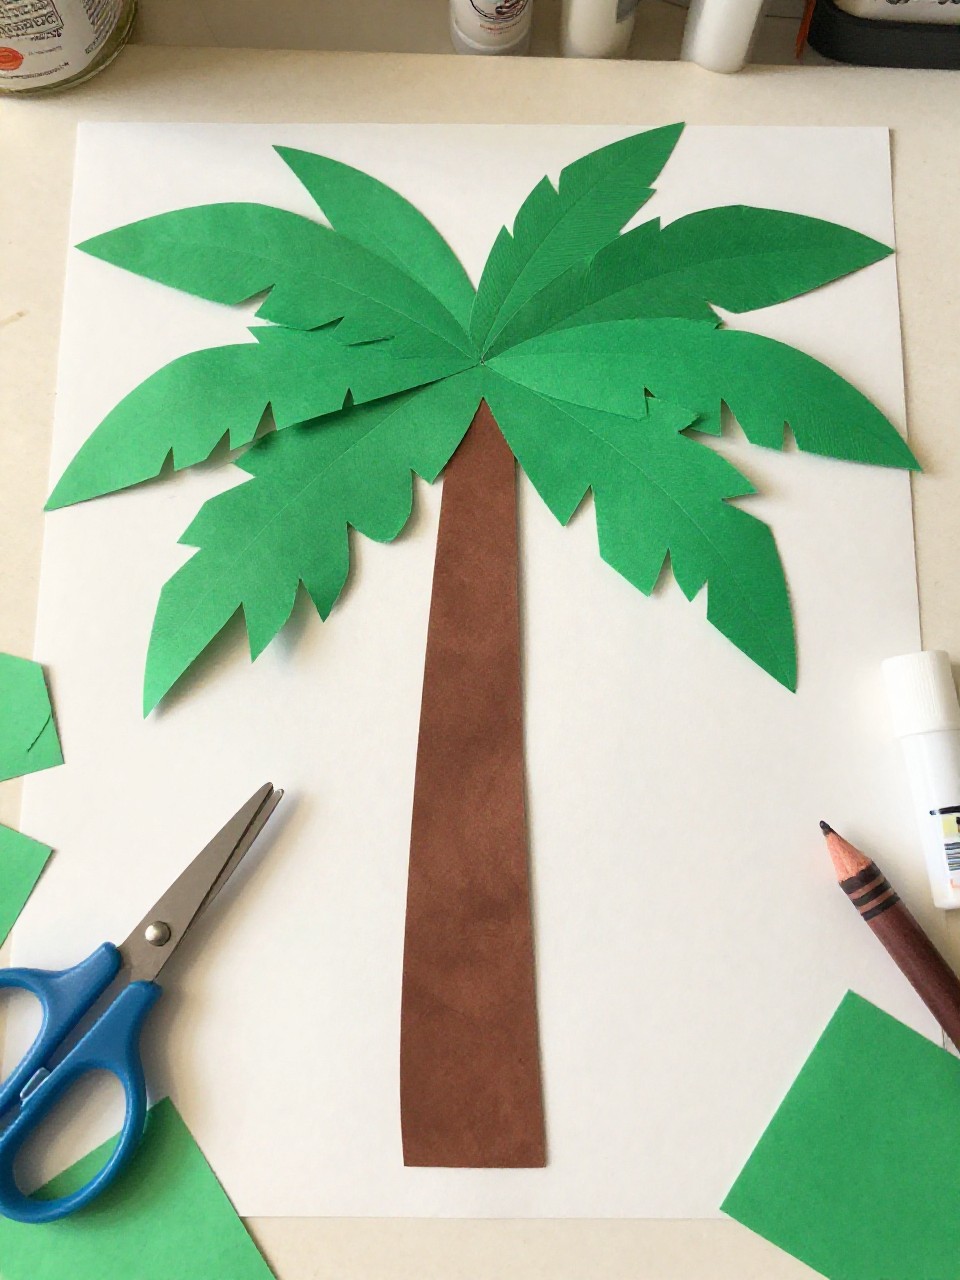
Two or three green handprints make leafy fronds at the top of a brown paper trunk, like a small island tree. Kids like layering the leaves and adding a sandy base or tiny coconuts.
Materials Needed:
- Green and brown construction paper
- Blue or tan background paper
- Scissors and glue
- Brown crayon for bark lines
- Small brown pom-poms for coconuts [optional]
How to make it:
- Cut a long brown trunk and glue it onto the background.
- Trace and cut 3–5 green handprints; glue them at the top as fronds.
- Add coconuts and draw bark lines or sand.
- Press flat and hang.
8. Handprint Ice Cream Cone
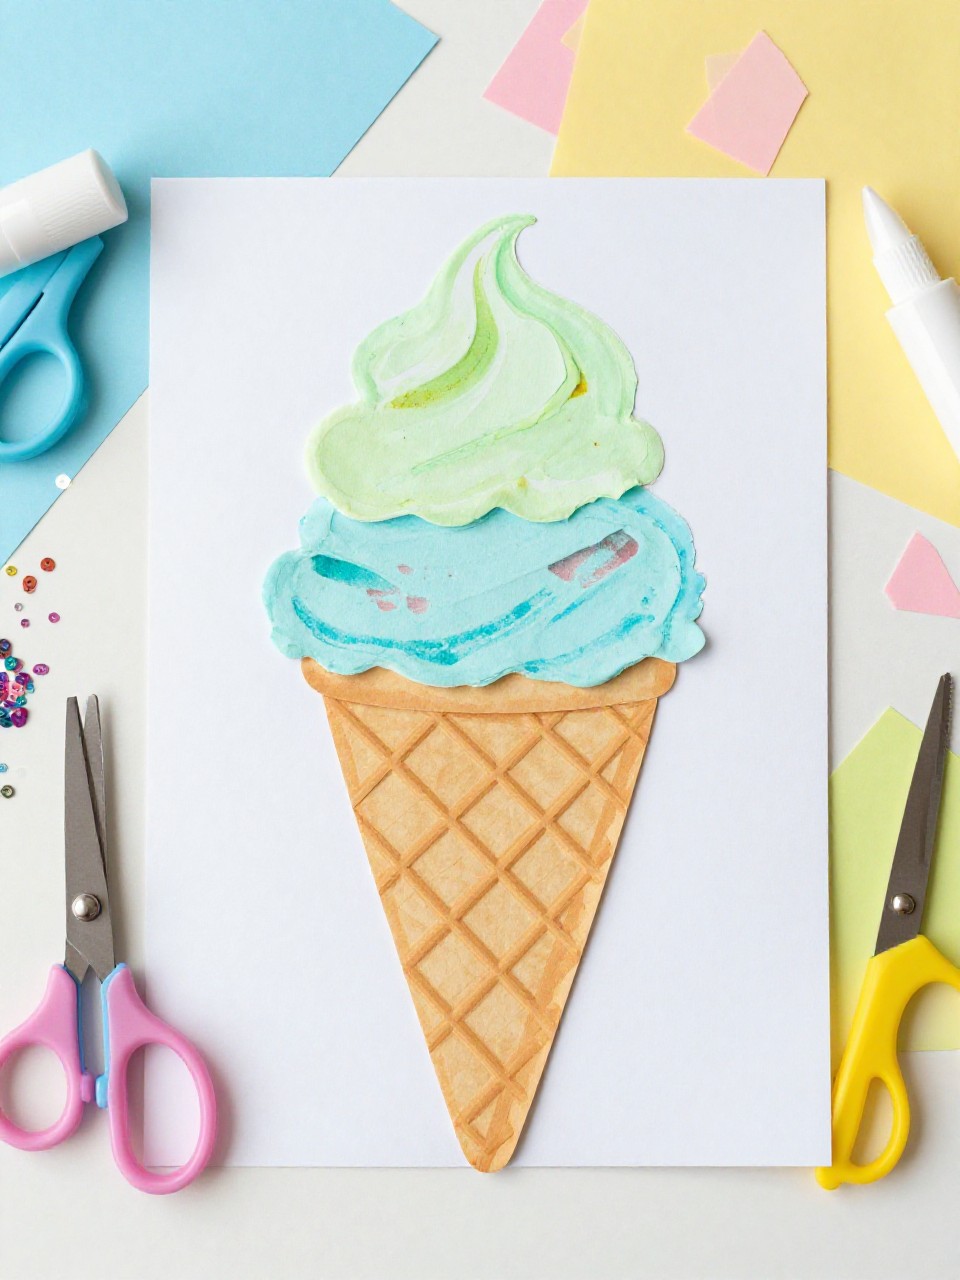
Stack pastel handprints as scoops on top of a paper cone with a waffle grid. Kids love choosing “flavors” and making super-tall stacks.
Materials Needed:
- Pastel construction paper
- Tan paper for cone
- Pencil, scissors, glue
- Marker for waffle lines
- Sequins or pom-poms as sprinkles [optional]
How to make it:
- Cut several handprints in different colors for scoops.
- Cut a triangle tan cone; draw waffle lines.
- Glue scoops on top, fingers pointing down like drips; add sprinkles.
- Dry and display on the fridge.
9. Sunshine Day Handprint Kite
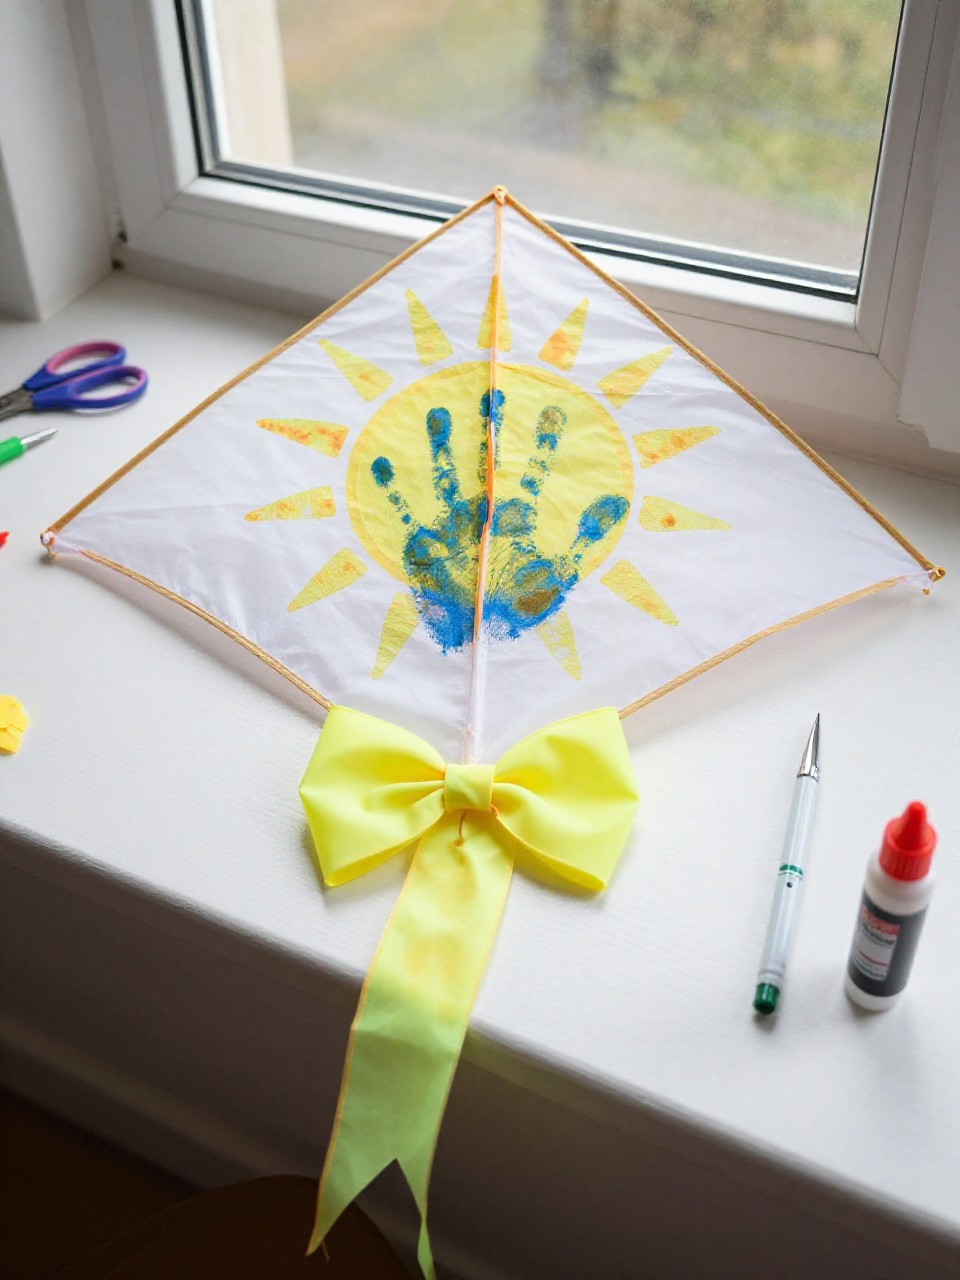
A bright handprint becomes the center of a diamond kite with a string and tiny bow tails. Kids enjoy decorating patterns and “flying” it on the wall.
Materials Needed:
- Colorful cardstock
- Markers or paint
- Yarn or ribbon for string
- Small bow stickers or ribbon bits
- Tape and scissors
How to make it:
- Trace and cut a handprint, then mount it in the center of a diamond-shaped kite.
- Tape yarn to the back as a tail and add little ribbon bows along it.
- Decorate the kite with stripes, dots, or clouds on the background.
- Hang high where it can “soar.”
10. Beachy Handprint Seahorse
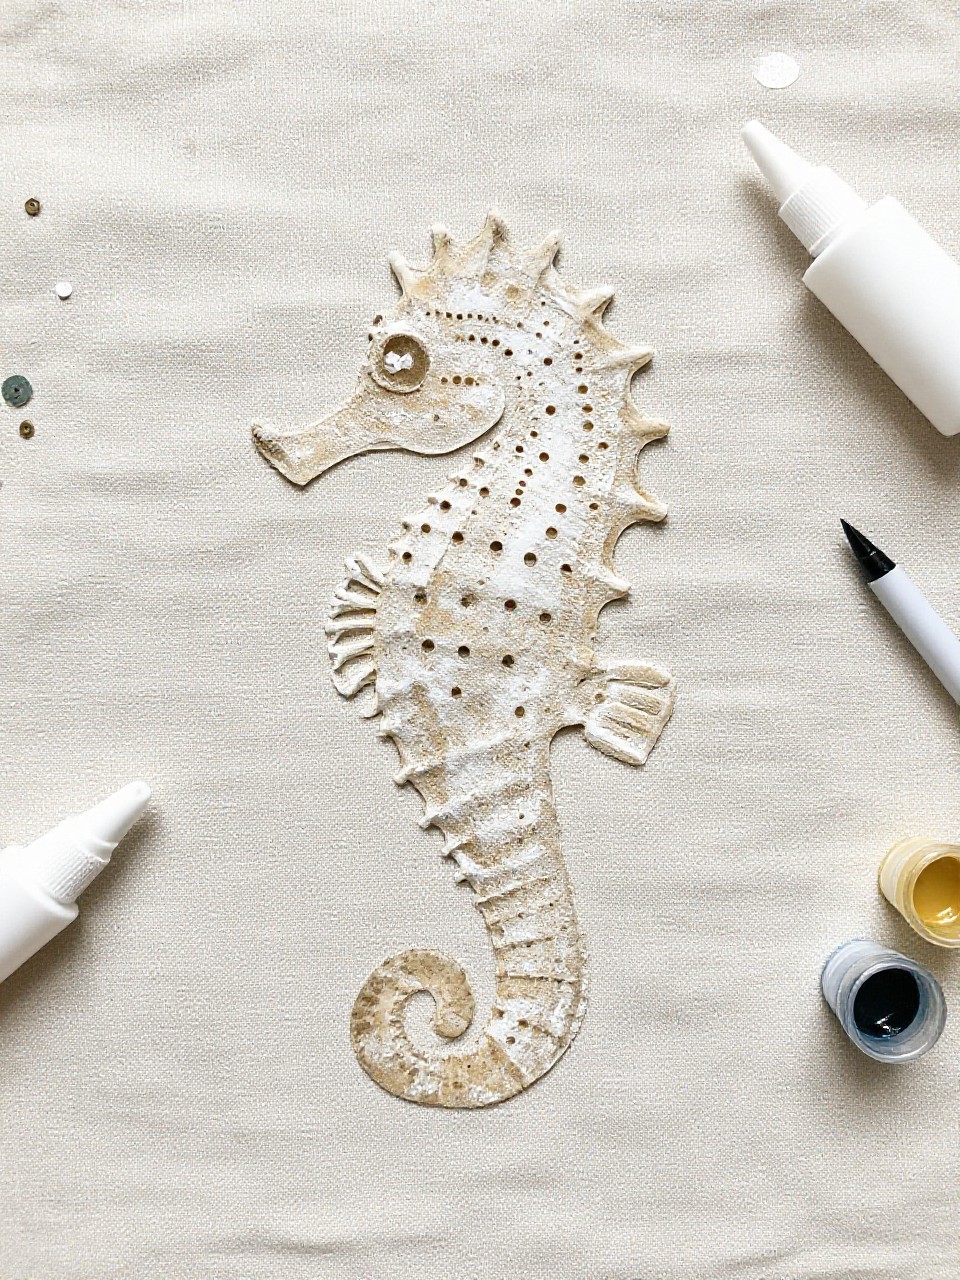
A sideways handprint becomes a curvy seahorse with a curled tail and tiny crown-like fin. Kids enjoy adding dots and metallic scales for an undersea sparkle.
Materials Needed:
- Colored cardstock (aqua, coral, or yellow)
- Paint or ink pad
- Black pen for details
- Sequins or glitter glue [optional]
- Blue paper background
How to make it:
- Make a painted handprint with the thumb as the snout, fingers pointing back.
- Cut out the print and glue it to a blue background.
- Draw the belly curve, eye, and fins; add dots or sequins.
- Dry flat and display with other sea creatures.
11. Handprint Campfire Art
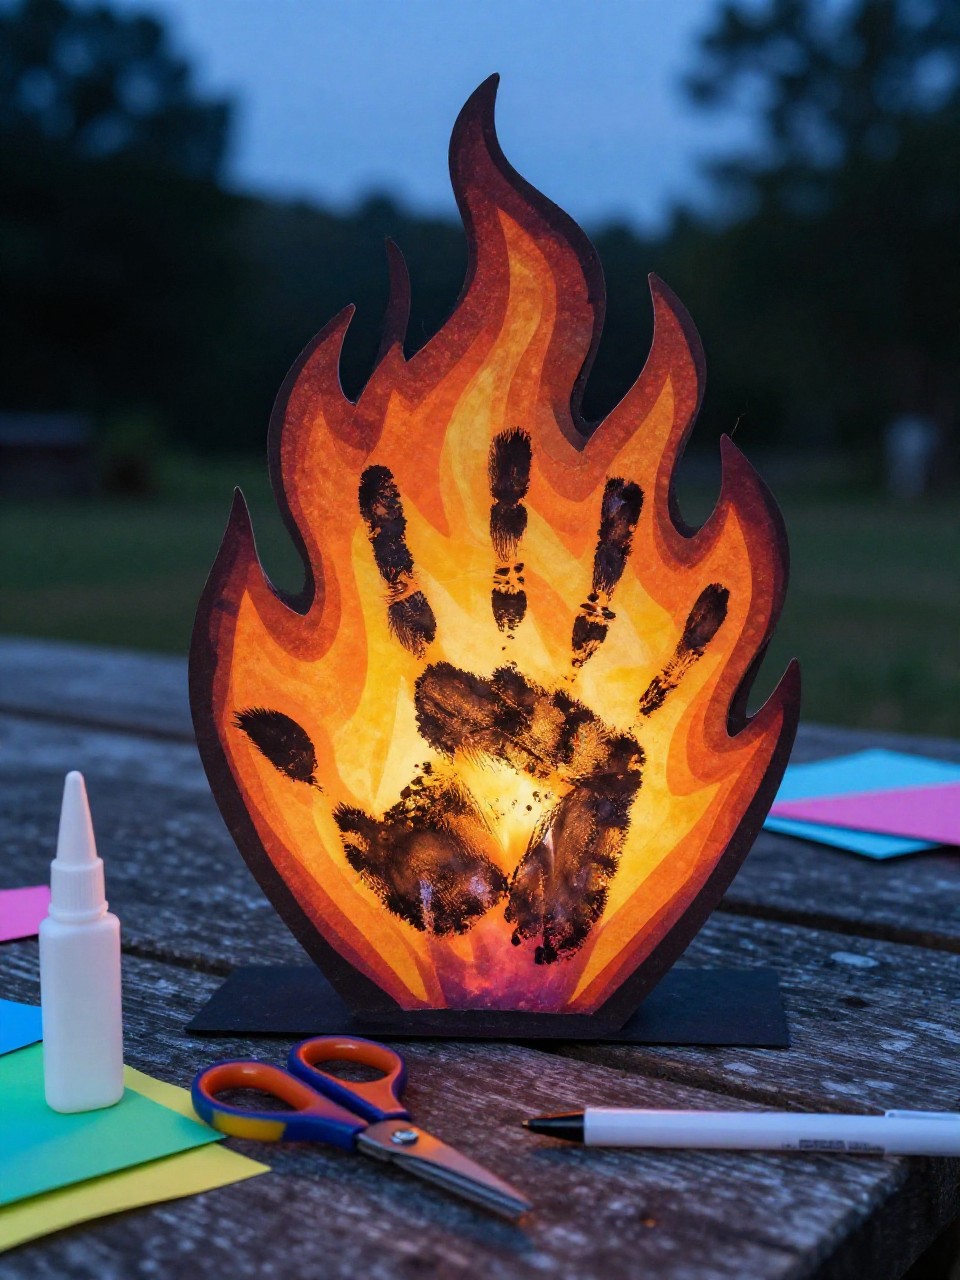
Two layered brown/orange handprints create flickering flames over a pair of paper “logs.” Kids like the cozy camp vibe and can add stars or a marshmallow stick.
Materials Needed:
- Red, orange, and yellow paint or paper
- Brown paper for logs
- Blue or black background
- White gel pen or crayon for stars [optional]
- Glue and scissors
How to make it:
- Make 2–3 handprints in flame colors, overlapping like fire.
- Cut and glue two brown rectangles as logs under the flames.
- Add stars, a moon, or a marshmallow on a stick.
- Dry and hang for a summer camp look.
12. Handprint Sunflower Garden
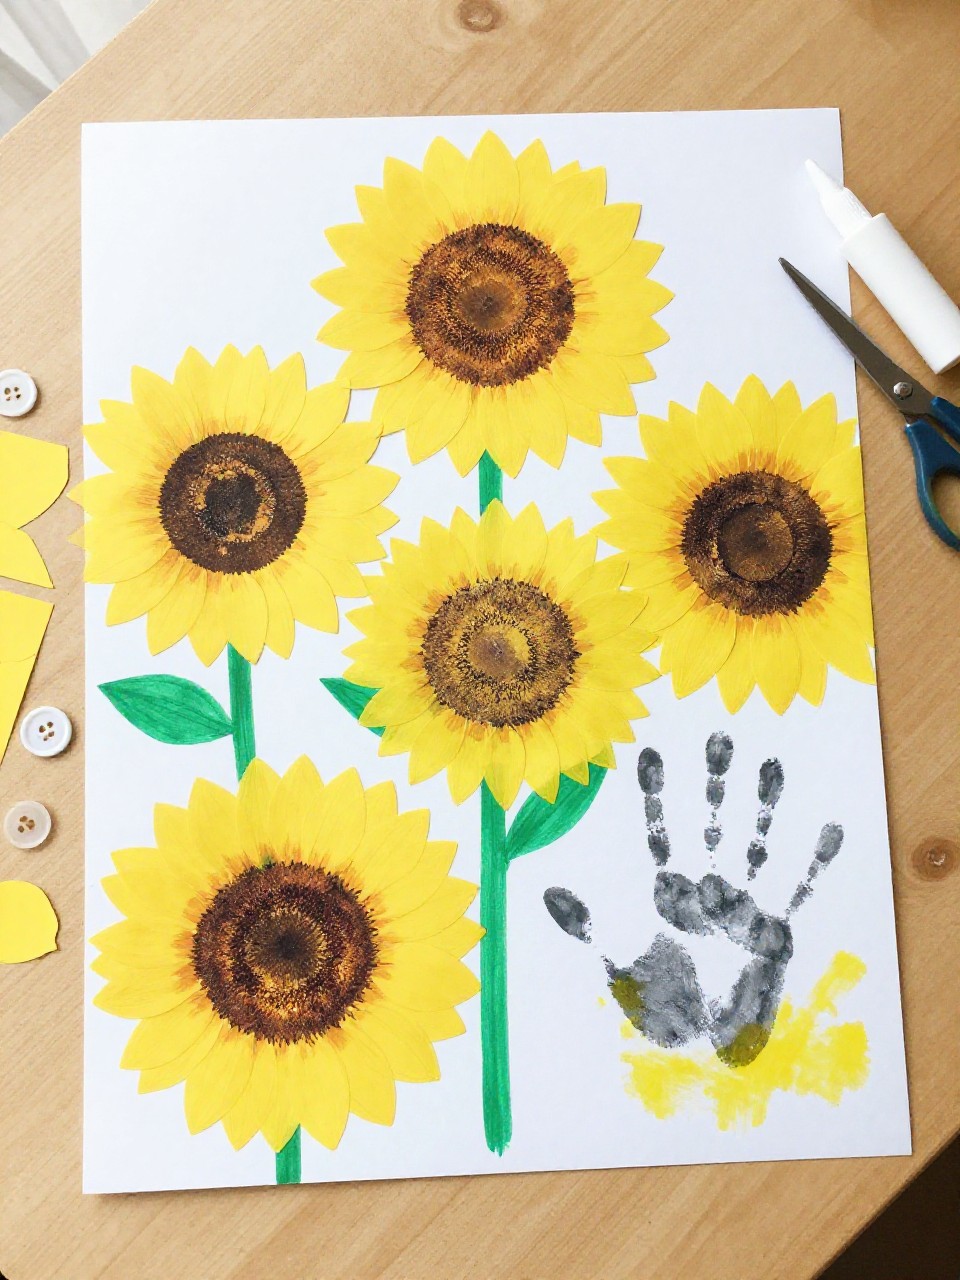
Golden handprints become big sunflower petals around a brown circle, set on tall green stems. Kids love seeing the bold blooms grow across the page and can make a whole “garden.”
Materials Needed:
- Yellow, brown, and green paper
- Scissors and glue stick
- Marker for seeds and leaf veins
- Buttons or beans for the center [optional]
- Large background sheet
How to make it:
- Cut multiple yellow handprints for petals and a brown circle for the center.
- Glue petals around the circle; add a green stem and leaves.
- Dot seeds in the center and draw veins on leaves.
- Repeat for more flowers and display as a garden.
13. Sandy Shore Handprint Turtle
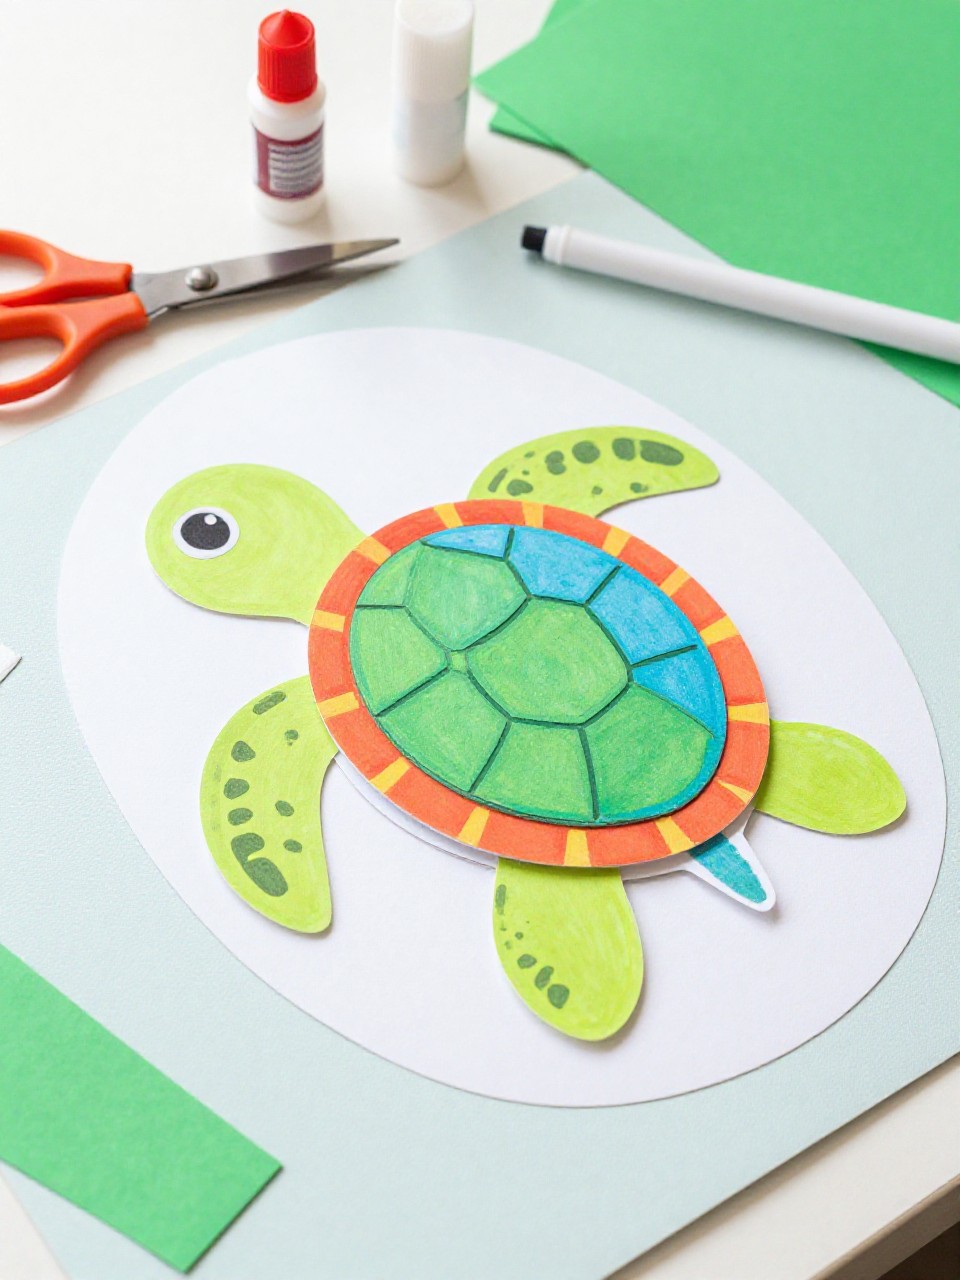
A green handprint forms the turtle’s shell, with added head, legs, and tail pieces. Kids enjoy patterning the shell with hexagons or dots and choosing a beach or ocean background.
Materials Needed:
- Green paint or paper
- Blue or tan cardstock background
- Small green paper scraps for head/legs/tail
- Black marker
- Glue and scissors
How to make it:
- Make a green handprint for the shell.
- Cut small shapes for the head, legs, and tail; glue around the shell.
- Draw eyes and shell patterns like hexagons or dots.
- Let dry and hang near other sea crafts.