


In This Article Show
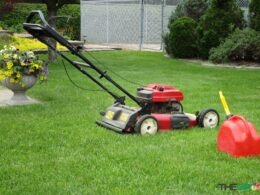
If you’re like many homeowners, the first sunny days of spring are a call to arms—or rather, to lawns. But what if your trusty lawn mower refuses to start after its winter break? This common predicament can turn a day of planned gardening into a frustrating puzzle.
Why does this happen? Often, the cold months can be tough on your equipment, affecting everything from the fuel system to the battery.
In this post, we’ll walk you through some simple checks and fixes to get your lawn mower running again. We’ll cover everything from basic maintenance to more in-depth repairs, ensuring you’re equipped to handle this common issue with confidence.
Step-by-Step Troubleshooting Guide
So, let’s get your lawn mower up and running, ensuring it’s ready to tackle your yard just in time for the growing season!
1. Check the Fuel

One of the first things you should check when your lawn mower won’t start is the fuel. Fuel problems are among the most common culprits behind starting issues, especially after long storage periods over the winter.
Importance of Fresh Fuel
Get Gardening For Beginners
Our new EBOOK shows newcomers and green thumbs alike a step by step guide to growing the garden of their dreams.
Fuel doesn’t age gracefully. Over time, it can deteriorate and lose its combustibility. This is particularly true for gasoline, which can begin to degrade in as little as 30 days. If your mower has been sitting all winter with last season’s gas in the tank, the fuel has likely become stale, which can prevent your mower from starting.
How to Drain Old Fuel
To address this, you’ll need to drain the old fuel. Here’s how to do it safely:
- Make sure your mower is on a flat, stable surface and the engine is cool.
- Disconnect the spark plug wire to ensure the mower cannot start accidentally.
- Place a container suitable for gasoline under the fuel tank.
- Open the fuel tank and carefully remove any fuel using a siphon pump.
- Dispose of the old fuel by local regulations. Never pour gasoline down the drain or onto the ground.
Tips on Fuel Storage
To avoid this problem in the future, consider these fuel storage tips:
- Always use fresh fuel with the highest recommended octane rating for your mower.
- Add a fuel stabilizer to the gasoline before filling your mower’s tank. This can help preserve the fuel’s quality over the winter.
- If possible, store the gasoline in a cool, dry place away from direct sunlight. Make sure the storage container is tightly sealed.
- Taking these steps not only helps with starting your mower but also extends the life of the engine by ensuring it runs on quality fuel.
2. Inspect the Spark Plug

A faulty spark plug can be another key reason your lawn mower might not start up after the winter. It’s essential to inspect this component, as it plays a crucial role in the engine’s ability to fire.
Signs of a Faulty Spark Plug
Get Gardening For Beginners
Our new EBOOK shows newcomers and green thumbs alike a step by step guide to growing the garden of their dreams.
Watch for these indicators that suggest your spark plug might need attention:
- The mower is difficult to start or doesn’t start at all.
- The engine misfires or runs unevenly.
- Noticeable carbon build-up at the spark plug’s tip.
- Visible damage or wear on the electrode.
How to Clean or Replace the Spark Plug
Maintaining or replacing the spark plug is a straightforward task that can make a big difference in how your mower starts and runs. Here’s how you can clean or replace it:
1. Cleaning the Spark Plug
- Disconnect the spark plug wire for safety.
- Remove the spark plug using a spark plug socket.
- Use a wire brush and spray-on plug cleaner specifically designed for spark plugs to remove light deposits.
- Check the electrode area for excessive wear or damage. If it looks worn out or heavily corroded, replacing the spark plug is the best option.
2. Replacing the Spark Plug
- If cleaning doesn’t improve the condition of the spark plug, replacement is necessary.
- Purchase a new spark plug that matches the specifications of your model (refer to your lawn mower’s manual for details).
- Install the new spark plug by screwing it in by hand at first to avoid cross-threading, then tighten it with a spark plug socket.
- Reattach the spark plug wire.
3. Final Checks
- Ensure that the spark plug is fitted securely but not overly tightened, as this can damage the thread.
- Reconnect the spark plug wire and make sure it fits snugly.
3. Examine the Carburetor

The carburetor in your lawn mower is crucial for mixing the right amount of air and gasoline for a smooth-running engine. However, stale fuel left over the winter can lead to deposits forming inside the carburetor, causing it to clog or function poorly.
Impact of Stale Fuel on the Carburetor
Stale fuel can leave behind varnish and gum that block the carburetor’s jets and passages. This buildup can prevent the engine from getting the right mixture of air and fuel, making it difficult or impossible to start the mower. If the mower was stored without draining the fuel or without a stabilizer, the likelihood of carburetor problems increases significantly.
Cleaning the Carburetor
Cleaning the carburetor can be an effective way to fix issues related to non-starting or poor engine performance. Here’s a simple guide to cleaning your mower’s carburetor:
1. Prepare Your Mower
- Ensure the mower is on a flat surface.
- Disconnect the spark plug wire to prevent accidental starts.
2. Access the Carburetor
- Refer to your mower’s manual to locate and access the carburetor.
- Remove the air filter and any other components that obstruct access to the carburetor.
3. Disassemble the Carburetor
- Take photos or notes as you disassemble to ensure correct reassembly.
- Remove the carburetor from the engine and carefully disassemble it. Keep track of all screws and components.
4. Clean the Carburetor
- Use carburetor cleaner and a small brush (like an old toothbrush) to clean each part.
- Pay special attention to the jets and small passages. A thin wire or needle can help clear these areas.
- After cleaning, rinse the parts with water if permissible (some cleaners require this), then dry them thoroughly.
5. Reassemble and Reinstall
- Reassemble the carburetor using your notes or photos as a guide.
- Reattach the carburetor to the engine and reconnect all components removed earlier, like the air filter.
6. Test Your Mower
- Reconnect the spark plug wire.
- Start your mower to check if the cleaning has resolved the issue.
Important Tips
- Always handle small parts and chemicals with care.
- If you’re unsure or uncomfortable with this process, consider seeking professional help.
- Cleaning your carburetor can extend the life of your mower and improve its performance, especially after a long storage period.
4. Battery Maintenance

For those using electric or battery-powered lawnmowers, maintaining the battery is crucial, especially after long winter storage. The cold can severely affect battery performance, leading to starting issues when spring arrives.
Checking and Charging the Battery
1. Visual Inspection
- Before charging, inspect the battery for any signs of damage, such as cracks or swelling. These could indicate a need for replacement.
- Ensure the terminals are clean and free from corrosion. If there’s corrosion, clean the terminals with a mixture of baking soda and water, and a wire brush.
2. Charging the Battery
- Connect your mower’s battery to a compatible charger. Always use a charger that matches the battery specifications to avoid damage.
- Charge the battery until it is fully charged. Most chargers have an indicator light to show when the charge is complete.
- Avoid overcharging the battery, as this can reduce its lifespan.
When to Replace the Battery
A well-maintained lawn mower battery typically lasts about three to five years. However, the following signs may indicate that it’s time to replace your battery:
- The battery struggles to hold a charge or loses its charge unusually quickly.
- The mower starts sluggishly, or the power fades during operation, even after a full charge.
- Physical deformities on the battery such as bulging or leaks.
- Consistent performance issues even after cleaning and charging.
Tips for Battery Care and Storage
- During the off-season, remove the battery and store it in a cool, dry place to extend its life.
- Consider using a battery maintainer or a trickle charger if you plan not to use the mower for extended periods. These devices can keep the battery at optimal charge without the risk of overcharging.
- Check the battery charge periodically during storage and recharge it if necessary to keep it from dropping to a low charge level, which can be damaging.
5. Air Filter Check
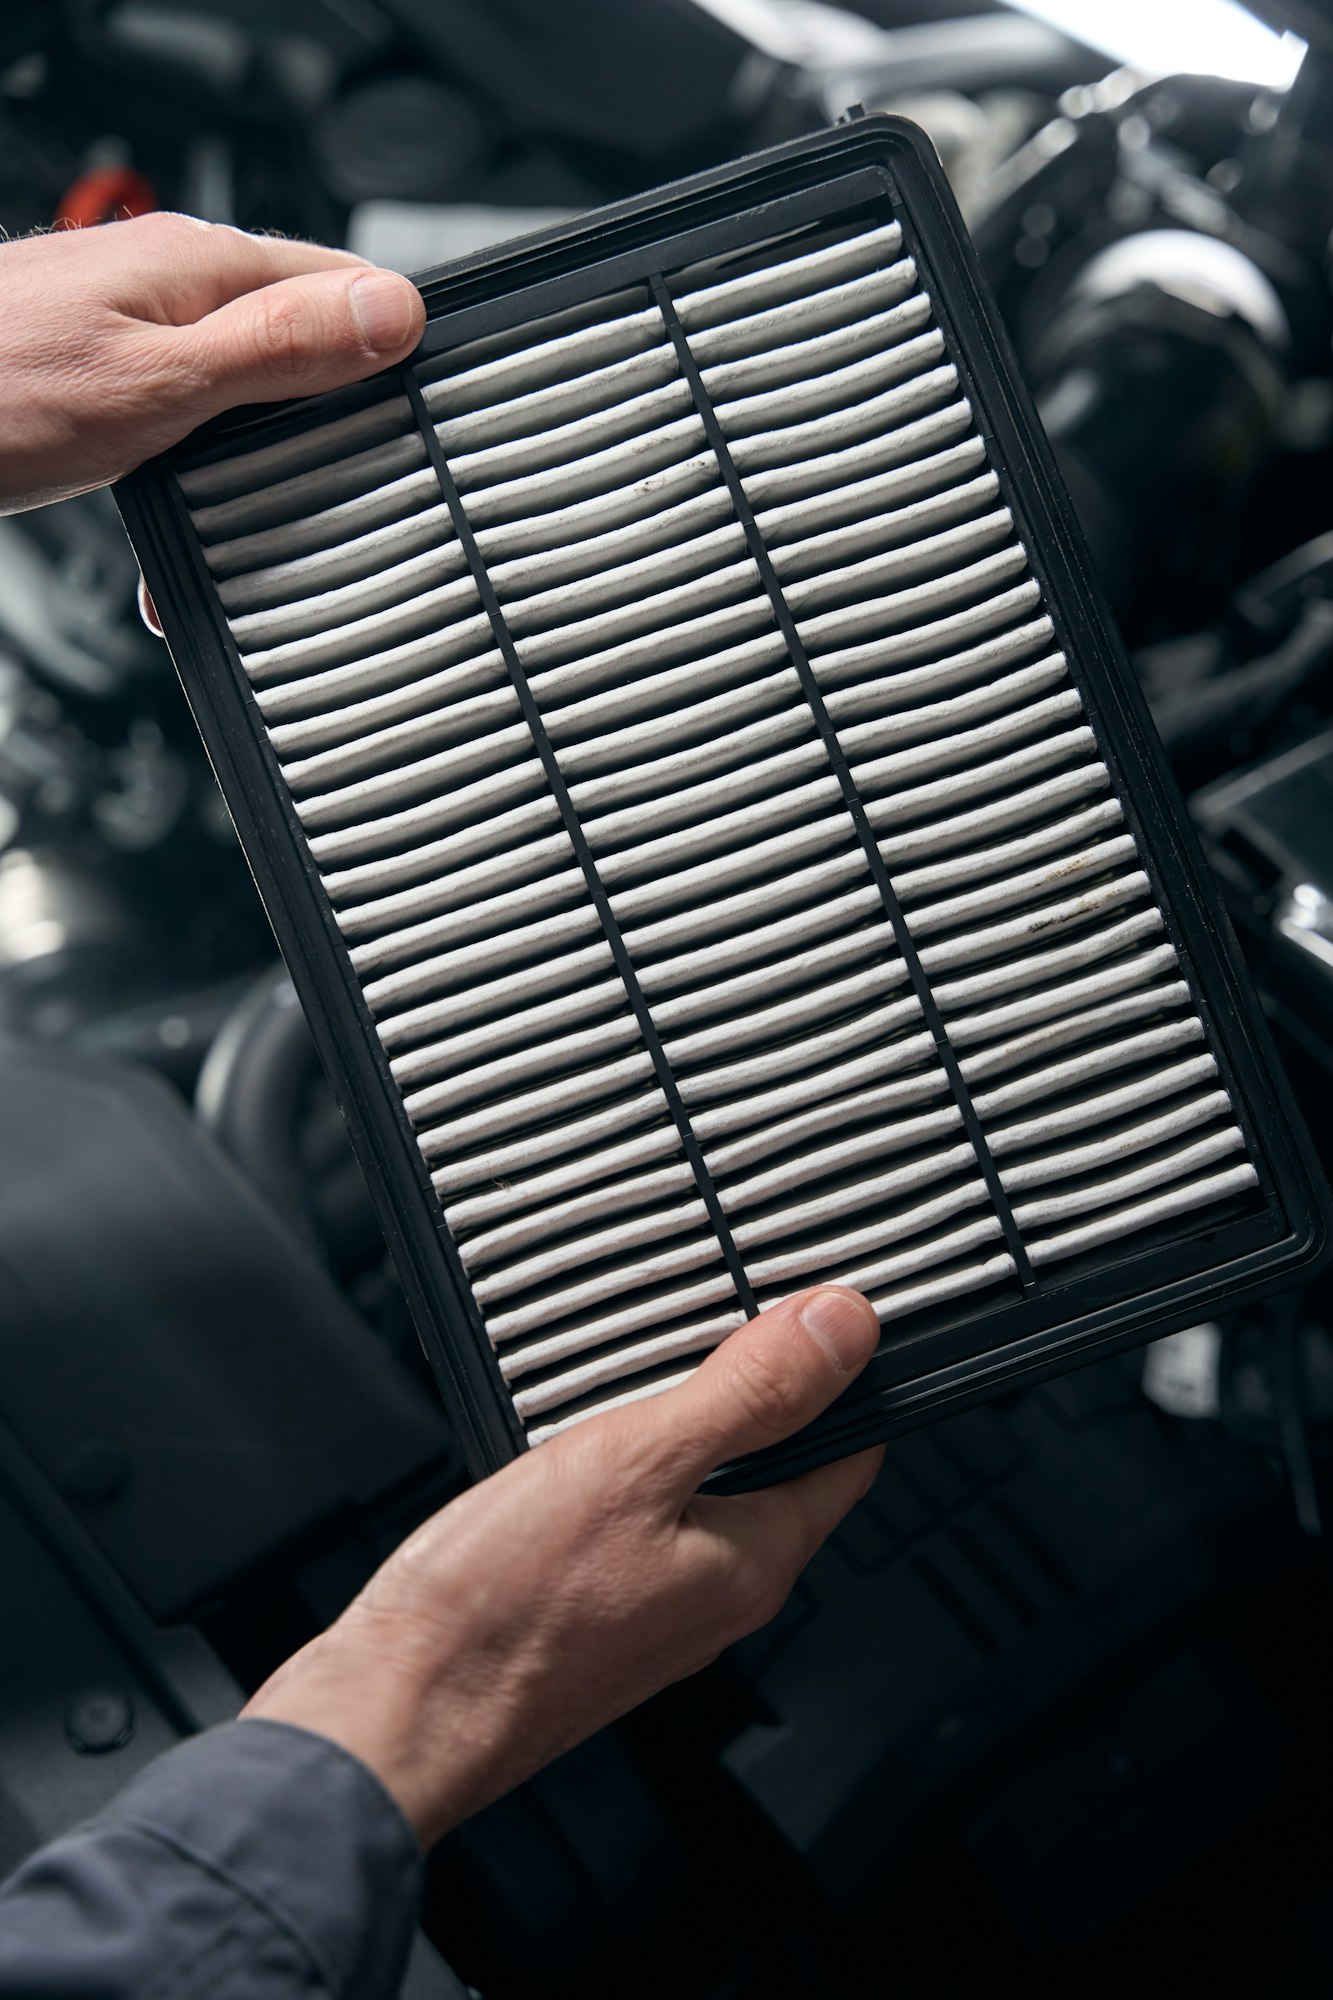
A clean air filter is essential for the proper functioning of your lawn mower’s engine. A dirty or clogged air filter can restrict airflow, making it hard for the engine to breathe and perform efficiently. This is particularly critical when trying to start your mower for the first time after winter.
How a Dirty Air Filter Affects Starting
- Reduced Air Flow: A clogged air filter limits the amount of air reaching the engine, which can affect the air-fuel mixture, making it too rich and harder to ignite.
- Increased Fuel Consumption: With restricted air intake, the engine might consume more fuel than necessary, leading to inefficiencies and potentially causing the engine to choke and stall.
- Poor Engine Performance: Over time, an overly dirty air filter can lead to increased engine wear and reduced performance, as the engine struggles to operate under less than optimal conditions.
Cleaning or Replacing the Air Filter
Here’s how you can clean or replace your lawn mower’s air filter, a straightforward but vital maintenance task:
1. Locate and Remove the Air Filter
- Refer to your mower’s manual to find the air filter housing, usually on the side of the engine.
- Remove the cover (often secured by clips or screws) and carefully take out the air filter.
2. Inspect the Air Filter
- Examine the air filter for dirt, debris, and signs of wear.
- If the filter is paper and looks dirty, it’s best to replace it with a new one. If it’s a foam filter, you can clean it if it’s not too worn out.
3. Clean the Air Filter
- For a foam filter, wash it in warm, soapy water. Rinse it thoroughly and let it dry completely.
- Optionally, you can apply a light coat of engine oil to the foam filter, then squeeze out any excess oil. This helps trap dust and debris.
4. Replace the Air Filter
- If the air filter is beyond cleaning or is a disposable type, replace it with a new one that matches your mower’s specifications.
- Always follow the manufacturer’s recommendations for filter type and replacement frequency.
5. Reassemble the Air Filter Housing
- Place the clean or new filter back into the housing.
- Secure the cover back in place, ensuring it’s fitted correctly to prevent any air leaks.
Preventive Maintenance Tips
Regular maintenance is key to ensuring your lawn mower remains in top condition year-round. By following a seasonal maintenance checklist and adhering to best practices for winterizing your mower, you can prevent many common issues and extend the life of your machine.
Seasonal Maintenance Checklist
Spring
- Replace or clean the air filter.
- Change the oil and replace the oil filter if applicable.
- Inspect and replace the spark plug if necessary.
- Check the fuel system for any leaks or cracks, and replace old fuel.
- Sharpen or replace mower blades to ensure a clean cut.
Summer
- Regularly clean the mower deck to prevent grass buildup.
- Check tire pressure and adjust as needed for even cuts.
- Lubricate moving parts such as wheels and cables.
Fall
- Clean the mower thoroughly before the end of the mowing season.
- Drain the fuel or add a stabilizer to prevent fuel degradation.
- Check and tighten all bolts and fasteners.
Winter
- Store the mower in a clean, dry place.
- Disconnect the battery and store it in a cool, dry place to avoid freezing and damage.
- Cover the mower to protect it from dust and moisture.
Best Practices for Winterizing Your Lawn Mower
Properly winterizing your lawn mower can prevent many starting issues when spring arrives. Here are some essential steps to take:
- Clean Your Mower: Remove any grass, dirt, and debris from the mower deck and blades. This prevents rust and keeps pests from nesting in your equipment.
- Change the Oil: Replace the old oil with fresh oil to ensure your engine is protected during the winter months.
- Add Fuel Stabilizer: If you choose not to drain the mower’s fuel tank, add a fuel stabilizer to the remaining fuel. This helps keep the fuel fresh and prevents the carburetor from gumming up.
- Remove or Maintain the Battery: For battery-powered mowers, remove the battery and store it in a cool, dry place. For traditional gas mowers with a battery, charge the battery and disconnect it to prevent drain.
- Store Indoors: Place your mower in a dry, sheltered place to protect it from winter weather. Avoid cold, damp areas where possible.
By following these maintenance and storage steps, you’re setting up your lawn mower for success in the spring and ensuring it starts without hassle after winter.