


In This Article Show
I enjoy making small crafts that add a personal touch to everyday items. Polymer clay magnets are a great way to do this because they are easy to shape and decorate. They offer a fun and creative way to brighten up your fridge or workspace.

The best part about making polymer clay magnets is that you can customize them in many simple and creative ways to fit your style or theme.
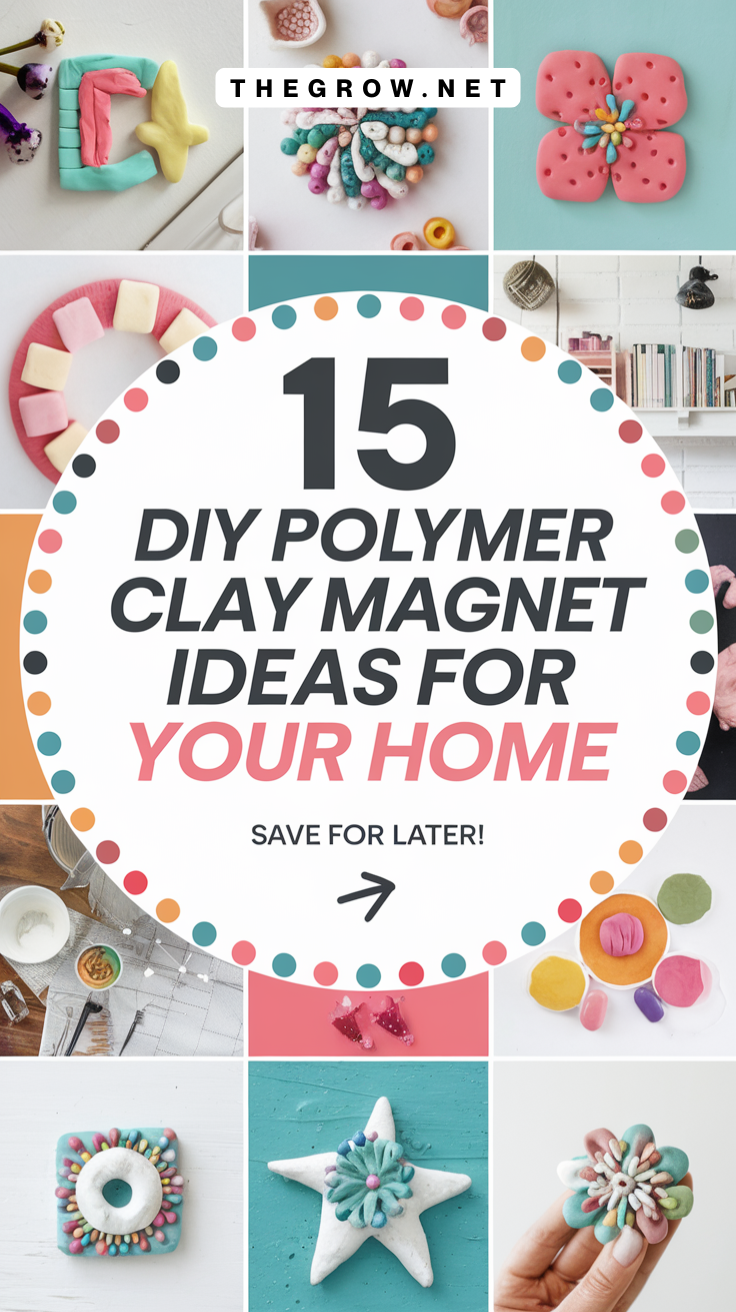
In this article, I will share 15 DIY ideas that show just how versatile and enjoyable these little projects can be.
1. Fruit-shaped polymer clay magnets

I like making fruit-shaped magnets because they are simple and fun. Small fruits like strawberries, watermelons, and blueberries are easy to shape.
Using polymer clay, I can add details like seeds or texture. Baking the clay hardens it, so the magnets last longer.
I usually add a magnet on the back with glue after baking. These magnets brighten up any fridge or board with their bright colors.
2. Miniature animal figurine magnets

I like making miniature animal figurine magnets with polymer clay. They are small and detailed, perfect for fridge decorations.
You can create simple shapes like cats, dogs, or birds. Adding tiny details makes each piece unique.
These magnets are easy to customize. I choose colors and poses to match the animal I want to represent.
Making animal magnets is a fun way to practice clay techniques. They work well as gifts or personal keepsakes.
3. Metallic shimmer mica powder magnets

I like using mica powder to add a metallic shine to my polymer clay magnets. It gives them a subtle shimmer that catches light nicely.
I apply the mica powder on the clay surface before baking. Sometimes I use a brush, other times I rub it on with my finger.
This technique works well with many colors and clay types. The mica powder creates a smooth, glowing effect without needing paint.
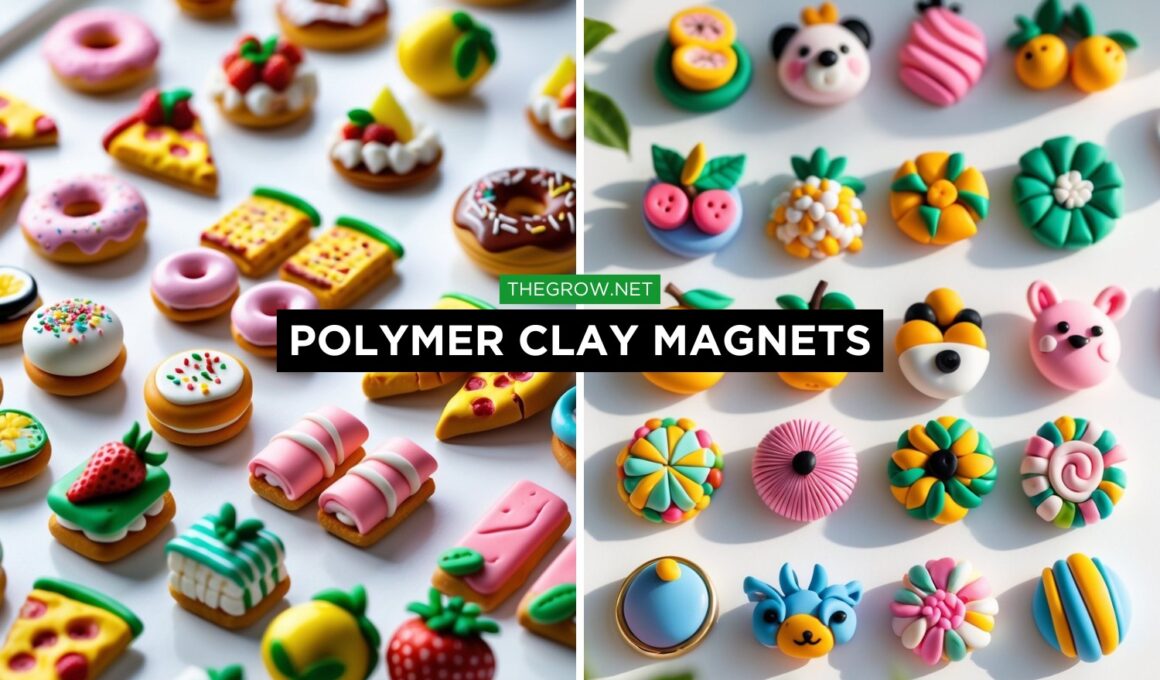
4. Food-themed polymer clay magnets

I enjoy making food-themed polymer clay magnets because they are small and detailed. These magnets can look like tiny fruits, desserts, or snacks.
I start by conditioning the clay and shaping it into simple food forms. Then, I add colors and textures to make them look realistic.
Baking the clay hardens the magnets, so they hold their shape well. These magnets make fun decorations for the fridge or gifts.
5. Hand-painted clay flower magnets

I enjoy making hand-painted clay flower magnets because they add a soft, natural look to any space.
First, I shape small flowers from polymer clay. After baking, I use acrylic paint to add details and color variations.
Painting each petal carefully gives a realistic touch. I let the paint dry fully before attaching magnets to the back.
These magnets are great for brightening up a fridge or locker with a personal touch. They are simple but charming.
6. Bright geometric shape magnets

I like making bright geometric shape magnets because they are simple and colorful. Using basic shapes like circles, triangles, and squares makes creating them easy and fun.
I often choose bold colors like red, blue, and yellow. These colors stand out on any fridge or magnetic surface.
To add texture, I use small tools to press patterns into the clay before baking. This gives each magnet a unique look without much effort.
7. Cute mushroom polymer clay magnets

I enjoy making mushroom magnets with polymer clay because they are simple and charming. I start by shaping a small ball for the mushroom cap.
Then, I flatten one side to create the cap. I use a tool to carve the gills under the cap for detail.
I bake the clay in the oven to harden it. After it cools, I attach a strong magnet to the back.
These magnets are great for decorating fridges or desks. They add a cute, natural touch to any space.
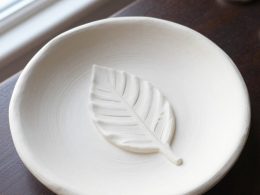
8. Textured leaf design magnets

I love making textured leaf magnets with polymer clay. I start by shaping the clay into a flat leaf form.
Next, I use tools or real leaves to press veins and details into the surface. This adds a natural look.
After adding texture, I bake the clay according to the instructions. Once cooled, I paint the veins if I want more contrast.
Finally, I glue a magnet on the back. These leaf magnets are simple but look very nice on any fridge or board.
9. Cartoon character fridge magnets

I enjoy making cartoon character fridge magnets because they are fun and allow me to be creative. I shape polymer clay into popular characters like Pikachu, Doraemon, or Kungfu Panda.
Using small magnets and baking the clay makes them sturdy and easy to stick on the fridge. These magnets add a playful touch to any kitchen or workspace.
You can customize the characters to your taste, choosing colors and details that you like. It’s a simple way to bring your favorite cartoons to life with clay.
10. Thin flat clay magnets with embedded ceramic magnets

I like using thin polymer clay pieces for these magnets. Thin clay hides the ceramic magnet well but still holds strong.
I use small ceramic magnets from craft stores like Michael’s. They fit nicely inside the flat clay without making it bulky.
To embed the magnet, I press it into the clay gently before baking. This keeps it secure and flush with the surface.
Making the clay very thin is key. If it’s too thick, the magnet won’t stick well to metal surfaces.
This method works well for simple shapes like circles or squares. It’s easy and keeps magnets lightweight and functional.
11. Clay heart-shaped magnets with gloss finish

I start by shaping polymer clay into small hearts. The size depends on where I want to place them.
Next, I bake the hearts in the oven. I follow the clay’s instructions, usually around 260°F for 15-30 minutes.
After baking, I let the hearts cool down fully. This stops them from bending or cracking.
To give the magnets a shiny look, I apply a gloss finish. This also helps protect the surface.
Finally, I attach small magnets to the back with strong glue. This makes them easy to stick on metal surfaces.
12. Food miniatures like cupcakes and donuts

I enjoy making tiny food magnets using polymer clay. Cupcakes and donuts are popular choices because they are simple to shape.
I start by conditioning the clay to make it soft. Then, I add colors in layers to create the base and toppings.
Detail work comes next. I carefully sculpt sprinkles or frosting using small tools before baking the pieces to harden them.
These mini food magnets look good on a fridge or as cute little gifts. They are fun to make, even for beginners.
13. Simple round textured clay magnets

I like making simple round magnets with polymer clay. They are quick and look clean on any fridge or board.
To add texture, I press objects like leaves, fabric, or stamps gently into the clay before baking. This makes each magnet unique.
After baking, I attach small round magnets to the back using strong glue. They hold well and don’t fall off easily.
14. Magnetic bookmarks made from polymer clay

I like making magnetic bookmarks with polymer clay because they are simple and useful. You shape small designs like hearts or animals, then bake the clay to harden it.
After baking, I glue small magnets to the back. These bookmarks clip onto pages and hold tightly without damaging the paper.
They make great gifts and are easy to customize with colors or textures. Plus, they are lightweight and last a long time.
15. Clay magnets with color-shifting effects

I enjoy making clay magnets that change color when you move them. These effects add a cool, modern look to simple shapes.
To create this, I use special powders or mica that reflect light differently. Mixing these into the clay gives a smooth shift in color.
The process takes some practice to get the right balance. But once done, the magnets catch the eye on any fridge or board.