


In This Article Show
Spring comes with light, texture, and a craving to freshen up our spaces without spending a ton. If your home leans cozy and natural, store-bought decor can feel too shiny or trendy. These easy bunny-themed projects bring that warm, rustic vibe using simple materials you probably already have.
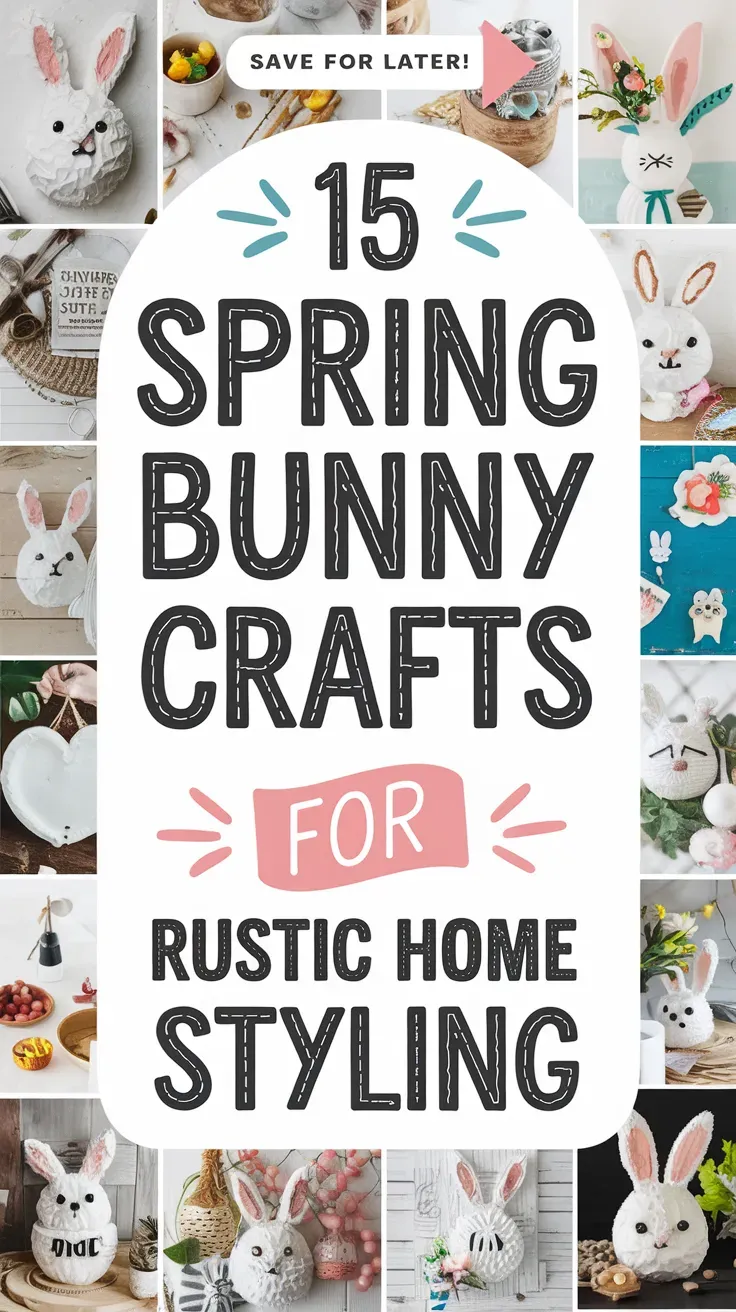
Each idea looks impressive on a shelf or table but takes under an afternoon—and most are kid-friendly, too.
Pick one, make some tea, and enjoy the quiet joy of crafting something charming with your hands.
1. Linen Patchwork Bunny Pillow
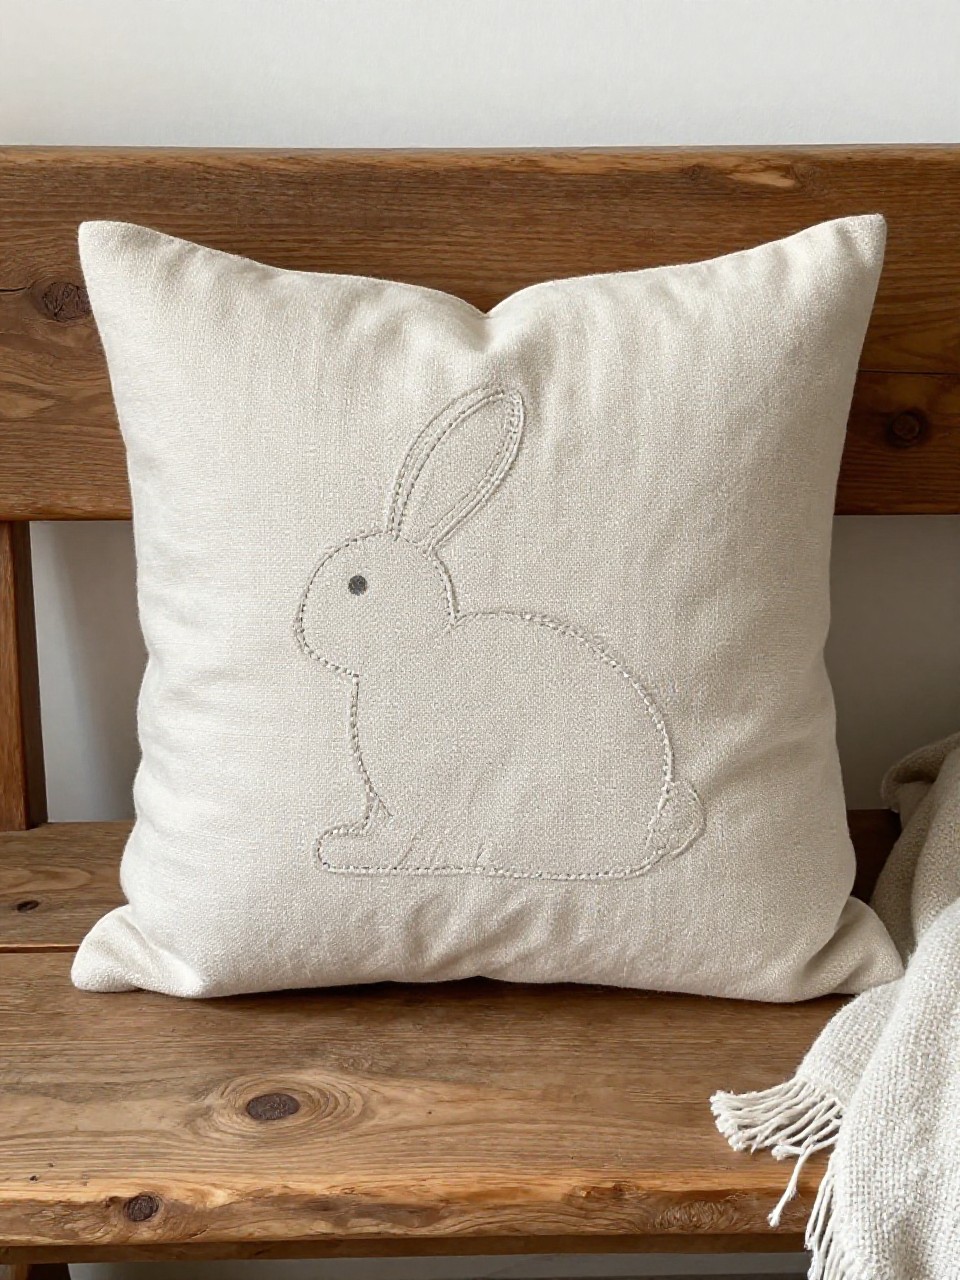
A soft, rumpled pillow that looks like it came from a sweet countryside market. The bunny silhouette pops with raw-edge seams and cozy texture. It’s relaxed, neutral, and perfect for layered sofas or porch swings.
Materials Needed:
- Scrap linen or cotton
- Pillow insert
- Fabric glue or needle and thread
How to make it:
- Cut two pillow squares and a simple bunny silhouette from contrasting linen.
- Glue or stitch the bunny onto the front piece using a raw-edge outline.
- Sew or glue the pillow edges, leaving a gap.
- Turn right-side out, insert the pillow, and close the gap.
2. Burlap Bunny Banner
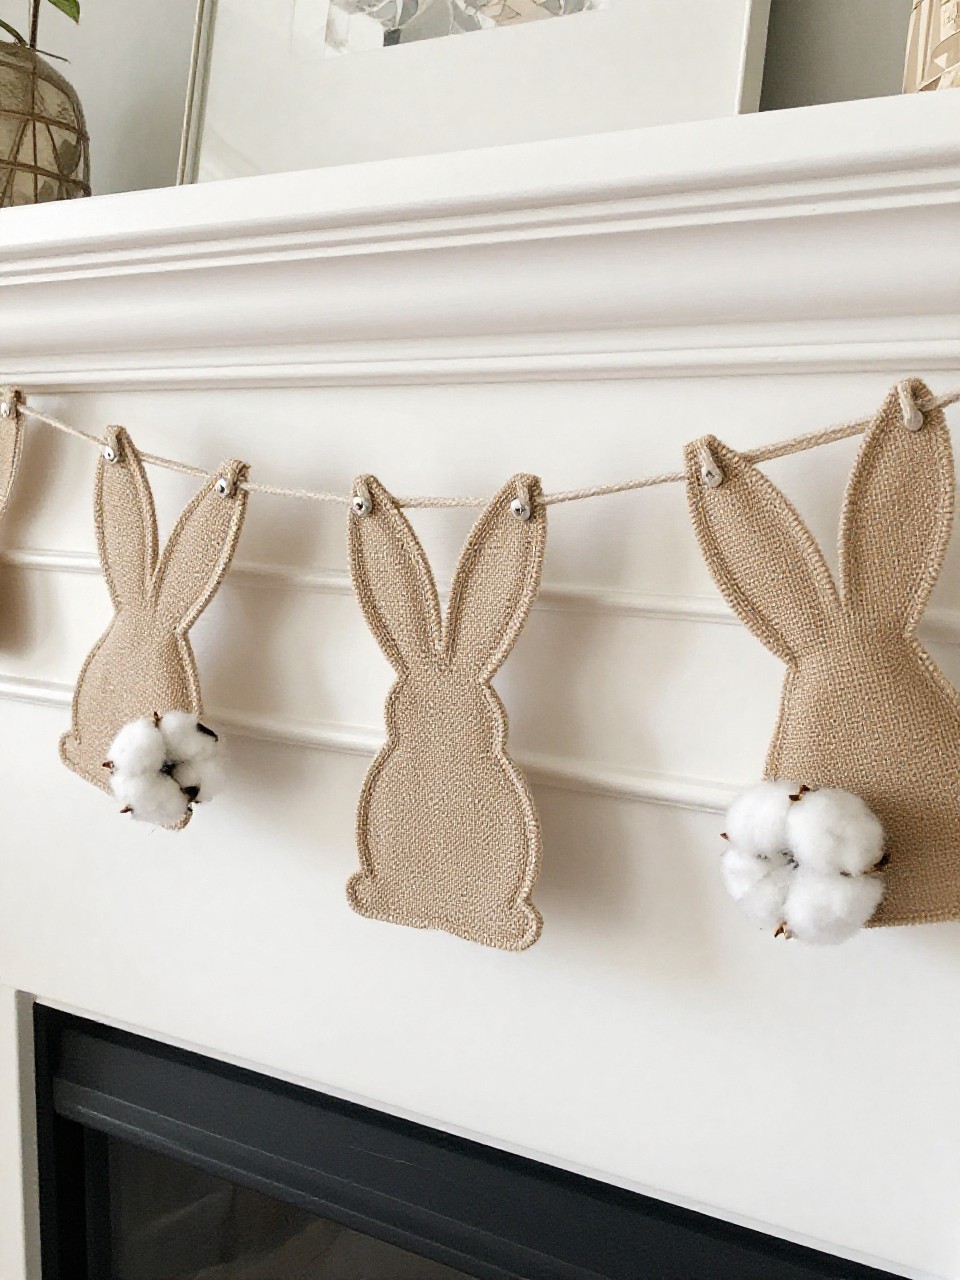
A farmhouse-style garland with little bunny cutouts and cotton tails. It drapes beautifully over mantels or entry mirrors and adds gentle texture without color overload.
Materials Needed:
- Burlap ribbon or fabric
- Twine
- Cotton balls
How to make it:
- Cut burlap into flag shapes and trace a simple bunny silhouette on each.
- Cut out the bunnies or paint them on for a soft stencil look.
- Glue a cotton ball tail onto each bunny.
- Thread the flags onto twine and hang.
3. Clay Bunny Trinket Dishes

Hand-formed dishes with a sweet, upright bunny ear accent. Air-dry clay makes these organic and a little wabi-sabi—perfect for rings and keys by the door.
Materials Needed:
- Air-dry clay
- Rolling pin or bottle
- Acrylic paint or matte sealer
How to make it:
- Roll clay to 1/8–1/4 inch and cut a circle with a bowl.
- Gently pinch edges upward to make a shallow dish.
- Shape two small ears and attach at the rim with water.
- Let dry fully, then paint details or seal matte.
4. Wood Slice Bunny Coasters
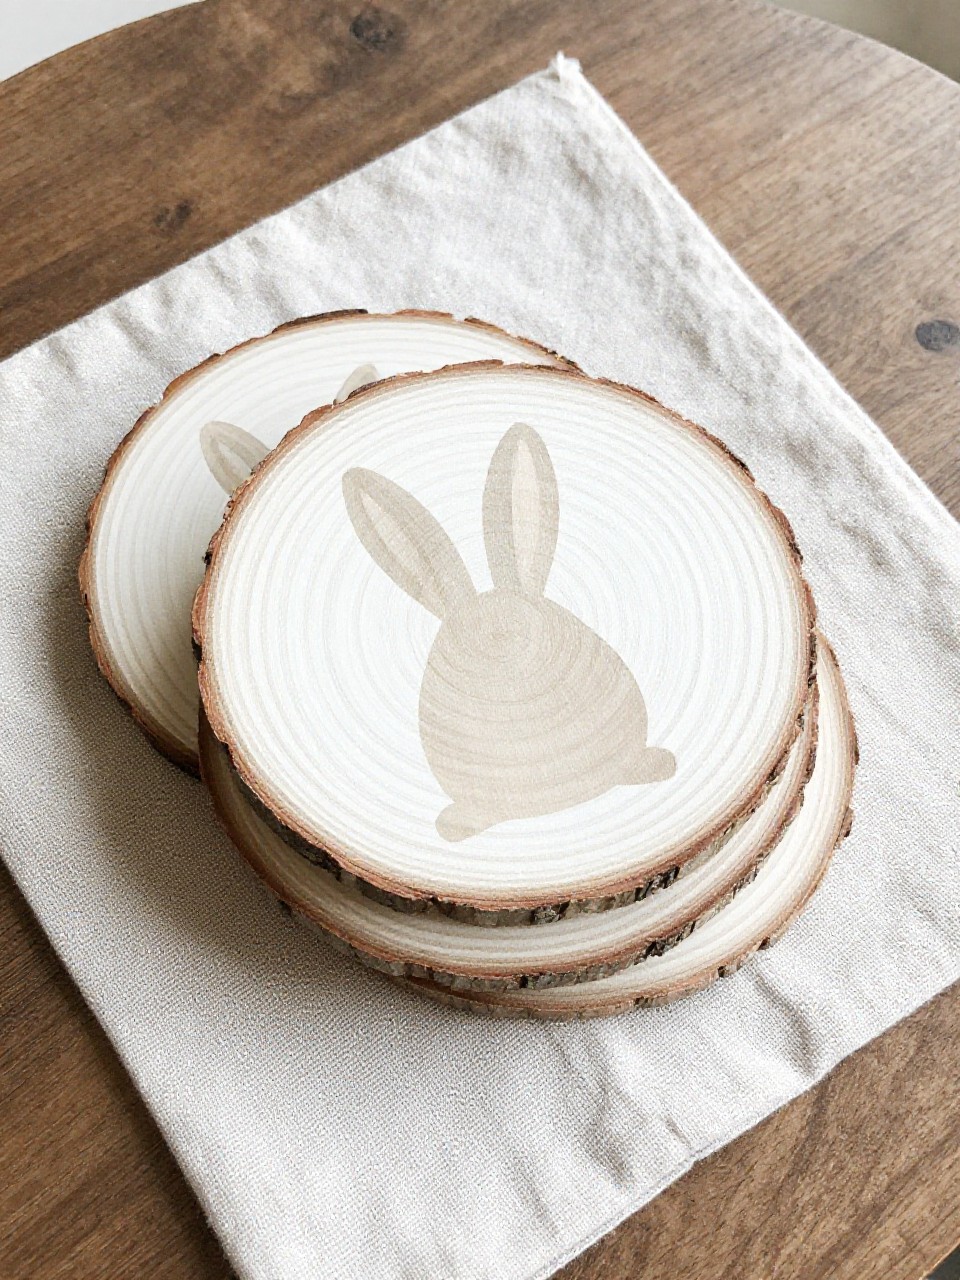
Rustic wood slices painted with minimalist bunny outlines. They protect your table while adding that cabin-chic look.
Materials Needed:
- Wood slices
- White paint pen or acrylic paint
- Clear sealant
How to make it:
- Lightly sand wood slices for a smooth drawing surface.
- Sketch or stencil a simple bunny face or silhouette.
- Paint the design and let it dry.
- Seal with a clear coat to protect from moisture.
5. Twine-Wrapped Bunny Wreath
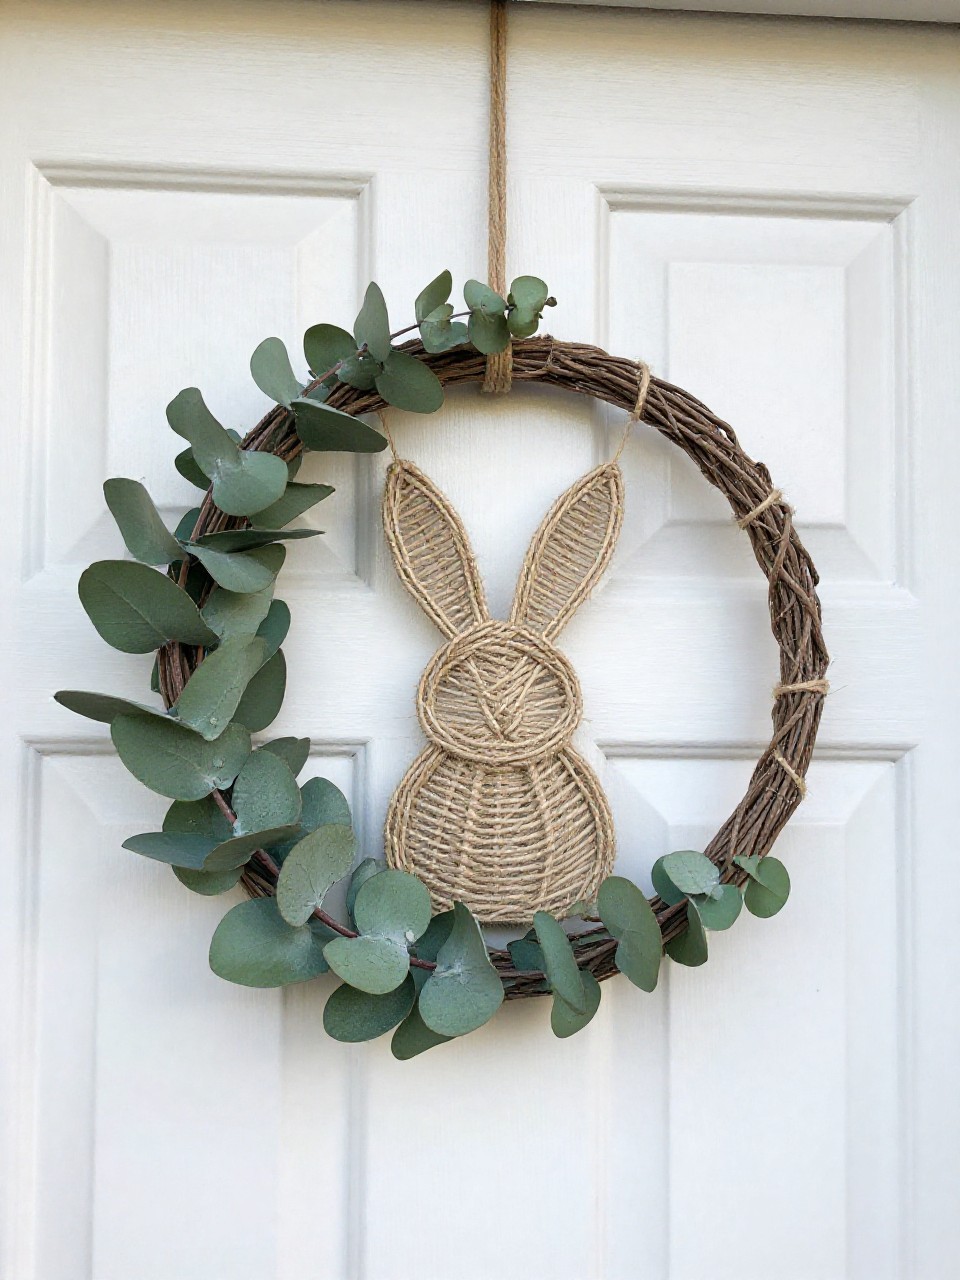
A small, oval wreath wrapped in natural twine with soft greenery and a rope bunny shape. It’s understated and charming for doors or kitchen hooks.
Materials Needed:
- Small grapevine wreath
- Jute twine
- Faux greenery sprigs
How to make it:
- Wrap the wreath loosely with jute for extra texture.
- Shape a simple bunny outline (head and ears) with twine and secure with hot glue.
- Tuck in a few greenery sprigs on one side.
- Hang with a twine loop.
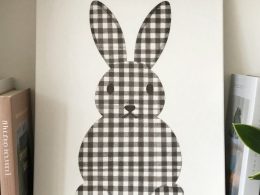
6. Seed Sack Bunny Wall Art
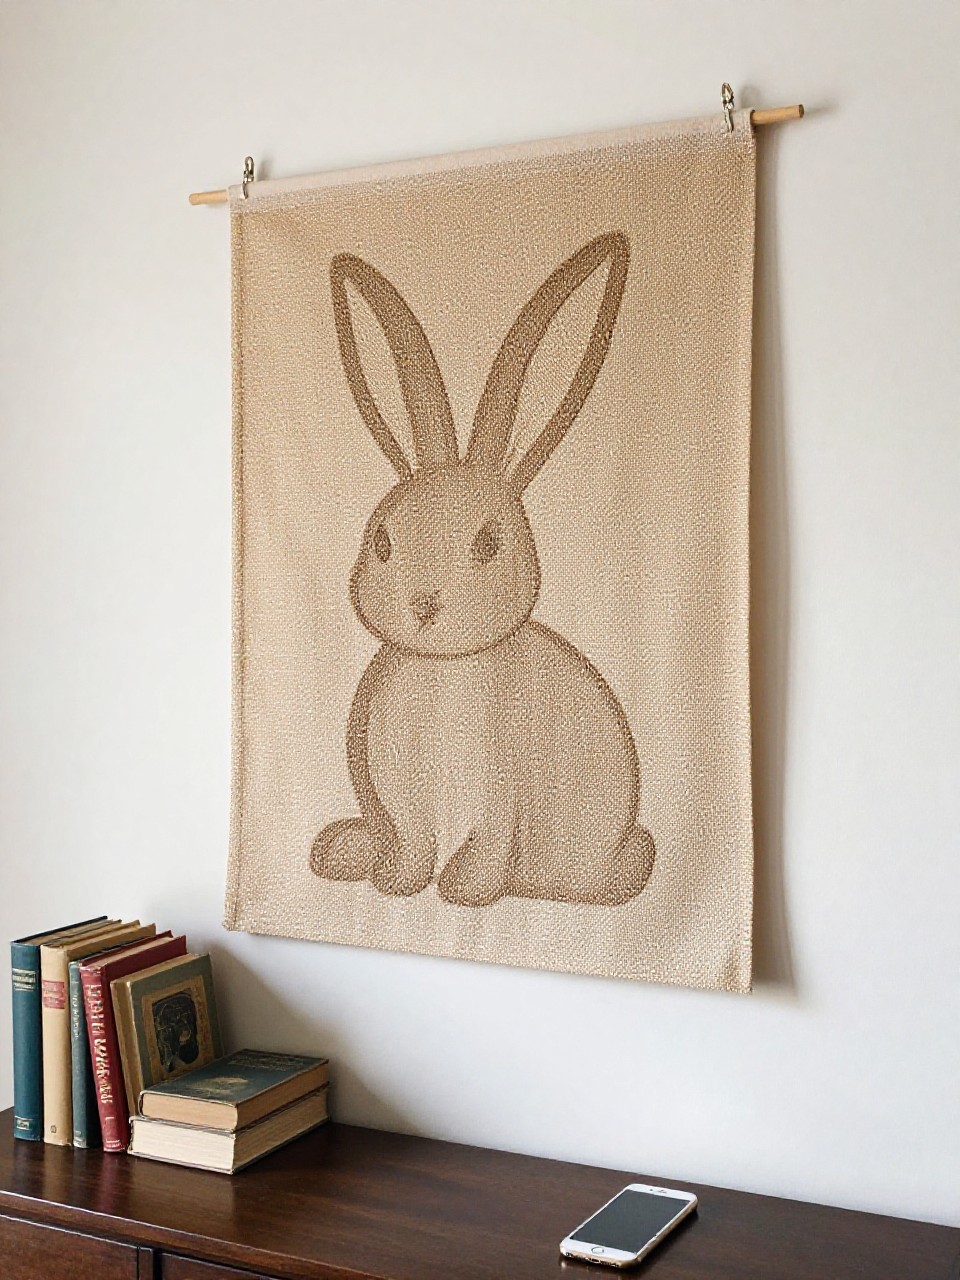
Vintage-inspired wall art made from a coffee or seed sack with a bold bunny silhouette. It looks like something you scored at a flea market.
Materials Needed:
- Burlap sack or canvas drop cloth
- Black or white fabric paint
- Wooden dowel
How to make it:
- Cut the fabric into a rectangle and hem or glue edges.
- Stencil or freehand a large bunny silhouette in paint.
- Create a top pocket and slide in a dowel.
- Hang with twine from the dowel ends.
7. Pressed Flower Bunny Frame
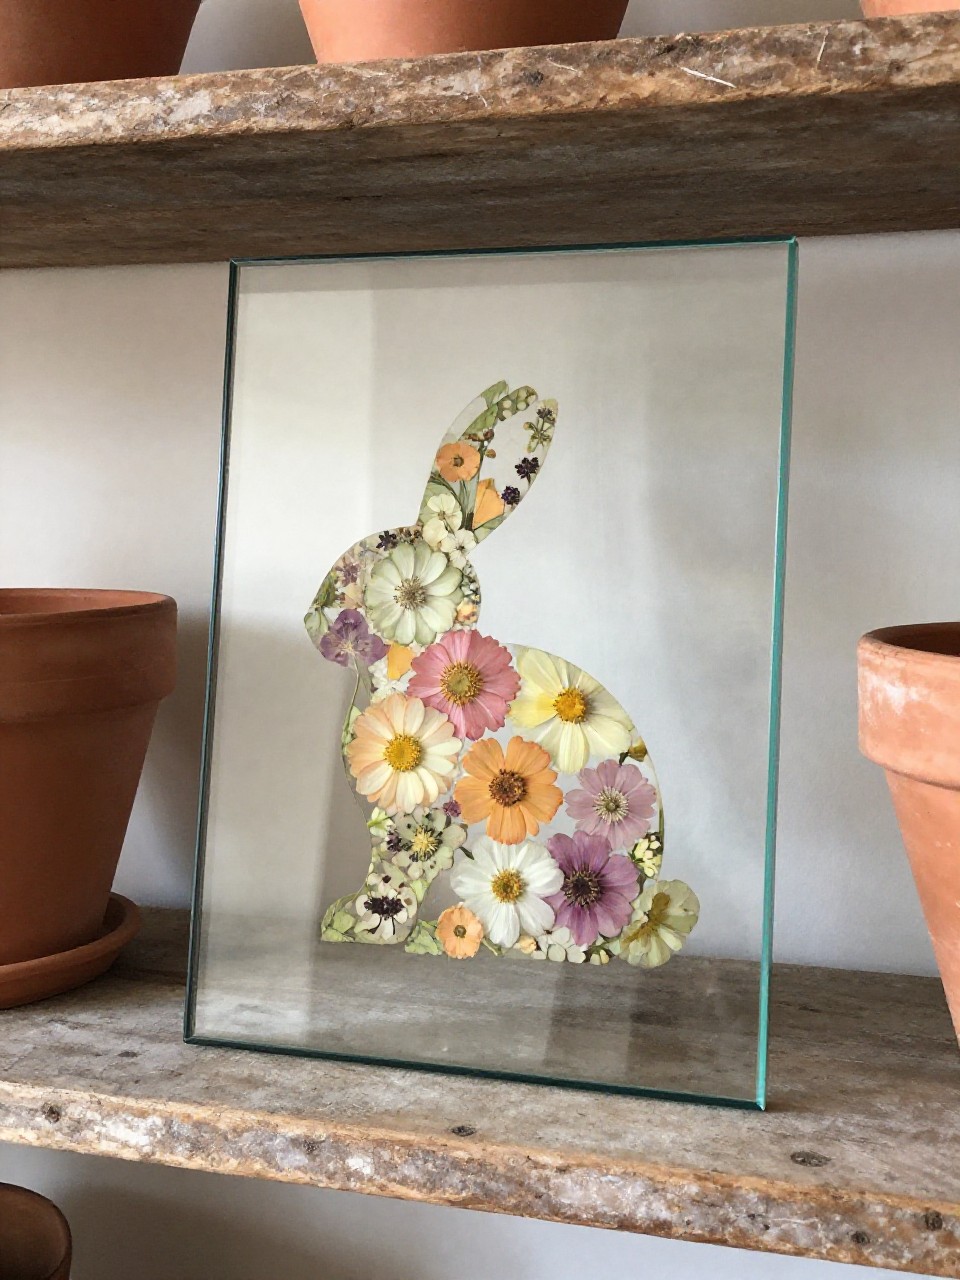
A delicate bunny shape filled with pressed spring flowers under glass. It feels airy and botanical with soft country color.
Materials Needed:
- Pressed flowers (store-bought or DIY)
- Clear glass frame (floating frame)
- Bunny silhouette template
How to make it:
- Place a bunny template under the frame glass as a guide.
- Arrange pressed flowers within the shape, varying colors and sizes.
- Close the frame to hold everything flat.
- Display in light, but avoid direct sun to prevent fading.
8. Chippy Paint Bunny Bookends
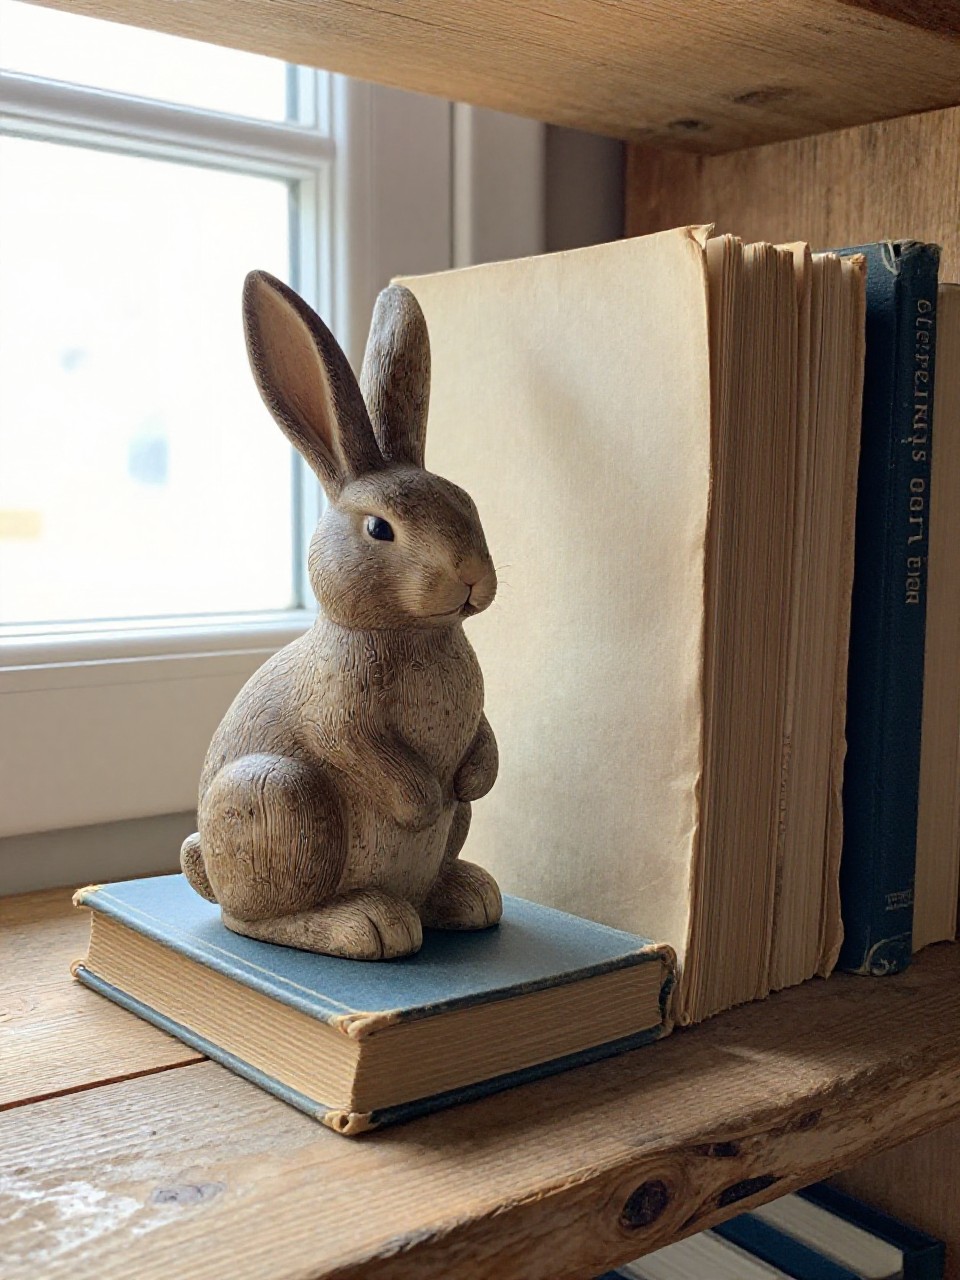
Upcycle simple blocks into worn, farmhouse bookends topped with flat bunny cutouts. Chippy paint adds history and charm.
Materials Needed:
- Wooden blocks or 2×4 scraps
- Thin plywood bunny cutouts
- Chalk paint
How to make it:
- Paint blocks and bunny cutouts with two contrasting chalk paint layers.
- Lightly sand edges to reveal the base color for a chippy look.
- Glue or nail the bunnies onto the blocks.
- Seal lightly if desired and style with vintage books.
9. Cement Bunny Planter
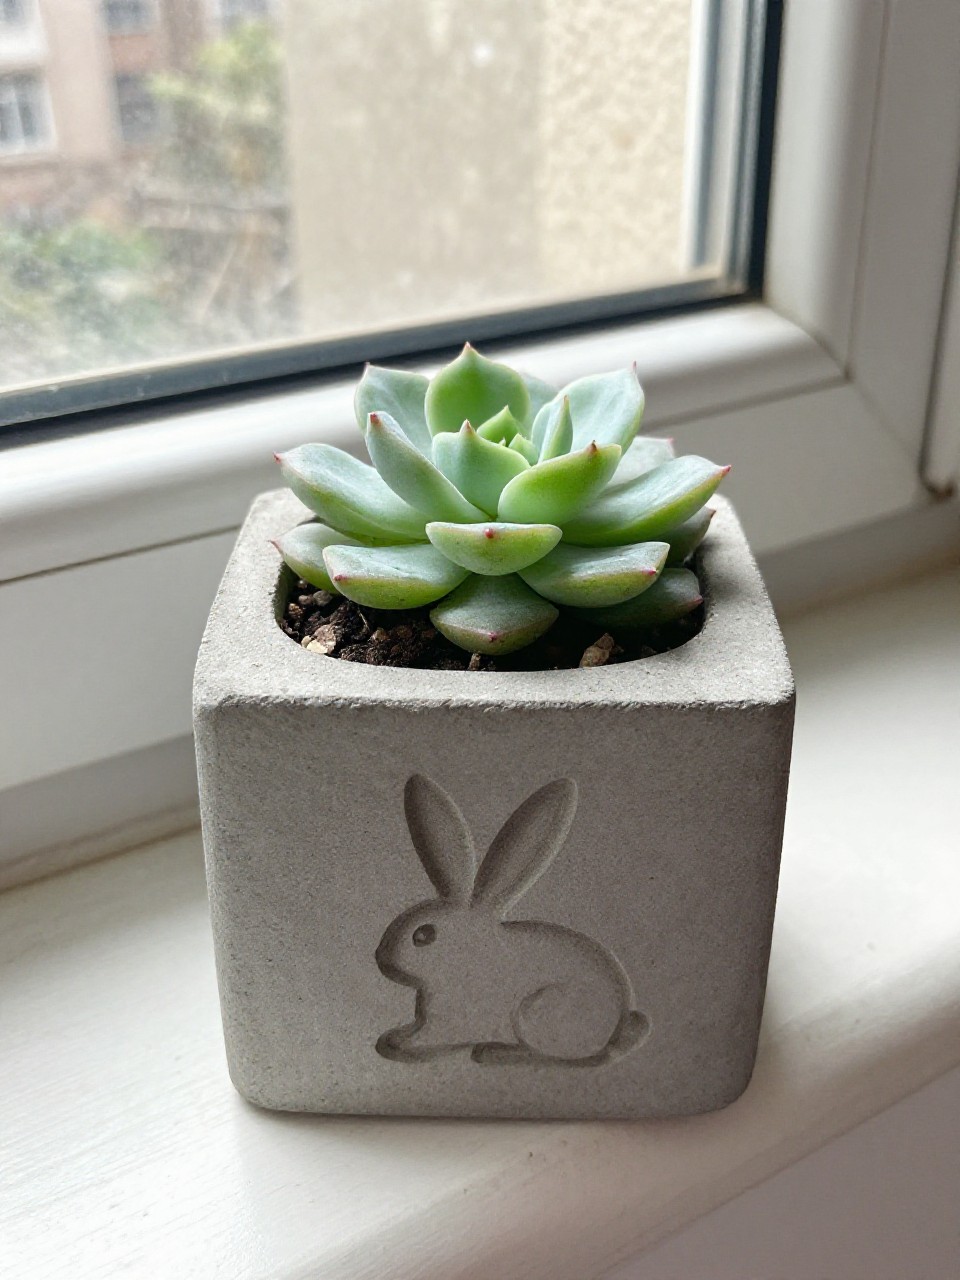
A tiny, sturdy planter with a subtle bunny imprint—industrial meets cottage. Great for succulents on a window ledge.
Materials Needed:
- Rapid-set cement mix
- Plastic cup molds
- Bunny cookie cutter
How to make it:
- Mix cement to a pourable consistency and fill a large cup mold halfway.
- Press the bunny cutter into the wet cement to create an imprint.
- Insert a smaller cup in the center to form the planting cavity and weigh it down.
- Let cure, remove molds, and sand edges.
10. Rustic Wire Bunny Cloche
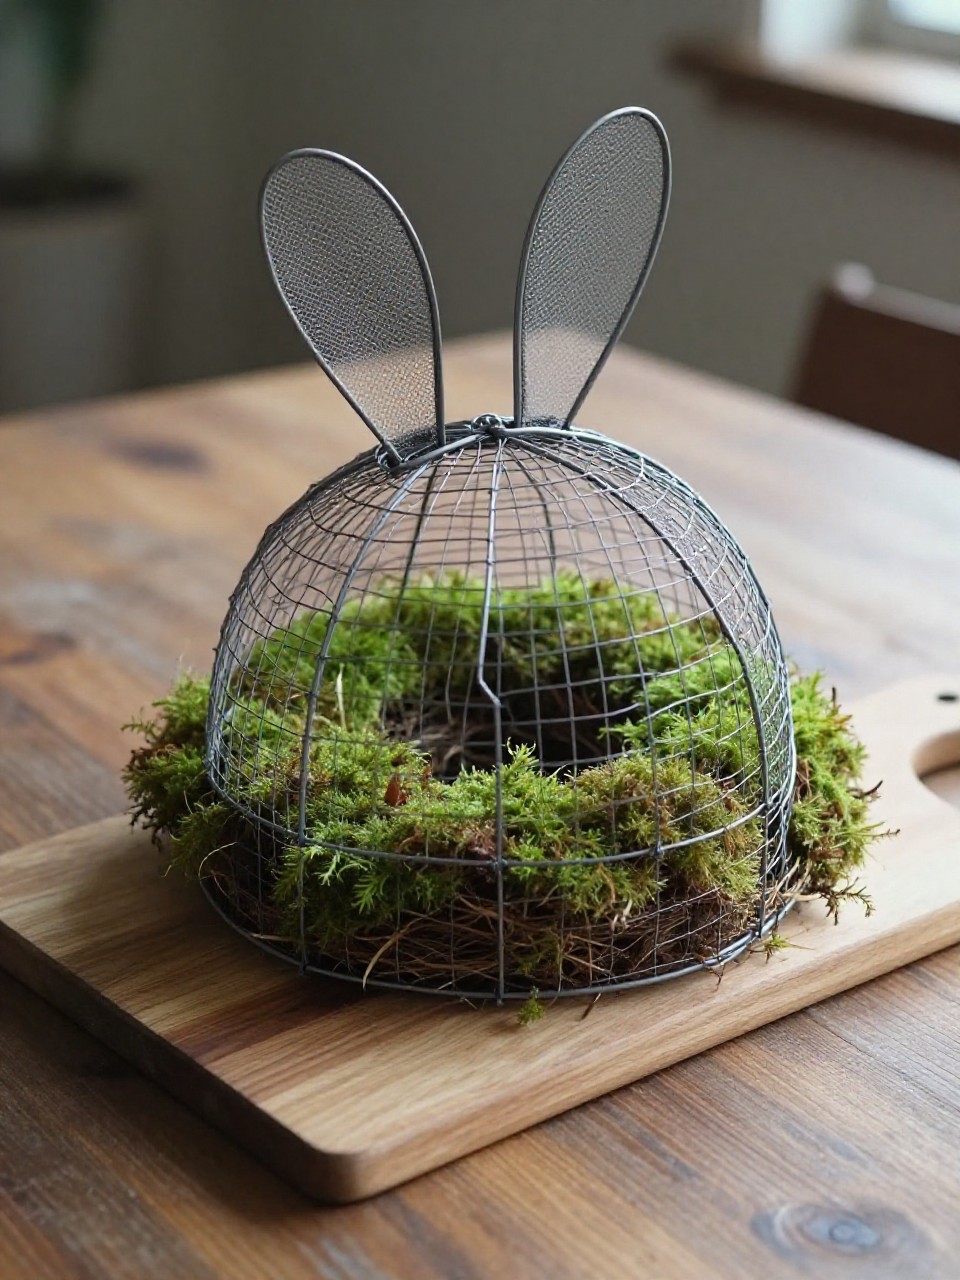
A simple wire dome shaped like bunny ears that covers a candle or moss nest. It’s airy, sculptural, and looks artisanal.
Materials Needed:
- Galvanized craft wire
- Wire cutters
- Small wood base or cutting board
How to make it:
- Form a wire circle to fit your base and twist to secure.
- Build upward ribs from the circle and curve them into a dome.
- Shape two ear loops and attach to the top with tight twists.
- Place over a candle, eggs, or moss on the wood base.
11. Tea-Stained Bunny Paper Eggs
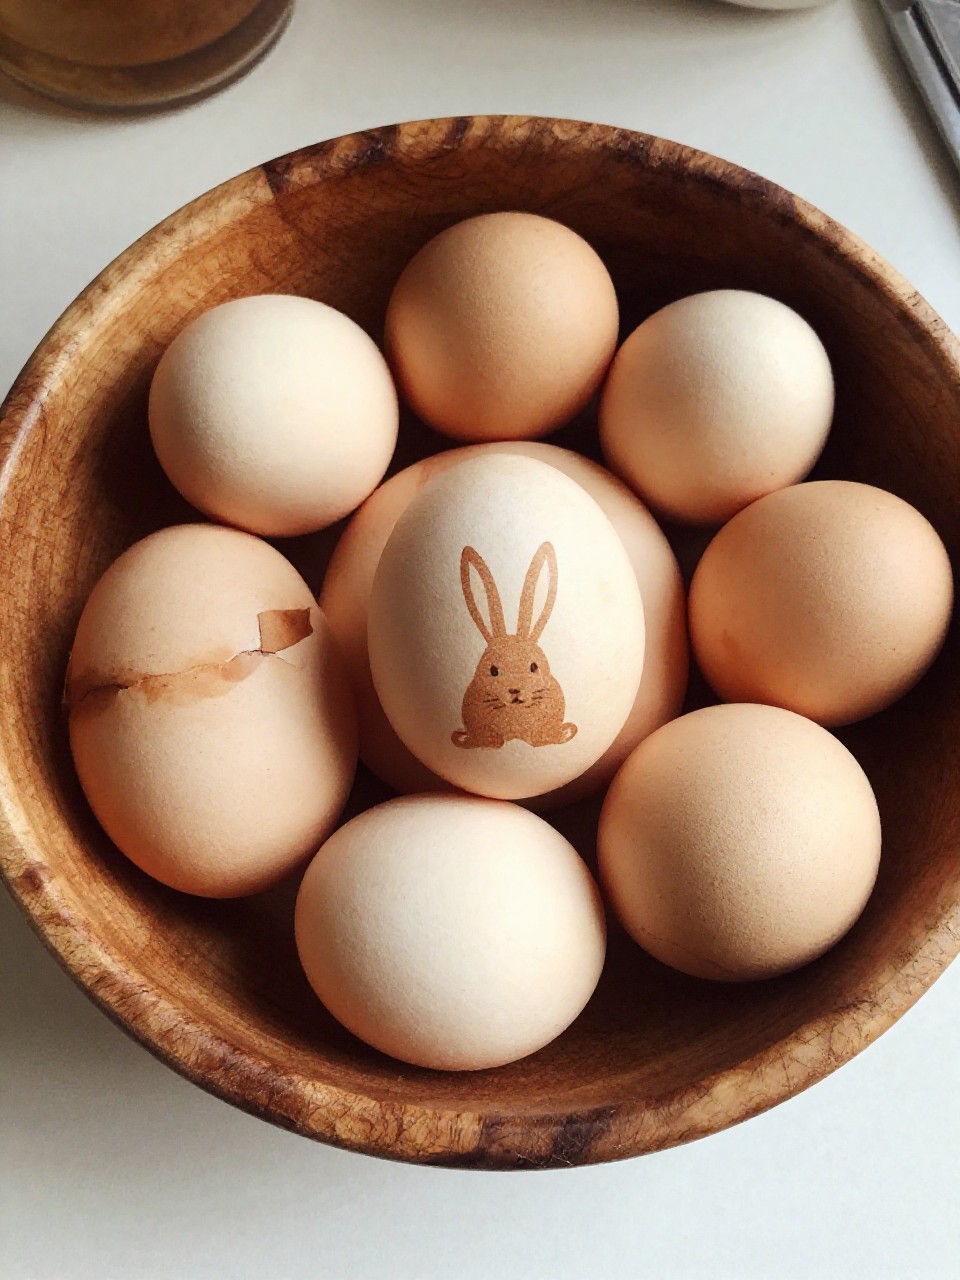
Vintage-looking paper eggs with bunny prints, mellowed by tea staining. They tuck perfectly into bowls or tiered trays.
Materials Needed:
- Thick paper or cardstock
- Strong tea
- Bunny stamps or printed cutouts
How to make it:
- Cut egg shapes from cardstock and dip or brush with cooled tea.
- Let dry flat for a mottled, antique look.
- Stamp or glue bunny images onto the eggs.
- Punch a hole and add twine if you want to hang them.
12. Basket-Weave Bunny Wall Hook
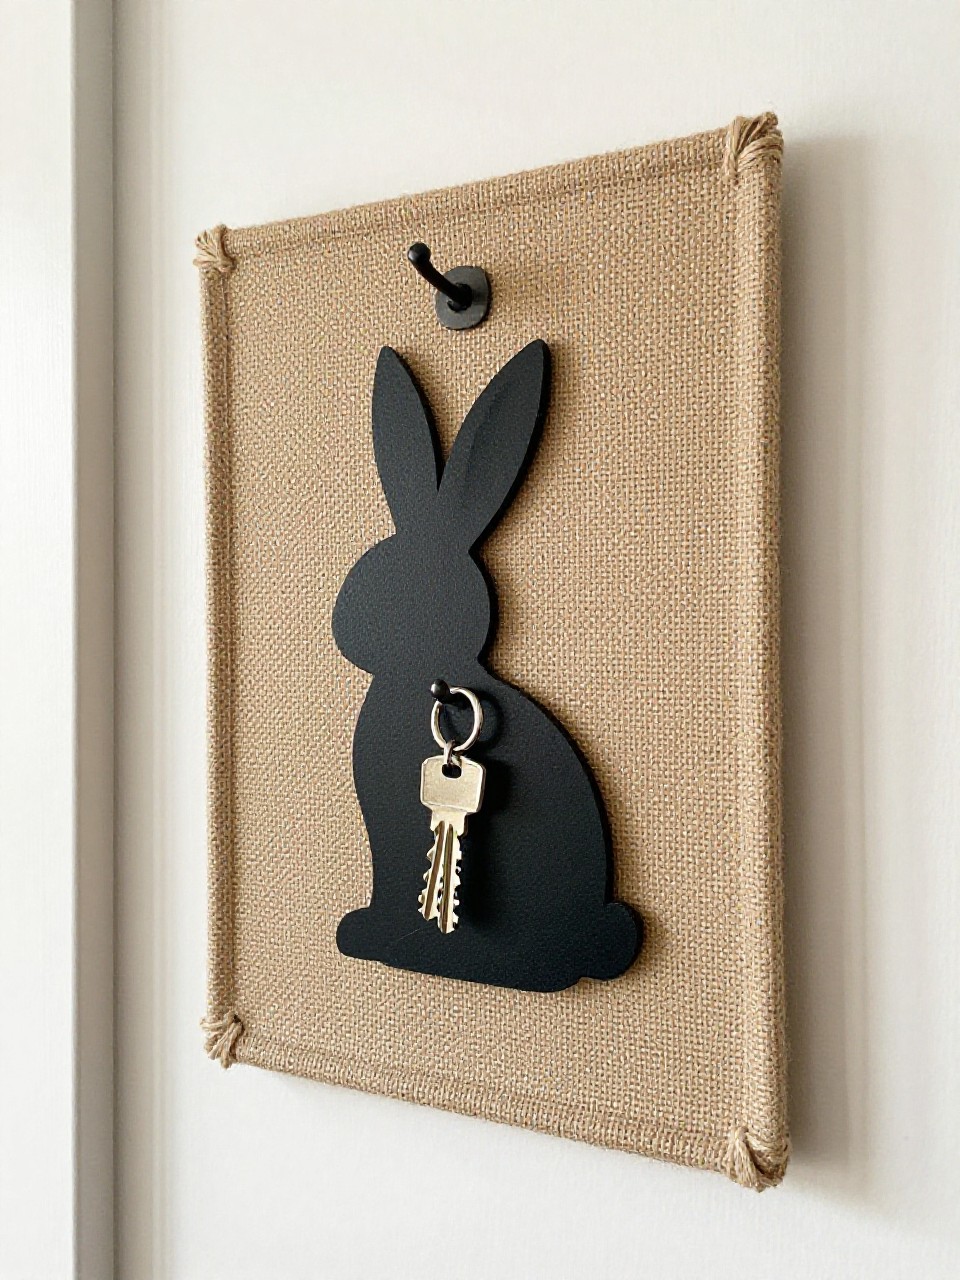
A small wall plaque with a faux-basket weave background and a sturdy bunny hook. It’s cute and useful for keys or aprons.
Materials Needed:
- Small wood plaque
- Thin jute or raffia
- Metal or wooden bunny hook
How to make it:
- Glue lengths of jute across the plaque in rows.
- Weave more jute vertically through the rows to mimic a basket.
- Secure ends on the back with hot glue.
- Screw in or glue the bunny hook centered on the plaque.
13. Grain-Sack Bunny Table Runner
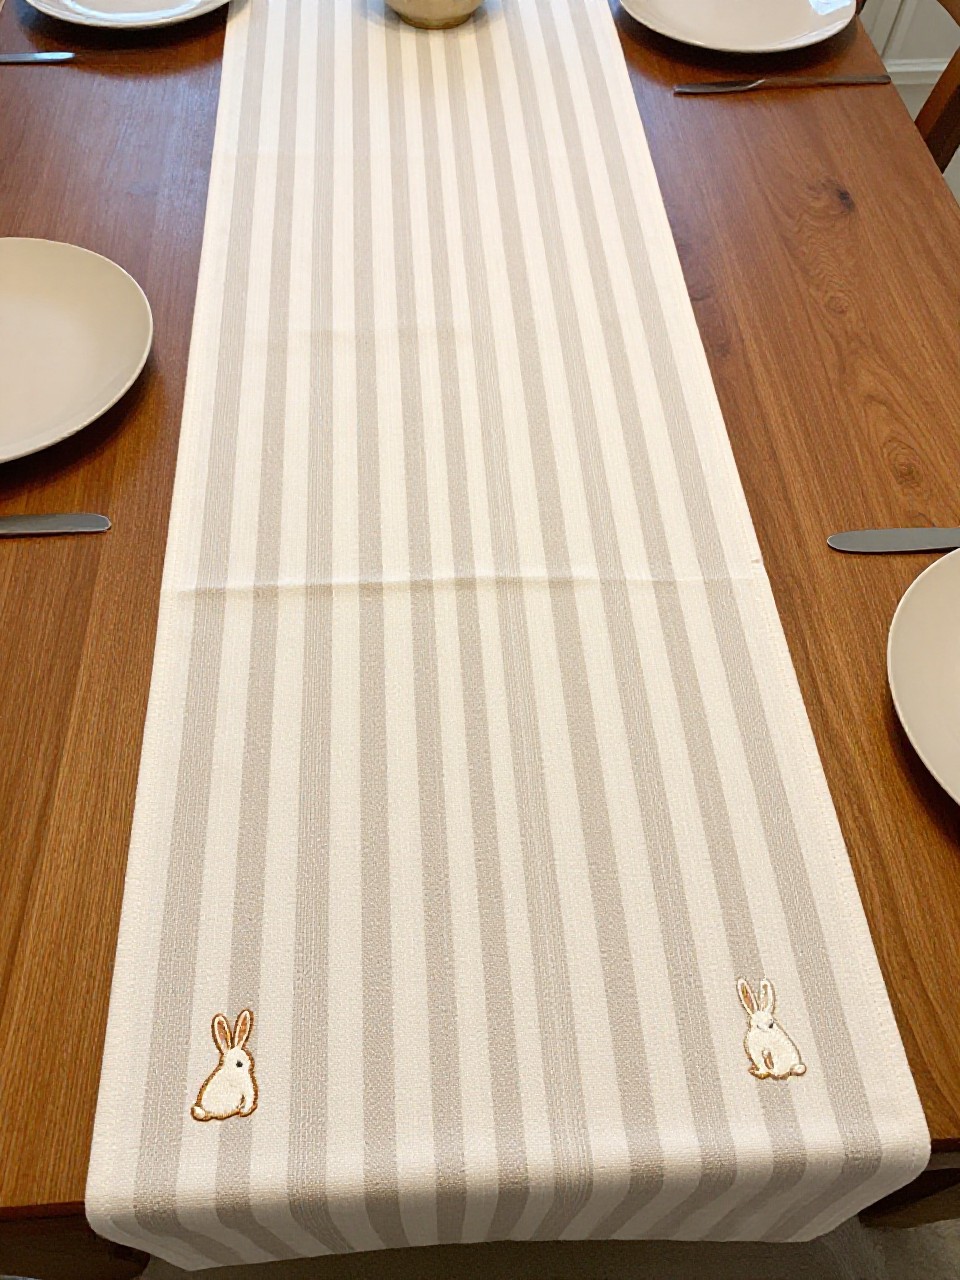
A neutral runner with classic stripes and a small stitched bunny at each end. It’s unfussy, farmhouse, and dinner-friendly.
Materials Needed:
- Drop cloth or grain-sack style fabric
- Fabric paint or ribbon for stripes
- Embroidery thread
How to make it:
- Cut fabric to table length and hem edges with fabric glue or sewing.
- Paint two narrow stripes down the center or glue ribbon.
- Trace a tiny bunny at each end and add simple line embroidery.
- Heat-set paint if needed and lay on the table.
14. Moss Bunny Topiary
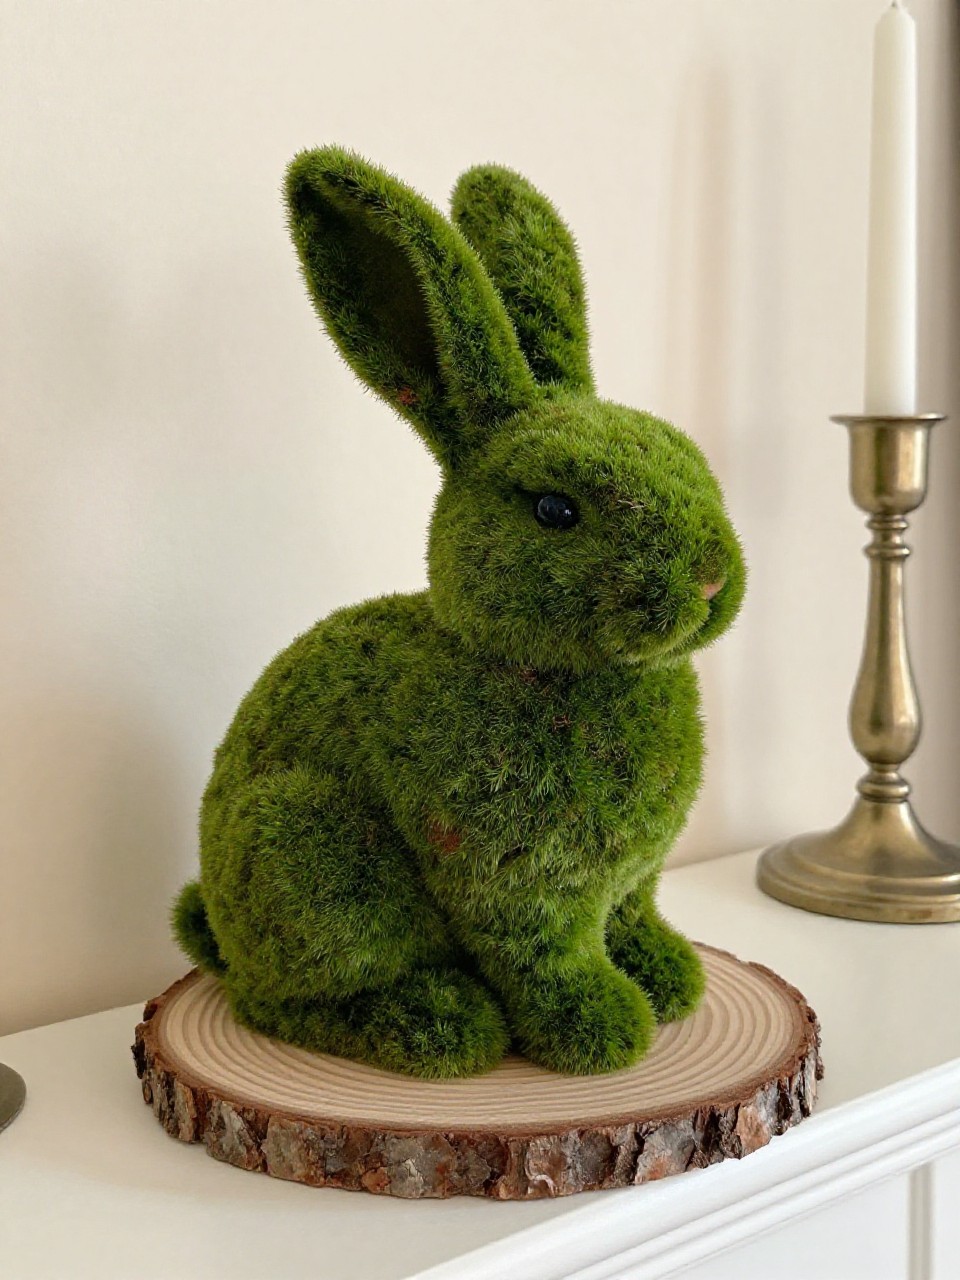
A standing bunny silhouette covered in preserved moss on a wooden base. It screams spring without bright colors.
Materials Needed:
- Cardboard or foam bunny cutout
- Preserved sheet moss
- Wood slice base
How to make it:
- Cut a thick bunny silhouette from cardboard or foam.
- Hot glue moss to both sides, trimming edges for a clean outline.
- Insert a skewer into the bottom and into the wood slice.
- Fill gaps with small moss bits for a lush finish.
15. Chalkboard Bunny Countdown
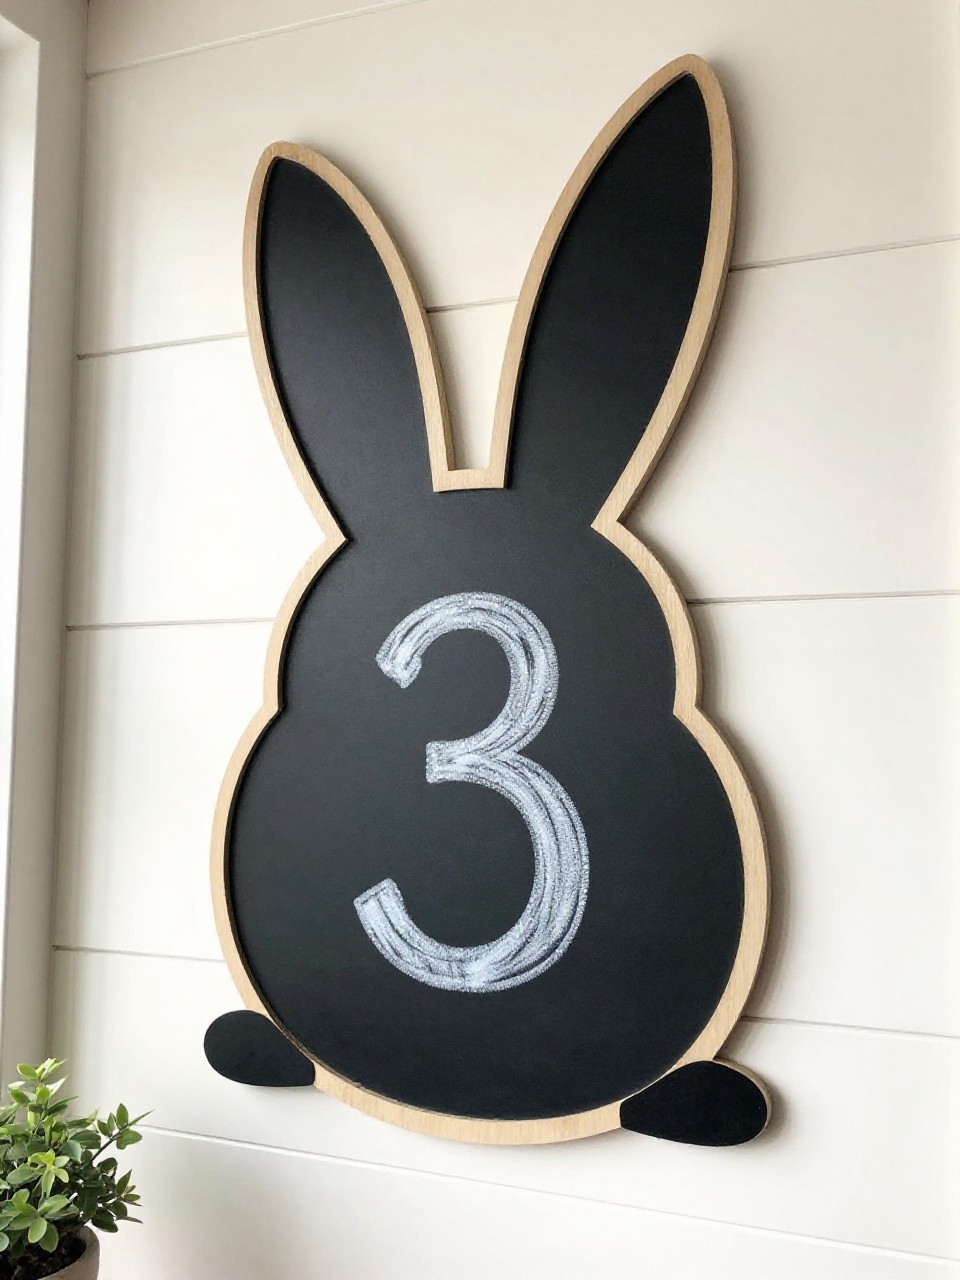
A farmhouse chalkboard shaped like a bunny to count down days to Easter or spring events. It’s playful and practical.
Materials Needed:
- Foam board or thin wood
- Chalkboard paint
- Chalk or chalk marker
How to make it:
- Draw and cut a large bunny silhouette from foam board or wood.
- Paint the surface with two coats of chalkboard paint.
- Add a twine loop or attach to a clipboard hook for hanging.
- Write your countdown number and update daily.