
In This Article Show
Keeping kids busy can be tough, especially on rainy days or during long afternoons at home or in class. If you want simple, screen-free fun, origami is a great choice—just paper, folding, and a little patience.
This list gathers easy beginner projects that look cute and feel satisfying to make. You’ll find quick wins, playful designs, and clear steps. Let’s fold some paper and get started with these origami ideas.
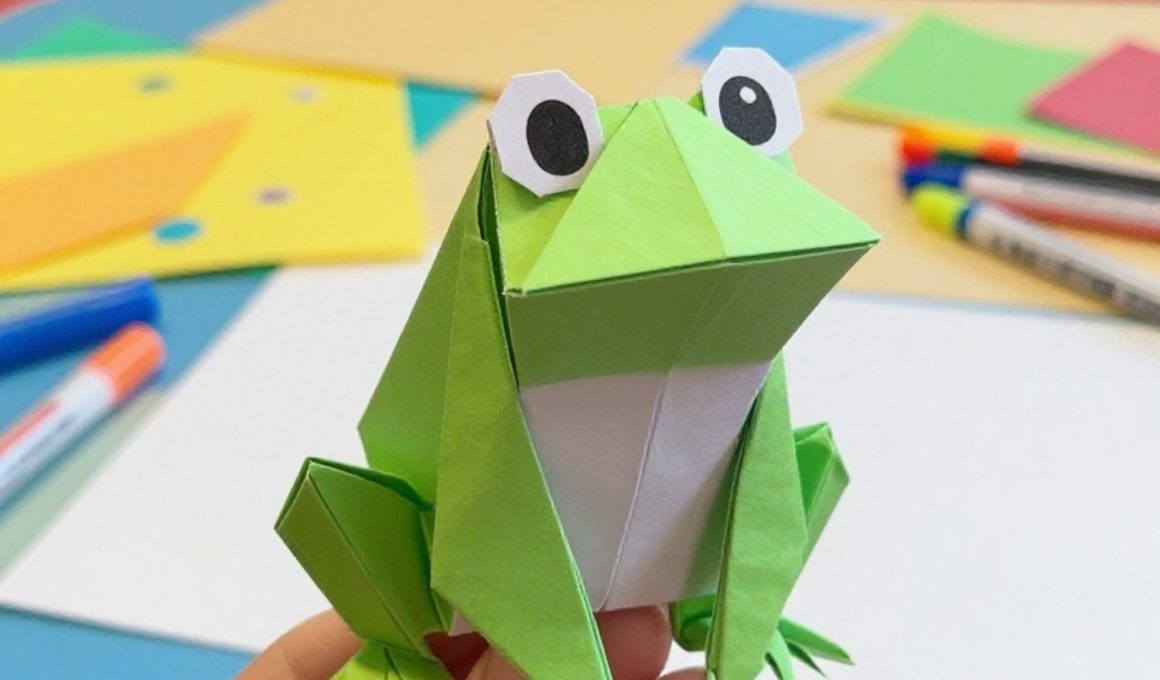
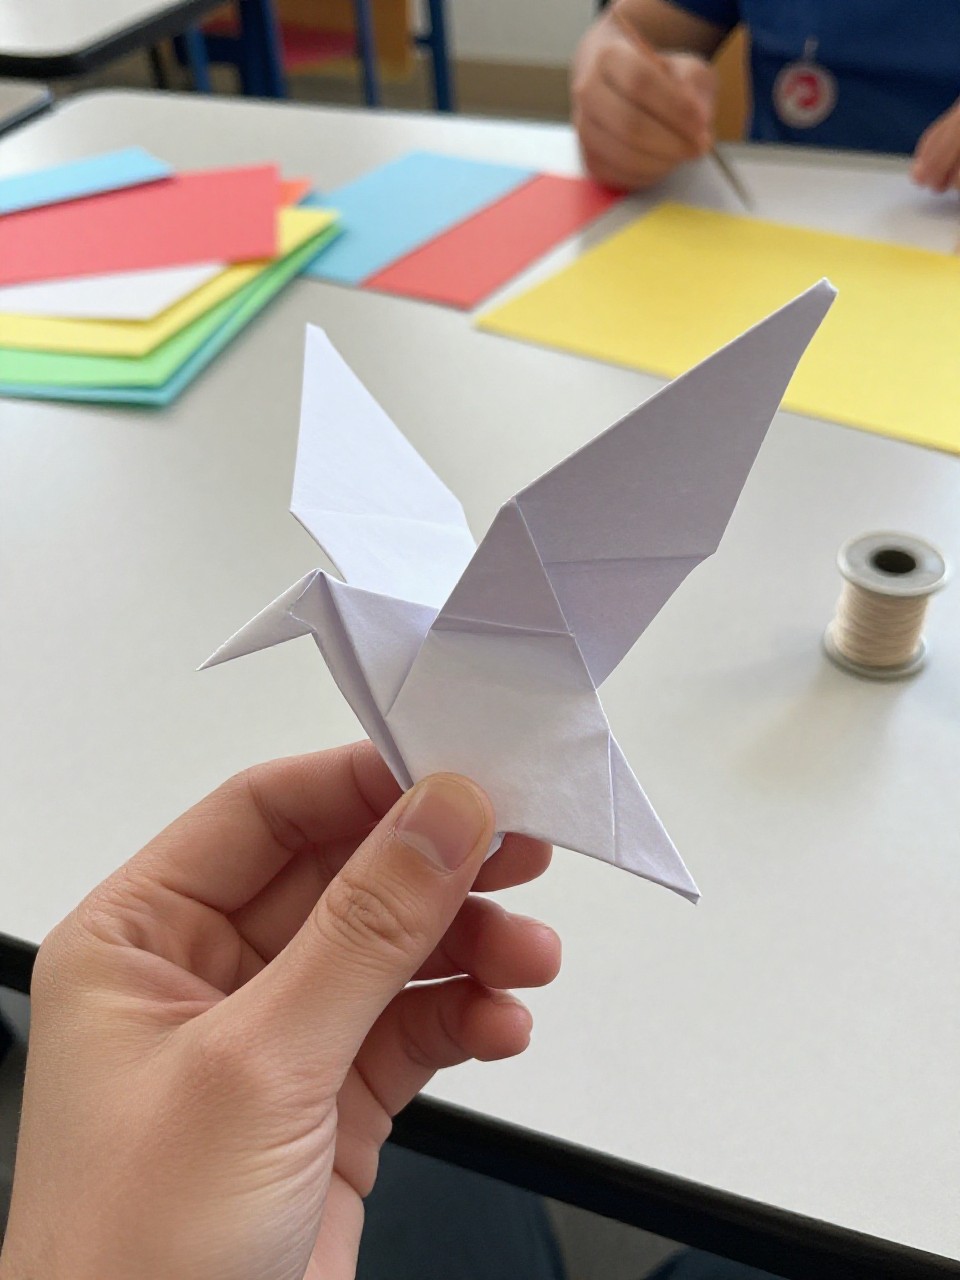
1. Classic Origami Crane
A graceful paper crane with pointed wings and a long neck that looks beautiful on a shelf or hanging from a string. Beginners love it because the folds are simple once you learn them, and the final shape feels special and peaceful.
Materials Needed:
- Square origami paper (6-inch recommended)
- Thin string or thread [optional]
- Hole punch or needle for hanging [optional]
How to make it:
- Start with a square paper, colored side up.
- Fold into the bird base, then shape the neck and tail by inside-reversing the tips.
- Fold down the head and sharpen the wings.
- Gently pull the wings apart to puff the body; hang or display.
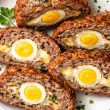
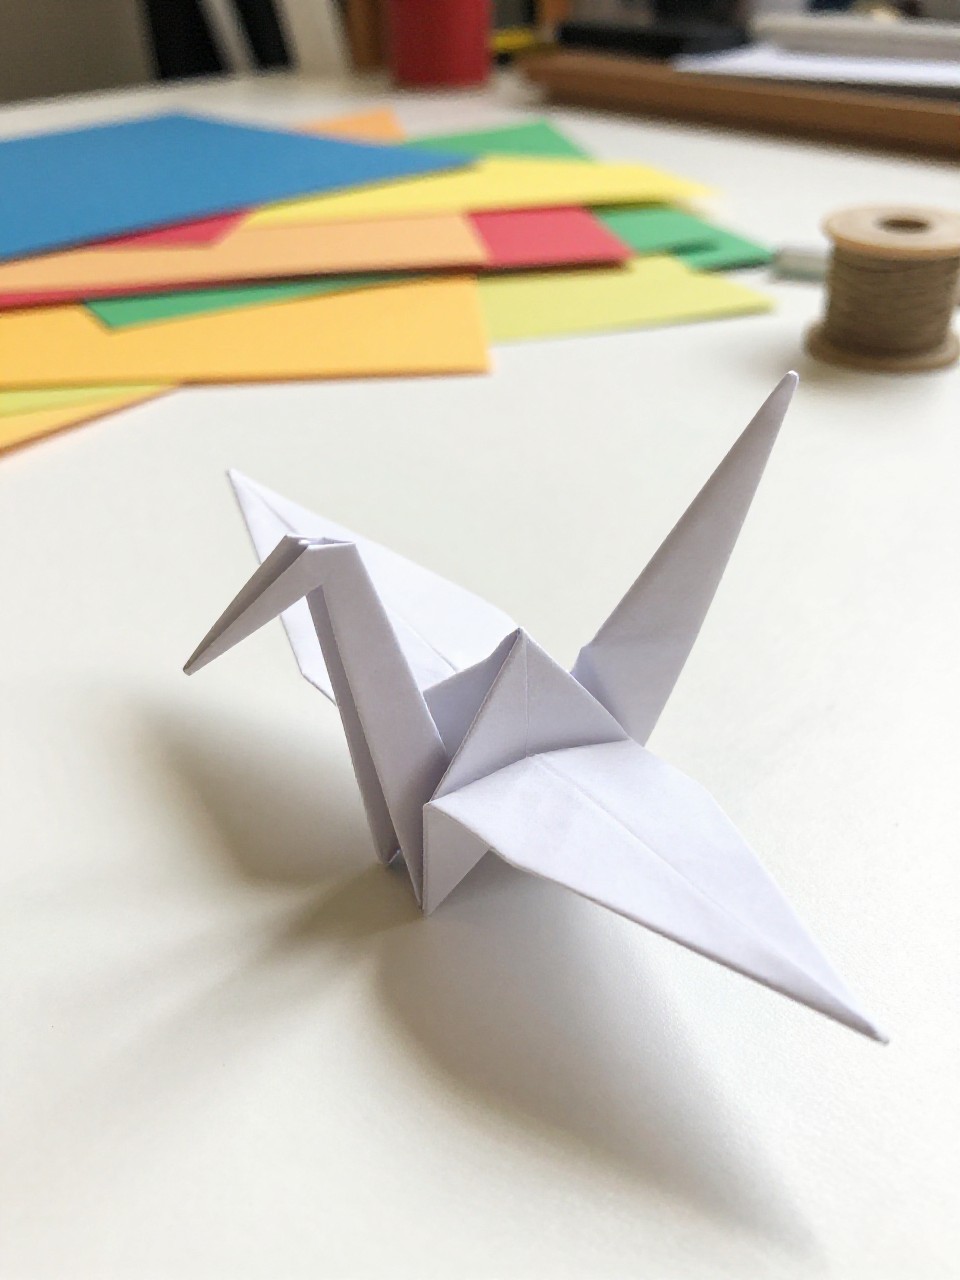
2. Jumping Origami Frog
A small paper frog with folded legs that can actually hop when you press its back. Kids love testing how far it jumps and decorating the eyes with markers for a playful look.
Materials Needed:
- Rectangular paper (about 3×5 inches or half of an A4)
- Black marker for eyes
- Stickers or googly eyes [optional]
How to make it:
- Use a rectangle; fold the top corners to find the center and create a triangle guide, then fold to form a square base at the top.
- Fold sides in, then fold the bottom up and make a zigzag to form springy back legs.
- Draw or stick on eyes near the top.
- Press and release the back to make it jump and play target games.
3. Easy Origami Butterfly

A delicate butterfly with wide wings and a tiny body crease that looks pretty on cards or walls. It’s a fast project with a big payoff, perfect for practicing neat folds and symmetry.
Materials Needed:
- Square origami paper (any size)
- Glue dot or tape for mounting [optional]
- Fine-tip marker for patterns [optional]
How to make it:
- Fold the square corner to corner both ways, then in half horizontally to make guides.
- Collapse into a triangle and fold the top layer’s corners up to form wing shapes; flip and fold a small lip over the body.
- Pinch the center to shape the butterfly.
- Add patterns and stick it to a card or wall.
4. Simple Origami Boat
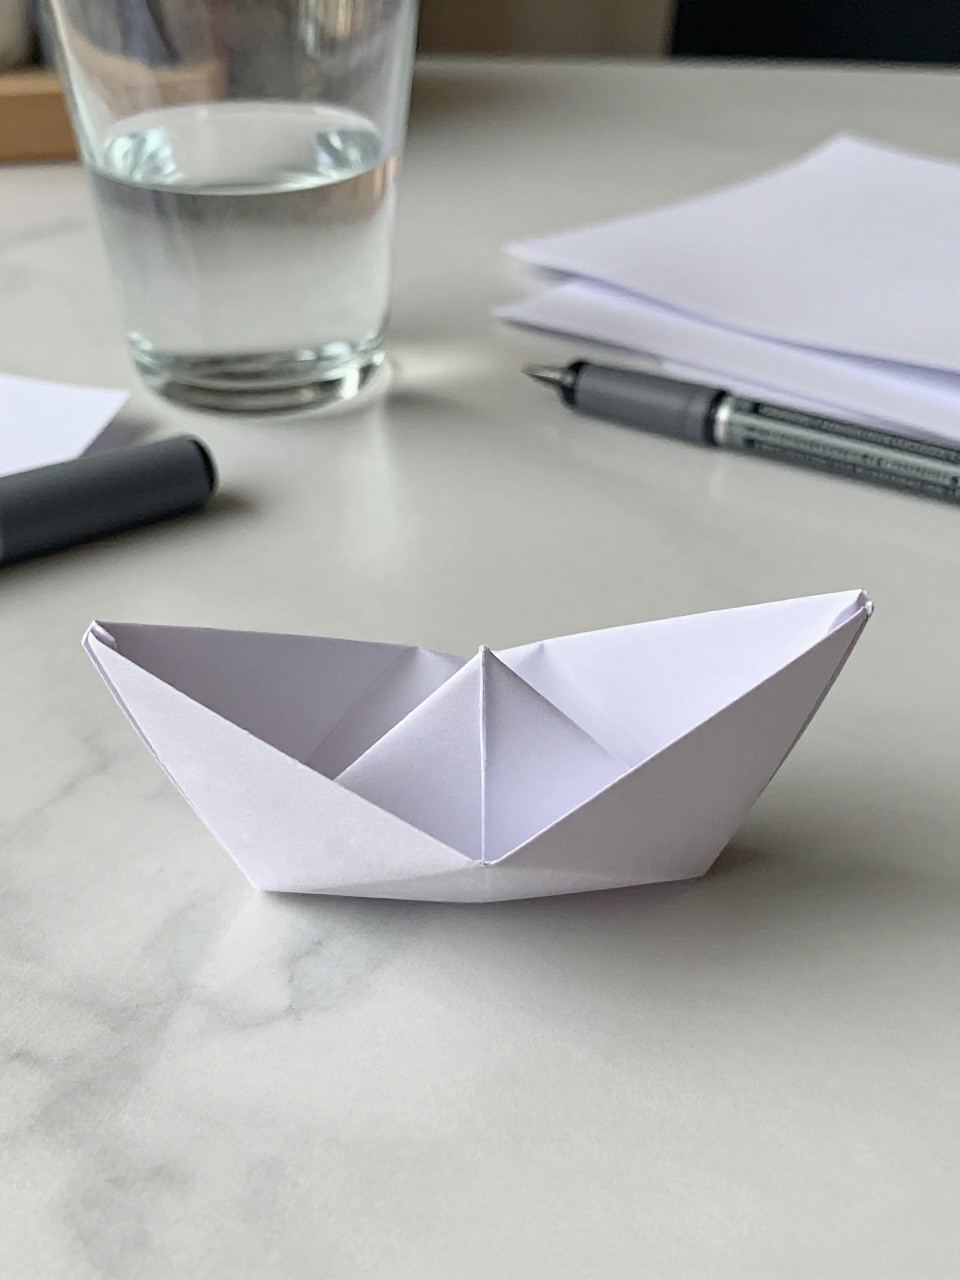
A cheerful paper boat with a crisp hull that can float briefly if made from thicker paper. Kids enjoy racing them in a sink or tub and adding flags.
Materials Needed:
- Rectangular paper (letter or A4)
- Crayon or marker for name/flag
- Tape to seal edges [optional]
How to make it:
- Fold paper in half horizontally, then fold top corners to center to make a hat shape.
- Pull the bottom flaps up, open into a diamond, fold up again, and open into a smaller diamond.
- Pull out the sides to reveal the boat shape.
- Add a tiny flag and float it for a quick race.
5. Origami Heart Bookmark

A cute corner heart that slips over a book page. It’s quick to make and makes reading feel special, great for gifts or classroom rewards.
Materials Needed:
- Square paper (cut smaller, about 3 inches)
- Glue stick [optional]
- Pen for a tiny note [optional]
How to make it:
- Fold the square in half to make a triangle with the tip pointing down.
- Fold the bottom tip up, then fold side corners toward the center.
- Tuck small top points back to round the heart.
- Slide over a page corner and decorate with a smiley or initials.
6. Origami Cat Face
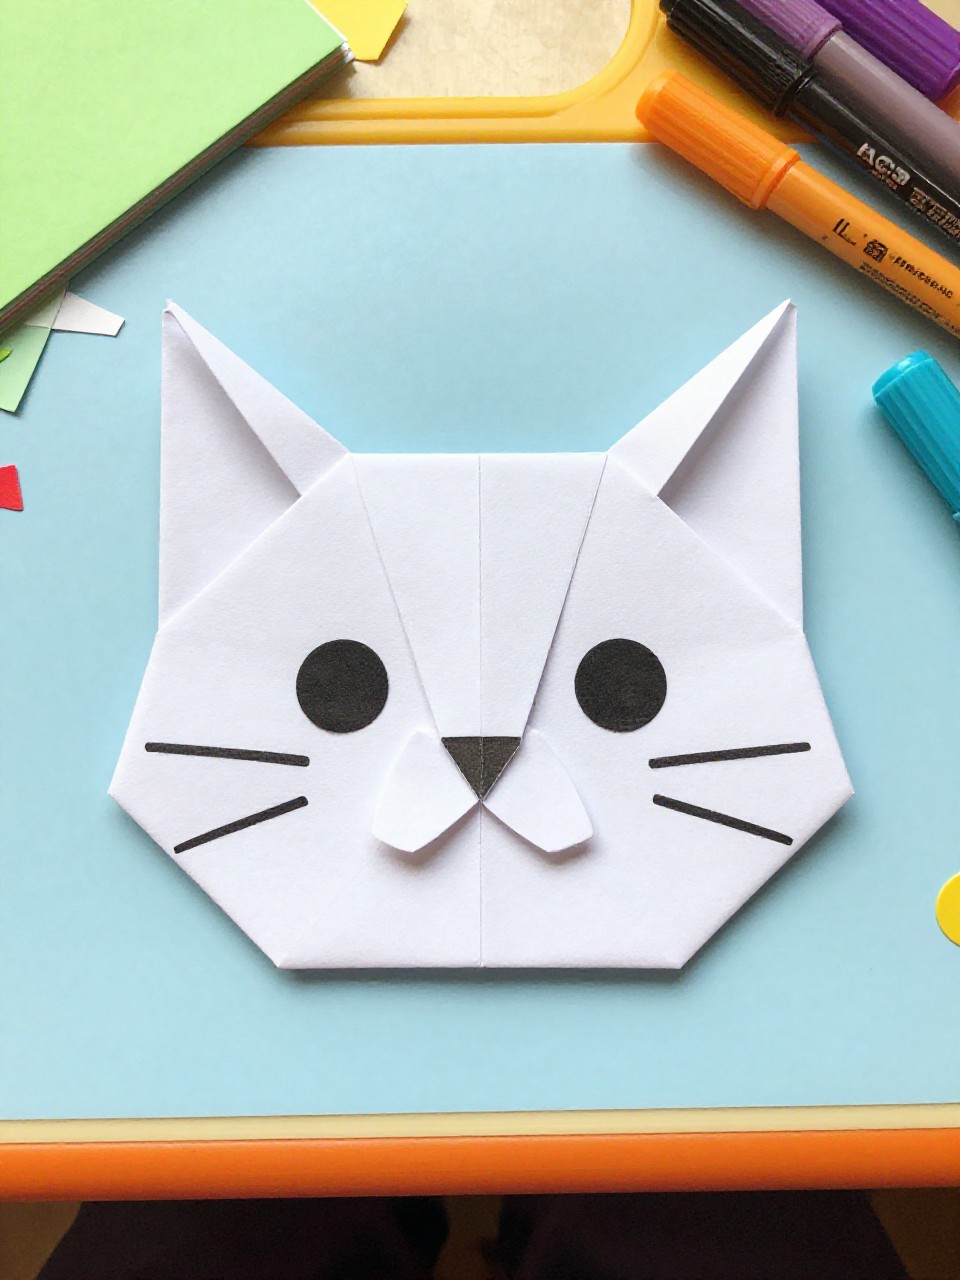
A simple cat head with pointy ears and a flat face for drawing whiskers. Beginners like it because it’s just a few folds and lots of personality with markers.
Materials Needed:
- Square paper
- Black marker for face
- Pink marker for nose [optional]
How to make it:
- Fold the square diagonally into a triangle.
- Fold the two top corners down to form ears, and fold a tiny bottom tip up for the chin.
- Adjust ear angles for expression.
- Draw eyes, nose, and whiskers; display on a bulletin board.
7. Easy Origami Dog Face
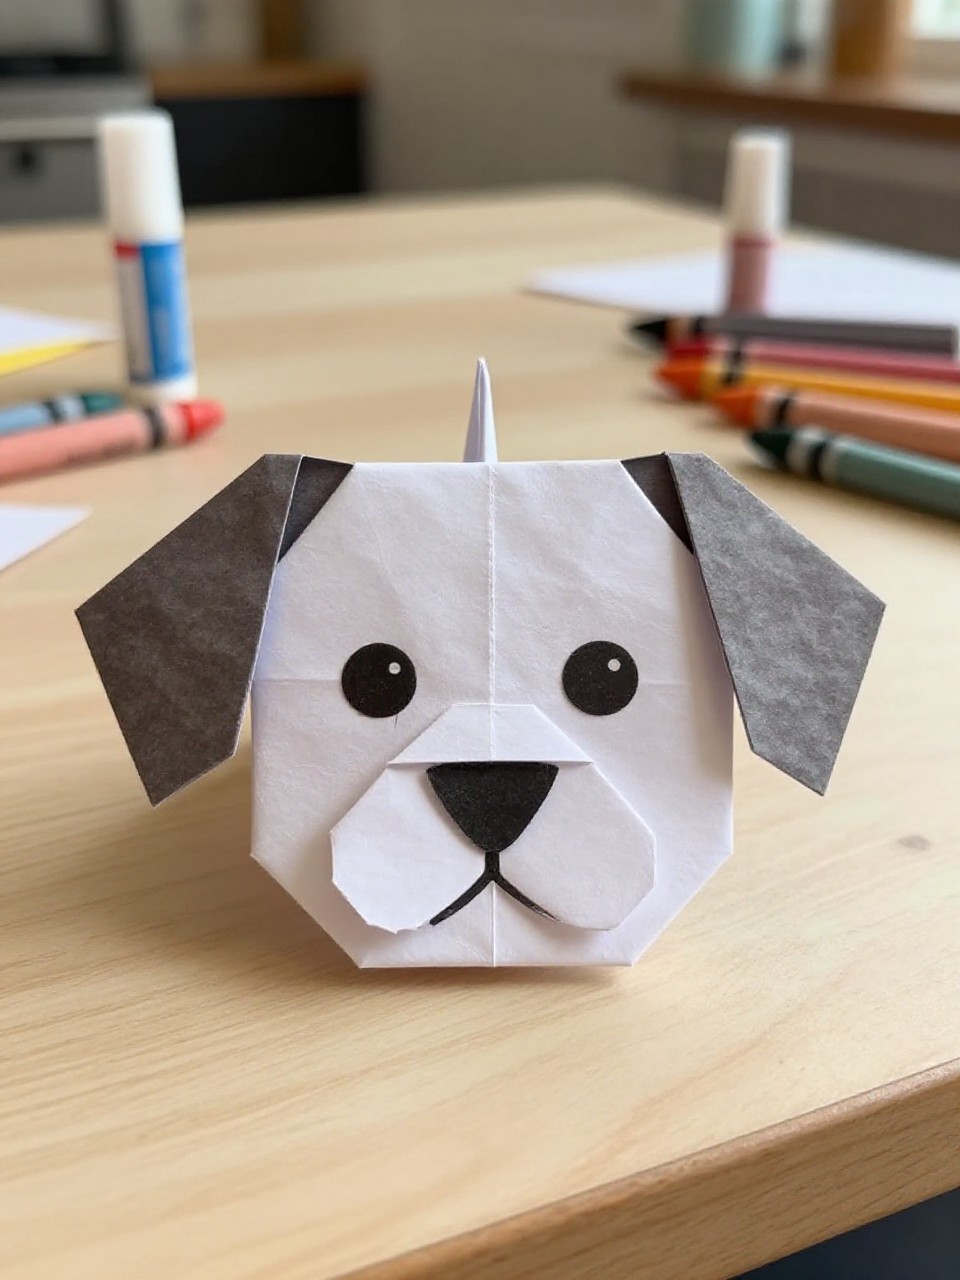
A floppy-eared dog face that looks friendly and sweet. Kids enjoy giving each one a different expression and pattern.
Materials Needed:
- Square paper
- Black or brown marker
- Stickers for spots [optional]
How to make it:
- Fold the square diagonally into a triangle with the long edge at the top.
- Fold the two top corners down to make floppy ears, then fold the bottom tip up for a snout.
- Adjust ear length to change the look.
- Draw eyes and a nose; add spots or a tongue.
8. Origami Balloon (Water Bomb)
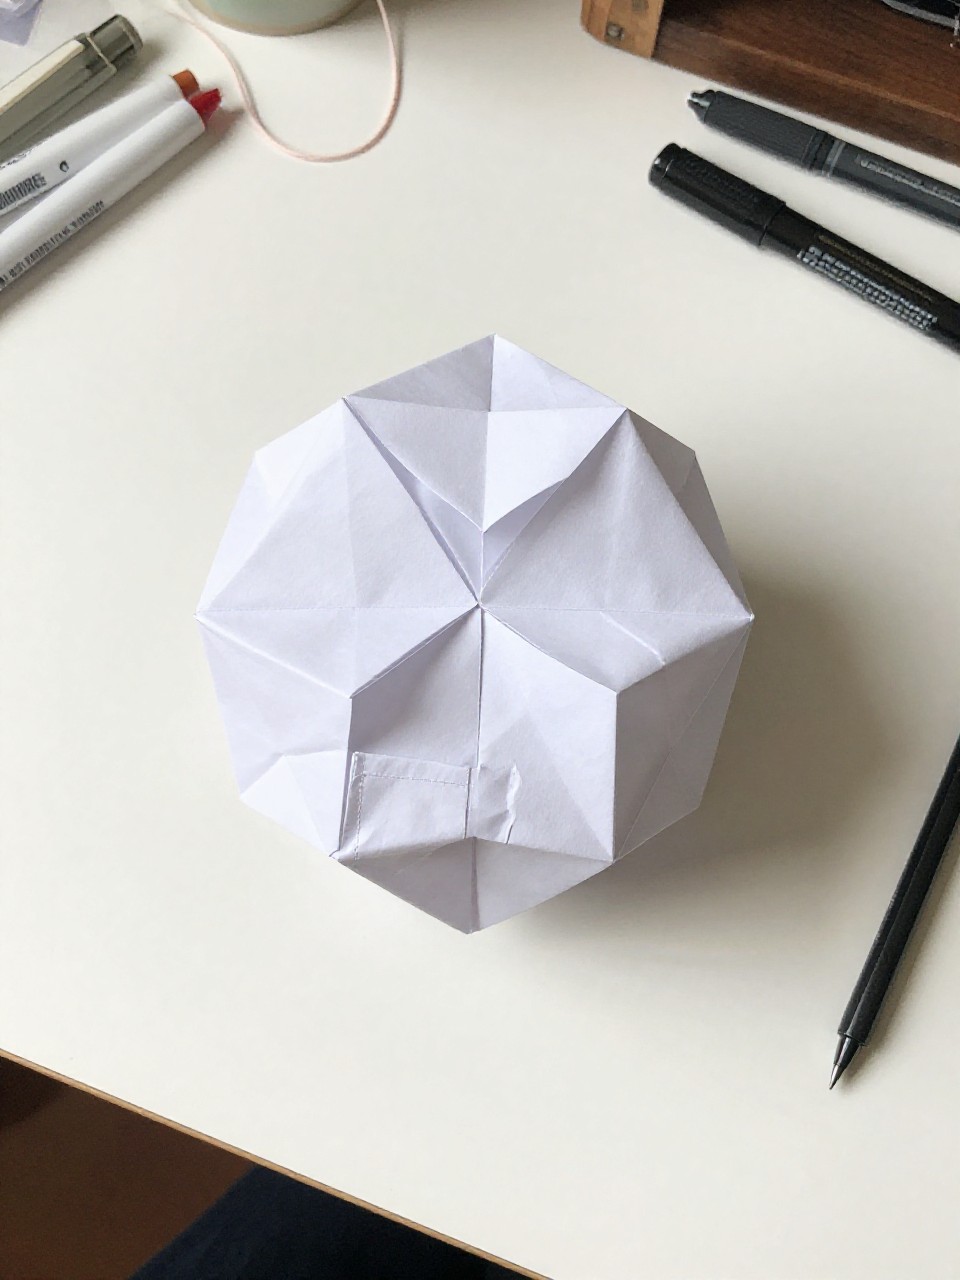
A puffy cube that inflates when you blow into it, like a tiny balloon. It’s satisfying to see flat paper become 3D with just a breath.
Materials Needed:
- Square paper (stronger paper holds shape better)
- Markers for faces or patterns [optional]
- String for hanging [optional]
How to make it:
- Fold into a water bomb base by making both diagonal and horizontal creases, then collapsing into a triangle.
- Fold side corners to the top on both sides, then tuck small flaps into pockets.
- Find the small hole and gently blow to inflate.
- Decorate and hang as a garland.
9. Origami Tulip with Stem
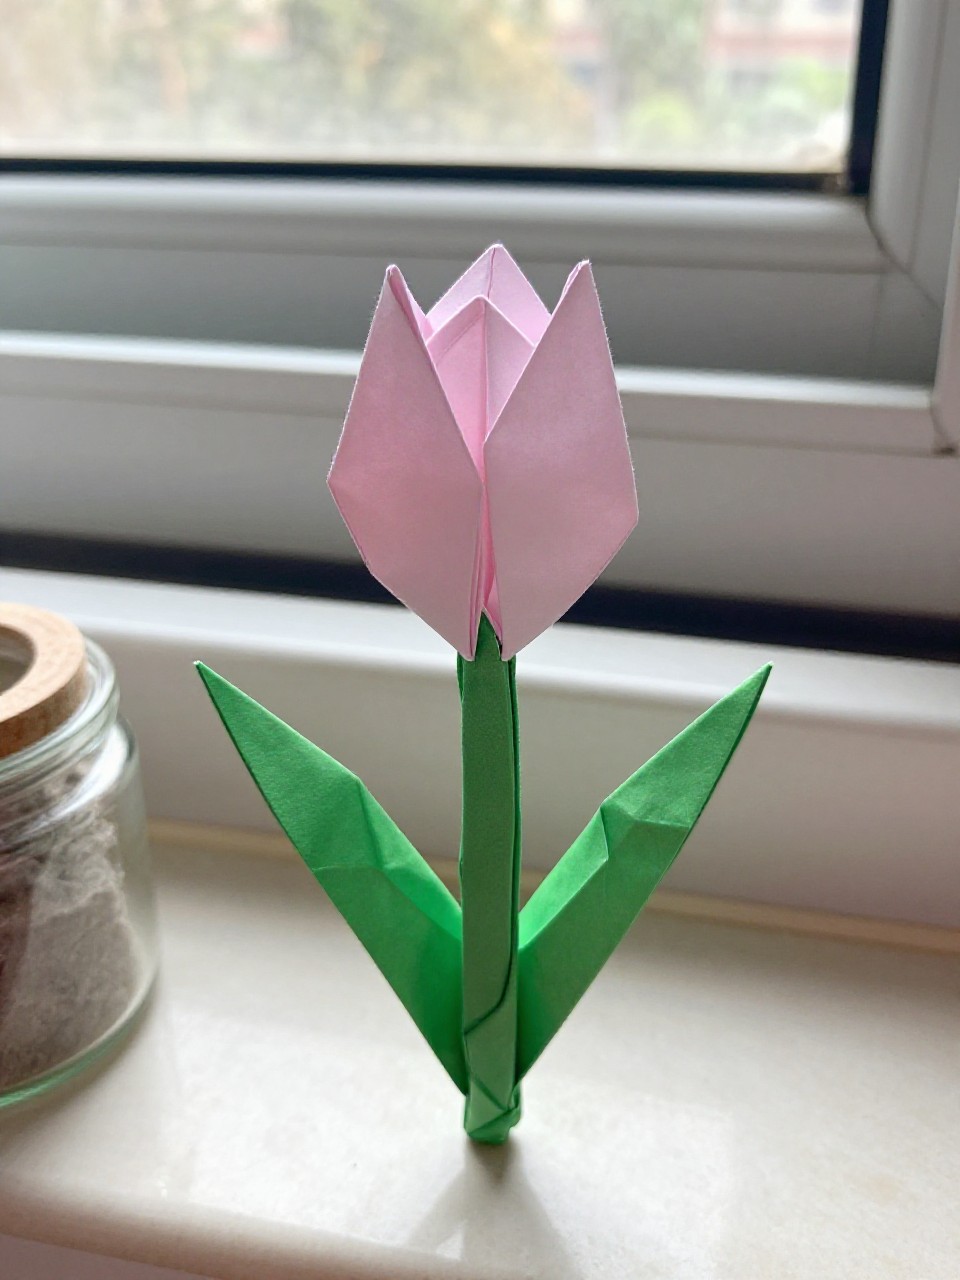
A bright tulip flower that slides onto a simple folded stem. It’s a sweet gift and teaches combining two easy models.
Materials Needed:
- Two square papers (one green, one color for flower)
- Tape or glue dot to secure [optional]
- Marker for leaf veins [optional]
How to make it:
- Fold the flower by making a triangle, then folding side corners up and tucking small flaps; blow gently to open the base.
- Fold the stem by rolling a diagonal into a thin tube and adding a leaf fold.
- Poke the stem tip into the flower base hole.
- Add leaf details and stand it in a cup or vase.
10. Origami Fox Head
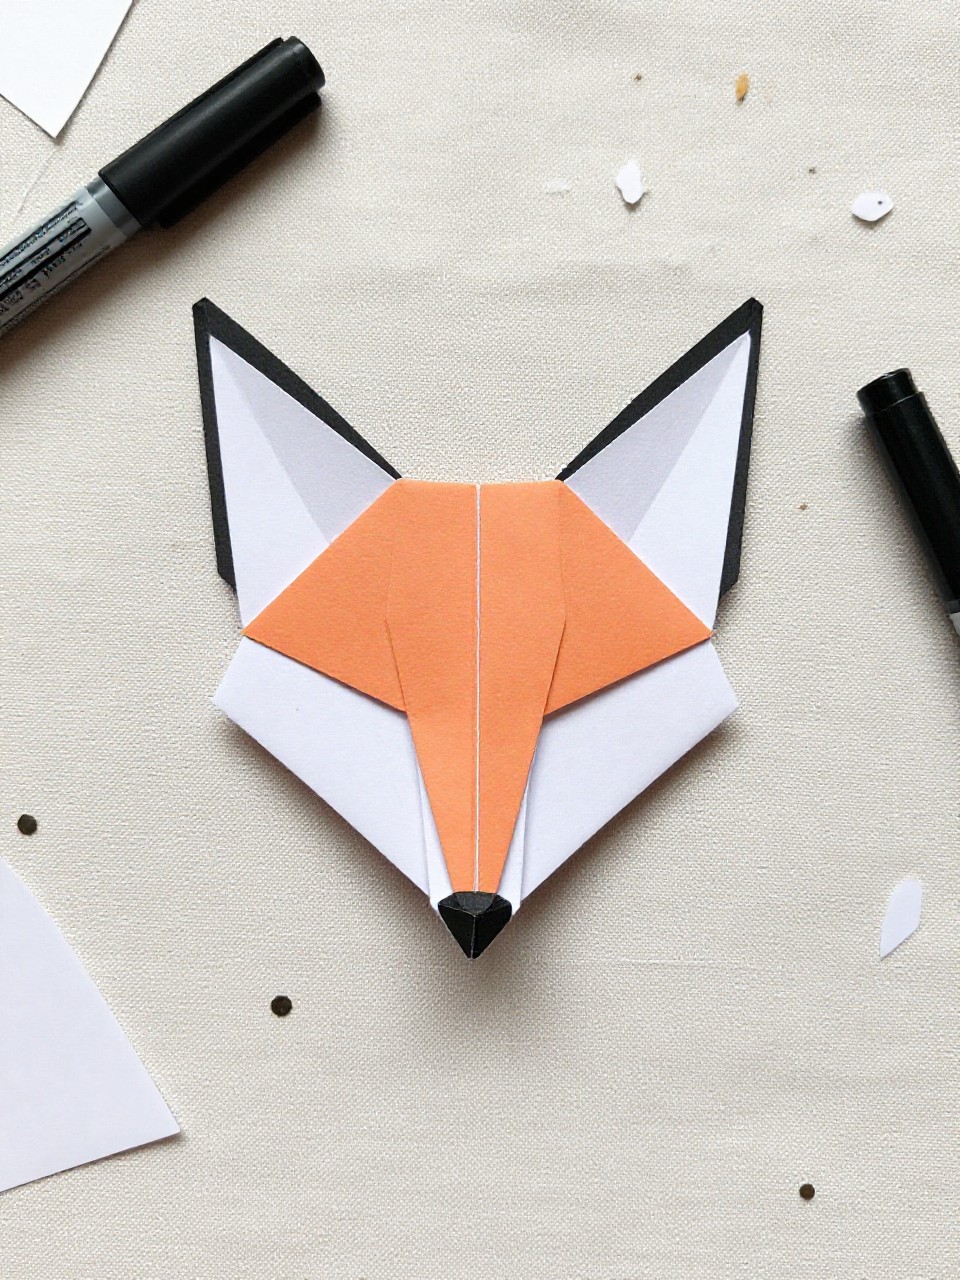
A sharp, triangular fox face with pointed ears and a clever look. Kids enjoy the bold shapes and adding simple eyes and a nose.
Materials Needed:
- Square orange paper
- Black marker
- White pencil for highlights [optional]
How to make it:
- Fold the square diagonally into a triangle with the point down.
- Fold the left and right points up to make ears, leaving a point for the nose.
- Adjust folds to shape a slim snout.
- Draw eyes and a tiny nose; display on a forest-themed board.
11. Origami Whale

A cute whale with a short tail and a smiling belly line. It’s great for ocean themes and very beginner-friendly.
Materials Needed:
- Rectangular paper (cut from A4)
- Black marker for eye and mouth
- Blue paper preferred
How to make it:
- Fold the rectangle in half lengthwise.
- Fold one end up diagonally to form the tail fin; trim excess if needed.
- Fold the top edge down slightly to shape the back.
- Draw an eye and smile; add a tiny spout with a scrap if you like.
12. Origami Penguin
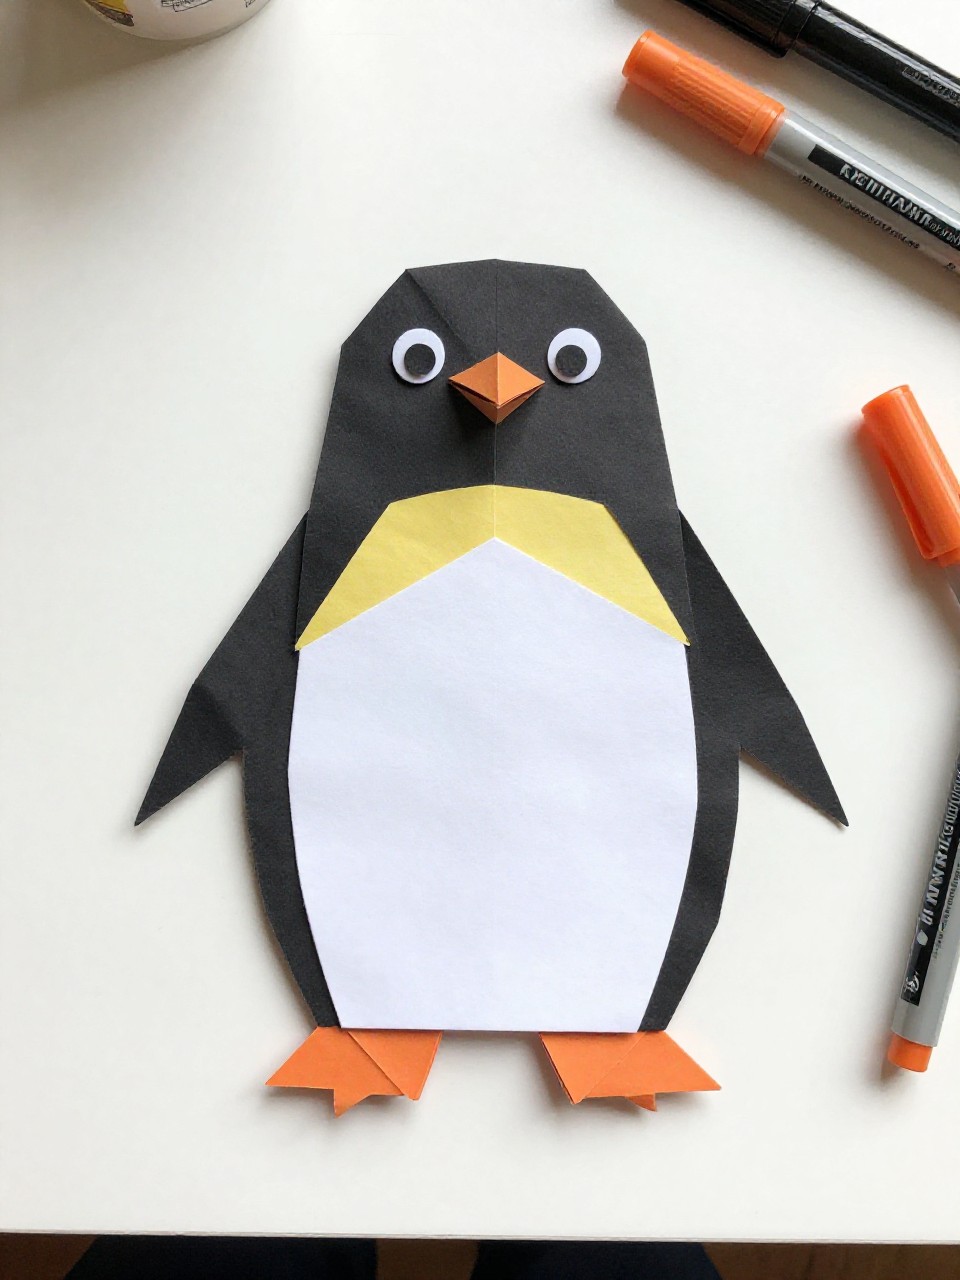
A chubby penguin with a white belly and a little beak. Kids enjoy making a winter group and giving each penguin a name.
Materials Needed:
- Square black or dark paper
- White crayon or white paper scrap for belly [optional]
- Orange marker for beak
How to make it:
- Fold the square diagonally, then fold both side corners toward the center to narrow the body.
- Fold a small top point down for the beak and fold the bottom point up to show a white belly triangle.
- Fold tiny corners back to shape flippers.
- Add eyes and stand it upright.
13. Origami Corner Monster Bookmark

A fun page corner monster with teeth and silly eyes. It’s easy to customize with colors, horns, and patterns.
Materials Needed:
- Square paper
- White paper scraps for teeth
- Googly eyes or drawn eyes
- Glue stick
- Markers for spots [optional]
How to make it:
- Fold the square into a triangle, then bring the top layer’s point down to the base edge.
- Fold the left and right points up and tuck them into the pocket to form the corner sleeve.
- Glue in paper teeth and add eyes on top.
- Decorate with spots or stripes and slide onto a book page.
14. Origami Flapping Bird
A bird with a pull-tab tail that makes the wings flap when you tug. Kids love the little motion trick and race to see whose bird flaps best.
Materials Needed:
- Square paper
- Thin string for hanging [optional]
- Marker for eyes [optional]
How to make it:
- Fold to the bird base (similar to the crane start).
- Create wings and tail folds, leaving the inner flaps free for the pulling motion.
- Shape the head and sharpen wing creases.
- Hold the body and gently pull the tail to flap; hang it or show it off.
15. Origami Cup
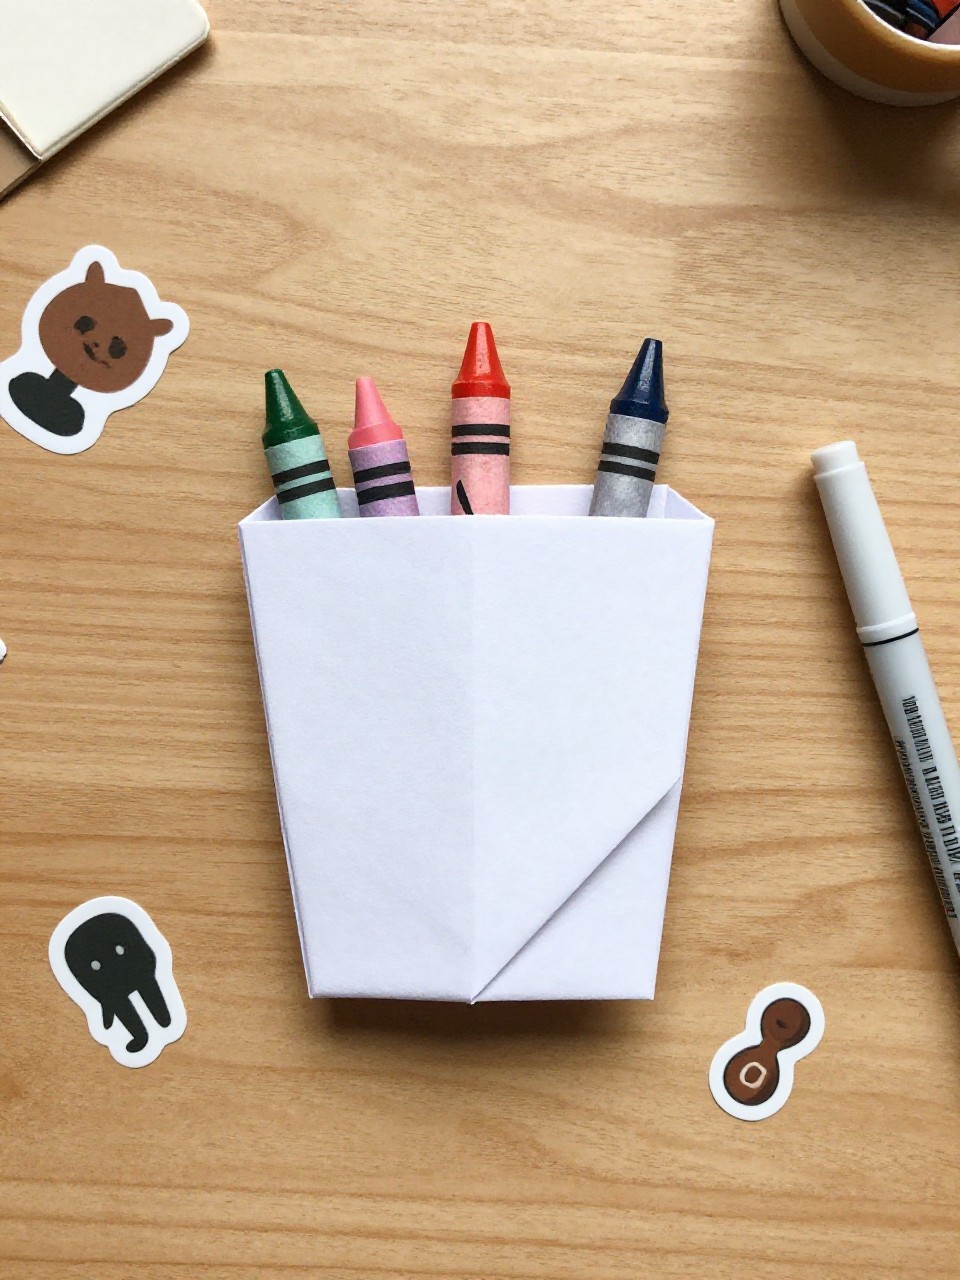
A little paper cup that can hold small snacks or crayons for a short time. It’s fast to fold and handy for classroom sorting games.
Materials Needed:
- Square paper
- Stickers for labels [optional]
- Marker to write names [optional]
How to make it:
- Fold the square diagonally into a triangle with the point up.
- Fold the right corner across to the left edge; repeat with the left corner to the right edge.
- Fold the top front flap down, then fold the back top flap down.
- Open the pocket to make a cup and label it.
16. Origami Samurai Helmet (Kabuto)
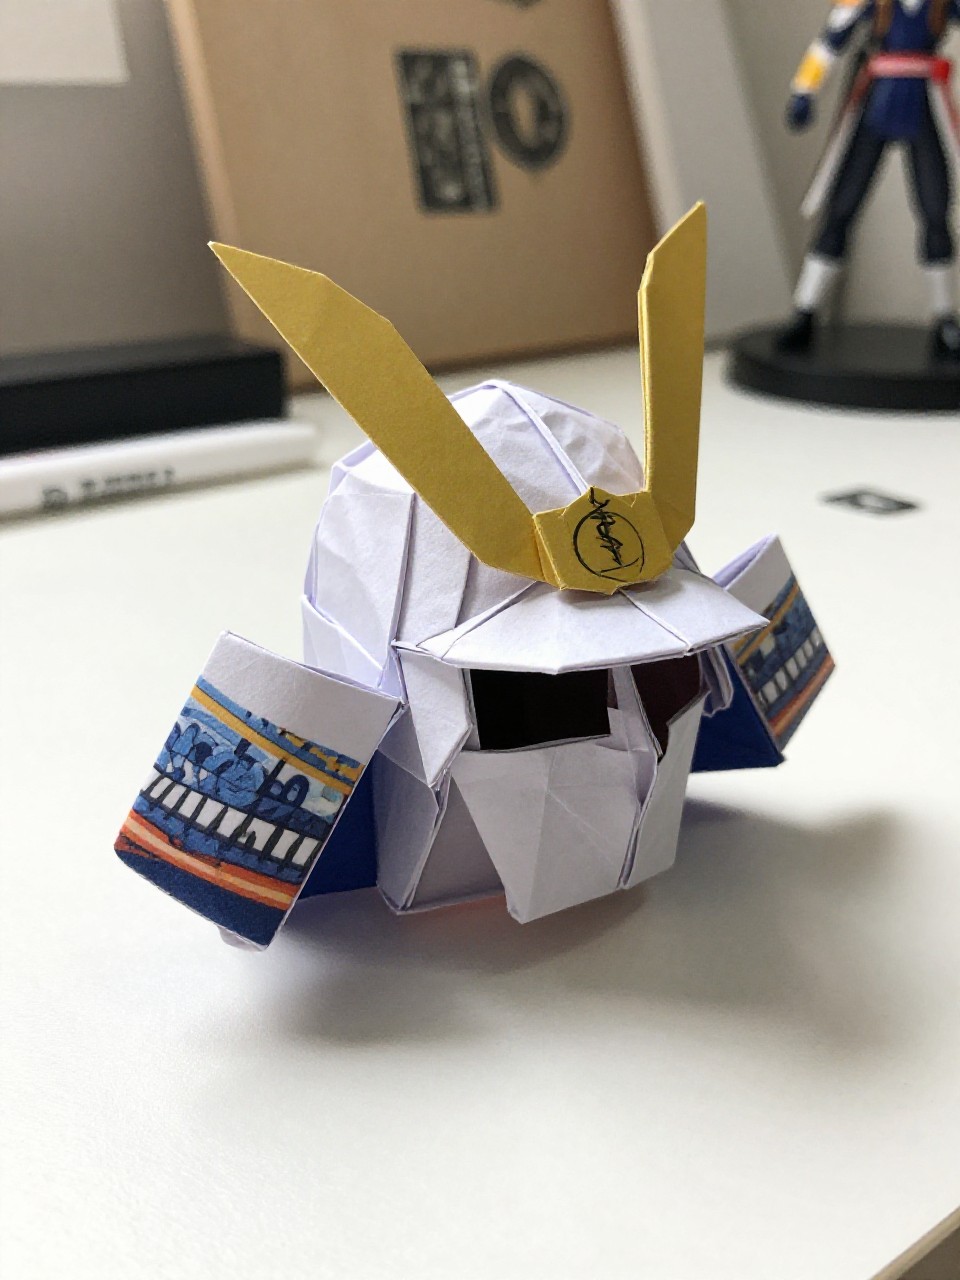
A bold helmet shape that fits on a small toy or finger. Kids enjoy wearing it on mini figures or turning it into a paper hat for tiny dolls.
Materials Needed:
- Square paper (larger makes a sturdier helmet)
- Gold or metallic sticker for crest [optional]
- Marker for patterns [optional]
How to make it:
- Fold square into a triangle, then fold the left and right corners up to the top point.
- Fold the bottom layer up to lock the sides, then fold a small brim.
- Tuck edges to sharpen the front points.
- Add a crest sticker and place it on a small figure.
17. Origami Star (Lucky Star Strips)
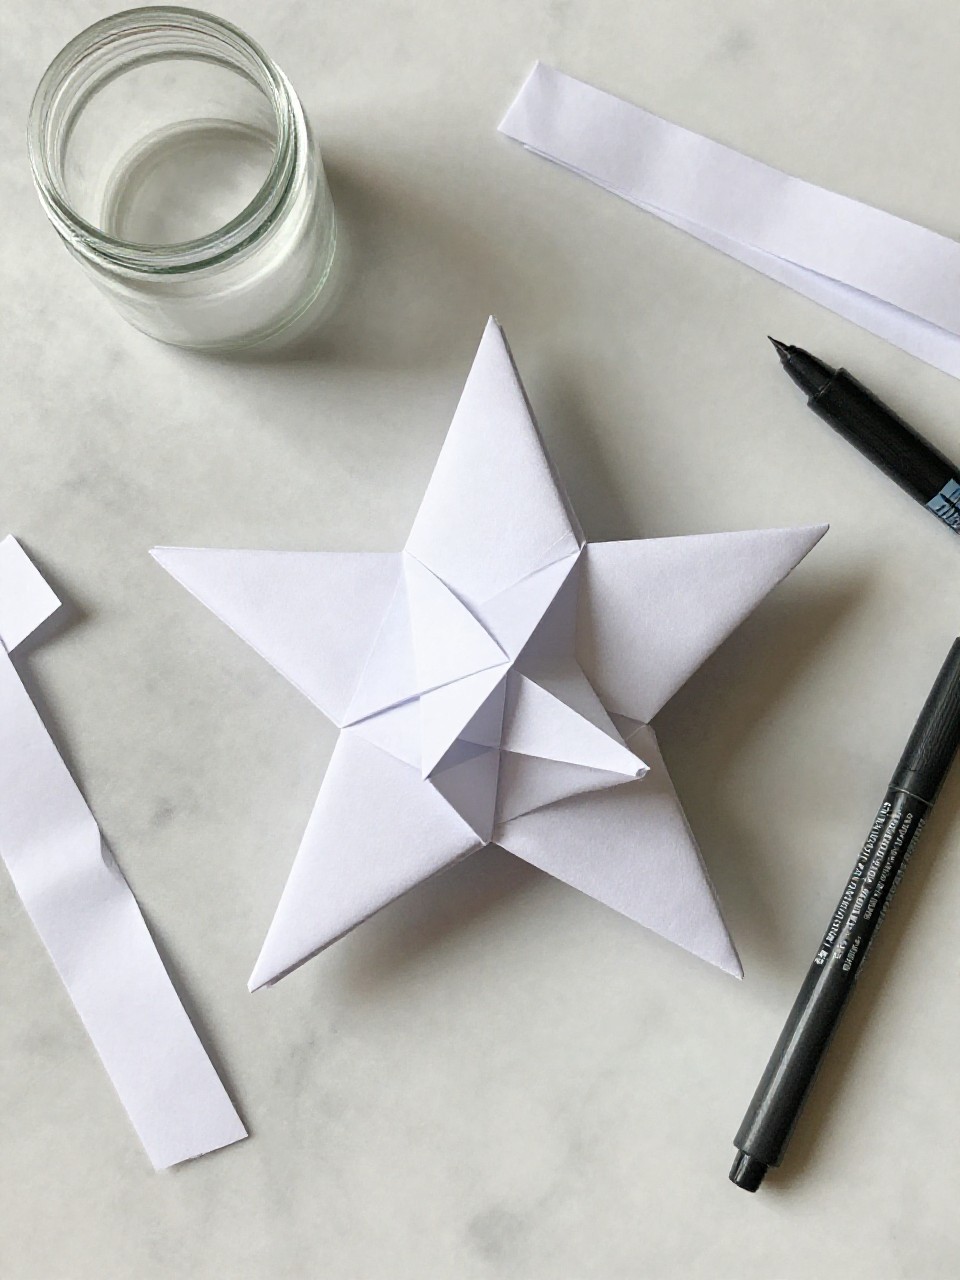
Tiny puffy stars made from paper strips that look cute in a jar. Rolling and pinching the shape is calming, and making a bunch feels rewarding.
Materials Needed:
- Paper strips (about 1/2 inch wide)
- Small jar or bowl for display
- Fine marker for wishes [optional]
How to make it:
- Tie a flat knot at one end of the strip to make a small pentagon; tuck the short tail.
- Wrap the strip around the pentagon edges, keeping the sides flat.
- Pinch each edge gently to puff the star.
- Make a handful and fill a jar; write little wishes on them.