
In This Article Show
Keeping kids busy can be hard, especially on rainy days or when you need a quick classroom activity. If you’re looking for simple, fun projects with minimal mess, paper crafts are a great choice.
This list gathers easy frog-themed paper crafts that kids can make with common supplies at home or school. You’ll find playful ideas that build fine motor skills and spark imagination—let’s jump into the frog fun!
1. Paper Plate Jumping Frog
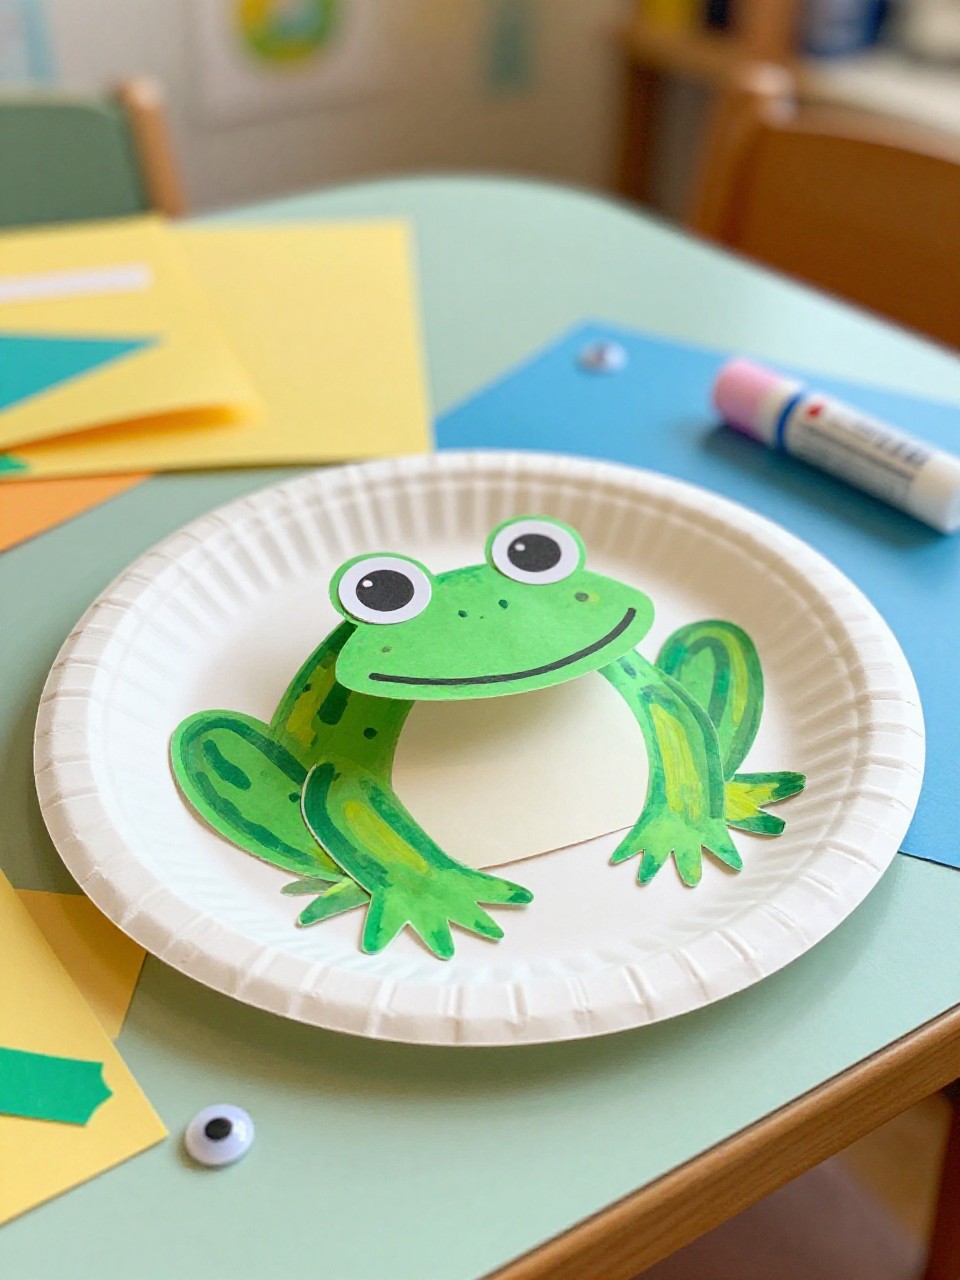
This craft makes a bright green frog face from a paper plate, with big paper eyes and a curled paper tongue that looks ready to catch flies. Kids love the bold, round shape and the chance to add silly expressions, making it perfect for beginners.
Materials Needed:
- Paper plate (white or green)
- Green paint or green paper
- Googly eyes or white paper circles
- Red paper for tongue
- Glue stick, scissors, marker
How to make it:
- Paint the plate green or cover it with green paper; let it dry.
- Cut and glue two half-circles on top for eye bumps; add googly eyes.
- Glue on a curled red paper tongue and draw nostrils and a smile.
- Let dry and hang on a wall or fridge with tape.
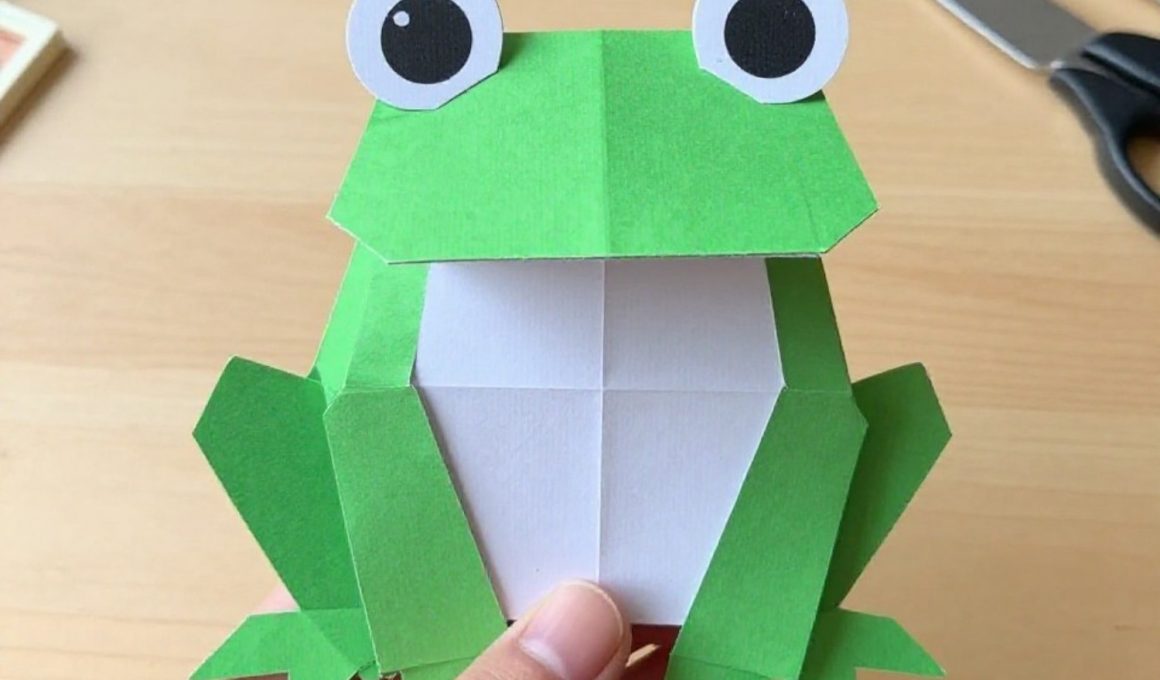
2. Fold-and-Pop Paper Frog Puppet
This puppet looks like a little green frog that opens its mouth when you squeeze the sides, made from a simple folded paper base. Kids enjoy making it “talk,” tell jokes, and pretend to snack on paper flies.
Materials Needed:
- Green construction paper
- White and black paper for eyes and teeth
- Red paper strip for tongue
- Glue stick, scissors, marker
How to make it:
- Fold a rectangle of green paper into a simple mouth puppet (like a folded fortune teller base, but rectangular).
- Glue white paper teeth inside and a curled red tongue.
- Add big eyes on top with white and black circles; draw spots on the body.
- Squeeze to make it talk and put on a mini frog show.
3. Handprint Lily Pad Frog Art
The finished picture shows a frog body made from a child’s green handprints sitting on a round lily pad, with a blue pond background. Kids love seeing their handprints turn into a real frog shape, and it makes a cute keepsake.
Materials Needed:
- White cardstock
- Green, blue, and pink paper
- Washable green paint (or cut green handprints from paper)
- Glue stick, marker
How to make it:
- Paint hands green and stamp two handprints for the frog’s body and legs on white cardstock (or trace and cut).
- Cut a green circle lily pad with a notch and glue under the handprints.
- Add paper eyes, a smile, and a tiny pink paper flower.
- Glue a blue border or painted water and display flat to dry.
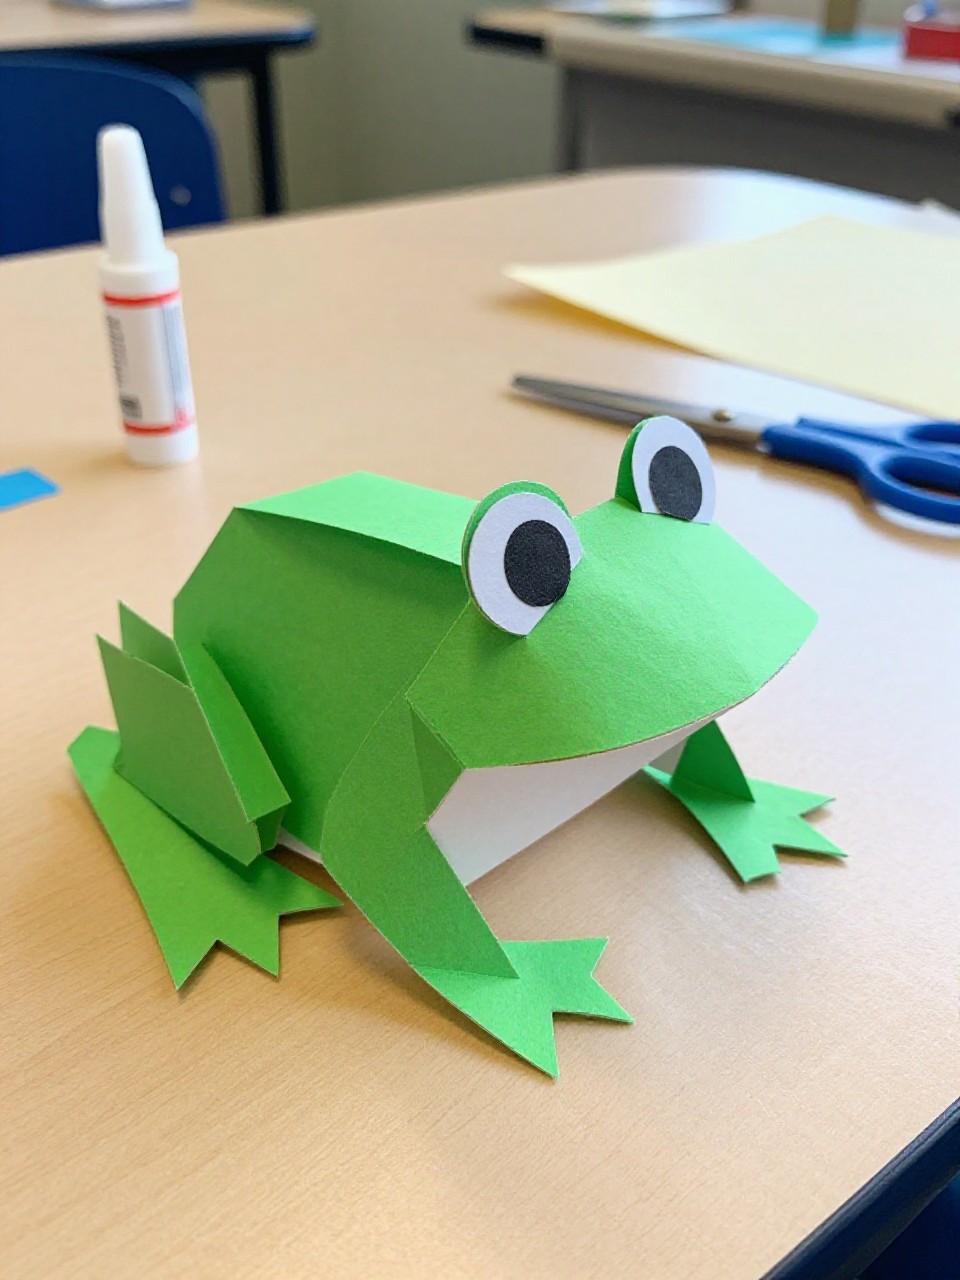
4. Accordion-Tongue Paper Frog
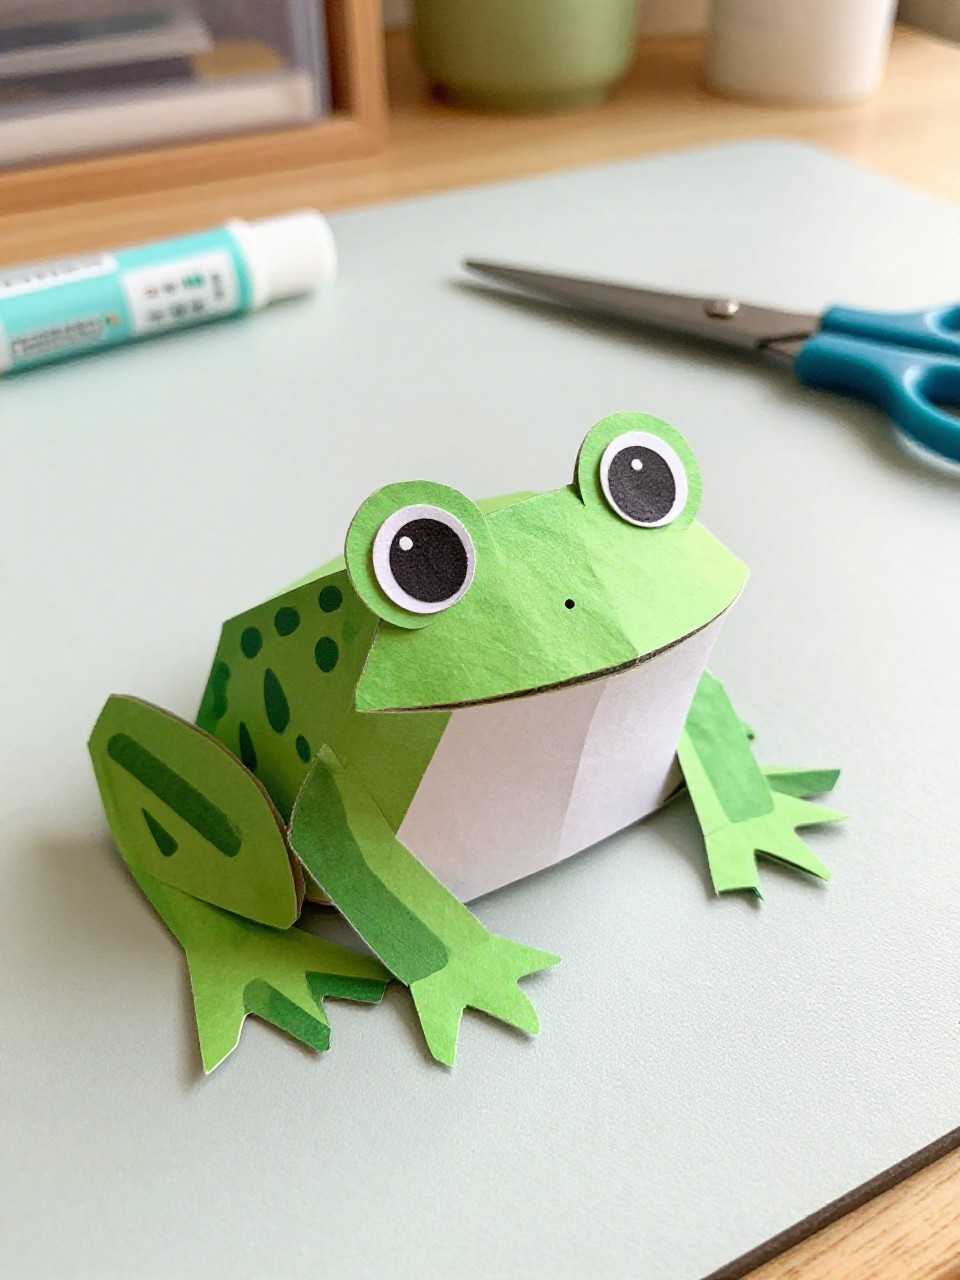
This frog sits upright with a funny folded accordion tongue that stretches out when pulled, made from simple paper shapes. Kids giggle at the pop-out tongue and enjoy the easy folding steps.
Materials Needed:
- Green, white, black, and red paper
- Glue stick, scissors
- Marker
- Optional: small pom-poms for cheeks
How to make it:
- Cut a green oval for the body and two circles for eyes; glue to a small base.
- Make an accordion-folded strip of red paper for the tongue and glue under the mouth.
- Add white and black eye circles, spots, and rosy cheeks.
- Pull the tongue to make it “catch” pretend bugs.
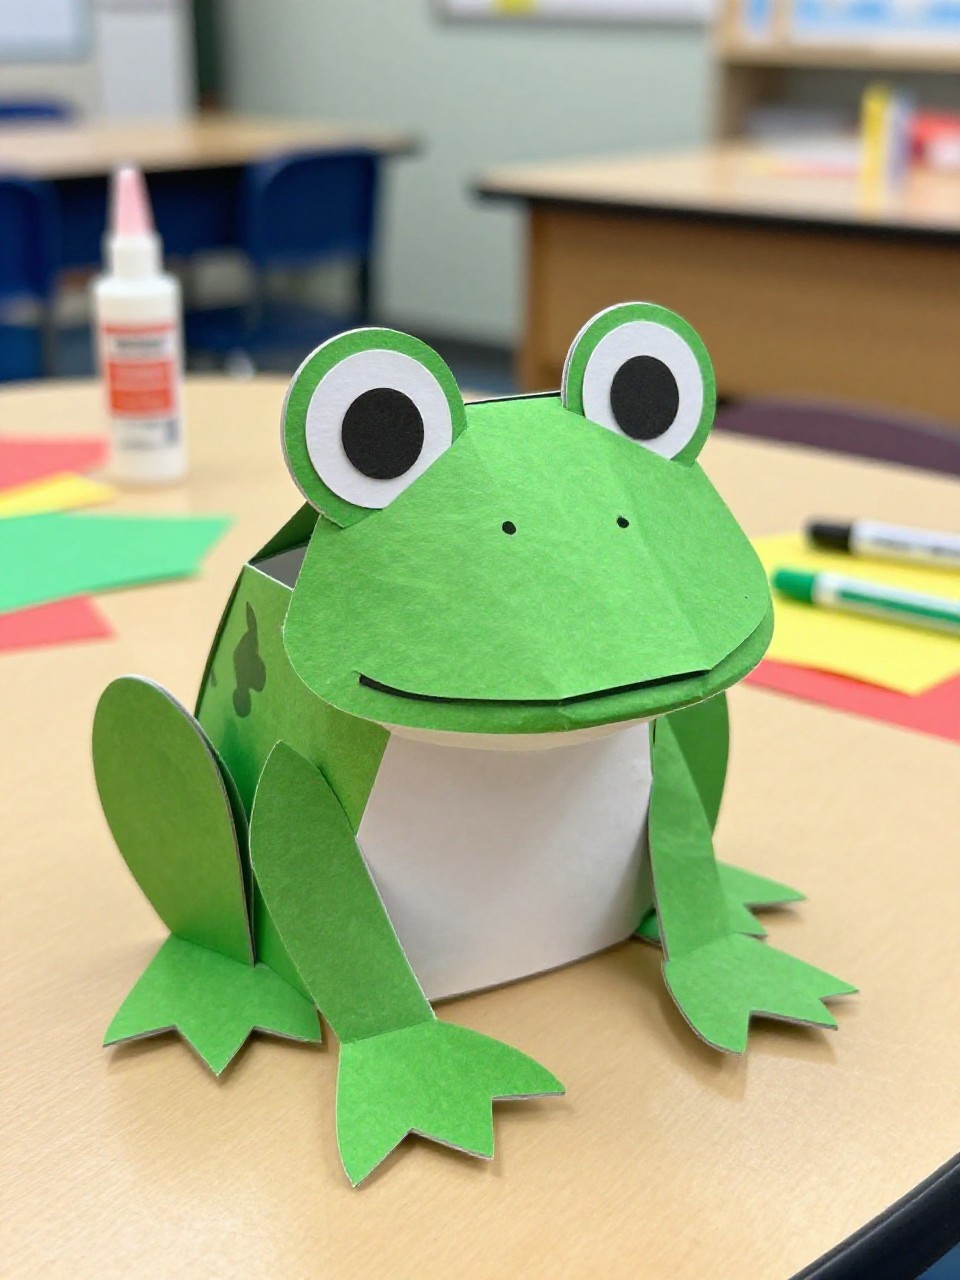
5. Paper Roll Frog Prince
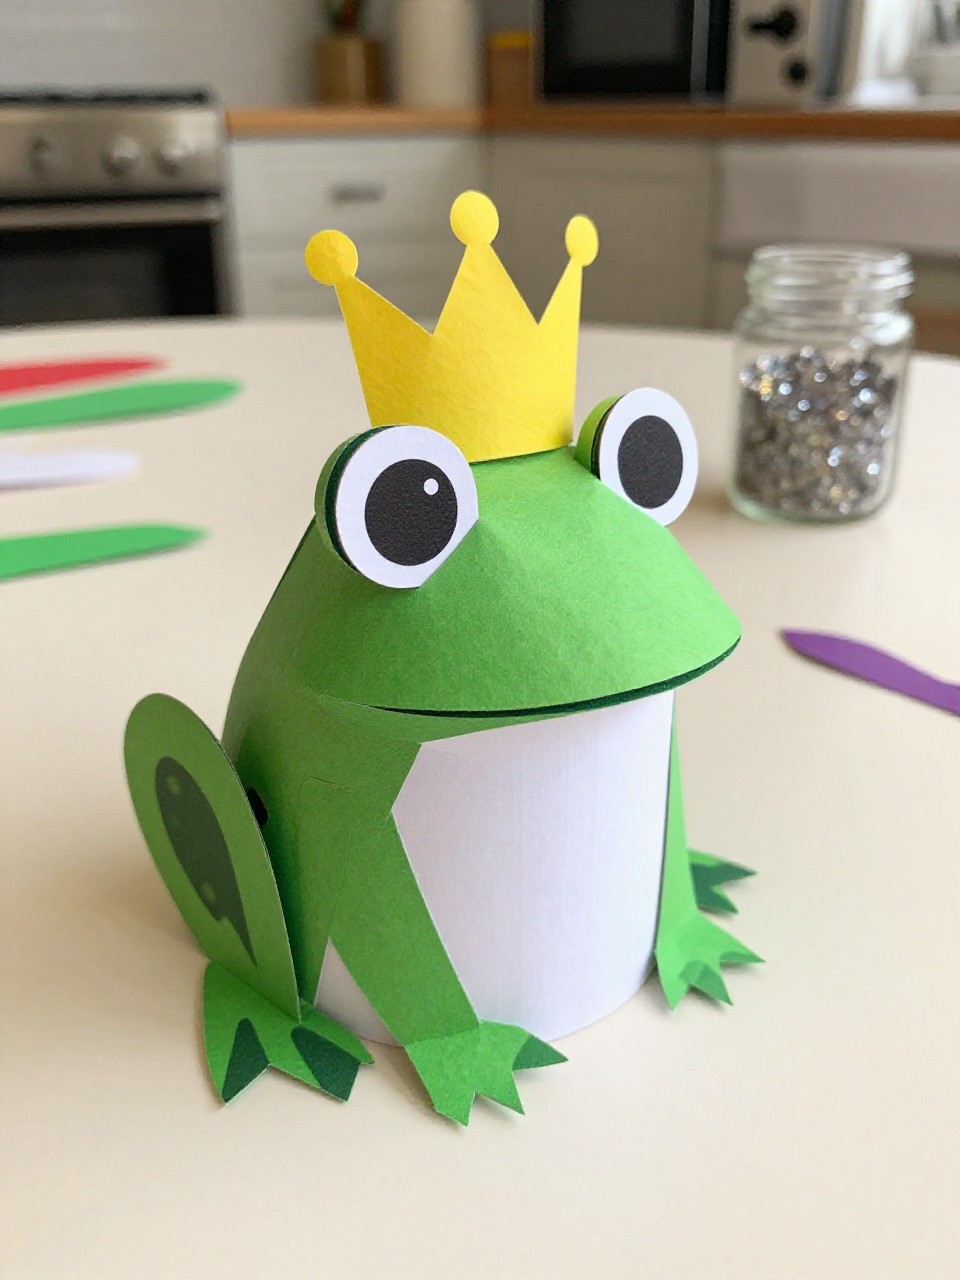
This standing frog uses a recycled toilet paper roll covered in green paper, with a small gold paper crown on top. Kids enjoy giving their frog a royal personality and drawing unique faces.
Materials Needed:
- Toilet paper roll
- Green paper
- Gold/yellow paper for crown
- Googly eyes or paper eyes
- Glue stick, scissors, marker
How to make it:
- Wrap the roll in green paper and glue.
- Cut and glue two paper legs and two arms onto the roll.
- Add eyes, a smile, and spots; make and glue a small crown.
- Let dry and stand it up for pretend play.
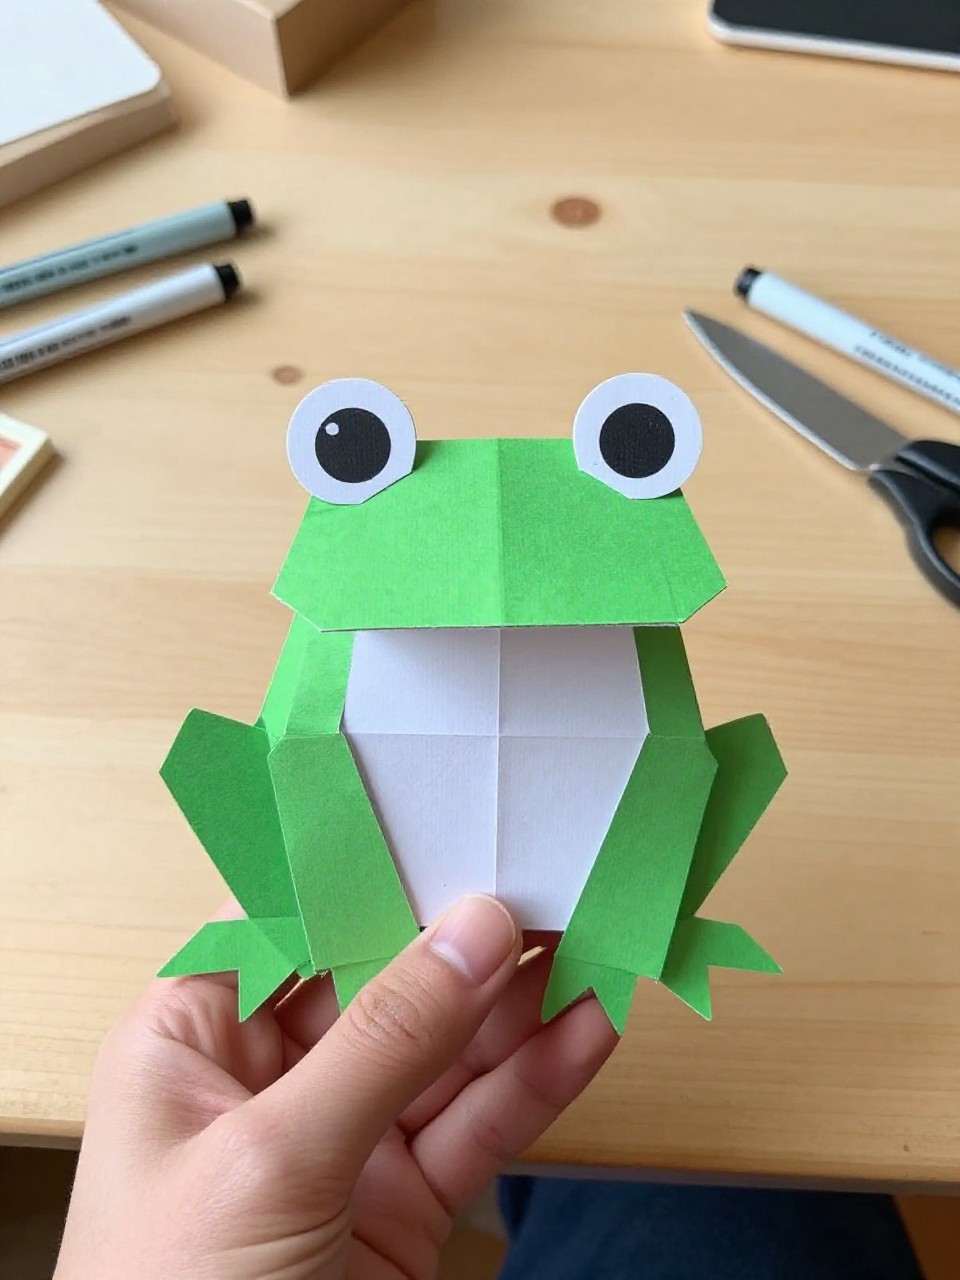
6. Jumping Origami Paper Frog
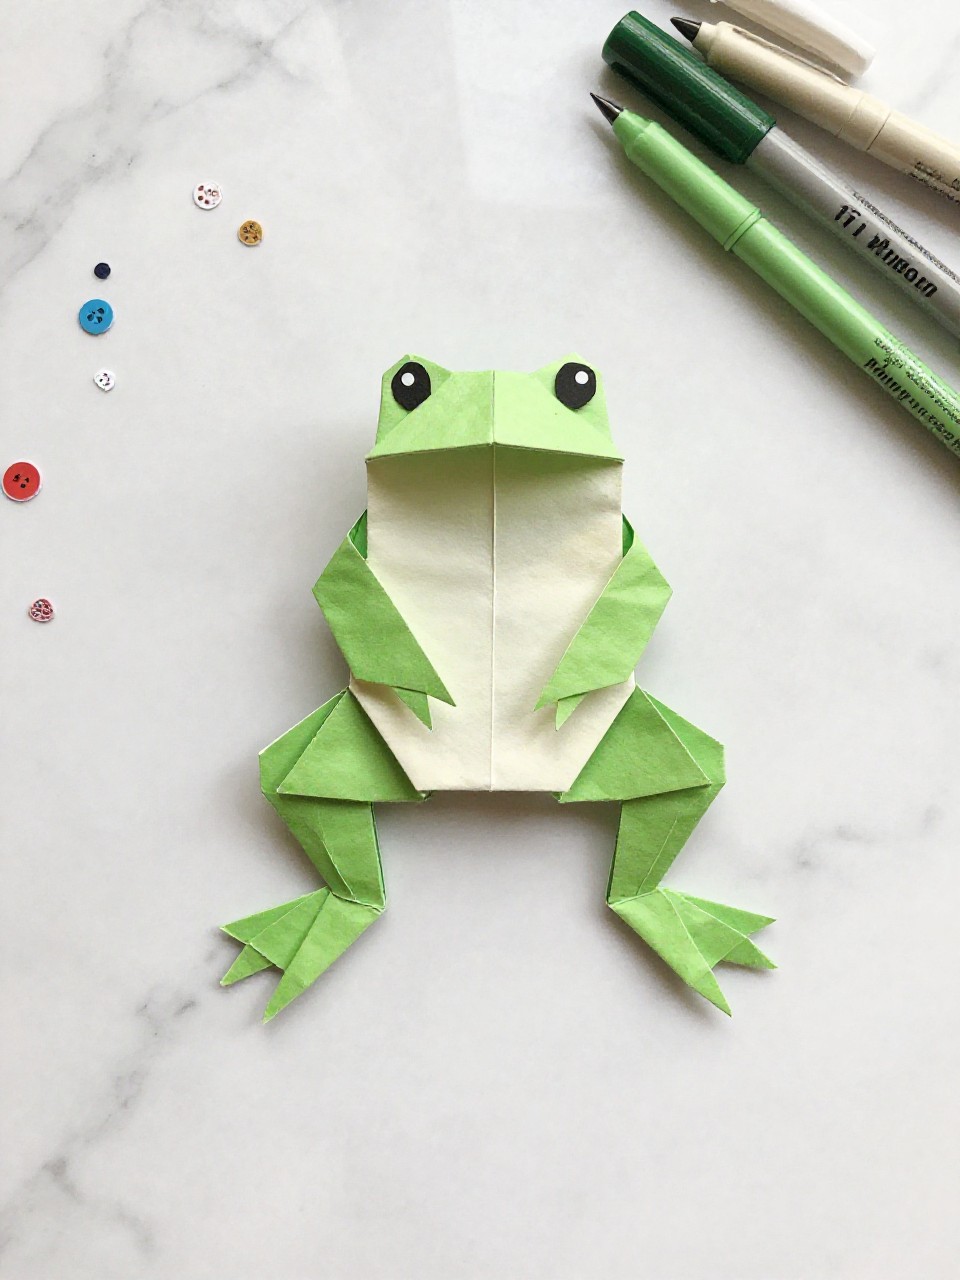
This craft becomes a small folded frog that can actually hop when you press its back. Kids love testing how far it can jump and decorating each frog differently.
Materials Needed:
- Green origami or printer paper
- Marker for eyes and spots
- Small stickers (optional)
How to make it:
- Cut paper into a rectangle and follow a simple jumping frog origami fold.
- Draw big eyes, nostrils, and spots on its back.
- Add a tiny sticker fly target on another paper.
- Press and release the frog’s back to make it hop toward the target.
7. Paper Strip Chain Frog
This frog has a cute round body made from looped paper strips linked into a chain, with dangling legs and big eyes. Kids enjoy the easy looping and watching the frog “bounce” when moved.
Materials Needed:
- Green paper (two shades is fun)
- Red paper for tongue
- White and black paper for eyes
- Glue stick, tape, scissors
How to make it:
- Cut green strips and link them into 2–3 paper chains for the body.
- Add a small chain for the head and attach to the body.
- Glue paper feet, arms, eyes, and a curled red tongue.
- Hang from a string or place on a shelf to wiggle.
8. Frog Face Corner Bookmark
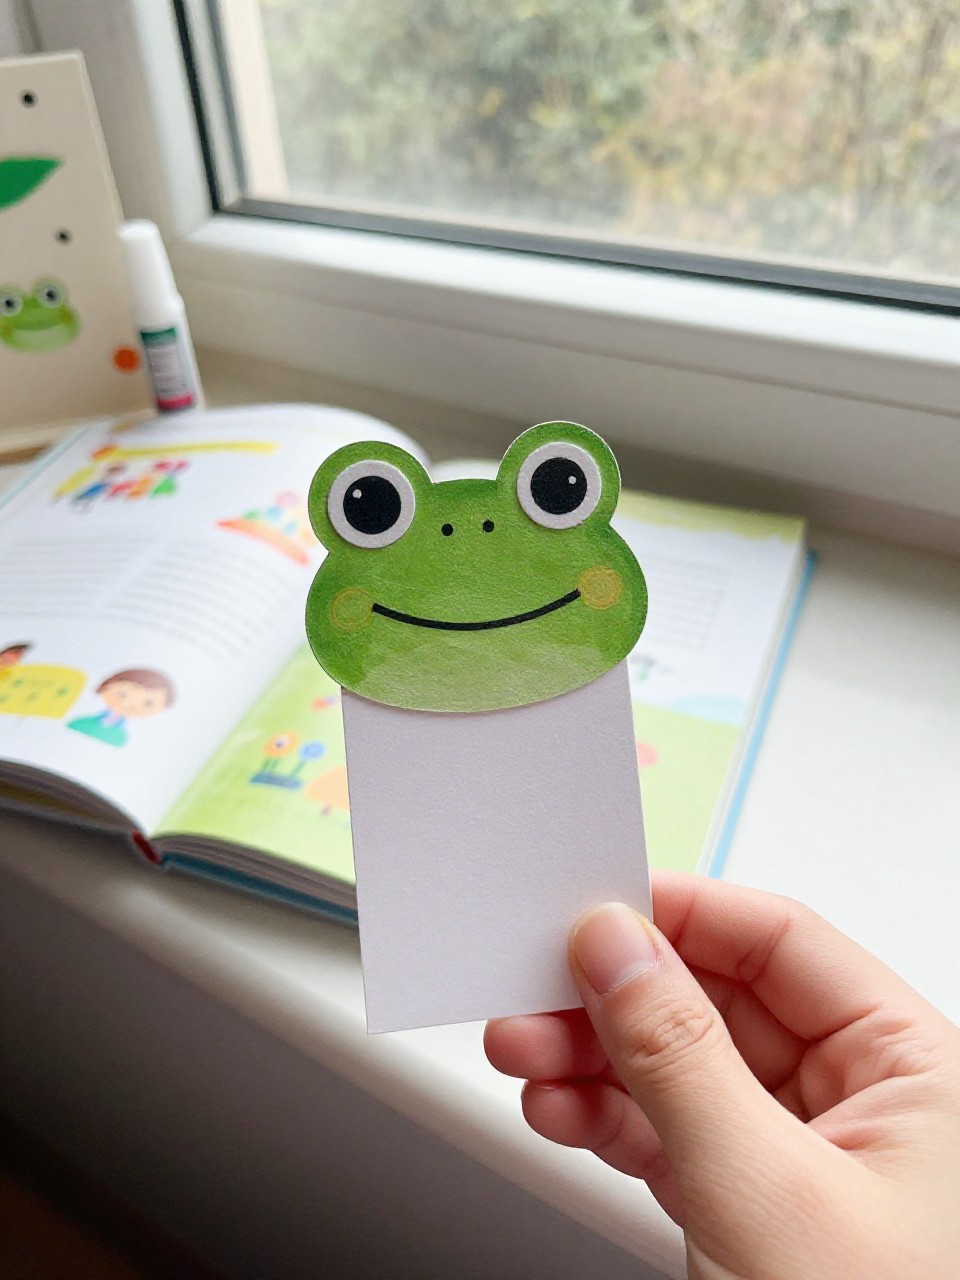
The finished bookmark hugs the corner of a page, showing a triangle frog face with peeking eyes and a tiny tongue. Kids enjoy using it with storybooks and gifting extras to friends.
Materials Needed:
- Green square paper
- Small scraps of white, black, and red paper
- Glue stick, scissors, marker
How to make it:
- Fold a square into a corner bookmark triangle.
- Cut and glue frog eyes on top and a red paper tongue under the flap.
- Add white teeth or spots and draw nostrils.
- Slip the bookmark onto a favorite book page.
9. Paper Tube Frog On a Lily Pad
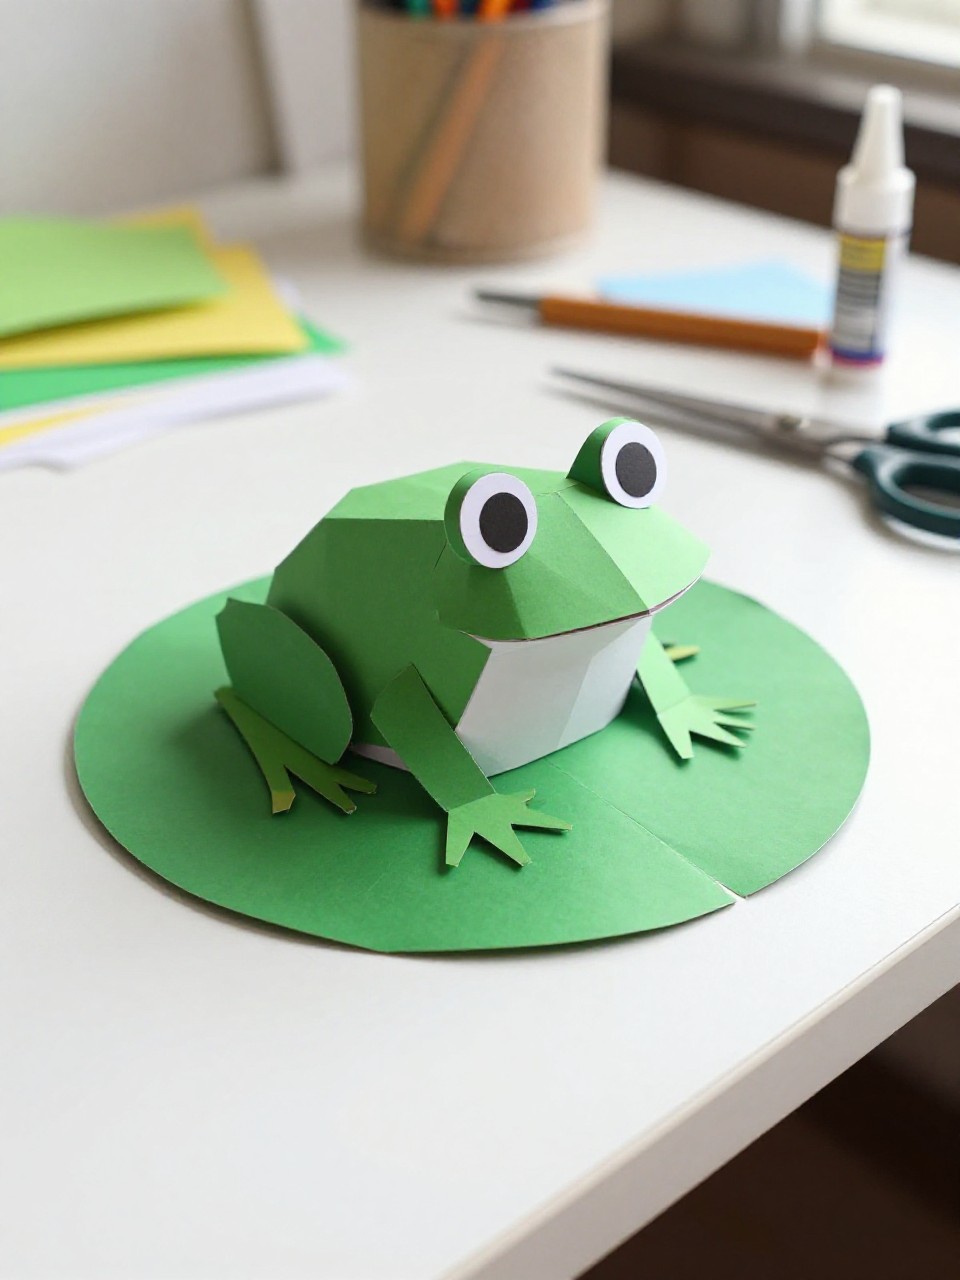
This craft stands a green paper tube frog on a flat paper lily pad with a flower beside it. Kids love arranging the scene and moving the frog around the “pond.”
Materials Needed:
- Paper tube or rolled cardstock
- Green, blue, and pink paper
- Googly eyes or paper eyes
- Glue stick, scissors, marker
How to make it:
- Cover the tube with green paper and draw a smile and spots.
- Cut and glue legs and arms to the tube; add eyes on top.
- Make a green lily pad circle with a notch and a small pink flower.
- Glue or place the frog on the lily pad scene for display.
10. Frog Life Cycle Paper Wheel
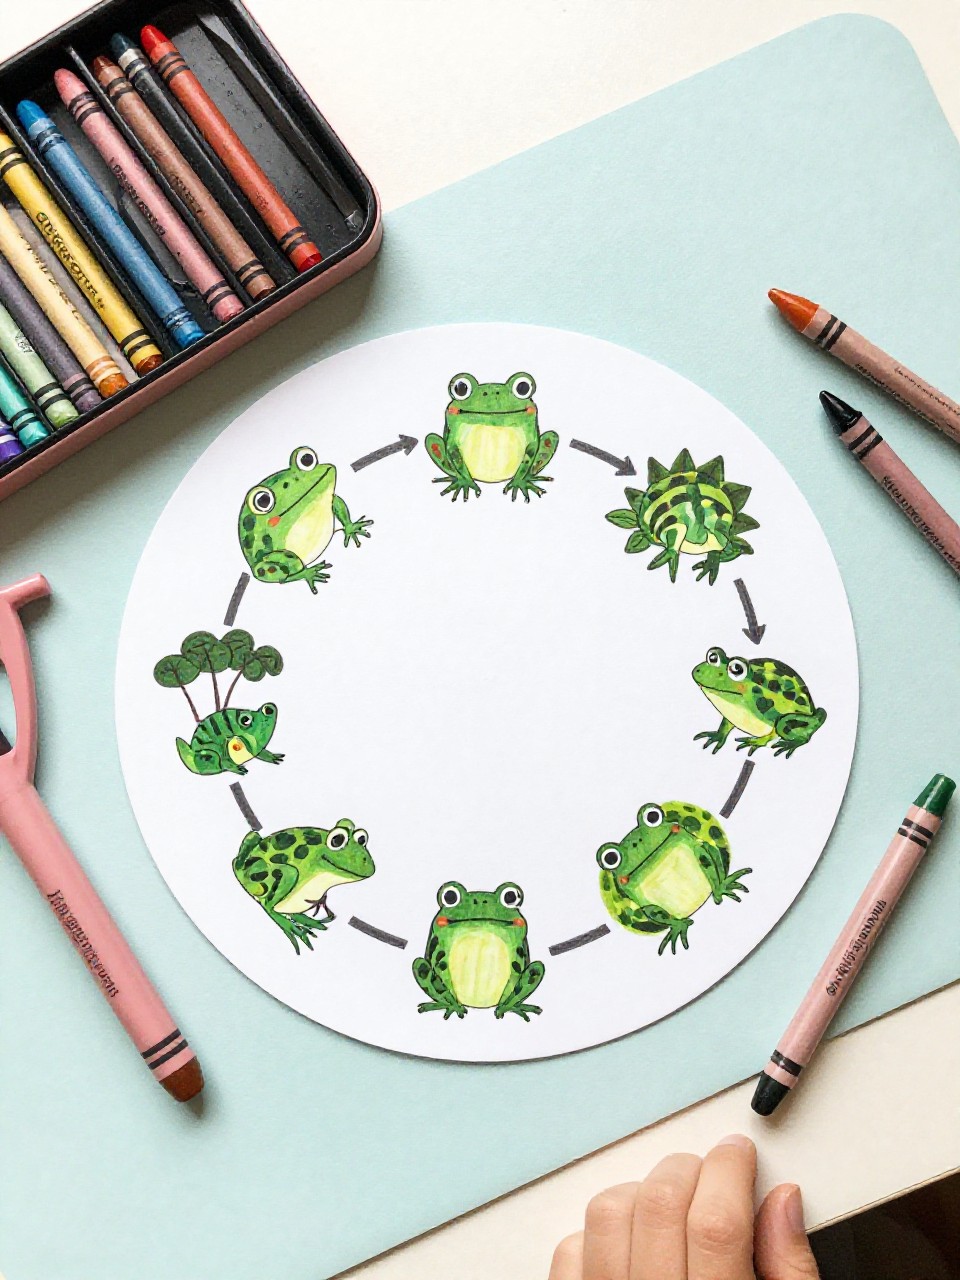
This spinning wheel shows egg, tadpole, froglet, and adult frog stages through a cutout window as you turn it. Kids enjoy learning science while crafting and coloring each stage.
Materials Needed:
- Two cardstock circles
- Split pin/brad
- Markers or crayons
- Green and black paper for frog details
- Scissors
How to make it:
- Draw and color life cycle pictures on the bottom circle.
- Cut a window in the top circle and label each stage around the edge.
- Attach both circles with a brad in the center; add a small paper frog on top.
- Spin to view each stage and share what you learned.
11. Peekaboo Paper Bag Frog Puppet
This puppet is a green paper bag frog with a flap mouth that opens to show a long red tongue and a tiny paper fly. Kids love silly puppet voices and quick storytelling.
Materials Needed:
- Paper lunch bag
- Green paper or paint
- Red, white, and black paper
- Glue stick, scissors, marker
How to make it:
- Cover the bag with green paper or paint; let dry.
- Add eye circles to the top flap and arms/legs to the sides.
- Glue a red tongue under the flap and a tiny fly on the tongue.
- Put your hand in and start a frog puppet show.
12. Paper Crown with Frog Friends
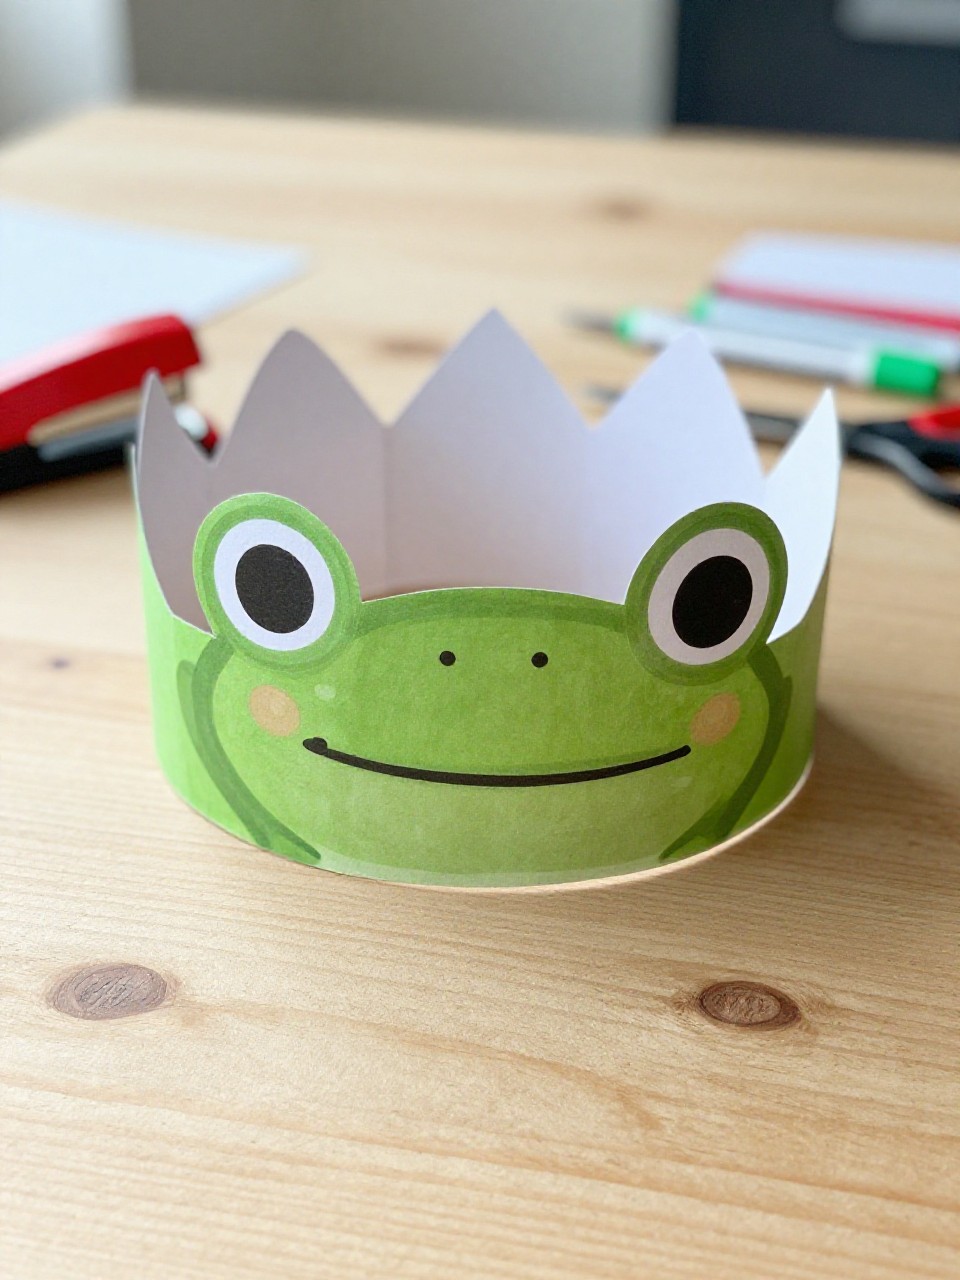
This is a wearable green paper crown decorated with small cutout frogs sitting along the band. Kids enjoy making wearable art and choosing how many frog friends ride on top.
Materials Needed:
- Green cardstock strips
- Lighter green paper for small frogs
- Glue stick, scissors, marker
- Tape or stapler
How to make it:
- Measure and cut a crown band from cardstock to fit the head.
- Cut simple frog shapes (ovals with legs) and draw faces.
- Glue the frogs around the band; add spots and mini lily pads.
- Tape or staple the crown to size and wear it proudly.
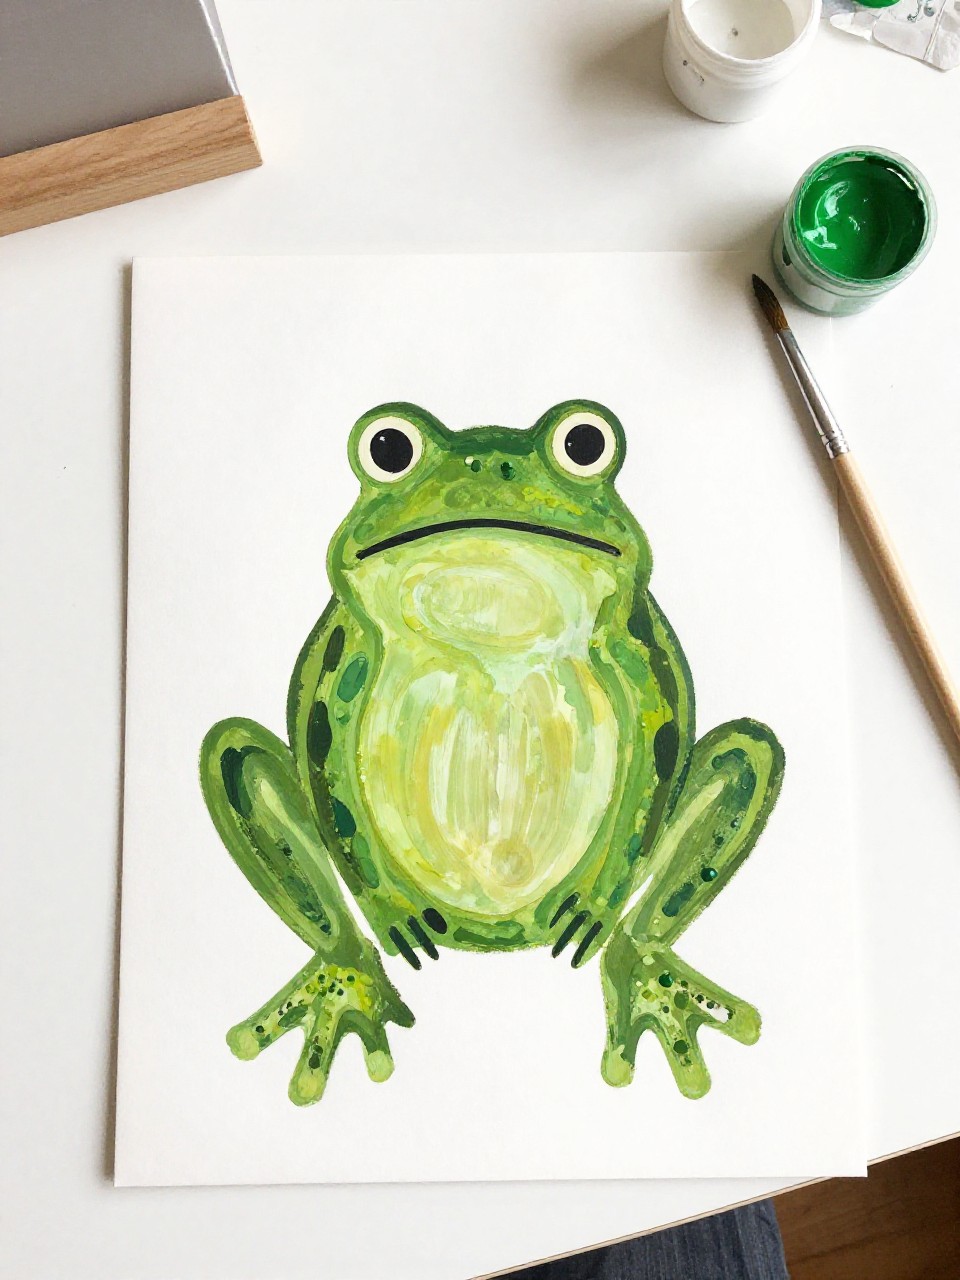
13. Tissue Paper Mosaic Frog
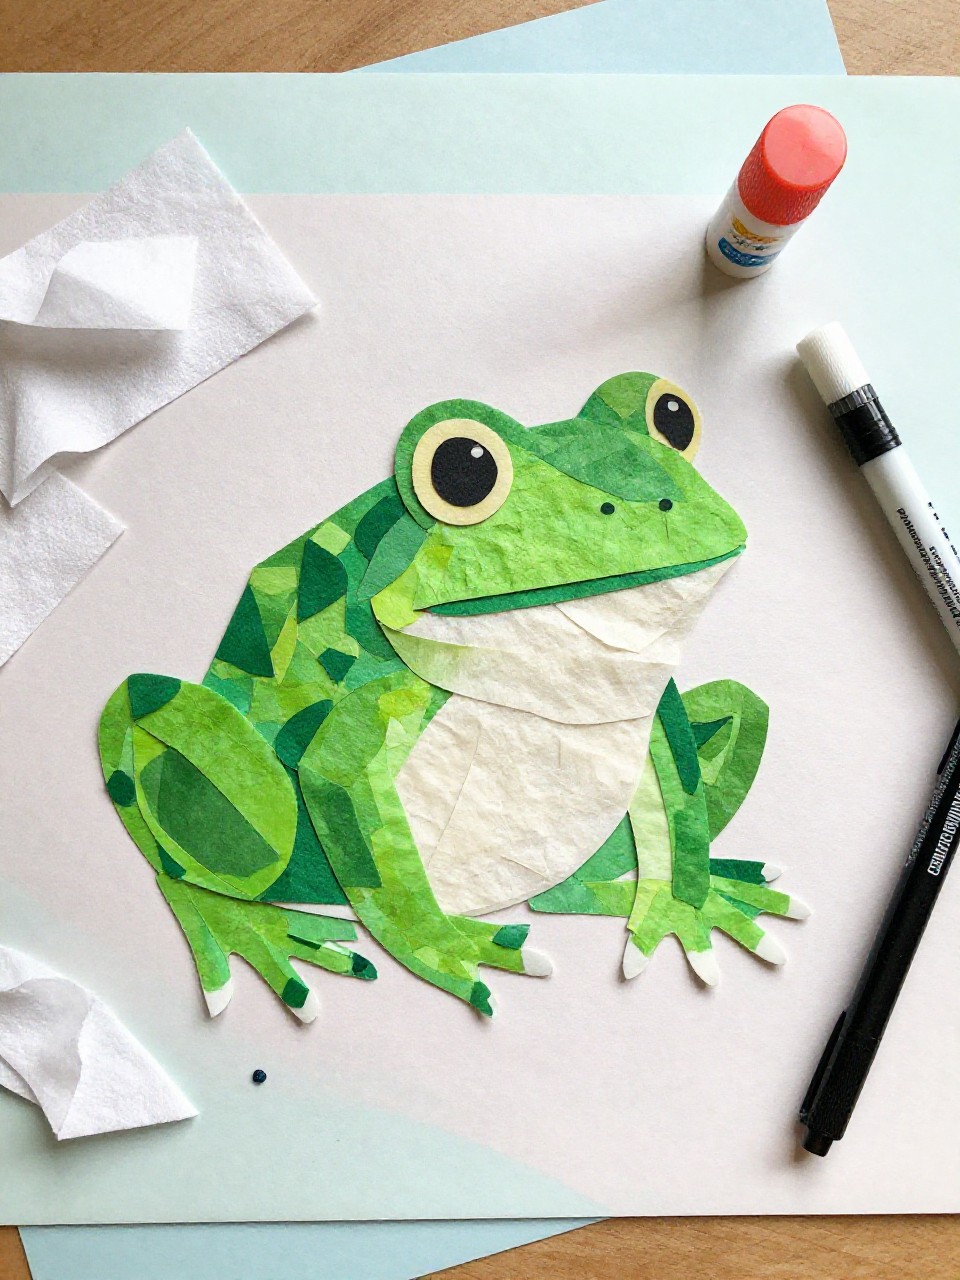
This flat art piece shows a bold frog silhouette filled with scrunched green tissue paper pieces for a bumpy, bright texture. Kids like the sensory feel of crumpling and gluing the bits.
Materials Needed:
- White cardstock
- Green tissue paper (various shades)
- Black marker or black paper for silhouette
- Glue stick
How to make it:
- Draw or glue a black frog silhouette onto cardstock.
- Tear tissue into small squares and scrunch gently.
- Glue the pieces inside the frog shape, mixing shades.
- Let dry and hang as a textured frog mosaic.
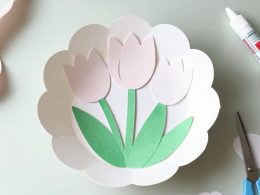
14. Accordion-Legs Paper Frog Card
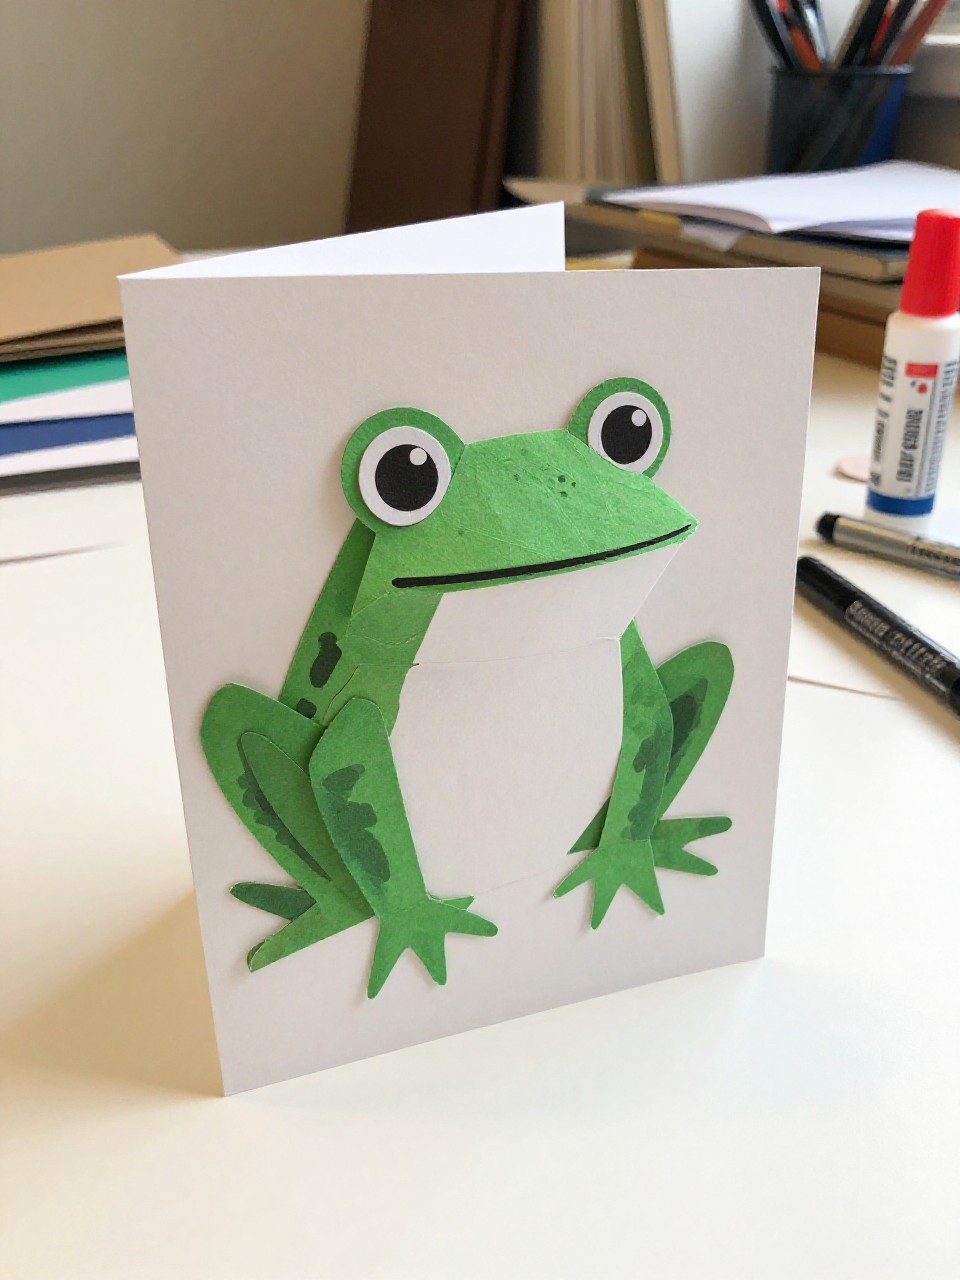
This card opens to reveal a smiling frog with springy accordion legs that dangle down when you stand it up. Kids enjoy writing a short message like “Hoppy Day!” inside.
Materials Needed:
- Green cardstock for card base
- Light green and white paper
- Red paper for tongue
- Glue stick, scissors, marker
How to make it:
- Fold green cardstock in half for a card.
- Cut a frog head and body and glue to the front or inside.
- Make two accordion-fold leg strips and add webbed feet; attach under the body.
- Add eyes, a tongue, spots, and a friendly note.
15. Paper Circle Frog Garland
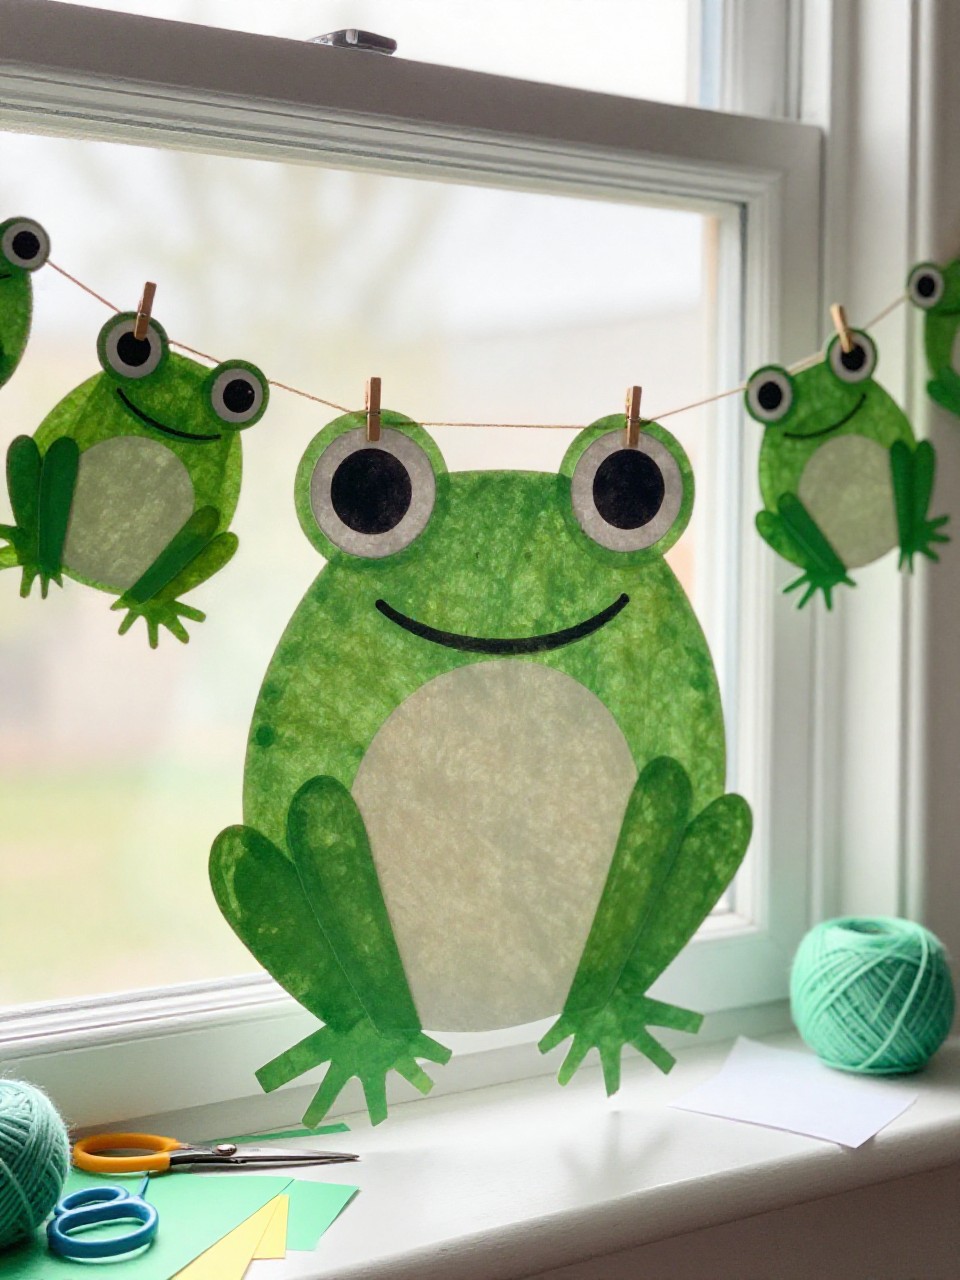
This garland strings together several simple paper circle frogs with smiling faces and tiny lily pad spacers. Kids love making a long decoration for a window or party corner.
Materials Needed:
- Green, white, black, and pink paper
- Yarn or string
- Hole punch or tape
- Glue stick, scissors, marker
How to make it:
- Cut green circles for heads and smaller circles for eyes and cheeks.
- Assemble each frog face with eyes, smile, and spots.
- Punch holes at the top or tape frogs to a string; add small lily pad circles between.
- Hang the garland across a wall or shelf.