






In This Article Show
Fall is the season to make sure your home is ready for colder temperatures, heavier rain, falling leaves, and more time spent indoors. Small problems that seem harmless now, such as a loose gutter, a weak door seal, or a dirty heating filter, can become expensive and inconvenient once the weather changes.
This complete fall home maintenance checklist covers the important areas inside and outside your home. It will help you protect your property, improve comfort, reduce wasted energy, and catch repairs before they grow.
Start with urgent safety checks, then work through the remaining tasks over several weekends. By the time colder weather arrives, your home will be prepared for the season ahead.
1. Inspect the Roof Before Heavy Rain Arrives
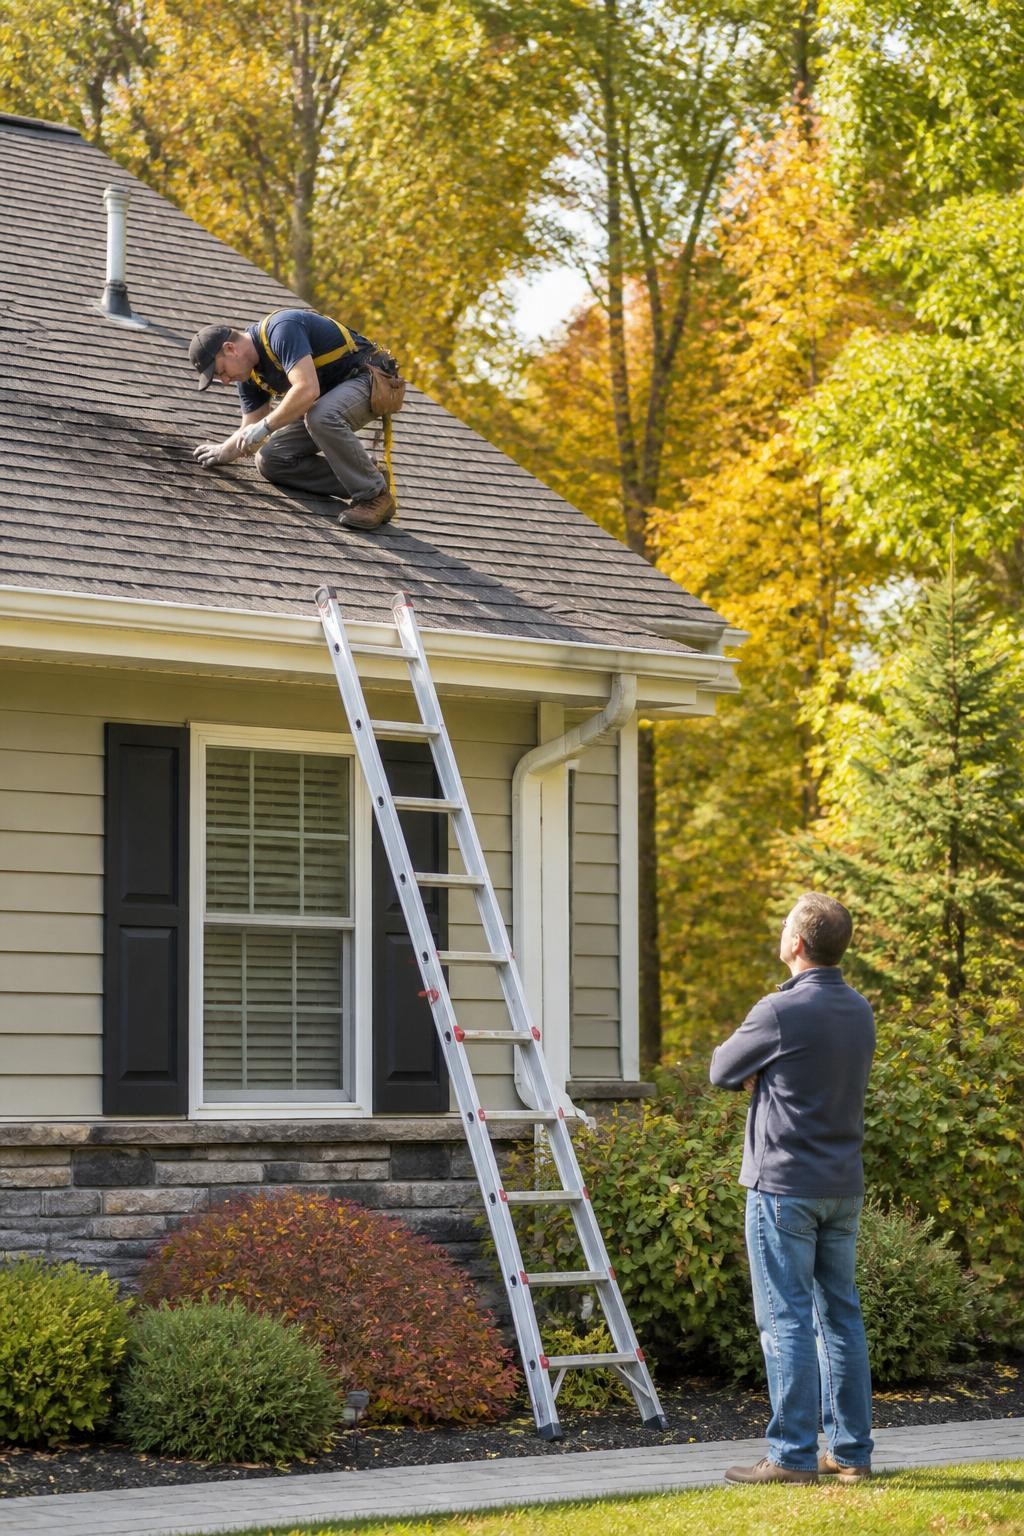
Your roof protects nearly every other part of your home, making it one of the most important places to check before fall rain and winter weather begin. Look for missing shingles, cracked tiles, lifted edges, damaged flashing, sagging sections, and unusual discoloration.
You can inspect much of the roof safely from the ground using binoculars or a camera with a zoom lens. Do not climb onto a steep, wet, damaged, or unfamiliar roof. Arrange a professional inspection when you notice damage or cannot see the roof clearly.
Fall roof checklist:
- Look for missing, cracked, or curling shingles
- Check flashing around chimneys and roof vents
- Watch for sagging roof sections
- Look for dark patches or moss buildup
- Inspect ceilings indoors for water stains
- Check the attic for damp wood or daylight
- Schedule repairs before prolonged rain begins
2. Clear Gutters and Test the Downspouts
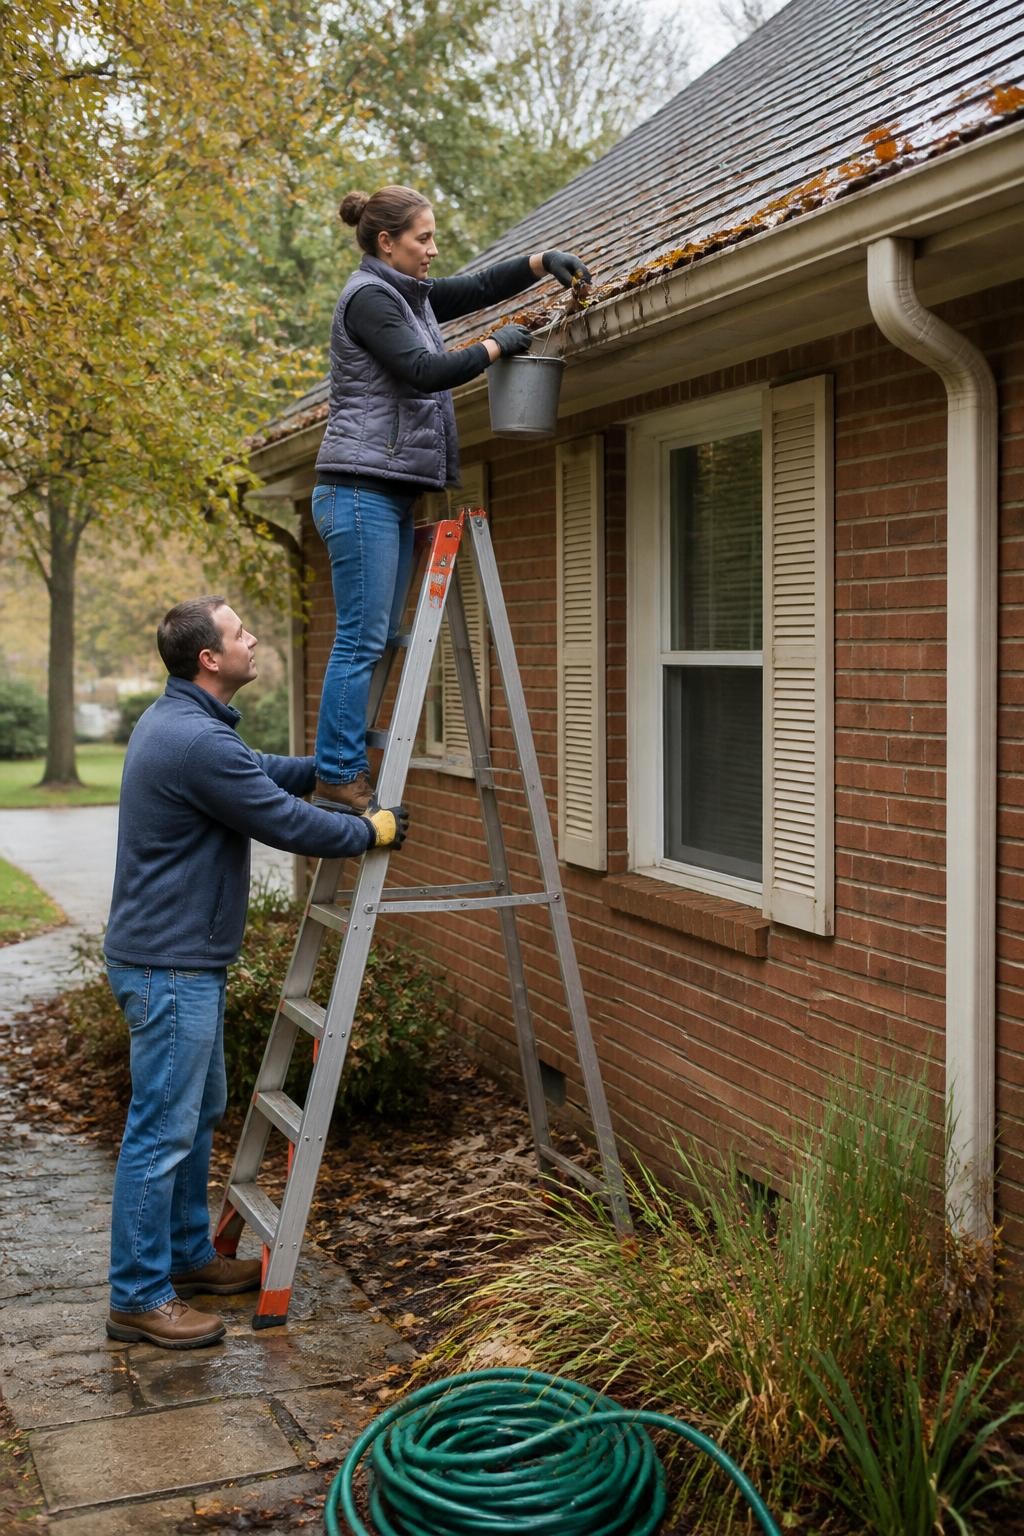
Leaves, twigs, seed pods, and dirt can block gutters quickly during fall. When water cannot move through the system, it may spill over the sides, damage fascia boards, collect near the foundation, or enter the roof.
Remove debris from safely accessible gutters and check that every downspout flows freely. Water should be directed away from the house rather than released beside the foundation. Hire a professional for high gutters, unstable ladders, steep roofs, or areas close to electrical lines.
Gutter checklist:
- Remove leaves and compacted dirt
- Check gutter joints for leaks
- Tighten loose brackets where appropriate
- Flush downspouts with water
- Clear ground-level drain openings
- Add downspout extensions where needed
- Make sure water moves away from the foundation
- Arrange professional cleaning for unsafe areas
3. Check Exterior Walls for Cracks and Gaps

Walk slowly around the outside of your home and inspect the walls from the foundation to the roofline. Small cracks, loose siding, crumbling mortar, and open gaps can allow moisture, insects, and cold air into the building.
Hairline cosmetic cracks may only need monitoring, while widening cracks, horizontal foundation cracks, bulging walls, or recurring dampness deserve professional attention. Repair suitable gaps with products designed for the exact exterior material.
Exterior wall checklist:
- Look for cracks in render, brick, or concrete
- Inspect mortar between bricks
- Check siding for loose or damaged sections
- Look for peeling or blistered paint
- Seal suitable gaps around pipes and cables
- Watch for staining below gutters
- Photograph cracks so you can track changes
- Contact a professional about serious movement
4. Seal Drafty Windows

Small gaps around windows can make rooms feel colder and force heating systems to work harder. Check for air movement around the frame, sash, locks, and meeting points between different materials.
Replace worn weatherstripping and renew damaged caulk where appropriate. Do not seal drainage openings designed to release water from the window system. Windows that are rotting, difficult to close, or showing moisture between double panes may need professional repair.
Window checklist:
- Open and close every window
- Test locks and latches
- Look for cracked or missing sealant
- Replace worn weatherstripping
- Check for rotten or swollen frames
- Clean drainage channels
- Inspect double glazing for trapped moisture
- Wash and dry the frames before applying sealant
5. Inspect Exterior Doors and Thresholds
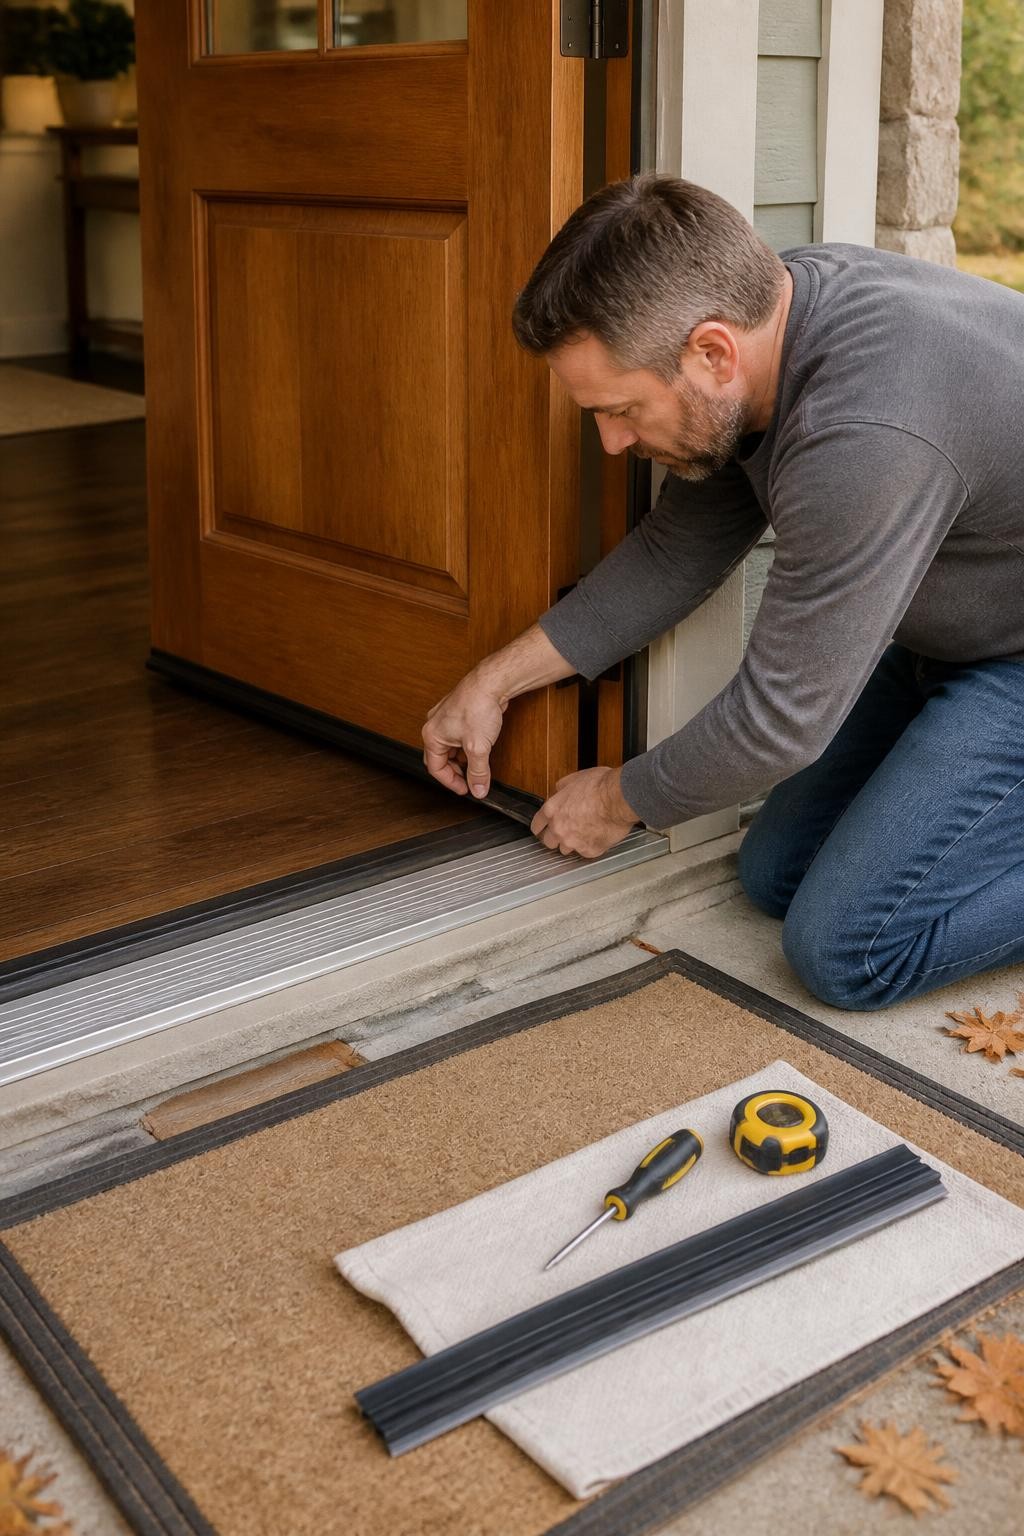
Exterior doors should close firmly without scraping, rattling, or leaving visible gaps. Worn seals around the sides or bottom can allow cold air, rainwater, insects, and outdoor dust into the home.
Check the frame, hinges, locks, handles, threshold, and weatherstripping. Make sure the door opens easily enough to remain a safe emergency exit. Repair damaged locks or misaligned frames promptly.
Exterior door checklist:
- Check for visible light around the frame
- Replace damaged weatherstripping
- Inspect the bottom door sweep
- Tighten loose hinges
- Test locks and deadbolts
- Lubricate suitable moving parts
- Check wood for swelling or rot
- Clean and inspect the threshold
- Confirm the door opens freely
6. Service the Heating System Early
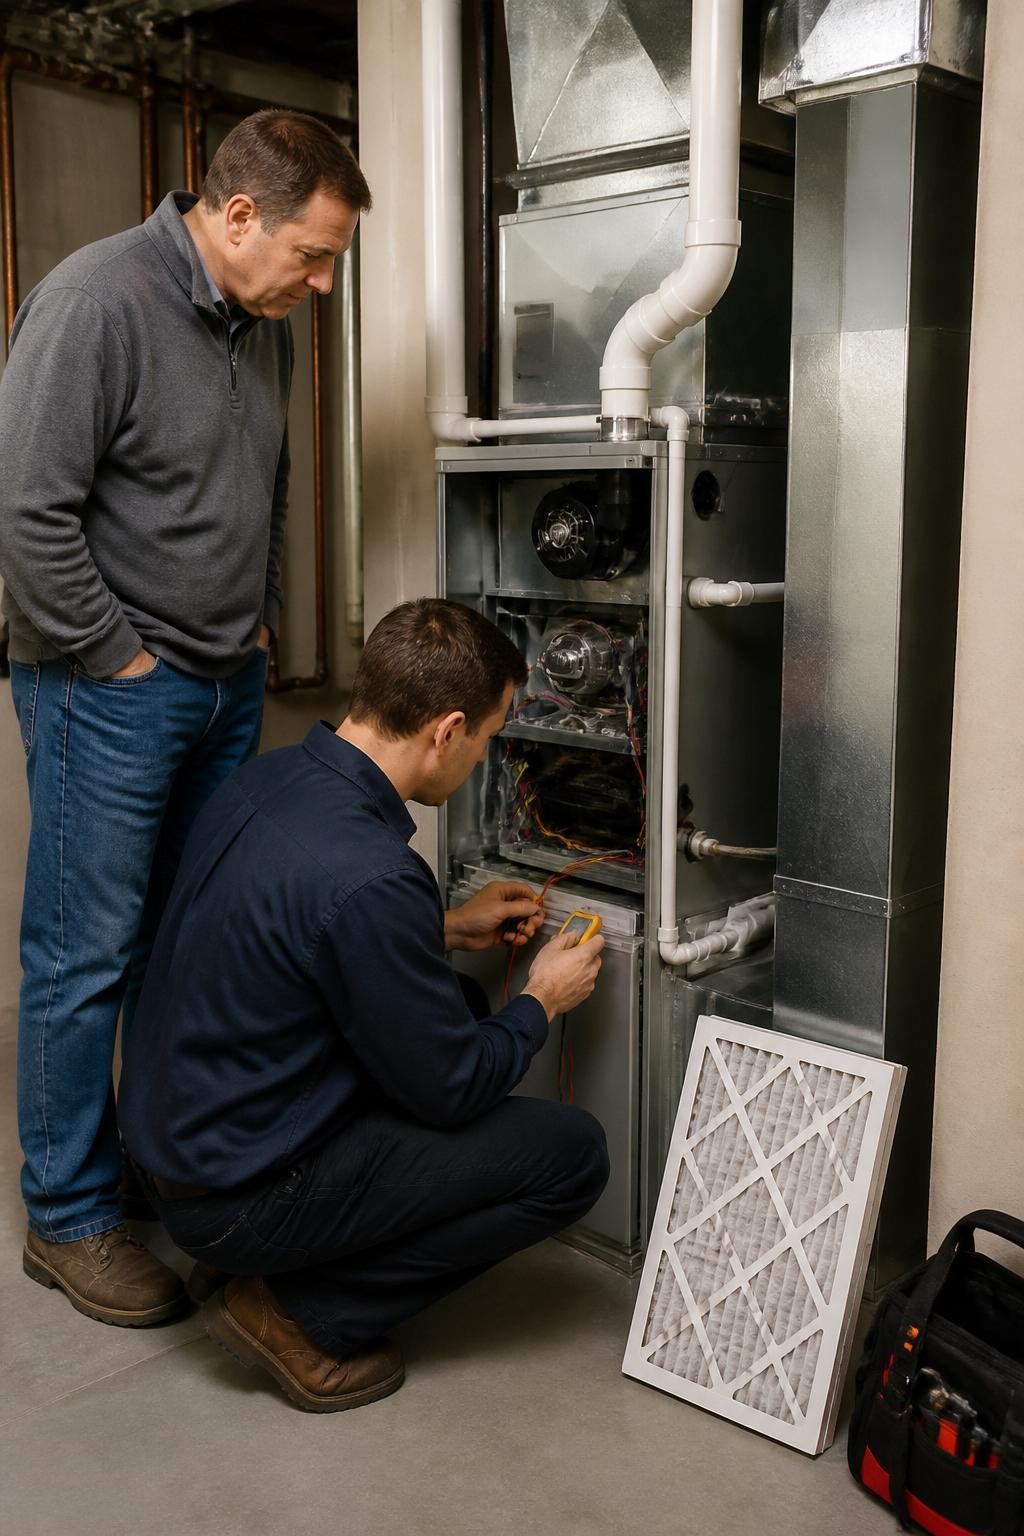
Do not wait for the first cold night to find out that your heating system is not working correctly. Turn it on early, listen for unusual sounds, and confirm that warm air reaches each room.
Professional servicing may be required for furnaces, boilers, heat pumps, fireplaces, or other fixed systems. Gas, fuel, combustion, and major electrical work should always be handled by a qualified technician.
Heating checklist:
- Test the system before temperatures drop
- Listen for banging, rattling, or grinding
- Check for unusual smells
- Confirm every room receives heat
- Clean accessible vents and radiators
- Move furniture away from heat sources
- Replace the heating filter when required
- Schedule professional servicing
- Test the thermostat
7. Replace or Clean Indoor Air Filters
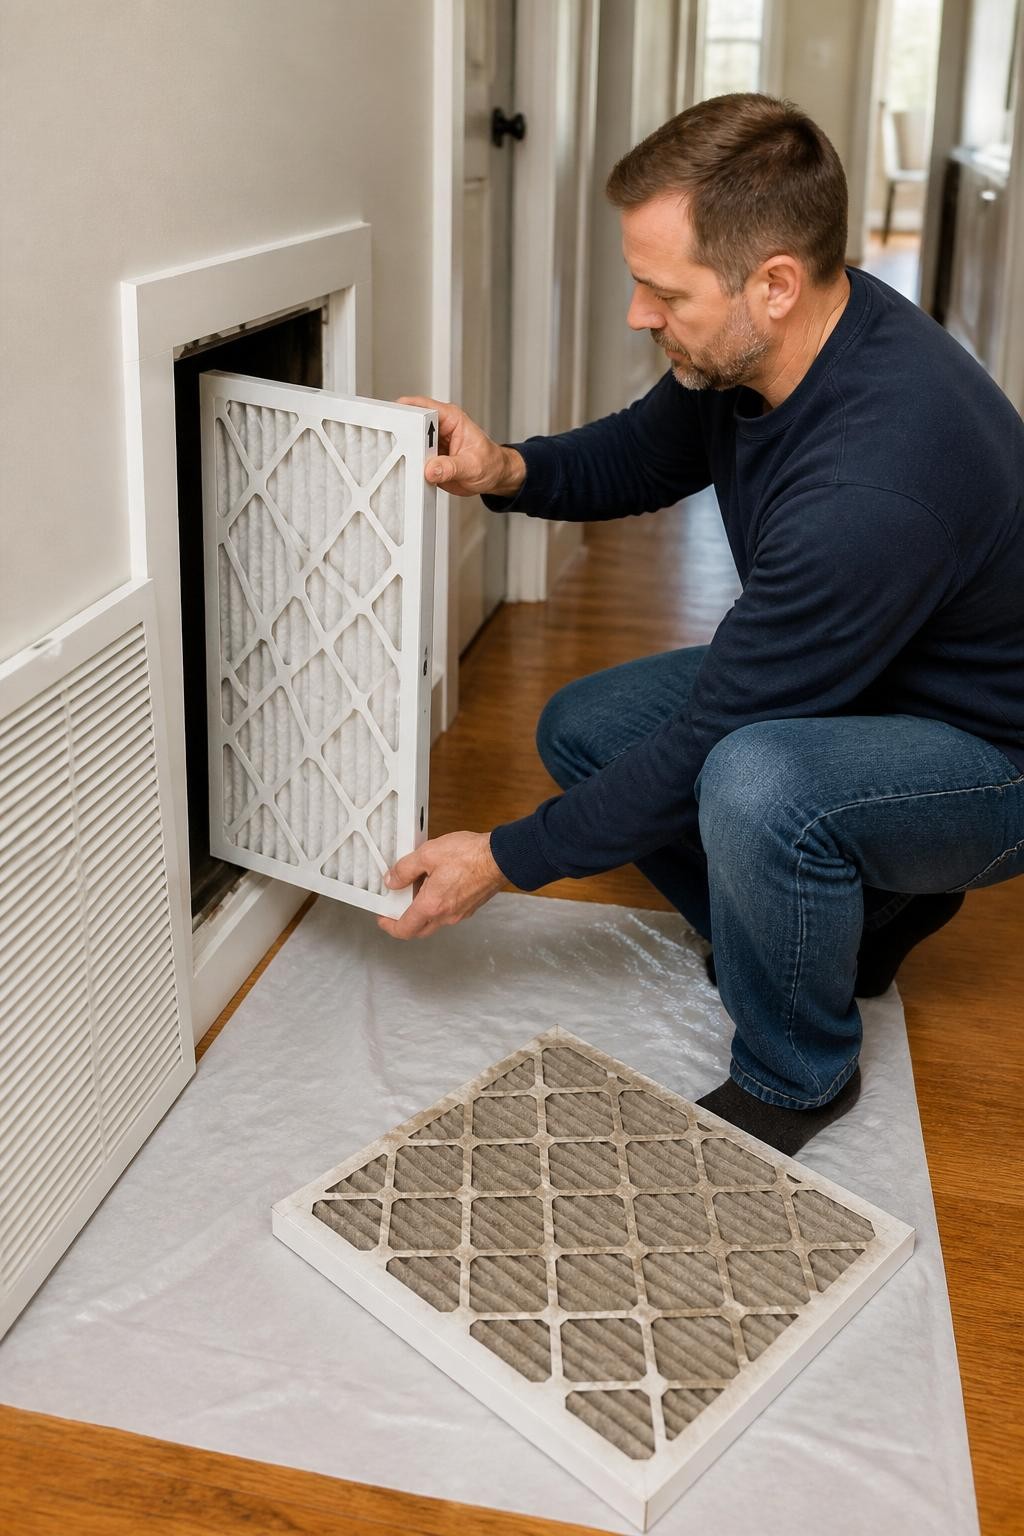
Heating and cooling filters trap dust, hair, and airborne particles before they circulate through the home. When filters become heavily clogged, airflow may decrease and more dust may settle around the rooms.
Follow the equipment manufacturer’s instructions when choosing and installing a replacement. Other appliances, including air purifiers, kitchen extractors, dehumidifiers, and some vacuum cleaners, may also have filters that need attention.
Filter checklist:
- Check the HVAC or furnace filter
- Confirm the correct filter size
- Install it in the correct airflow direction
- Clean reusable filters fully
- Let washable filters dry before reinstalling
- Check air purifier filters
- Inspect kitchen extractor filters
- Add future replacement dates to your calendar
8. Test Smoke and Carbon Monoxide Detectors

Fall usually brings increased use of heating equipment, fireplaces, candles, and indoor cooking. This makes it an important time to test every smoke and carbon monoxide detector in the home.
Replace weak batteries and check the manufacture or replacement date printed on each device. Detectors do not last forever. Follow local building requirements and manufacturer guidance for placement and replacement.
Home safety checklist:
- Press the test button on every alarm
- Replace weak or expired batteries
- Check the age of each device
- Confirm alarms can be heard from bedrooms
- Keep devices free from paint and dust
- Install missing carbon monoxide detectors
- Review your household escape plan
- Confirm everyone knows the meeting point
9. Inspect Fireplaces, Chimneys, and Wood Stoves

Before using a fireplace or wood stove, inspect it for soot buildup, blockages, cracked components, damaged doors, and missing screens. Chimneys can also become obstructed by debris or animal nests.
A qualified chimney professional should perform cleaning and repairs when required. Never use a fireplace if smoke enters the room, the flue is damaged, or you are unsure whether the chimney is clear.
Fireplace checklist:
- Arrange a chimney inspection
- Remove old ash once fully cold
- Check screens and glass doors
- Inspect visible firebricks for cracks
- Test the damper
- Keep decorations away from the opening
- Store firewood at a safe distance
- Confirm a suitable fire extinguisher is nearby
- Never burn painted or treated wood
10. Check Plumbing for Slow Leaks

Small plumbing leaks can continue unnoticed behind stored products, appliances, toilets, and cabinets. Fall is a good time to inspect these areas before colder temperatures place extra pressure on vulnerable pipes.
Look beneath sinks, around toilets, behind washing machines, and near water heaters. Moisture stains, soft wood, mold, bubbling paint, or a musty smell may indicate a hidden problem.
Plumbing checklist:
- Check beneath every sink
- Inspect toilet bases and supply lines
- Look behind the washing machine
- Check the water heater area
- Test accessible shutoff valves carefully
- Watch for corrosion around joints
- Look for swelling inside cabinets
- Repair active leaks promptly
- Call a plumber for hidden or recurring moisture
11. Protect Vulnerable Pipes From Cold Weather
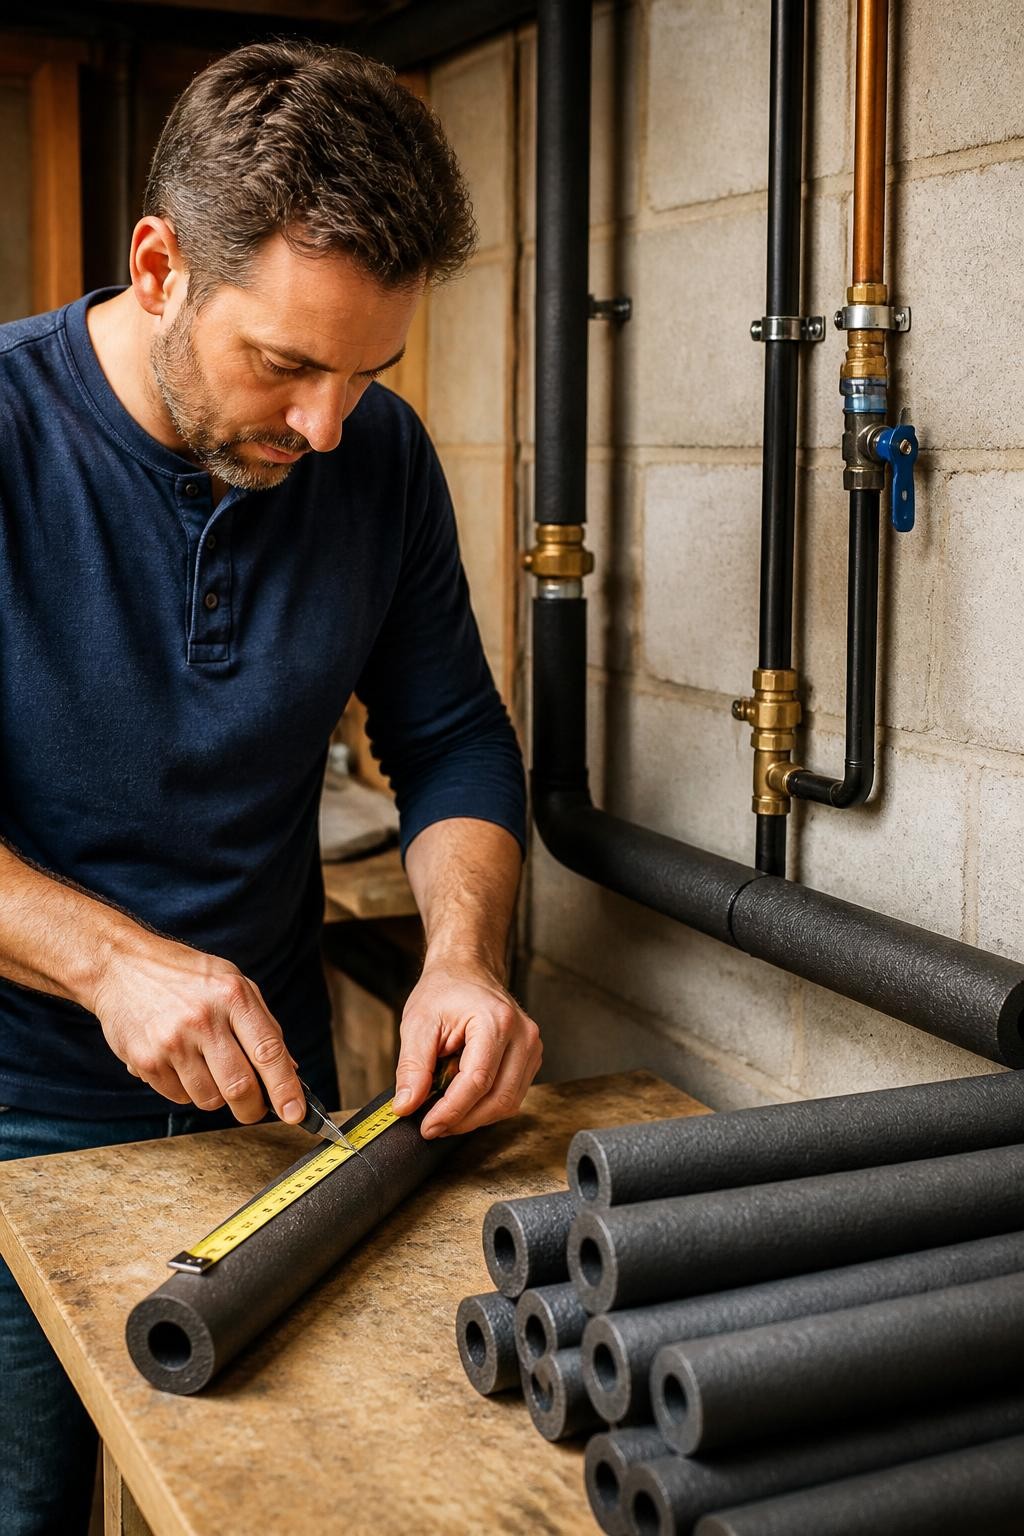
Pipes running through garages, crawl spaces, basements, lofts, and exterior walls may be more vulnerable when temperatures drop. Suitable insulation can reduce heat loss and help protect exposed sections.
Insulation must be installed correctly, particularly around bends, valves, and heated equipment. Do not cover components that require ventilation, inspection, or manufacturer-specified clearance.
Cold-weather pipe checklist:
- Identify pipes in unheated areas
- Repair leaks before adding insulation
- Use insulation made for the pipe type
- Seal gaps where pipes enter exterior walls
- Know the location of the main water shutoff
- Disconnect outdoor hoses before freezing weather
- Follow equipment clearance requirements
- Ask a plumber about especially vulnerable pipes
12. Drain and Store Outdoor Hoses

Water left inside a garden hose can freeze, expand, and damage the hose, fittings, or outdoor tap. Disconnect hoses before prolonged cold weather and allow all remaining water to drain.
Store hoses loosely in a sheltered area rather than leaving them tightly kinked outside. Shut off and drain exterior water lines when your plumbing system is designed for it.
Outdoor water checklist:
- Disconnect hoses from taps
- Drain every hose completely
- Check connectors for cracks
- Coil hoses without sharp bends
- Store sprinklers and watering tools
- Shut off exterior water lines where appropriate
- Drain exposed pipes according to their design
- Cover suitable outdoor taps in cold climates
13. Inspect the Water Heater

Look around your water heater for moisture, rust, corrosion, unusual sounds, damaged insulation, or staining. The space around the unit should remain clear and should not be used for storing flammable or heat-sensitive items.
Maintenance requirements vary by heater type. Flushing, testing pressure-relief components, working on gas connections, and electrical repairs may require professional help.
Water heater checklist:
- Look for water beneath the unit
- Check visible pipes for corrosion
- Listen for unusual popping sounds
- Keep the surrounding area clear
- Inspect the drip pan
- Confirm vents are unobstructed
- Review the service schedule
- Arrange professional maintenance when due
- Never adjust unfamiliar safety components
14. Reverse Ceiling Fans and Clean the Blades

Many ceiling fans have a reverse setting that changes the direction of the blades. When used according to the manufacturer’s instructions, this can help redistribute warm air that gathers near the ceiling.
Switch the fan off fully before cleaning or changing its direction. Dust each blade, check for loose fittings, and use a low speed after restarting it. Stop using a fan that shakes heavily or makes unusual noises.
Ceiling fan checklist:
- Turn off the fan at the wall
- Dust the tops and edges of blades
- Wipe the motor housing
- Check the direction switch
- Tighten accessible loose fittings
- Restart the fan on low speed
- Watch for wobbling
- Arrange repair for persistent movement or noise
15. Prepare the Attic and Basement
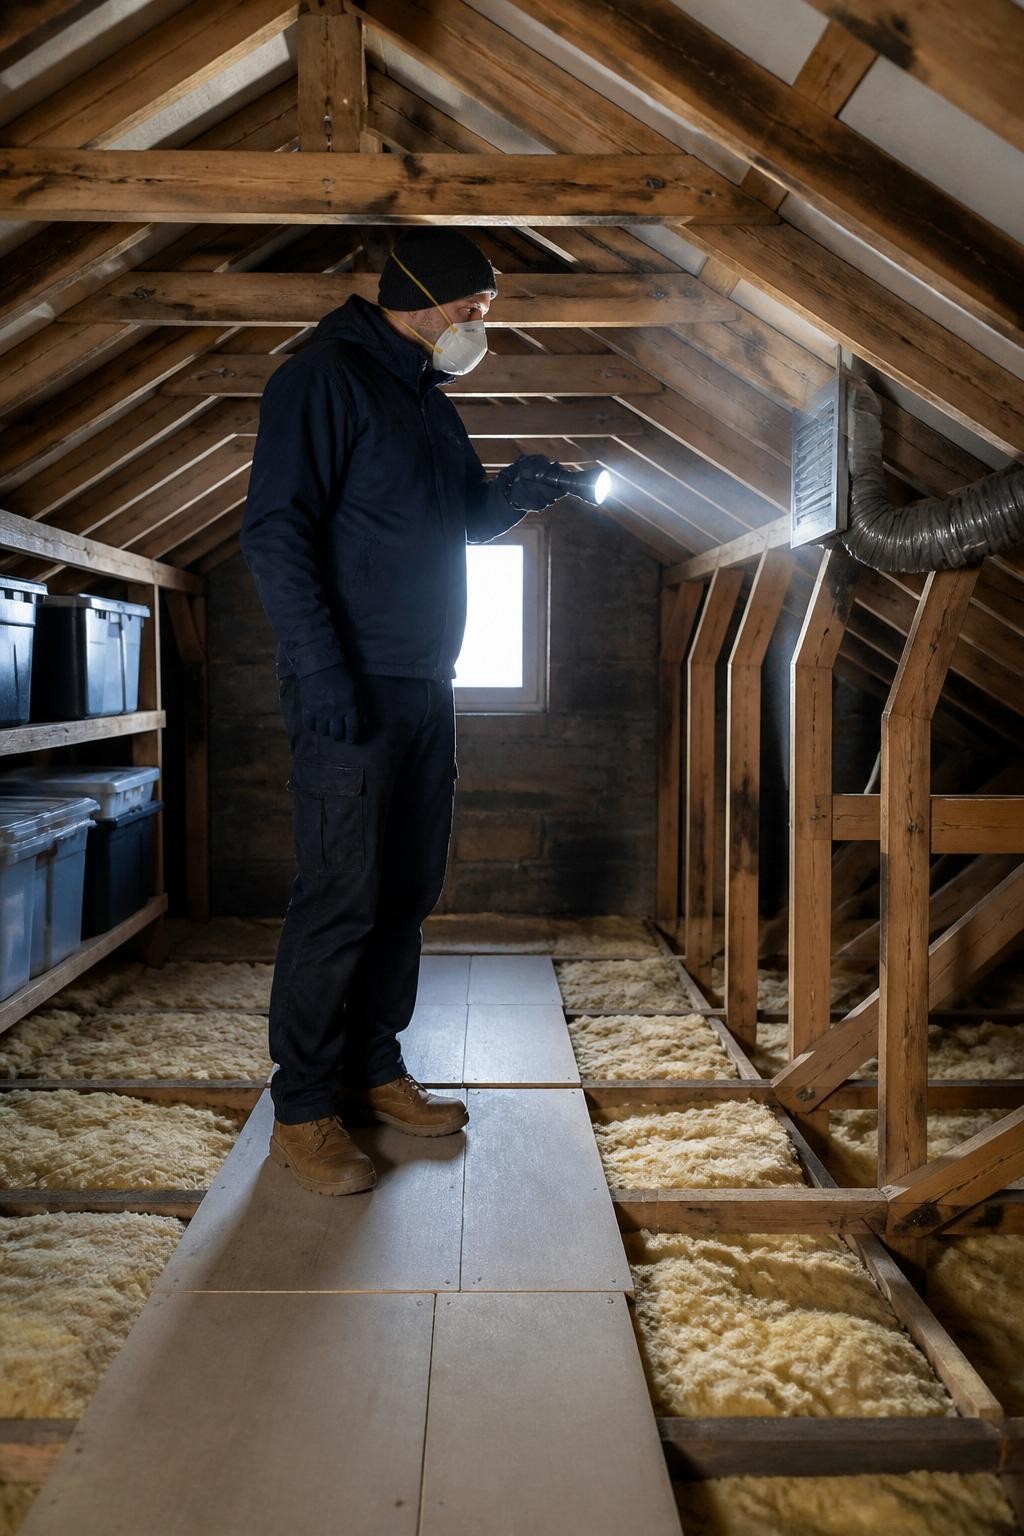
Attics and basements often reveal early signs of roof leaks, plumbing problems, pest activity, or poor moisture control. Inspect these spaces before colder weather makes access less convenient.
Use a bright flashlight and avoid stepping between attic joists or disturbing unknown insulation. In basements, look around walls, windows, pipes, and stored boxes for moisture or mold.
Attic and basement checklist:
- Look for water stains
- Check exposed timber for dampness
- Watch for droppings or nesting material
- Inspect insulation for disturbed areas
- Keep vents unobstructed
- Move cardboard boxes away from damp floors
- Test sump pumps where installed
- Check basement windows and seals
- Contact a professional about mold or structural damage
16. Trim Branches Near the House

Dead, cracked, or overhanging branches may fall during heavy rain or strong wind. They can damage roofs, gutters, vehicles, fences, and utility lines.
You may be able to prune small, low branches with suitable tools, but large limbs, high branches, diseased trees, and anything near power lines should be handled by trained professionals.
Tree and garden checklist:
- Look for dead or split branches
- Check limbs hanging over the roof
- Remove small branches from pathways
- Keep shrubs away from exterior vents
- Clear plants from air-conditioning units
- Inspect trees after strong winds
- Contact an arborist for large branches
- Report branches near utility lines
17. Clean and Store Outdoor Furniture

Outdoor furniture should be cleaned before it is covered or stored. Trapped dirt, pollen, food, and moisture can cause staining, mold, unpleasant odors, and material damage.
Allow every item to dry fully before covering it. Use breathable, well-fitting covers and follow the care requirements for wood, metal, wicker, plastic, and outdoor fabric.
Outdoor furniture checklist:
- Brush away loose debris
- Wash furniture with a suitable cleaner
- Dry every surface completely
- Wash approved cushion covers
- Store cushions in a dry area
- Fold and store umbrellas
- Check covers for tears
- Tighten loose furniture fittings
- Store lightweight items before strong winds
18. Check Driveways, Paths, Steps, and Railings
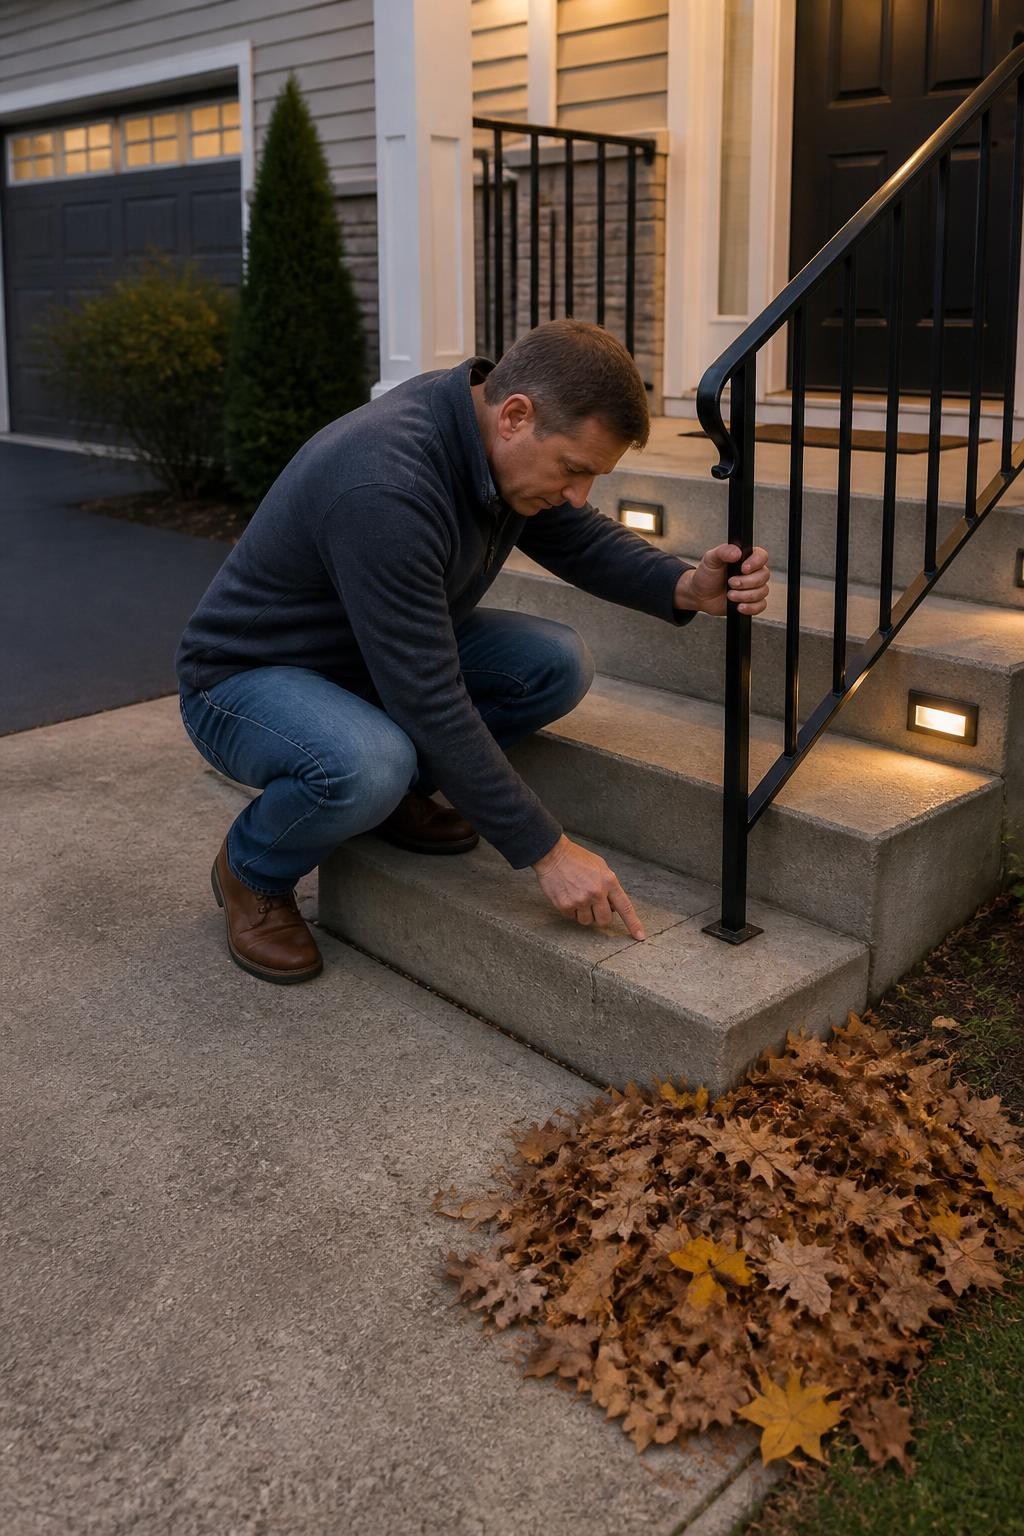
Wet leaves, loose stones, cracked steps, and unstable railings can create dangerous walking conditions. Inspect every regular route around your home before fall rain and darker evenings become more frequent.
Repair loose handrails and raised paving promptly. Keep paths clear and make sure exterior lights illuminate steps, entrances, driveways, and uneven surfaces.
Pathway checklist:
- Sweep leaves from steps and paths
- Check for loose paving
- Look for raised or cracked sections
- Test handrails for movement
- Clean slippery moss from suitable surfaces
- Confirm drains remain clear
- Test outdoor lighting
- Replace failed bulbs
- Keep emergency exits unobstructed
19. Organize the Garage and Storage Areas
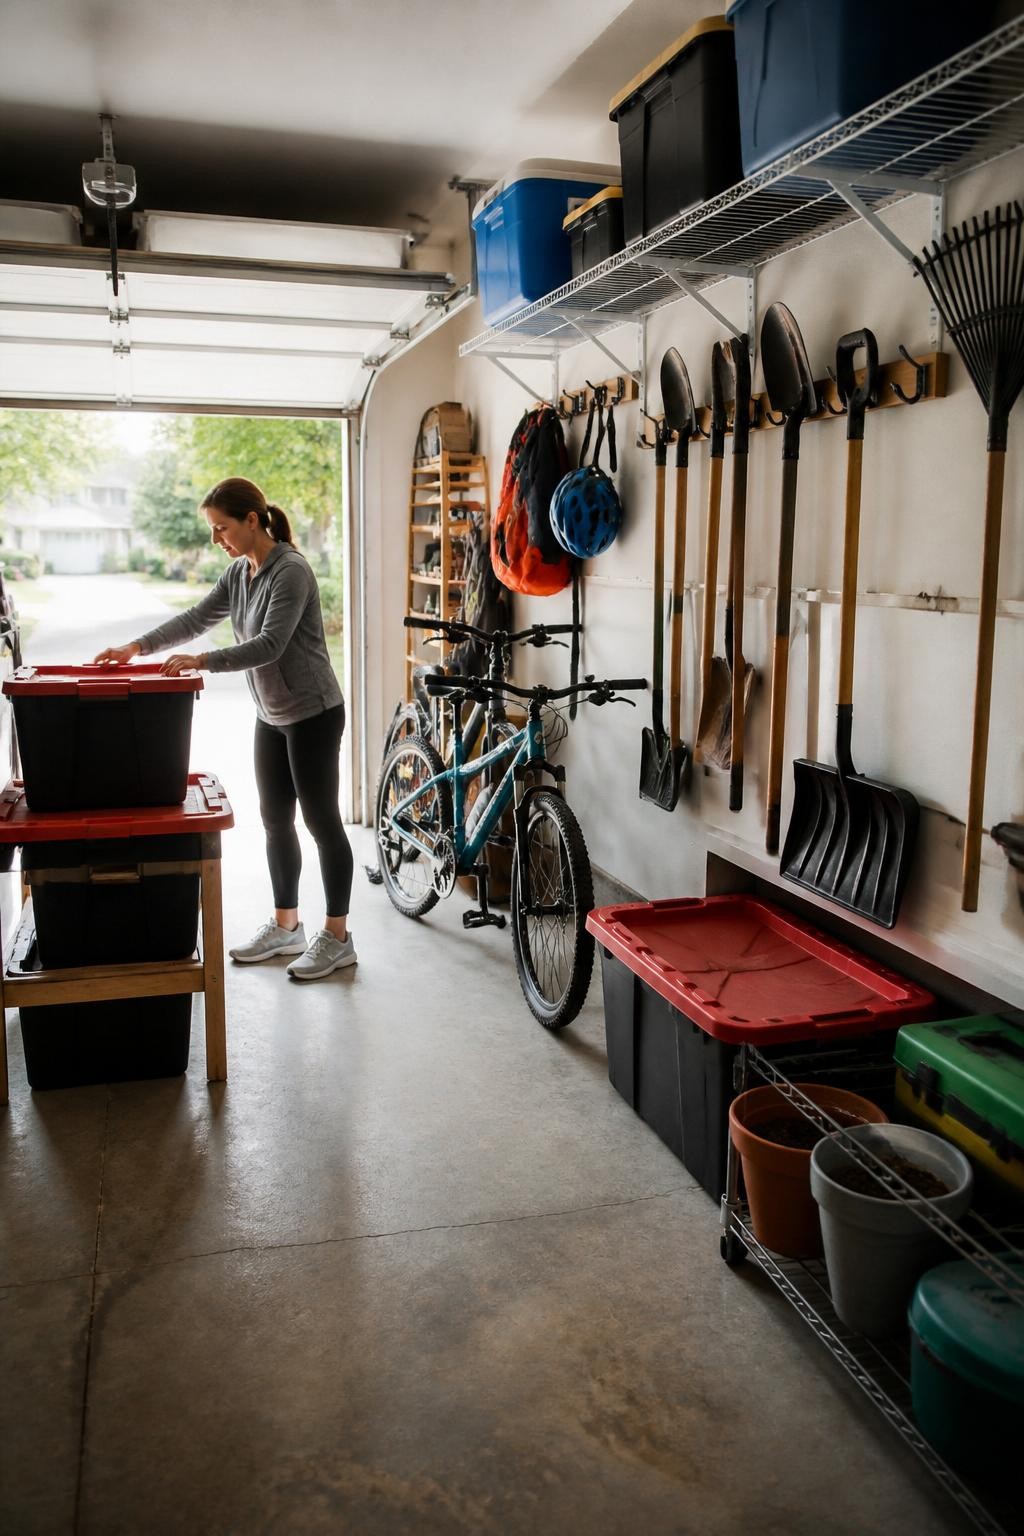
A crowded garage makes it harder to reach tools during bad weather and can create blocked exits or falling-object hazards. Sort seasonal equipment before you need it urgently.
Keep heavy objects low, secure sharp tools, and separate chemicals from food, heat, children, and pets. Dispose of fuel, paint, batteries, and chemicals according to local rules rather than placing them in ordinary household waste.
Garage checklist:
- Clear the main walkway
- Remove broken or unused items
- Store summer equipment
- Bring fall tools forward
- Mount tools securely
- Keep heavy items on low shelves
- Secure ladders and sharp equipment
- Check shelving for damage
- Store chemicals according to their labels
- Keep exits and electrical panels accessible
20. Prepare an Emergency Home Kit

Power cuts, storms, leaks, and heating problems can happen with little notice. A small, organized emergency kit makes it easier to respond safely without searching through several rooms.
Store the kit somewhere dry and accessible. Review it each fall so expired food, old batteries, missing medication, and damaged equipment can be replaced.
Emergency kit checklist:
- Working flashlights
- Fresh spare batteries
- First-aid supplies
- Drinking water
- Shelf-stable food
- Manual can opener
- Charged power banks
- Battery-powered radio
- Warm blankets
- Basic tools
- Copies of important contact information
- Supplies for children and pets
- Necessary personal medications
Four-Weekend Fall Home Maintenance Plan
Completing the checklist in stages makes the work easier and gives you time to arrange professional help where needed.
Weekend One: Roof and Exterior Drainage
- Inspect the roof
- Clean gutters and downspouts
- Check exterior walls
- Inspect paths and railings
- Trim safe, low branches
Weekend Two: Heating and Home Safety
- Test the heating system
- Replace filters
- Test smoke and carbon monoxide detectors
- Inspect fireplaces
- Review the emergency kit
Weekend Three: Doors, Windows, and Plumbing
- Seal windows
- Check exterior doors
- Inspect for plumbing leaks
- Protect vulnerable pipes
- Examine the water heater
Weekend Four: Storage and Outdoor Preparation
- Drain garden hoses
- Clean outdoor furniture
- Inspect the attic and basement
- Organize the garage
- Reverse and clean ceiling fans
Final Fall Home Maintenance Checklist
Before colder weather settles in, confirm that you have completed the most important tasks:
- The roof has been inspected for damage
- Gutters and downspouts are clear
- Exterior walls have been checked for cracks
- Windows and doors close firmly
- The heating system has been tested
- Indoor air filters have been replaced or cleaned
- Smoke and carbon monoxide detectors work
- Fireplaces and chimneys are ready for use
- Plumbing has been checked for leaks
- Vulnerable pipes are protected
- Outdoor hoses have been drained
- The water heater has been inspected
- Ceiling fans are clean and correctly adjusted
- The attic and basement are dry
- Dangerous branches have been addressed
- Outdoor furniture is clean and protected
- Paths, steps, railings, and lights are safe
- Garage walkways and exits are clear
- Emergency supplies are complete and accessible
A successful fall maintenance routine is not about making your home look perfect. It is about protecting the systems, surfaces, and safety features you depend on every day. Handle small problems while the weather is still manageable, bring in qualified professionals for dangerous or technical work, and keep this checklist nearby so nothing important is forgotten.