


In This Article Show
Growing tomatoes at home is a rewarding experience that offers fresh, flavorful produce right from your backyard or balcony. With over 13 years of gardening under my belt, I’m excited to share a simple, step-by-step guide tailored for beginners. Whether you have a sprawling garden or a small space on your windowsill, this guide will help you select the right tomato varieties, care for your plants, and harvest your delicious tomatoes. Not only will you enjoy the fruits of your labor, but you’ll also benefit from the therapeutic joys of gardening. Let’s get started on this gardening adventure, ensuring you have all the knowledge needed to cultivate lush, bountiful tomato plants
Step 1: Choosing the Right Tomato Varieties
Selecting the appropriate tomato varieties is crucial for a successful home garden. Tomatoes come in a wide range of types, each with its flavors, textures, and growing needs. Here are some popular choices for home gardeners:
Popular Choice of Tomatoes
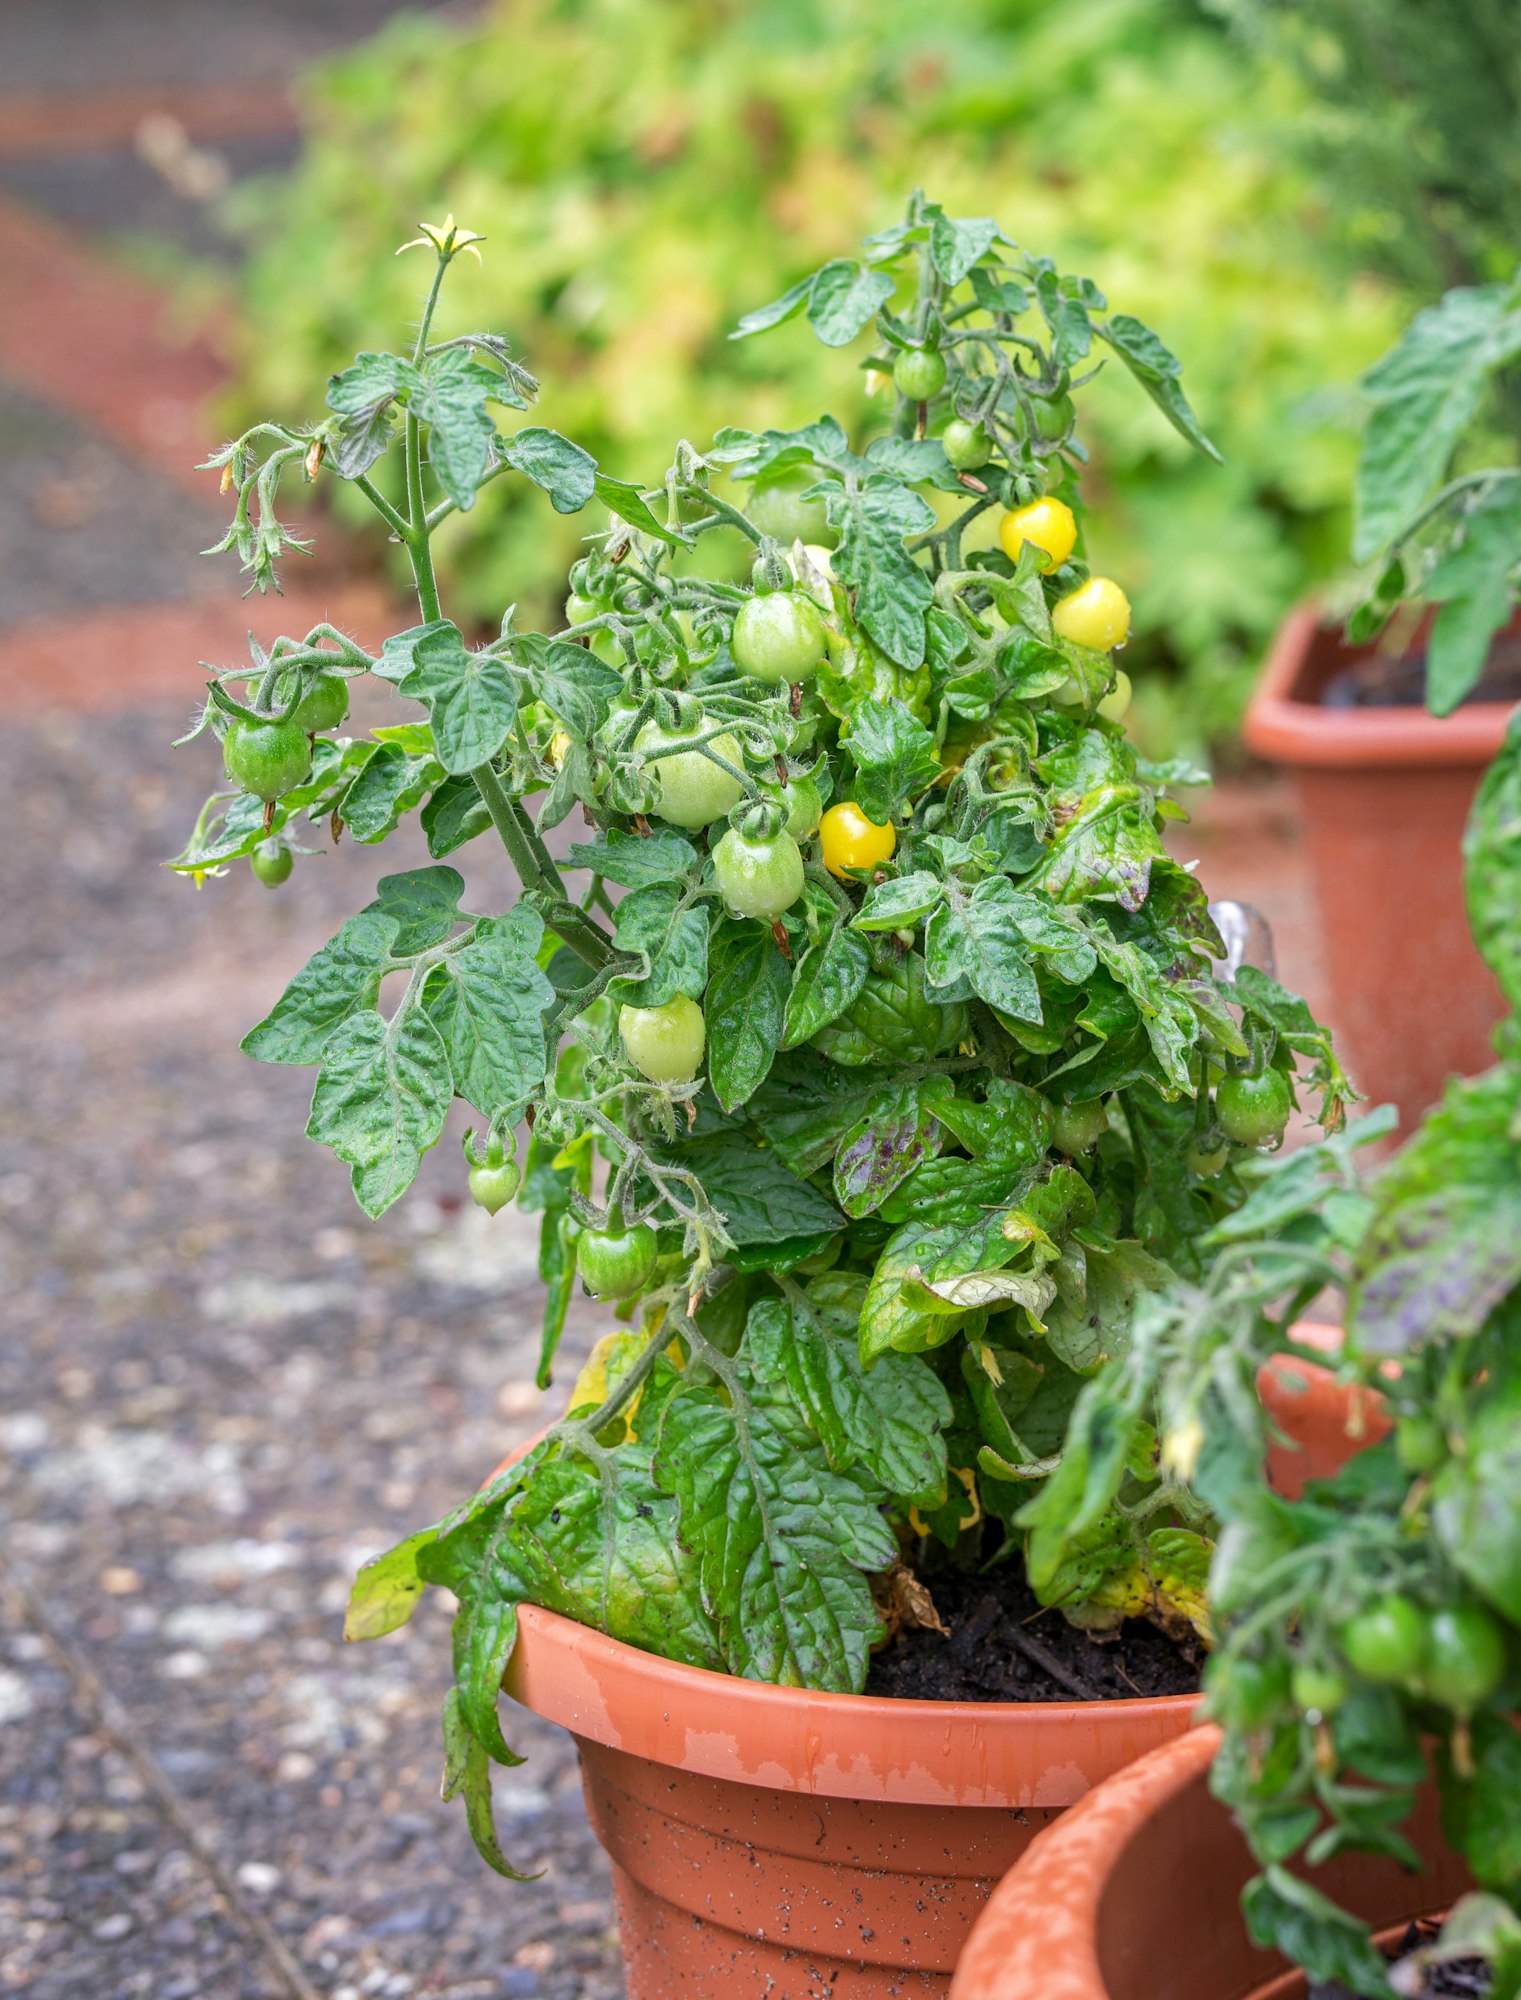
- Cherry Tomatoes: Small, sweet, and perfect for snacking, cherry tomatoes are great for beginners. They grow prolifically and are ideal for containers or hanging baskets.
- Heirloom Tomatoes: Known for their rich flavors and unusual colors, heirloom varieties are less uniform but offer a greater depth of taste. They require more care but reward you with fruits that are often superior in flavor to those found in stores.
- Beefsteak Tomatoes: These are large and meaty, excellent for sandwiches and salads. They need more space and support as they grow, making them better suited for larger garden plots.
Tips on Choosing Varieties Based on Climate and Space
1. Climate Considerations
Some varieties thrive better in cooler climates, while others need more heat. For example, smaller tomato varieties like cherry tomatoes tend to mature faster and are more suitable for cooler, shorter growing seasons. In contrast, large beefsteak tomatoes often require longer, warmer growing periods to develop fully.
2. Space Availability
Your available space will also dictate the best type of tomatoes to grow. If you’re limited to a balcony or small patio, consider growing determinate (bush) varieties of tomatoes, which stop growing at a certain height and are easier to manage in containers. Indeterminate varieties, on the other hand, continue to grow and produce fruit throughout the season and are ideal for larger spaces where they can climb.
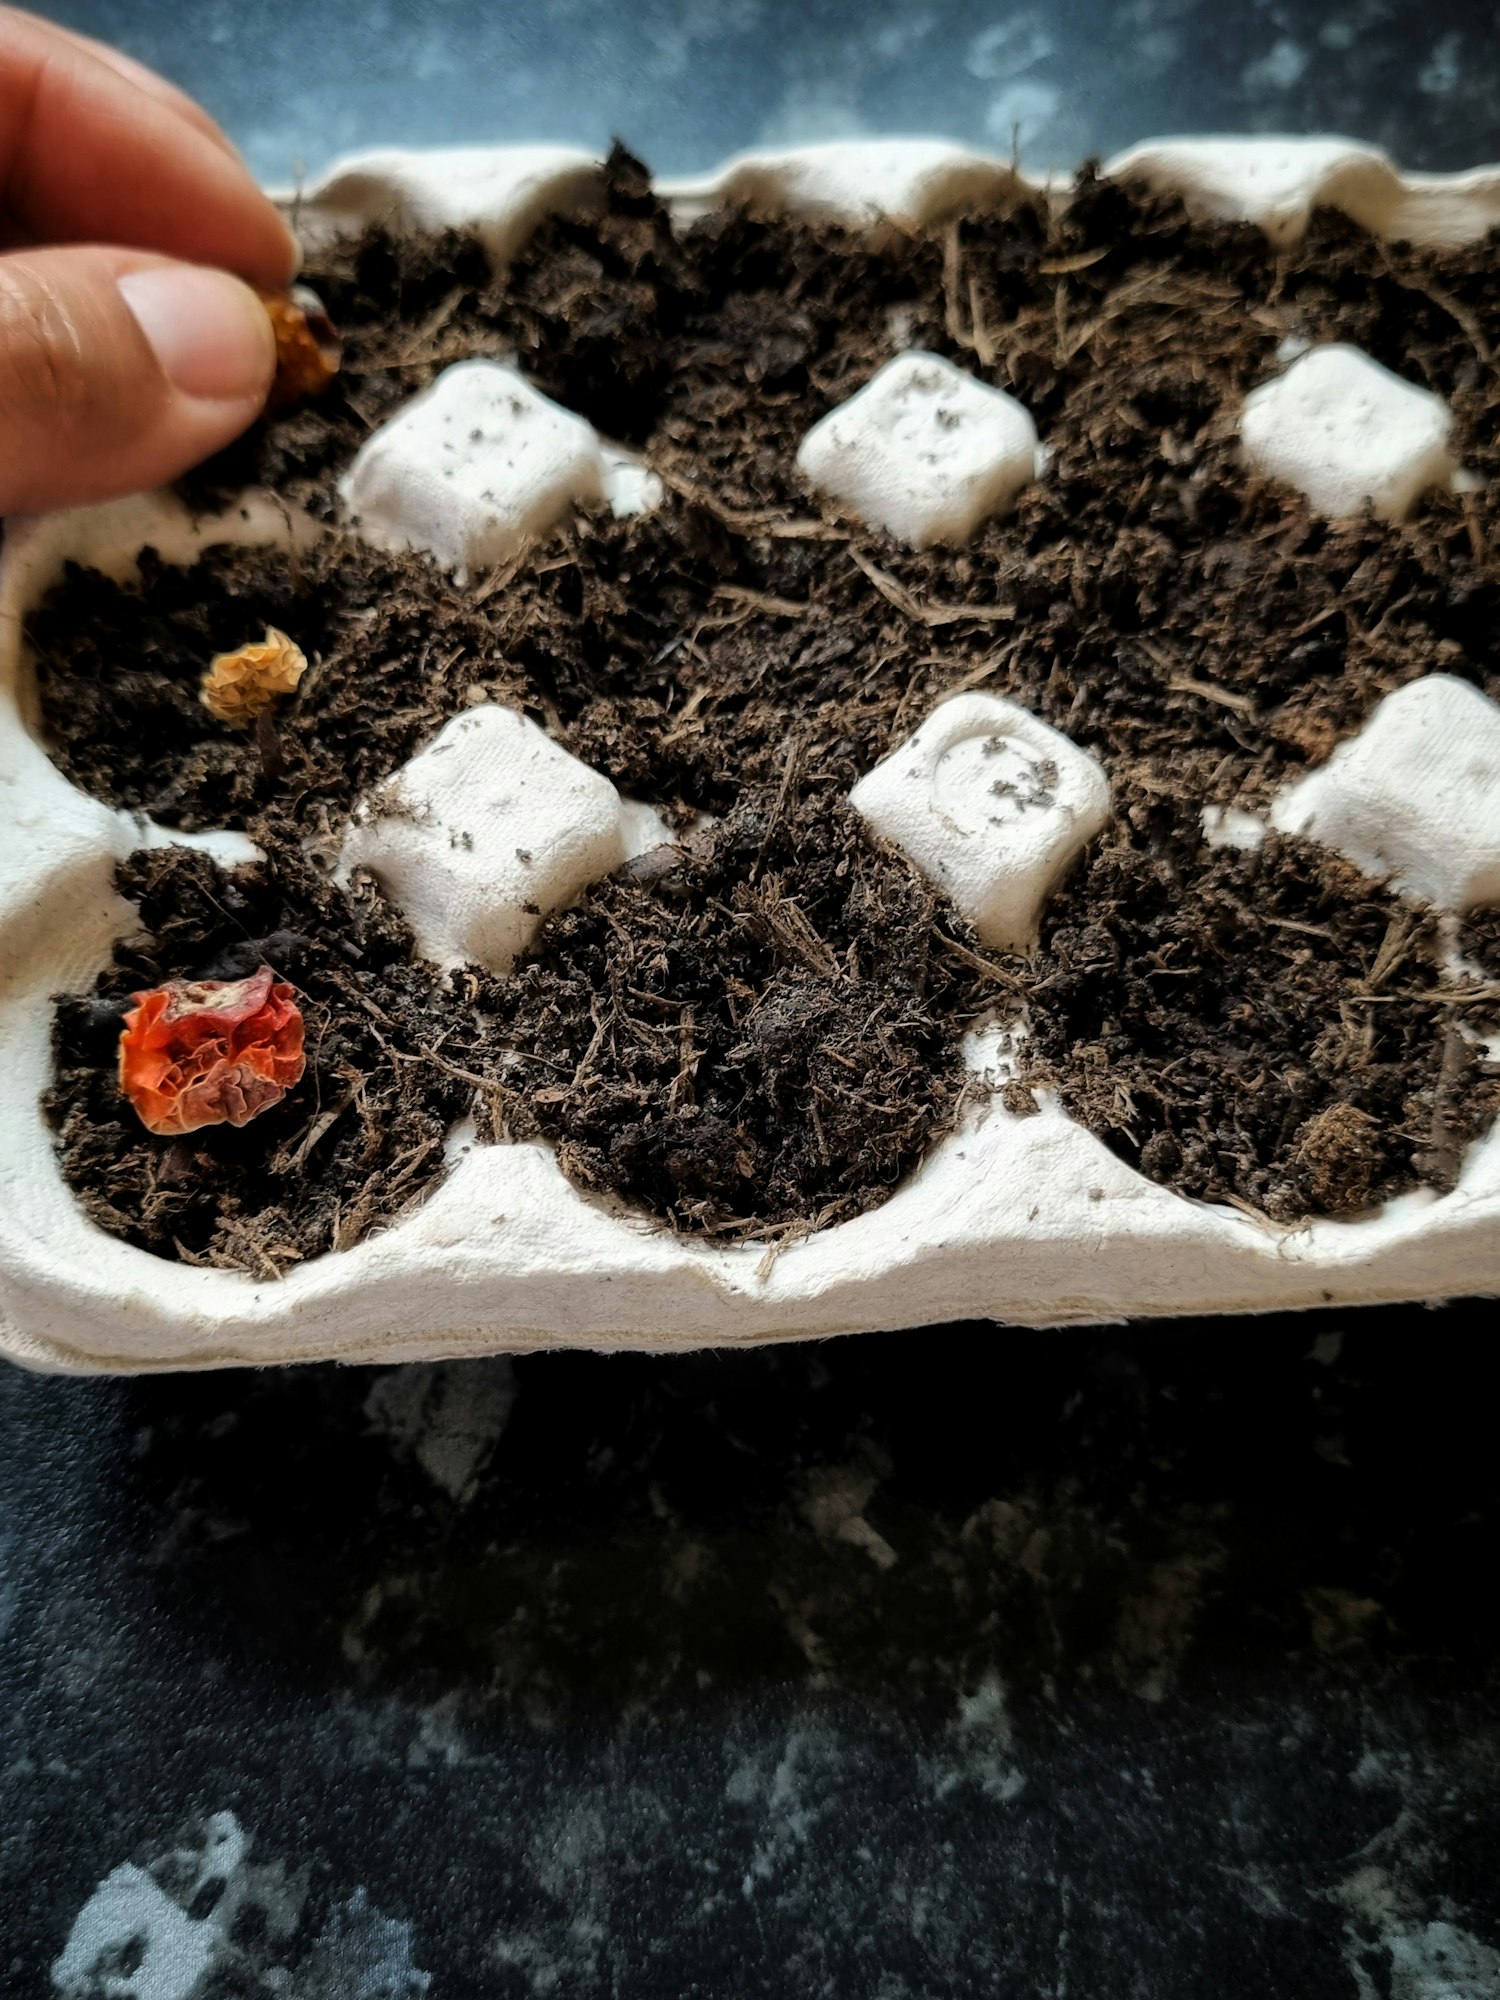
Step 2: Starting Your Tomatoes Indoors
Starting your tomato seeds indoors is an essential step, particularly if you live in a region with a short growing season. By sowing seeds indoors, you can jump-start the growing season by several weeks, giving your tomato plants a head start on spring.
Importance of Starting Seeds Indoors and the Best Time to Start
Initiating your tomato cultivation indoors allows the seedlings to develop in a controlled environment, protected from fluctuating temperatures and inclement weather. Typically, you should start your seeds indoors about 6 to 8 weeks before the last expected frost date in your area. This timing helps ensure that your seedlings are robust enough to handle the transition to outdoor conditions once the weather warms.
Instructions on Planting Seeds
1. Soil Selection
Use a lightweight, sterile seed starting mix to promote good drainage and prevent diseases. Avoid using garden soil as it can be too heavy and may contain pathogens harmful to tender seedlings.
2. Planting Depth
Plant tomato seeds about 1/4 inch deep in the soil. This depth helps ensure that they have adequate coverage to retain moisture but are not so deep that they cannot break through the surface.
3. Spacing
If using a seed tray, plant seeds at least an inch apart to give each seedling enough space to grow without crowding. Crowded conditions can inhibit their development and make them more susceptible to disease.
4. Watering
Keep the soil consistently moist but not waterlogged. Using a spray bottle to mist the soil can prevent overwatering, which is crucial as too much water can lead to fungal diseases like damping off.
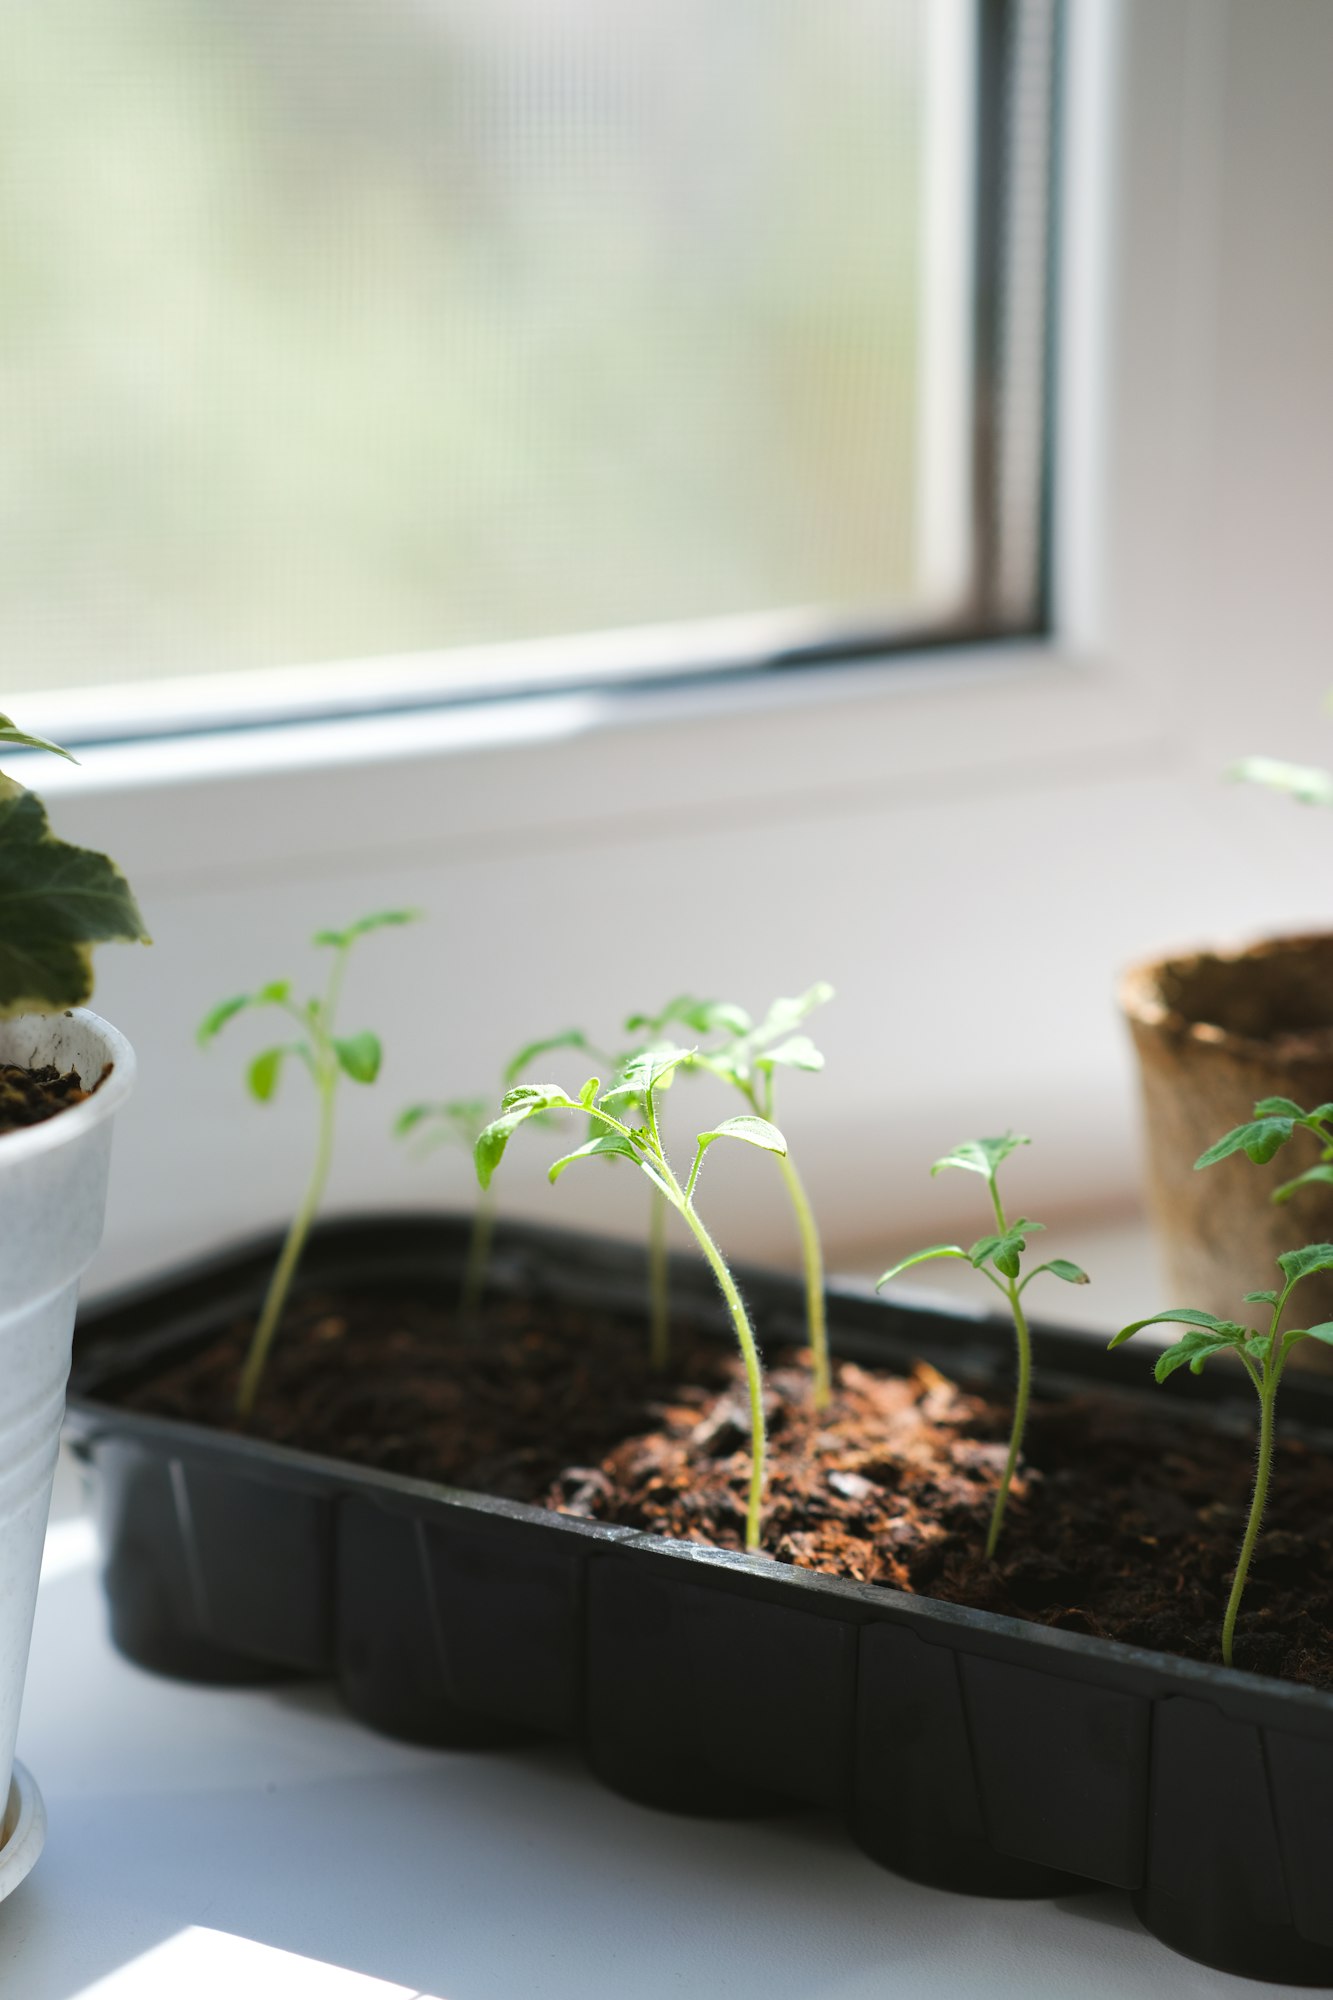
Germination Time and What to Expect
Tomato seeds typically germinate within 5 to 10 days under ideal conditions, which include maintaining soil temperatures around 70°F (21°C). You can expect to see the first signs of growth, called cotyledons or seed leaves, which are part of the seed’s embryo. After these appear, the true leaves will develop, indicating that the seedlings are well on their way to growing into healthy tomato plants.
Be patient during this stage and ensure consistent conditions to support healthy growth. As the seedlings develop, they will soon require more light, leading to the next step of providing adequate light exposure or moving them to a brighter location.
Step 3: Transplanting Seedlings Outdoors
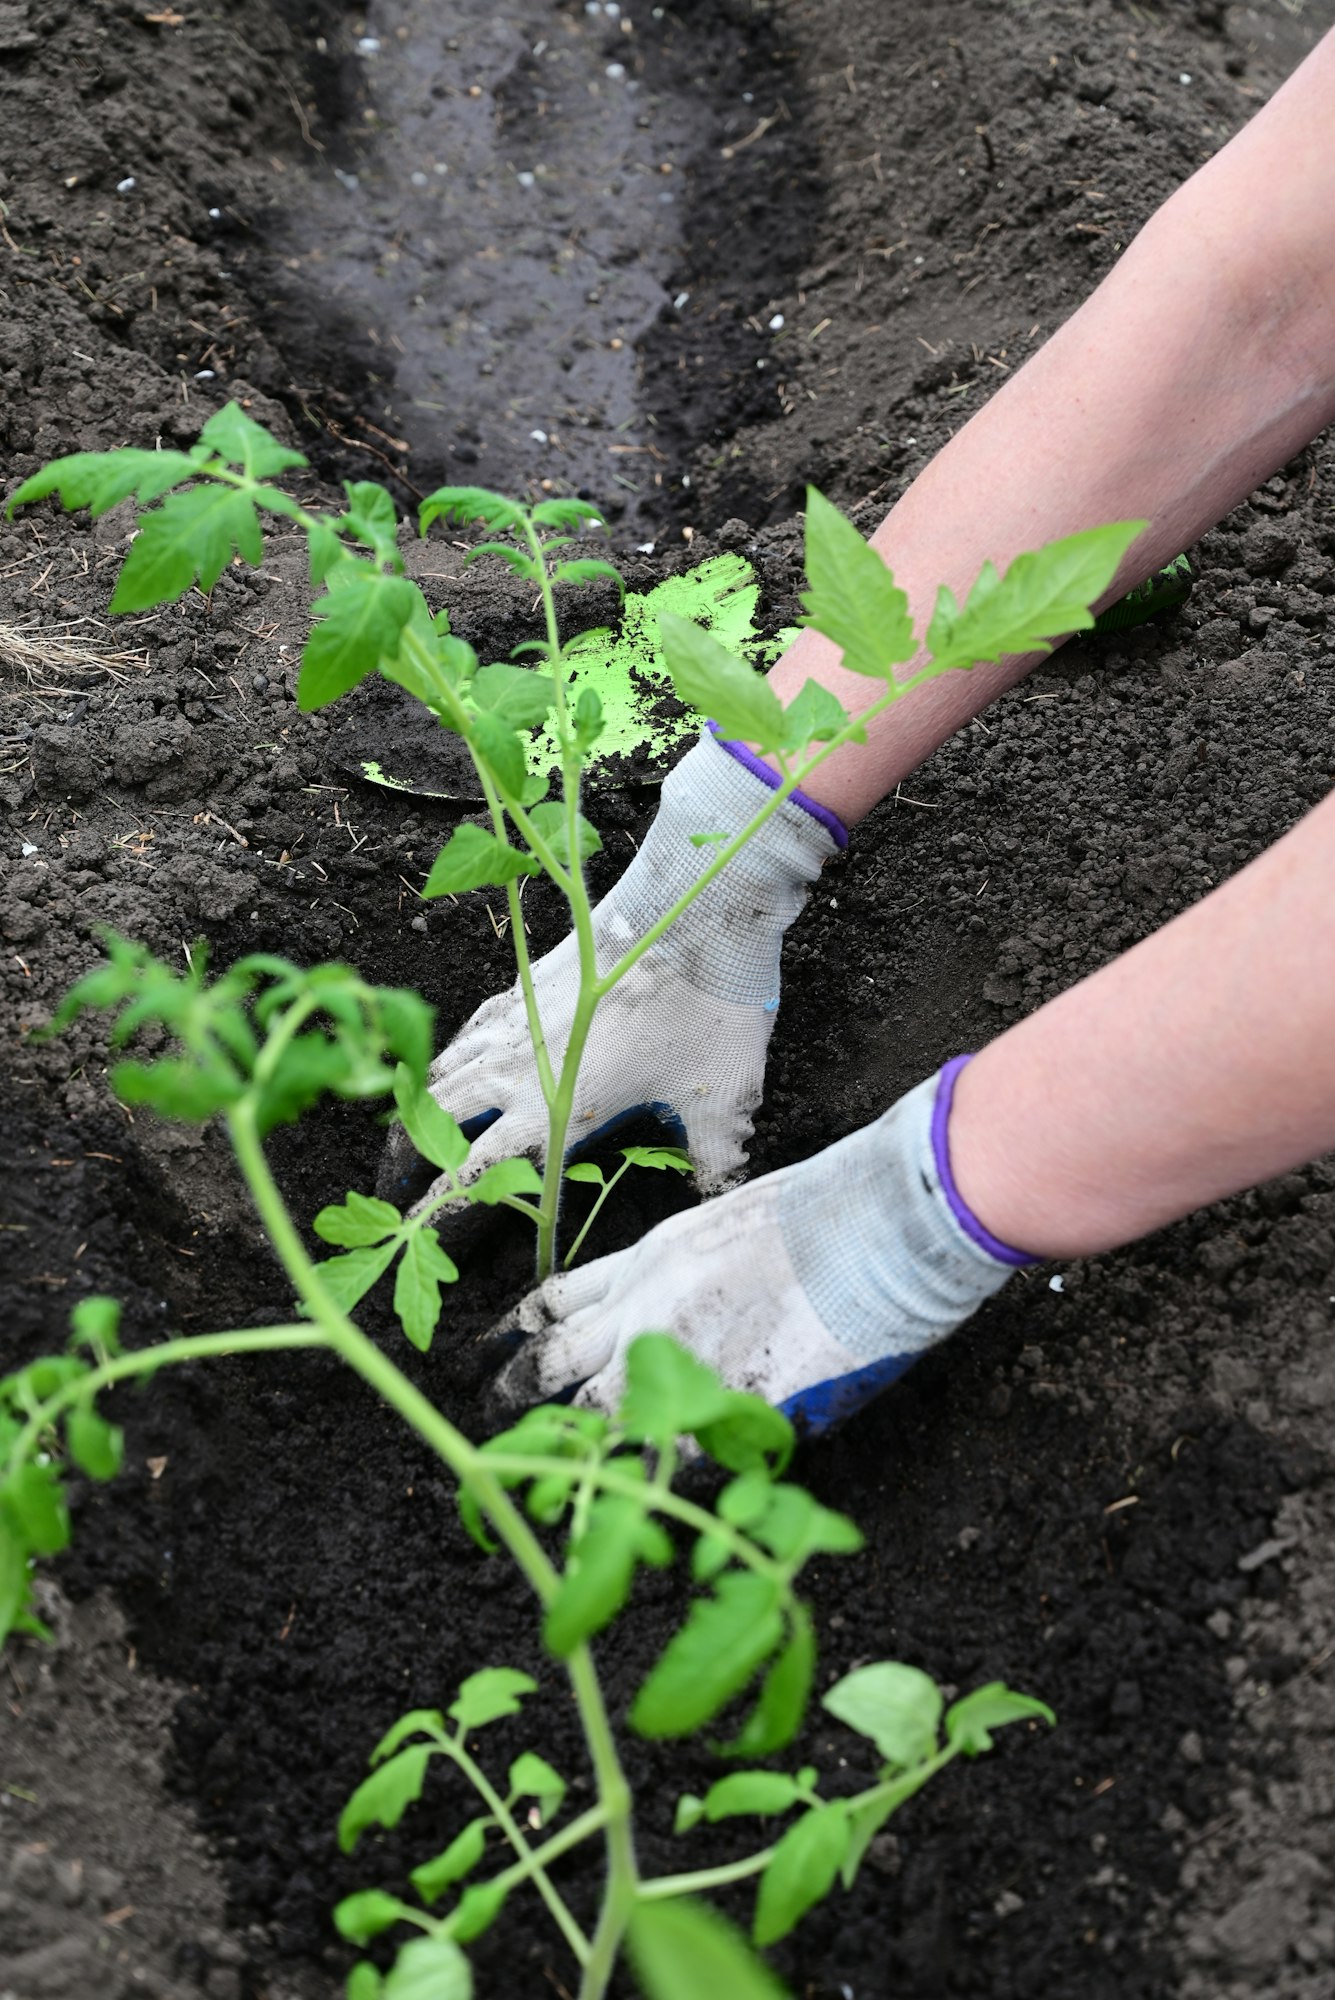
Once your tomato seedlings have grown strong indoors, the next critical step is to transition them to their outdoor environment. This process is vital to help your plants adjust and thrive in their new setting.
When and How to Transplant Seedlings to Outdoor Garden or Containers
- Timing: Transplant your tomato seedlings outdoors after all risk of frost has passed and daytime temperatures consistently reach at least 60°F (16°C). Seedlings should have at least two sets of true leaves and be sturdy in appearance.
Transplanting Steps
- Preparation: A few hours before transplanting, water your seedlings thoroughly to reduce stress and make it easier to remove them from their containers.
- Digging Holes: Whether in a garden bed or a container, dig holes deep enough to bury two-thirds of the seedling. Tomatoes can develop roots all along their stems, so deeper planting encourages a more robust root system.
- Planting: Gently remove each seedling from its container, trying to keep the root ball intact. Place each seedling in its hole, filling in with soil and pressing gently around the base to secure it. Ensure the remaining leafy part is well above the soil surface.
Hardening Off Process for Seedlings to Adapt to Outdoor Conditions
Hardening off is the process of gradually acclimatizing indoor-grown seedlings to the outside environment.
- Duration: Start the hardening-off process about a week before you plan to plant them outdoors.
- Method: Begin by placing your seedlings outside in a sheltered, partially shaded area for a few hours each day, gradually increasing their exposure to sun and wind. By the end of the week, they should be able to withstand more direct sunlight and varying temperatures throughout the day and night.
Soil Preparation and the Ideal Planting Spots for Maximum Sunlight
1. Soil Preparation
- Nutrients: Enrich the soil with compost or a balanced fertilizer before planting, as tomatoes are heavy feeders.
- Texture: Ensure the soil is loose and well-draining to prevent waterlogging, which can lead to root diseases.
2. Choosing a Planting Spot
- Sunlight: Select a location that receives at least 6-8 hours of direct sunlight daily. Ample sunlight is crucial for tomato plants to produce healthy fruits.
- Air Circulation: Provide enough space between plants to ensure good air circulation, which helps reduce the risk of fungal diseases.
Step 4: Caring for Your Tomato Plants
Proper care is essential for nurturing healthy tomato plants and ensuring a bountiful harvest. Let’s look at the key aspects of caring for your plants: watering, fertilization, and support.
How Much Watering and How Often
Tomatoes need consistent moisture to grow well and produce healthy fruit, but overwatering can be as harmful as under-watering.
- Frequency: Water your tomato plants deeply and regularly, aiming for at least 1 inch of water per week. This can come from rainfall or manual watering, or a combination of both.
- Method: Water at the base of the plant to avoid wetting the foliage, which can lead to fungal diseases. Early morning is the best time to water, as it allows any moisture on the leaves to dry out during the day.
- Monitoring: The frequency of watering can vary based on temperature and soil type. Clay soils retain moisture longer than sandy soils, which may require more frequent watering. Use a finger test to check soil moisture; if the top inch of soil is dry, it’s time to water.
Types of Fertilizers and Frequency of Application
Tomatoes are heavy feeders and require regular fertilization to supply essential nutrients for growth and fruiting.
1. Types of Fertilizers
Use a balanced fertilizer designed for vegetable gardens, ideally with an equal ratio of nitrogen, phosphorus, and potassium (e.g., 10-10-10). Organic options like fish emulsion, seaweed extract, or compost are excellent for providing a slow release of nutrients.
2. Frequency
Fertilize your tomato plants every four to six weeks during the growing season. However, once the plants start to fruit, reduce nitrogen-rich fertilizer to encourage more fruit production rather than foliage growth.
Staking, Caging, and Trellising Options
Supporting tomato plants is crucial for keeping the fruit clean and the plant healthy by improving air circulation and exposure to sunlight.
- Staking: Drive a stake at least 6 feet tall next to the plant at the time of transplanting. As the plant grows, tie it loosely to the stake every 12 inches with soft garden twine or strips of cloth.
- Caging: Tomato cages, preferably made of sturdy wire, can be placed around the plant at transplanting. Cages support the plant’s weight and make harvesting easier.
- Trellising: For large gardens, trellises can be a great way to support many plants at once. Use horizontal wires or strings to support the plants as they grow, which is particularly useful for indeterminate varieties that continue to grow throughout the season.
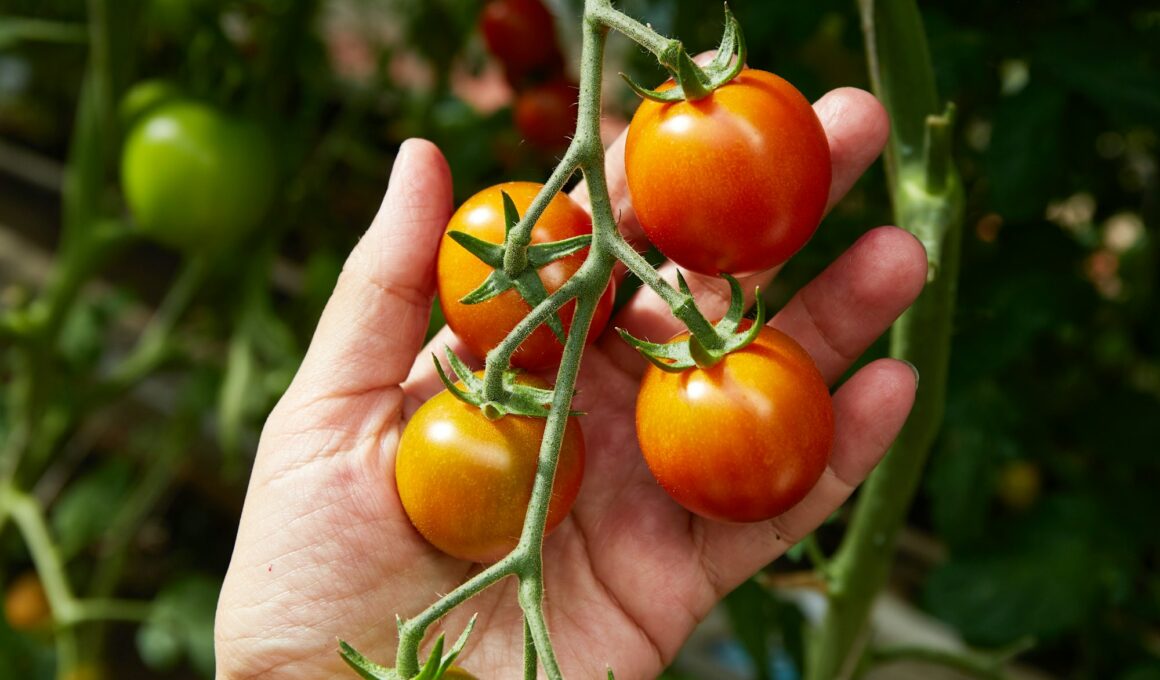
Step 5: Harvesting and Enjoying Your Tomatoes
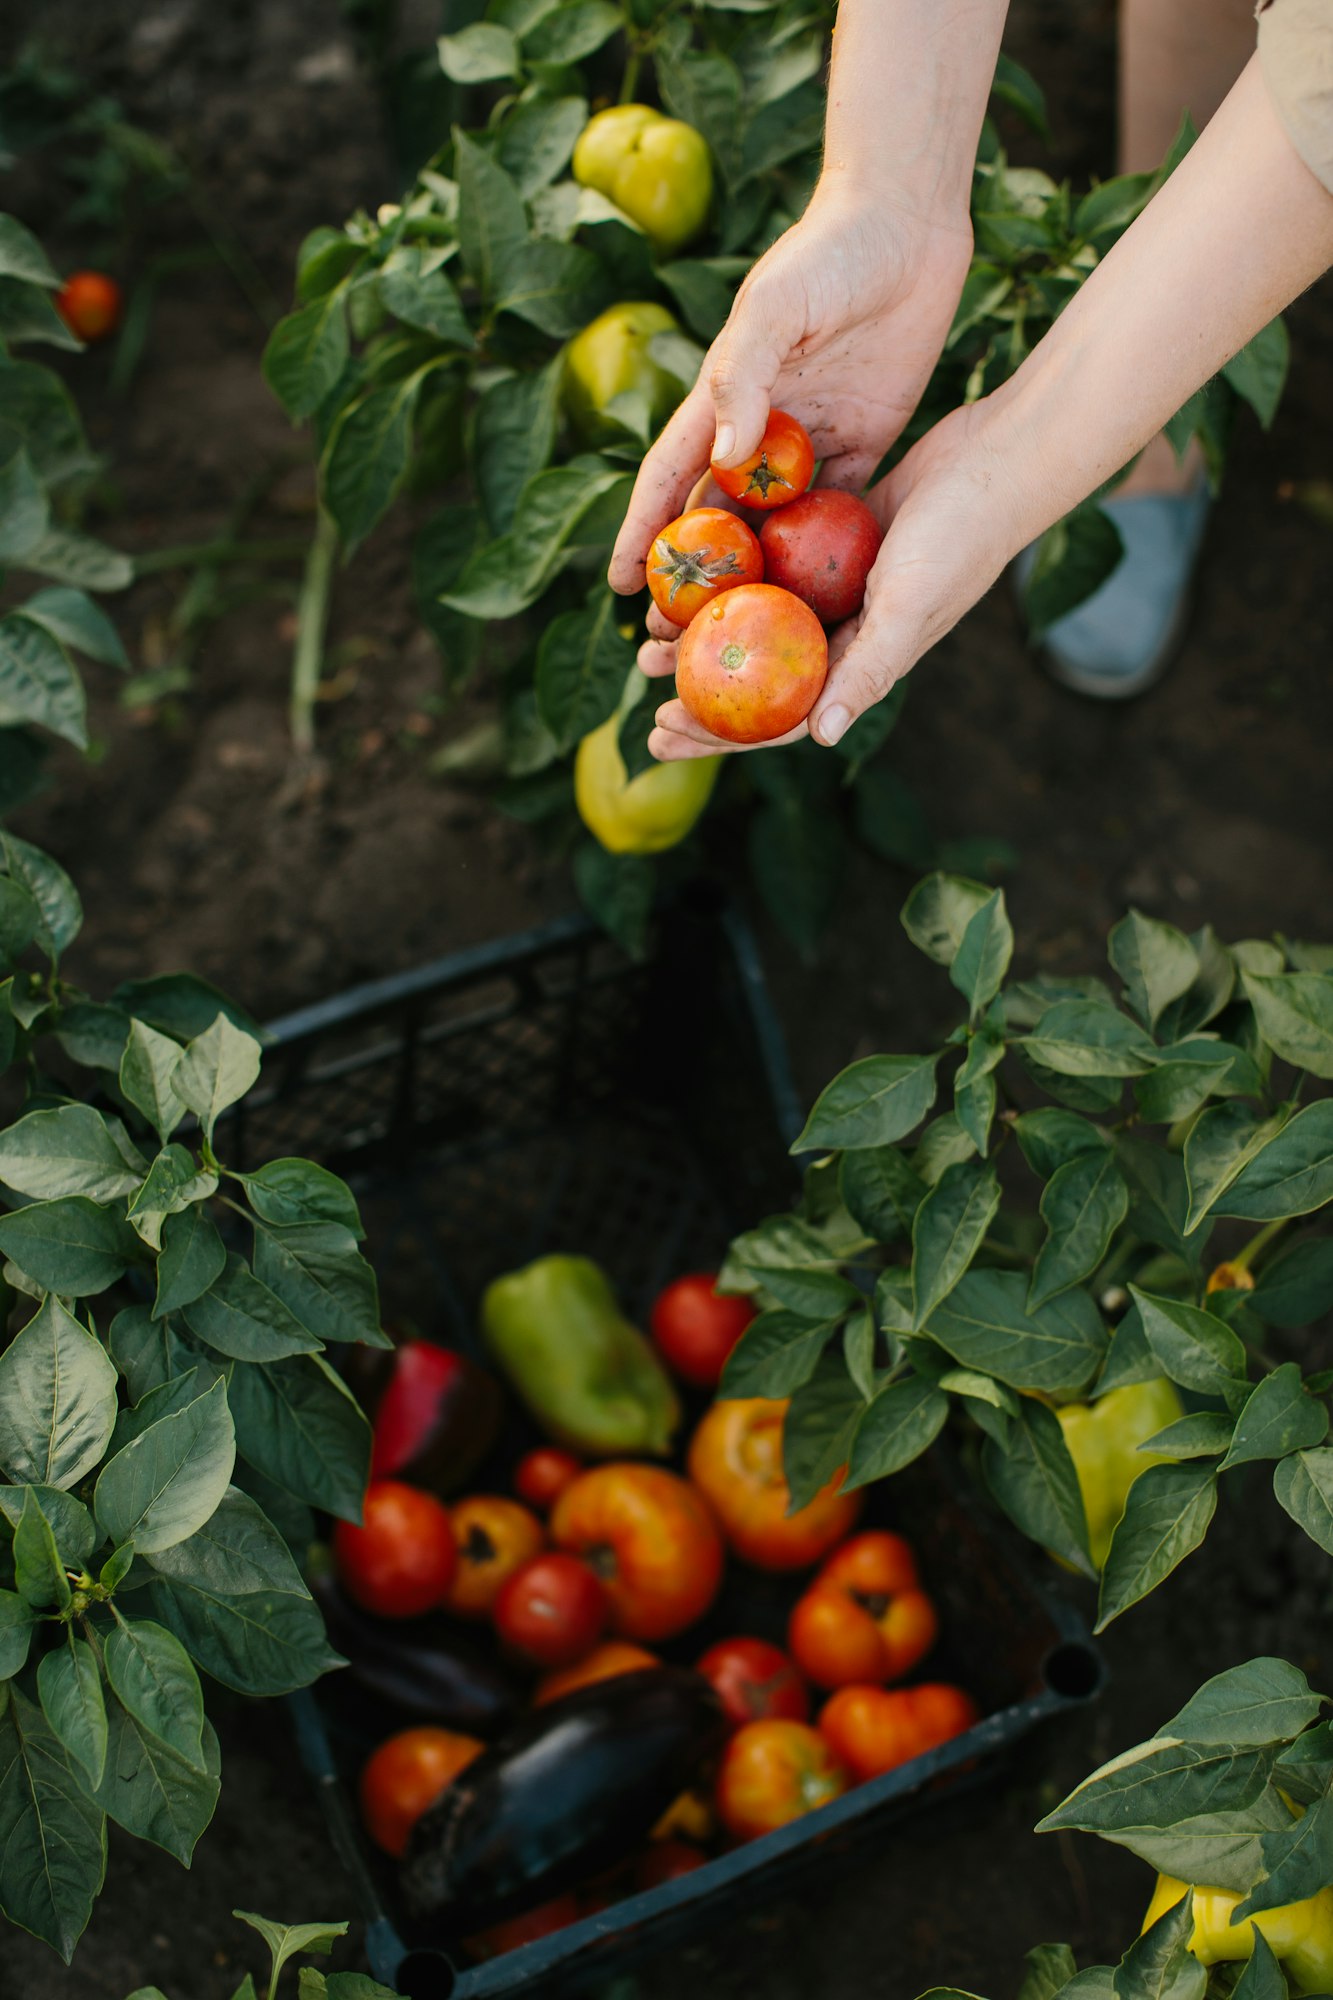
Harvesting tomatoes at the right time maximizes their flavor and your enjoyment of the fruits of your labor. Here’s how to determine the perfect picking time and some ideas to savor your harvest.
How to Tell When Tomatoes Are Ripe and Ready to Pick
Tomatoes ripen from the inside out, making it important to not just go by color alone. Here are a few indicators that your tomatoes are ready to harvest:
- Color: Look for a uniform hue. Most tomato varieties achieve a deep, even color when they’re ripe.
- Firmness: Ripe tomatoes should be firm but give slightly under gentle pressure. If it feels soft, it might be overripe; too hard, and it might need more time on the vine.
- Fragrance: A ripe tomato will have a sweet, earthy smell at the stem.
- Ease of Removal: Ripe tomatoes should come off the vine easily with a slight twist.
Best Practices for Harvesting to Encourage Continued Production
- Regular Checking: Check your plants every day or two once they start ripening, as tomatoes can go from perfect to overripe quickly.
- Gentle Handling: Pull or twist the fruit gently to avoid damaging the plant. Use garden shears or scissors to cut the stem if the tomato doesn’t come off easily.
- Morning Harvest: Harvest in the morning if possible, when the fruit is cooler and full of moisture.
Simple Recipes or Ideas for Enjoying Your Home-Grown Tomatoes
- Fresh Salad: Slice your tomatoes and sprinkle with a bit of salt, pepper, olive oil, and balsamic vinegar for a simple salad. Add fresh basil and mozzarella for a classic Caprese salad.
- Grilled Tomatoes: Cut tomatoes in half, brush with olive oil, and place on a hot grill for a few minutes on each side. Season with salt, pepper, and herbs for a delicious side dish.
- Tomato Sauce: Cook down your tomatoes with garlic, onions, and herbs for a homemade pasta sauce. This can also be frozen for long-term storage.
- Salsa: Chop tomatoes, onions, cilantro, and jalapeños for a fresh salsa. Add lime juice and salt to taste and enjoy with chips or over tacos.
Enjoying your home-grown tomatoes in a variety of dishes can be one of the most satisfying parts of vegetable gardening. Each variety has its unique flavors, making them versatile for both cooking and fresh eating.