


In This Article Show
If you’re looking to add a versatile and rewarding vegetable to your garden, zucchini is an excellent choice. Known for its prolific yield and ease of growing, zucchini can be a delightful addition to any beginner’s garden. In this guide, I’ll share the essentials of cultivating zucchini at home, from seed selection to harvest, using straightforward steps that even gardening novices can follow.
How to Grow Zucchini At Home
Let’s get your garden started with these five simple steps to grow zucchini, ensuring a bountiful harvest that is both fulfilling and delicious.
Step 1: Choosing the Right Zucchini Variety
Selecting the right variety of zucchini is the first crucial step in your gardening journey. Zucchini comes in several types, each with unique characteristics and suited for different climates and spaces. Here’s how to choose the best one for your garden:
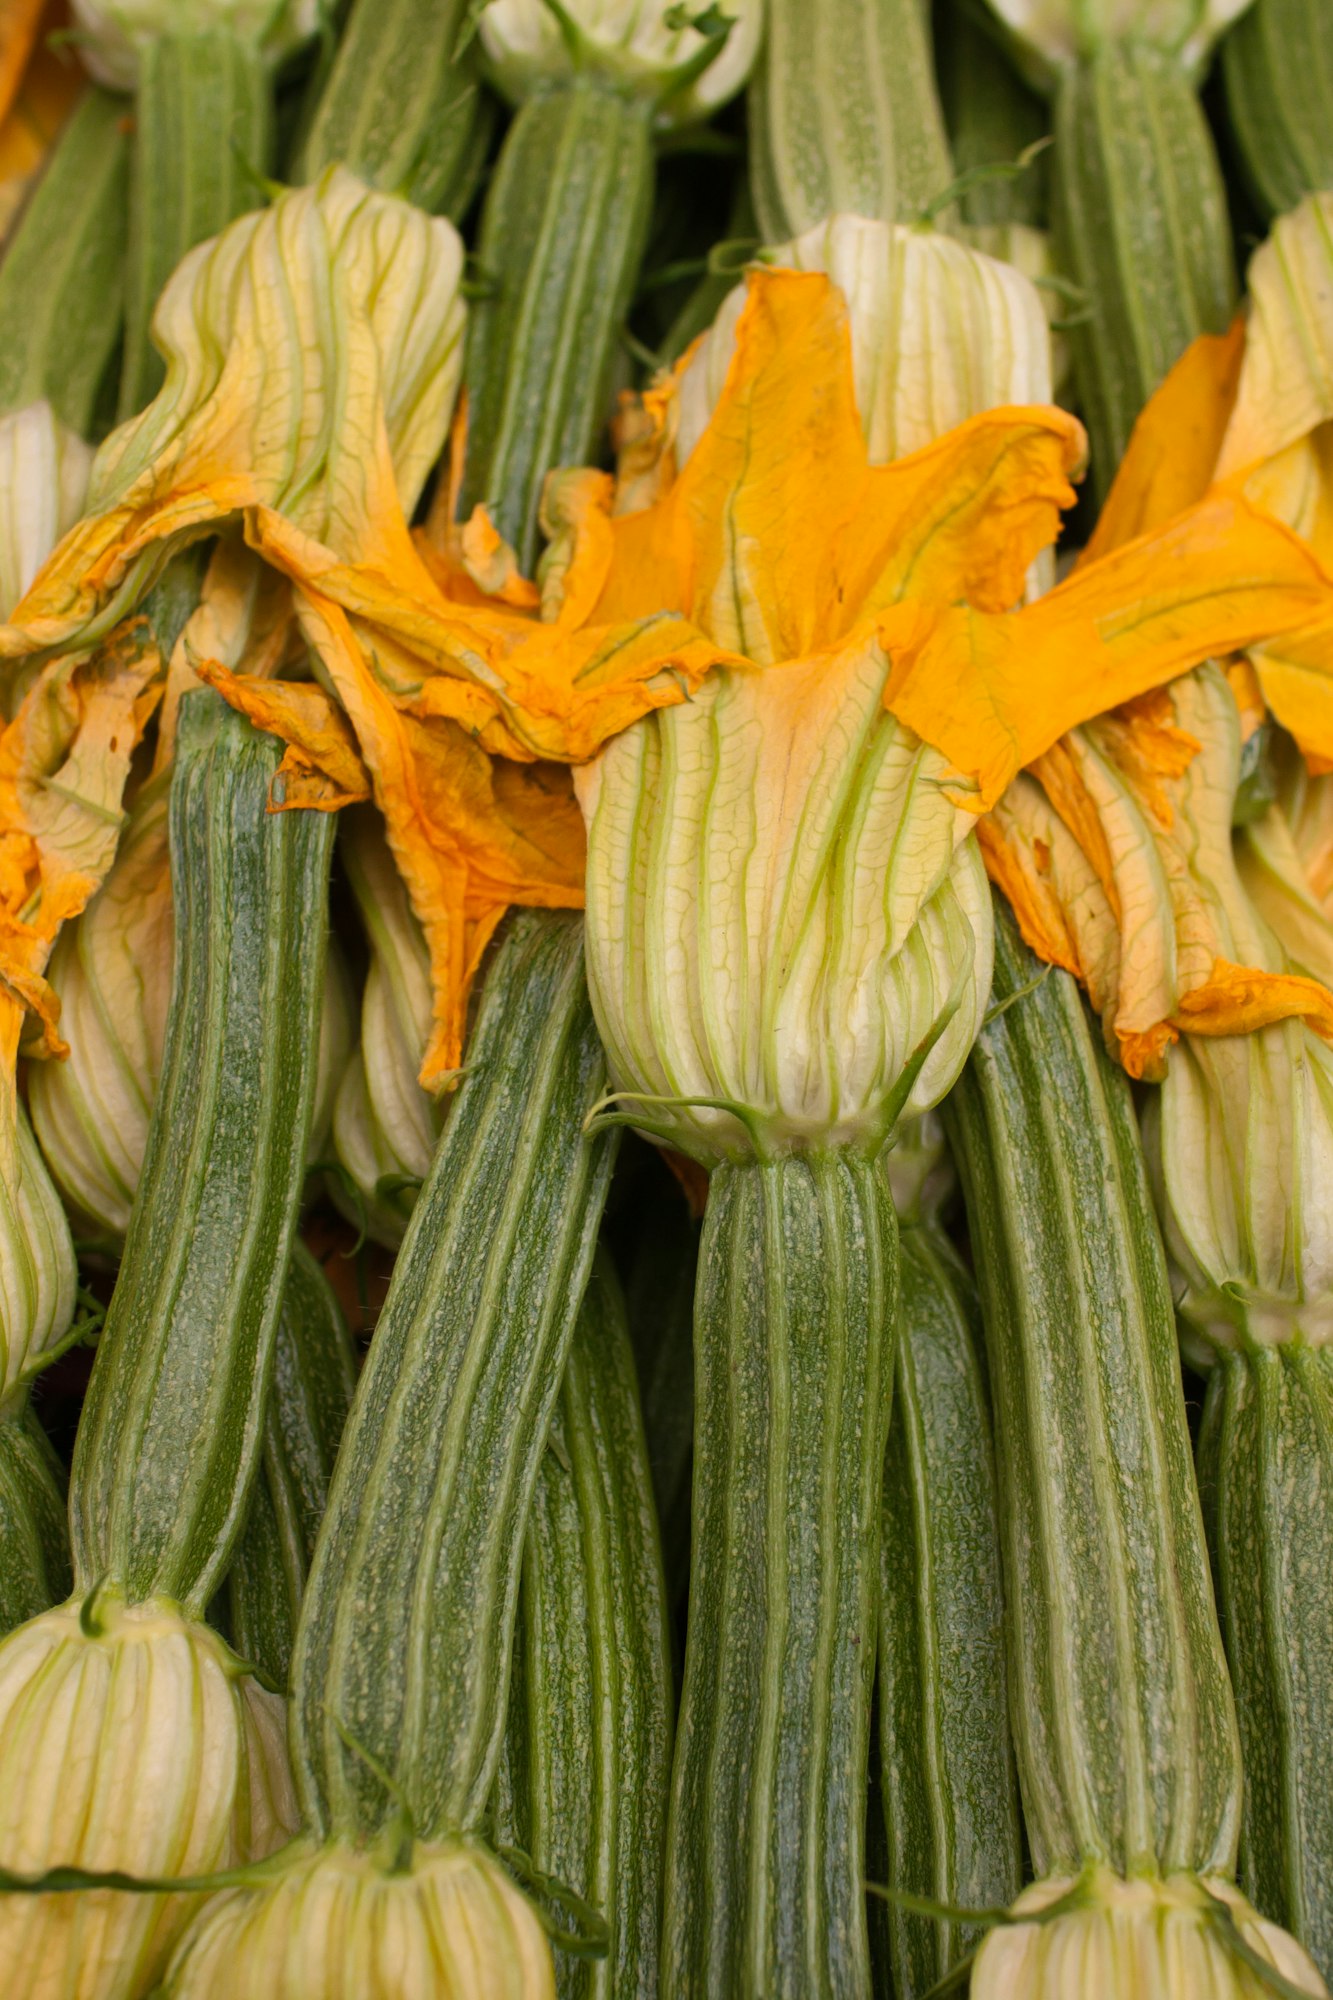
- Green Zucchini: The classic dark green zucchini is a garden staple because of its reliability and prolific production. It’s ideal for cooler climates and has a versatile flavor that makes it perfect for both baking and sautéing.
- Yellow Zucchini: Similar in shape and size to the green variety, yellow zucchini offers a sweeter taste and vibrant color that can brighten up any dish. This variety thrives in both cool and warm conditions.
- Round Zucchini: This globe-shaped zucchini is perfect for stuffing and presents a fun variation for culinary experiments. It grows well in warmer climates and can be a space-saver due to its compact bush form.
- Pattypan Squash: While technically a type of summer squash like zucchini, pattypan has a distinct shape and mild flavor. Its unique look and texture make it a favorite in diverse culinary applications, suitable for warm climates.
Tips on Sourcing Quality Seeds or Seedlings
- Local Nurseries: Visit local garden centers or nurseries where you can find varieties that are best suited to your local climate. Staff there can provide valuable advice based on their experience with regional growing conditions.
- Online Retailers: For a broader selection, consider reputable online seed banks or gardening sites. They often offer detailed descriptions and reviews that can help you make an informed choice.
- Seed Swaps: Participating in local seed swap events or online gardening communities can be a great way to acquire seeds and gain insights from experienced gardeners.
- Organic Options: If you prefer organic gardening, look for certified organic seeds or seedlings. These are grown without synthetic chemicals and can contribute to a more sustainable garden ecosystem.
Step 2: Preparing Your Garden
Choosing the ideal spot and preparing the soil are essential tasks to ensure your zucchini plants thrive. Follow these guidelines to set up your garden bed for success:
Selecting the Perfect Spot
- Sun Exposure: Zucchini requires a lot of sunlight to grow well. Choose a location in your garden that receives at least 6 to 8 hours of direct sunlight daily. Avoid areas shaded by large trees or buildings.
- Soil Type: Zucchini prefers well-drained soil. Avoid areas where water tends to collect for long periods, as standing water can lead to root diseases.
- Space Considerations: Ensure there is enough space for the zucchini to spread out. Most zucchini plants can grow quite large, so plan for about 2 to 3 feet of space in all directions for each plant.
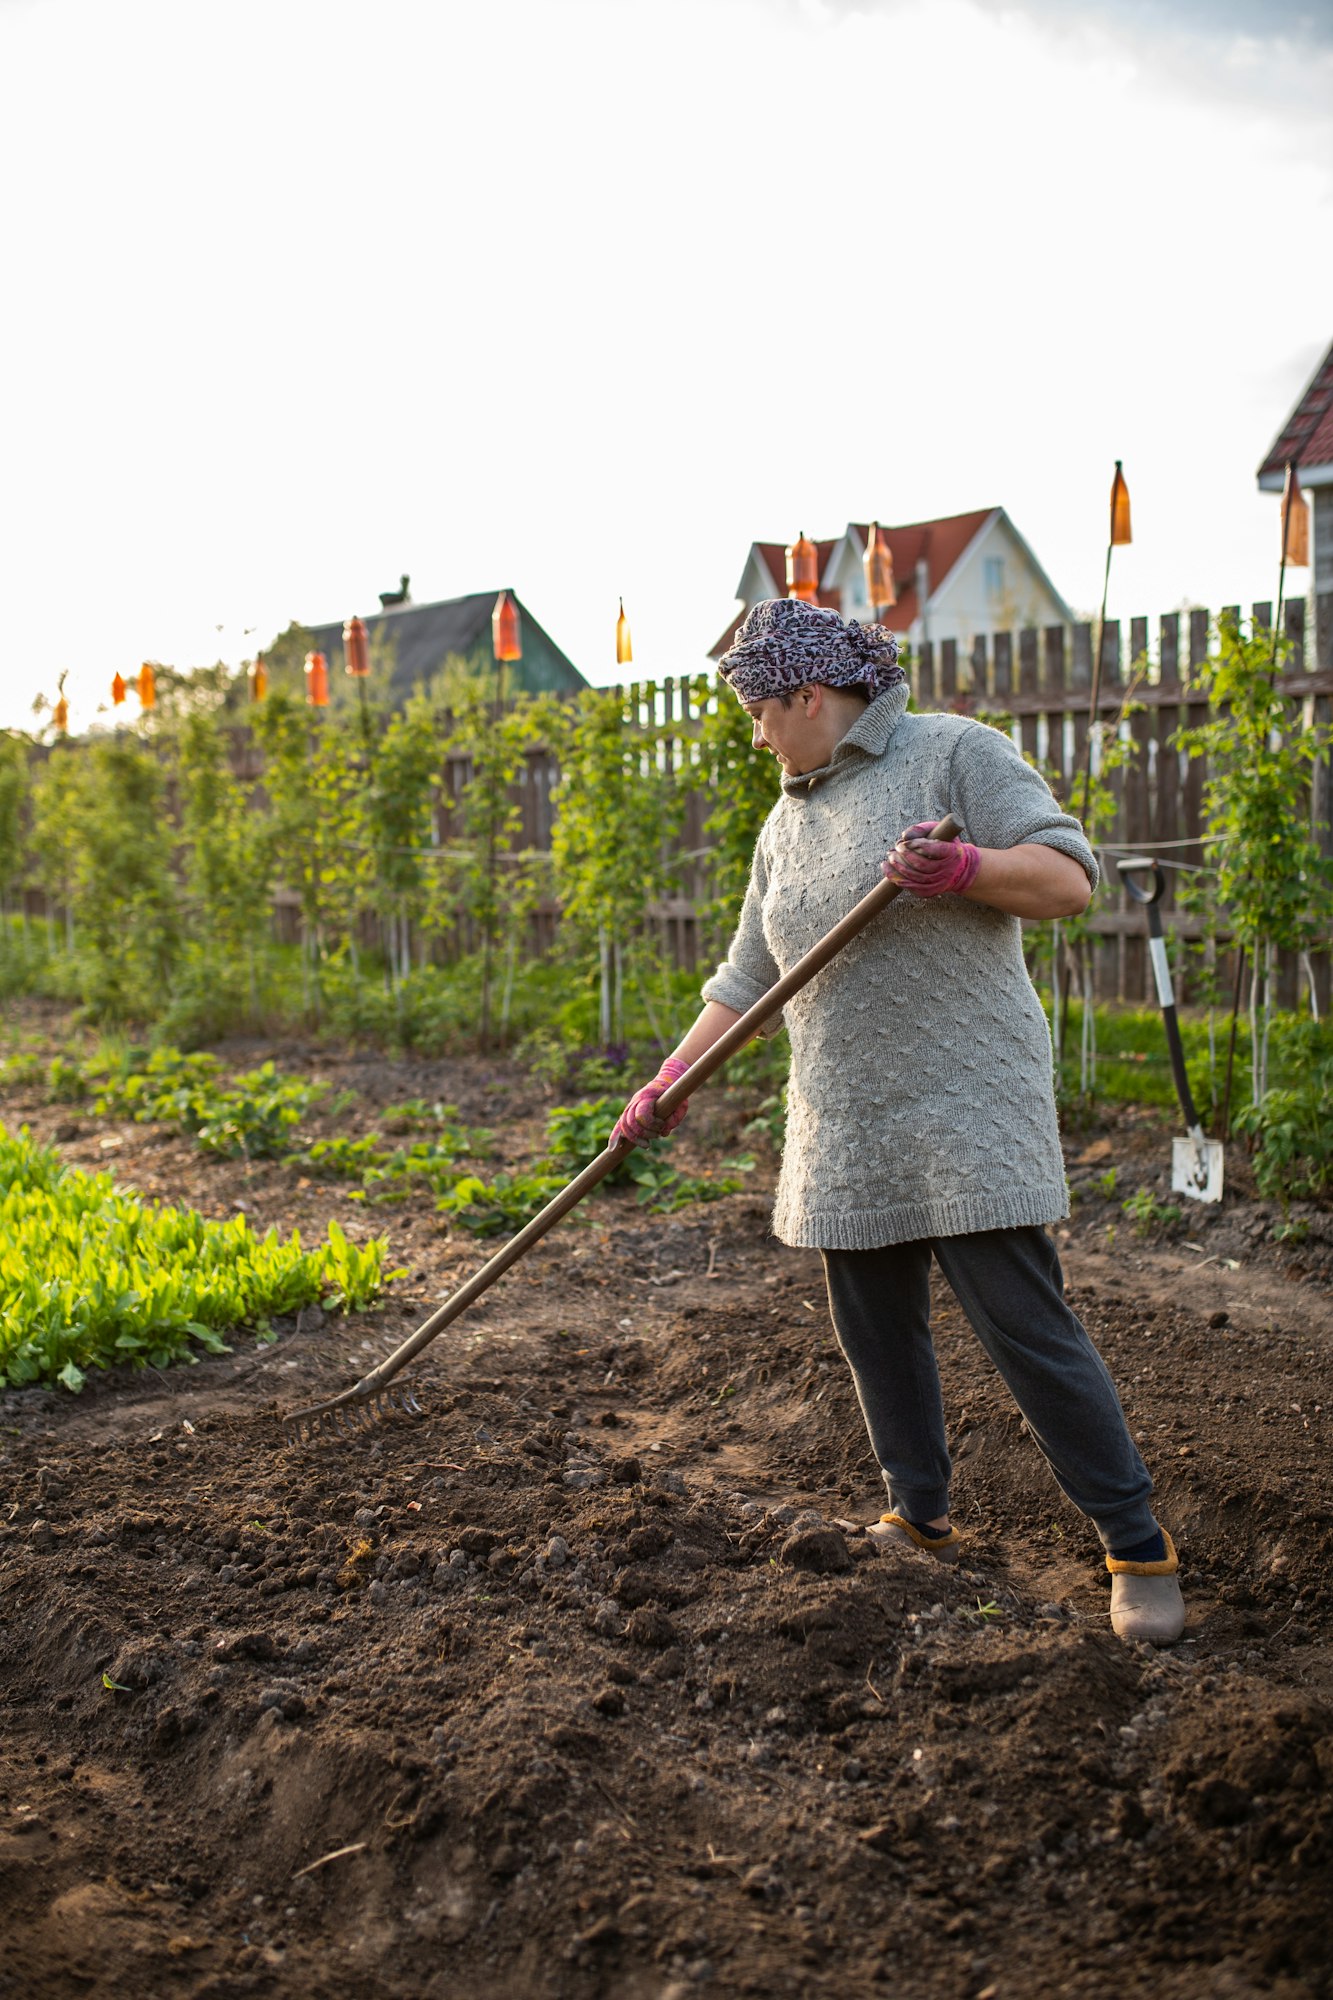
Preparing the Soil for Planting
- Testing Soil: Begin by testing the soil’s pH level; zucchini plants thrive in soil with a pH between 6.0 and 7.5. You can easily test your soil’s pH with a home testing kit available at garden centers.
- Amending Soil: Based on the pH test results, amend your soil to reach the ideal pH. If your soil is too acidic, adding garden lime can help raise the pH. If it’s too alkaline, incorporating sulfur can lower the pH to the desired level.
- Adding Organic Matter: Enrich the soil by mixing in plenty of organic matter such as compost or well-rotted manure. This will improve soil fertility, drainage, and moisture retention. Aim for a depth of at least 8 to 12 inches of amended soil to promote healthy root development.
- Final Preparation: Once the soil is amended, it gently loosens up, which helps root growth. Rake the surface smooth and level, removing any large clumps or stones, which could impede the growth of young zucchini plants.
Step 3: Planting Your Zucchini
Planting your zucchini at the right time and with the right technique is key to ensuring a healthy and productive crop. Here’s how to get your zucchini plants off to the best start:
Best Times of the Year to Plant Zucchini
- Spring Planting: In most climates, zucchini should be planted after the last frost when the soil has warmed up. This is typically in late spring or early summer, depending on your local weather conditions.
- Succession Planting: To extend your harvest, consider planting a few seeds every 2 to 3 weeks until mid-summer. This method keeps your garden producing fresh zucchini throughout the growing season.
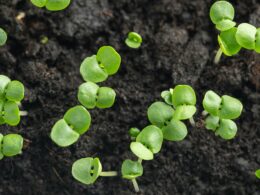
Step-by-Step Instructions on Planting Seeds
- Prepare the Soil: Make sure your garden bed is well-prepared as described in the previous step.
- Sow the Seeds: Plant zucchini seeds about an inch deep into the soil. Space the seeds about 2 to 3 feet apart in all directions, or plant two to three seeds together in small mounds (hills). Hills should be spaced about 4 feet apart.
- Water Gently: After planting, water the soil gently but thoroughly to settle the seeds. Keep the soil moist but not waterlogged as the seeds germinate.
- Thin Seedlings: Once the seedlings sprout and are a few inches tall, thin them out, leaving the strongest plant in each group or hill.
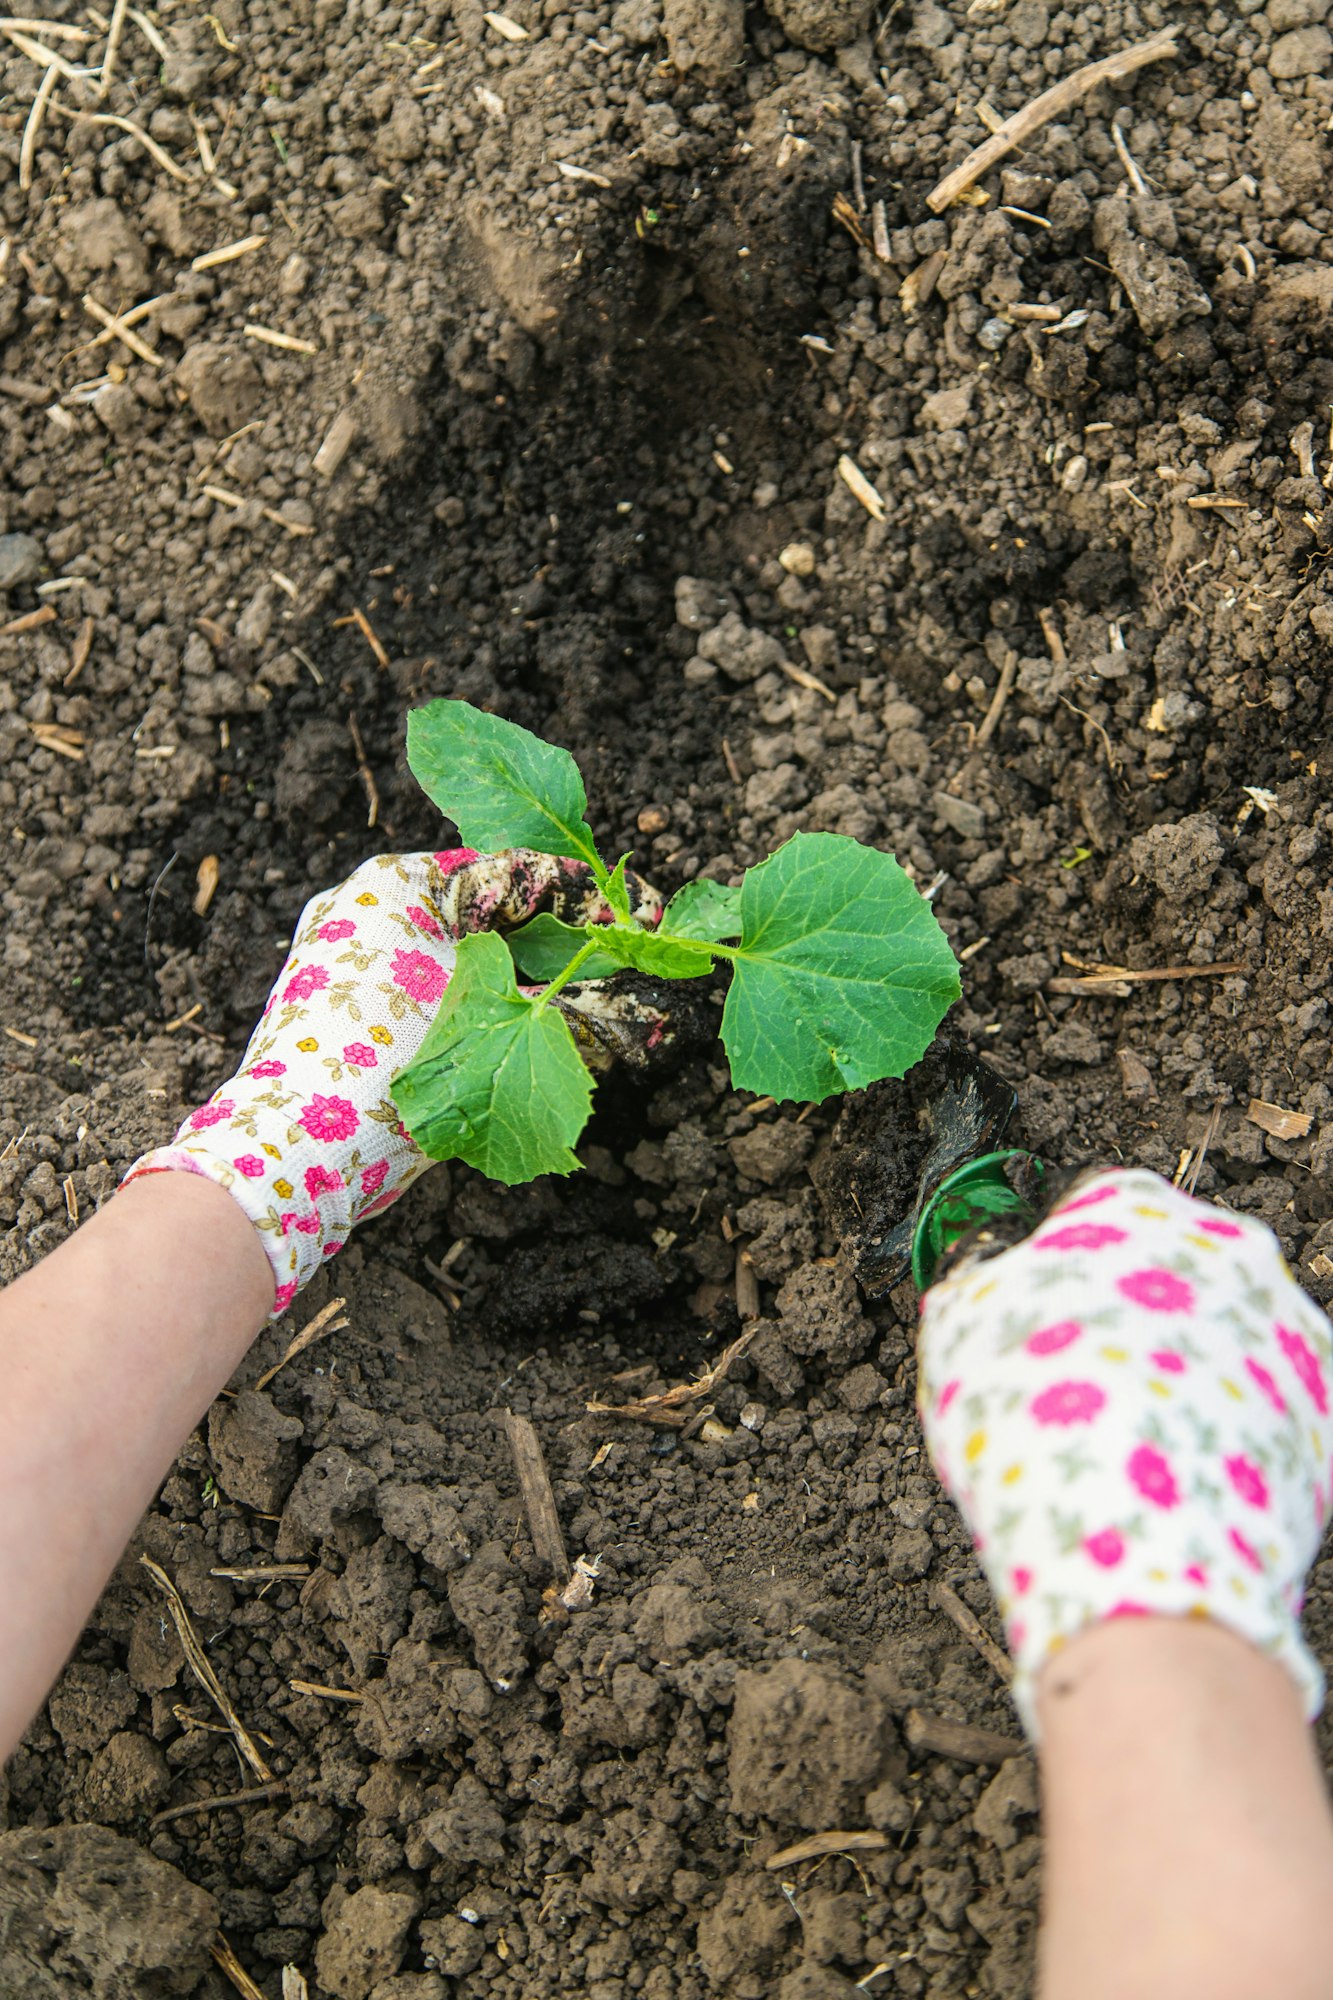
Instructions on Transplanting Seedlings
- Start Indoors: If you started your zucchini indoors, wait until they are 2-3 weeks old and the outdoor temperatures are consistently warm.
- Harden Off Seedlings: Gradually acclimate the seedlings to outdoor conditions over a week by setting them outside in a sheltered area for increasing periods each day.
- Transplant: Dig holes in your prepared garden bed, spacing them as recommended for seeds. Carefully place each seedling in a hole and fill it with soil, gently firming around the base.
- Water Immediately: Water the seedlings immediately after transplanting to help reduce transplant shock and settle the soil.
Step 4: Caring for Your Zucchini Plants
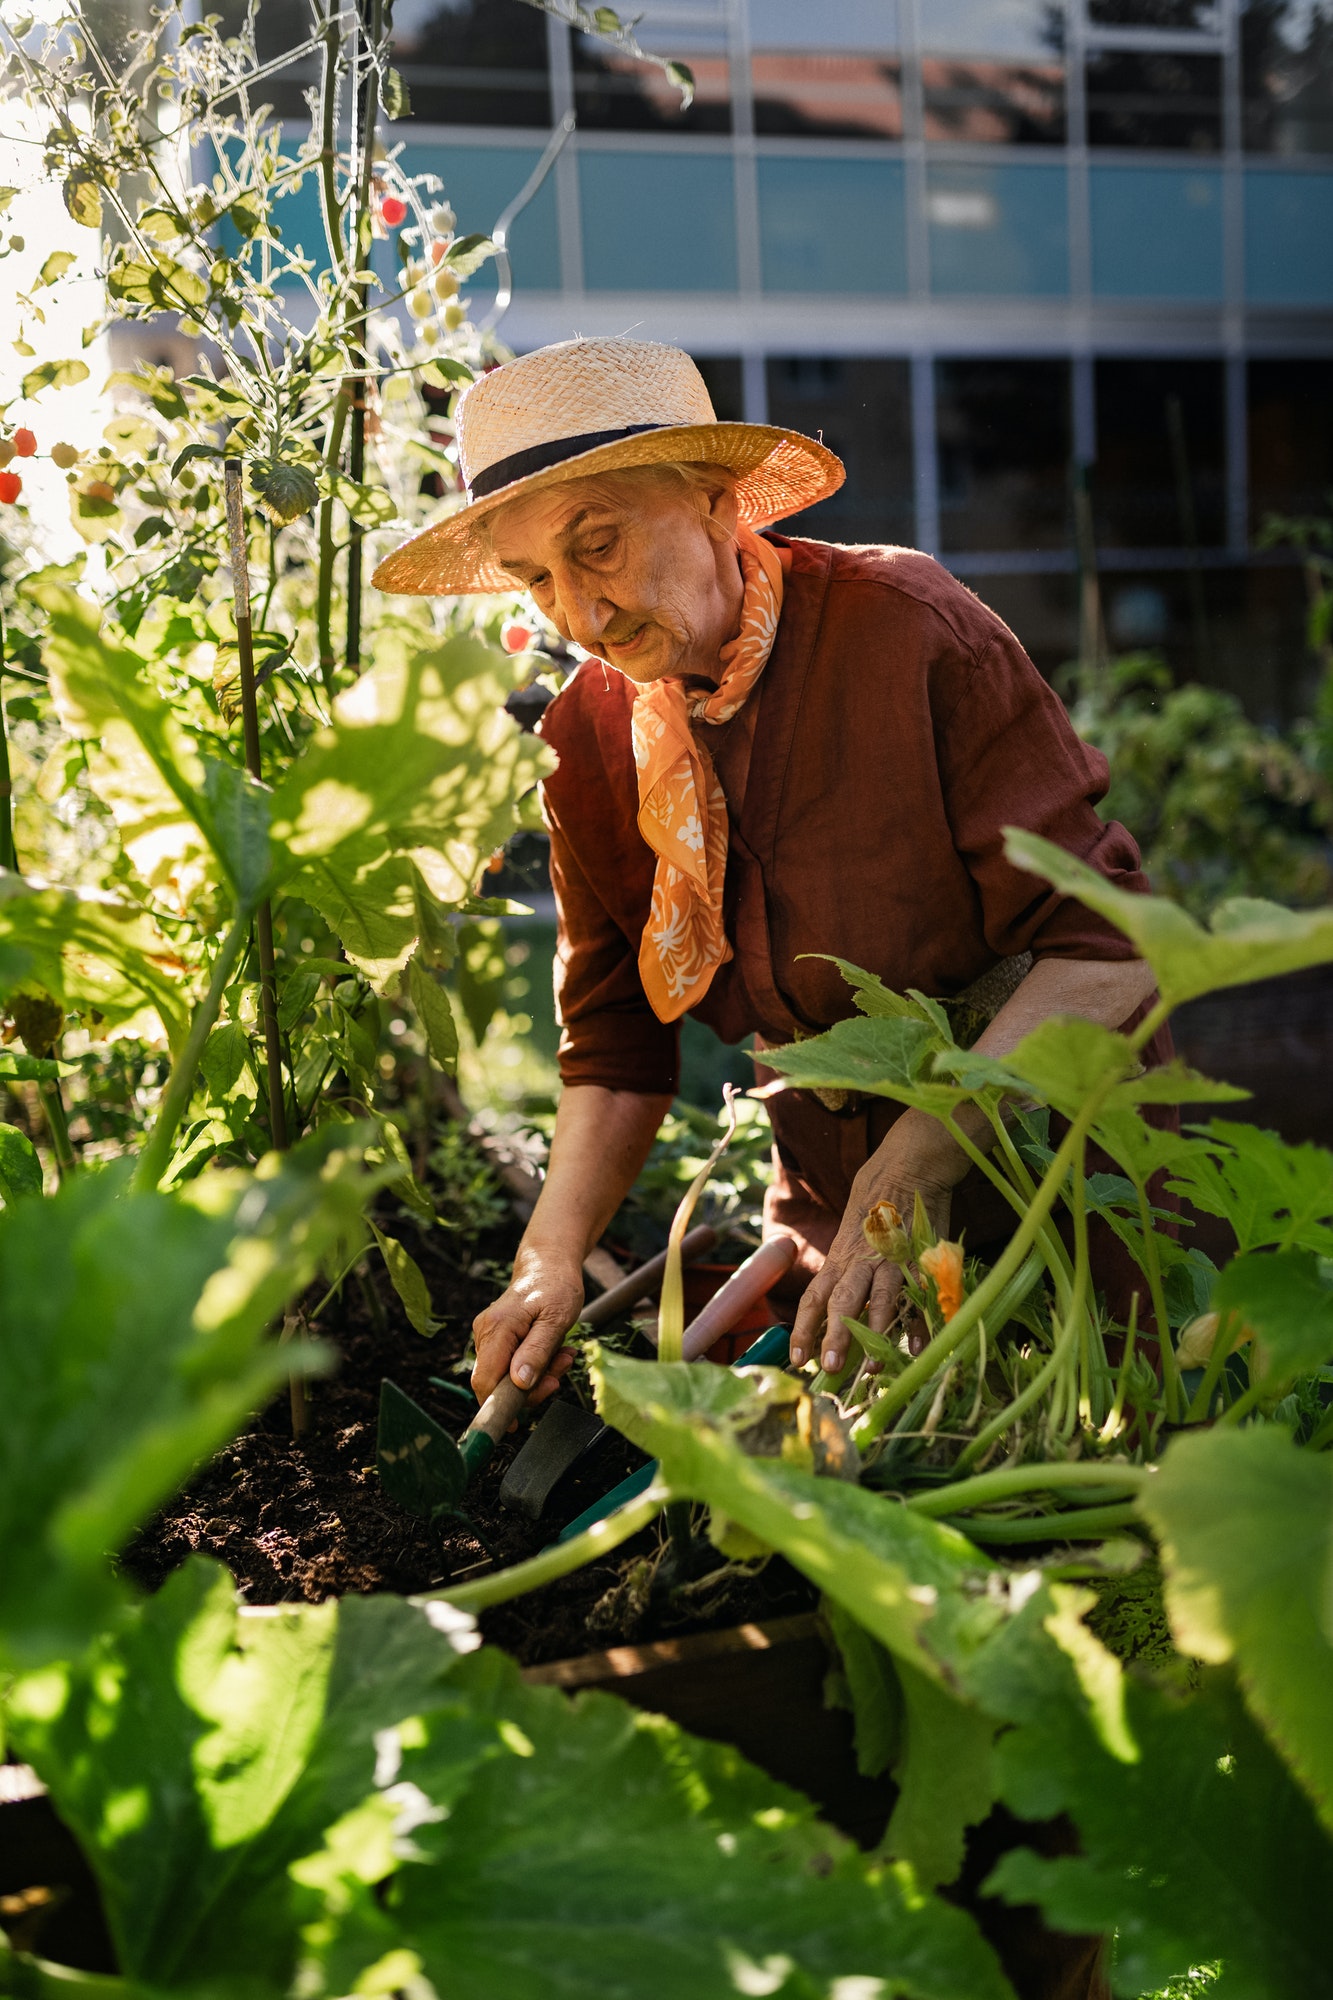
Once your zucchini plants are in the ground, proper care is essential to nurture healthy plants and a generous yield. Here’s how to maintain your zucchini plants effectively:
Watering
- Frequency and Amount: Zucchini requires consistent moisture to thrive, especially when the plants are blooming and producing fruit. Water your zucchini deeply once or twice a week, more often if you’re experiencing very hot or dry weather.
- Best Practices: Water early in the morning to allow moisture to reach the roots before it evaporates. Avoid overhead watering to minimize leaf moisture, which can lead to fungal diseases. Use a soaker hose or drip irrigation for best results.
Fertilizing
- Types of Fertilizers: A balanced fertilizer (such as a 10-10-10 NPK ratio) is ideal for zucchini. You can also use compost or well-rotted manure to provide a slow-release nutrient supply.
- Application Schedule: Apply fertilizer at planting and again when the first fruits start to form. This second application helps boost production and supports healthy growth. Follow the manufacturer’s instructions for dosage and application frequency.
Step 5: Harvesting Your Zucchini
Harvesting your zucchini at the right time not only ensures the best flavor and texture but also encourages the plants to produce more fruit. Here’s how to determine when to harvest and the best techniques to use:
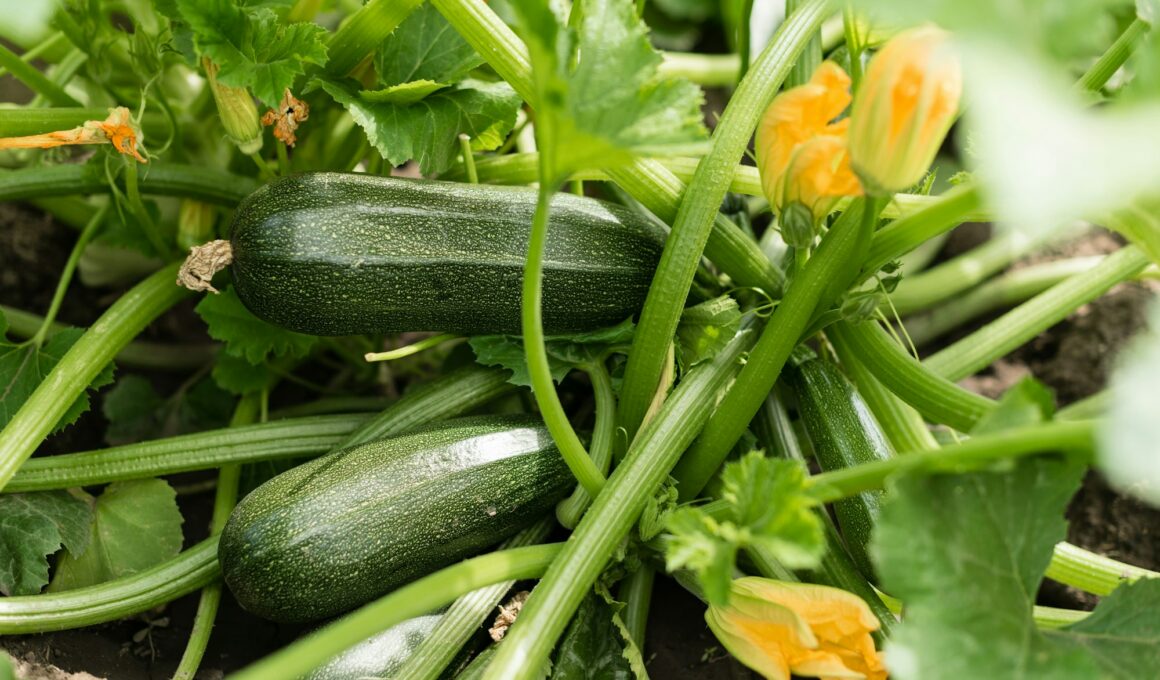
Signs That Your Zucchini Is Ready to Harvest
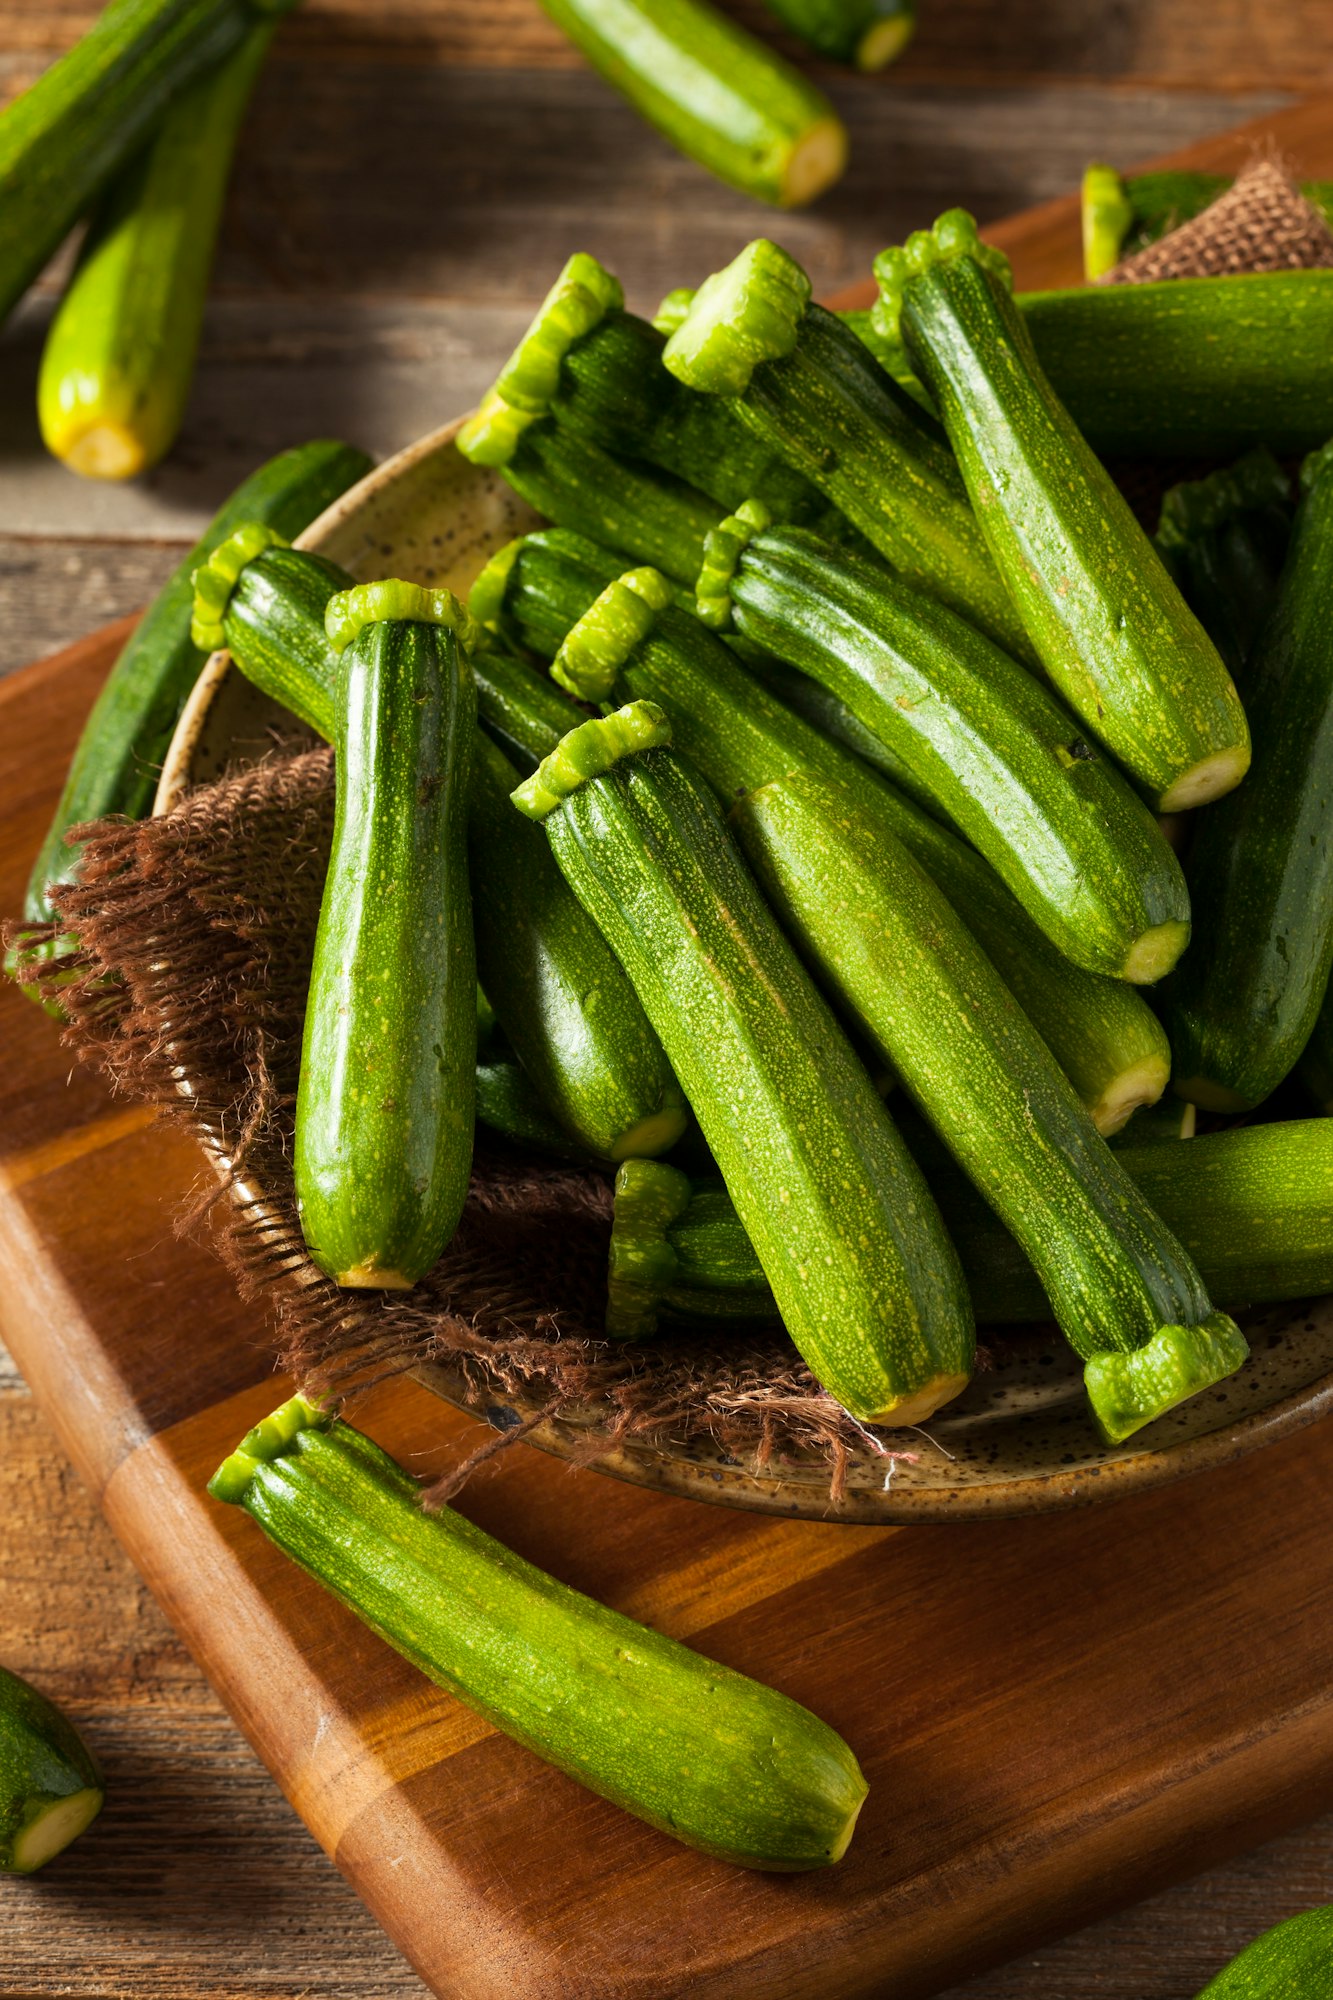
- Size: Typically, zucchini should be harvested when it’s about 6 to 8 inches long. Smaller zucchini tend to be more tender and flavorful, although you can let them grow bigger if you prefer.
- Skin Appearance: The skin should be firm and glossy. If it starts to look dull and feels hard when pressed, the zucchini may be overripe.
- Frequent Checks: Zucchini grows quickly during the peak of the growing season, so check your plants every 1-2 days once they start producing fruits.
Techniques for Harvesting to Encourage Further Growth
- Use the Right Tools: Use a sharp knife or pruning shears to cut the zucchini off the vine. Avoid pulling or twisting zucchini off by hand, as this can damage the plant and root system.
- Clean Cuts: Make clean cuts when harvesting, cutting the zucchini stem about an inch above the squash. This helps prevent damage to the main plant and reduces the risk of infections or pests attacking the plant.
- Regular Harvesting: Regularly harvesting zucchini when they are small to medium-sized encourages the plants to produce more fruits. It also helps prevent the zucchini from becoming too large and seedy, which can reduce the overall productivity of the plant.
By following these signs and techniques, you can enjoy a continual harvest of zucchini throughout the growing season. This not only maximizes your yield but also extends the productive life of your zucchini plants.