

In This Article Show
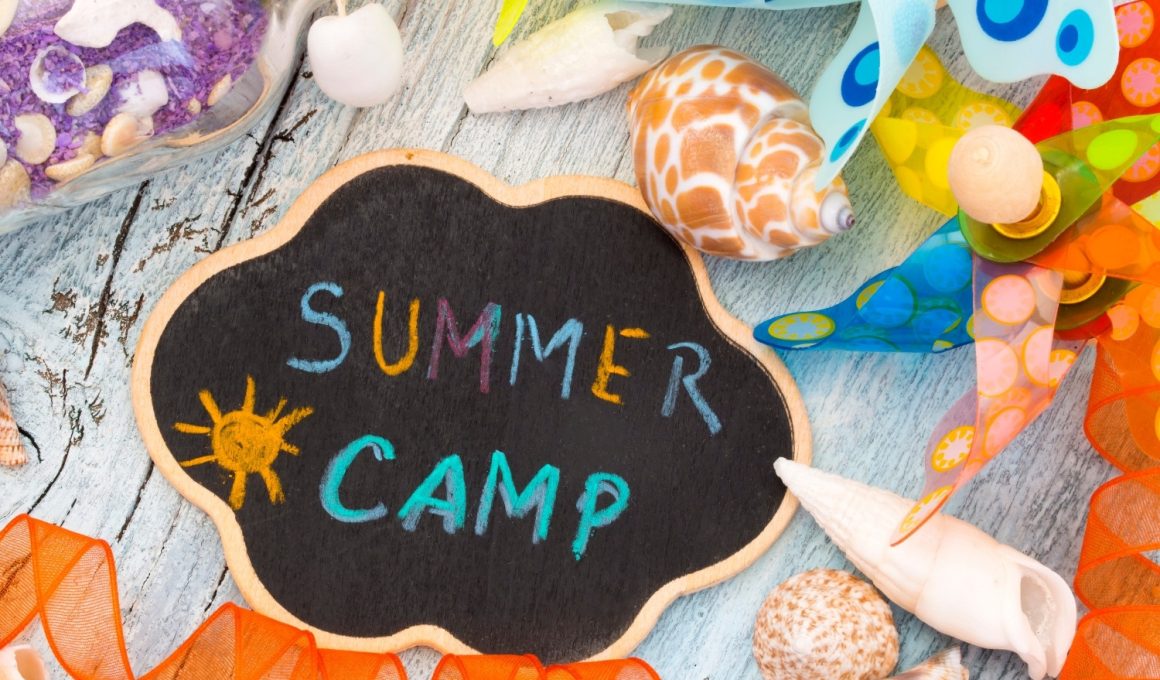
Summer camp days are full of energy, but keeping kids busy with simple, low-mess projects can be a challenge. If you’re planning camp activities, organizing a classroom, or just need rainy-day ideas, this list is for you.
These crafts are fun, easy to set up, and use common supplies. You’ll find bright, nature-inspired, and outdoor-friendly projects kids can make and take. Let’s jump into creative summer camp crafts that spark smiles and teach simple skills.
1. Tie-Dye Coffee Filter Butterflies
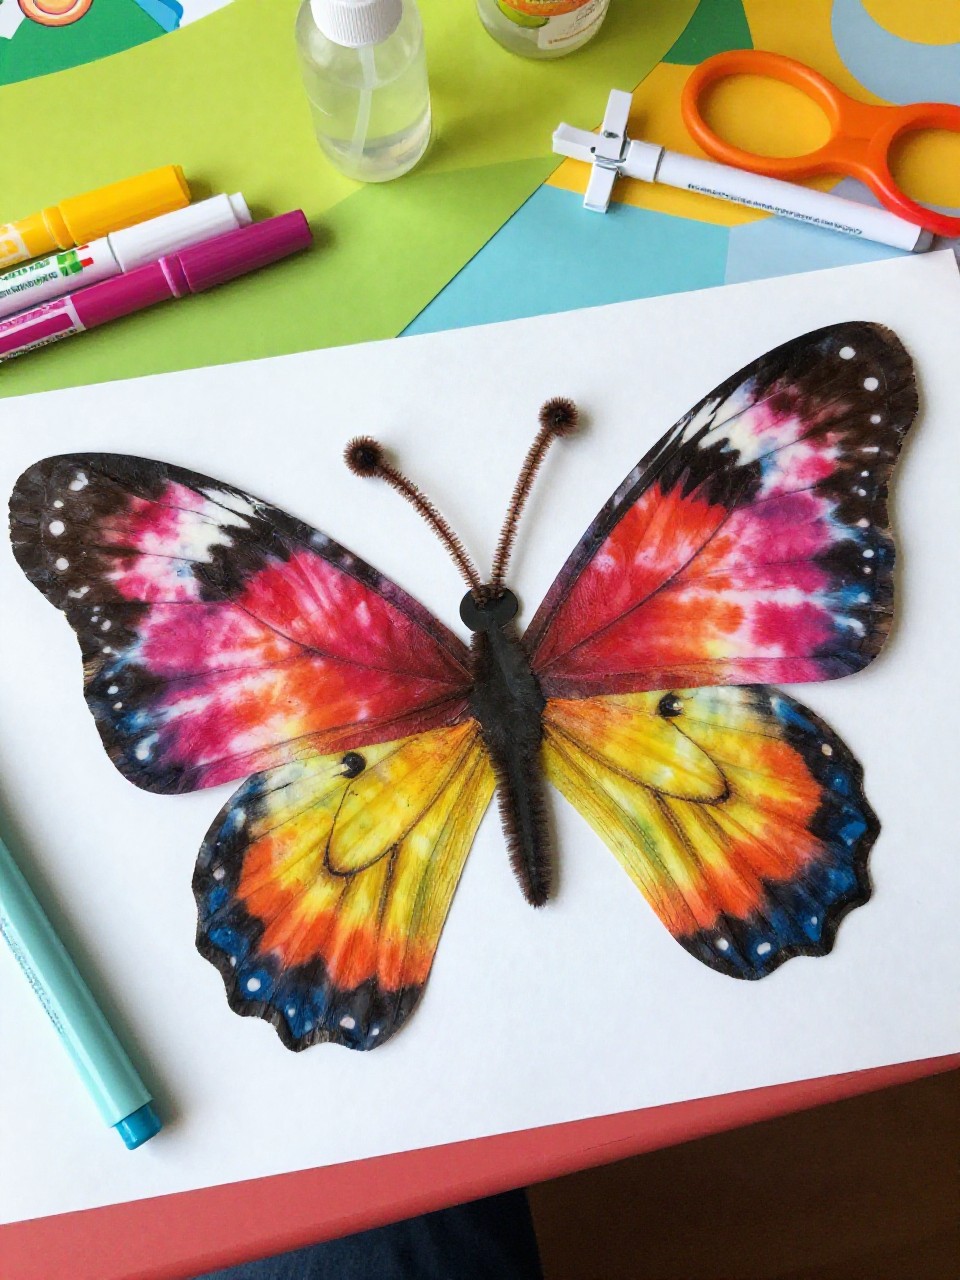
These butterflies have bright, tie-dye wings clipped around a cute clothespin body with drawn-on eyes and smiles. Kids love seeing the colors spread through the filter, and the result feels magical but simple enough for all ages.
Materials Needed:
- White coffee filters
- Washable markers
- Water spray bottle
- Wooden clothespins
- Pipe cleaners (for antennae)
How to make it:
- Flatten a coffee filter and color it with markers in patches and stripes.
- Lightly mist with water to blend the colors, then let it dry.
- Pinch the center and clip with a clothespin; add a pipe cleaner for antennae and draw a face.
- Fluff the wings and display on a windowsill or camp bulletin board.
2. Popsicle Stick Campfire Coasters

These coasters look like tiny wooden campfires with painted “logs” arranged in a neat square, topped with tissue paper “flames.” Kids enjoy building the mini structure and painting it, and it’s a practical keepsake for summer drinks.
Materials Needed:
- Popsicle sticks
- Craft glue
- Brown and red/orange/yellow paint
- Tissue paper flames
- Clear sealer (optional)
How to make it:
- Line up sticks to form a square base and glue crosswise sticks on top for support.
- Paint the base brown like logs and let dry.
- Glue small tissue paper triangles in the center to look like flames.
- Seal if desired and use as a coaster during snack time.
3. Nature Print Bandanas

These bandanas show leafy silhouettes stamped in bright fabric paint on cotton squares, perfect for sunny hikes. Kids love choosing leaves and watching crisp shapes appear, and they can wear their art the same day.
Materials Needed:
- Plain white cotton bandanas or fabric squares
- Leaves and ferns
- Fabric paint
- Foam brush or roller
- Cardboard insert
How to make it:
- Slide cardboard under the fabric to protect the surface.
- Arrange leaves on the bandana and lightly roll or dab fabric paint over and around them.
- Lift leaves to reveal prints; add extra patterns or names.
- Let dry per paint instructions and tie around a neck, wrist, or backpack.
4. Summer Bead Friendship Bracelets

These bracelets shine with sunny yellows, ocean blues, and letter beads for camp names. Kids enjoy picking colors and patterns and trading bracelets with friends.
Materials Needed:
- Stretchy beading cord or floss
- Assorted pony beads
- Letter beads
- Tape or clip (to hold one end)
- Small scissors
How to make it:
- Measure cord around the wrist and cut with a bit of extra length; tape one end to the table.
- String beads in a summer color pattern, adding letter beads for names.
- Tie a secure double knot and trim.
- Trade with friends or stack several for a camp look.
5. Paper Plate Sun Catchers

These sun catchers look like glowing stained glass circles with tissue paper mosaics framed by a paper plate ring. Kids love watching sunlight shine through their colors on a window.
Materials Needed:
- Paper plates
- Clear contact paper or self-adhesive laminating sheets
- Tissue paper squares
- String or yarn
- Hole punch
How to make it:
- Cut the center out of a paper plate to make a ring.
- Stick contact paper behind the ring, sticky side up, and add tissue paper pieces in a mosaic.
- Seal with another contact sheet and trim excess.
- Punch a hole, tie a string, and hang in a sunny window.
6. Camp Map Tote Bags

These totes feature simple “maps” of camp with trails, cabins, a lake, and a compass drawn in fabric markers. Kids enjoy personalizing their route and using the bag for field trips.
Materials Needed:
- Plain canvas tote bags
- Fabric markers
- Ruler or stencil (optional)
- Cardboard insert
- Stickers or patches (optional)
How to make it:
- Slide cardboard inside the tote to prevent bleed-through.
- Sketch a fun map: dotted trails, trees, a small lake, and a compass rose.
- Color in details and add a camp name or initials.
- Let dry and pack it with water bottles or books.
7. Pinecone Owls
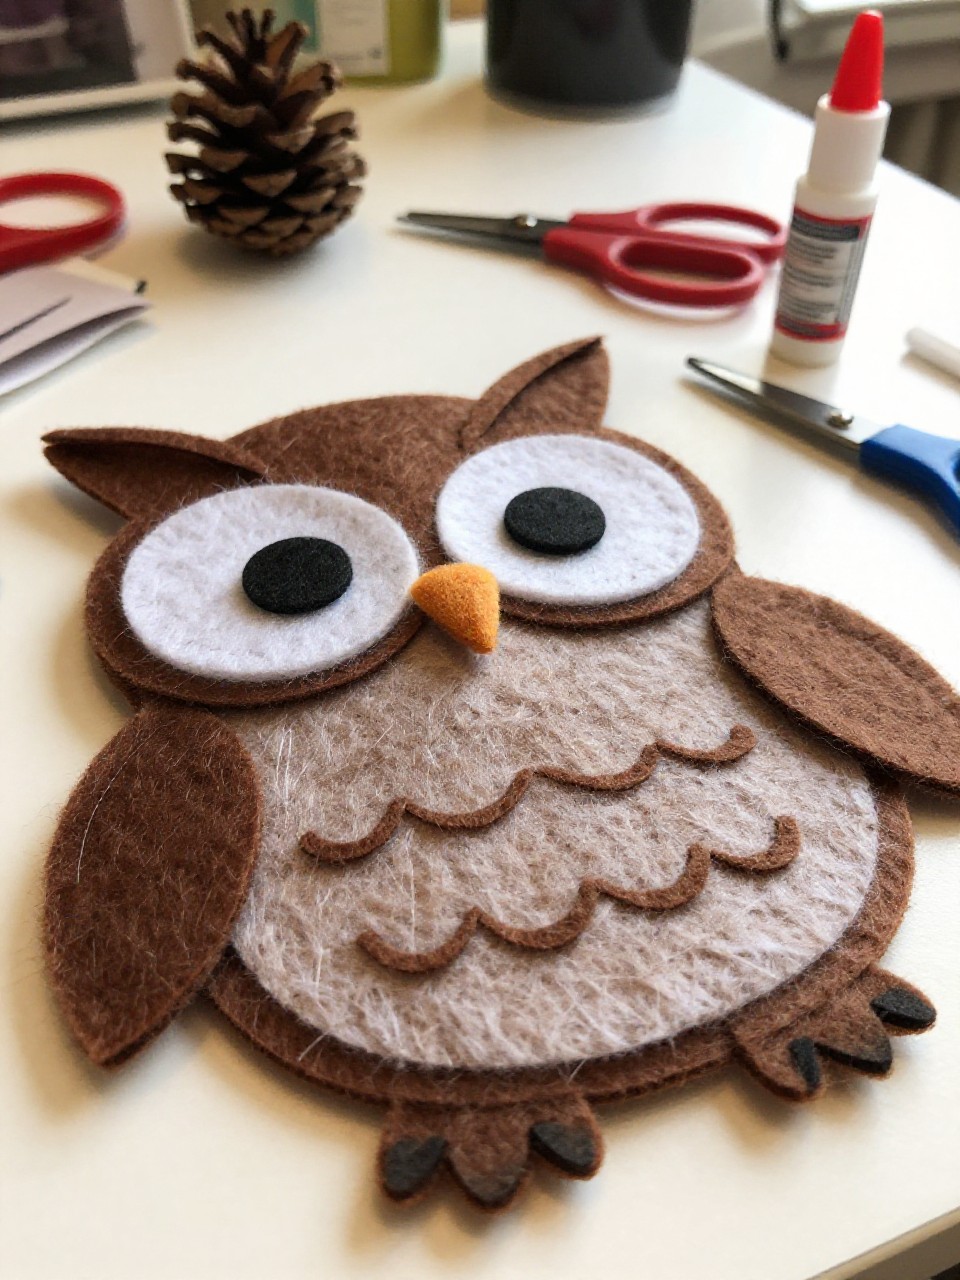
These small owls perch on pinecones with felt wings, googly eyes, and a tiny beak, perfect for nature tables. Kids enjoy turning found pinecones into cute creatures.
Materials Needed:
- Pinecones
- Felt scraps
- Googly eyes
- Craft glue
- Small twigs (optional perch)
How to make it:
- Clean pinecones and choose one that sits steady.
- Cut felt wings, a belly oval, and a small beak; glue onto the pinecone.
- Add googly eyes and extra felt tufts for eyebrows.
- Glue to a twig perch and let dry before display.
8. Camp Flag Banners

These mini felt pennants hang on yarn with bold letters and symbols like tents and suns. Kids love choosing team colors and waving their flags during games.
Materials Needed:
- Felt sheets
- Yarn or string
- Craft glue
- Alphabet stickers or felt letters
- Wooden dowels or straws (optional for handheld flags)
How to make it:
- Cut triangle pennants from felt.
- Glue on letters, shapes, or camp icons.
- Glue or stitch the top edge around yarn to make a banner; or attach to a dowel for a handheld flag.
- Hang across a cabin wall or above the camp stage.
9. Bottle Cap Bug Magnets

These look like tiny beetles and ladybugs made from painted bottle caps with magnet backs and pipe cleaner legs. Kids enjoy turning recyclables into cute crawlies for lockers or fridges.
Materials Needed:
- Metal or plastic bottle caps
- Acrylic paint and paint pens
- Small magnets
- Pipe cleaners
- Strong craft glue
How to make it:
- Paint caps in bright bug colors and add spots or stripes.
- Bend small pipe cleaner pieces for legs and glue to the underside.
- Glue a magnet to the back and add painted eyes or googly eyes.
- Let dry and stick to a magnetic surface.
10. Seashell Wind Chimes

This craft makes a breezy chime using shells tied to a painted stick, perfect for cabin porches. Kids enjoy arranging shells and hearing the gentle clink in summer wind.
Materials Needed:
- Clean seashells with holes (or drill carefully in advance)
- Sturdy stick or driftwood
- Twine or fishing line
- Beads (optional)
- Acrylic paint (optional for the stick)
How to make it:
- Paint and dry the stick if desired.
- Tie lengths of twine to the stick and knot shells and beads along each strand.
- Space strands evenly and secure with tight knots.
- Add a hanging loop and display outside where it can catch the breeze.
11. Watercolor Camp Postcards

These postcards show soft watercolor sunsets, mountains, and lake scenes with simple black pen outlines. Kids love mailing a note home or swapping cards with bunkmates.
Materials Needed:
- Watercolor paper cut to postcard size
- Watercolor paints and brush
- Black fine-tip marker
- Water cup and paper towel
- Stamps (optional if mailing)
How to make it:
- Lightly paint a sky wash and simple landscape shapes; let dry.
- Outline details with a fine marker and add “Greetings from Camp!”
- Write a message on the back.
- Mail or pin to a camp corkboard.
12. Sunprint Nature Art (Cyanotype-Style Paper)
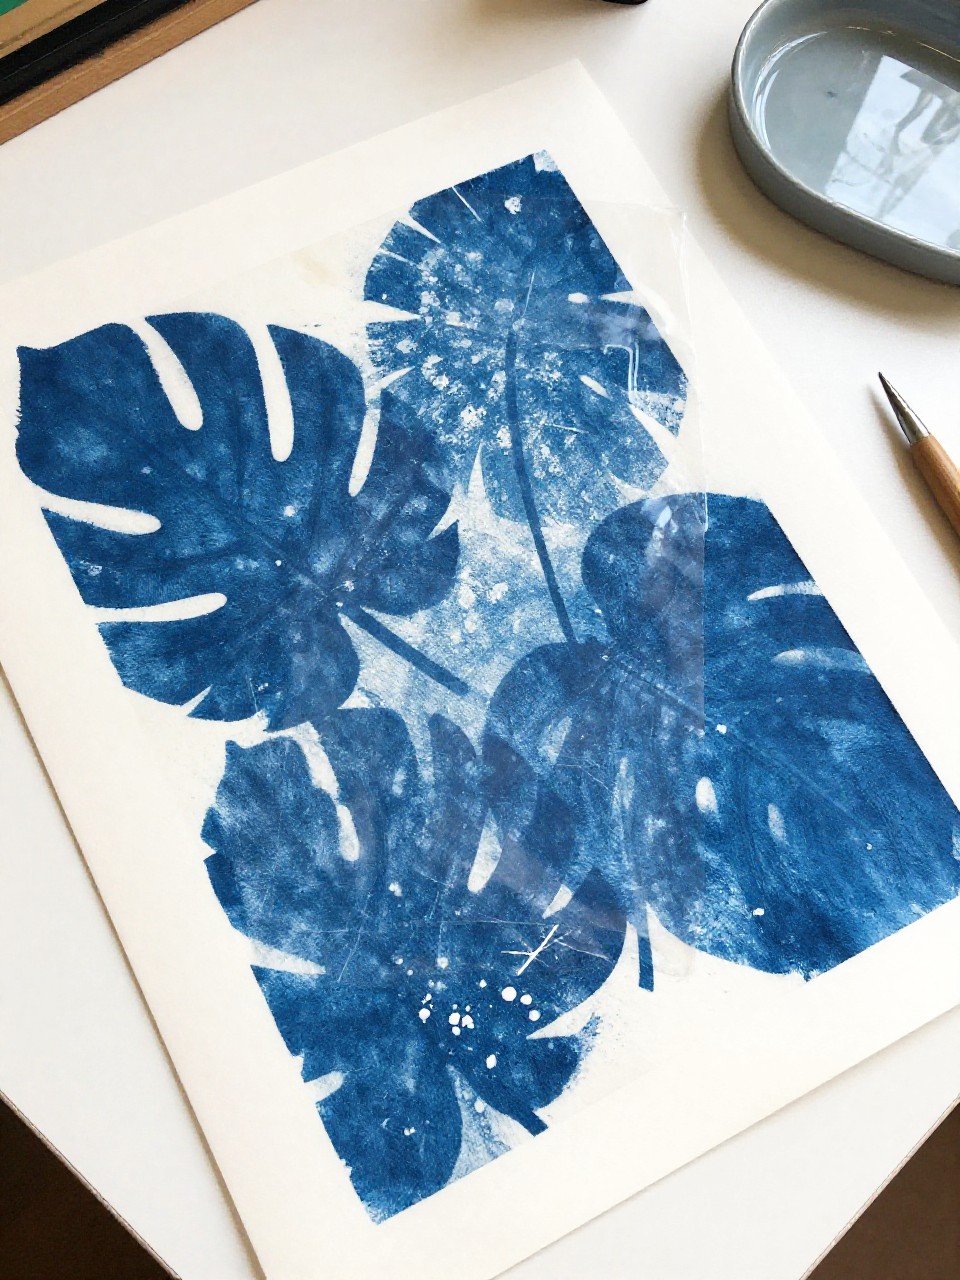
These prints reveal crisp white shapes of leaves and flowers against deep blue sun-sensitive paper. Kids enjoy the quick “magic” reveal using sunlight on a bright day.
Materials Needed:
- Sunprint or light-sensitive paper
- Leaves, flowers, or small camp objects
- Clear plastic sheet
- Tray of water (follow kit directions)
- Cardboard backing
How to make it:
- Arrange nature items on the paper on a cardboard backing and cover with clear plastic.
- Expose in direct sun per instructions until the paper lightens.
- Rinse in water to develop and let dry flat.
- Display as wall art or in a camp scrapbook.
13. Pool Noodle Boats
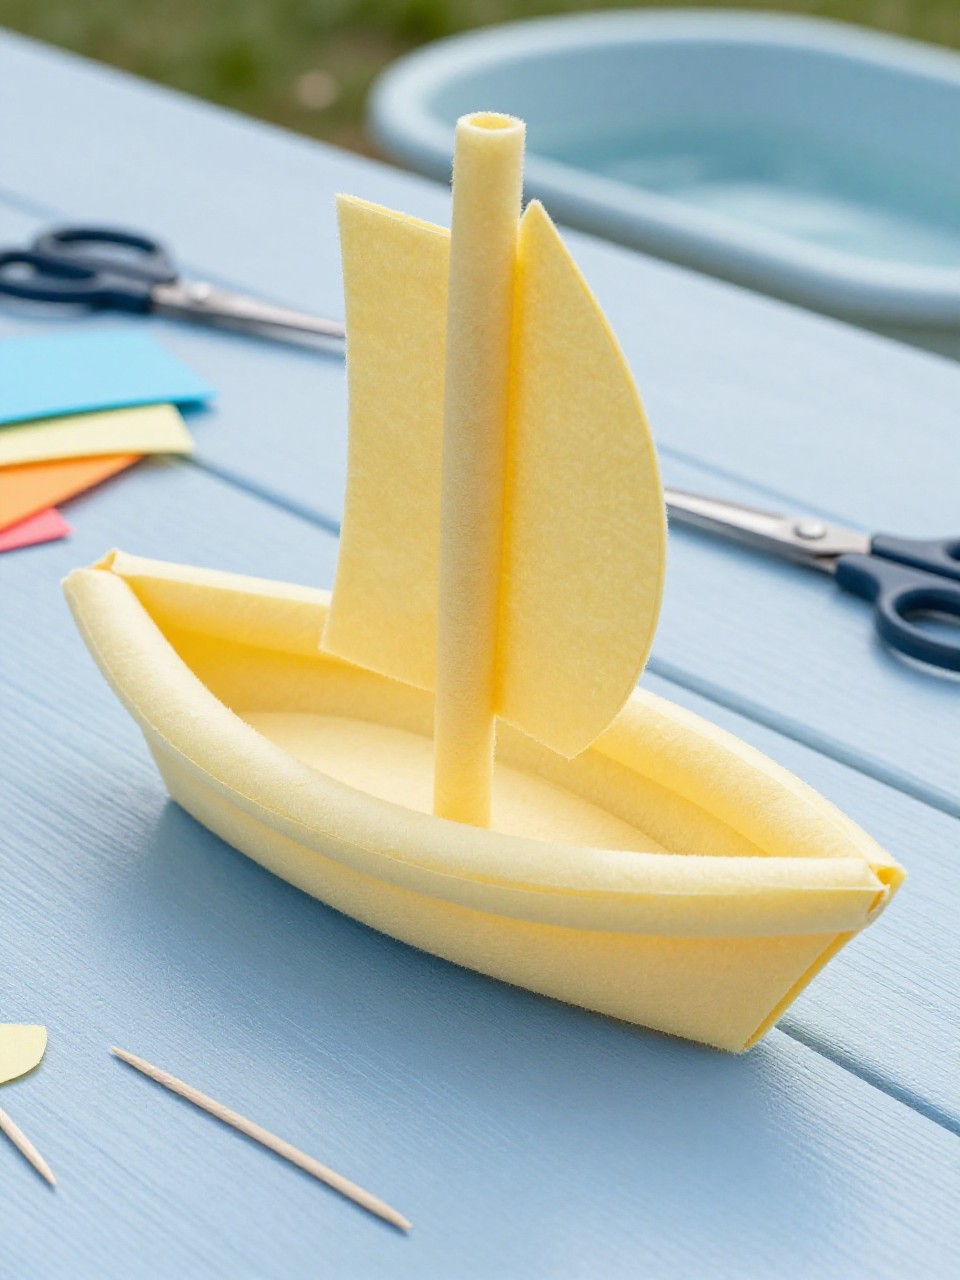
These small boats are made from pool noodle slices with a toothpick mast and foam sail that actually float. Kids love racing them in tubs, water tables, or the lake edge.
Materials Needed:
- Pool noodle (cut into 1–2 inch slices)
- Toothpicks or small skewers
- Craft foam sheets
- Waterproof markers (optional)
- Duct tape (optional for flags)
How to make it:
- Cut a pool noodle into thick slices for hulls.
- Poke a toothpick into the center and cut a triangle foam sail; slide it onto the mast.
- Decorate sails with markers or add a duct-tape flag.
- Launch in water and have a friendly race.
14. Leaf Rubbing Explorer Books
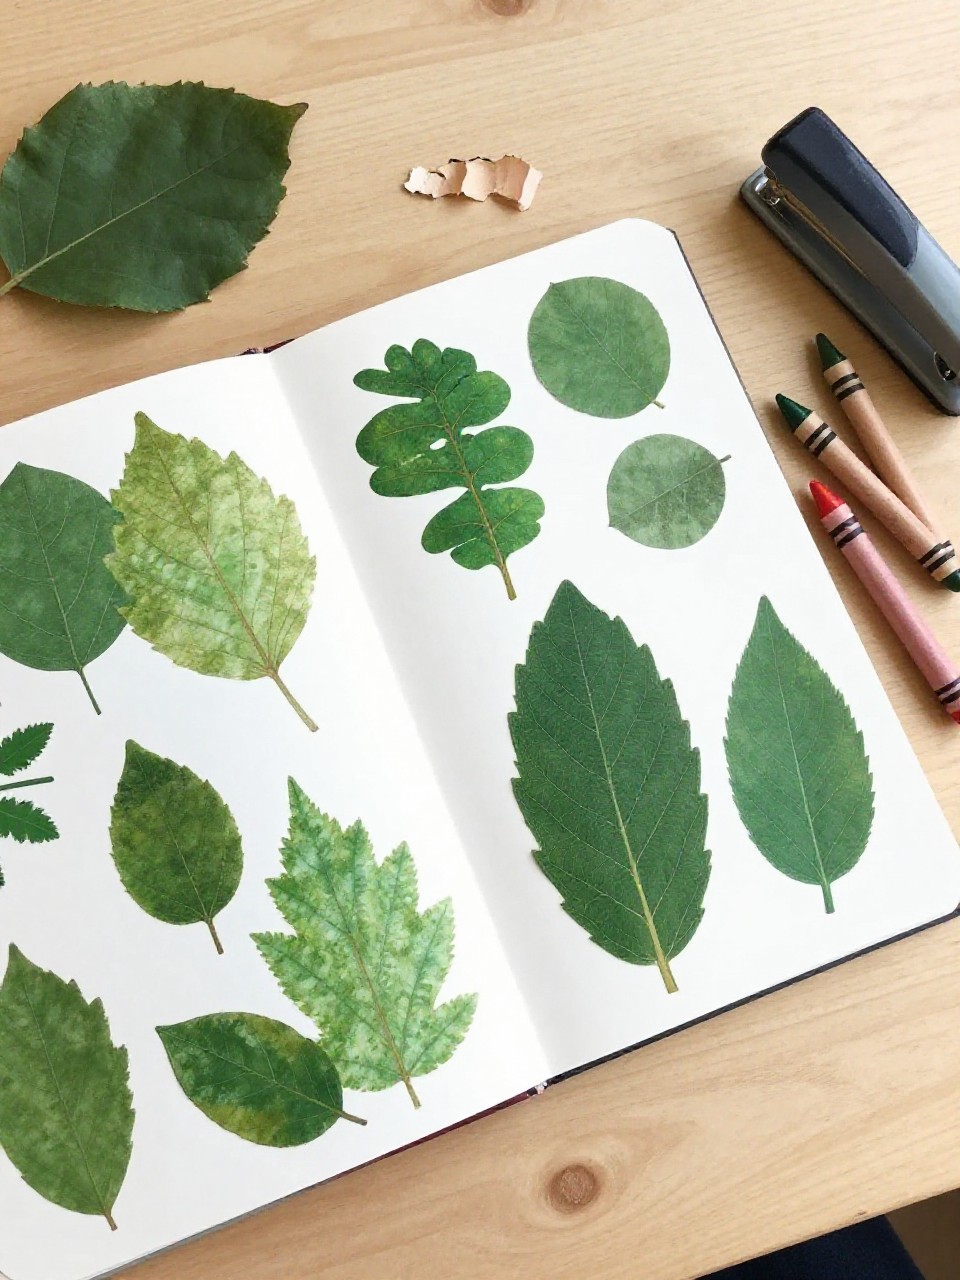
These small stapled booklets feature crayon rubbings of different leaves labeled like a field guide. Kids enjoy collecting leaves and seeing patterns appear as they color.
Materials Needed:
- Printer paper or thin sketch paper
- Construction paper covers
- Crayons (peel paper off)
- Stapler
- Leaves of different shapes
How to make it:
- Fold several sheets for pages and a construction paper cover; staple the spine.
- Slip a leaf under a page and rub a crayon sideways to reveal veins.
- Label each rubbing with the leaf type or location found.
- Decorate the cover and keep as a camp explorer book.
15. Paper Cup Lanterns
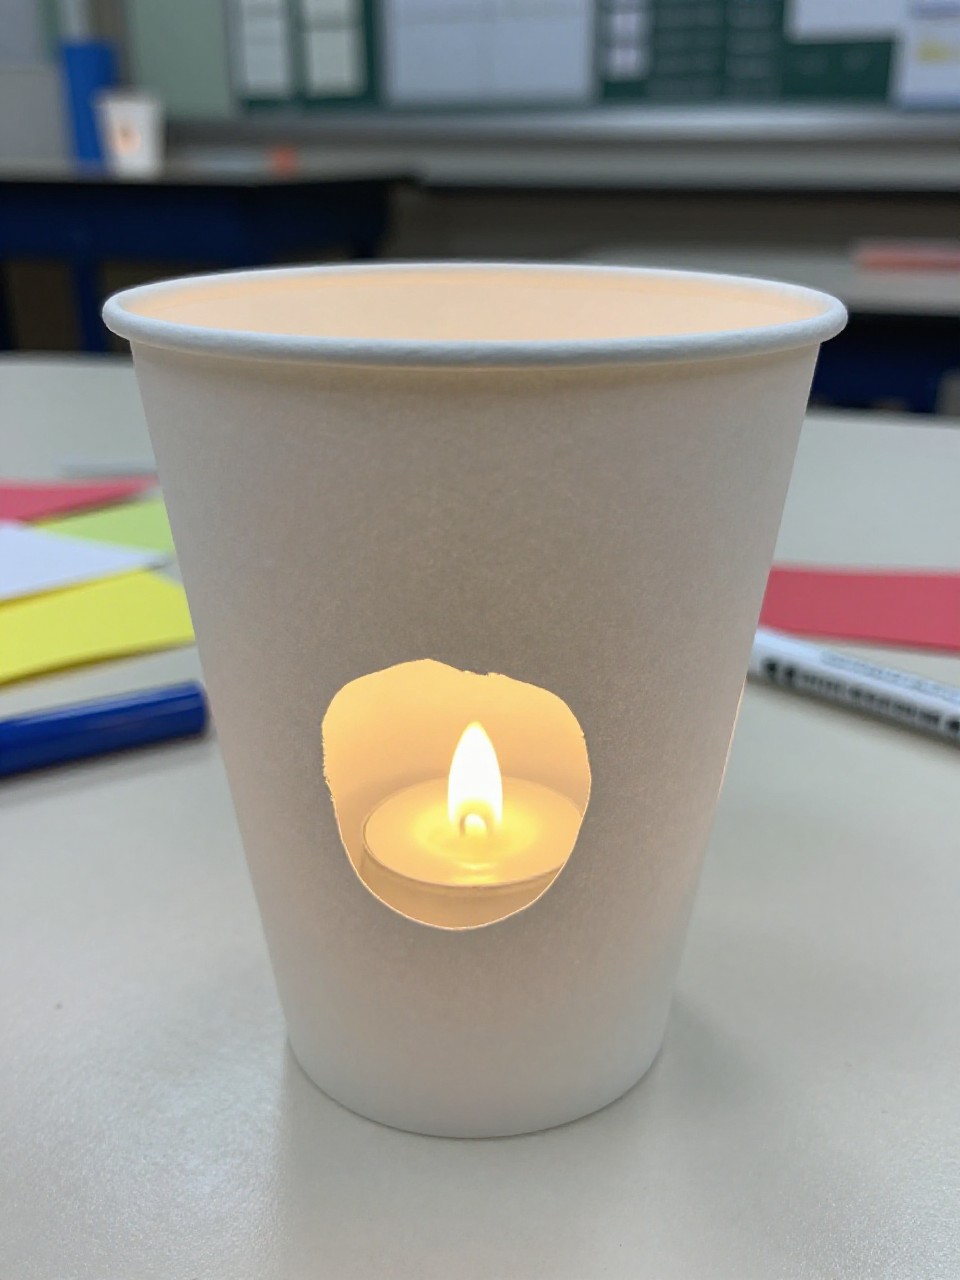
These look like mini lanterns made from decorated paper cups with punched shapes that glow with an LED tea light. Kids enjoy poking fun patterns and lighting them for evening campfires.
Materials Needed:
- Paper cups
- Hole punch or push pin (adult help)
- Markers or paint
- String (for handles, optional)
- LED tea lights
How to make it:
- Decorate cups with markers or paint and let dry.
- Carefully punch small holes in patterns like stars or waves.
- Add a string handle by punching two side holes and tying knots.
- Place an LED tea light inside and enjoy the warm glow at dusk.