


In This Article Show
Keeping kids busy can be tough, especially on rainy days or during long afternoons at home or in class. Buttons are perfect for quick, colorful crafts that don’t make a big mess or need fancy tools.

This list gives you simple, cheerful button projects that help kids practice fine motor skills and creativity.
You’ll find playful ideas that use common supplies and come together fast. Let’s jump into these button crafts and start creating.
1. Rainbow Button Collage
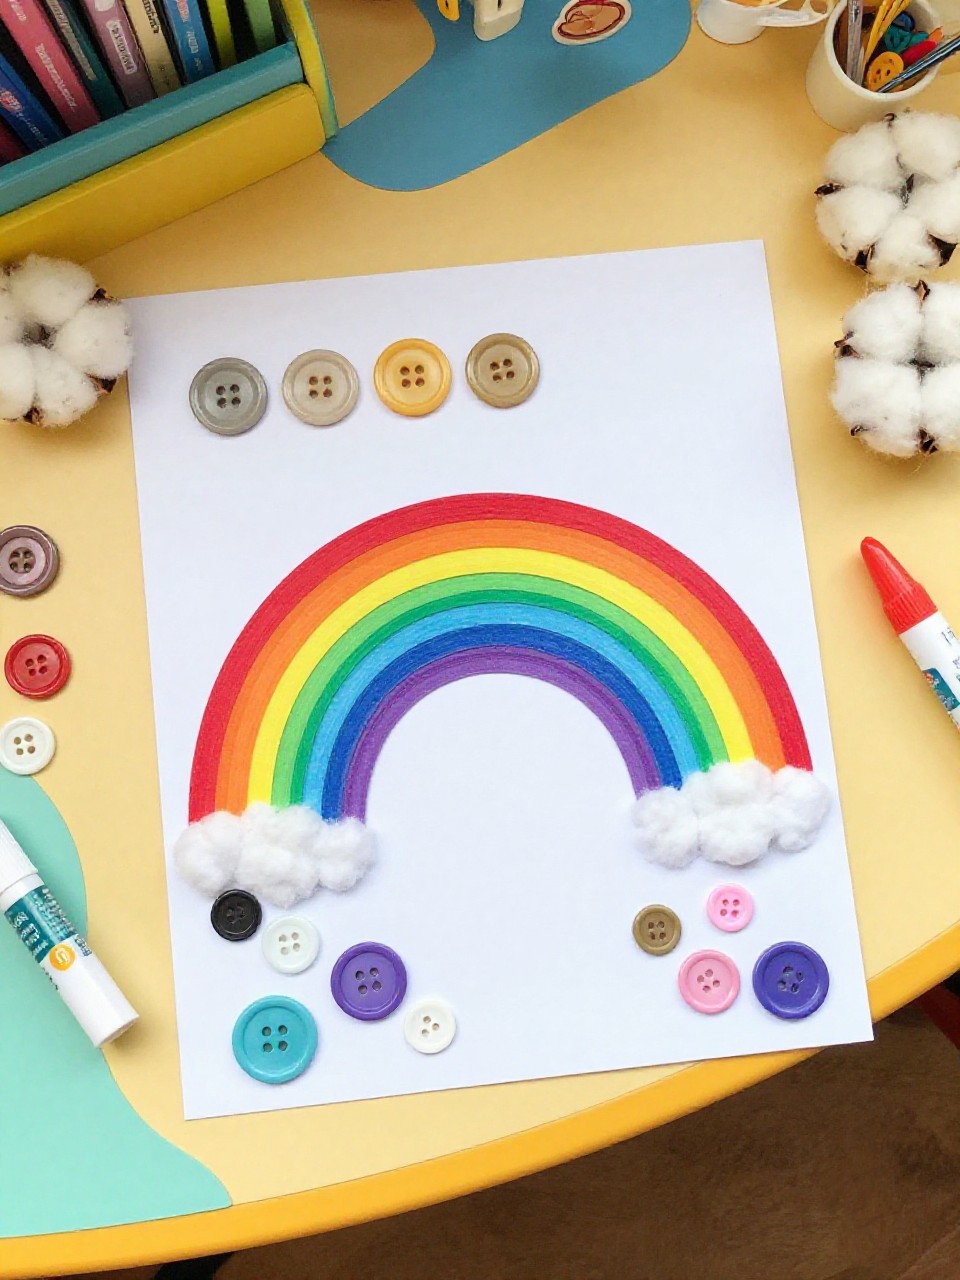
A bright rainbow made from rows of colorful buttons arcs across a sheet of cardstock, with clouds drawn or glued at both ends. Kids love sorting buttons by color and size, and the finished piece looks bold and happy on a wall or fridge.
Materials Needed:
- Assorted colorful buttons (various sizes)
- White cardstock or construction paper
- Glue (tacky glue or school glue)
- Pencil for light sketching
- Cotton balls for clouds (optional)
How to make it:
- Lightly sketch a large rainbow arch on the paper.
- Sort buttons by color and glue them along each rainbow stripe.
- Fill gaps with smaller buttons and add cotton ball clouds at the ends.
- Let dry flat and display on a bulletin board or fridge.
2. Button Flower Bouquet
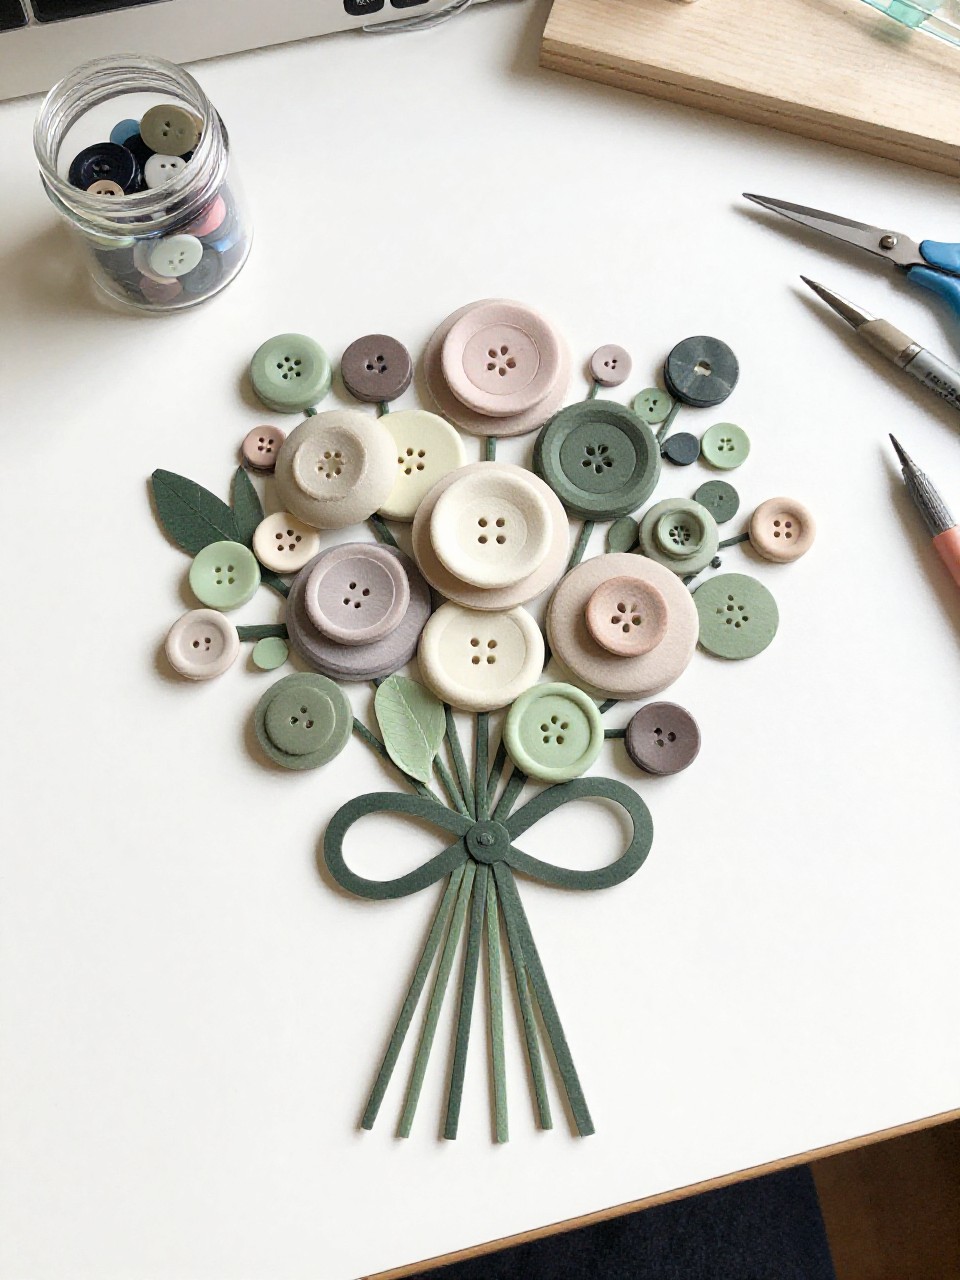
A cheerful bouquet of button flowers sits “planted” on paper, each bloom made from stacked buttons with drawn stems and leaves. Kids enjoy mixing colors and stacking different sizes to build their own flower styles.
Materials Needed:
- Buttons in flower-friendly colors
- Green pipe cleaners or markers
- Cardstock or canvas board
- Glue
- Ribbon bow (optional)
How to make it:
- Arrange button stacks for blooms and glue them to the top half of the paper.
- Add green pipe cleaners for stems, or draw stems and leaves with markers.
- Tie or glue a small ribbon bow around the “bunch.”
- Let dry, then prop on a shelf like mini wall art.
3. Button Caterpillar Line
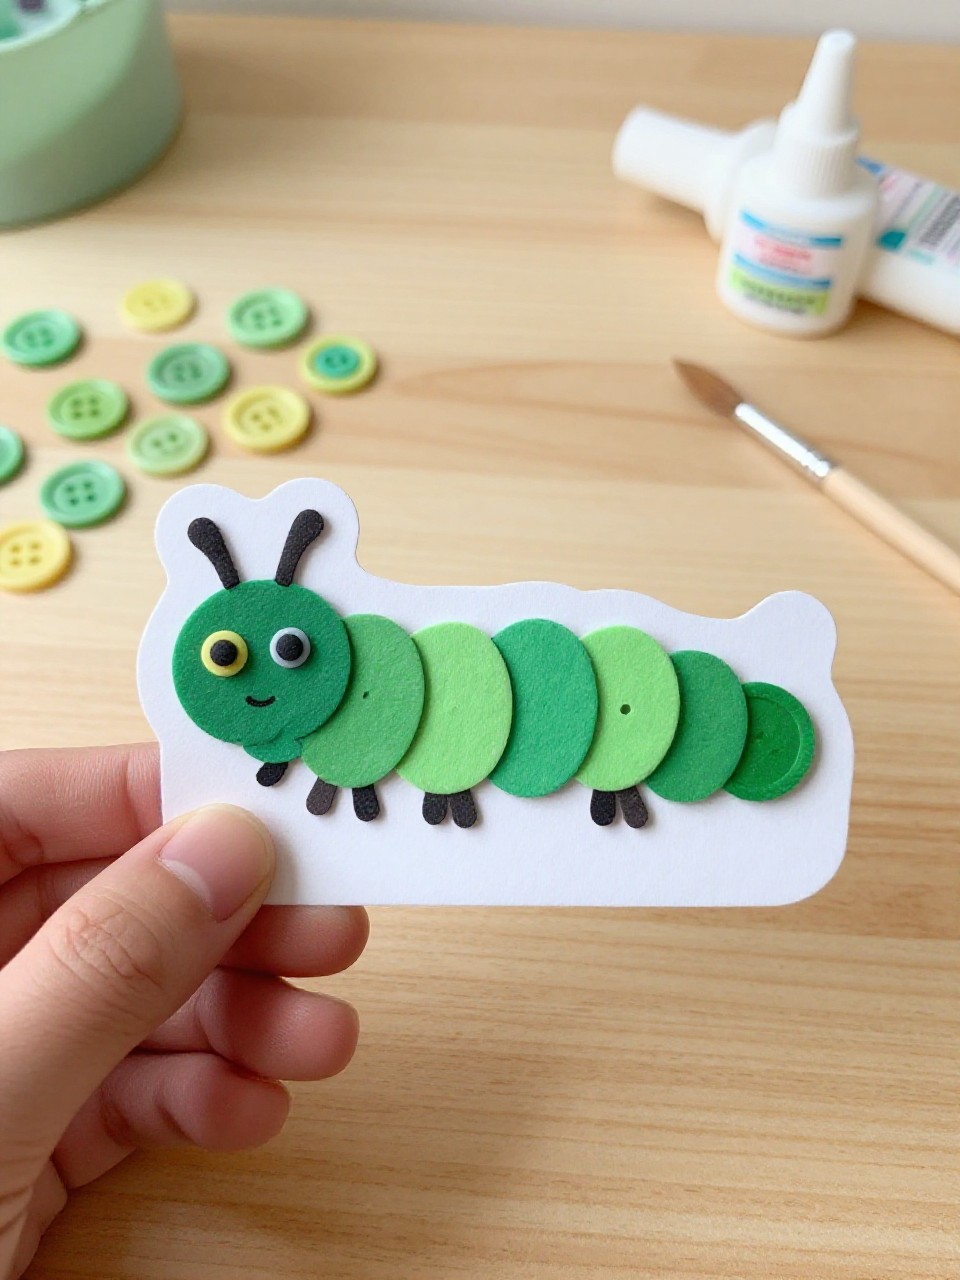
A cute caterpillar crawls across the page, made from a row of same-size buttons with a bigger button head. Kids like choosing a color pattern and adding a smiley face to bring it to life.
Materials Needed:
- Similar-size buttons for the body plus one larger button for the head
- Cardstock
- Glue
- Googly eyes or marker
- Small pipe cleaner pieces for antennae (optional)
How to make it:
- Glue the larger button for the head, then line up body buttons behind it in a curve.
- Add googly eyes and a marker smile to the head.
- Glue short pipe cleaner bits as antennae if you like.
- Dry flat and hang as a simple nature-themed art piece.
4. Button Tree on Canvas
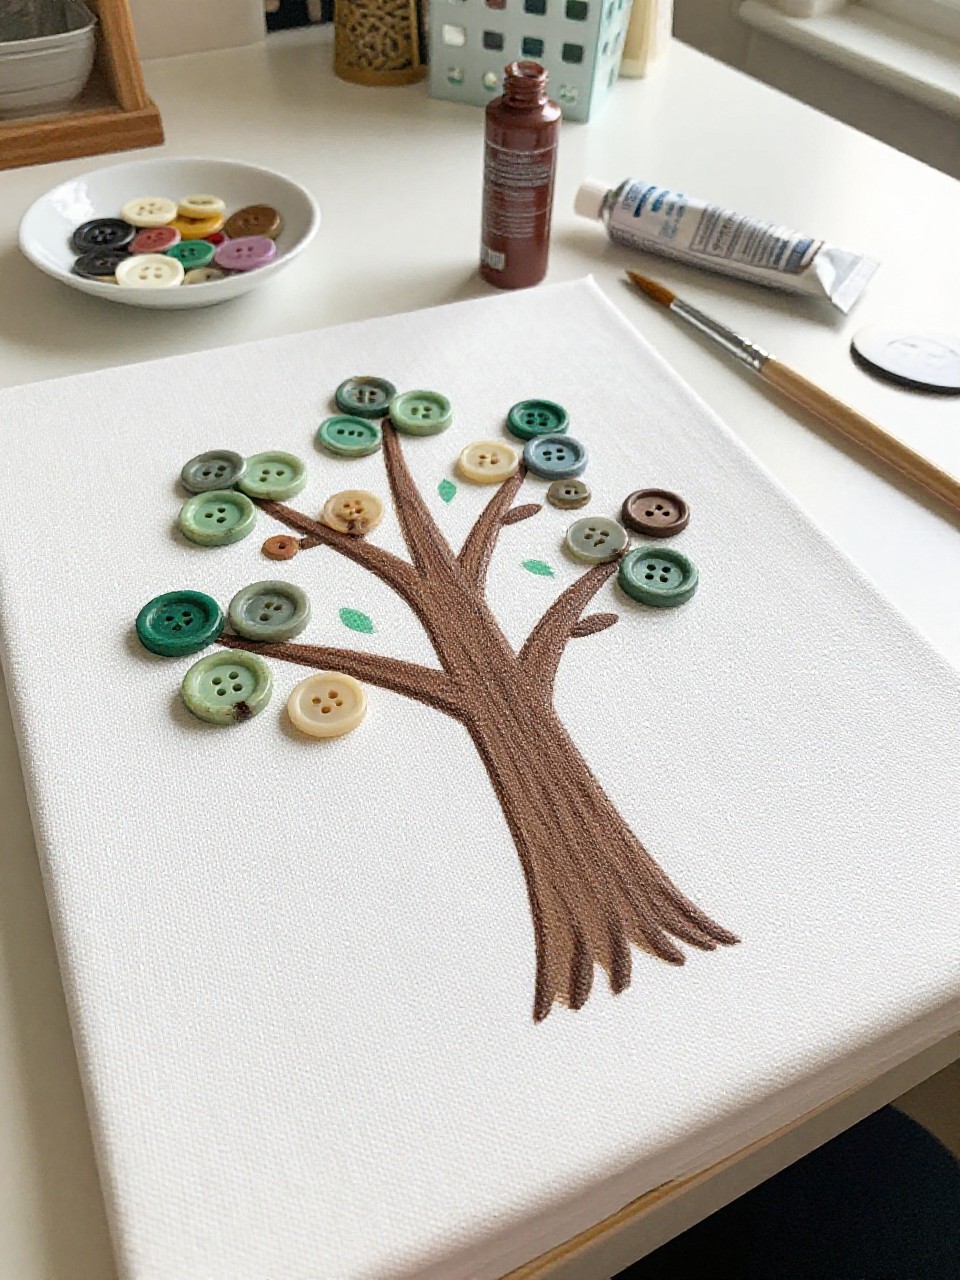
A sturdy paper or canvas shows a tree trunk with branches drawn or painted, topped with round button “leaves” in one color family or a seasonal mix. Kids love placing each button like a leaf and seeing the tree fill up.
Materials Needed:
- Small canvas or thick cardstock
- Brown paint or marker for the trunk
- Assorted buttons (greens for spring, reds/oranges for fall)
- Glue
- Pencil
How to make it:
- Lightly sketch or paint a simple trunk with a few branches.
- Glue buttons along branches to form leafy clusters.
- Fill any gaps with smaller buttons or dots of paint.
- Let dry upright and display on a shelf.
5. Smiley Button Monster Magnets
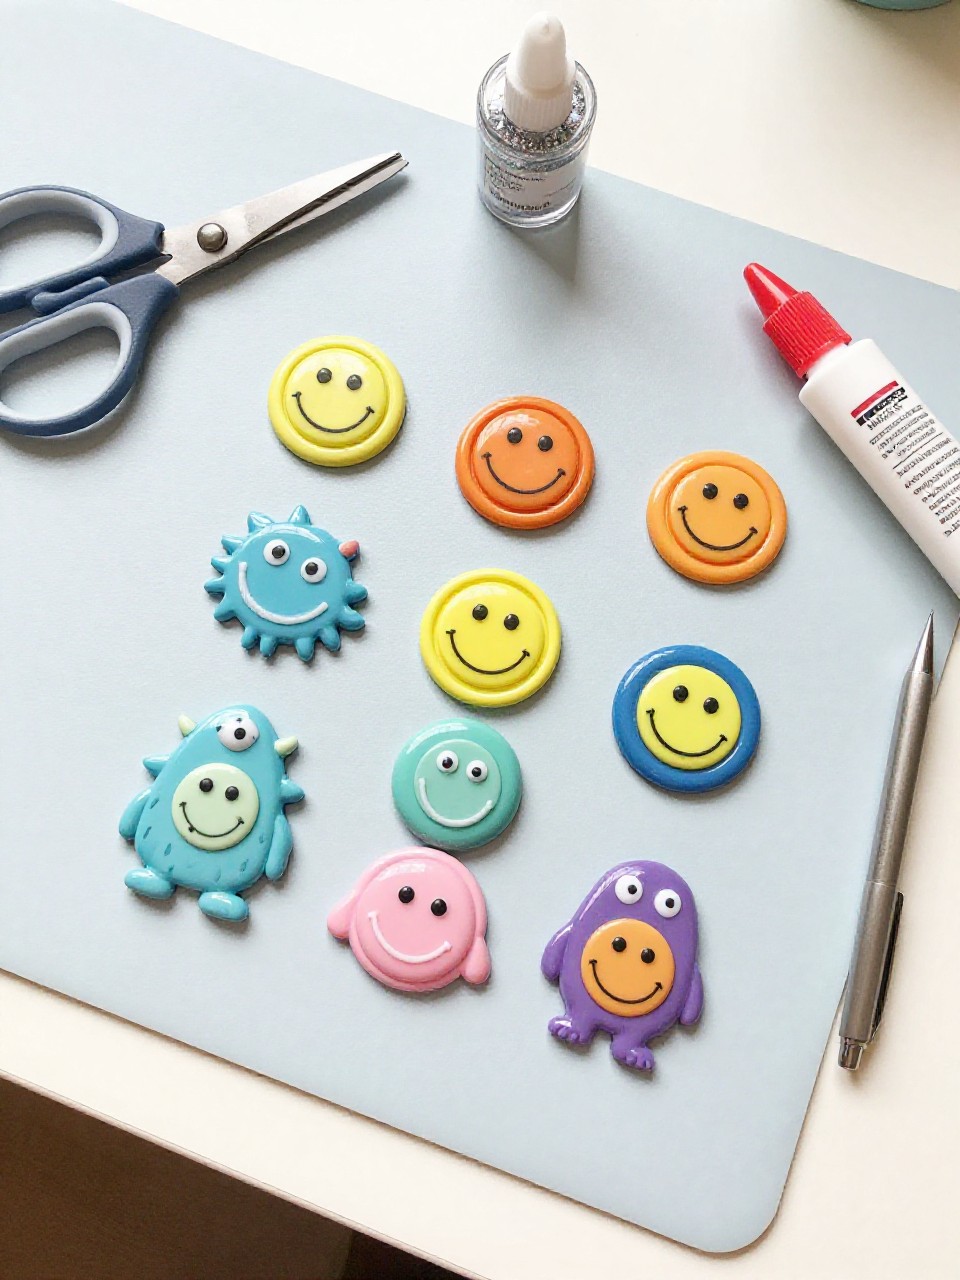
Small felt monsters with button eyes, toothy smiles, and silly shapes turn into fridge magnets. Kids enjoy choosing wild colors and mismatched buttons to give each monster a funny personality.
Materials Needed:
- Felt squares in bright colors
- Assorted buttons for eyes
- Tacky glue or fabric glue
- Self-adhesive magnet dots
- White felt scrap or marker for teeth (optional)
How to make it:
- Cut simple monster shapes from felt (blobs, triangles, ovals).
- Glue on buttons for eyes and add a felt or drawn mouth/teeth.
- Stick a magnet dot on the back once dry.
- Place on the fridge or a magnet board.
6. Button Fish Bowl Scene
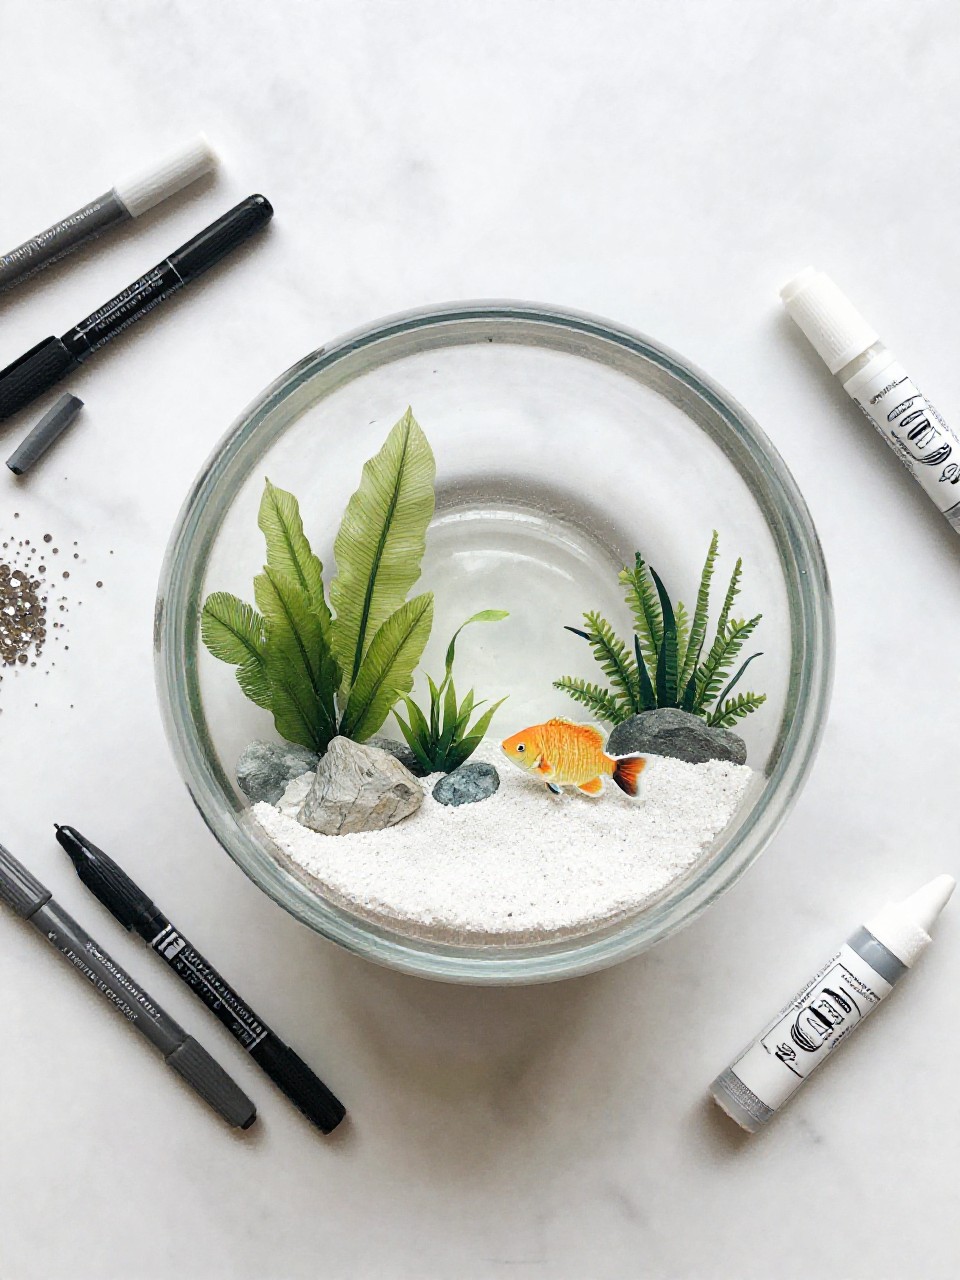
A paper fishbowl holds playful button fish with drawn fins and bubbles. Kids love building a mini underwater world with bright buttons and simple doodles.
Materials Needed:
- Blue or white cardstock
- Assorted buttons for fish
- Black fine-tip marker
- Glue
- Sequins or blue dots for bubbles (optional)
How to make it:
- Draw a fishbowl outline on cardstock.
- Glue buttons inside for fish bodies and draw fins, tails, and smiles.
- Add bubble dots and a few sequins for sparkle.
- Dry flat and display in a clear sleeve or frame.
7. Button Initial Wall Art
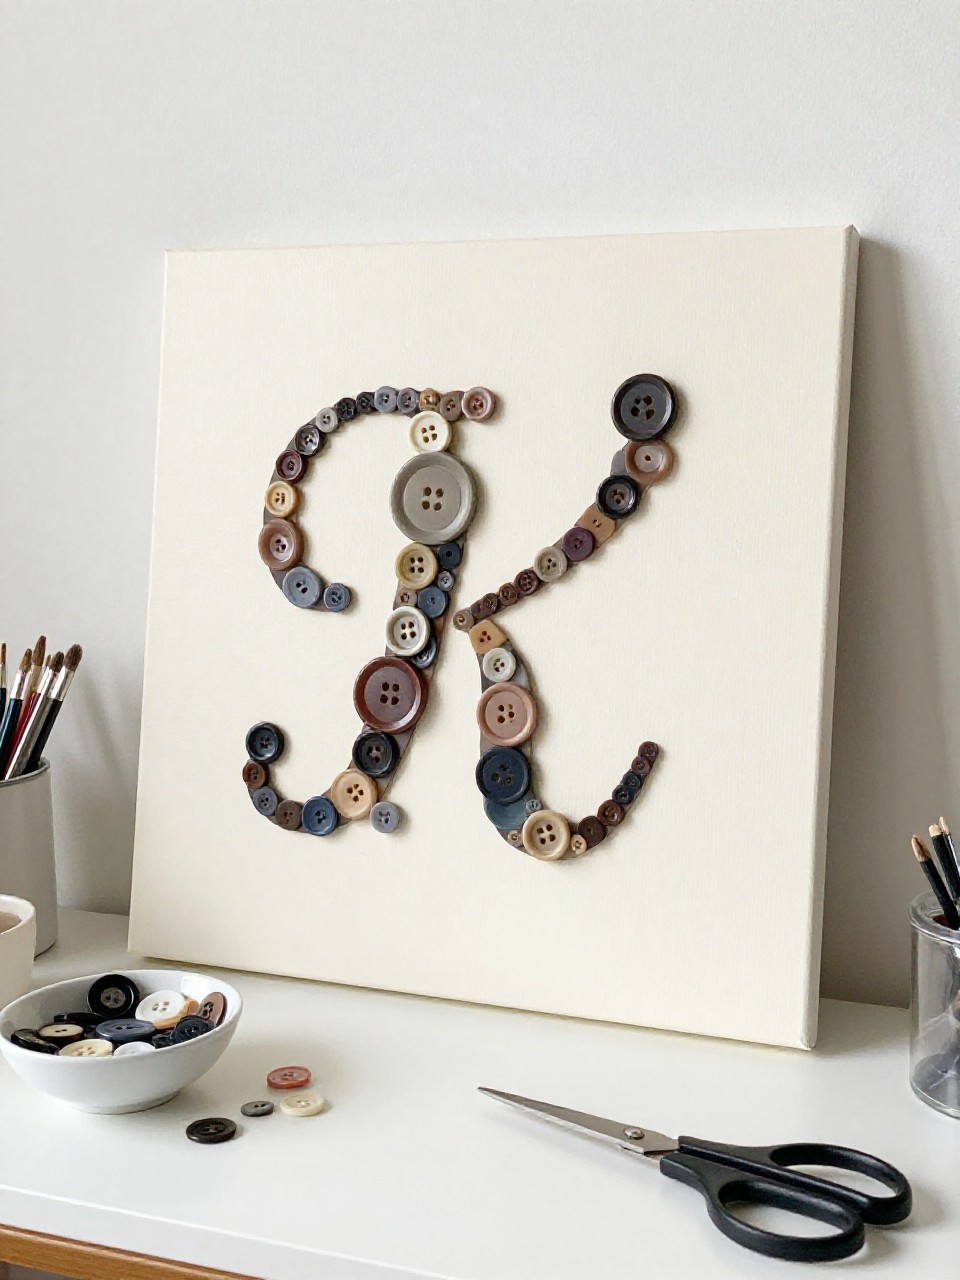
A child’s first initial is filled with colorful buttons on a sturdy backing, creating a fun room sign. Kids enjoy seeing their letter pop and choosing a color theme that feels personal.
Materials Needed:
- Canvas board or thick cardstock
- Pencil
- Assorted buttons (choose a palette)
- Glue
- Ribbon for hanging (optional)
How to make it:
- Lightly sketch a large block letter in the center.
- Glue buttons to fill the letter, starting with the outline, then the middle.
- Layer smaller buttons to cover gaps.
- Let dry and hang with ribbon or prop on a shelf.
8. Ladybug Button Rocks
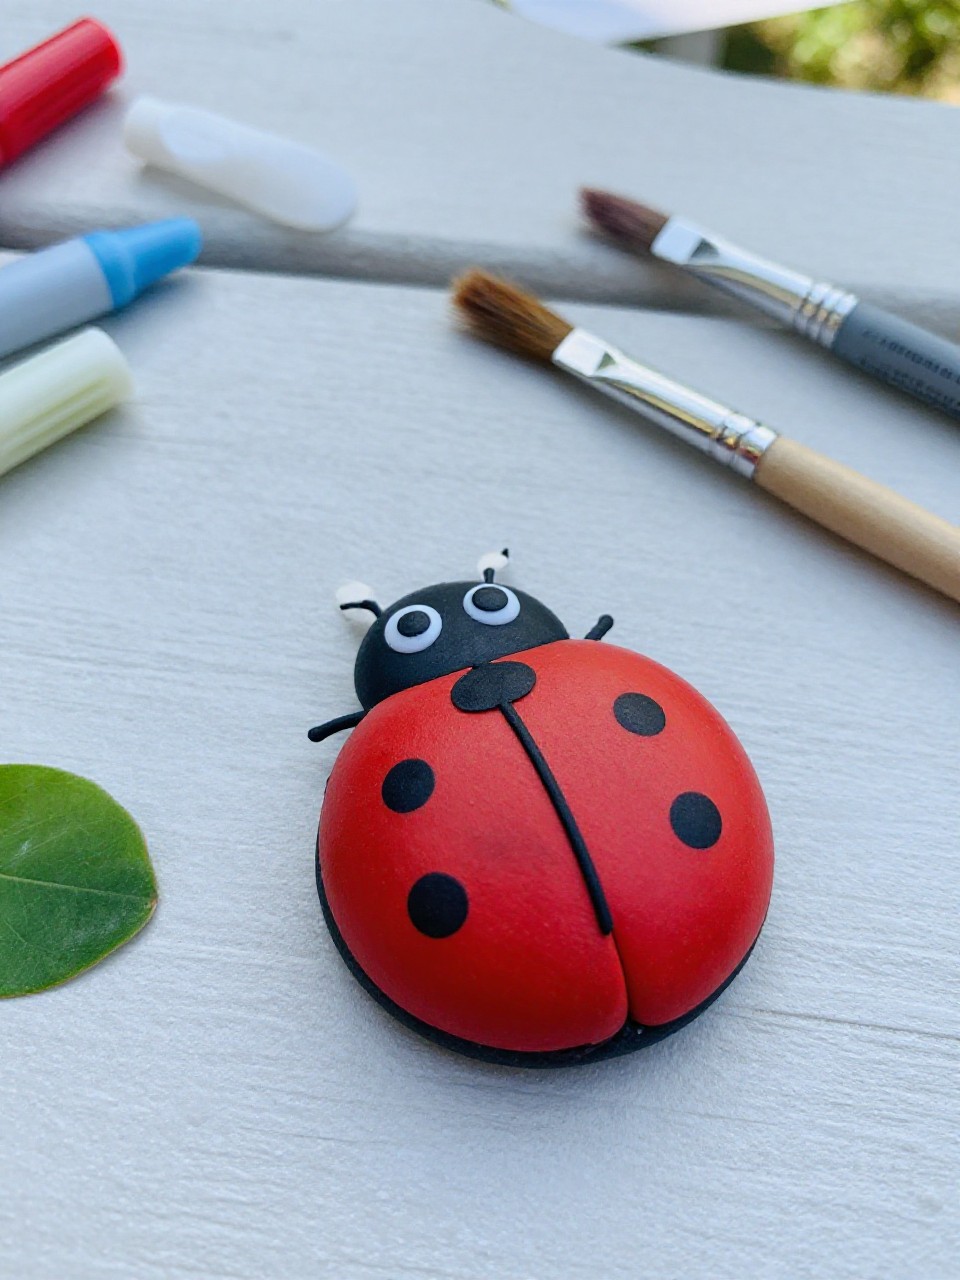
Smooth rocks become cute ladybugs with painted shells, button dots, and tiny faces. Kids like turning plain stones into pets they can hold and play with.
Materials Needed:
- Smooth craft rocks
- Red and black acrylic paint or paint pens
- Black buttons for spots
- Glue
- Googly eyes (optional)
How to make it:
- Paint rocks red with a black head and line down the back; let dry.
- Glue small black buttons as spots on the shell.
- Add googly eyes or paint simple eyes.
- Seal with clear craft sealer if desired and display.
9. Button Balloon Card
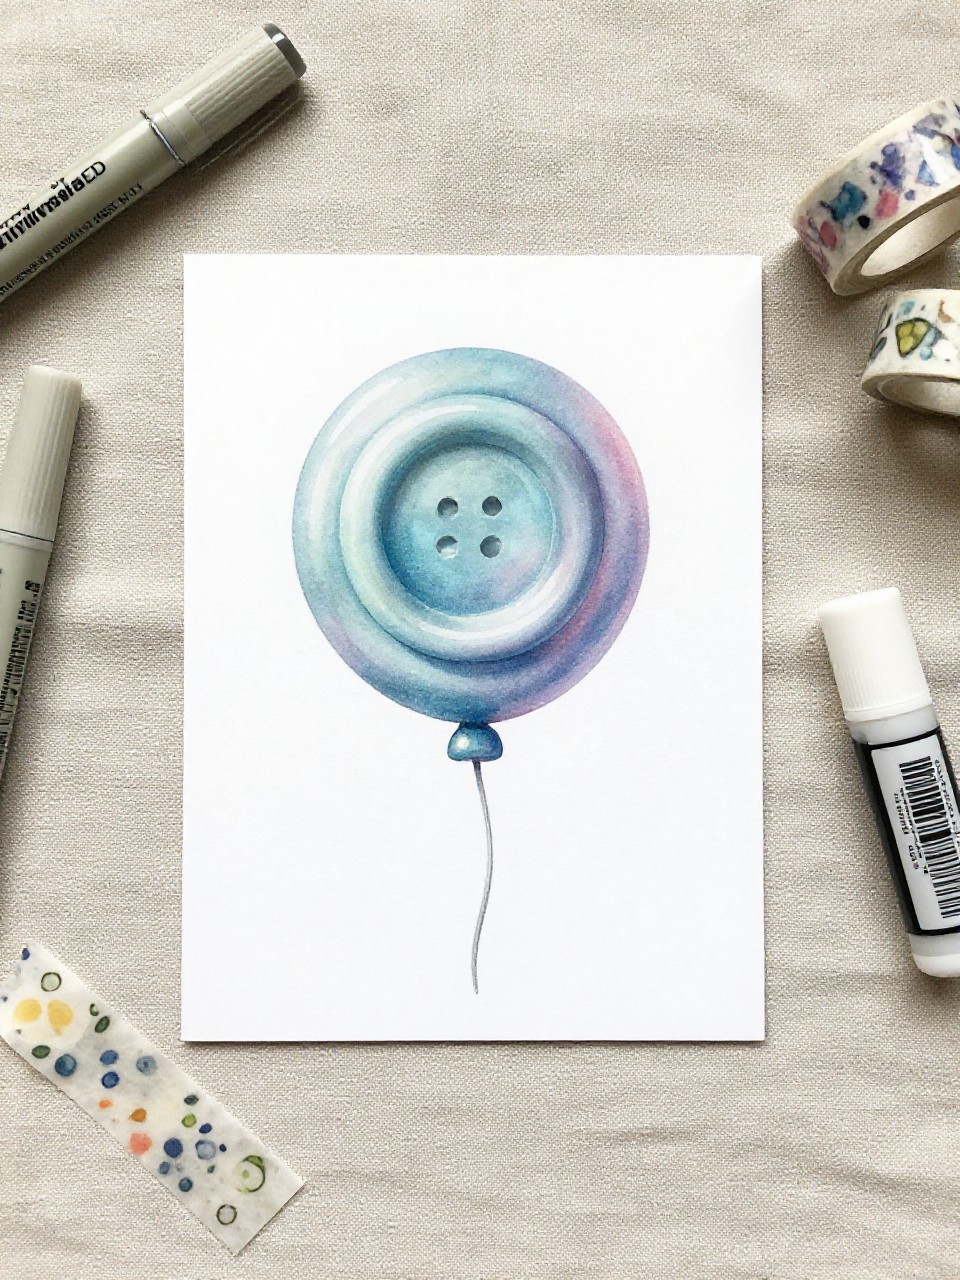
A handmade card shows a bunch of button “balloons” floating from drawn or string-tied threads. Kids enjoy gifting a cheerful card they built themselves.
Materials Needed:
- Blank cards or folded cardstock
- Assorted small buttons
- Glue
- Fine-tip marker or thin string
- Washi tape (optional)
How to make it:
- Glue buttons near the top half of the card as balloons.
- Draw strings down from each button, or glue real threads and gather them.
- Add a washi tape “knot” and write a message.
- Press flat under a book to dry.
10. Button Snail Spiral
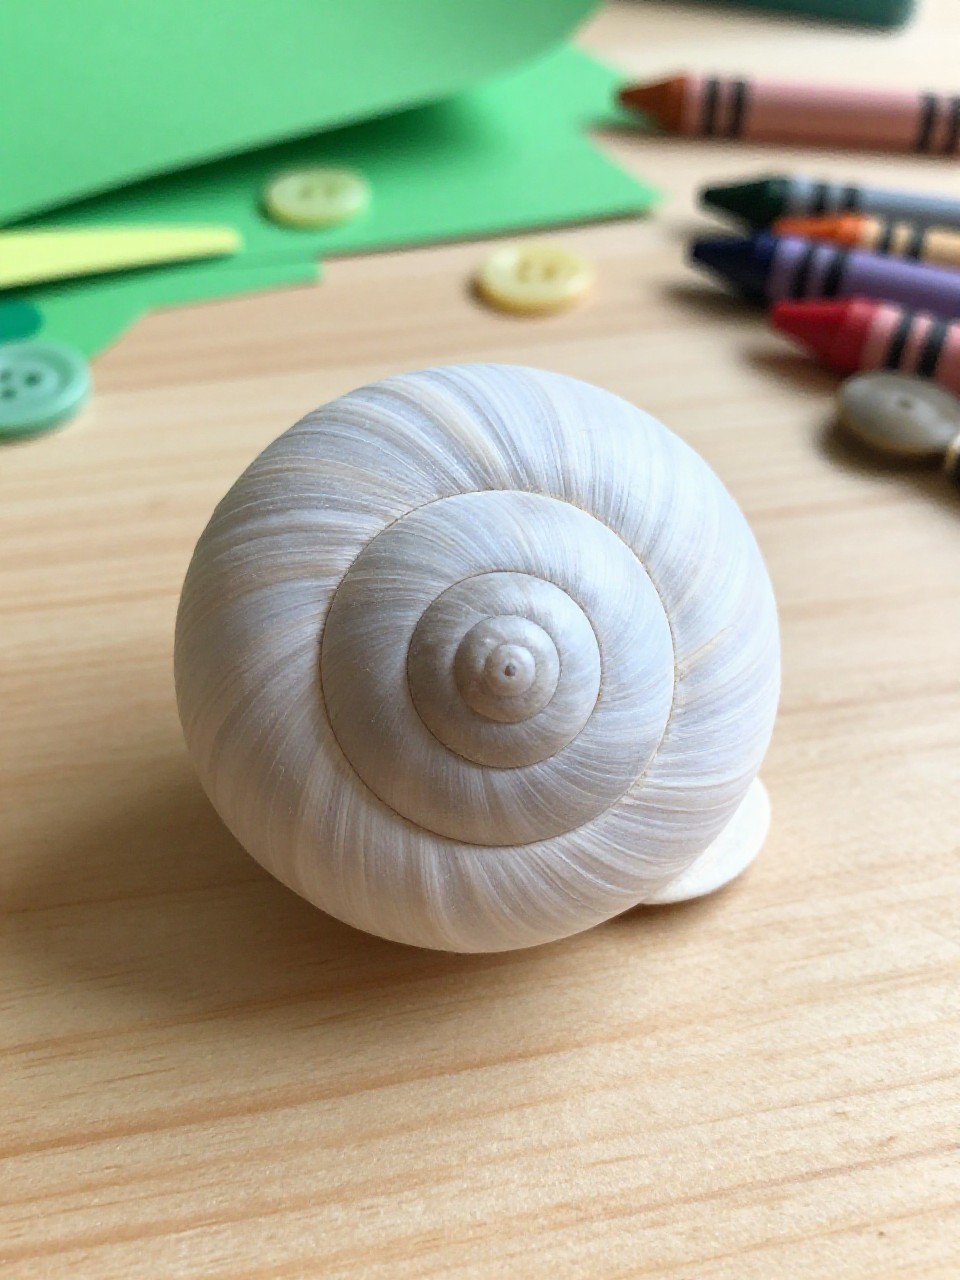
A friendly snail with a button spiral shell sits on a leaf or ground line. Kids like building the spiral pattern and giving the snail a sweet face.
Materials Needed:
- Cardstock
- Assorted buttons (same color family looks nice)
- Glue
- Marker for snail body and face
- Green paper for leaf (optional)
How to make it:
- Draw a simple snail body on the paper.
- Glue buttons in a spiral where the shell goes, starting in the center.
- Add a smile and antennae with the marker; glue on a cut paper leaf if desired.
- Dry flat and display.
11. Popsicle Stick Button Frame
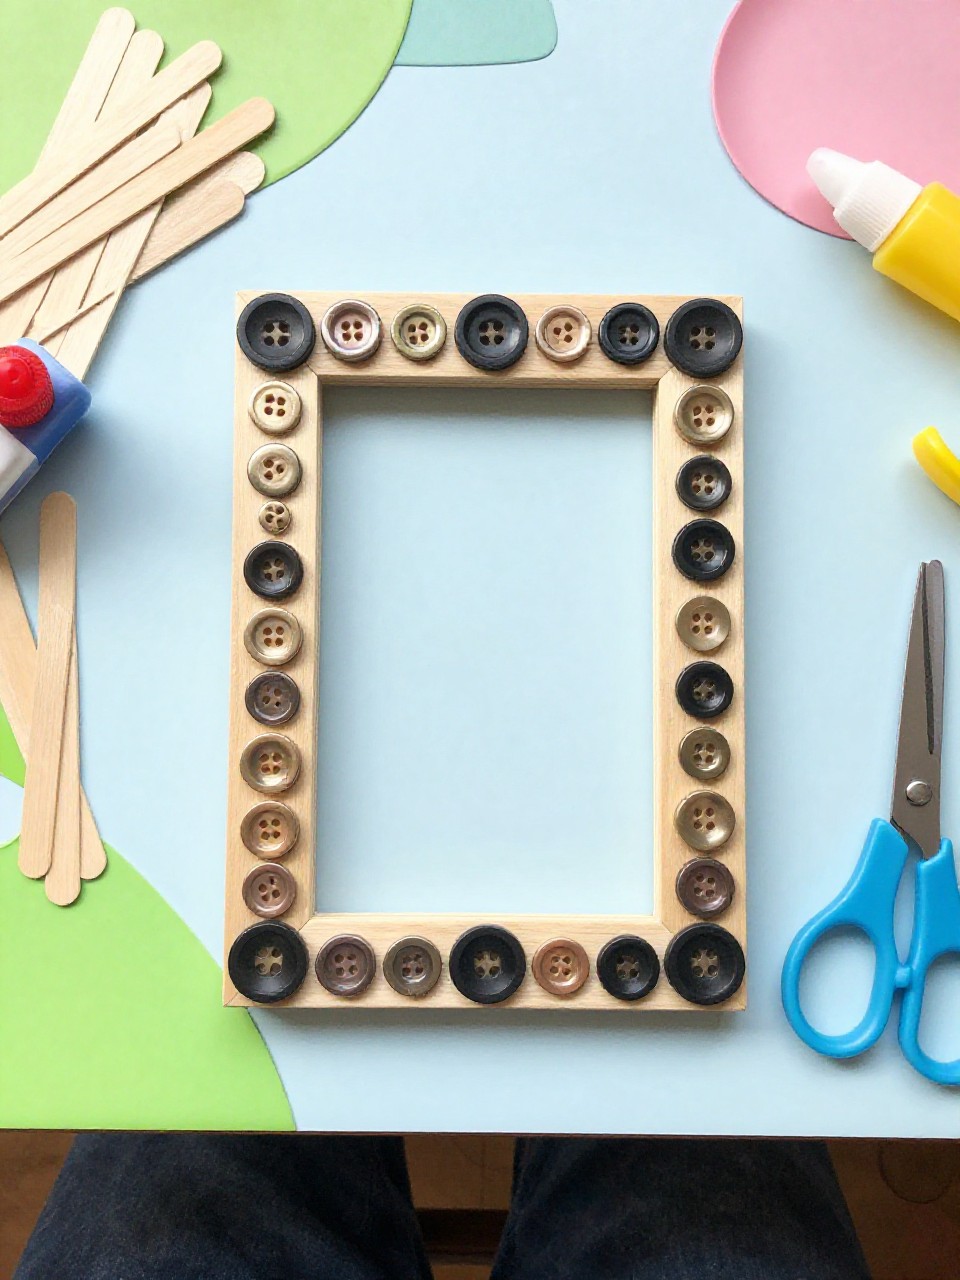
A small square frame made from popsicle sticks gets decorated with bright buttons around the edge. Kids enjoy choosing the layout and then sliding in a drawing or photo.
Materials Needed:
- 4 popsicle sticks
- Glue
- Assorted buttons
- Cardboard backing and tape
- Ribbon or magnet strip (optional)
How to make it:
- Glue popsicle sticks into a square and let set.
- Glue buttons around the frame edges in a pattern or rainbow.
- Tape a small drawing or photo to the back with cardboard support.
- Add ribbon to hang or a magnet strip for the fridge.
12. Button Bug Garden Jar

A clear jar holds tiny button bugs perched on paper leaves and twigs for a mini terrarium look. Kids love crafting small creatures and arranging a tiny world they can move around.
Materials Needed:
- Clean clear jar with lid
- Assorted buttons for bug bodies
- Pipe cleaners and googly eyes
- Green paper leaves and small twigs
- Glue dots or tacky glue
How to make it:
- Make button bugs by gluing eyes and short pipe cleaner legs to buttons.
- Cut simple leaves and place with twigs inside the jar.
- Set button bugs on leaves and secure with glue dots.
- Close lid and display like a pretend bug habitat.
13. Button Jellyfish Mobile
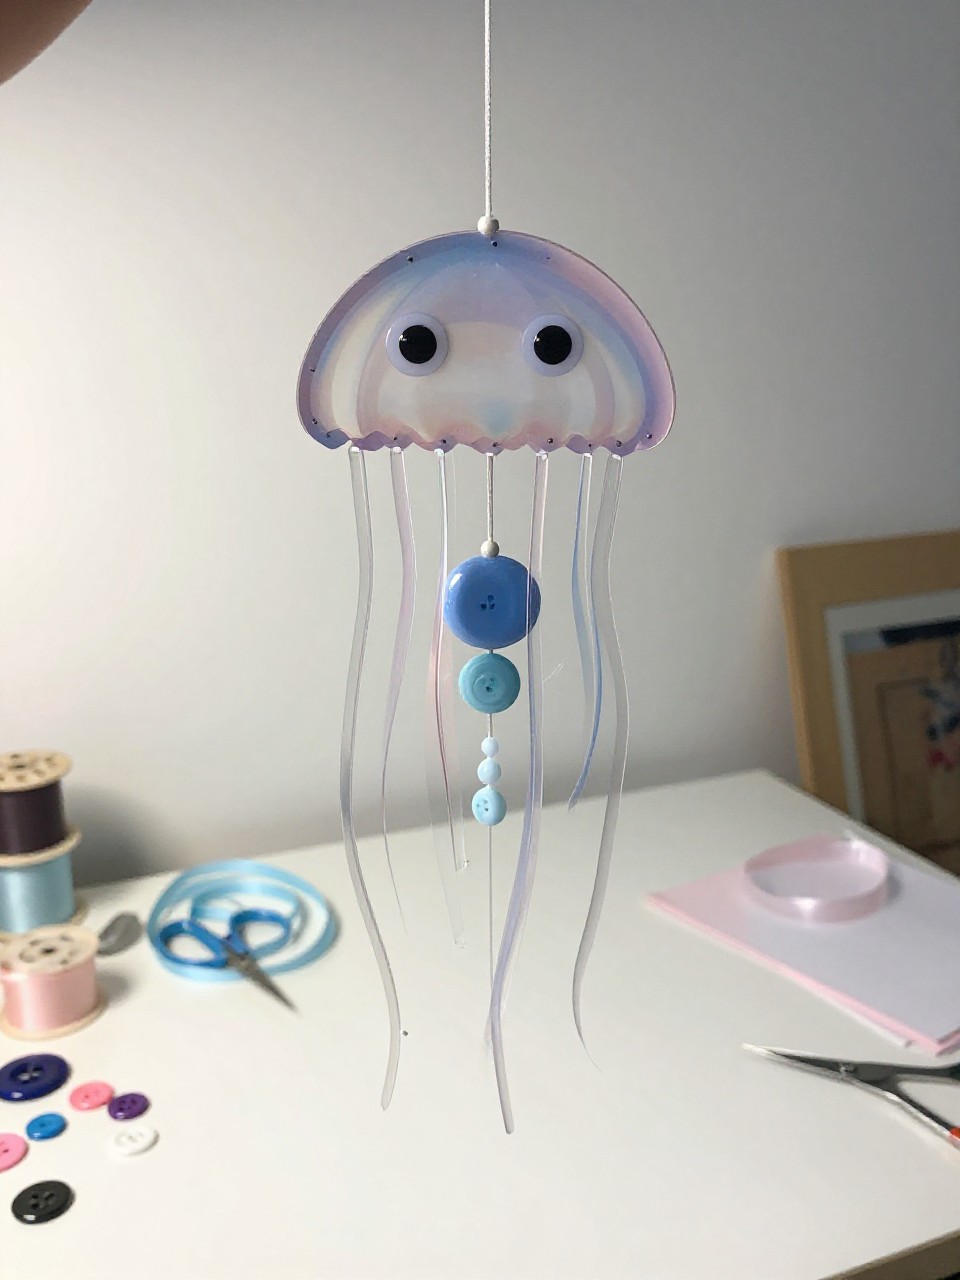
A hanging mobile features button tops as jellyfish bells with ribbon or yarn tentacles. Kids enjoy the soft swaying motion and choosing ocean colors.
Materials Needed:
- Assorted large buttons
- Ribbon or yarn for tentacles
- Embroidery hoop or stick for hanging
- Fishing line or string
- Glue
How to make it:
- Tie or glue ribbon strands through button holes to make tentacles.
- Hang each jellyfish from fishing line tied to a small hoop or stick.
- Space them at different heights and knot securely.
- Hang near a window and watch them float.
14. Button Animal Faces
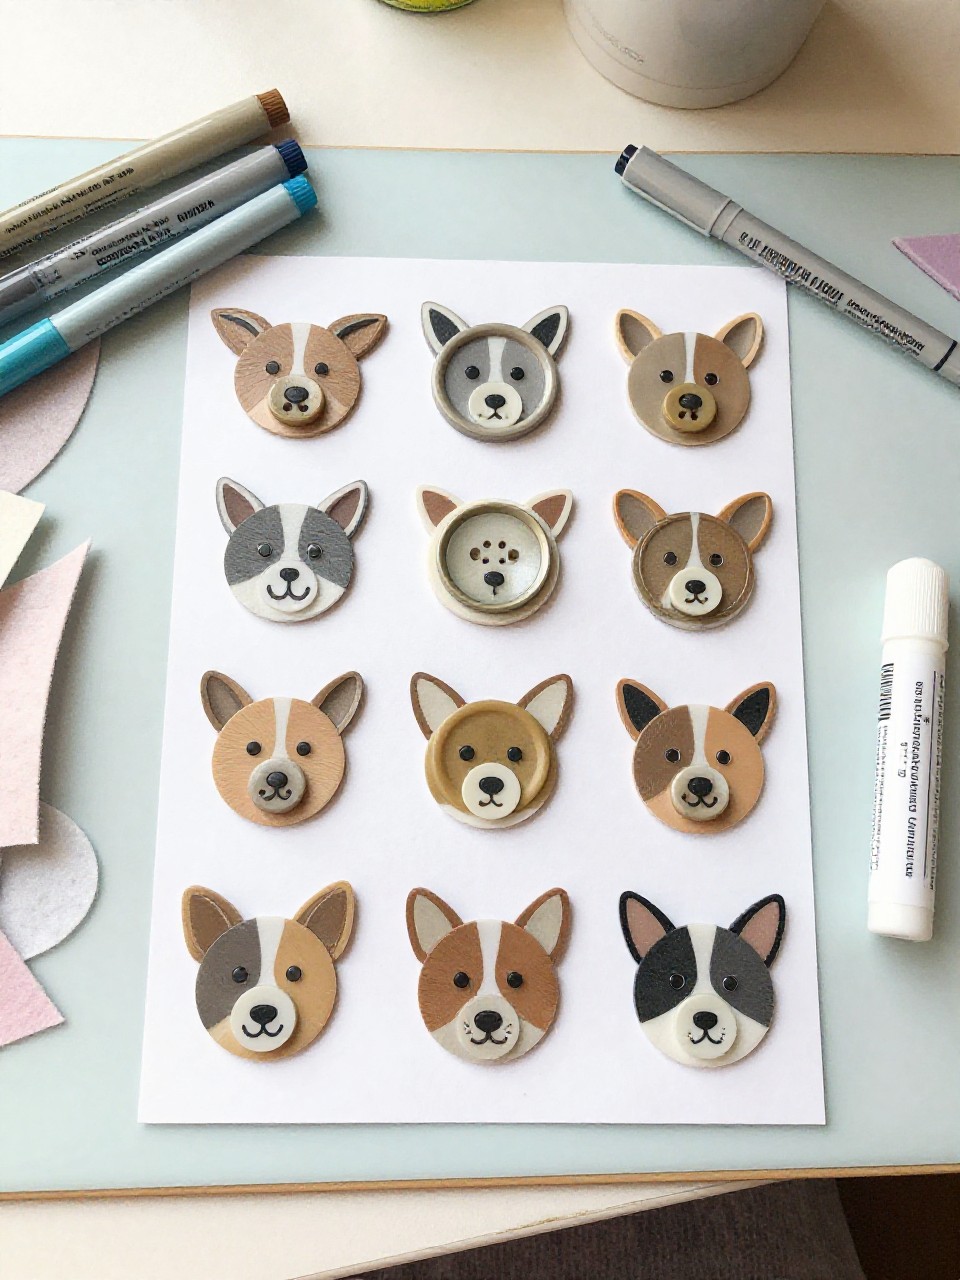
Simple animal faces—like a bear, cat, or owl—are made on cardstock with buttons for eyes, noses, or feathers. Kids like picking which buttons become which features and seeing the animal appear.
Materials Needed:
- Cardstock or small canvases
- Buttons (two matching for eyes help)
- Glue
- Markers or crayons
- Felt scraps for ears (optional)
How to make it:
- Lightly sketch a round face or head shape.
- Glue buttons as eyes and nose; add felt ears if you want.
- Finish with whiskers, beaks, or patterns using markers.
- Dry and hang as a mini gallery.
15. Button Heart Keepsake
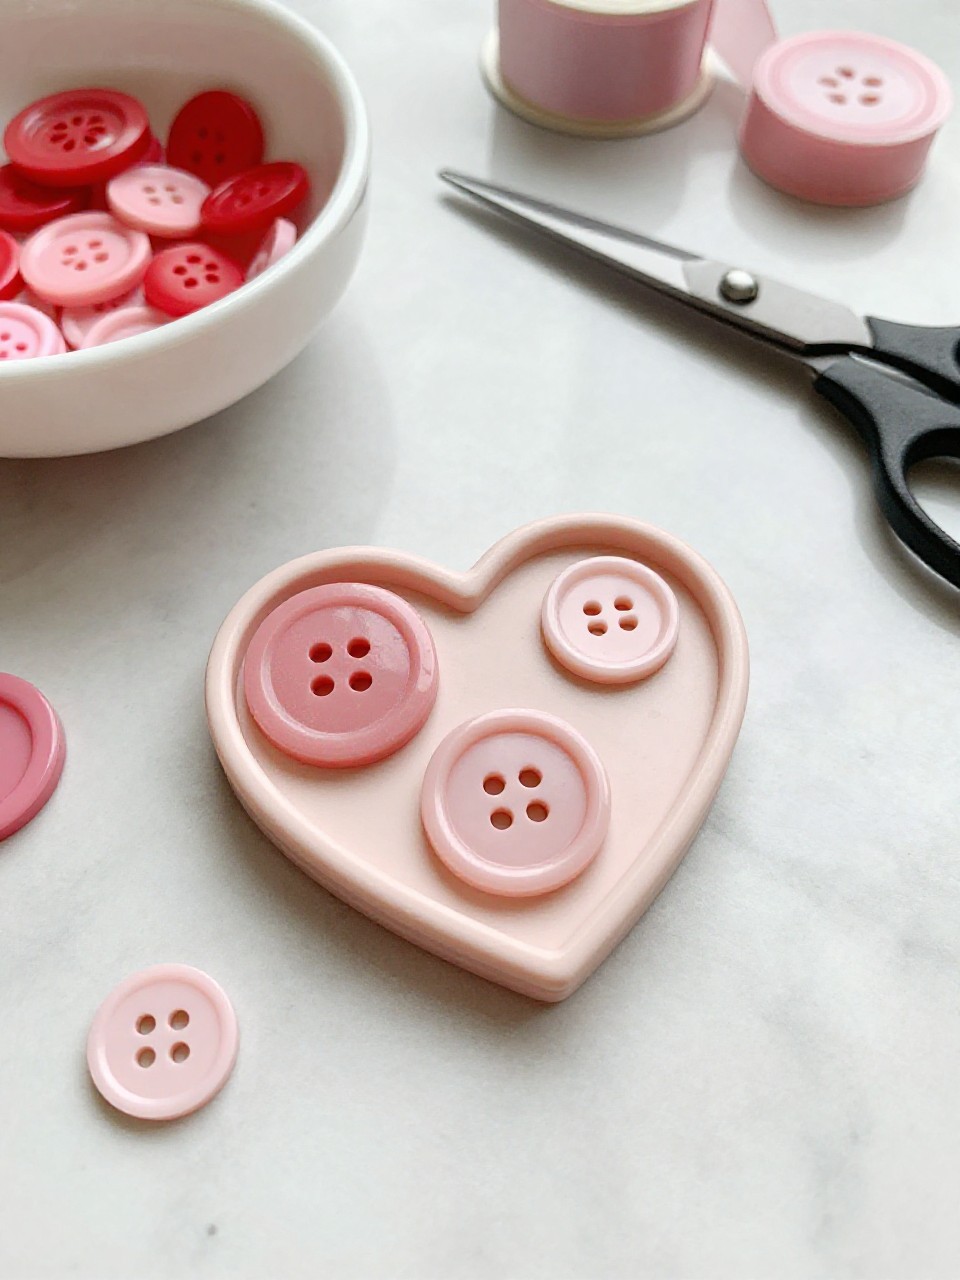
A sweet heart shape filled with buttons makes a small gift or room decor piece. Kids enjoy picking favorite colors and creating a neat, full shape that feels special.
Materials Needed:
- Small canvas, cardstock, or wood plaque
- Assorted buttons (choose a color theme)
- Glue
- Pencil
- Ribbon or easel stand (optional)
How to make it:
- Lightly sketch a heart outline in the center.
- Glue larger buttons to outline the heart, then fill the inside with smaller ones.
- Layer buttons to cover gaps and create texture.
- Let dry and add ribbon to hang or place on a shelf.