





In This Article Show
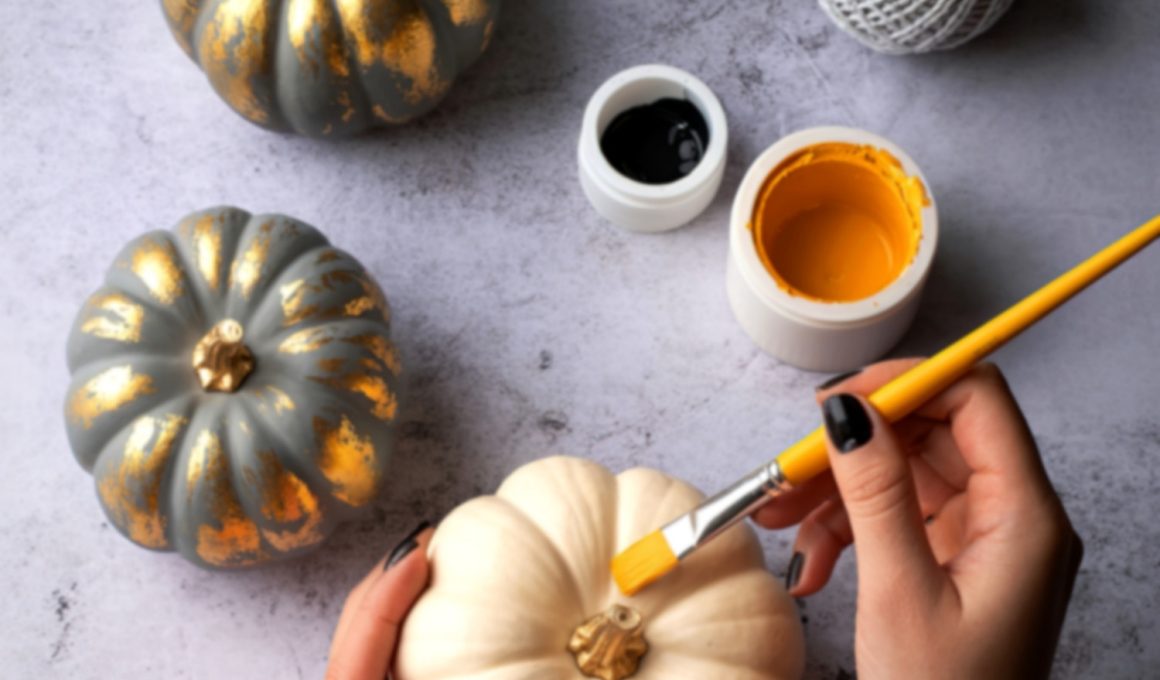
Ceramic pumpkins are one of the easiest fall decorations to reuse year after year. Unlike real pumpkins, they do not soften, fade, or need to be replaced, and a plain ceramic surface gives you plenty of room to create something that matches your home.
With a few paint colors and simple details, you can turn inexpensive store-bought pieces into decorations that look much more personal.The ideas below include classic fall finishes, elegant patterns, and a few creative designs that work well on mantels, shelves, dining tables, and entryway consoles.
Some are bold enough to stand alone, while others look best arranged in a small group. Whether your style is modern, farmhouse, colorful, or traditional, this list gives you enough variety to create a ceramic pumpkin display that feels finished and easy to enjoy every fall.
1. Antique White Ceramic Pumpkin
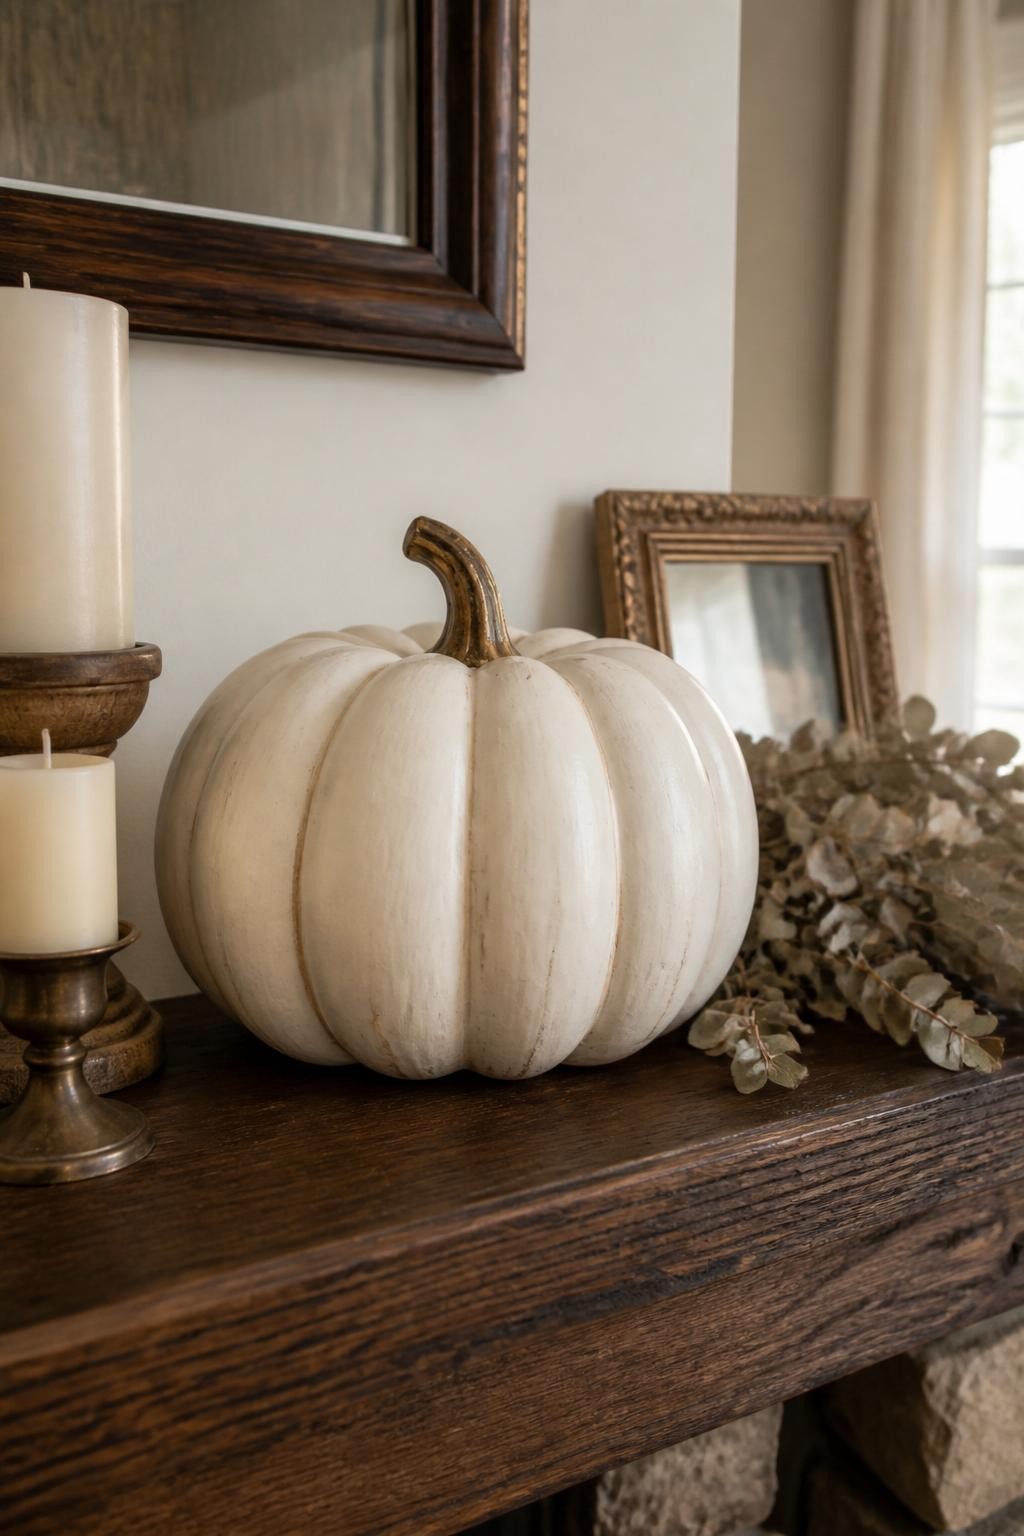
Paint the entire ceramic pumpkin warm white, then use a dry brush to add soft beige or taupe shading inside the ridges. This creates depth and keeps the pumpkin from looking flat or newly manufactured.
Finish the stem with muted bronze or dark brown paint, then lightly sand a few raised areas for a worn appearance. The result works beautifully in neutral rooms and pairs well with natural wood, linen, and dried greenery.
2. Blue-and-White Floral Pumpkin
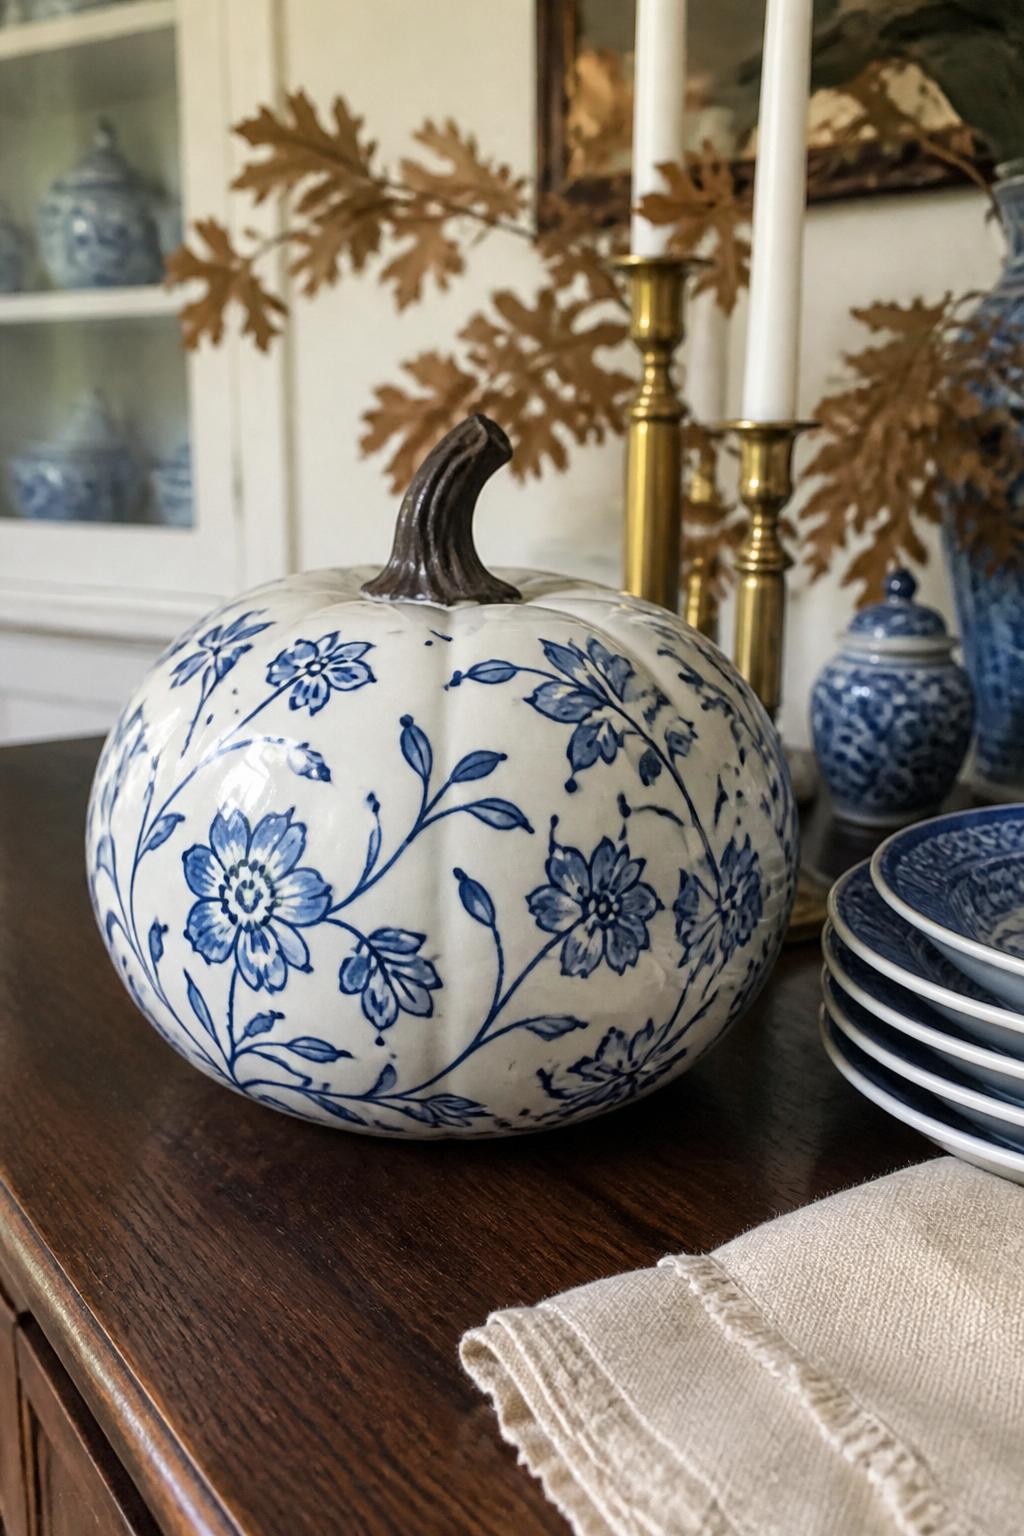
Use a white ceramic pumpkin as the base for a design inspired by vintage blue-and-white pottery. Paint small flowers, curling vines, leaves, and dots around the surface using one rich blue shade.
Leave some open white space between the details so the pattern does not feel crowded. Display the finished pumpkin near blue dishes, white candles, or brass accents for a fall arrangement that feels elegant but still seasonal.
3. Matte Black Ceramic Pumpkin
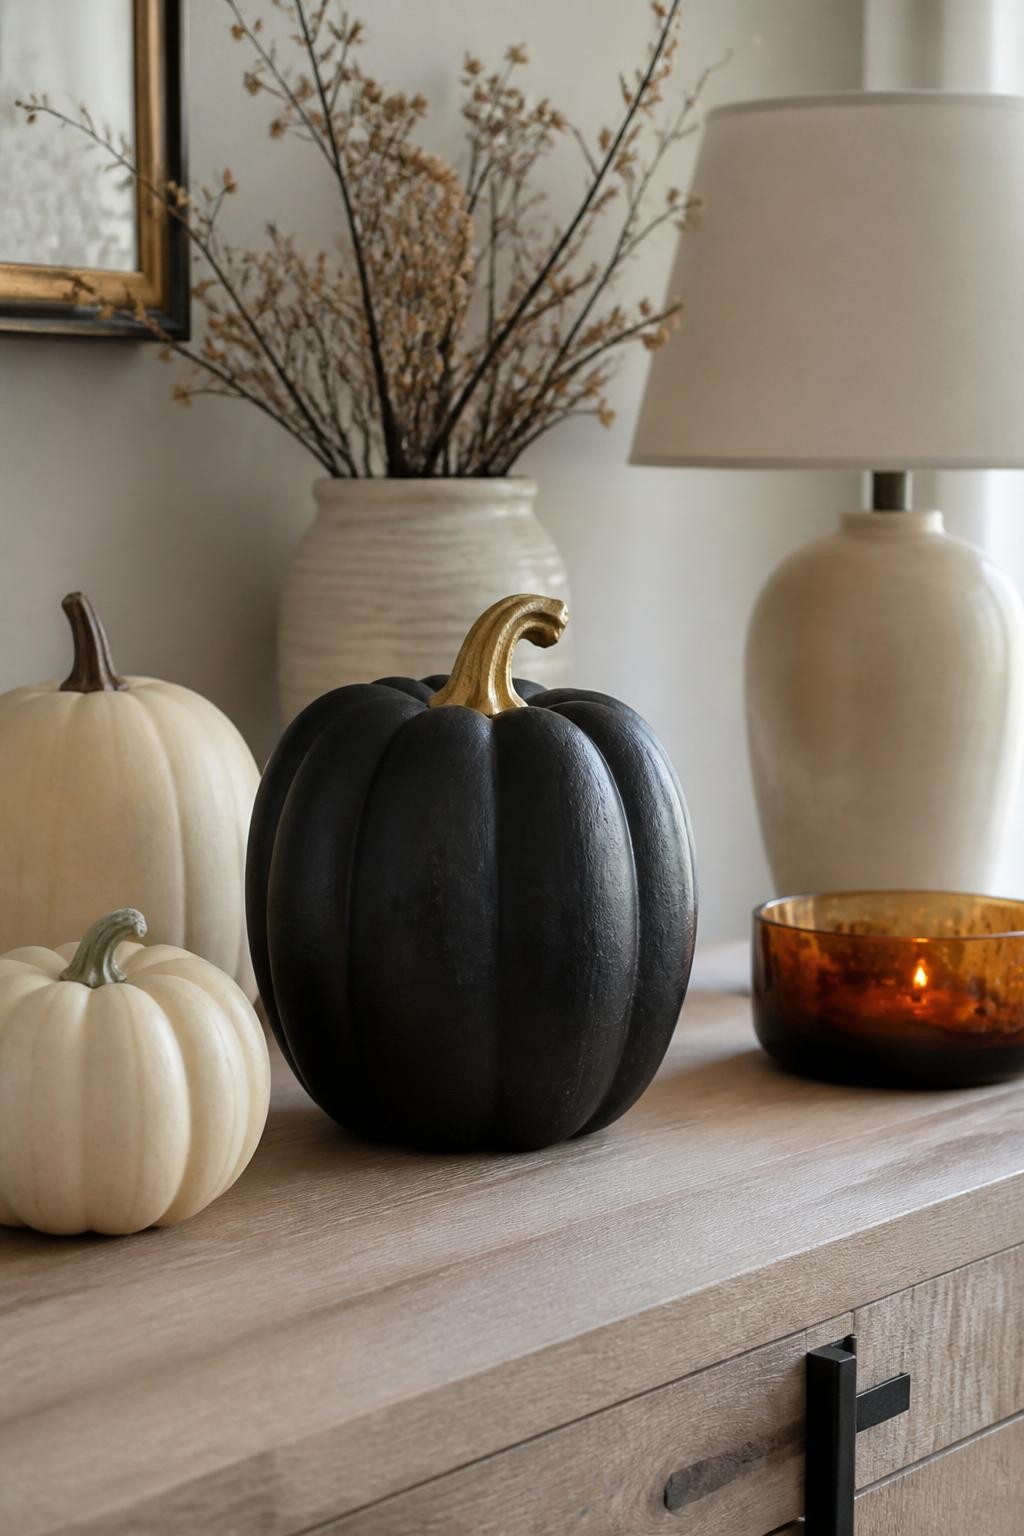
A matte black finish can make a simple ceramic pumpkin feel bold and modern. Apply two thin coats of black chalk paint, allowing each coat to dry before adding the next.
Paint the stem antique gold, bronze, or warm wood brown to break up the dark surface. This pumpkin looks especially striking beside cream, beige, or natural orange decorations and can remain on display well beyond early fall.
4. Hand-Painted Fall Meadow Pumpkin
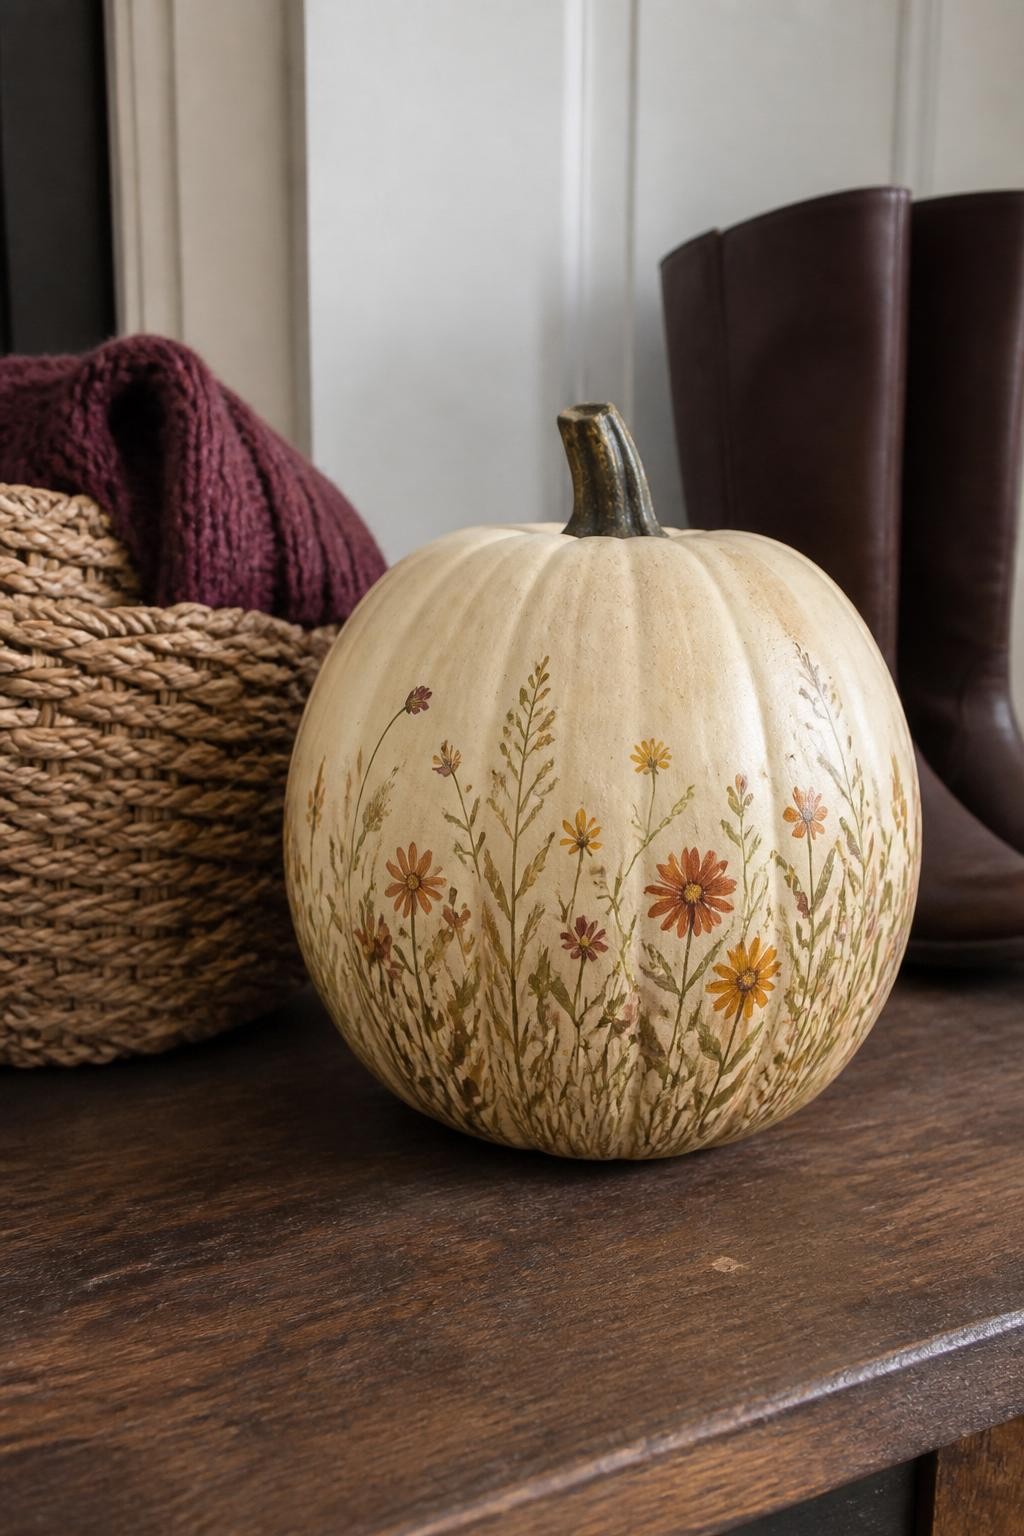
Paint a loose meadow scene around the lower half of the pumpkin using grasses, seed heads, berries, and small autumn flowers. Rust, mustard, olive, brown, and burgundy create a warm seasonal palette.
Keep the upper half mostly plain so the painted details remain easy to appreciate. The design does not need perfect lines or realistic flowers. Loose brushstrokes make the pumpkin feel artistic and handmade.
5. Speckled Stoneware Pumpkin
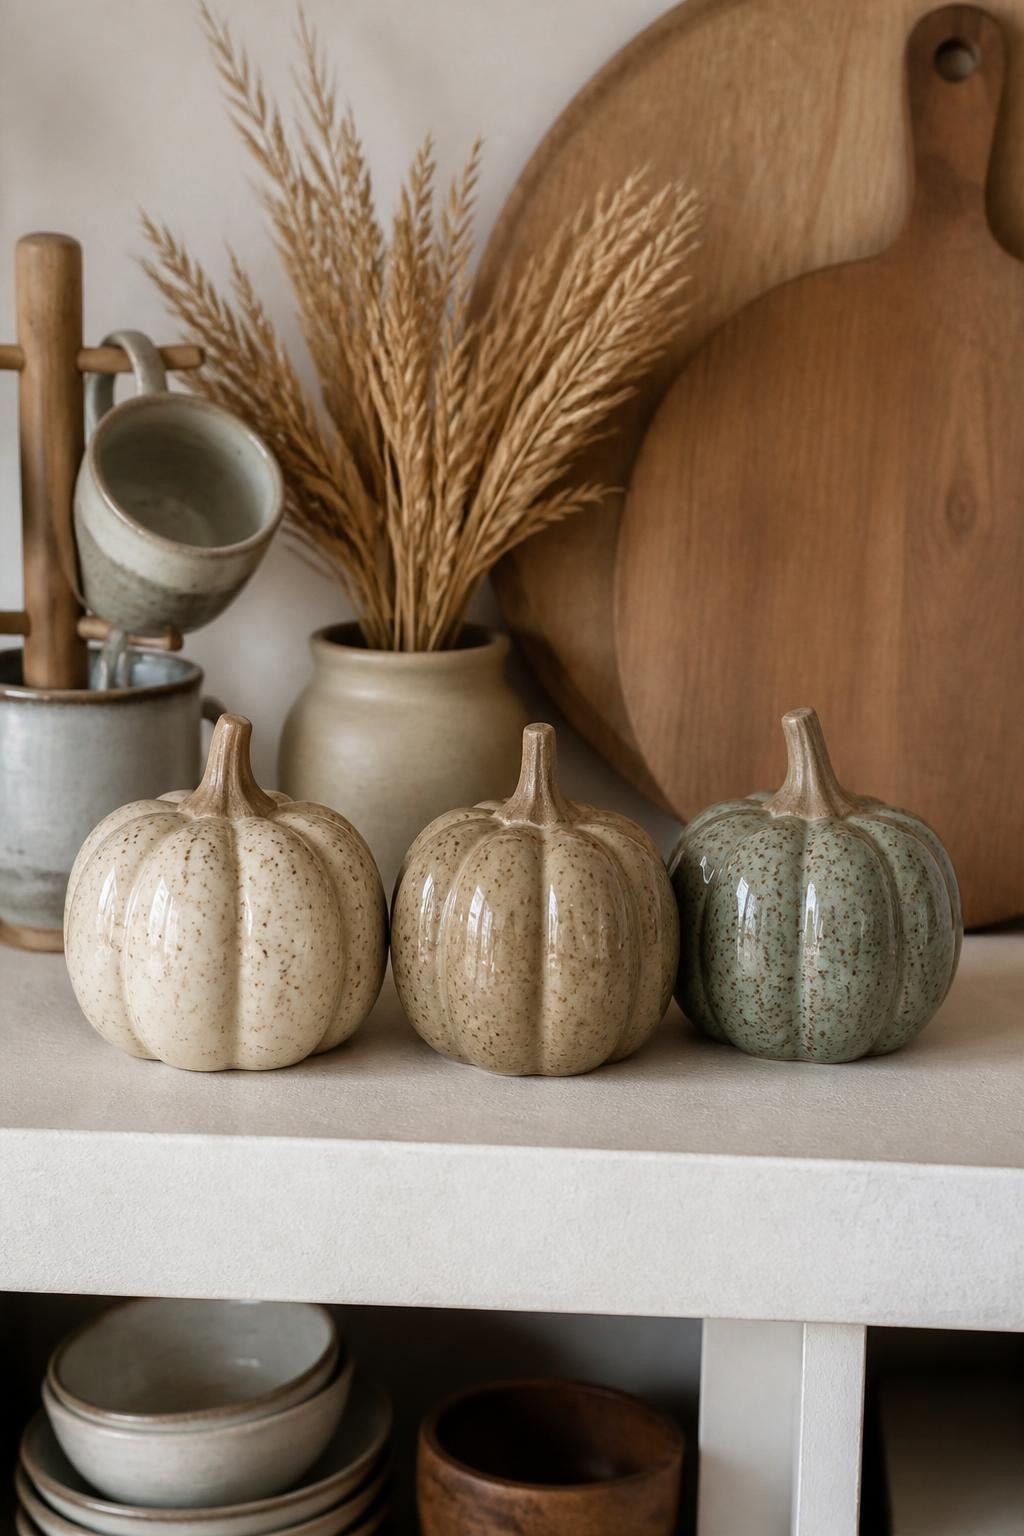
Give ordinary ceramic pumpkins the look of handmade pottery by painting them in muted stoneware colors. Warm cream, taupe, gray-green, and clay brown all work well for the base.
Once dry, flick a small amount of dark brown paint across the surface using a stiff brush. Keep the speckles uneven and light. A matte sealer will help preserve the natural pottery-like finish.
6. Metallic Copper Ceramic Pumpkin
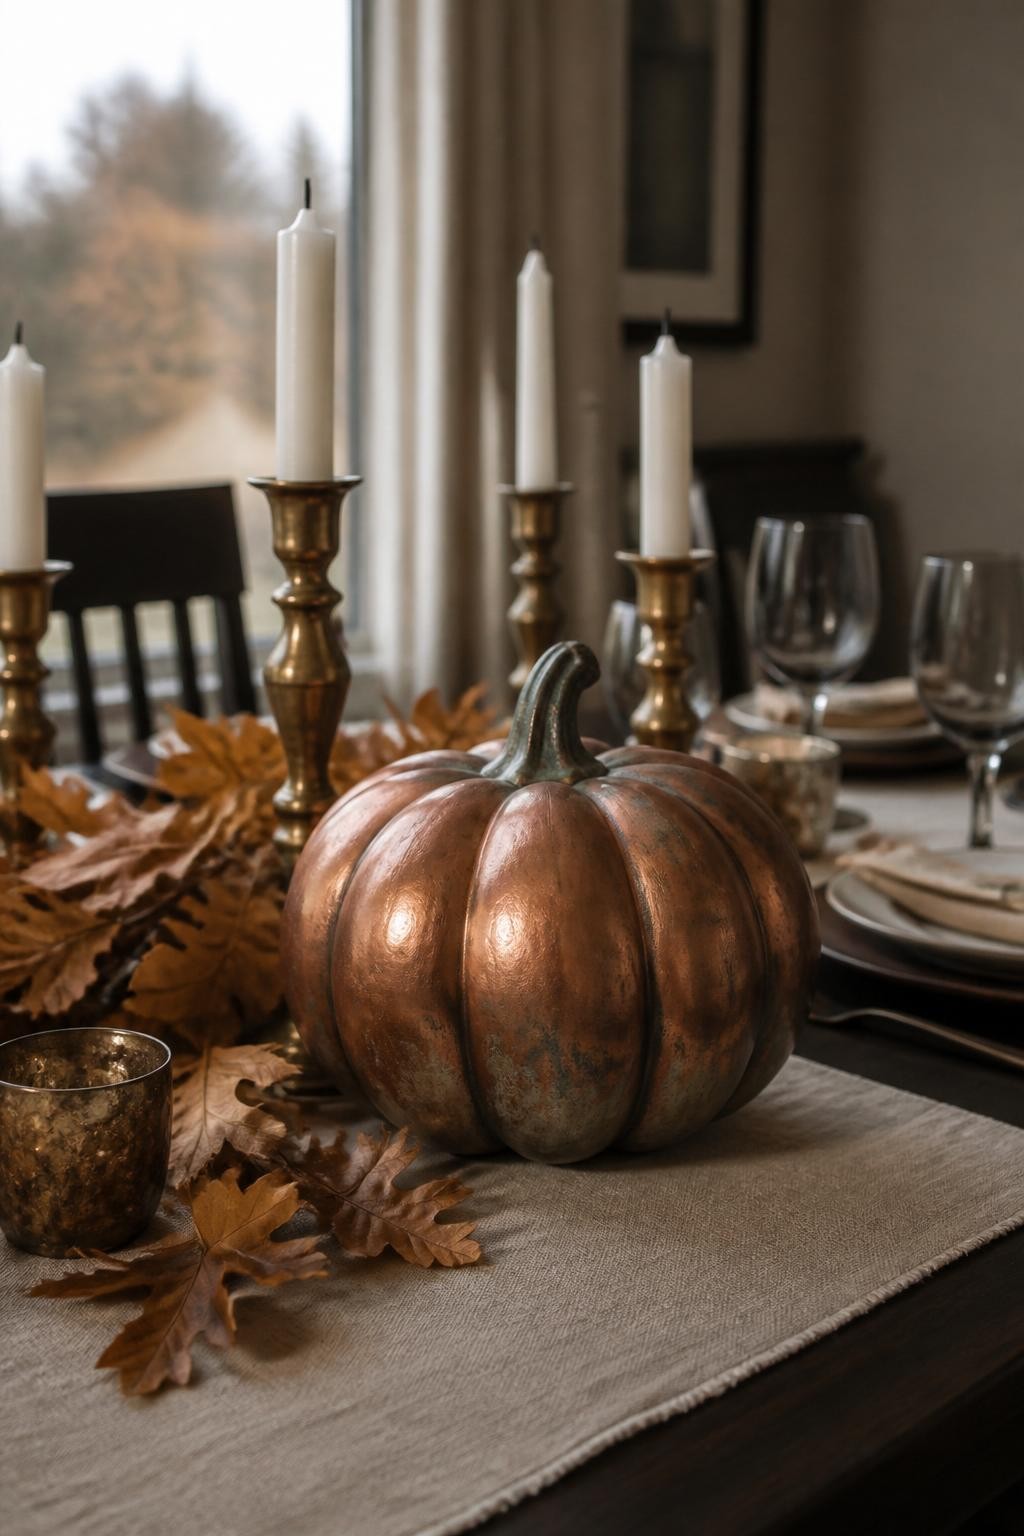
Cover a ceramic pumpkin with copper paint for a rich finish that reflects warm fall light. Use a darker brown glaze in the grooves to give the surface more depth and prevent it from appearing too bright.
For an aged effect, dab a small amount of muted green paint around the stem and a few lower ridges. This creates the look of natural patina and gives the pumpkin an old decorative-metal appearance.
7. Simple Scalloped Ceramic Pumpkin
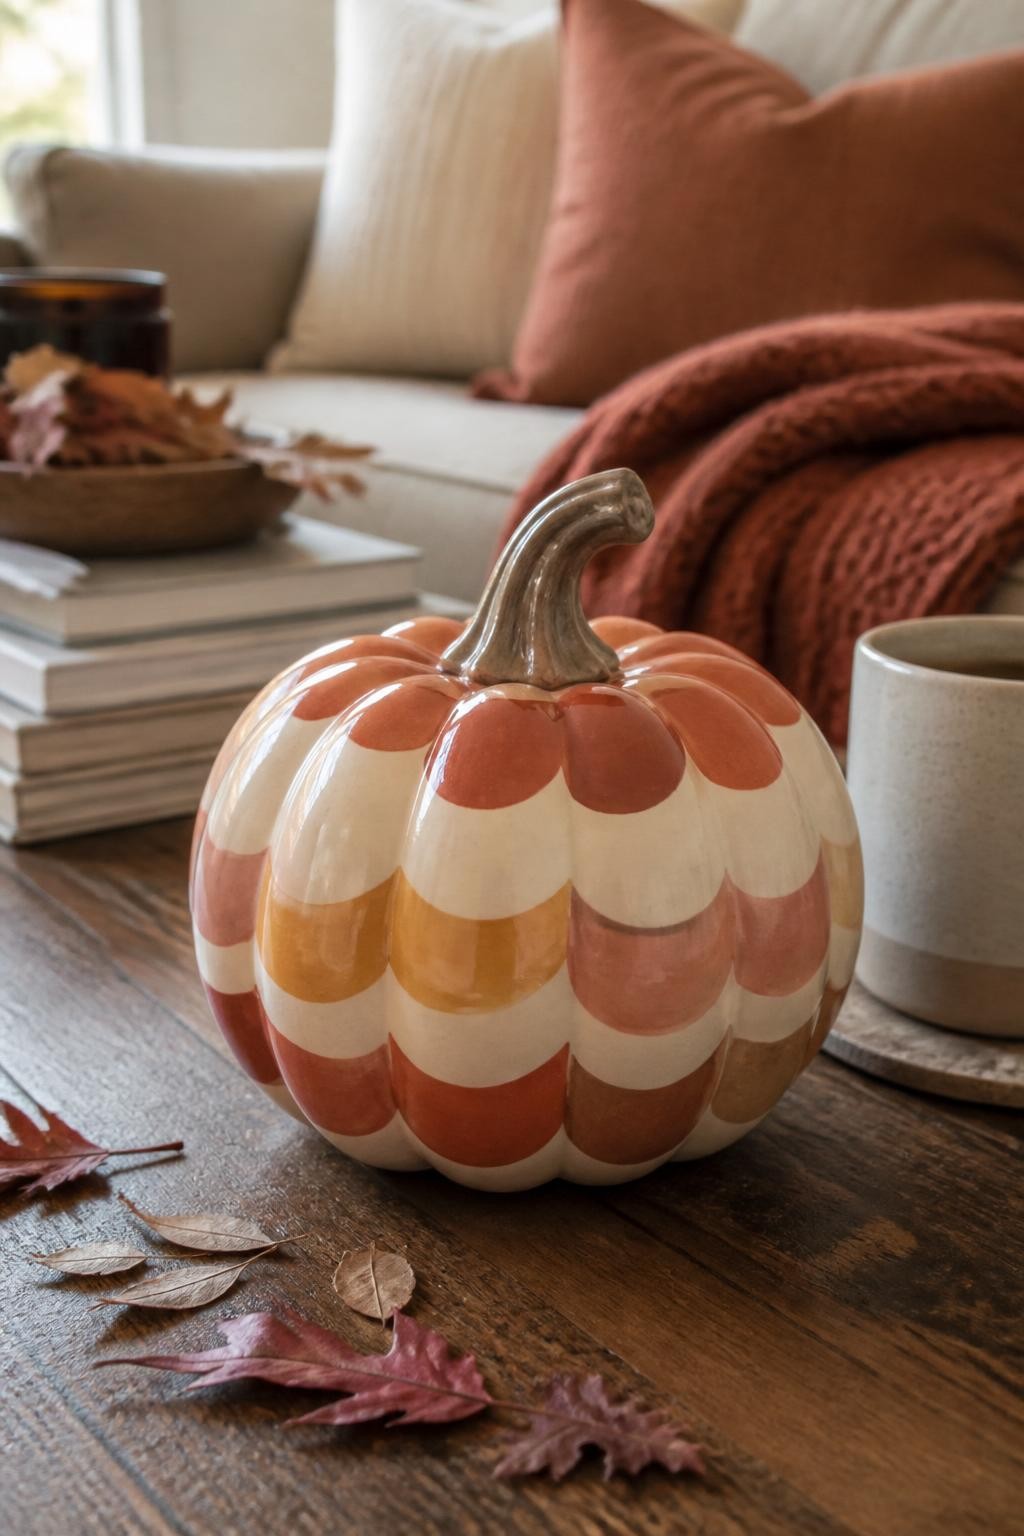
Paint rows of overlapping half-circles across the pumpkin to create a simple scalloped pattern. Begin at the bottom and work upward, allowing each new row to overlap the one beneath it.
Choose three or four related fall colors so the pattern feels coordinated. Terracotta, peach, cream, and mustard create a soft look, while navy, rust, and gold produce something bolder.
8. Forest Green Leaf Pumpkin
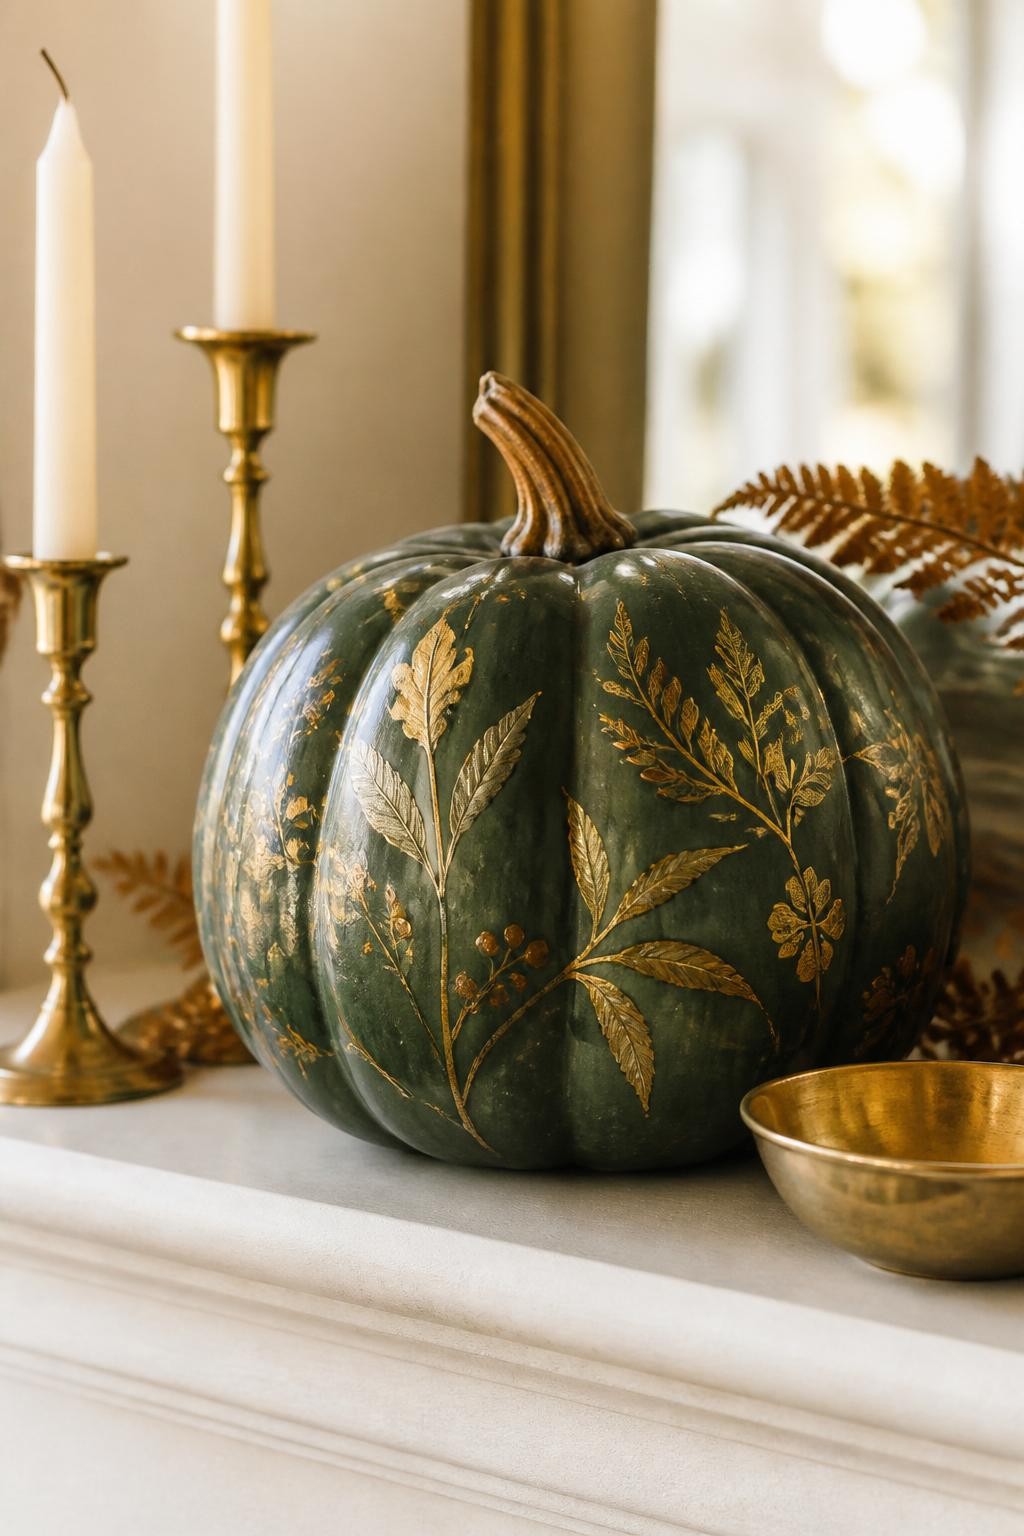
Paint the ceramic pumpkin deep forest green, then add thin leafy branches in antique gold or bronze. Allow the branches to curve naturally across the ridges rather than placing them in straight rows.
Add small berries, dots, or tiny acorns between the leaves for extra detail. The dark green background makes the metallic artwork stand out and gives the pumpkin a refined woodland feel.
9. Painted Tile Pattern Pumpkin
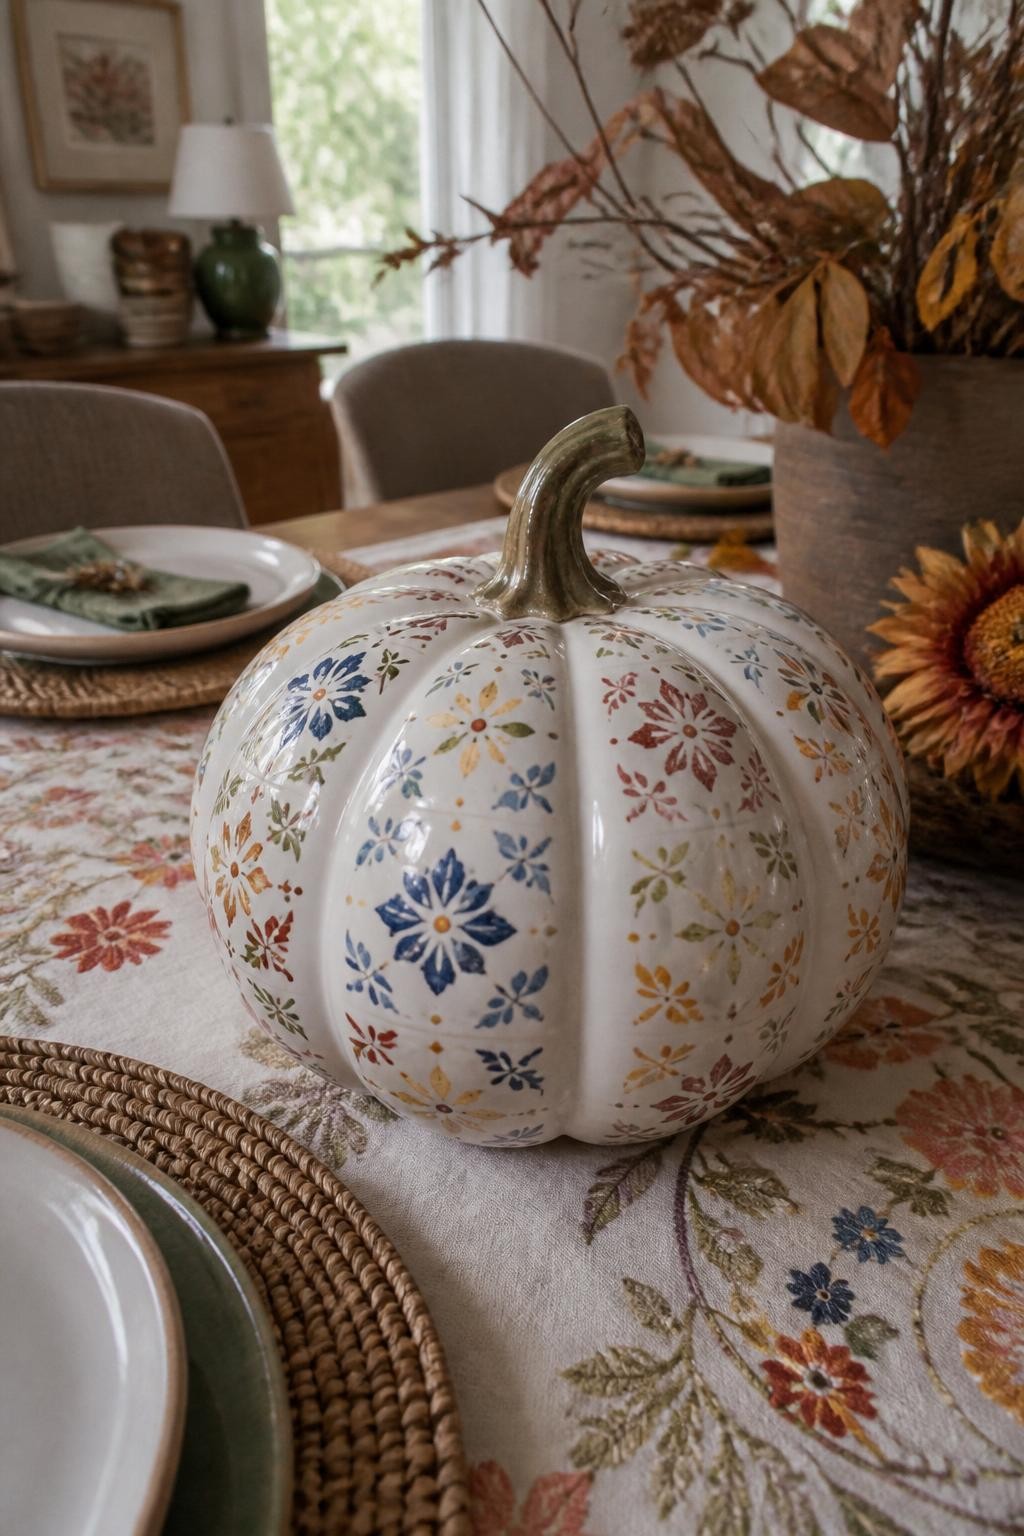
Use the pumpkin’s ridges to divide the surface into sections, then fill each section with a small repeated motif. Diamonds, flowers, dots, arches, and simple crosses can create the look of decorative painted tile.
Keep the pattern consistent but not perfectly identical. Slight variations make the design feel more handmade. This idea is a good way to introduce several fall colors without painting a large detailed scene.
10. Rustic Terracotta Pumpkin
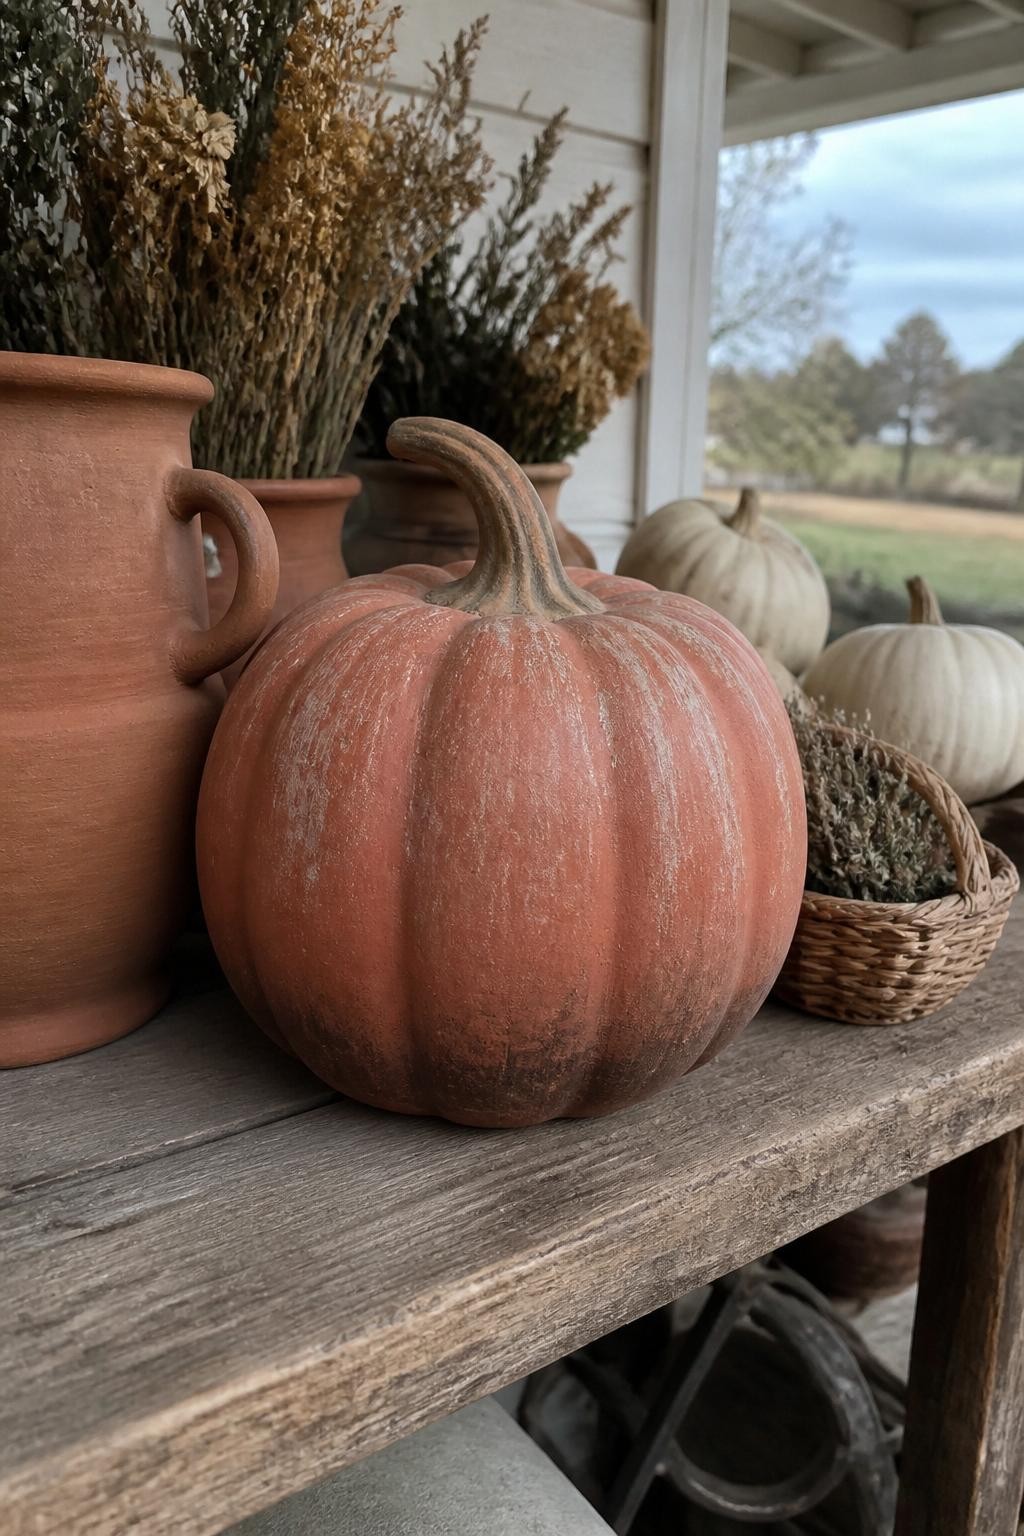
Paint a ceramic pumpkin in a warm terracotta shade to give it the appearance of fired clay. Add lighter chalky highlights over the raised ridges and darker brown shading near the base.
Avoid using a glossy sealer, as a matte finish will make the clay effect more believable. This pumpkin fits naturally into farmhouse, Mediterranean, and rustic fall displays, especially when placed near real terracotta pots.
11. Tiny Cottage Scene Pumpkin
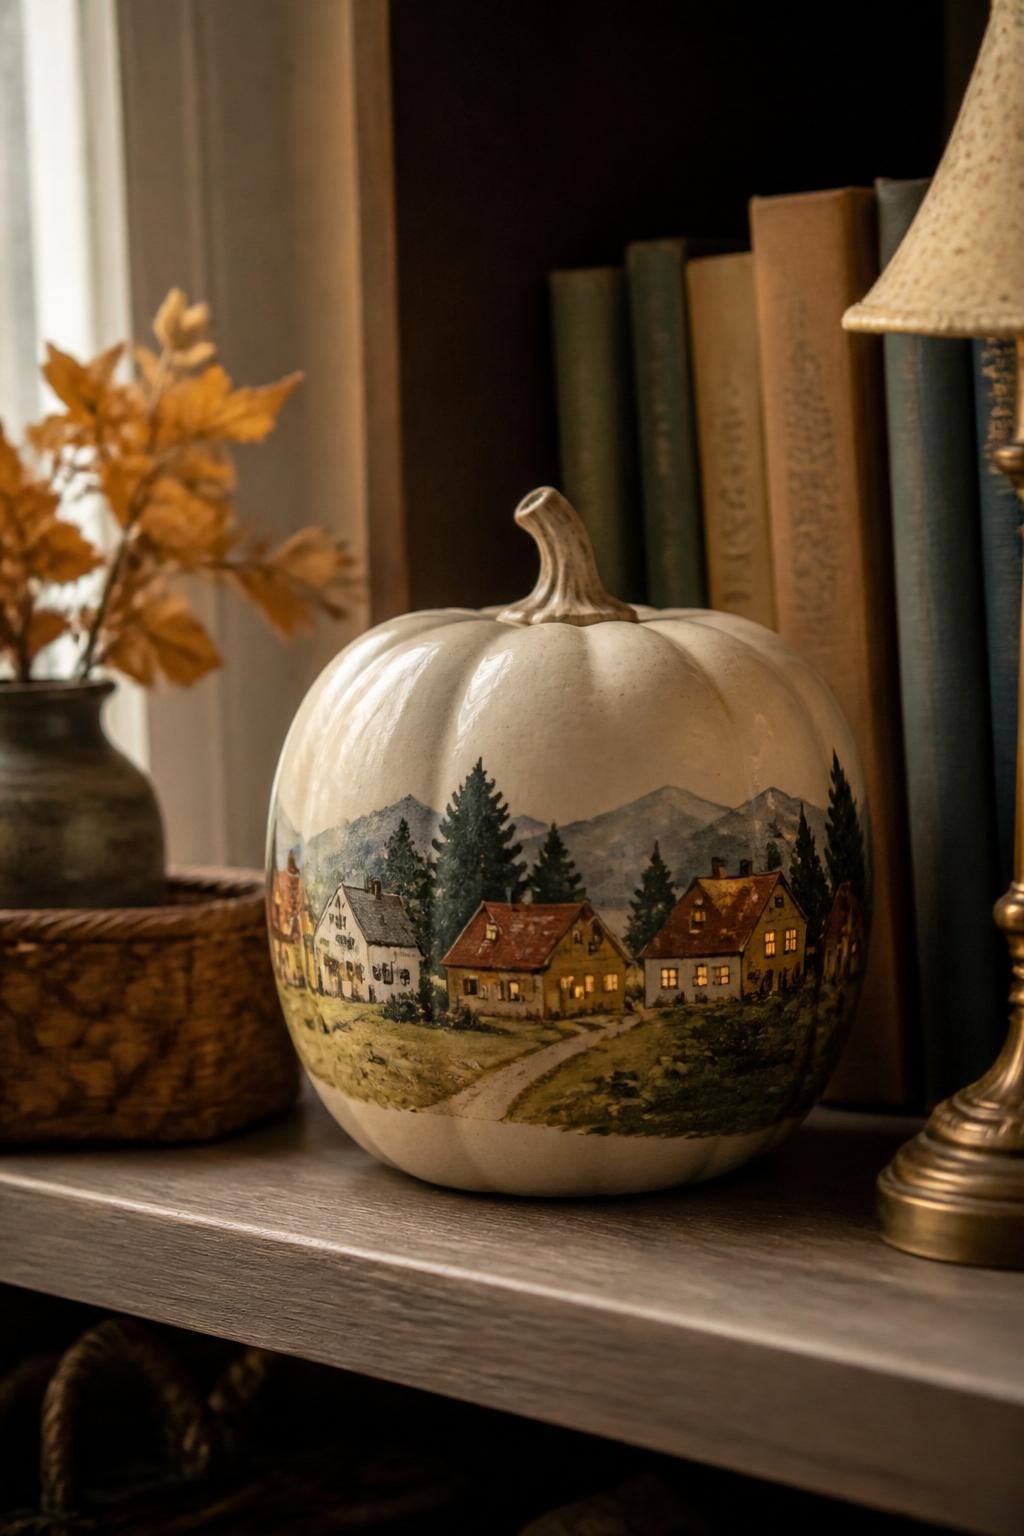
Paint a small village or cottage scene around the widest part of the ceramic pumpkin. Include simple houses, narrow paths, trees, hills, and a few warm yellow windows.
The buildings can be slightly uneven and loosely painted rather than architectural. This makes the design feel warm and storybook-like. Place the pumpkin near small lamps or battery candles to bring attention to the glowing window details.
12. Personalized Family Name Pumpkin
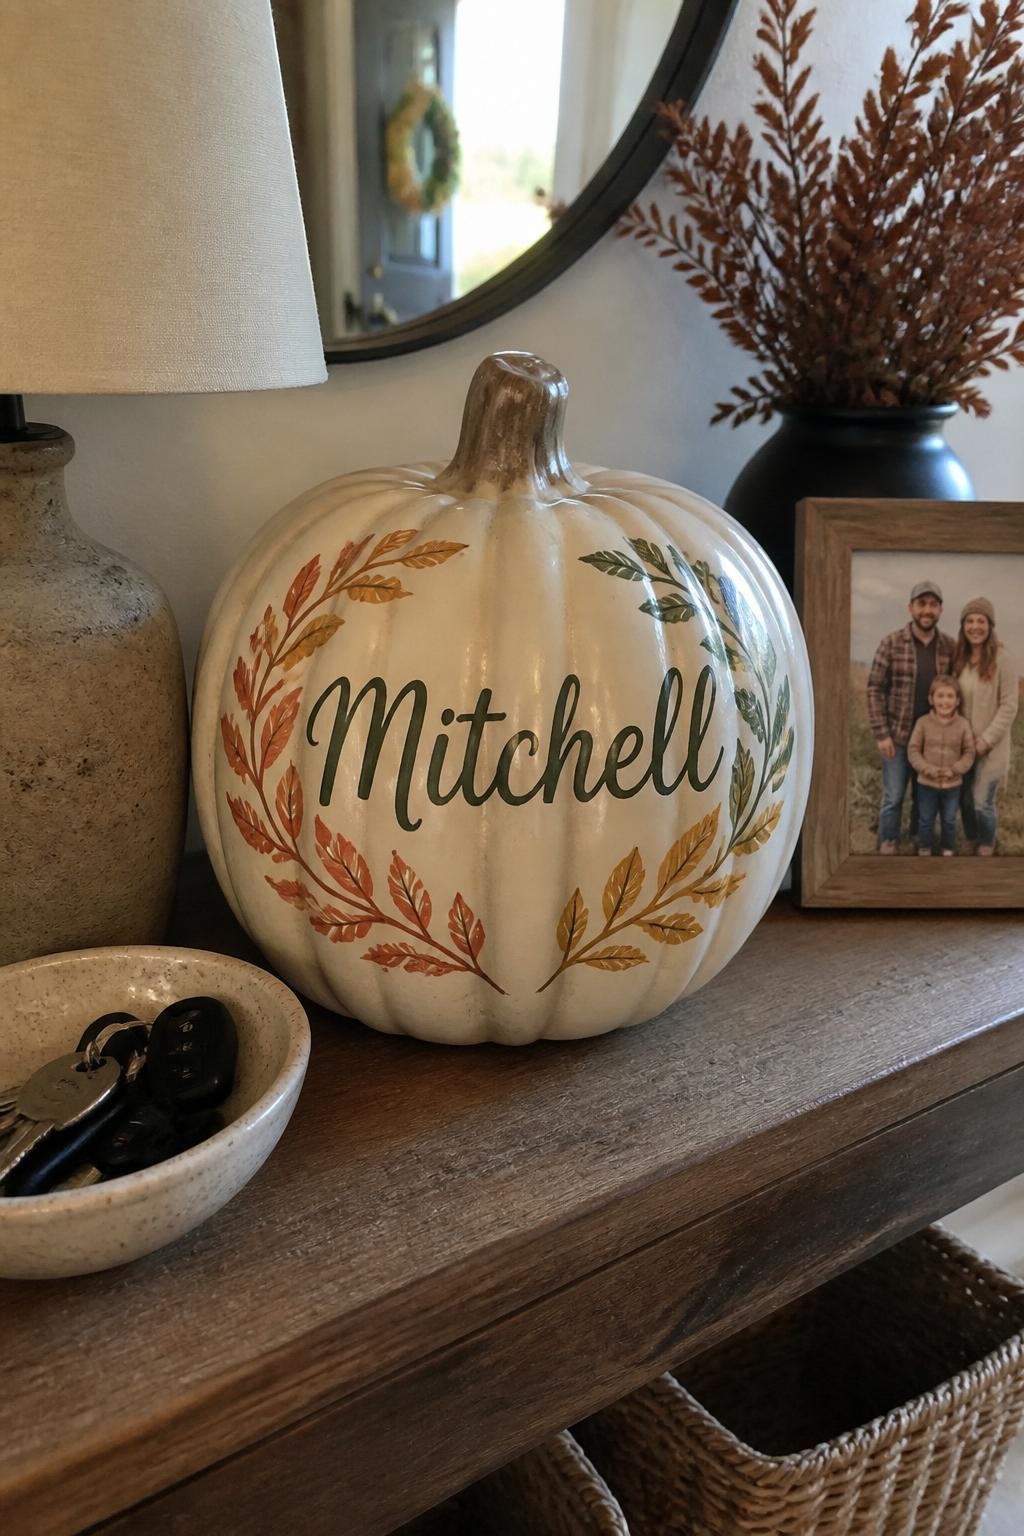
Turn a large ceramic pumpkin into a personal fall keepsake by painting a family surname, first initial, or important date across the front. Use a pencil to sketch the lettering lightly before filling it with paint.
Add a small wreath of leaves, berries, or branches around the name to frame it. Because the pumpkin can be reused each year, it makes a meaningful entryway decoration or thoughtful handmade gift.