




In This Article Show
Faux pumpkins are convenient for fall decorating, but their bright colors, visible seams, and shiny plastic surfaces can sometimes make them look less convincing. A few layers of paint can completely change that.
By choosing natural colors, adding gentle shading, and allowing small imperfections to remain, you can create pumpkins that resemble varieties found at a farm stand.The ideas below include classic orange finishes, muted heirloom colors, realistic speckles, weathered stems, and a few decorative styles that still feel believable.
Most can be completed with acrylic or chalk paint, inexpensive brushes, and a matte protective sealer. Once finished, these pumpkins can be used on porches, mantels, dining tables, and shelves for many fall seasons.
1. Classic Natural Orange Pumpkin
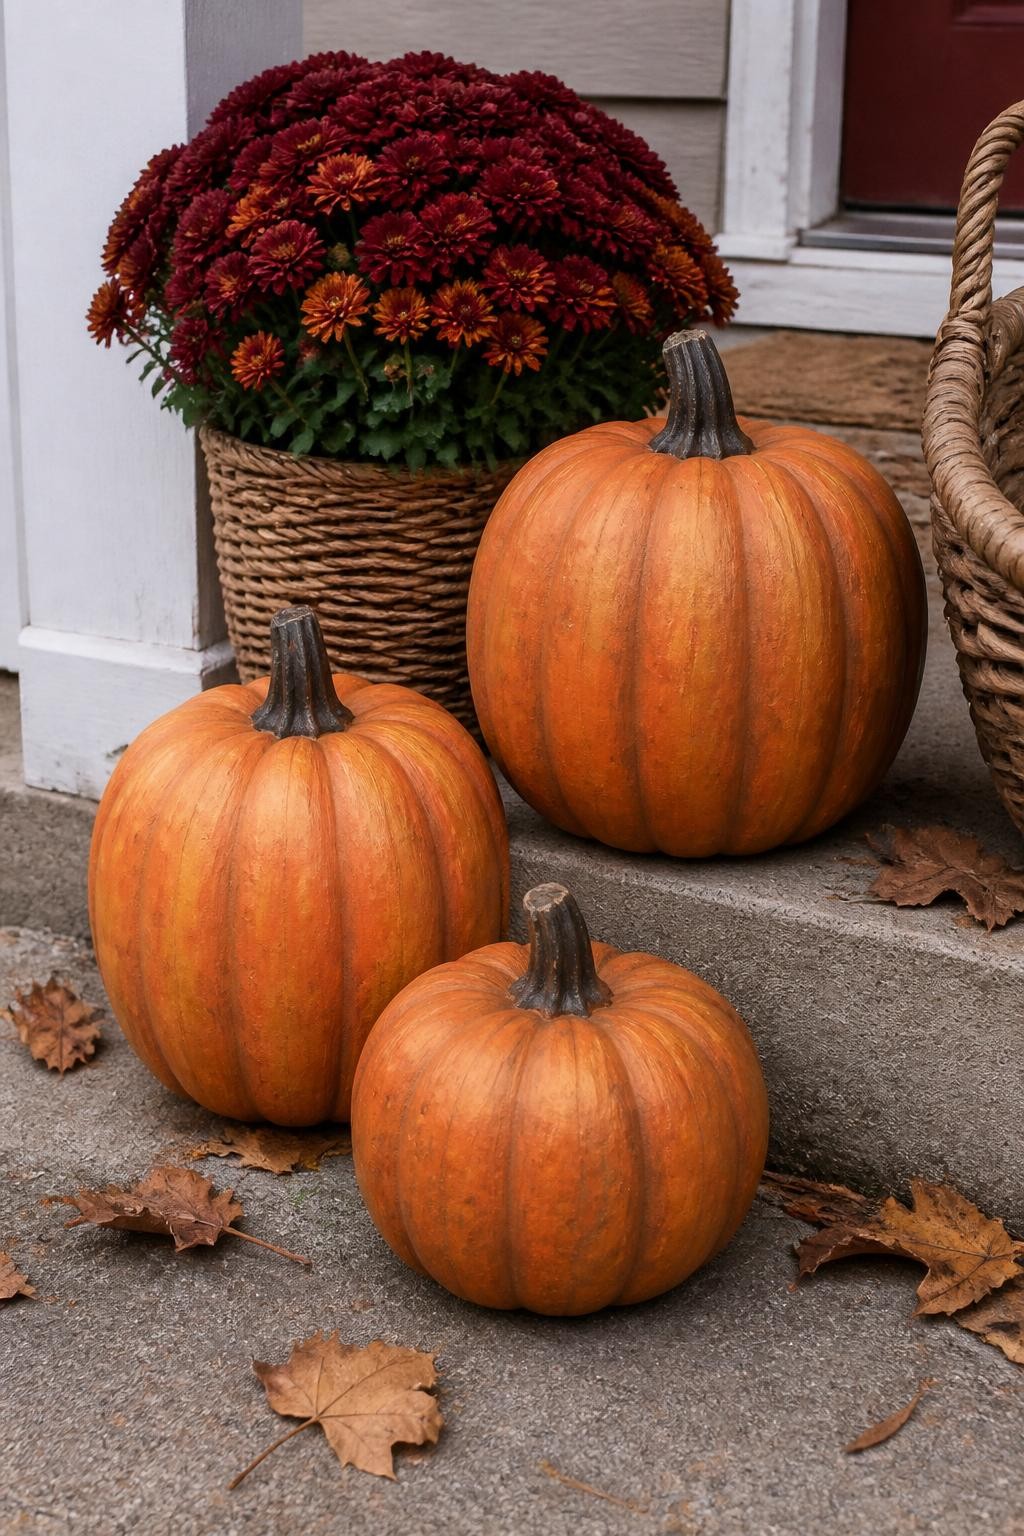
Start by covering the artificial pumpkin with a muted burnt-orange base rather than a bright craft-store orange. Mix in a little brown or terracotta paint to make the color warmer and more natural.
Once the base dries, brush darker rust paint into the grooves and add a small amount of golden orange across the raised sections. Blend the colors lightly so there are no hard lines. Finish with matte sealer to remove any remaining plastic shine.
2. Dusty Blue Heirloom Pumpkin
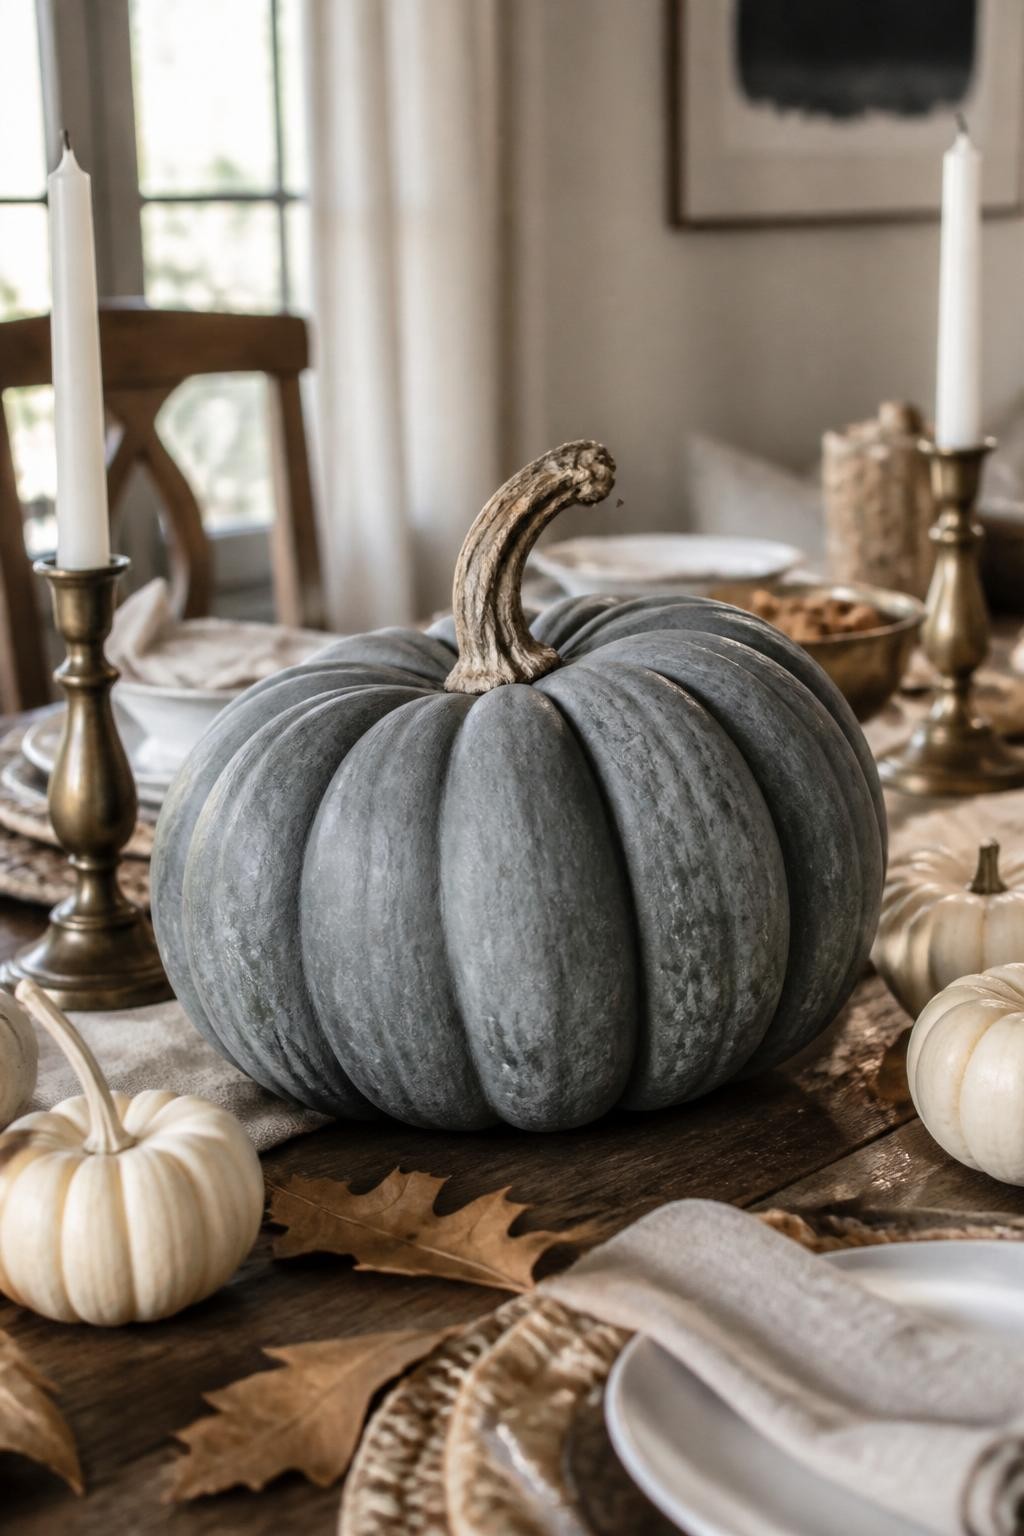
Paint a rounded faux pumpkin in dusty blue-gray to recreate the soft appearance of an heirloom variety. Adding a little muted green to the paint will prevent the blue from looking too bright or decorative.
Shade the grooves with watered-down charcoal paint, then dry-brush pale gray across the raised areas. Use only a small amount of paint during highlighting so the color changes remain subtle and natural.
3. Warm White Pumpkin With Natural Shading

A completely flat white finish can make an artificial pumpkin look even more manufactured. Instead, use warm ivory as the base and brush a thin beige wash into the grooves.
Add a little gray-green or light brown near the base and around the stem to imitate the uneven coloring found on real pumpkins. Painting several pumpkins in slightly different shades of white will make the group look more naturally collected.
4. Realistic Sage Green Pumpkin

Cover the faux pumpkin with a muted sage base, then add deeper olive paint inside the ridges. Blend the darker color outward before it dries so it fades gradually into the main shade.
Dry-brush a small amount of cream paint over the highest sections to create dimension. This combination of green, olive, and cream gives the pumpkin the subdued look of a real garden-grown variety.
5. Speckled Farm-Stand Pumpkin

After painting the pumpkin in a natural base color, add tiny brown, gray, and cream speckles with a stiff brush. Keep the paint thin and flick it lightly so the marks vary in size and placement.
Concentrate a few additional speckles near the base and around the stem, where real pumpkins often show soil marks and discoloration. Avoid covering the surface evenly because random placement makes the effect much more convincing.
6. Pale Peach Pumpkin

Use a mixture of warm white, muted orange, and a small touch of dusty pink to create a pale peach base. This gives the pumpkin a soft color that feels unusual but still believable.
Shade the grooves with a slightly deeper coral-peach mixture and highlight the ridges with cream. The finished pumpkin works well with neutral decor, dried grasses, and darker orange pumpkins.
7. Chalky Terracotta Pumpkin

Paint the pumpkin with matte terracotta chalk paint to create a surface that resembles aged clay. Work in several thin layers rather than one thick coat so some tonal variation remains visible.
Add darker clay brown near the bottom and pale chalky highlights over the ridges. The dry, powdery finish makes inexpensive foam or plastic pumpkins feel more substantial and works especially well beside terracotta planters.
8. Green-and-Cream Striped Heirloom Pumpkin
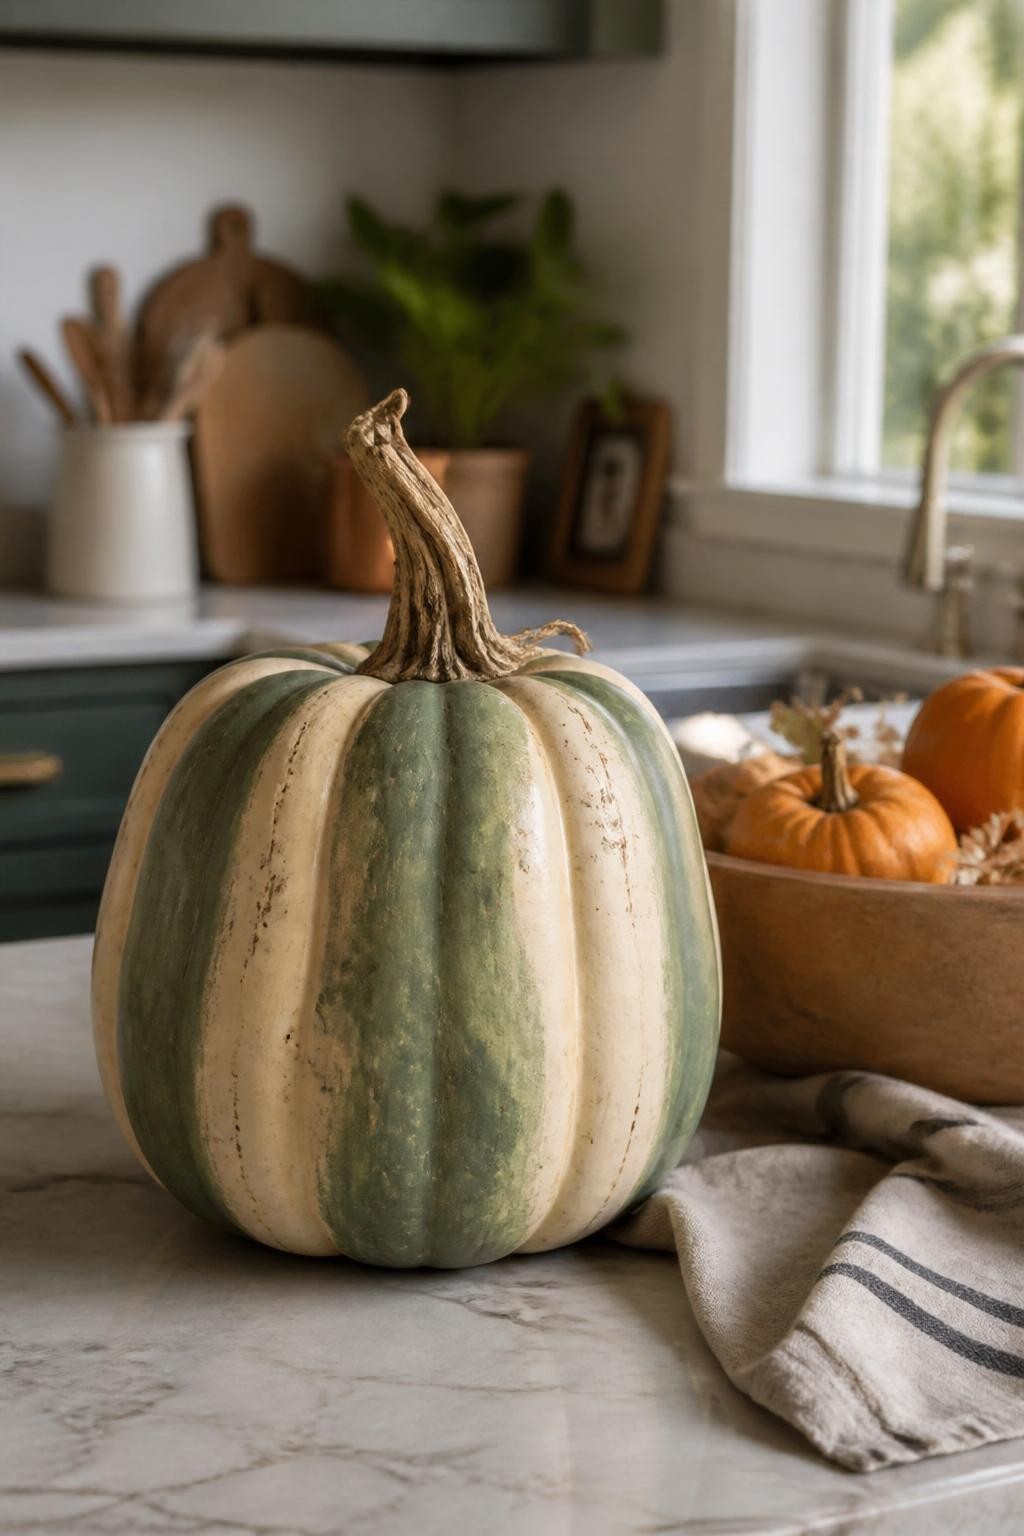
Use the natural ridges as guides for alternating green and cream sections. Avoid perfectly crisp borders, as the coloring on real striped pumpkins usually fades softly from one shade into another.
Add a thin beige wash over the entire surface to soften the contrast, followed by a few scattered brown speckles. The layered finish creates a convincing striped heirloom pumpkin that can become the centerpiece of a larger display.
9. Weathered Gray Pumpkin
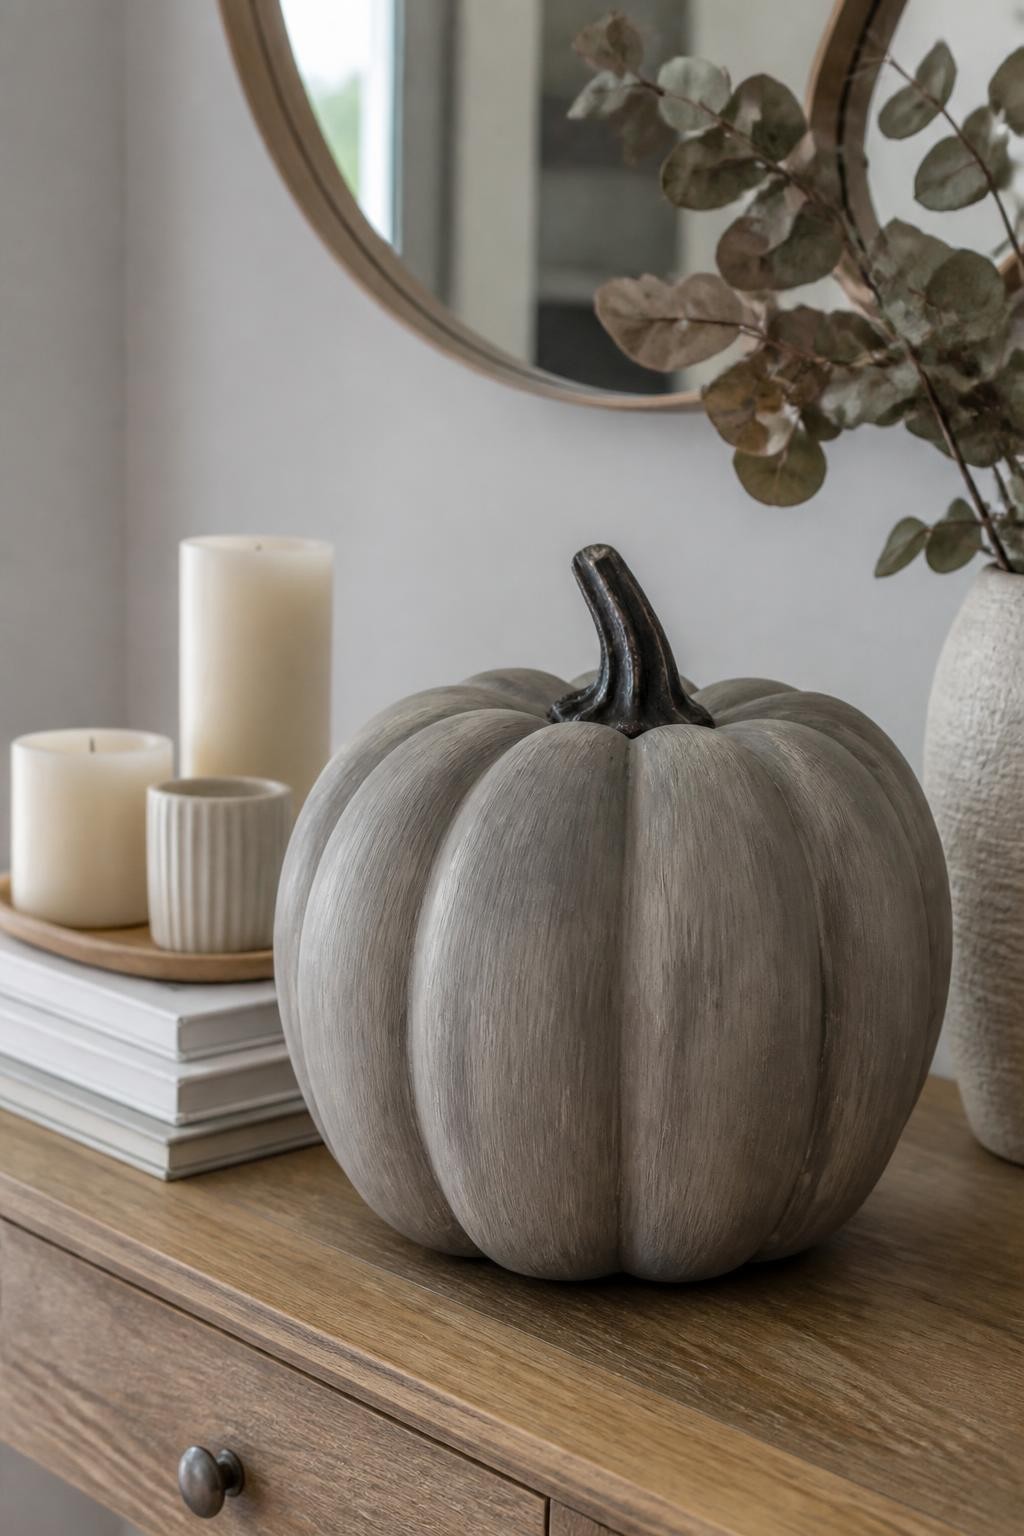
Mix gray paint with a small amount of brown or taupe to keep the base from looking cold. Paint the entire pumpkin, then deepen the ridges with watered-down charcoal or dark brown.
Use a nearly dry brush to add pale gray highlights along the raised curves. The completed finish resembles a muted gray pumpkin rather than painted concrete, making it suitable for modern and neutral interiors.
10. Realistic Warty Pumpkin

Choose a textured faux pumpkin with raised bumps, or create a few subtle bumps using lightweight texture paste before painting. Cover the entire surface with muted olive or dark green.
Add brown-green shading around each raised area and a little faded yellow across the highest points. Avoid making every bump identical. Uneven size, placement, and coloring will give the pumpkin the rough appearance of a real specialty variety.
11. Two-Tone Ripening Pumpkin
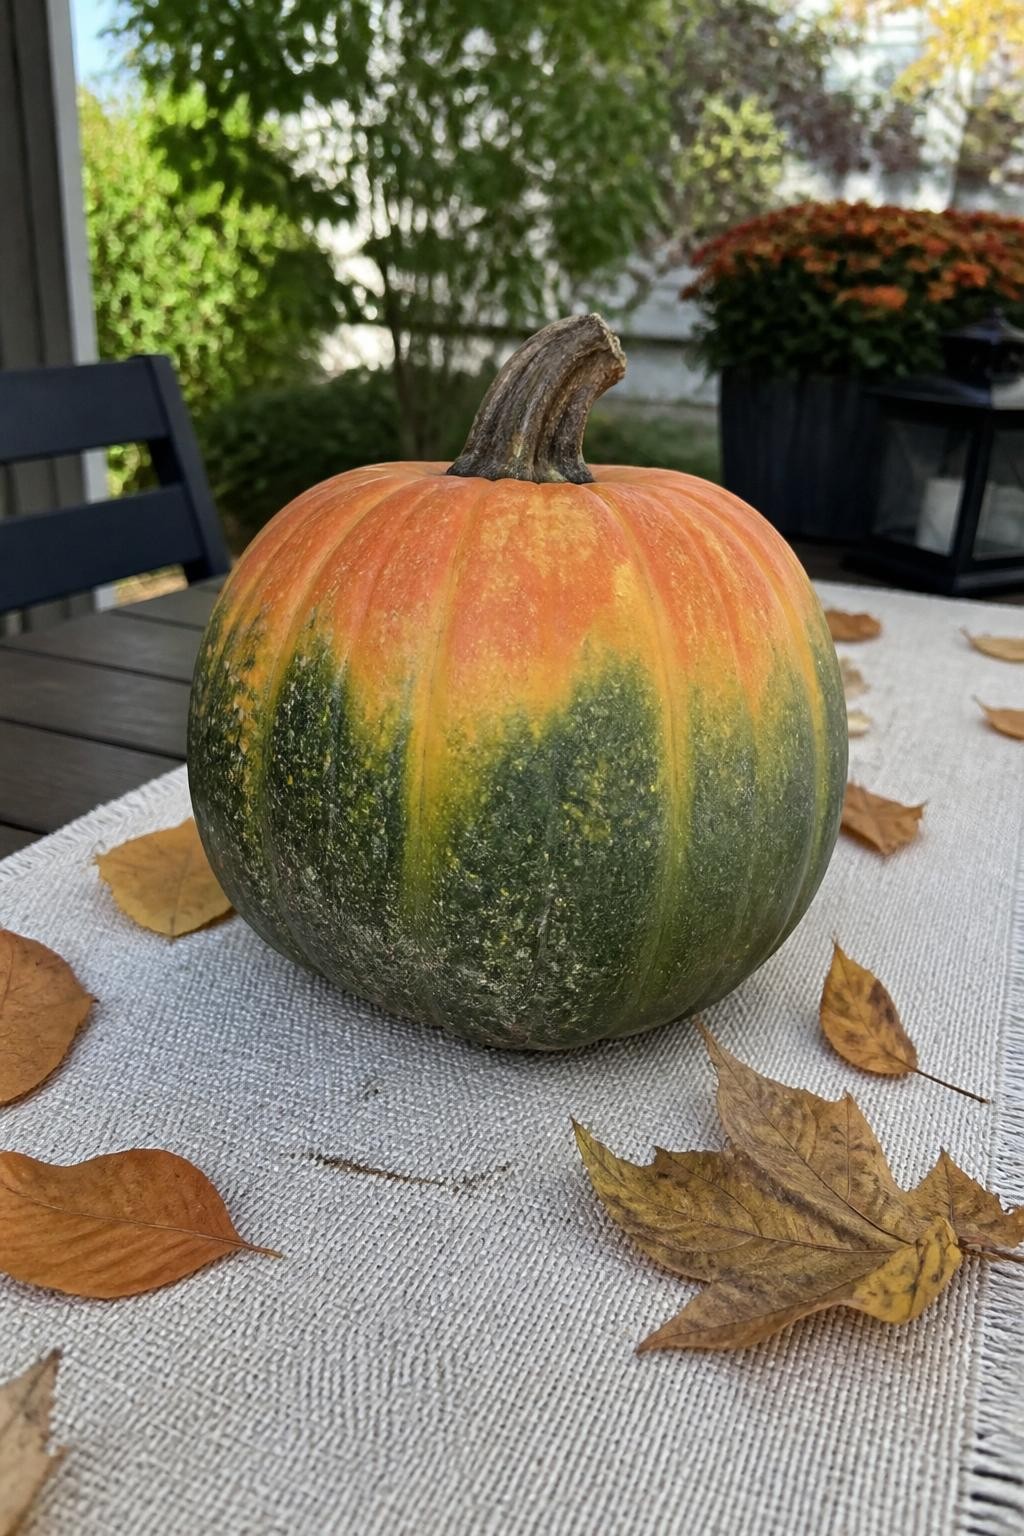
Recreate the look of a pumpkin changing from green to orange by using both colors across the surface. Begin with muted green, then blend soft orange downward from the stem and upper ridges.
Leave irregular sections of green visible and add a little yellow-green where the colors meet. The uneven transition makes the pumpkin appear as though it was recently harvested before becoming fully orange.
12. Muddy Bottom Farm Pumpkin
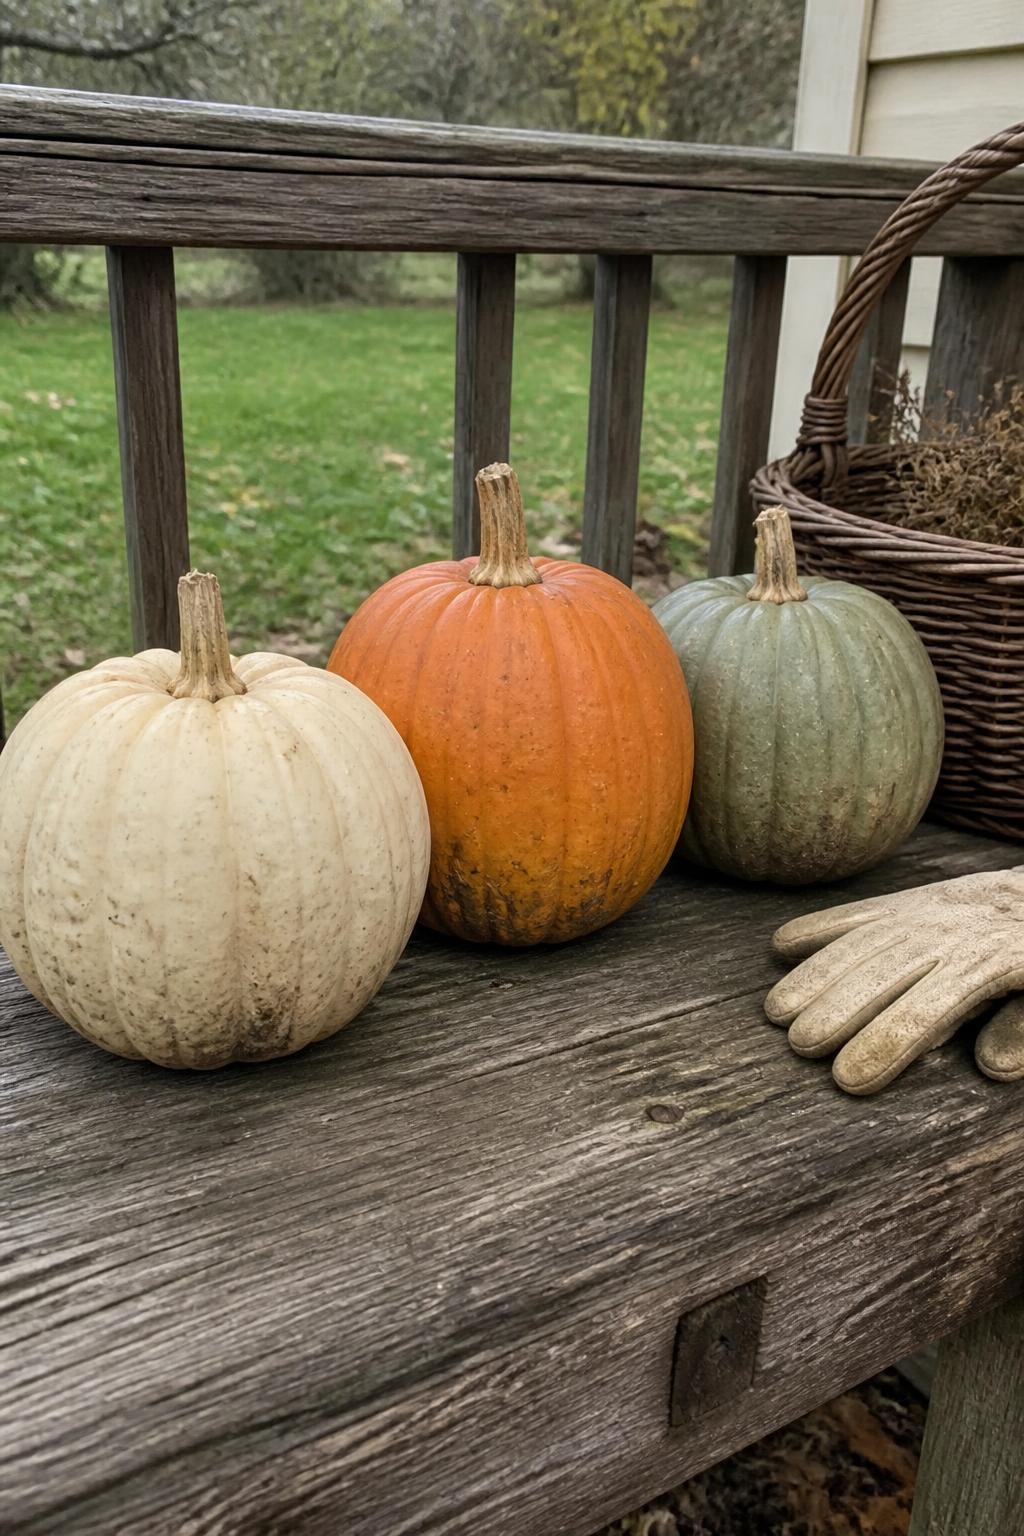
Paint the faux pumpkin in your preferred natural color, then use a sponge to dab thin brown and gray paint around the bottom. Keep the marks faint and uneven so they resemble dried garden soil.
Add a few tiny spots higher on the pumpkin, but leave most of the surface clean. This subtle weathering can make a perfectly smooth artificial pumpkin look as though it has just been brought home from a local farm.
13. Dark Green Pumpkin With Golden Undertones
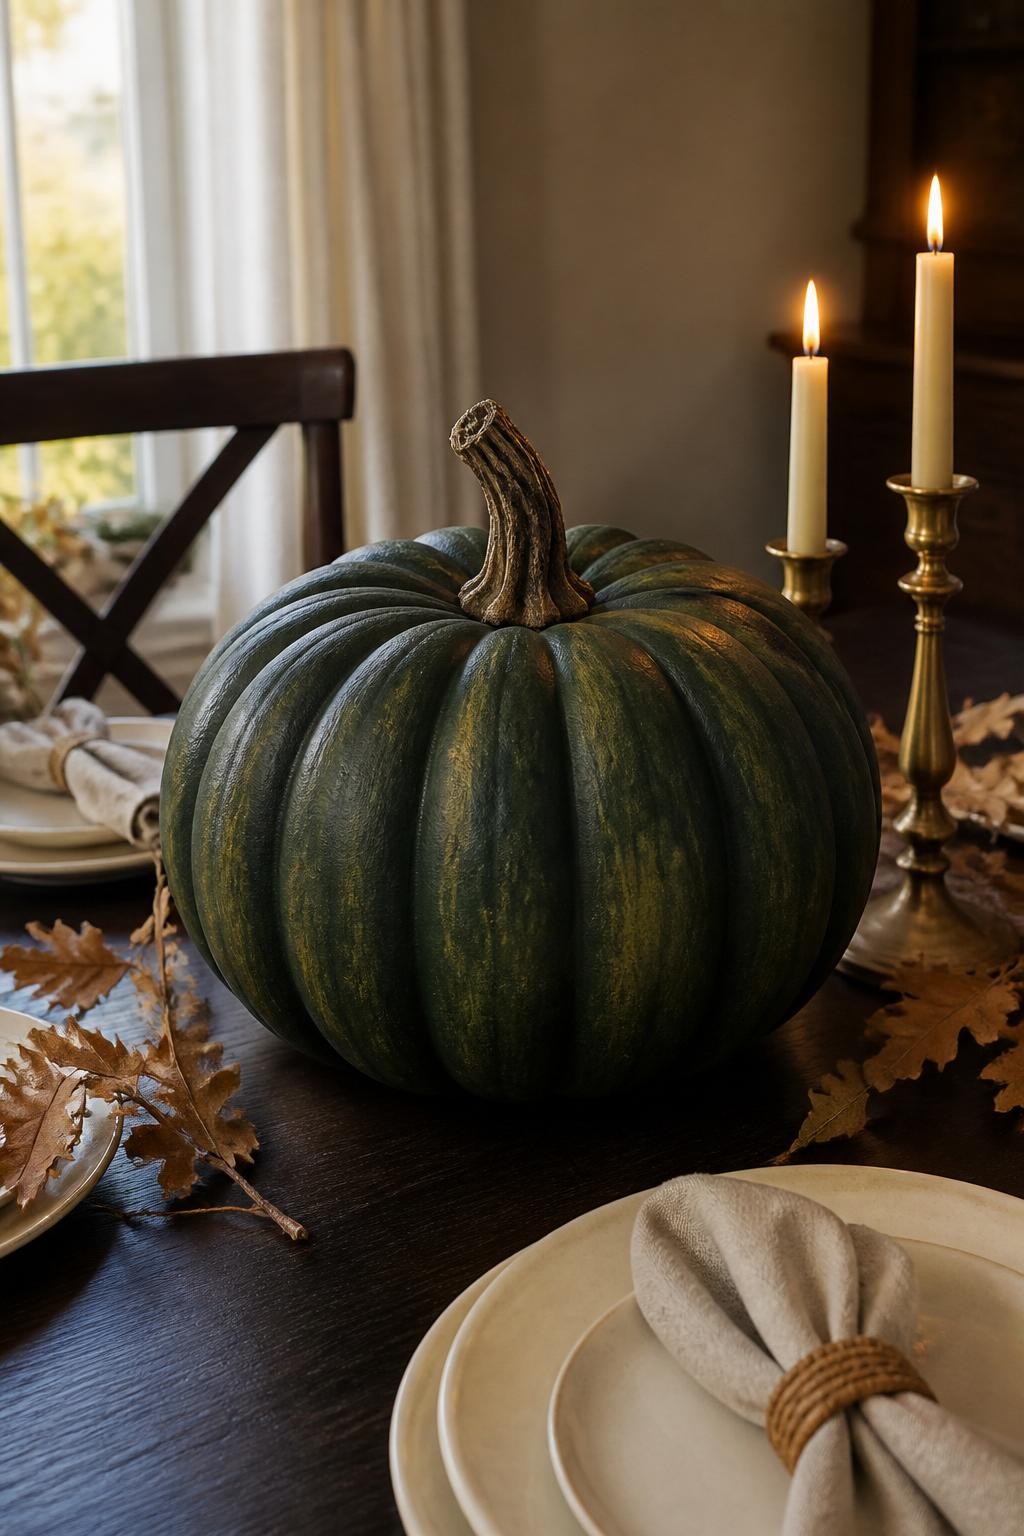
Begin with a deep forest-green base and shade the grooves using a mixture of dark green and brown. This creates the heavy, dimensional appearance of a dense winter squash.
Mix a tiny amount of mustard into the base color and brush it lightly across the raised sections. The golden undertone should be subtle rather than metallic, giving the pumpkin a natural warmth under soft light.
14. Hand-Painted Stem and Vine Pumpkin
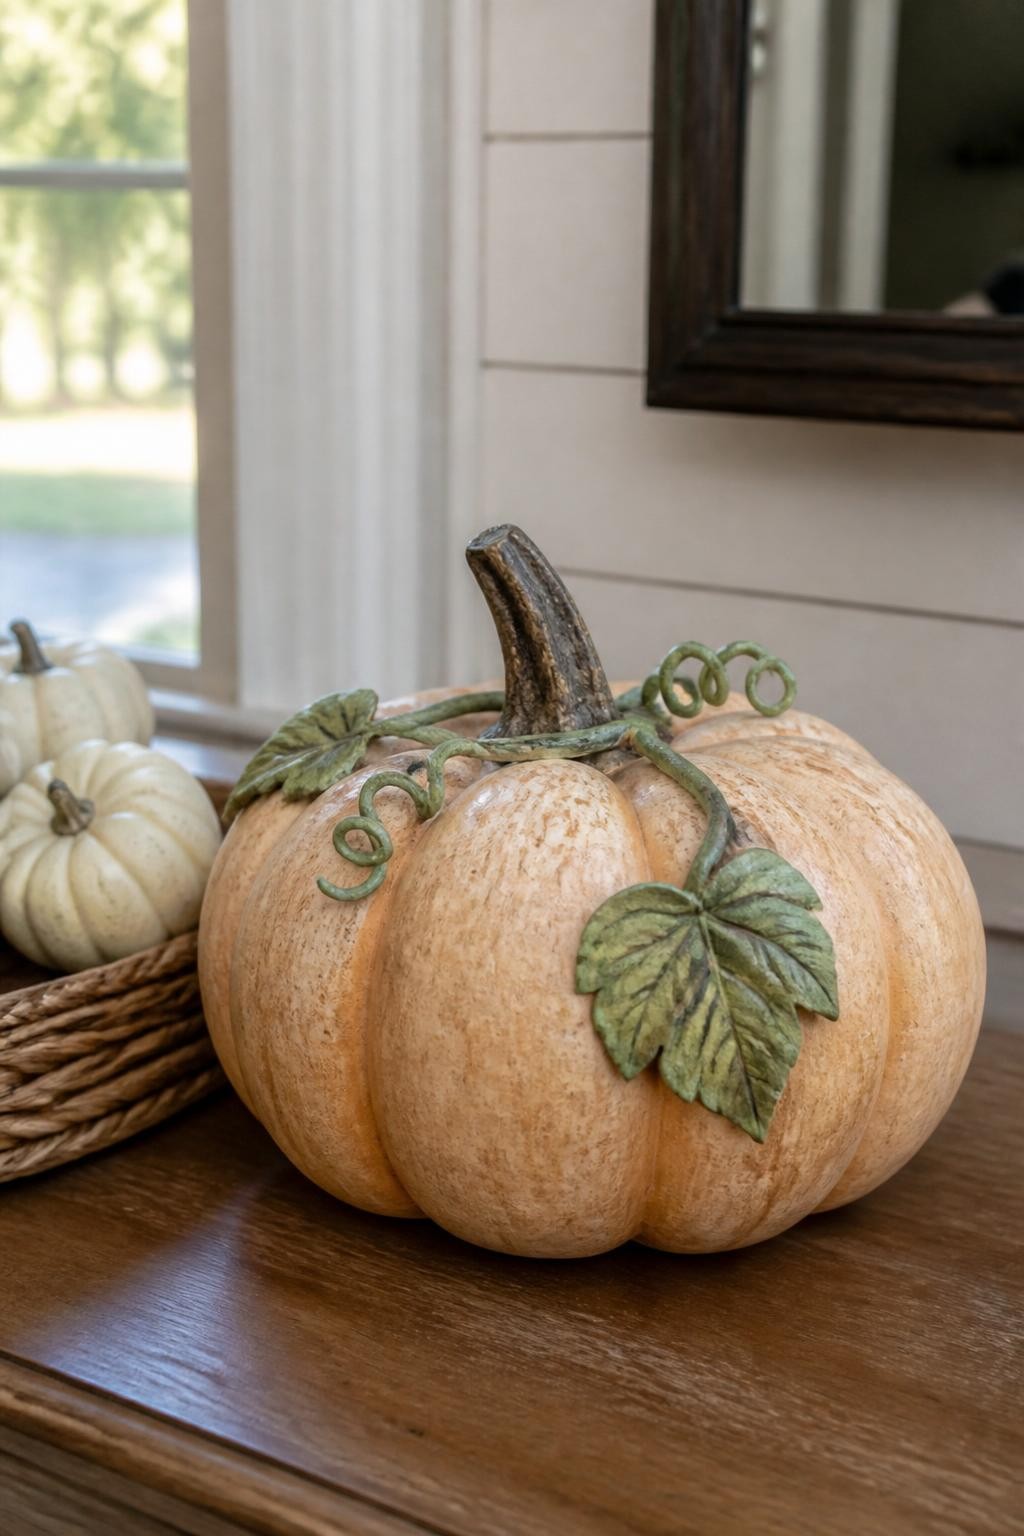
Sometimes the artificial stem is the main detail making a faux pumpkin look unrealistic. Repaint it with several shades of brown, adding darker color inside the cracks and pale tan over the raised areas.
Paint a thin green vine curling from the base of the stem and add one or two muted leaves across the top. Combined with gentle shading on the pumpkin itself, these small botanical details make the entire decoration feel much more natural.