

In This Article Show
Keeping kids entertained can be tough, especially on rainy days or when screens need a break. If you’re looking for simple, hands-on projects that spark pretend play, these paper phone crafts are a fun win.
Each idea uses easy supplies and helps kids explore design, buttons, apps, and calling imaginary friends.
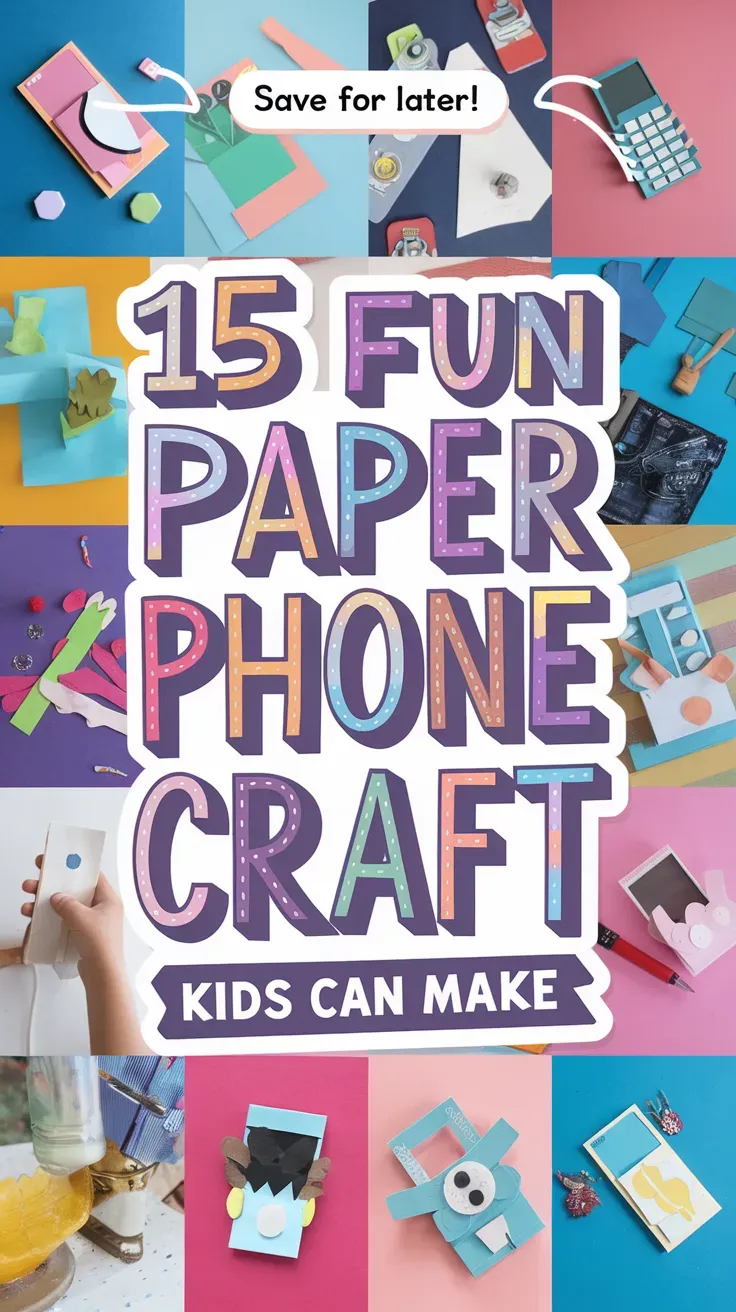
Below are 15 creative, beginner-friendly paper phone crafts you can try today—let’s get crafting!
1. Folded Paper Flip Phone
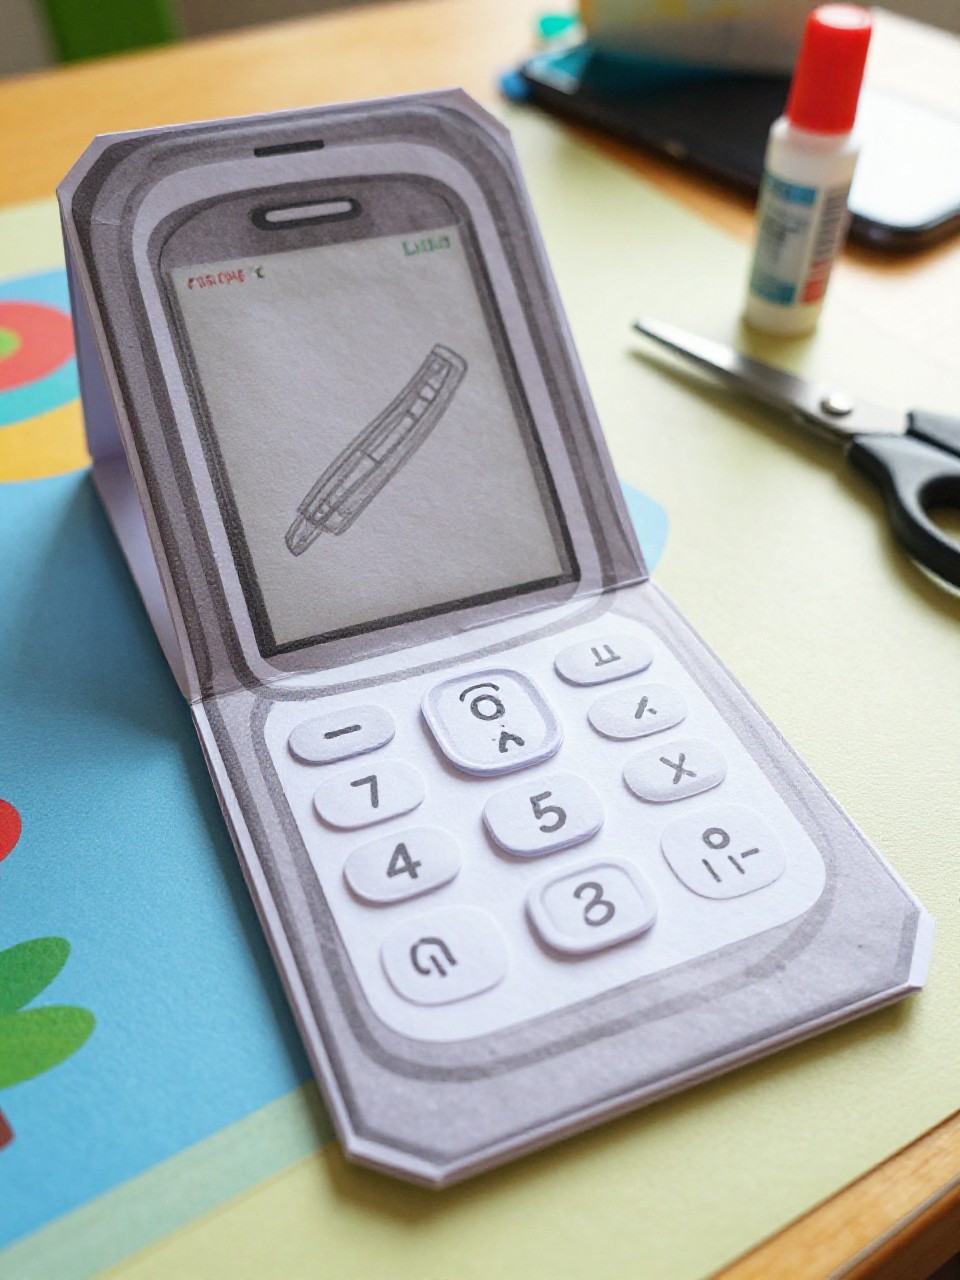
This craft looks like a mini retro flip phone that opens and closes with a crease. Kids love the satisfying “click” fold and decorating the keypad with tiny paper buttons, making it great for pretend calls.
Materials Needed:
- Colored construction paper (letter size)
- Glue stick
- Black marker
- Small round stickers or hole-punched dots
- Ruler (optional)
How to make it:
- Fold a sheet of colored paper in half like a book, then fold again to form a sturdy flip.
- Cut into a tall rectangle; crease the middle to make the flip hinge.
- Draw a screen on the top half and glue paper dots as number buttons on the bottom.
- Add tiny details like a speaker and camera; let dry and start pretend play.
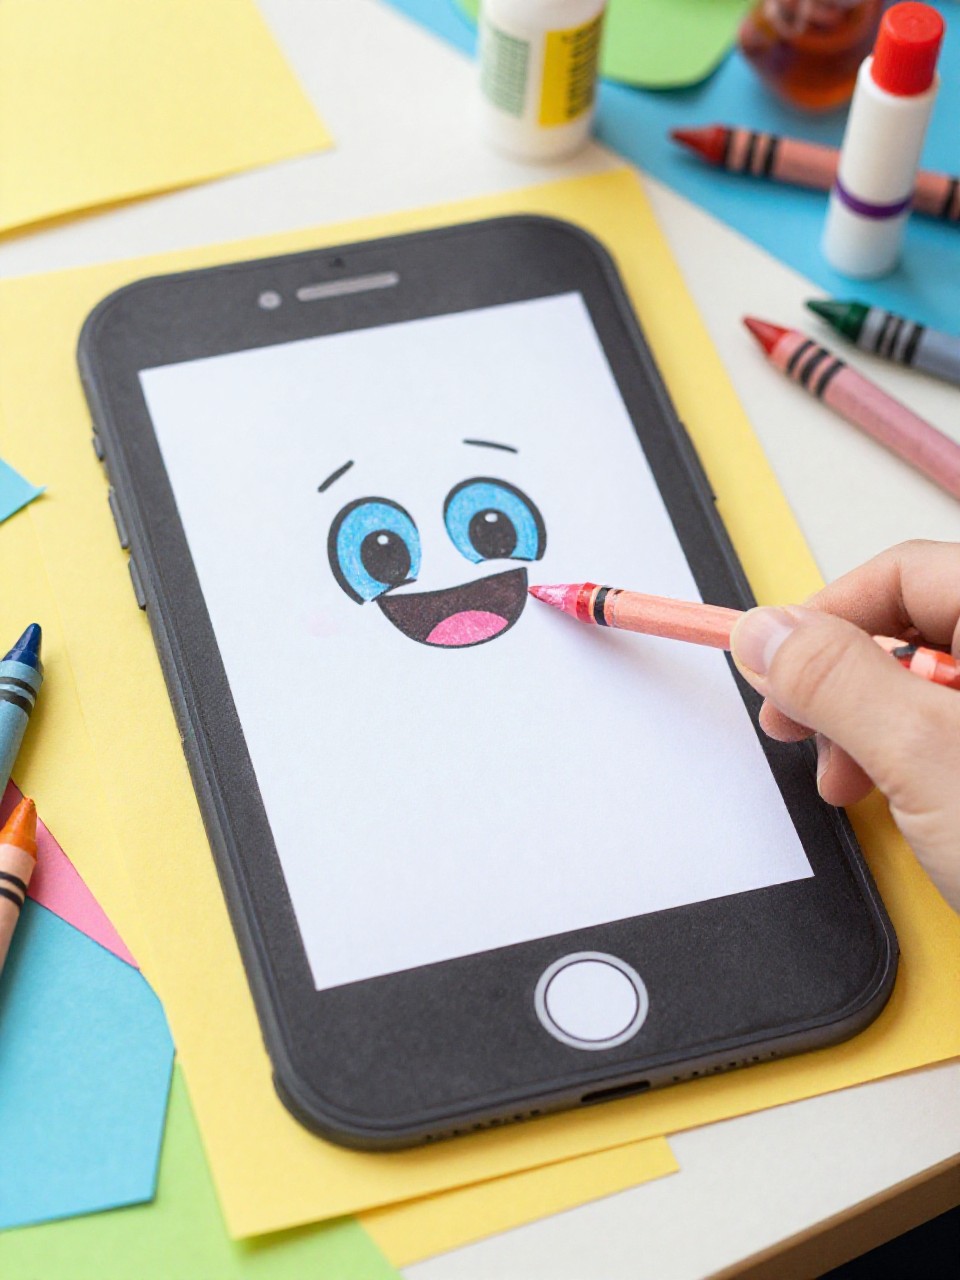
2. Emoji App Icons Paper Smartphone
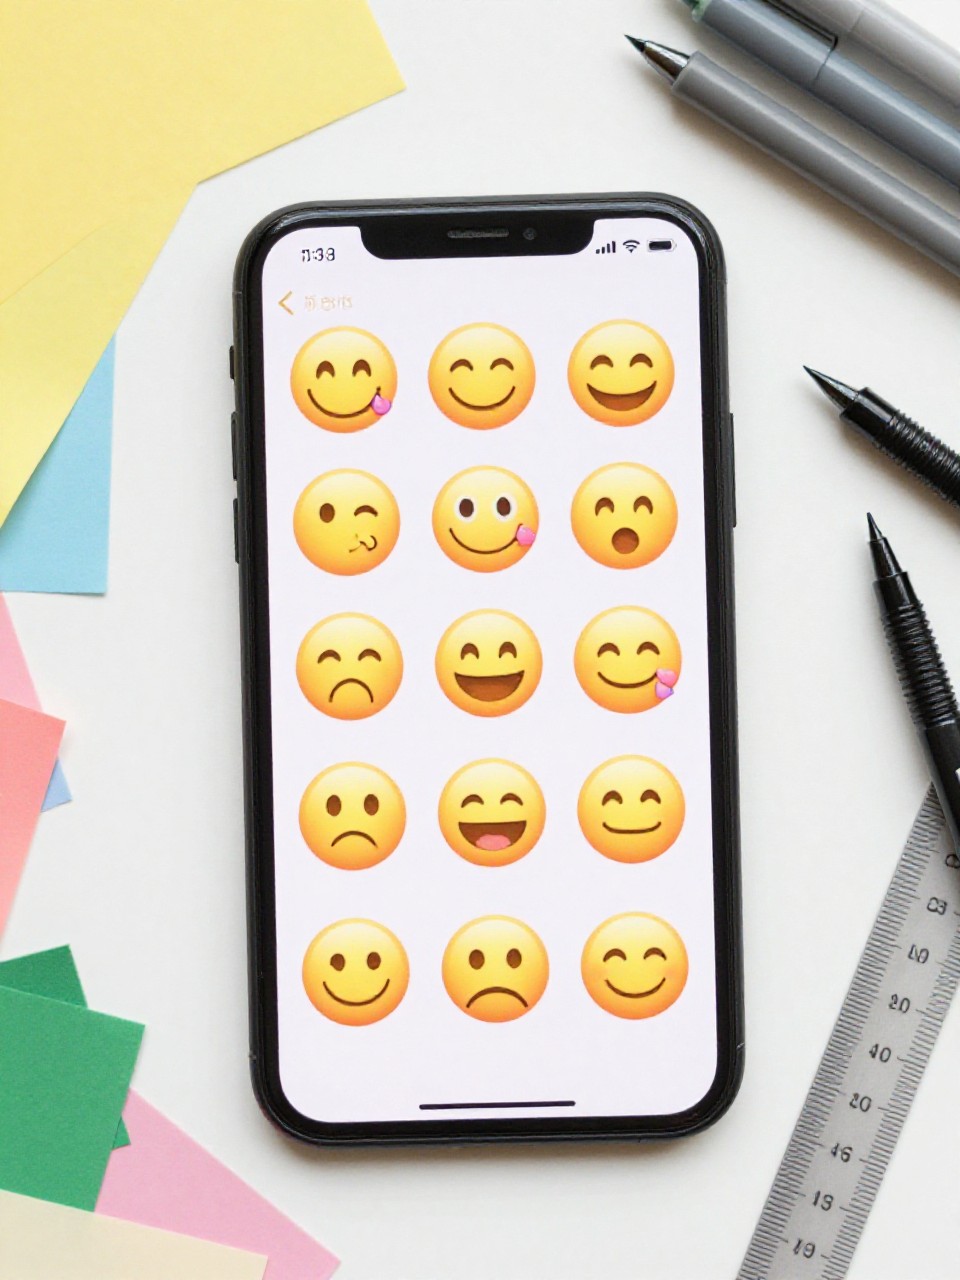
This smartphone has a large screen filled with bright emoji app icons made from paper squares and circles. Kids enjoy choosing favorite emojis and arranging “apps” in neat rows, which feels creative and tidy.
Materials Needed:
- Cardstock (gray or black for phone body)
- Assorted colored paper
- Glue stick
- Markers
- Ruler
How to make it:
- Cut a smartphone-shaped rectangle from cardstock with rounded corners.
- Cut small squares for app tiles; glue them in a grid on the “screen” area.
- Draw or glue small emoji faces on each tile using markers and tiny paper shapes.
- Add a home button and side buttons; let everything dry before display.
3. Pocket-Size Paper Dial Phone
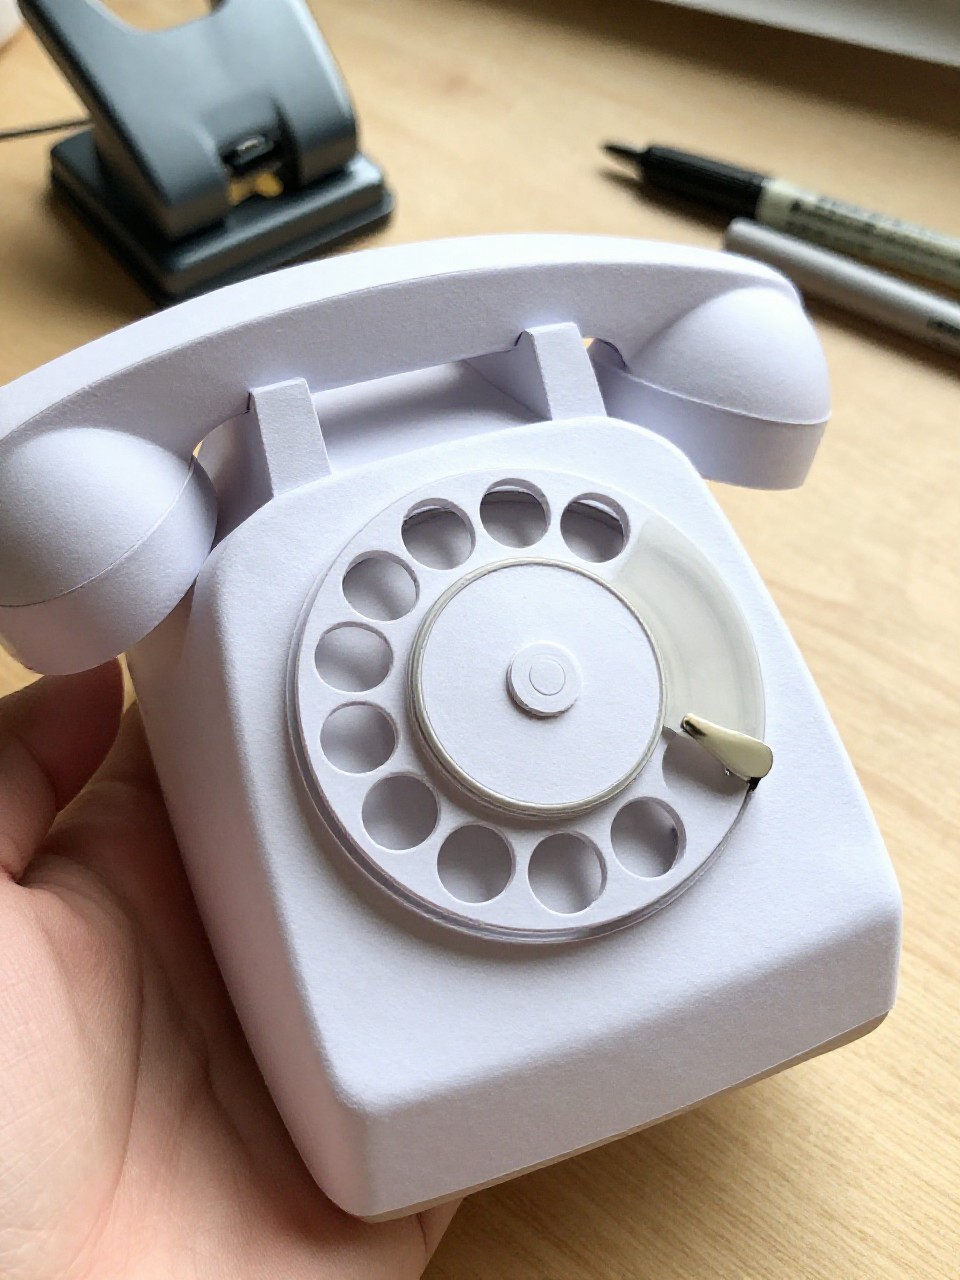
This mini phone features a pretend rotary dial made from a paper circle with finger holes. Kids love spinning the dial and learning about old-style phones while crafting.
Materials Needed:
- Cardstock (for phone base)
- White paper (for dial)
- Hole punch
- Glue stick
- Black marker
How to make it:
- Cut a small rectangle for the phone body and a smaller rectangle for the screen area.
- Punch holes around a paper circle to create the rotary dial look.
- Glue the dial near the bottom and draw numbers 1–9 around the holes.
- Add a little paper “handset” shape on top; let dry and practice dialing.
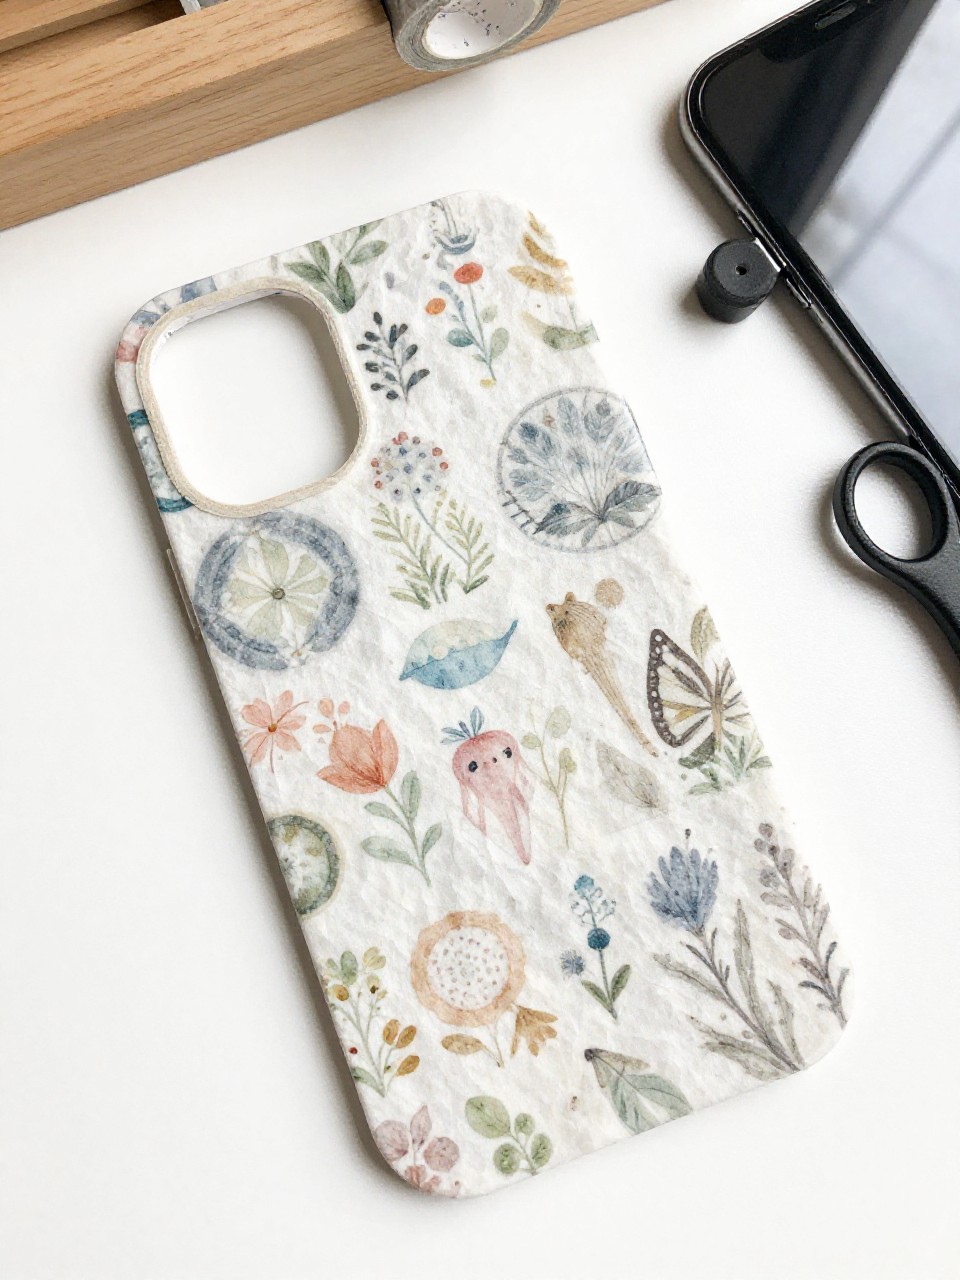
4. Handprint Paper Phone Case Cover
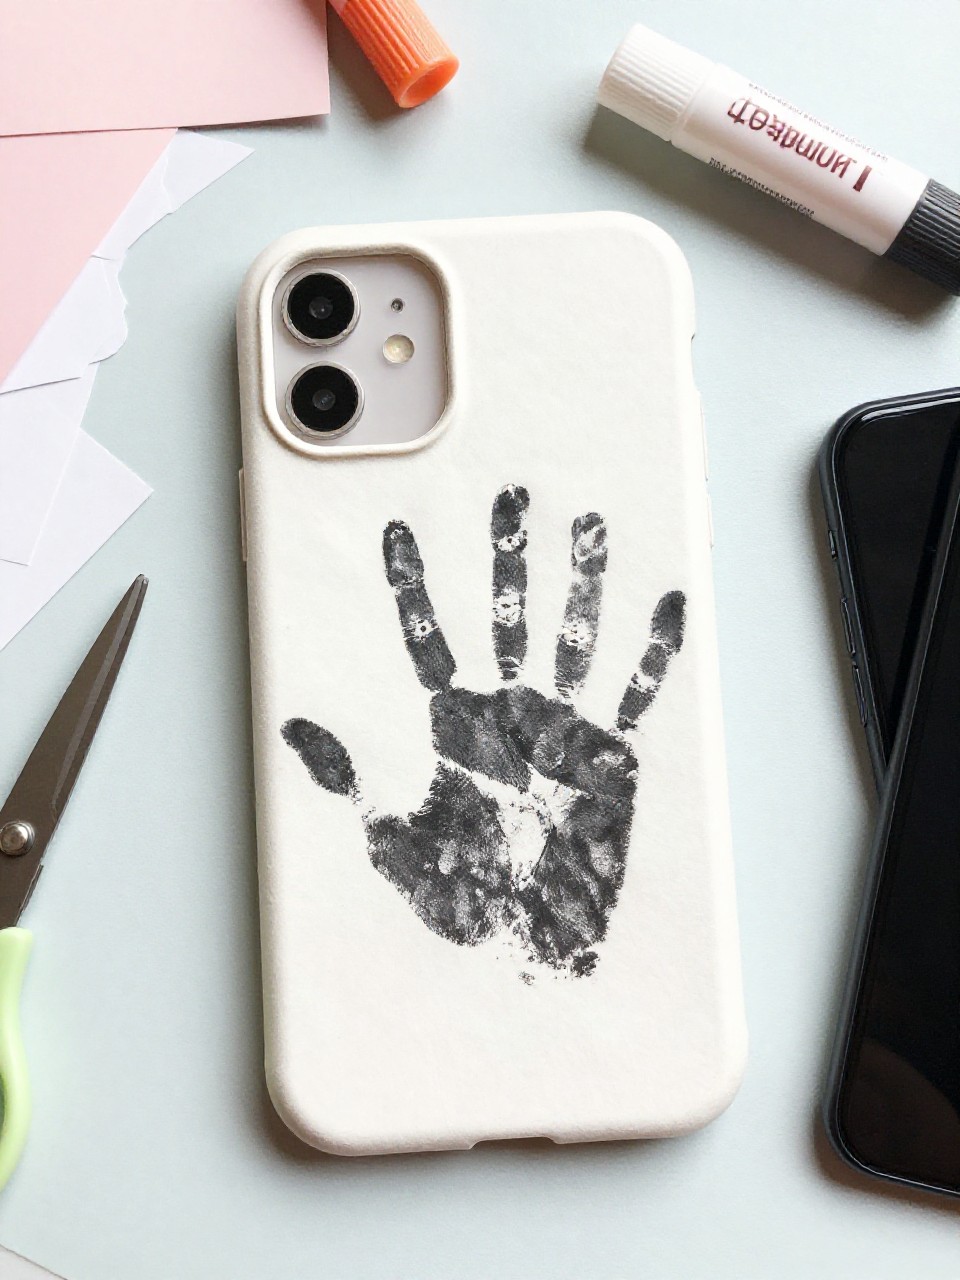
This craft looks like a playful phone case silhouette shaped by a child’s handprint layered over a phone outline. Kids enjoy tracing their hands and personalizing them with patterns or names.
Materials Needed:
- Cardstock (phone outline)
- Bright construction paper (for handprint)
- Pencil
- Scissors
- Glue stick
How to make it:
- Cut a phone-shaped rectangle from cardstock.
- Trace a hand on bright paper and cut it out to fit the phone back.
- Glue the handprint on the phone and add initials, stripes, or dots.
- Draw a camera bump and lens; display on a bulletin board.
5. Pop-Up Paper Text Message Phone

This phone opens like a card and pops up a tiny chat bubble inside. Kids love the surprise element and writing silly or kind messages to friends or family.
Materials Needed:
- Cardstock (for folding phone)
- Colored paper (for chat bubbles)
- Glue stick
- Markers
- Ruler
How to make it:
- Fold cardstock in half to form a phone card; round the corners.
- Cut a small strip, fold it into a boxy “V,” and glue inside as the pop-up stand.
- Attach a chat bubble to the stand and write a message on it.
- Decorate the screen, add app bars, and let dry before opening and closing.
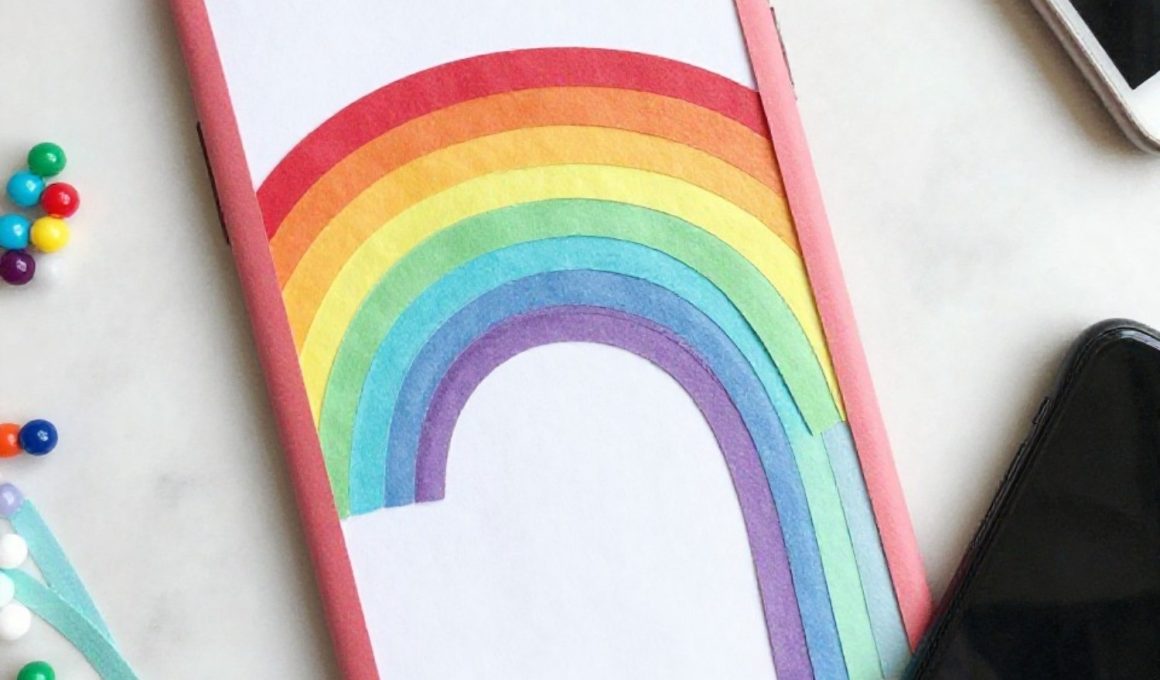
6. Rainbow Paper Phone with Beaded Charm
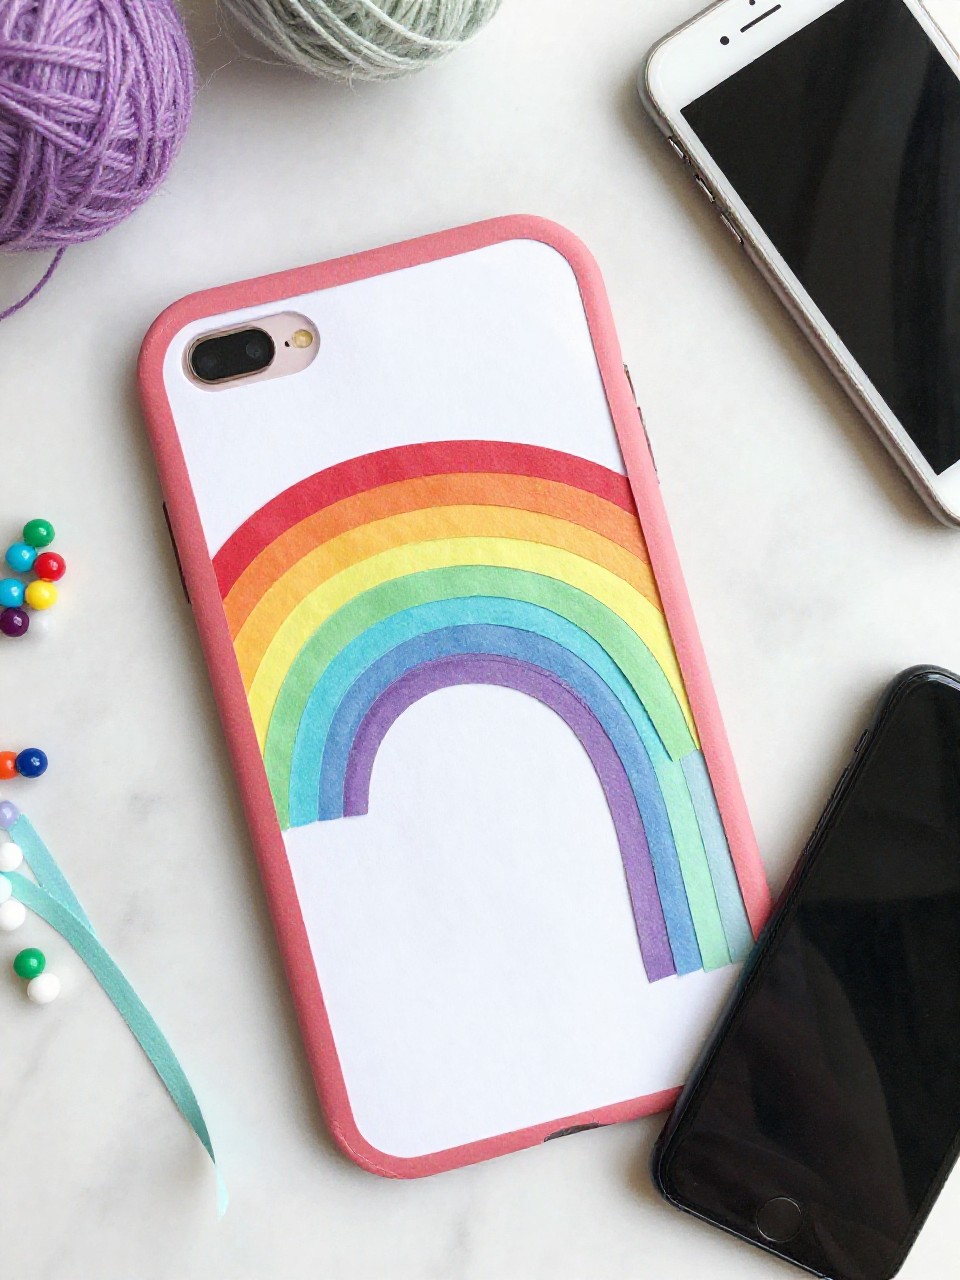
This craft is a colorful smartphone with a paper rainbow screen and a hanging “phone charm” made from yarn and a few beads. Kids enjoy picking colors and threading a simple charm for extra flair.
Materials Needed:
- Cardstock (phone base)
- Colored paper strips
- Glue stick
- Yarn
- Pony beads
How to make it:
- Cut a smartphone body from cardstock and a rectangle for the screen.
- Glue colored paper strips across the screen to make a rainbow.
- Punch a tiny hole at the top corner; thread yarn and add a few beads as a charm.
- Tie a knot, trim yarn, and add simple button details with marker.
7. Paper Wallet Phone with Pull-Out Apps
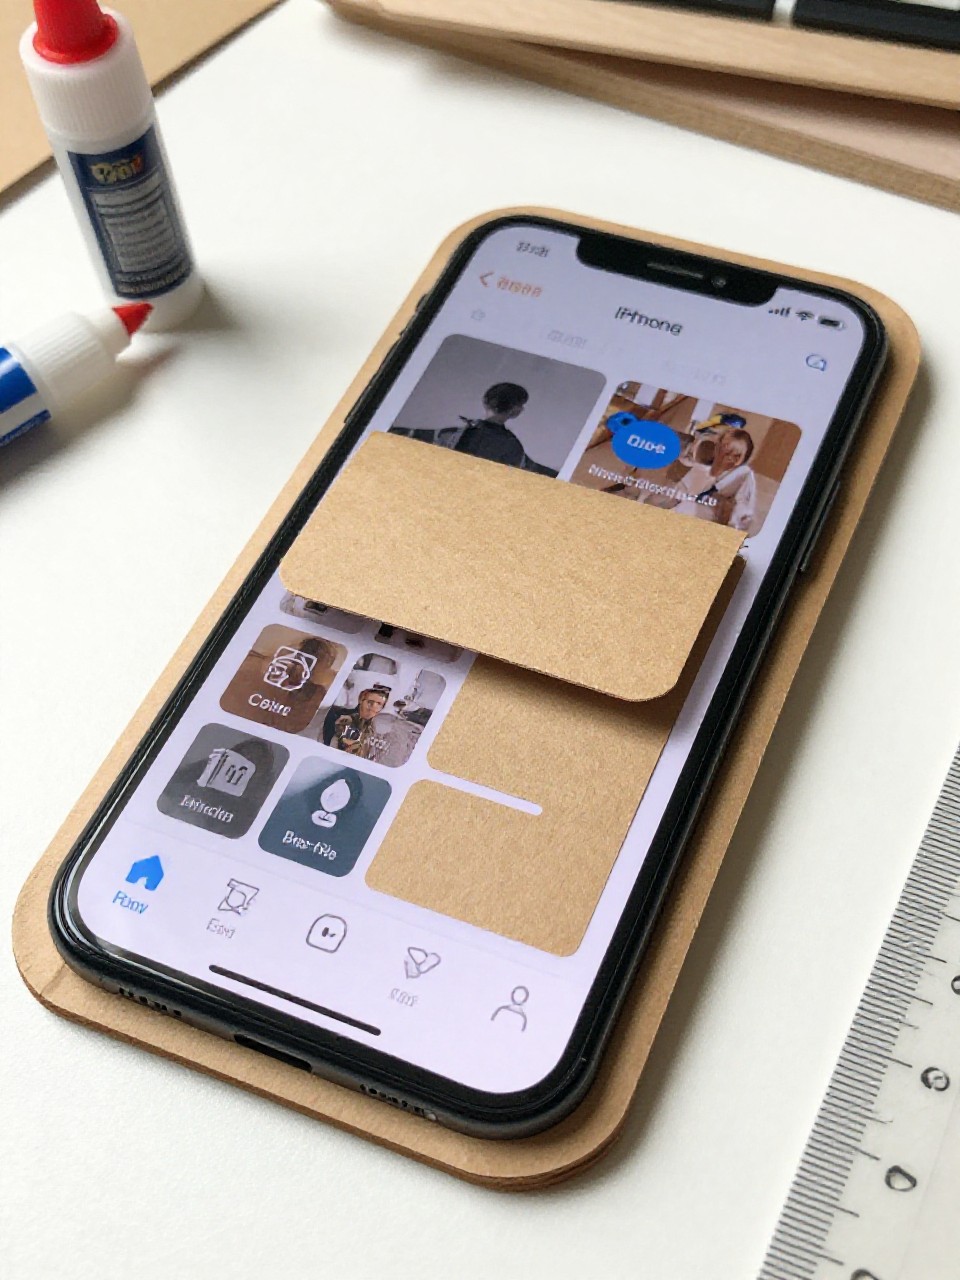
This project makes a slim phone “wallet” with a pocket that holds small pull-out app cards. Kids enjoy sliding the cards in and out and swapping their favorite apps.
Materials Needed:
- Cardstock (for phone and pocket)
- Colored paper (for app cards)
- Glue stick
- Marker
- Ruler
How to make it:
- Cut a phone shape and a slightly smaller rectangle; glue three edges to form a pocket.
- Cut small app cards to fit the pocket.
- Draw app icons or labels on each card and decorate the screen area.
- Let dry, then slide the app cards into the pocket for play.
8. Textured Collage Paper Phone Screen
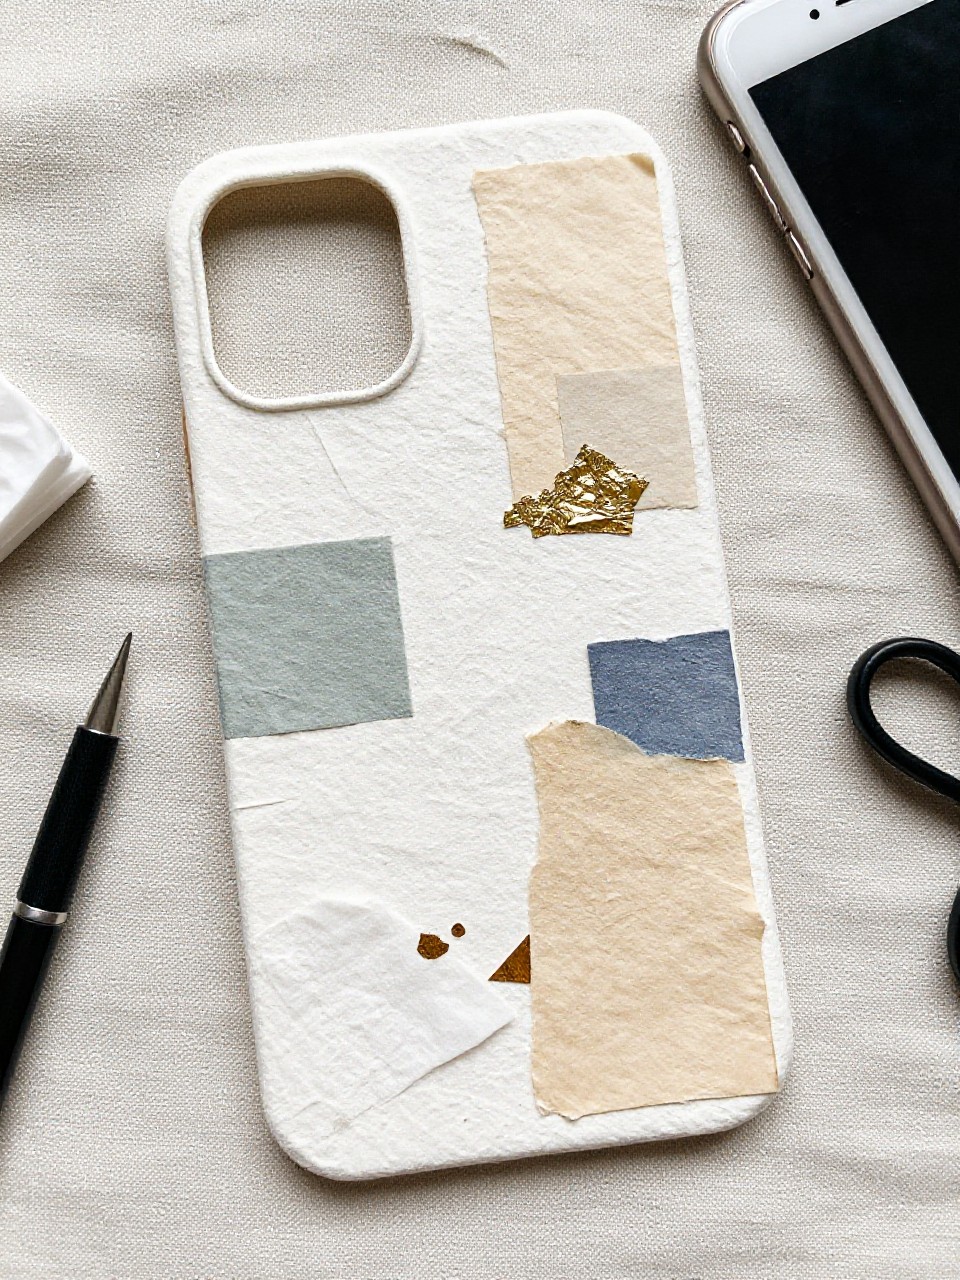
This phone features a screen made from layered textured papers like tissue, foil, and scrap patterns. Kids love the sensory feel and the mix-and-match look of a custom home screen.
Materials Needed:
- Cardstock (phone base)
- Tissue paper, foil, patterned scraps
- Glue stick
- Safety scissors
- Black marker
How to make it:
- Cut a phone body and a screen rectangle from cardstock.
- Tear or cut small textured pieces and glue them in a patchwork on the screen.
- Add a simple status bar, time, and battery icon with marker.
- Let dry flat and display the shiny, textured screen.
9. Paper Phone with Sliding Camera Lens
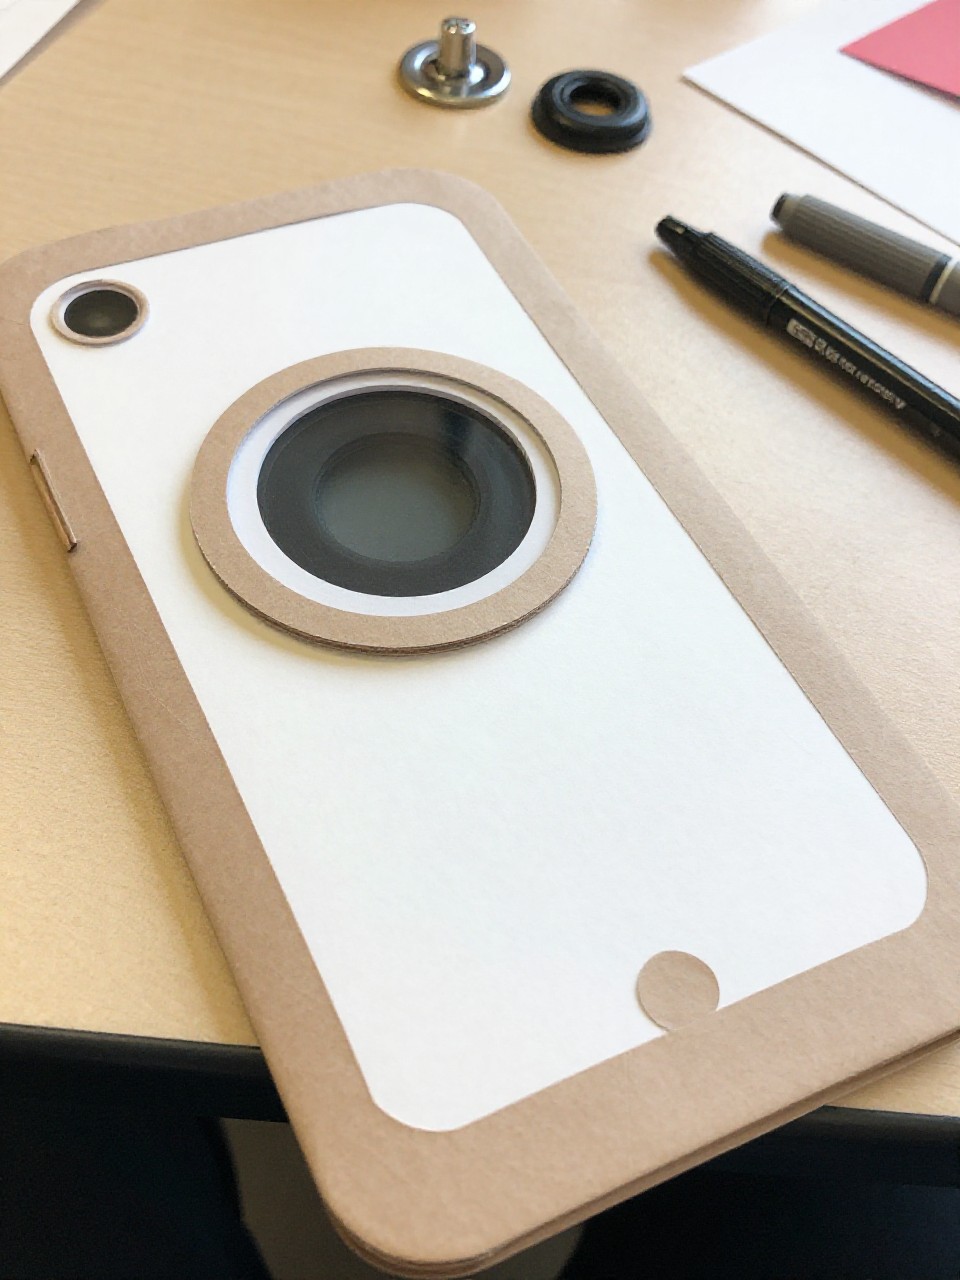
This phone has a little paper tab that slides to reveal a “camera lens” circle on the back. Kids enjoy the interactive motion and pretending to take photos.
Materials Needed:
- Cardstock (phone base)
- Small brad or paper fastener
- Circle punch or scissors
- Glue stick
- Marker
How to make it:
- Cut a phone shape from cardstock and a small rectangle tab.
- Punch or cut a circle for the camera and attach the tab with a brad so it slides.
- Draw a camera bump and details; align the tab to reveal or cover the lens.
- Test the slide, then decorate the front screen and let dry.
10. Sticker Keyboard Paper Phone
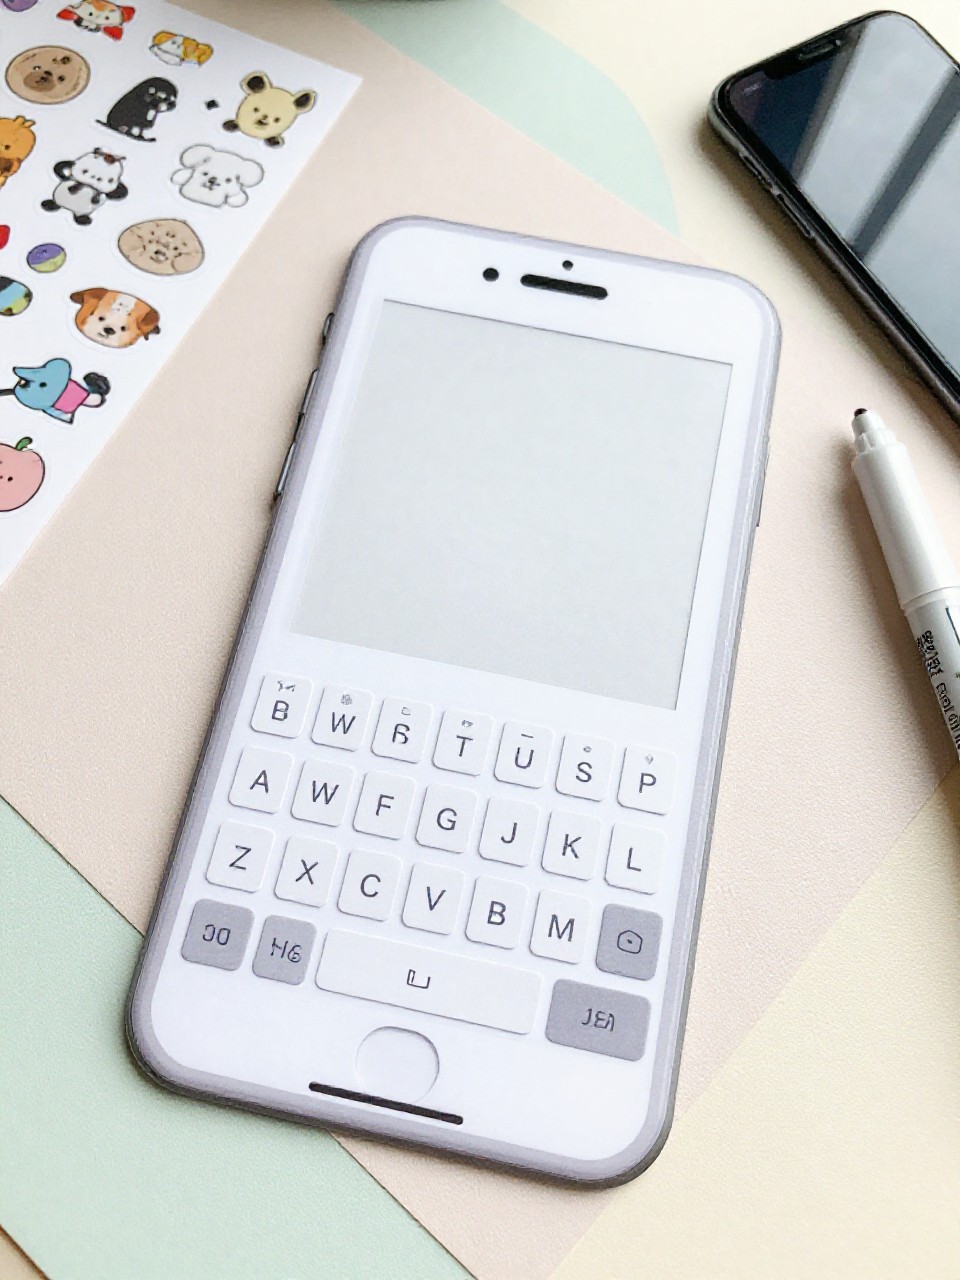
This phone has a big sticker “keyboard” on the lower half and a message screen on top. Kids enjoy placing letter or shape stickers to build a tactile keyboard they can pretend to type on.
Materials Needed:
- Cardstock (phone base)
- Alphabet or shape stickers
- Glue stick
- Ruler
- Marker
How to make it:
- Cut a rounded rectangle phone and draw a dividing line for screen and keyboard.
- Stick rows of letters or shapes to make the keys.
- Add tiny symbols like space, return, and emojis with marker.
- Decorate the screen with a text bubble; let dry before play.
11. Comic-Style Paper Phone Call Scene
This craft looks like a bold comic panel with a phone in the center and speech bubbles saying “Ring!” and “Hello!” Kids enjoy dramatic colors and writing silly lines in the bubbles.
Materials Needed:
- White cardstock (panel base)
- Colored paper (bursts and bubbles)
- Glue stick
- Black marker
- Crayons or markers
How to make it:
- Cut a large rectangle for the panel and a phone shape for the center.
- Add zigzag “burst” shapes and glue the phone on top.
- Cut speech bubbles and write short call phrases with a marker.
- Color background panels and outline shapes for a comic look.
12. Paper Phone Stand with Folded Kickstand
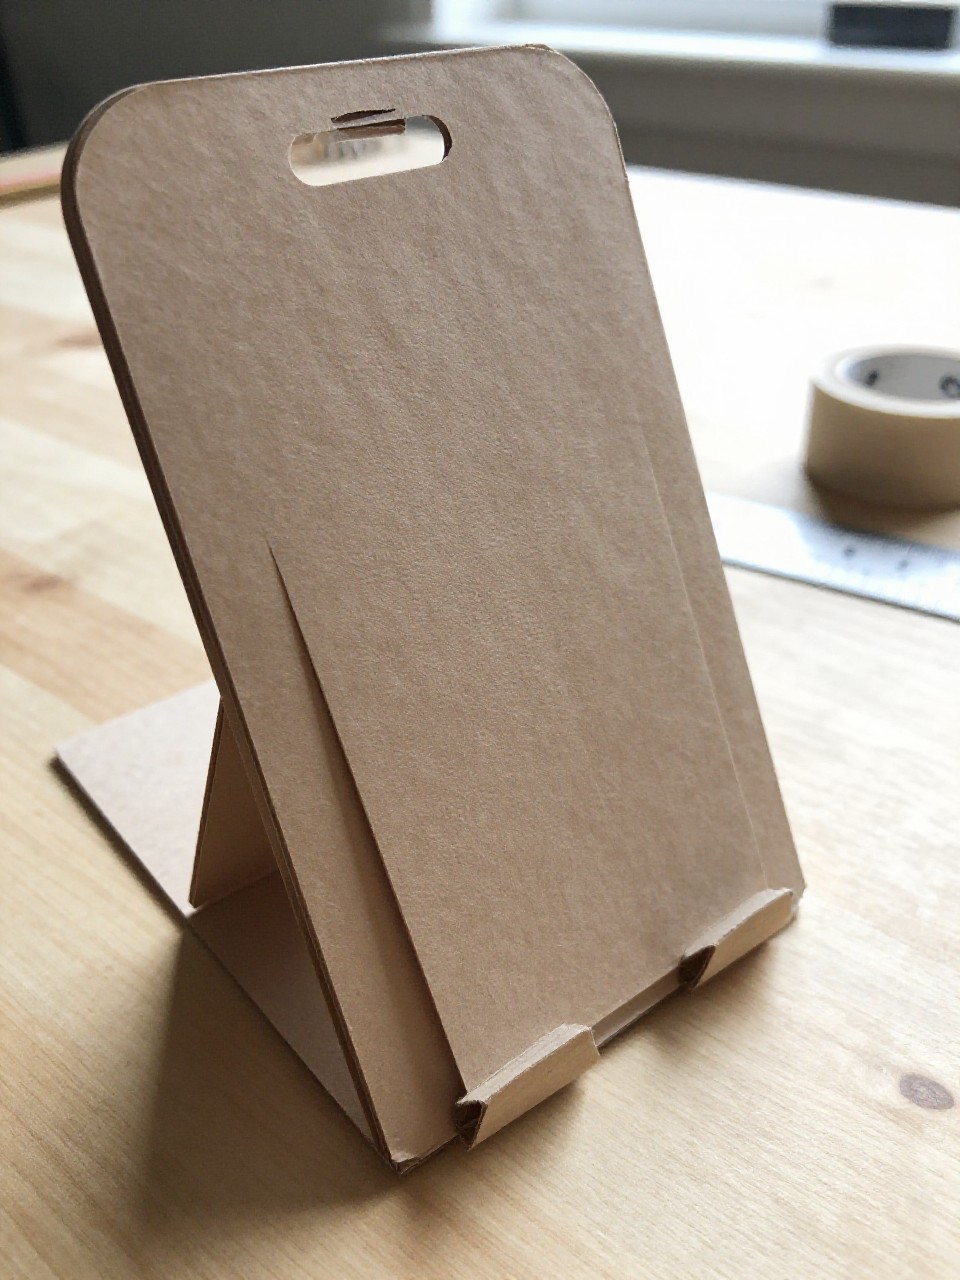
This is a simple paper phone plus a folded stand that props it up like a tiny display. Kids like setting it on a desk and pretending to watch videos or do video calls.
Materials Needed:
- Cardstock (phone and stand)
- Ruler
- Glue stick or tape
- Markers
- Scissors
How to make it:
- Cut a phone body and decorate the screen with simple icons.
- Cut a strip of cardstock; fold into a triangle kickstand shape.
- Glue or tape the stand to the back lower half of the phone.
- Test the angle and add side buttons; let dry before standing it up.
13. Washi Tape Pattern Paper Phone
This phone is dressed in colorful washi tape stripes and dots across the back and edges. Kids enjoy choosing patterns and learning to line up neat borders.
Materials Needed:
- Cardstock (phone shape)
- Washi tape (various patterns)
- Scissors
- Marker
- Glue stick (optional)
How to make it:
- Cut a rounded phone and draw a small camera area.
- Apply washi tape in stripes, checks, or diagonals across the back.
- Trim edges with scissors and outline details with a marker.
- Add a simple screen on the front and press tape firmly to finish.
14. Accordion-Book Paper Phone Gallery
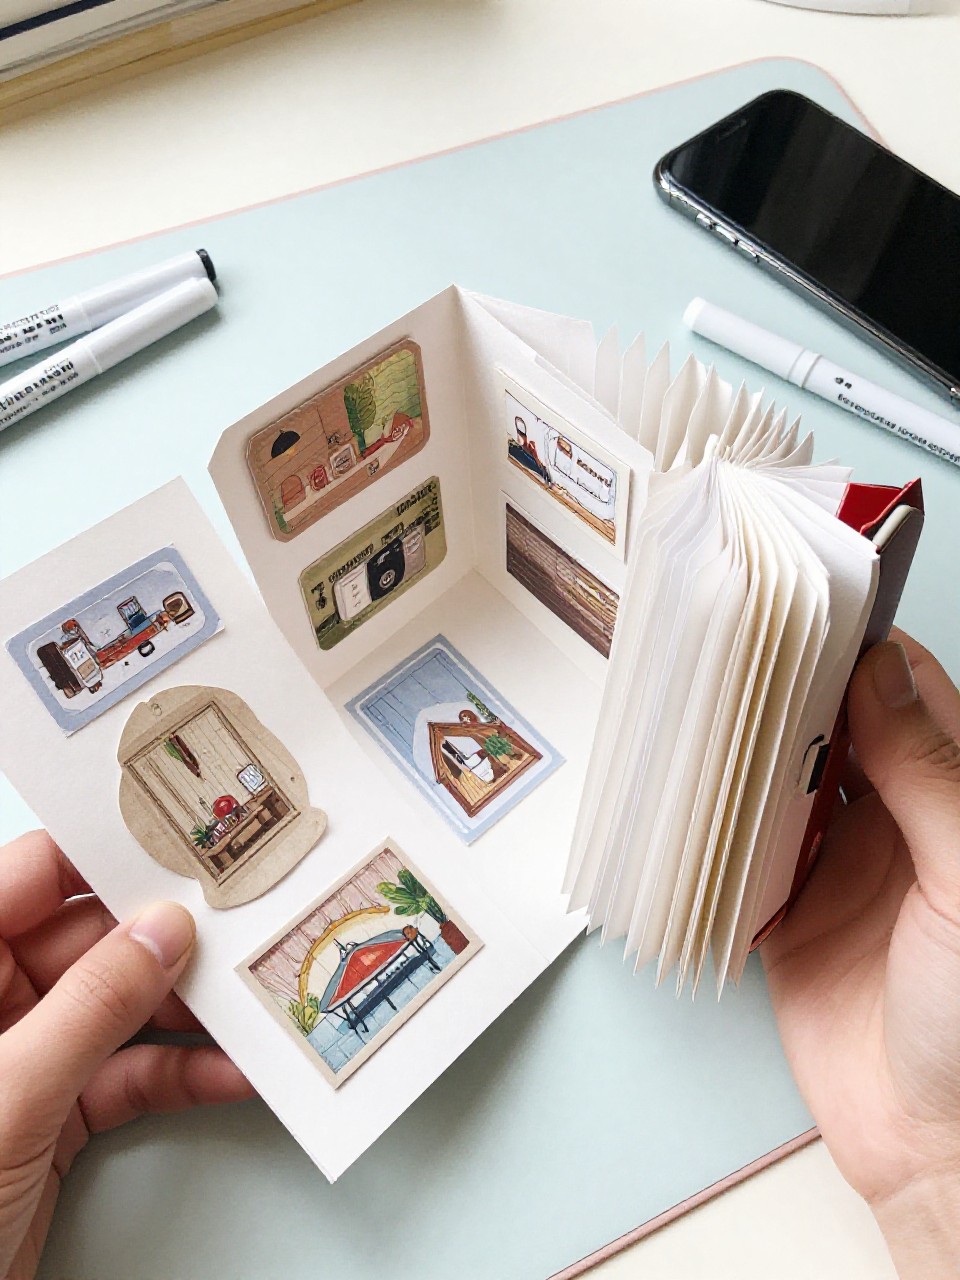
This craft looks like a phone that unfolds into a tiny accordion book showing “photos” made from paper squares. Kids enjoy drawing mini snapshots and flipping through their gallery.
Materials Needed:
- Cardstock (phone covers)
- Long paper strip (accordion pages)
- Glue stick
- Markers or crayons
- Ruler
How to make it:
- Cut two identical phone shapes for the front and back covers.
- Fold a long strip into an accordion and glue one end to each cover.
- Draw mini “photos” or glue tiny cutouts on each panel.
- Add a screen frame and camera icon; fold it up to store.
15. Foil Screen Shiny Paper Smartphone
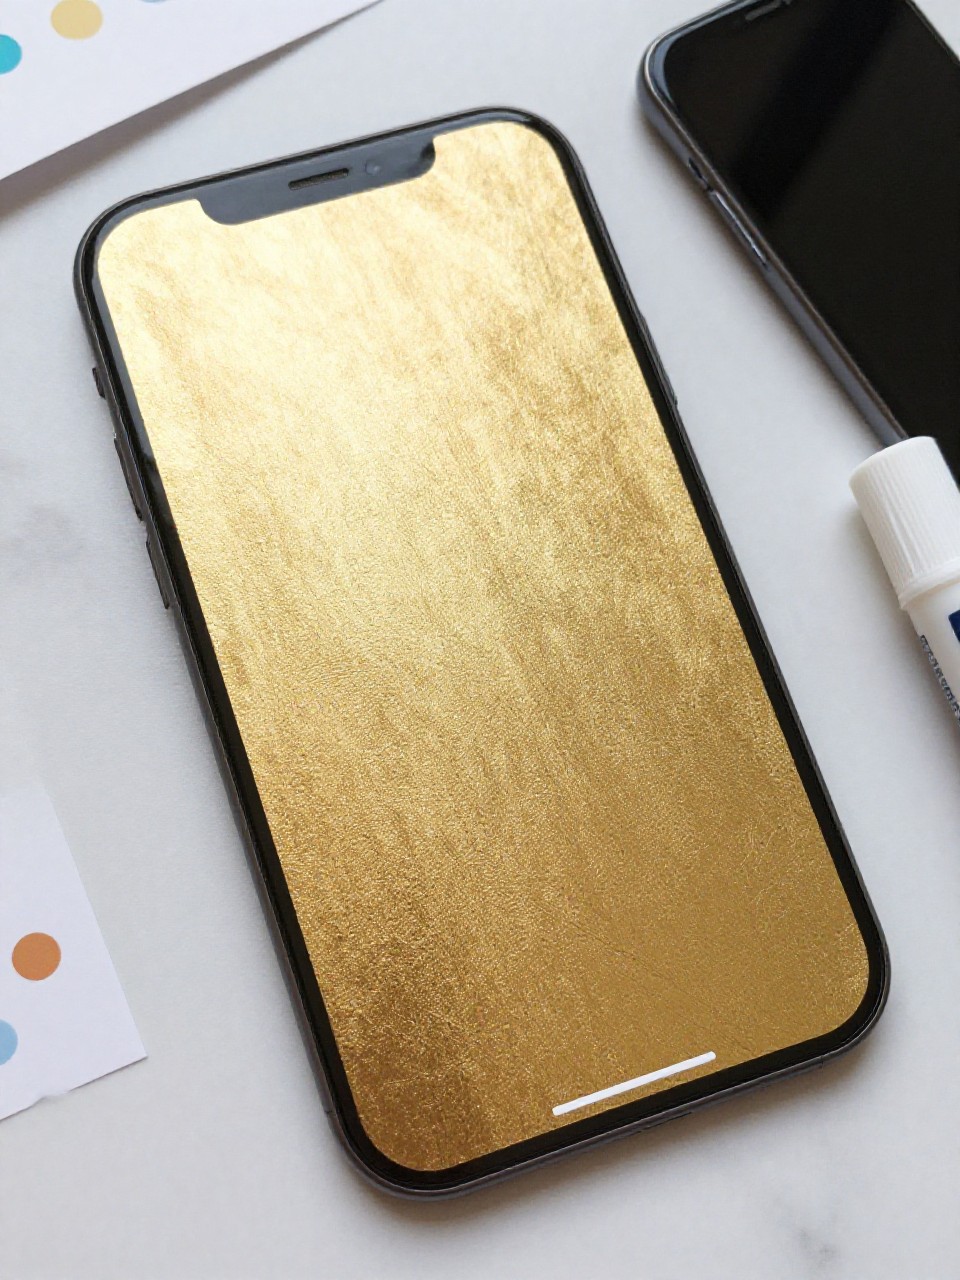
This sleek craft features a shiny foil screen that reflects light like a real display. Kids love the metallic look and adding tiny app dots that pop against the foil.
Materials Needed:
- Black or dark cardstock (phone base)
- Aluminum foil or silver craft foil
- Glue stick
- Colored paper scraps (for app dots)
- Marker
How to make it:
- Cut a phone body from dark cardstock with rounded corners.
- Cut a foil rectangle and glue it as the screen, smoothing gently.
- Punch or cut small colored dots and glue as app icons along the bottom.
- Draw side buttons and a camera; let glue set before handling.