


In This Article Show
With over a decade of tending to my own garden beds, I’ve witnessed firsthand the transformative power they can have—not just in how they make gardening easier and more productive, but in how they can beautify any space.
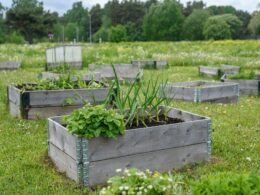
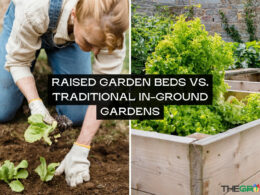
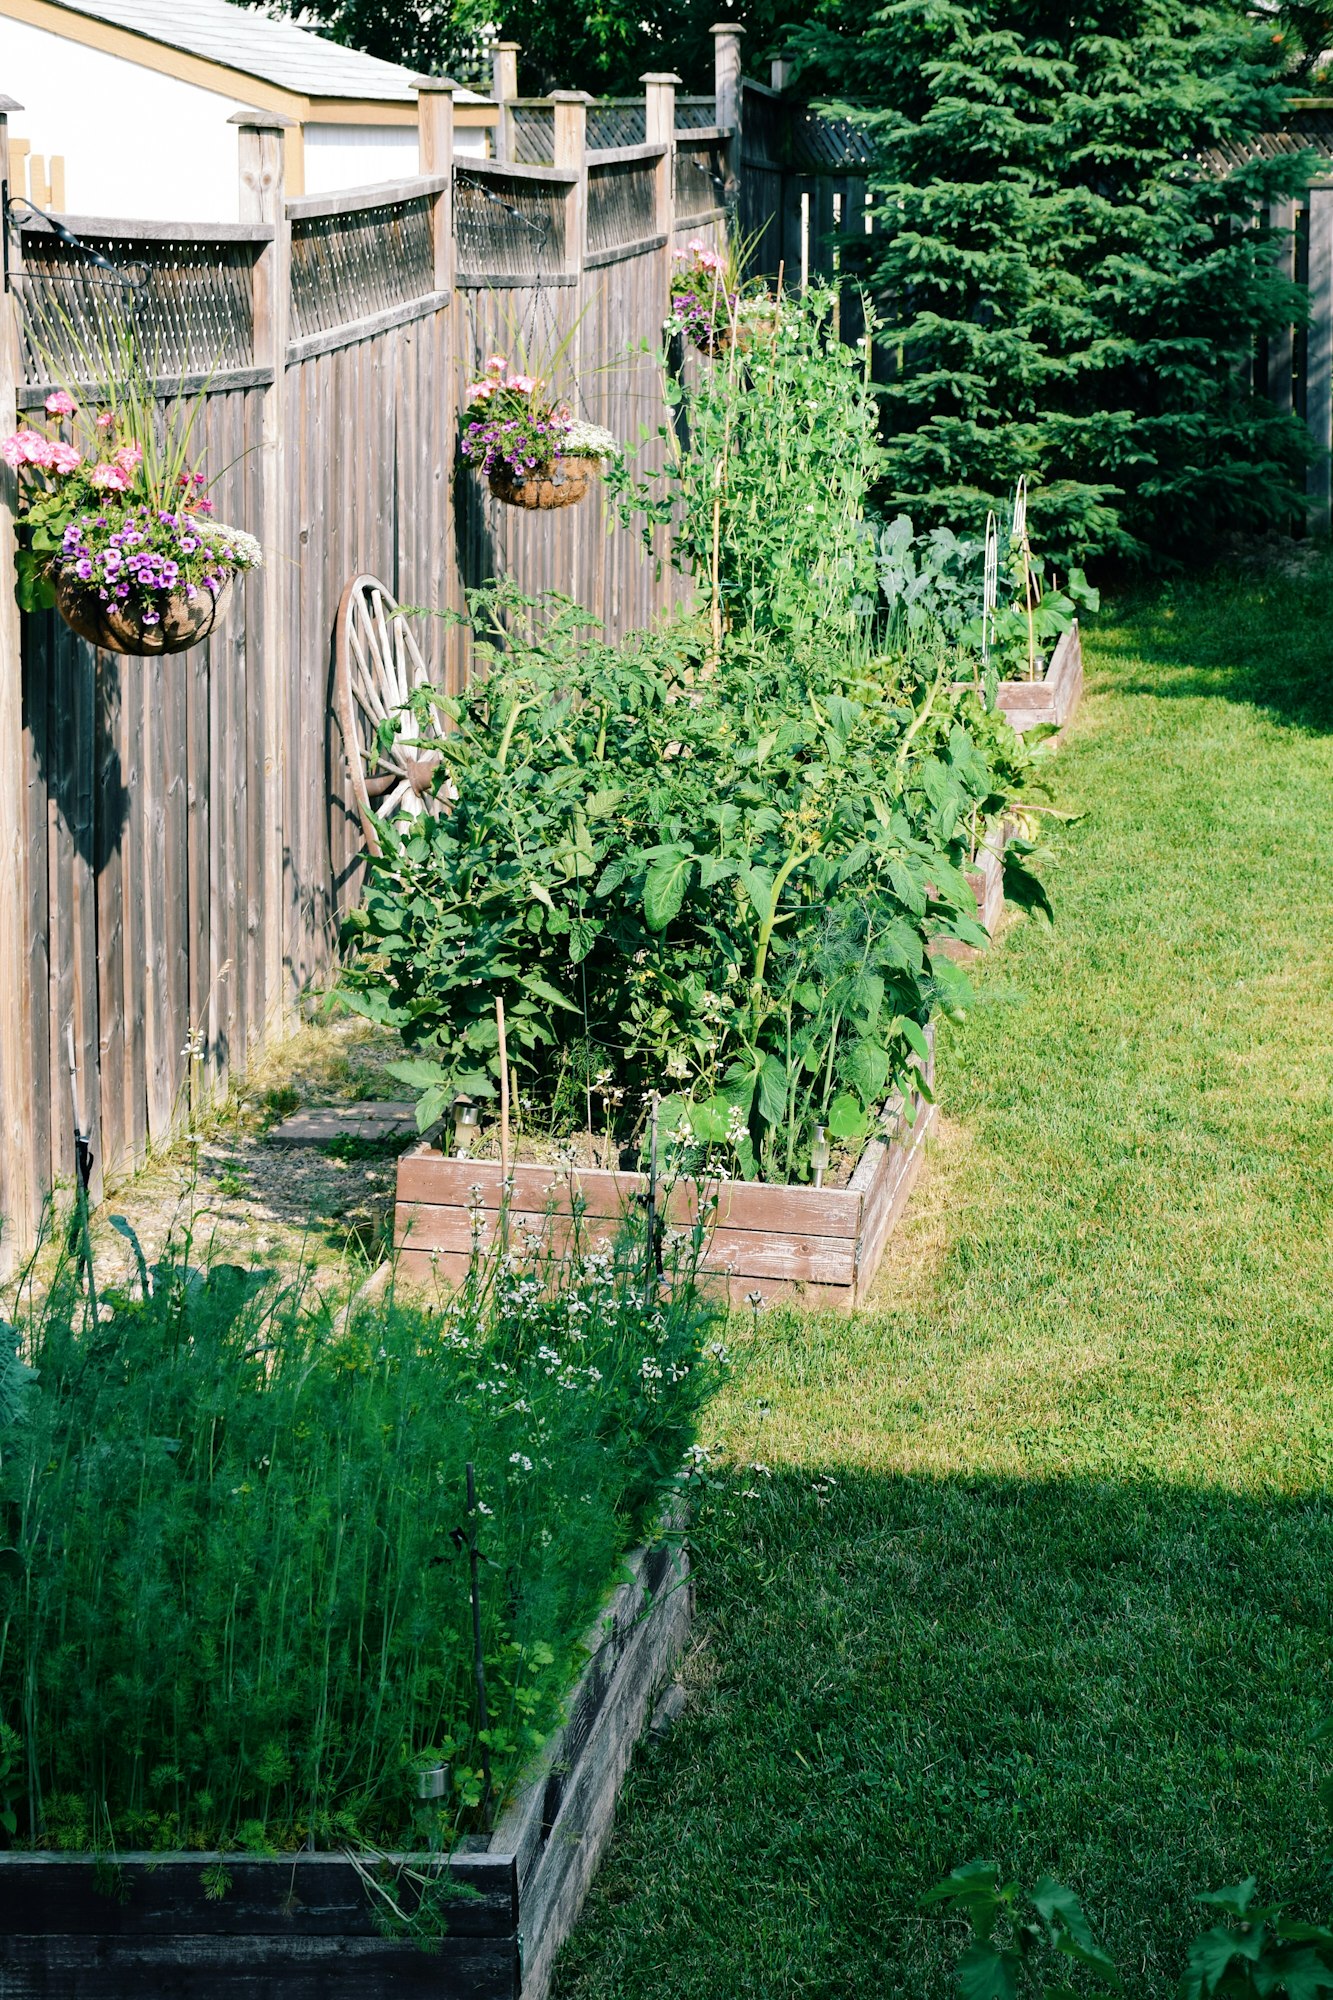
Raised garden beds offer a plethora of benefits. They can help overcome challenging soil conditions, from hard, compacted clay to sandy soil, by giving you the power to use your own blend of soil. They also improve drainage, which is crucial for healthy plant roots.
But, to really harness the potential of raised beds, employing the right planting techniques is key. These strategies don’t just optimize the use of space; they enhance plant health and maximize yields. Whether you’re looking to grow lush vegetables, fragrant herbs, or stunning flowers, the right techniques can make a significant difference.
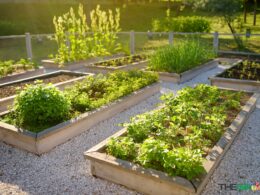
1. Square Foot Gardening

Square foot gardening is a highly efficient planting method that maximizes production in small spaces, making it perfect for raised garden beds. Originally developed by Mel Bartholomew in the 1980s, this technique simplifies the management of garden space by dividing the growing area into small square sections.
This approach is ideal for raised beds because it organizes space efficiently and makes it easier to manage different crops near.
In square foot gardening, the garden bed is divided into one-foot square grids. Each square serves as a distinct plot for a different crop, allowing for a diverse and dense planting arrangement. This method is particularly effective in raised beds where soil quality can be controlled and optimized, ensuring each plant gets exactly what it needs without waste.
Step-by-Step Guide to Setting Up Your Square Foot Garden
- Create the Grid: Start by marking out one-foot intervals along all sides of your raised bed. Using string or thin strips of wood, create a grid by laying them across the bed to form square foot sections.
- Soil Preparation: Fill each section with a rich, well-draining soil mix. Ensure it is loose and fertile, as compact soil can hinder plant growth.
- Planting Seeds and Seedlings: In each square foot, plant seeds or seedlings according to the space requirements of the specific crop.
Tips for Effective Planting in Square Foot Gardening
1. Plant Spacing
Be precise about spacing; overcrowding can lead to poor air circulation and light penetration, which can retard growth and promote disease. Use the general rule of thumb: one large plant (e.g., broccoli), four medium plants (e.g., lettuce), nine small plants (e.g., spinach), or sixteen very small plants (e.g., radishes) per square foot.
2. Companion Planting
Take advantage of companion planting within your squares to boost plant health and productivity. For example, planting basil near tomatoes can help repel pests while enhancing flavor. Similarly, planting onions around carrots can deter carrot flies.
3. Rotation and Succession
Rotate crops in each square to prevent soil depletion and reduce pest buildup. Also, consider succession planting by replacing spent crops with new plants to keep your garden productive throughout the growing season.
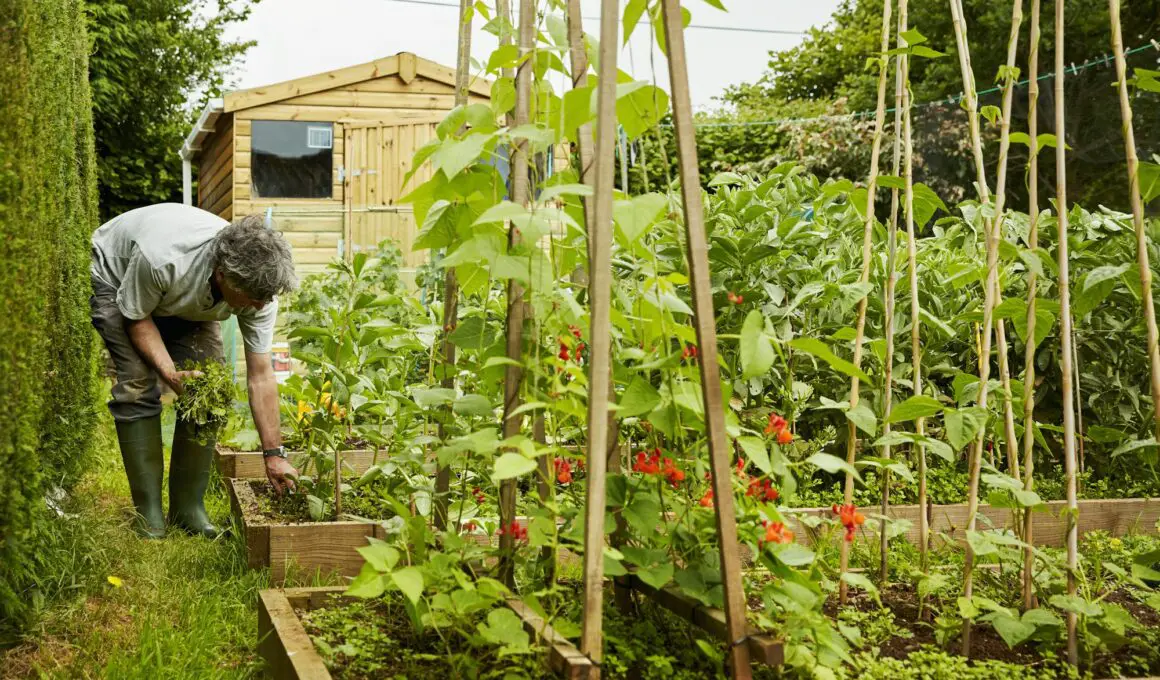
2. Vertical Gardening
Vertical gardening is a superb technique for maximizing the growing area in your raised garden beds, especially when horizontal space is limited. By growing upwards, you can enhance air circulation and sunlight exposure for your plants, potentially leading to better yields and healthier crops.
Vertical gardening allows you to expand your gardening space upwards rather than outwards, which is particularly useful in small garden plots or urban environments where ground space is at a premium. This method not only saves space but also adds an attractive visual element to your garden, can reduce pest issues, and makes harvesting easier.
Types of Structures for Vertical Planting in Raised Beds
1. Trellises
Trellises are among the most common supports used in vertical gardening. They are ideal for climbing plants and can be made from various materials such as wood, metal, or plastic. Position them at the north end of your bed to avoid shading other plants.
2. Cages
Tomato cages or similar structures are perfect for supporting plants that tend to sprawl, like tomatoes and peppers. These help maintain plant structure and promote vertical growth, keeping fruits off the ground and reducing disease risk.
3. Poles and Stakes
Simple poles or stakes can be effective for beans, peas, and cucumbers. These can be set in the ground next to the plant, allowing vines to climb naturally. Ensure they are sturdy enough to handle the weight of mature plants.
Plants That Thrive Vertically
- Climbing Vegetables: Cucumbers, pole beans, and peas are excellent for vertical growth. They naturally climb and can be easily trained up trellises and poles.
- Vining Fruits: Small melons and squash can grow vertically with the support of strong netting or trellises to hold their weight as they mature.
- Flowering Climbers: Sweet peas and climbing roses not only bring beauty to your garden but also thrive when allowed to grow upwards, adding fragrance and color.
Care Tips for Vertically Grown Plants
- Watering: Plants growing vertically may dry out more quickly. Ensure consistent watering, especially in hot weather, to keep your plants thriving.
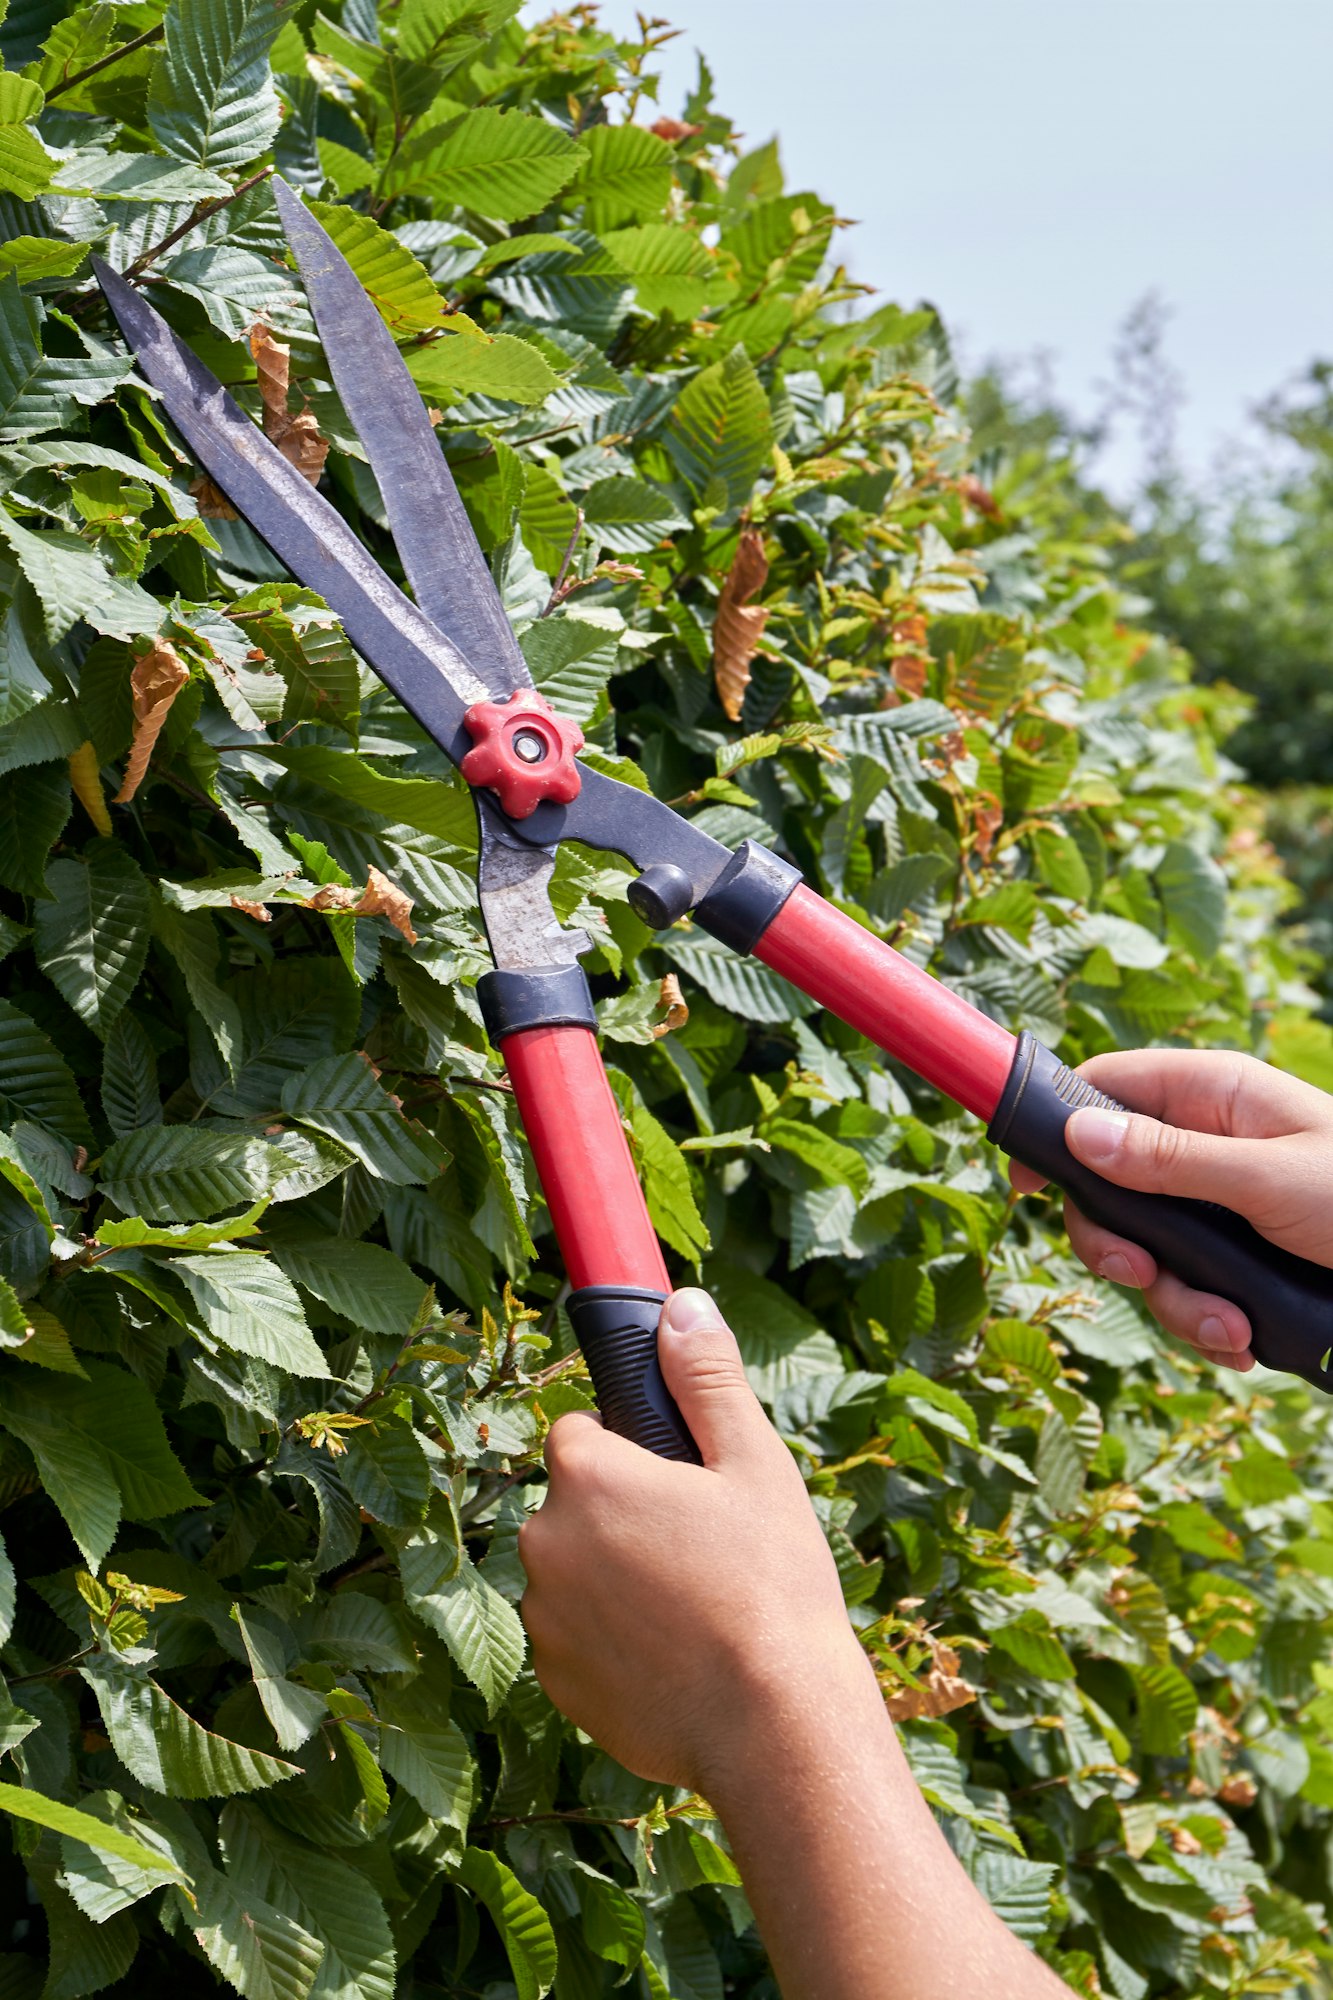
- Pruning: Regular pruning helps manage growth and improves air circulation. This is crucial for preventing disease and encouraging healthy, productive plants.
- Support: Regularly check and adjust supports as plants grow and become heavier to avoid structural damage.
3. Succession Planting
Succession planting is a strategic approach to garden planting that ensures a continuous harvest of vegetables and herbs throughout the growing season. Instead of planting all your seeds at once, you stagger the planting dates or plant different crops sequentially in the same space.
This method keeps your raised garden beds productive from spring through fall, maximizing your yield and extending the enjoyment of your gardening efforts.
The principle behind succession planting is simple: as one crop finishes, another takes its place. This not only optimizes space in your garden but also helps maintain soil health by varying plant demands on soil nutrients.
Benefits of Succession Planting
- Extended Harvest: Enjoy fresh produce over a longer period, rather than dealing with a single, overwhelming harvest.
- Efficient Use of Space: By replanting as soon as one crop is harvested, you get more out of every square foot of your garden.
- Reduced Pest and Disease Pressure: Rotating crops reduces the risks of pests and diseases that thrive on specific plants.
Planning Succession Planting in Raised Beds
1. Choose Suitable Crops
Select crops that have a range of growing durations and are suitable for your climate. Fast-growing crops like radishes, lettuce, and spinach are ideal for succession planting as they can be harvested just a few weeks after planting.
2. Create a Planting Schedule
Map out a timeline based on the maturity periods of different crops. Start with early-season vegetables like peas and lettuce, followed by mid-season crops such as beans and corn, and finish with late-season growers like pumpkins and winter squash.
3. Prepare for Overlapping Seasons
Consider plants that can withstand cooler temperatures as your summer crops finish up. For example, following tomatoes with kale or spinach can be effective as these greens can thrive in cooler autumn temperatures.
Timing and Rotation Tips for Common Vegetables and Herbs
Fast Maturing Vegetables
- Lettuce: Plant a new batch every two weeks.
- Radishes: Sow seeds every week for a constant supply.
- Spinach: Similar to lettuce, replant every two weeks for continual harvest.
Medium Duration Crops
- Carrots and Beets: Plant every three to four weeks.
- Bush Beans: Start a new round once the first harvest begins to wane.
Longer Season Crops
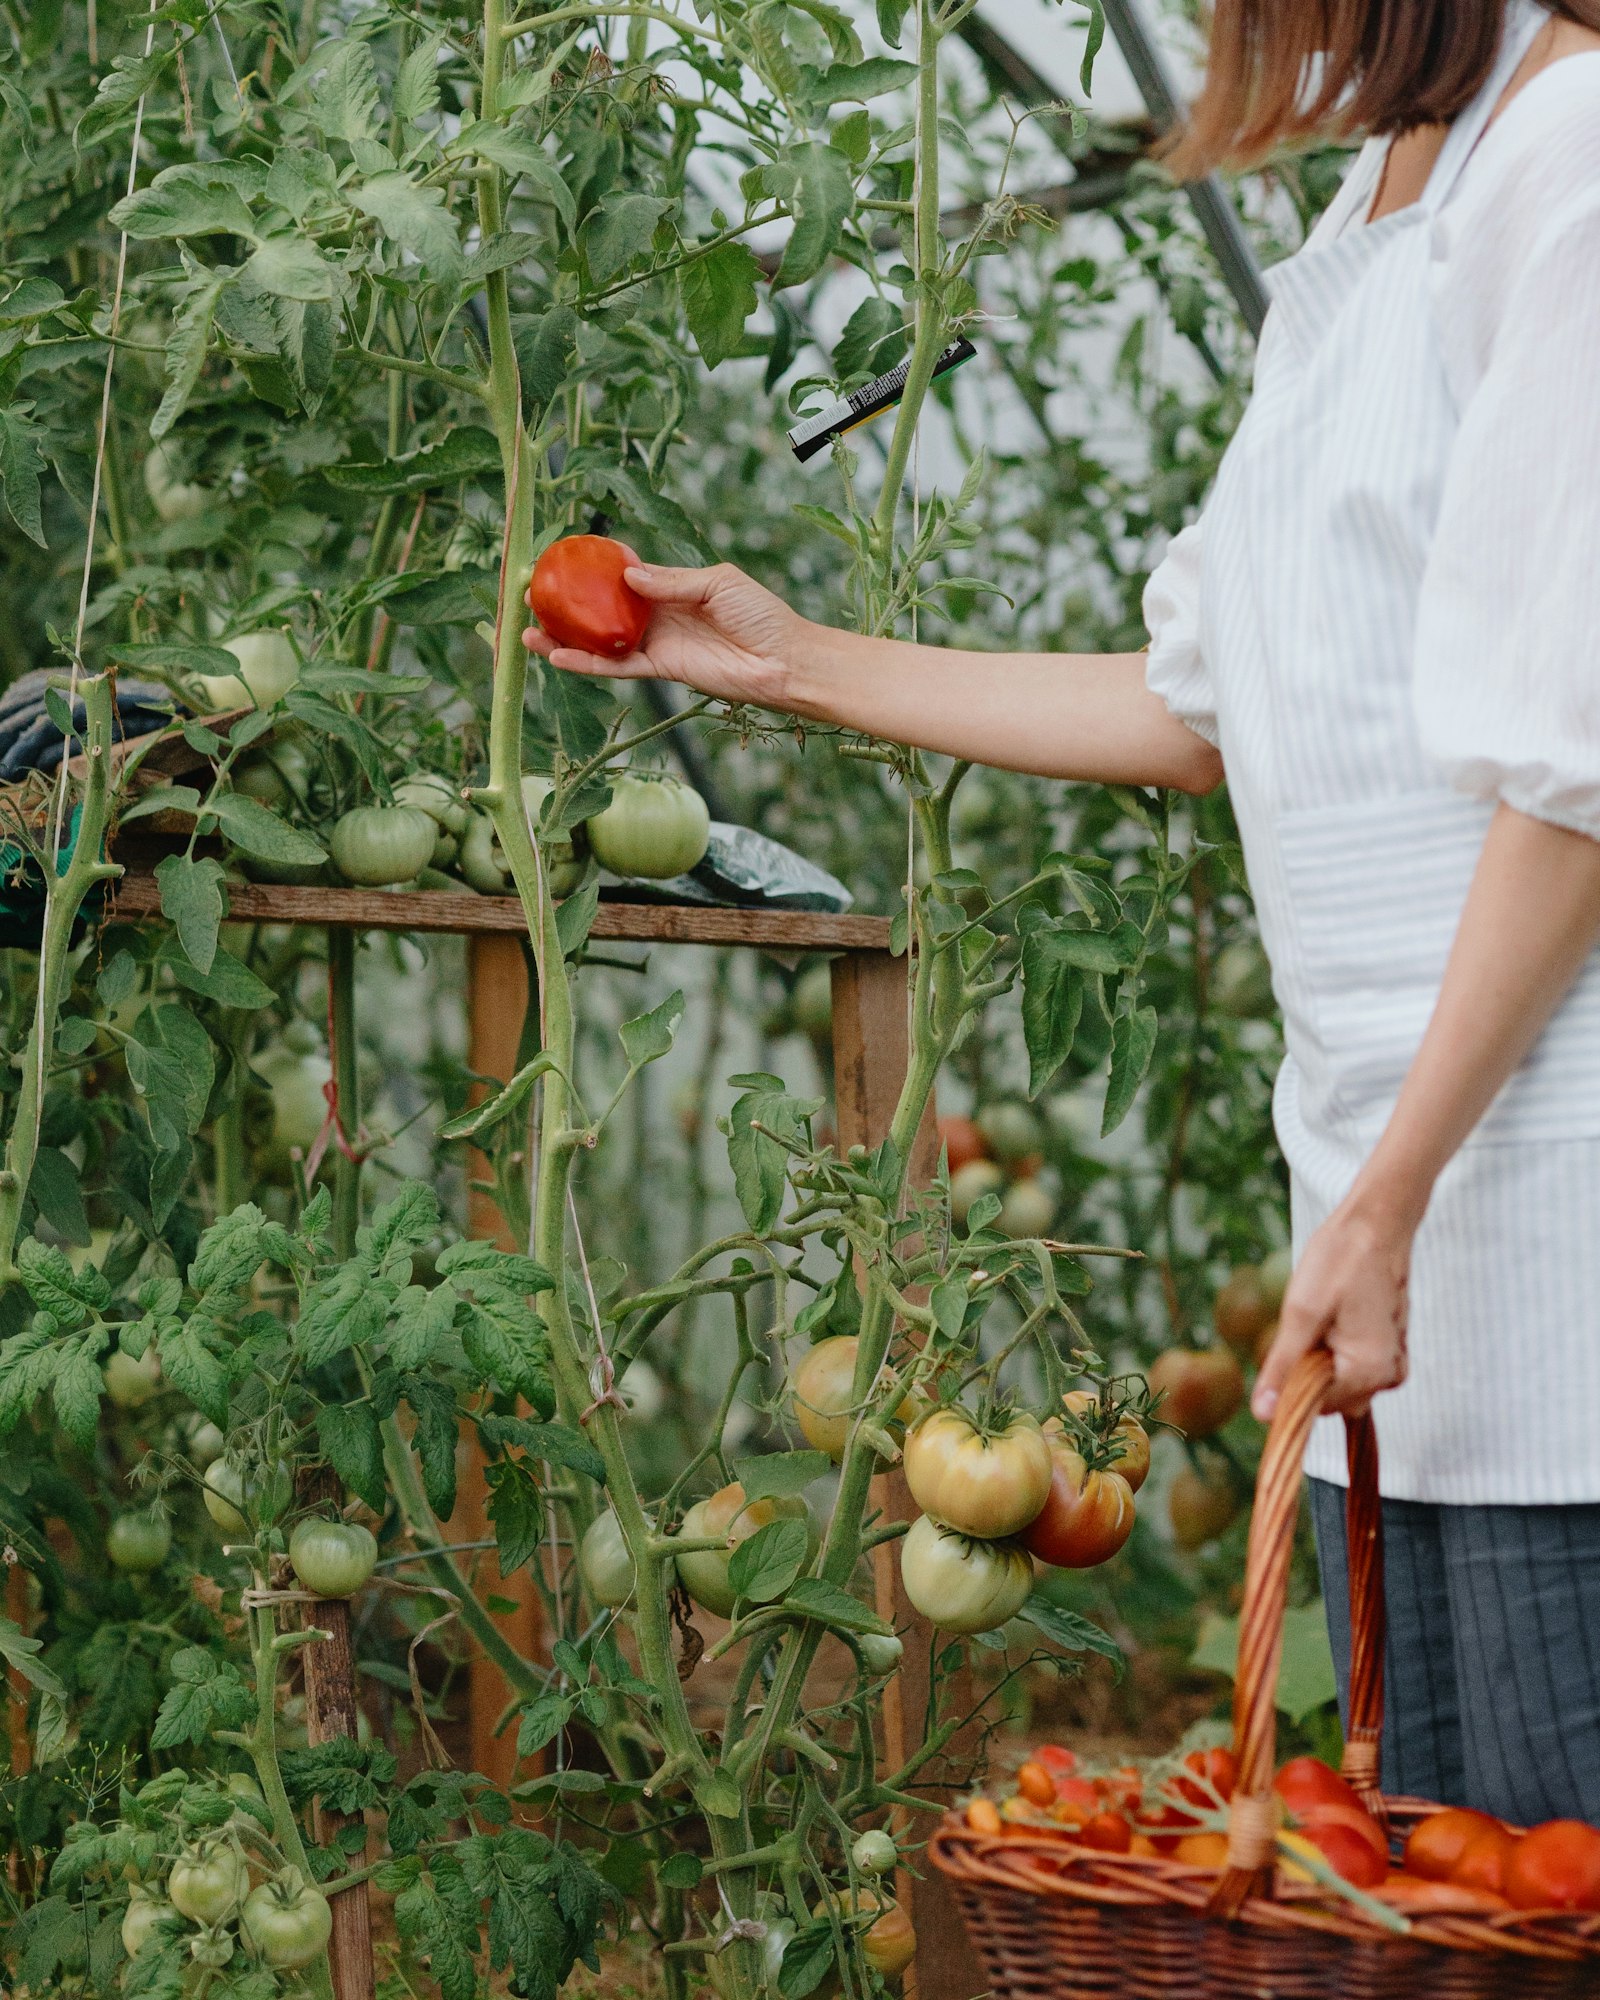
- Tomatoes: Stagger two plantings: one early in the season and another mid-season.
- Peppers: These can be planted just once if you use successive harvesting techniques, like picking early and often.
- Herbs like Basil, Cilantro, and Dill: These can be planted at intervals throughout the summer to ensure fresh herbs are always available.
4. Companion Planting
Companion planting is an age-old gardening practice that involves placing plants near each other for mutual benefit. These benefits can range from pest control and improved pollination to better space utilization and enhanced plant growth. By understanding which plants thrive together, gardeners can create a healthier, more productive garden ecosystem, especially in the confined spaces of raised garden beds.
Benefits of Companion Planting
- Pest Control: Certain plants can repel pests naturally, reducing the need for chemical pesticides.
- Pollination: Planting flowering companions can attract beneficial pollinators, helping increase the yield of fruit and vegetable crops.
- Space Utilization: Strategic planting can maximize the use of space in raised beds by combining deep-rooted and shallow-rooted plants.
Examples of Effective Companion Planting Pairs for Raised Garden Beds
- Tomatoes and Basil: Basil repels pests like flies and mosquitoes and is believed to improve the flavor of tomatoes. Planting basil around the base of tomato plants can maximize space and enhance plant health.
- Carrots and Onions: The strong scent of onions can deter carrot fly, while carrots are said to loosen the soil around onion roots, promoting better growth.
- Lettuce and Tall Flowers: Planting lettuce under taller, sun-loving flowers such as marigolds can help shade the lettuce, which prefers cooler temperatures, and the marigolds deter many pests.
- Cucumbers and Nasturtiums: Nasturtiums are a trap crop for aphids, luring them away from cucumbers and other vegetables. They also attract pollinators which can help increase cucumber yields.
- Corn, Beans, and Squash (The Three Sisters): A traditional Native American planting scheme where corn provides a structure for beans to climb, beans fix nitrogen in the soil, and squash spreads along the ground blocking sunlight from weeds.
5. Intensive Planting
Intensive planting, also known as intensive gardening, is a technique designed to maximize yield in small garden spaces, such as raised beds. This approach focuses on reducing wasted space and increasing efficiency by planting crops close together. This not only maximizes yield per square foot but also reduces weed growth, conserves water, and helps maintain soil health.
The core idea behind intensive planting is to use every available inch of garden space by closely spacing plants, thus creating a microclimate in which leaf canopies touch. This close planting reduces the space weeds can invade, maintains soil moisture, and maximizes the production area.
Guidelines for Intensive Planting in Raised Beds
1. Soil Preparation
The success of intensive planting starts with soil preparation. Ensure your soil is nutrient-rich and well-draining. Amend the soil with compost and well-rotted manure to improve fertility and structure.
Raised beds should be topped up with fresh soil or compost annually to replenish nutrients and maintain soil health.
Choose plants that are known to grow well together and have similar light and water needs. Consider the mature size of plants to ensure they have enough room to grow without overcrowding.
Select high-yield and fast-growing varieties to get the most out of your garden space.
3. Planting Density
Determine spacing based on the smallest mature size of plants, allowing just enough room for plants to grow to their full size. Use square foot gardening techniques as a guide for spacing.
Plant in staggered rows or a diamond pattern to maximize space usage. This arrangement fits more plants into a given area compared to traditional row planting.
Maintenance Tips for Intensively Planted Raised Beds
1. Watering
- Intensively planted beds require careful watering to ensure plants receive adequate moisture without becoming waterlogged. Use a drip irrigation system or soaker hoses for efficient and even watering.
- Mulch around plants to help retain soil moisture and suppress weeds, which can compete with your crops for nutrients and water.
2. Feeding
- Feed your plants regularly with a balanced organic fertilizer to support their rapid growth and high yield demands. Liquid seaweed or fish emulsion are great options for providing quick nutrients.
- Monitor plants for signs of nutrient deficiencies or pests and address these issues promptly to avoid impacting your yield.
3. Pruning and Thinning
- Keep an eye on plant growth and thin seedlings early to avoid overcrowding. This promotes healthier, more robust plants.
- Regularly prune plants like tomatoes and peppers to encourage air circulation and reduce disease risk.
Intensive planting in raised garden beds can transform a small space into a highly productive garden. By carefully managing the soil, choosing the right plants, and maintaining the garden diligently, gardeners can enjoy a bountiful harvest even from the smallest of plots.