


In This Article Show
Growing hyssop is not only easy, making it perfect for beginners, but it also offers delightful benefits, from enhancing your garden’s beauty to providing ingredients for your culinary experiments and natural remedies. As a gardener with over a decade of hands-on experience, I’ll guide you through the simple steps to cultivate this plant successfully in your own space. Whether you have a sprawling backyard or a modest balcony, let’s get your green thumbs ready to grow some hyssop at home.
Step 1: Choosing the Right Variety
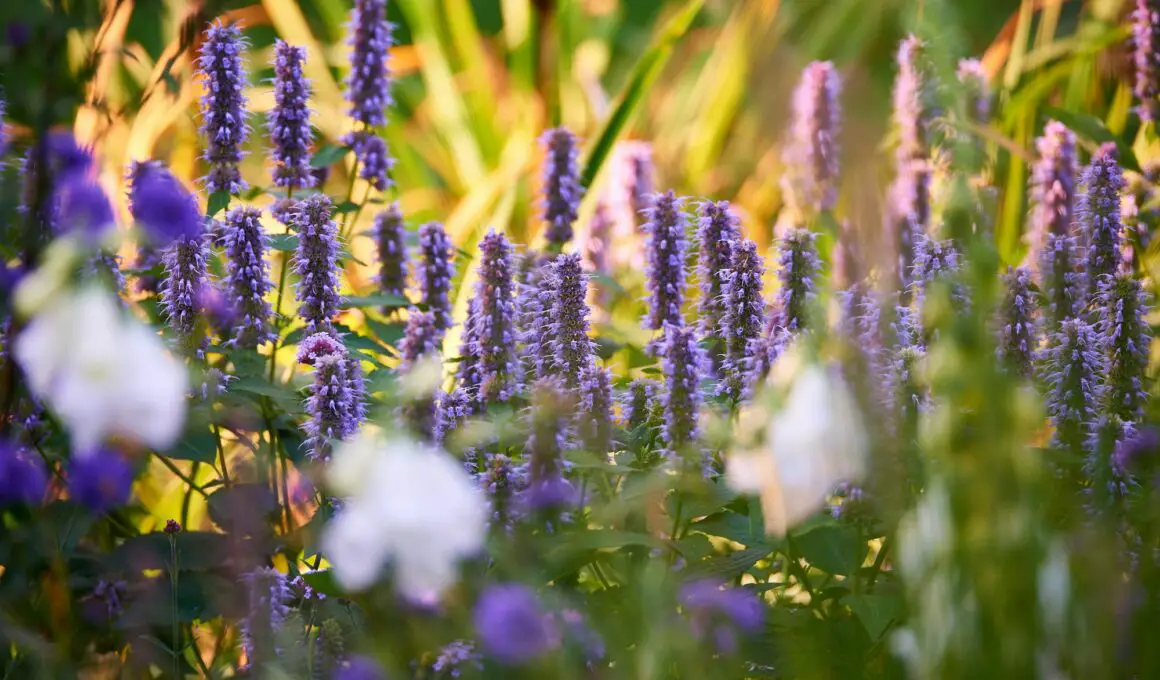
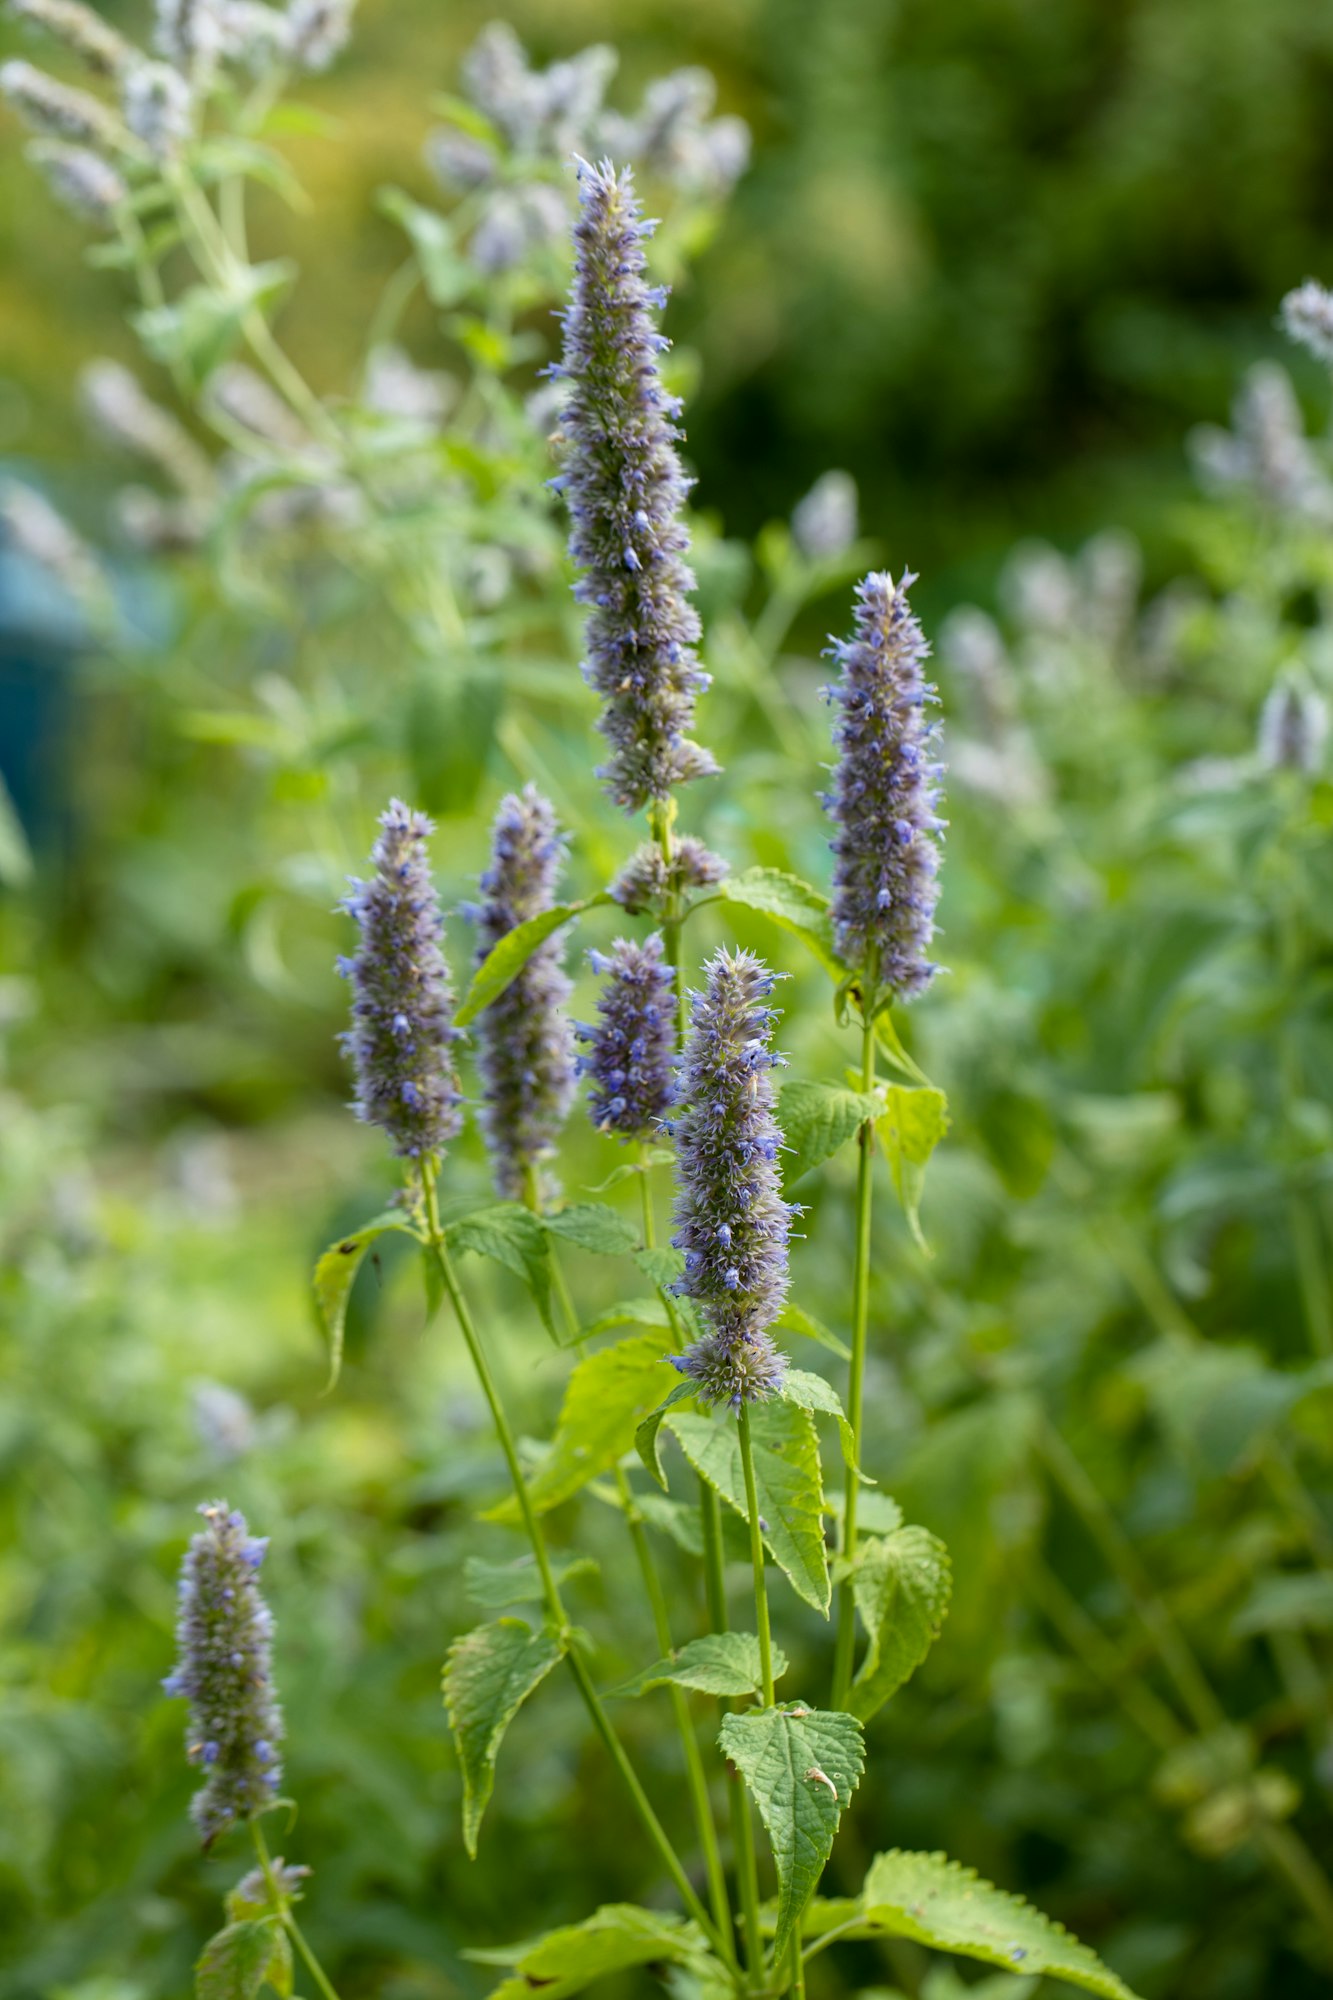
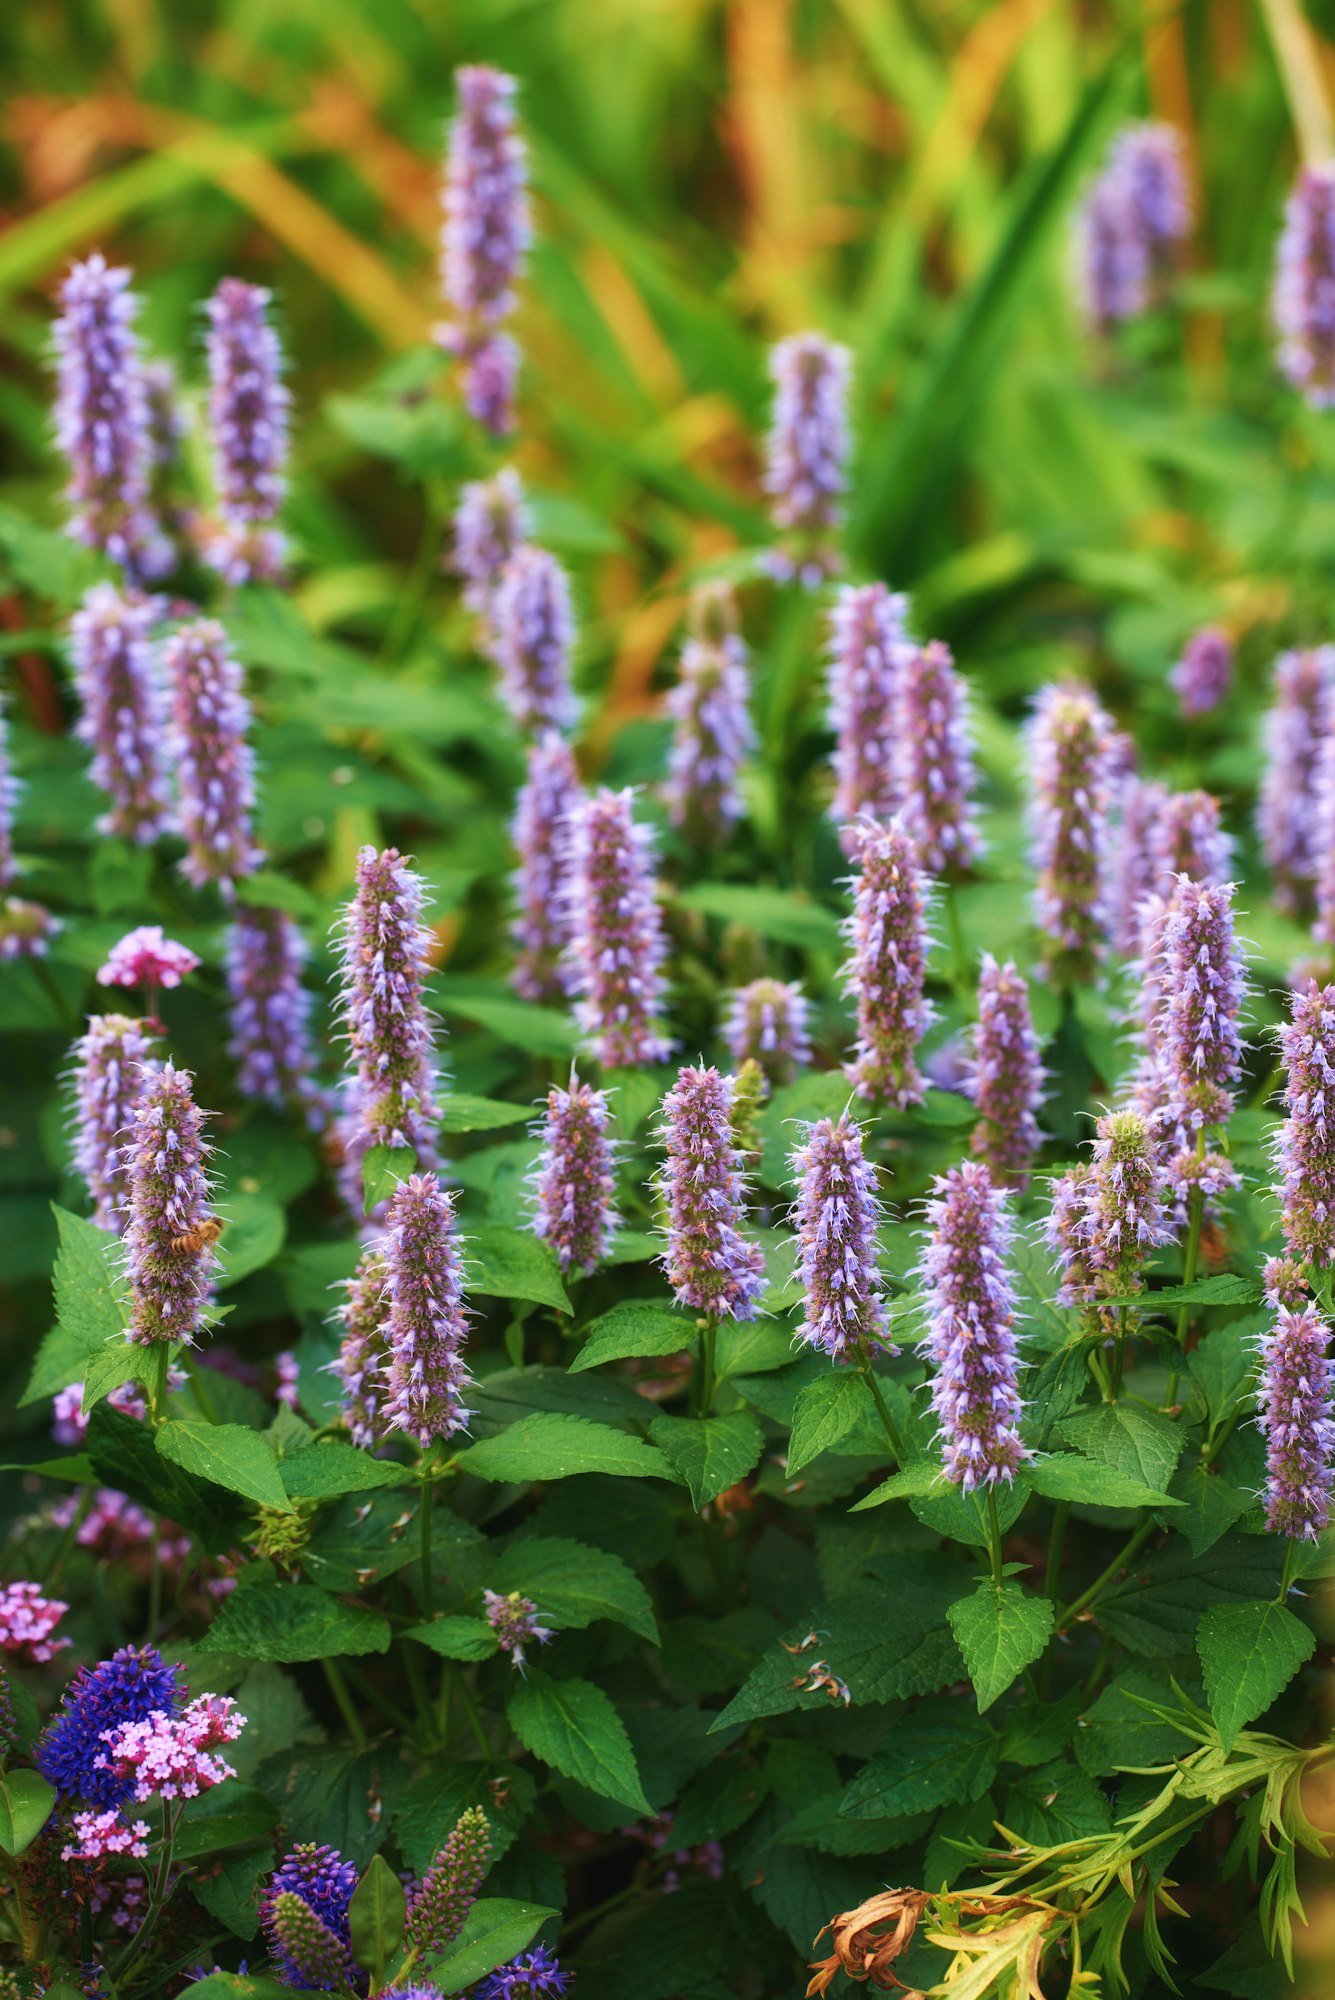
Hyssop (Hyssopus officinalis) is not only cherished for its aromatic qualities and attractive blue, pink, or white flowers but also for its adaptability in various garden settings. When starting your hyssop garden, the first step is selecting the right variety to ensure it thrives in your climate and meets your gardening goals.
Common Varieties of Hyssop
- Common Hyssop (Hyssopus officinalis): The traditional variety with deep blue flowers, known for its strong, minty aroma and resilience in cooler climates.
- Anise Hyssop (Agastache foeniculum): Though not a true hyssop, it’s often grouped with hyssops due to similar uses and appearance. It features lavender flowers and a sweet, anise-like scent, preferring slightly warmer conditions.
- Pink Hyssop (Hyssopus officinalis ‘Roseus’): Offers a variation with pink flowers, providing a softer visual appeal while maintaining the same growth habits as the common Hyssop.
Selecting the Best Variety for Your Climate and Garden Space
- Consider Your Climate: Common hyssop is hardy and can tolerate cold, making it ideal for northern gardeners, while anise hyssop may perform better in areas with milder winters.
- Garden Space: All hyssop varieties typically grow between 12 to 24 inches tall and can spread about 18 inches wide. Ensure your garden space can accommodate their growth, considering both height and spread.
- Sunlight Needs: Hyssop plants thrive in full sun, requiring at least 6 hours of direct sunlight daily. If your garden is partly shady, consider placing them where they will receive maximum sunlight.
Step 2: Preparing the Planting Area
Once you’ve chosen the ideal hyssop variety for your garden, the next crucial step is to prepare the planting area. Proper preparation of the site and soil can significantly influence the health and productivity of your plants.
Choosing the Right Location
- Sunlight: Hyssop thrives in full sun, so select a location that receives at least 6 to 8 hours of direct sunlight each day. More sunlight encourages better growth and flowering.
- Spacing: To ensure each hyssop plant has enough room to grow, space them about 12 to 18 inches apart. This spacing allows for adequate air circulation and reduces the risk of fungal diseases.
Soil Preparation
Soil Type: Hyssop prefers well-drained soil with a neutral to slightly alkaline pH. It’s tolerant of poor soils but does best in richer setups.
Preparing Your Soil
- Testing pH: If you’re unsure of your soil’s pH, consider using a soil test kit from your local garden center. If your soil is too acidic, you can amend it with lime to raise the pH.
- Improving Drainage: If your soil is heavy or clay-like, incorporate organic material such as compost or aged manure to improve drainage. Sand can also be mixed in to help break up the soil and prevent waterlogging.
- Adding Nutrients: While hyssop isn’t a heavy feeder, giving it a good start with well-composted organic matter can help establish a robust root system. Mix in a few inches of compost or well-rotted manure into the top layer of the soil.
- Container Planting: If you’re limited in space or have very poor soil, consider planting hyssop in containers. Use a commercial potting mix designed for herbs, which will ensure good drainage and provide the nutrients your plants need to thrive.
Step 3: Planting Your Hyssop
Planting hyssop at the right time and using the correct method can greatly affect how well it grows and flourishes. Whether you’re starting with seeds or seedlings, understanding the best practices for planting will ensure your hyssop gets off to the best start possible.
When to Plant Hyssop
Best Seasons
For most regions, the ideal time to plant hyssop is in the spring, after the last frost has passed. This gives the plant plenty of time to establish itself before the cold weather returns. In regions with mild winters, hyssop can also be planted in the fall, which allows the roots to develop during the cooler months.
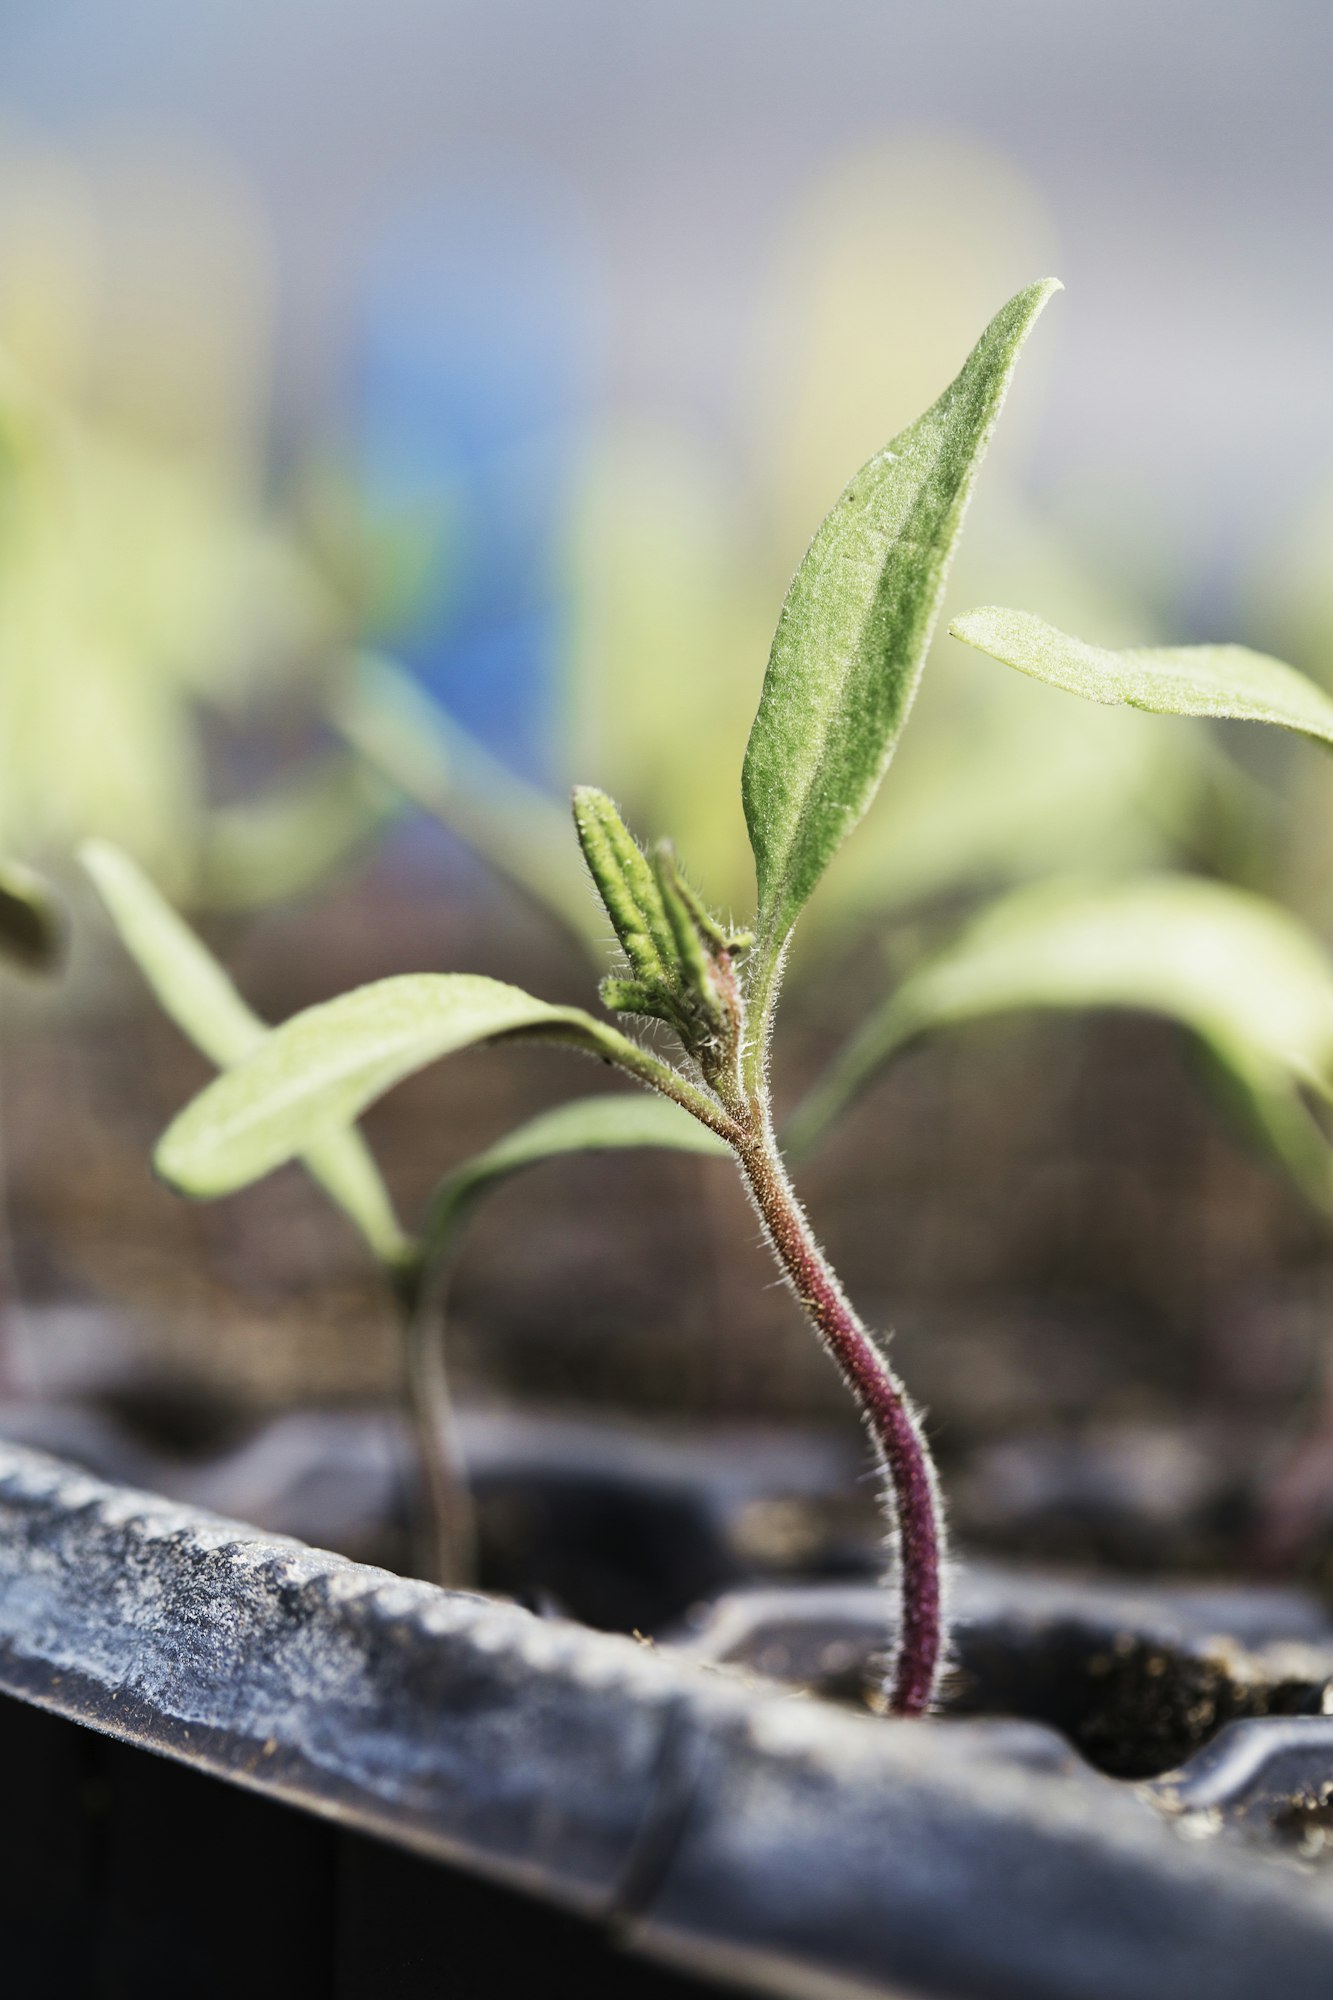
Planting Hyssop Seeds
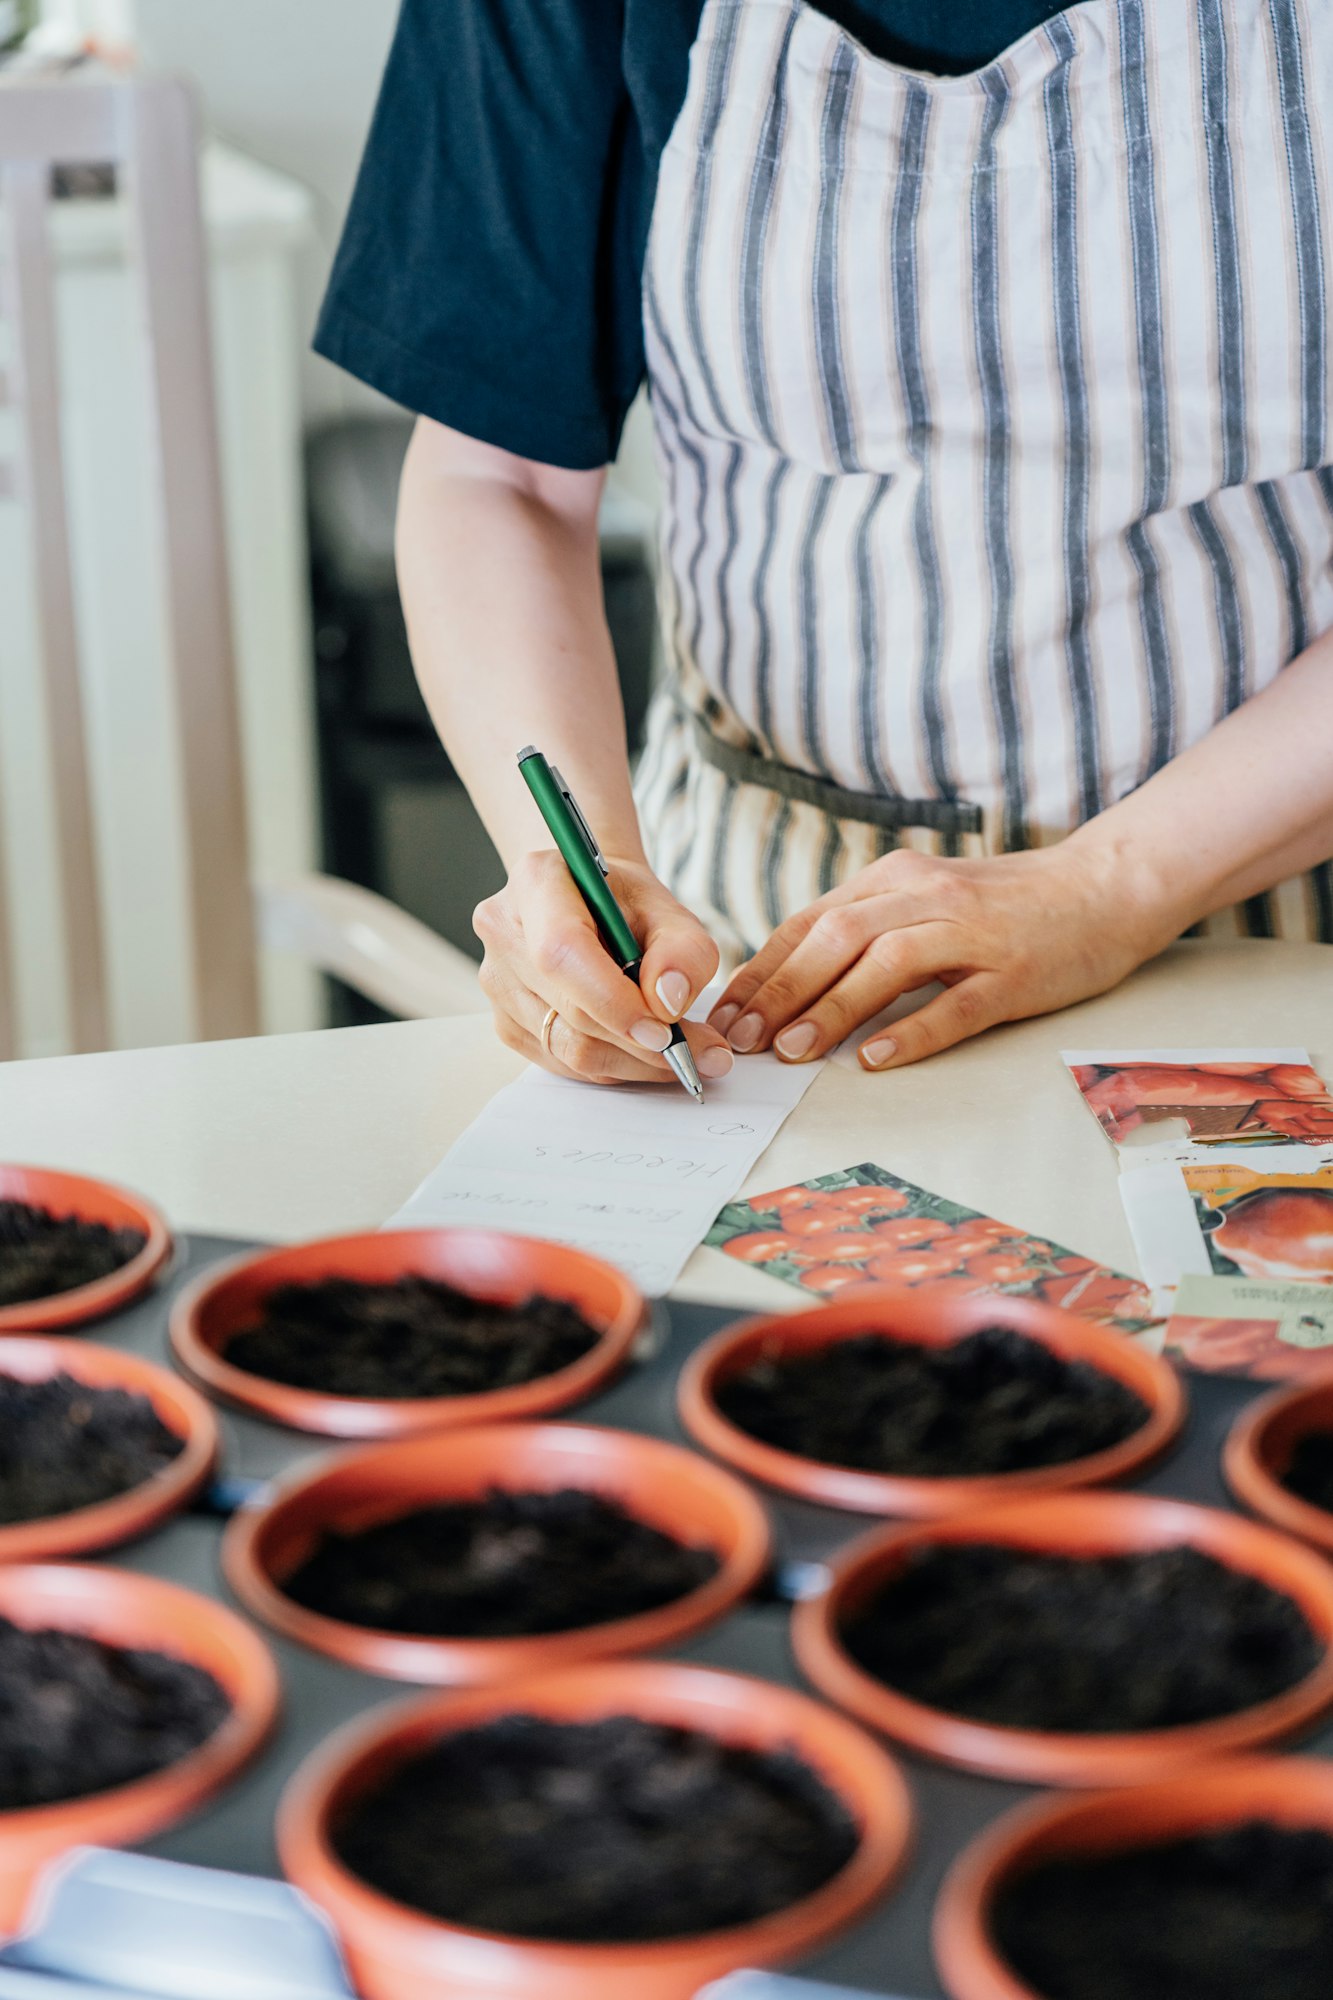
- Preparation: Start seeds indoors about 6-8 weeks before the last expected frost. Use a seed tray filled with a fine, well-draining seed starting mix.
- Sowing the Seeds: Sprinkle the seeds lightly on the surface of the soil and press them gently into the mix. Hyssop seeds need light to germinate, so do not cover them with soil.
- Watering: Keep the soil moist but not waterlogged. Use a spray bottle to mist the soil surface carefully to prevent washing away the seeds.
- Germination: Place the seed tray in a warm, well-lit spot. Seeds typically germinate in 14 to 21 days.
- Transplanting: Once seedlings have several sets of true leaves and are strong enough, transplant them to their final location outdoors, spacing them about 12 to 18 inches apart.
Planting Hyssop Seedlings
- Preparing the Site: Whether planting in the ground or in containers, ensure the site or pot is prepared as discussed in Step 2.
- Planting: Dig a hole large enough to accommodate the seedling’s root ball. Gently remove the plant from its container, being careful not to disturb the roots. Place the plant in the hole so that the top of the root ball is level with the soil surface.
- Backfilling: Fill the hole with soil and gently press around the plant to eliminate air pockets.
- Watering: Water thoroughly after planting to settle the soil around the roots and help with initial stress from the transplant.
Container Planting
If you’re planting in containers, ensure that the pot has sufficient drainage holes. Fill the container with a high-quality potting mix, plant the seedlings at the same depth they were growing previously, and follow the same watering guidelines.
Now that your hyssop is in the ground or container, the next step is to care for it properly to encourage growth and eventual flowering. Proper care involves regular watering, occasional feeding, and seasonal pruning to keep your plants healthy and productive.
Step 4: Caring for Hyssop
Proper care is crucial to ensure your hyssop thrives, blooms abundantly, and remains healthy. Here’s how you can manage watering, fertilizing, and pruning to get the most out of your hyssop plants.
Watering Needs
- How Much: Hyssop is relatively drought-tolerant once established but will need regular watering during its first growing season to develop a strong root system. Aim to keep the soil consistently moist but not soggy.
- How Often: Water deeply once or twice a week, depending on weather conditions and soil type. In hotter, drier climates, you may need to water more frequently, especially if your plants are in containers.
- Monitoring Moisture: Use your finger to check soil moisture; water when the top inch of soil feels dry to the touch.
Fertilizing Tips
Hyssop does not require heavy fertilization. Overfeeding can lead to excessive leaf growth at the expense of flowers. Apply a balanced, slow-release fertilizer in early spring as new growth appears. This will support both leafy growth and later flowering. If growing in containers, consider a half-strength liquid fertilizer every 4 to 6 weeks during the growing season.
An application of compost or well-rotted manure at the start of the growing season can provide sufficient nutrients for hyssop and improve soil structure.
Pruning and Maintenance
- Encouraging Growth and Blooming: Prune hyssop in early spring to remove any dead or damaged stems and to shape the plant. This encourages fresh growth. Additionally, cutting back the plant by about half after the first flush of flowers can stimulate a second bloom in late summer or early fall.
- Regular Maintenance: Remove spent flowers (deadheading) to promote continuous blooming throughout the season. Keep an eye out for common pests like aphids and treat them with organic insecticidal soap or neem oil if necessary.
- Winter Care: In colder regions, mulch around the base of the plants in the fall to protect the roots from freezing temperatures. Cut back the plants to ground level at the end of the growing season to keep the area tidy and to help control any disease.
Step 5: Harvesting and Using Hyssop
Harvesting hyssop at the right time not only ensures optimal flavor and medicinal properties but also helps maintain the health of the plant. Here’s how to identify the best time to harvest and effective methods for gathering your hyssop, along with some ideas for using it in your home.
When to Harvest Hyssop
- Hyssop is best harvested just before it fully blooms, as this is when the essential oils in the leaves and flowers are most potent. Look for flower buds that are well-formed but not yet open.
- Morning is the best time for harvesting after the dew has dried but before the sun is at its hottest. This helps ensure that the oils are concentrated.
Tips for Harvesting Hyssop Without Harming the Plant
- Using the Right Tools: Use sharp scissors or garden shears to make clean cuts, which help prevent damage to the stems.
- Method: Cut the top one-third of the branches, which includes leafy stems and flower buds. This method encourages new growth and can lead to a second, although smaller, harvest later in the season.
- Frequency: Regular harvesting or trimming helps keep the plants bushy and prevents them from becoming leggy.
Simple Ways to Use Hyssop
- In Cooking: Hyssop’s pungent flavor makes it a wonderful addition to dishes that benefit from a robust herb presence. It works well in soups, stews, or roasted meat marinades. Its leaves can be chopped finely and added to salads or dressings.
- Teas: For a soothing herbal tea, steep the leaves and flowers in boiling water for about 5 minutes. Hyssop tea is reputed for its benefits, including aiding digestion and respiratory health.
- Home Remedies: Hyssop can be used in homemade tinctures, syrups, and elixirs to help relieve cold and flu symptoms. It’s also used in homemade skincare products for its antiseptic properties.
By following these harvesting and usage tips, you can enjoy the full benefits of growing hyssop at home. Whether enhancing your culinary dishes, brewing a relaxing tea, or concocting natural remedies, hyssop is a versatile and valuable herb to have in your garden.