


In This Article Show
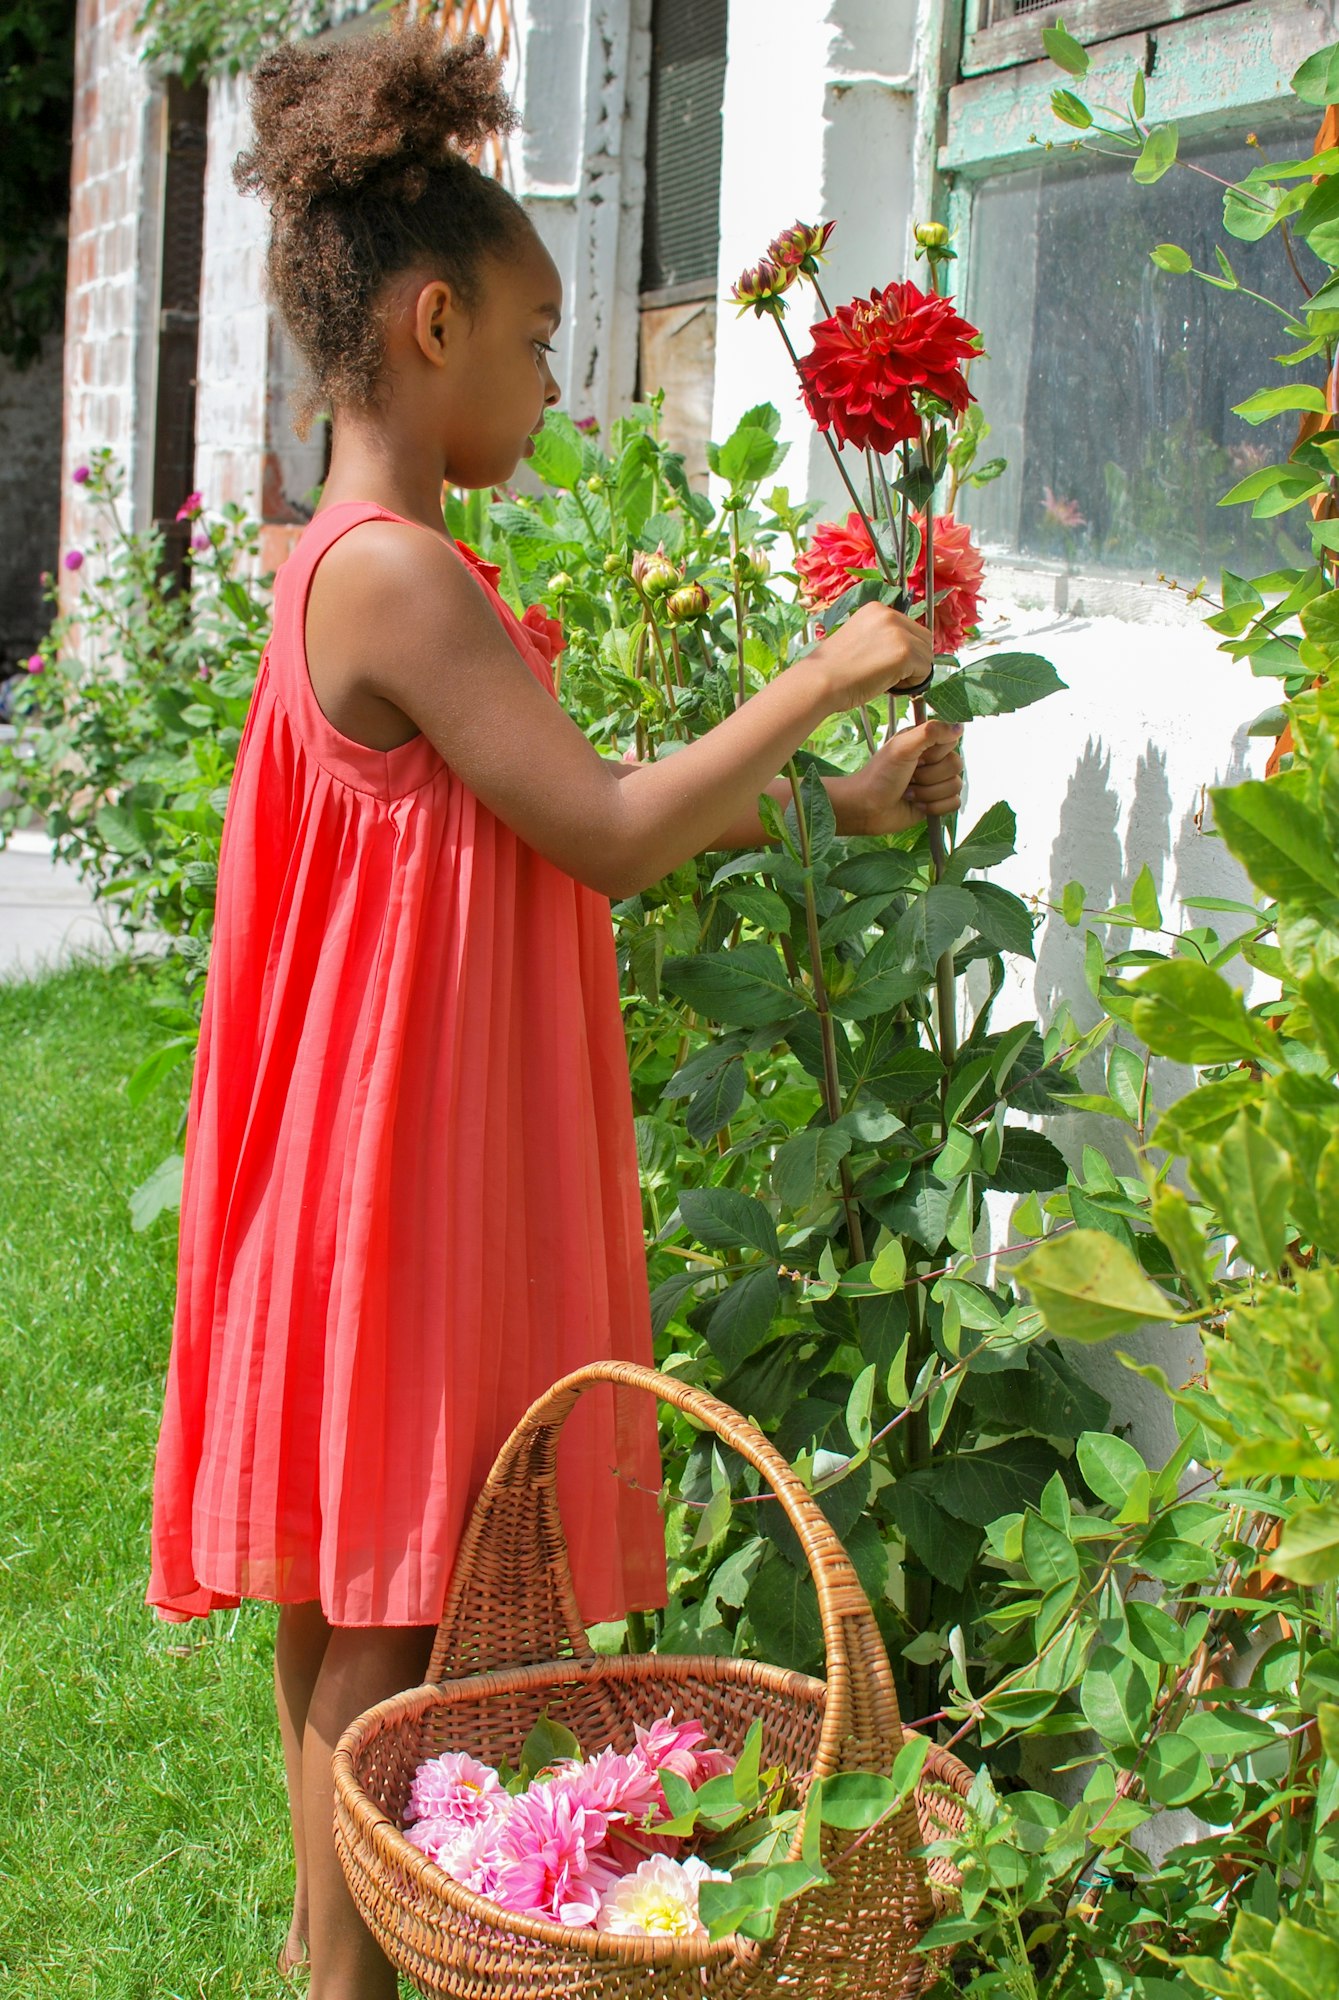
If you’re new to gardening or simply looking to add some dazzle to your outdoor space, growing dahlias is a rewarding choice. Dahlias thrive in well-prepared soil and need just the right amount of sunlight and care to flourish. Whether you have a spacious garden or a small patio, dahlias can make a spectacular addition. In this guide, I’ll walk you through five simple steps to grow dahlias at home, ensuring even beginners can enjoy these beautiful flowers from the ground up. Let’s get your garden blooming with minimal hassle and maximum beauty.
How to Grow Dahlia At Home
Step 1: Choosing the Right Dahlia Tubers
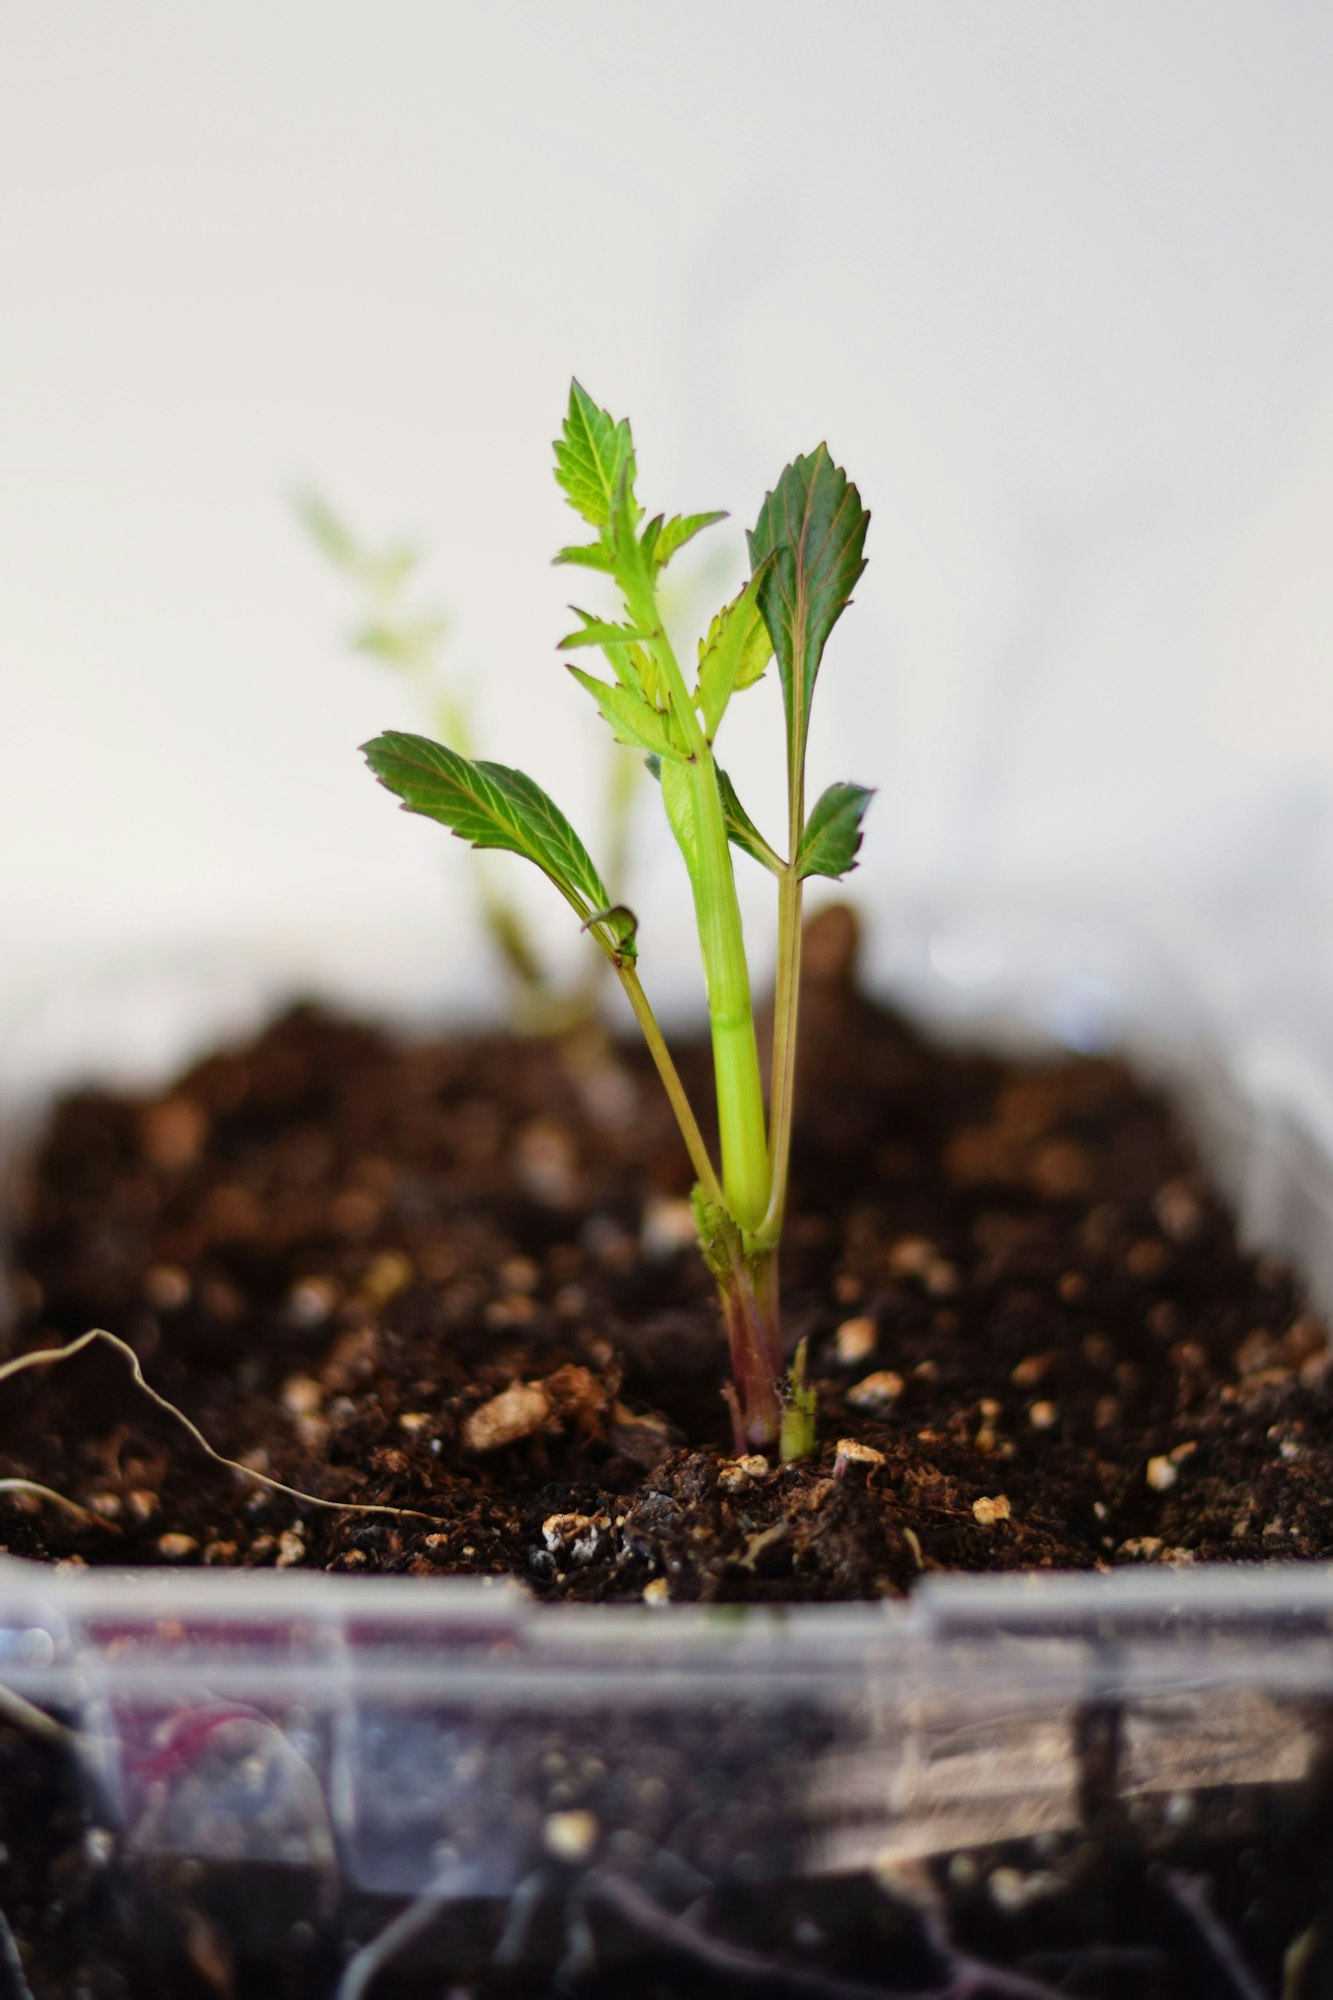
When starting your dahlia garden, the first step is selecting high-quality tubers, as these are the foundation of healthy, vibrant blooms. Healthy tubers are your best bet for a successful growing season, so knowing what to look for is crucial. A good tuber should feel firm and free from wrinkles or signs of rot. Avoid any that feel mushy or have visible signs of mold.
Finding the right place to purchase your tubers can make a difference. I recommend buying from reputable nurseries or specialized garden centers that offer a variety of dahlia types.
These suppliers are typically knowledgeable about their products and can provide valuable insights into the specific care needs of different Dahlia varieties. Online gardening forums and local gardening clubs can also be excellent resources for recommendations on where to buy quality tubers.
Additionally, consider attending local plant sales or garden shows, which can be great places to find high-quality dahlias. Here, you can often talk directly with growers, who can provide detailed advice on the care of their plants.
When choosing tubers, look for those labeled with the plant’s growth habits, flower size, and color, which will help you plan your garden layout and ensure the variety suits your gardening goals. By starting with robust and healthy tubers from trusted sources, you set the stage for a garden that’s as lively and flourishing as it is colorful.
Step 2: Preparing to Plant
Choosing the right time to plant your dahlias is critical for their growth and blooming cycle. The ideal planting time is in the spring, after the last frost when the soil has warmed to at least 60°F (15°C). This typically means waiting until late April or May in most regions, but this can vary depending on your local climate.
Soil Preparation
Dahlias thrive in well-drained, fertile soil with a pH level around 6.5 to 7.0. Before planting, it’s important to prepare your garden bed by loosening the soil to a depth of about 12 inches to ensure adequate drainage.
Mix in a couple of inches of compost or well-rotted manure to enrich the soil and provide the nutrients dahlias need to grow robustly. If your soil is particularly clay-heavy or sandy, consider amending it with organic matter to improve its structure and fertility.
Tools and Materials Needed
- Spade or garden fork: For turning the soil.
- Soil pH test kit: To determine if your soil is in the ideal pH range for dahlias.
- Organic compost or manure: To enrich the soil.
- Mulch: To help retain moisture and suppress weeds around your plants.
- Stakes or supports: Dahlias have heavy blooms that can cause the stems to bend or break, especially in windy areas, so having supports ready is essential.
Step 3: Planting Your Tubers
Planting dahlia tubers correctly is vital to ensure your plants have the best start. Here’s a step-by-step guide to help you plant your tubers properly:
1. Timing
Plant your tubers in the late spring, once the threat of frost has passed and the soil temperature is at least 60°F (15°C).
2. Site Selection
Choose a spot in your garden that receives at least 6–8 hours of sunlight daily. Dahlias thrive in full sun, which is essential for optimal growth and bloom.
3. Soil Preparation
Ensure the soil is loose and well-drained to prevent waterlogging, which can cause tubers to rot. If you haven’t already, mix in organic compost or well-rotted manure to enrich the soil.
4. Planting Depth and Orientation
- Depth: Plant tubers about 4-6 inches deep, with the eye (the point on the tuber from where the plant will grow) facing upwards.
- Orientation: Lay the tubers horizontally if it’s unclear which end the eye is on.
5. Spacing
Space tubers about 18-24 inches apart. Proper spacing helps with air circulation and reduces the risk of fungal diseases. It also gives each plant enough room to grow to its full size.
6. Covering
After placing them in the ground, cover the tubers with soil and pat down gently to make contact with the tubers but avoid compacting the soil.
7. Watering
Water the planting area gently but thoroughly to settle the soil around the tubers. Keep the soil moist but not soggy as the tubers begin to sprout.
8. Staking
If you are planting taller varieties, it’s a good idea to place stakes at the time of planting to avoid damaging the tubers later. Stakes will support the plants as they grow and help manage the heavy blooms.
9. Mulching
Once your dahlias have sprouted and are about 3-4 inches tall, apply a layer of mulch around the plants to help retain moisture in the soil, keep the roots cool, and suppress weeds.
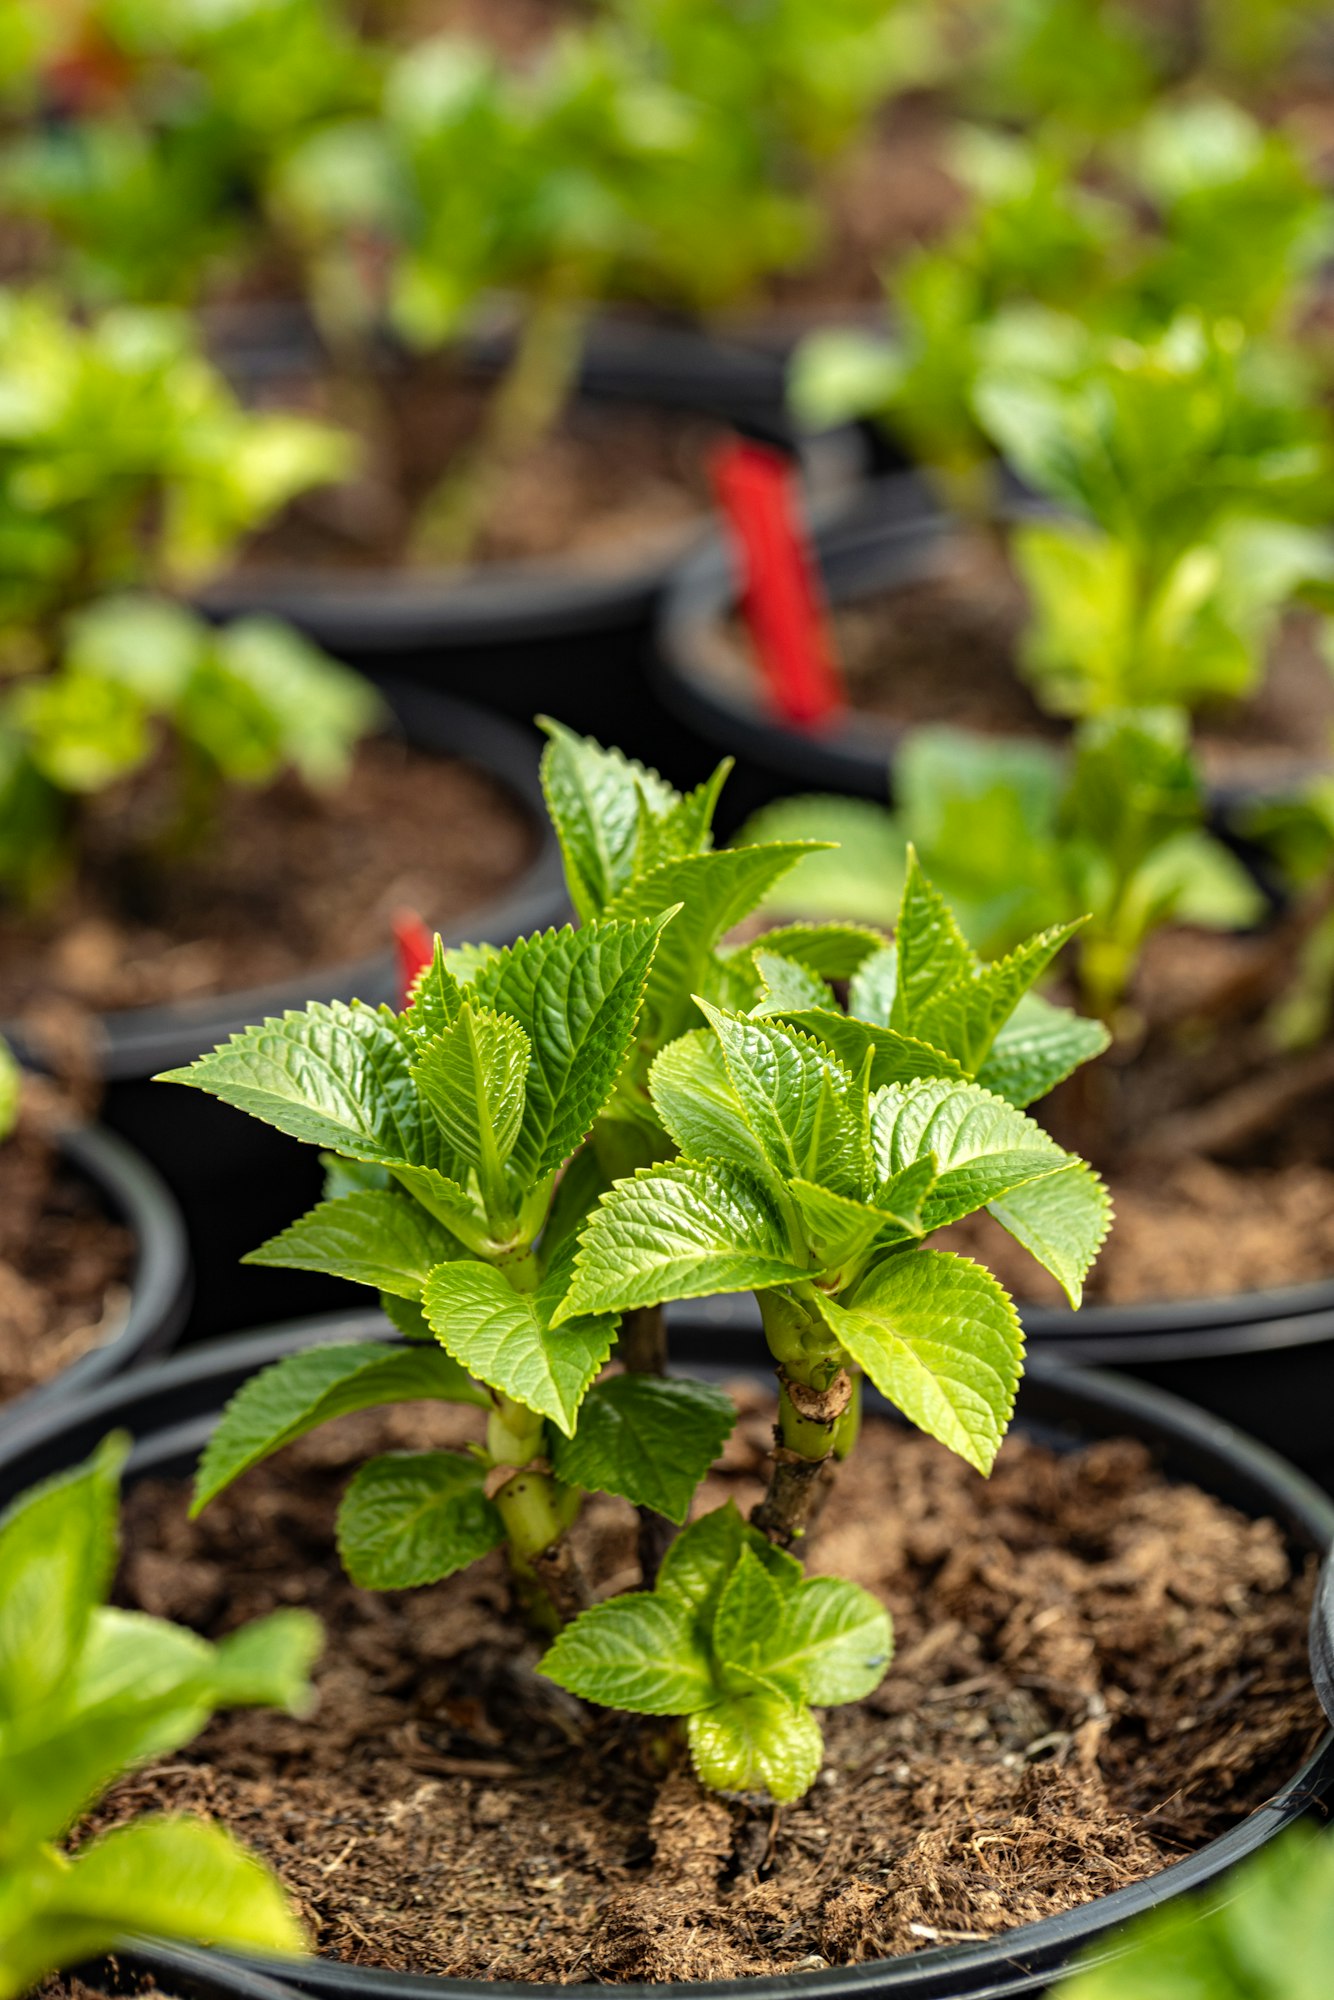
Step 4: Caring for Your Dahlias
Proper care is crucial to getting the best out of your dahlia plants. This involves regular watering, appropriate fertilization, and ensuring they get enough sunlight.
Watering
Dahlias require consistent moisture to thrive, especially during the growing season. Water your dahlias deeply at least two to three times a week, more frequently if you’re experiencing very hot or dry weather. The goal is to keep the soil moist but not soggy.
Overwatering can lead to root rot, while under-watering can stress the plant, leading to poor blooming. A good rule of thumb is to water enough so that the soil is moist to a depth of at least an inch.
Fertilizing
Fertilization is key to promoting healthy growth and vibrant blooms. Use a low-nitrogen, high-potassium fertilizer to encourage flowering rather than excessive foliage growth. A balanced 5-10-10 or 10-20-20 fertilizer applied every four weeks from the start of the growing season until mid-summer can do wonders. Avoid fertilizing late in the growing season as this can reduce the plant’s winter hardiness.
Sunlight and Positioning
Dahlias perform best in full sunlight, which means at least 6-8 hours of direct sun per day. Adequate sunlight is essential for the plants to develop strong stems and abundant flowers. Position your dahlias in a part of the garden where they can enjoy the morning sun, which is less intense and helps dry dew on the leaves, thereby reducing the risk of fungal infections.
Step 5: Maintenance and Common Problems
Maintaining your dahlias is key to ensuring they continue to thrive and bloom beautifully. Here’s how to manage maintenance tasks and address common problems:
Recognizing and Treating Common Diseases and Pests
Dahlias can be susceptible to several diseases and pests. The most common issues include powdery mildew, a fungal disease that appears as a white powder on leaves, and viral diseases that cause distorted growth or mottling leaves. To combat these, ensure good air circulation around your plants and avoid overhead watering.
For powdery mildew, use a fungicide approved for use on dahlias. Keep an eye out for pests like aphids, spider mites, and slugs which can damage plants by feeding on leaves and flowers. Treat infestations with appropriate insecticides or natural remedies like neem oil and hand-picking where feasible.
Deadheading and Pruning
Deadheading, or removing spent flowers, encourages dahlias to produce more blooms and extends the flowering season. Regularly check your plants and snip off the dead flower heads just above the next set of leaves. For pruning, cut back the plants in mid-summer to promote bushier growth and more flowers. Use clean, sharp shears to make clean cuts, which help prevent disease.
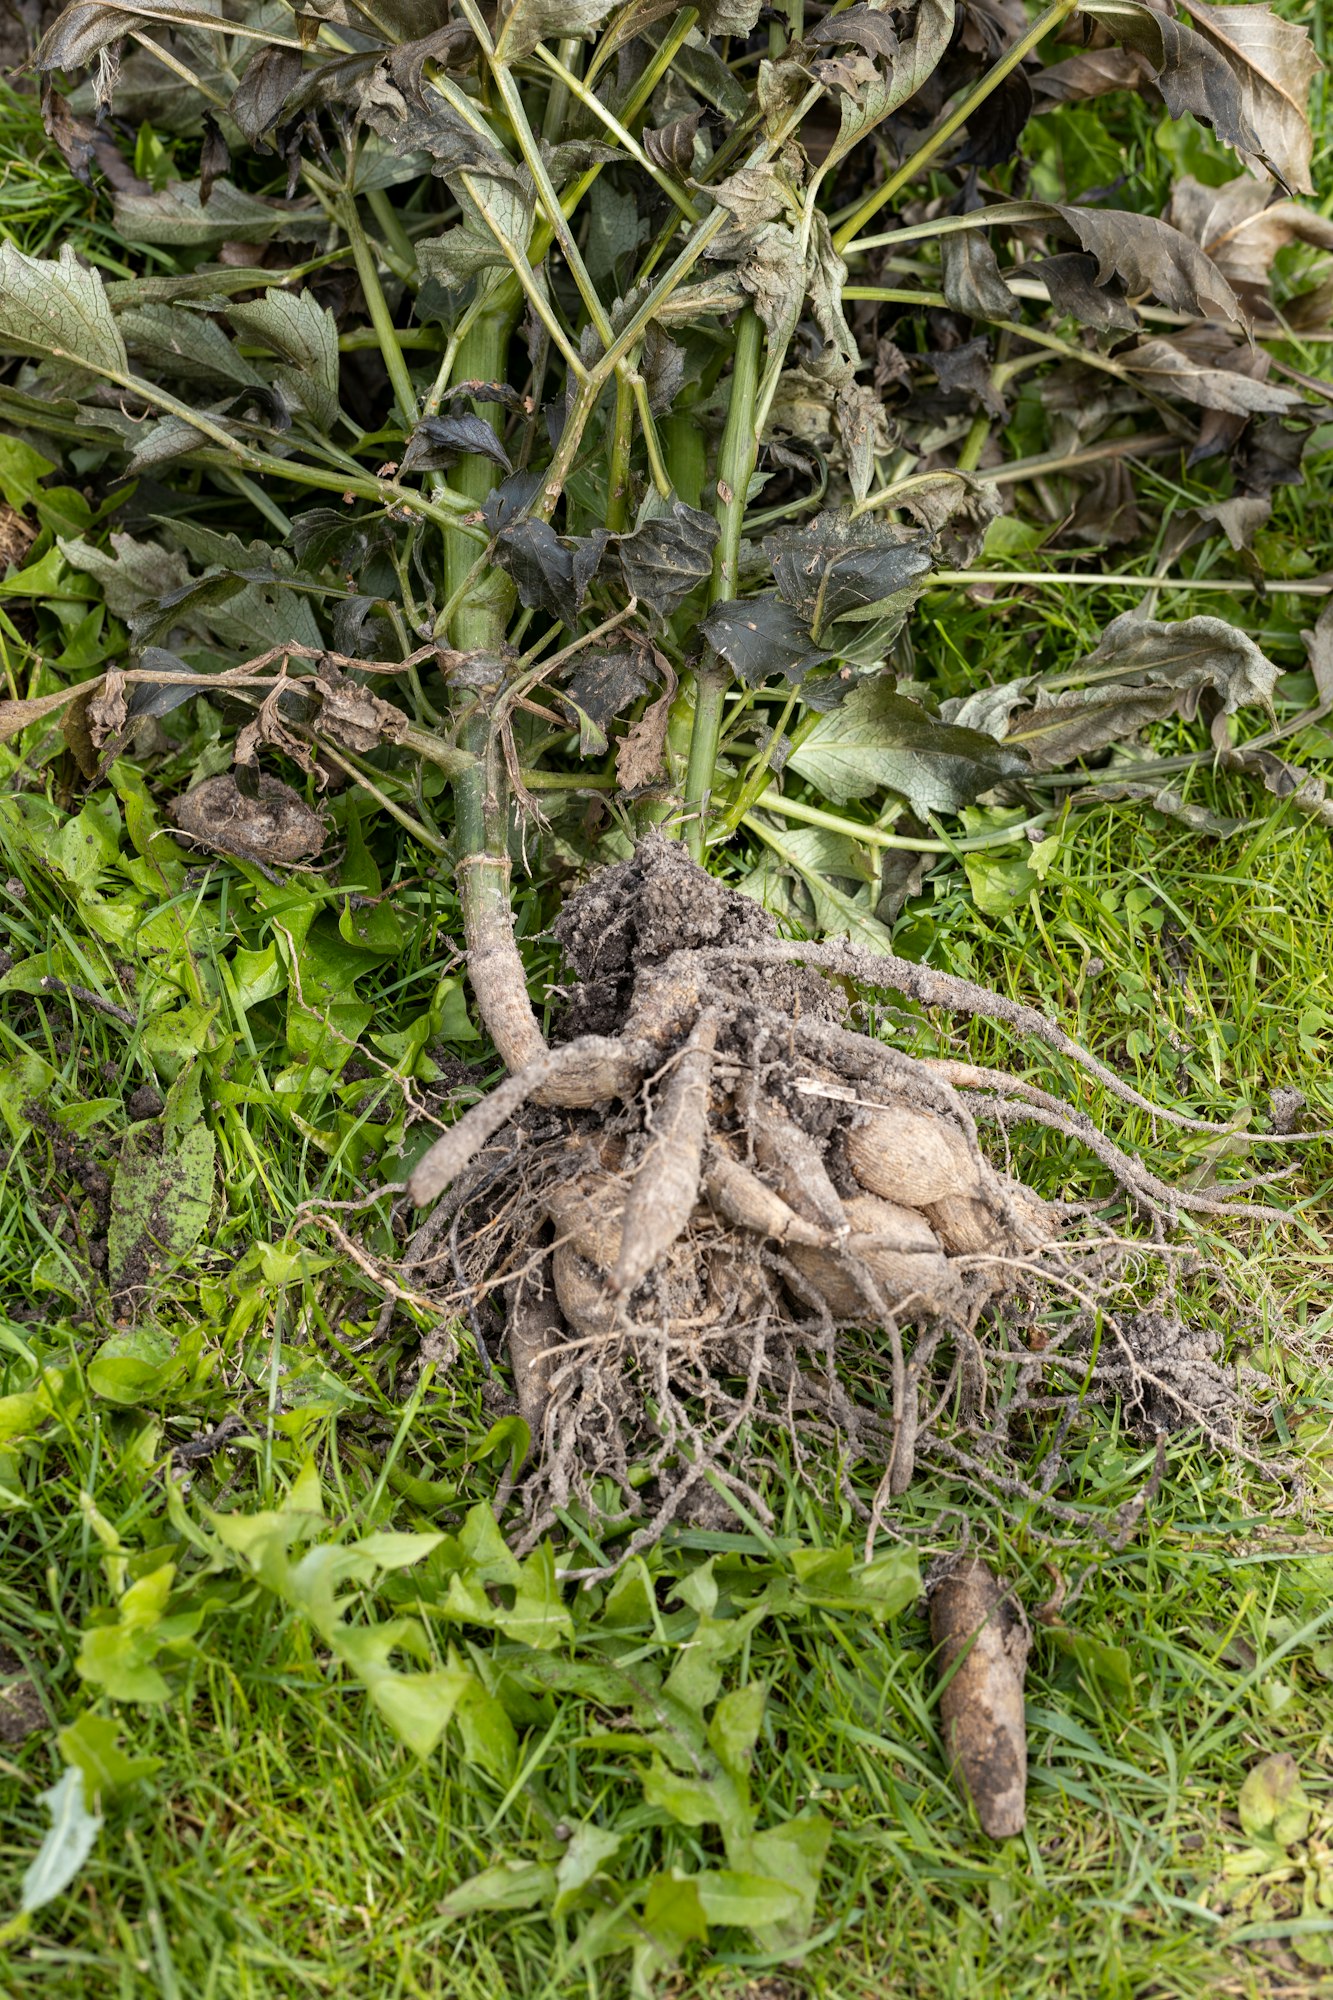
Lifting Tubers for Winter Storage
In colder climates, dahlia tubers need to be lifted out of the ground and stored over the winter to protect them from freezing temperatures. After the first frost has killed back the foliage:
- Cut back the stems to about 4-6 inches.
- Carefully dig around the plant with a fork, lifting the tuber clump out of the soil.
- Shake off excess soil, rinse with water, and let it dry for a few days in a frost-free, sheltered place.
- Once dry, store the tubers in a cool, dry place in boxes filled with dry peat moss or vermiculite. Keep them at a temperature of around 40-45°F (4-7°C). Check on them occasionally during the winter months to ensure they are not rotting or drying out.
By following these maintenance tips and addressing common problems as they arise, you can keep your dahlias looking their best throughout the growing season and ensure they return year after year.