
In This Article Show
For beginners, starting a dill garden might seem intimidating, but worry not! With over 13 years of gardening experience, I’m here to guide you through a simple, step-by-step process that will ensure your success. Growing dill at home doesn’t require extensive gardening skills or special equipment. In this post, I’ll outline five easy steps to help you start your dill garden.
How to Grow Dill At Home
Whether you have a spacious backyard or a small balcony suitable for containers, you’ll find that dill thrives in a variety of settings, provided it gets enough sunlight and care.
Step 1: Choosing the Right Seeds
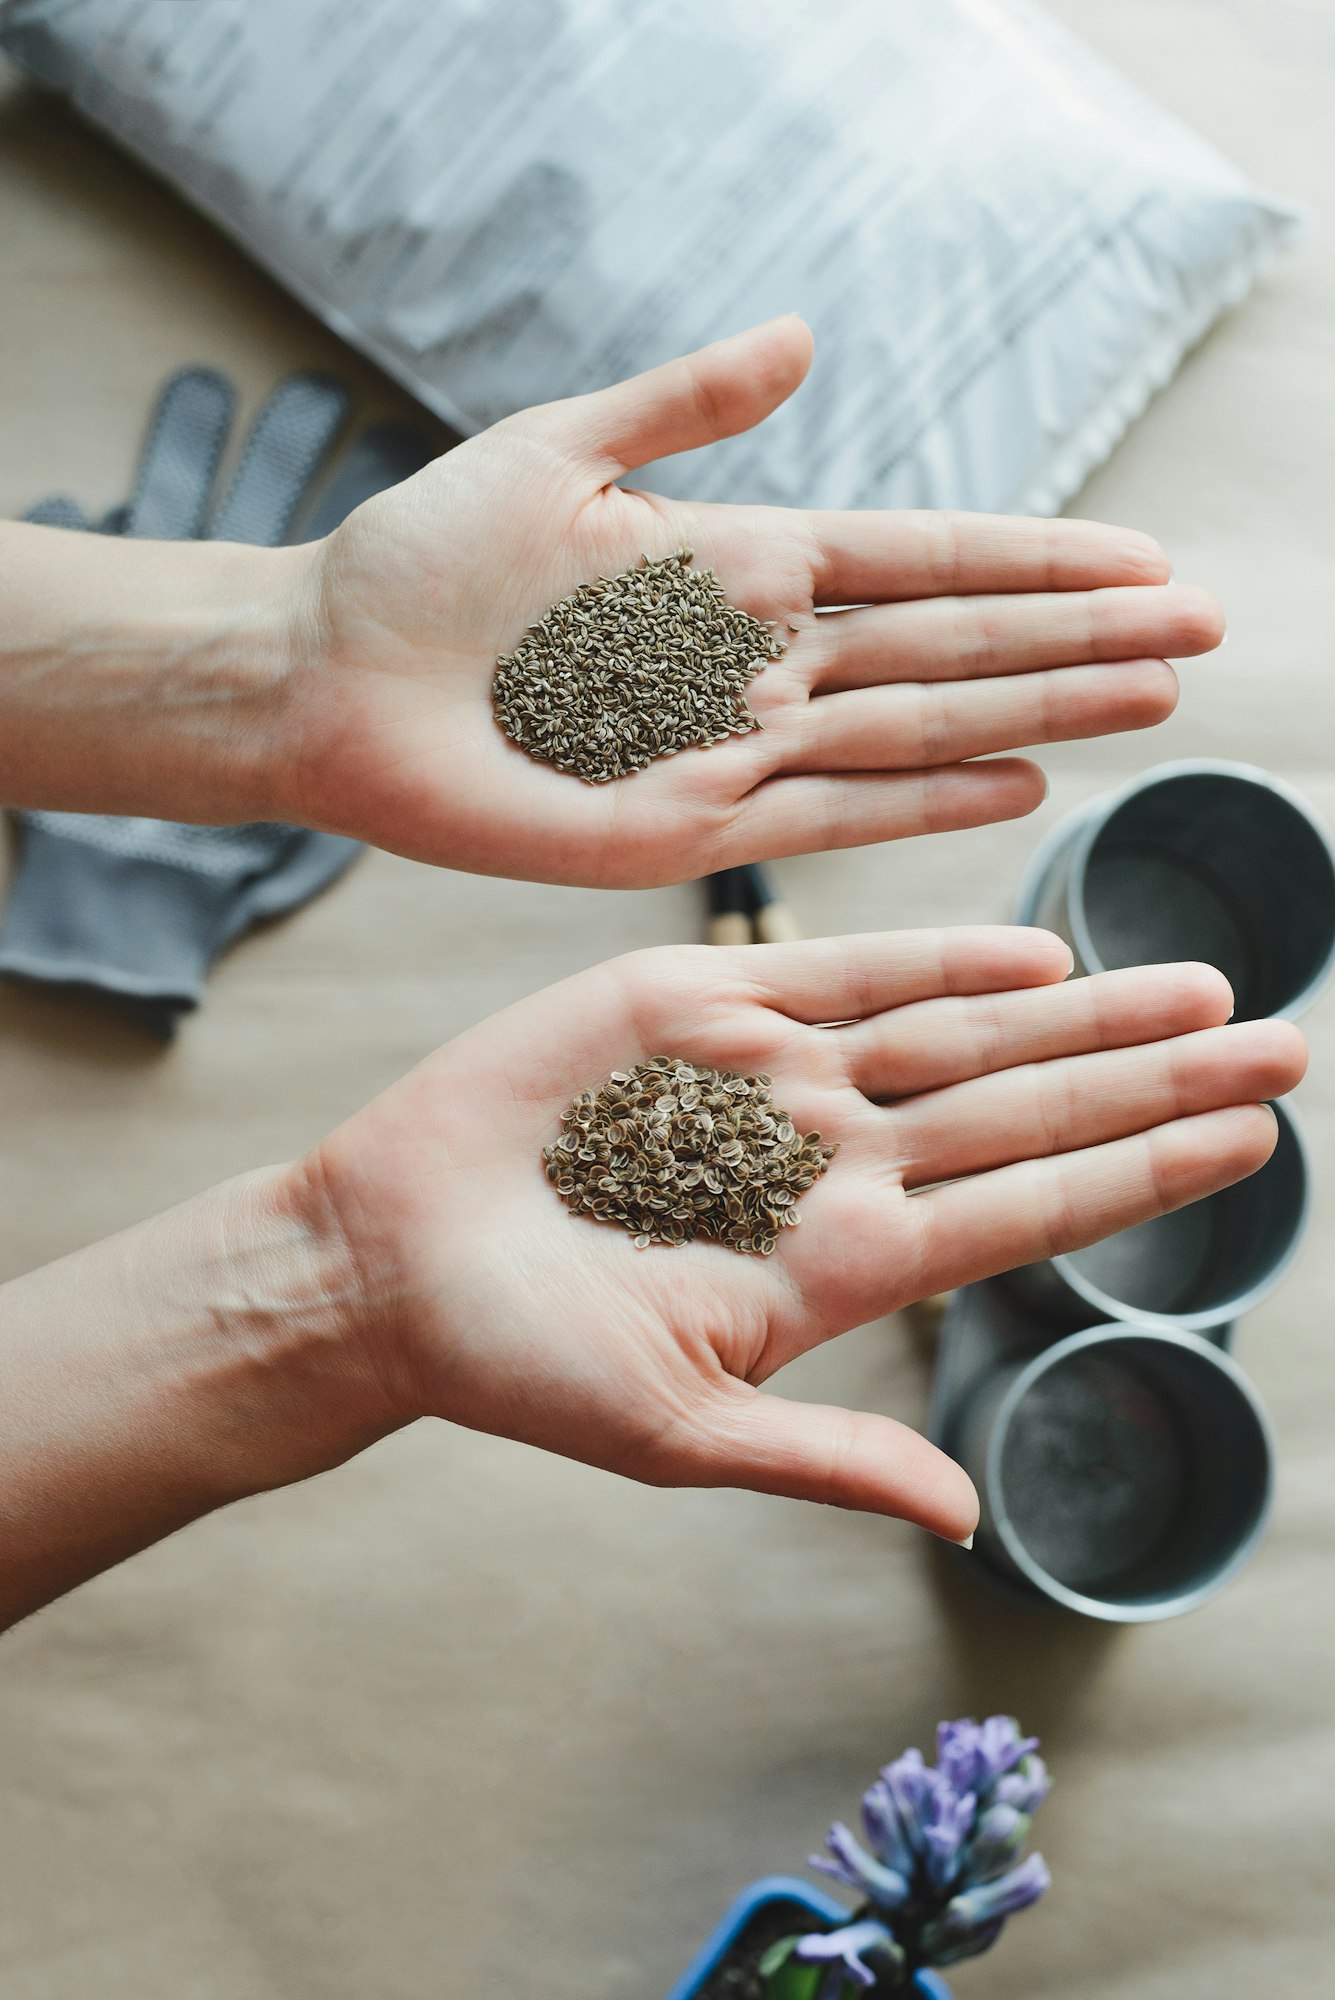
The foundation of a thriving dill garden starts with choosing the right seeds. High-quality seeds lead to healthy plants, so it’s crucial to start on the right foot. Here’s what you need to know about selecting the best dill seeds for your garden.
Importance of High-Quality Seeds
Using high-quality seeds increases your chances of growing robust dill plants. These seeds have a higher germination rate, meaning more of them will sprout, and they are less likely to carry diseases. Healthy seeds grow into healthy plants that can resist pests and harsh conditions better, ensuring a bountiful harvest.
Where to Purchase Dill Seeds
For the best selection, consider purchasing your seeds from reputable garden centers, nurseries, or online seed suppliers. These sources often provide detailed information about the origin and quality of the seeds. Look for organic or non-GMO labels if you prefer a more natural gardening approach.
Choosing the Right Variety
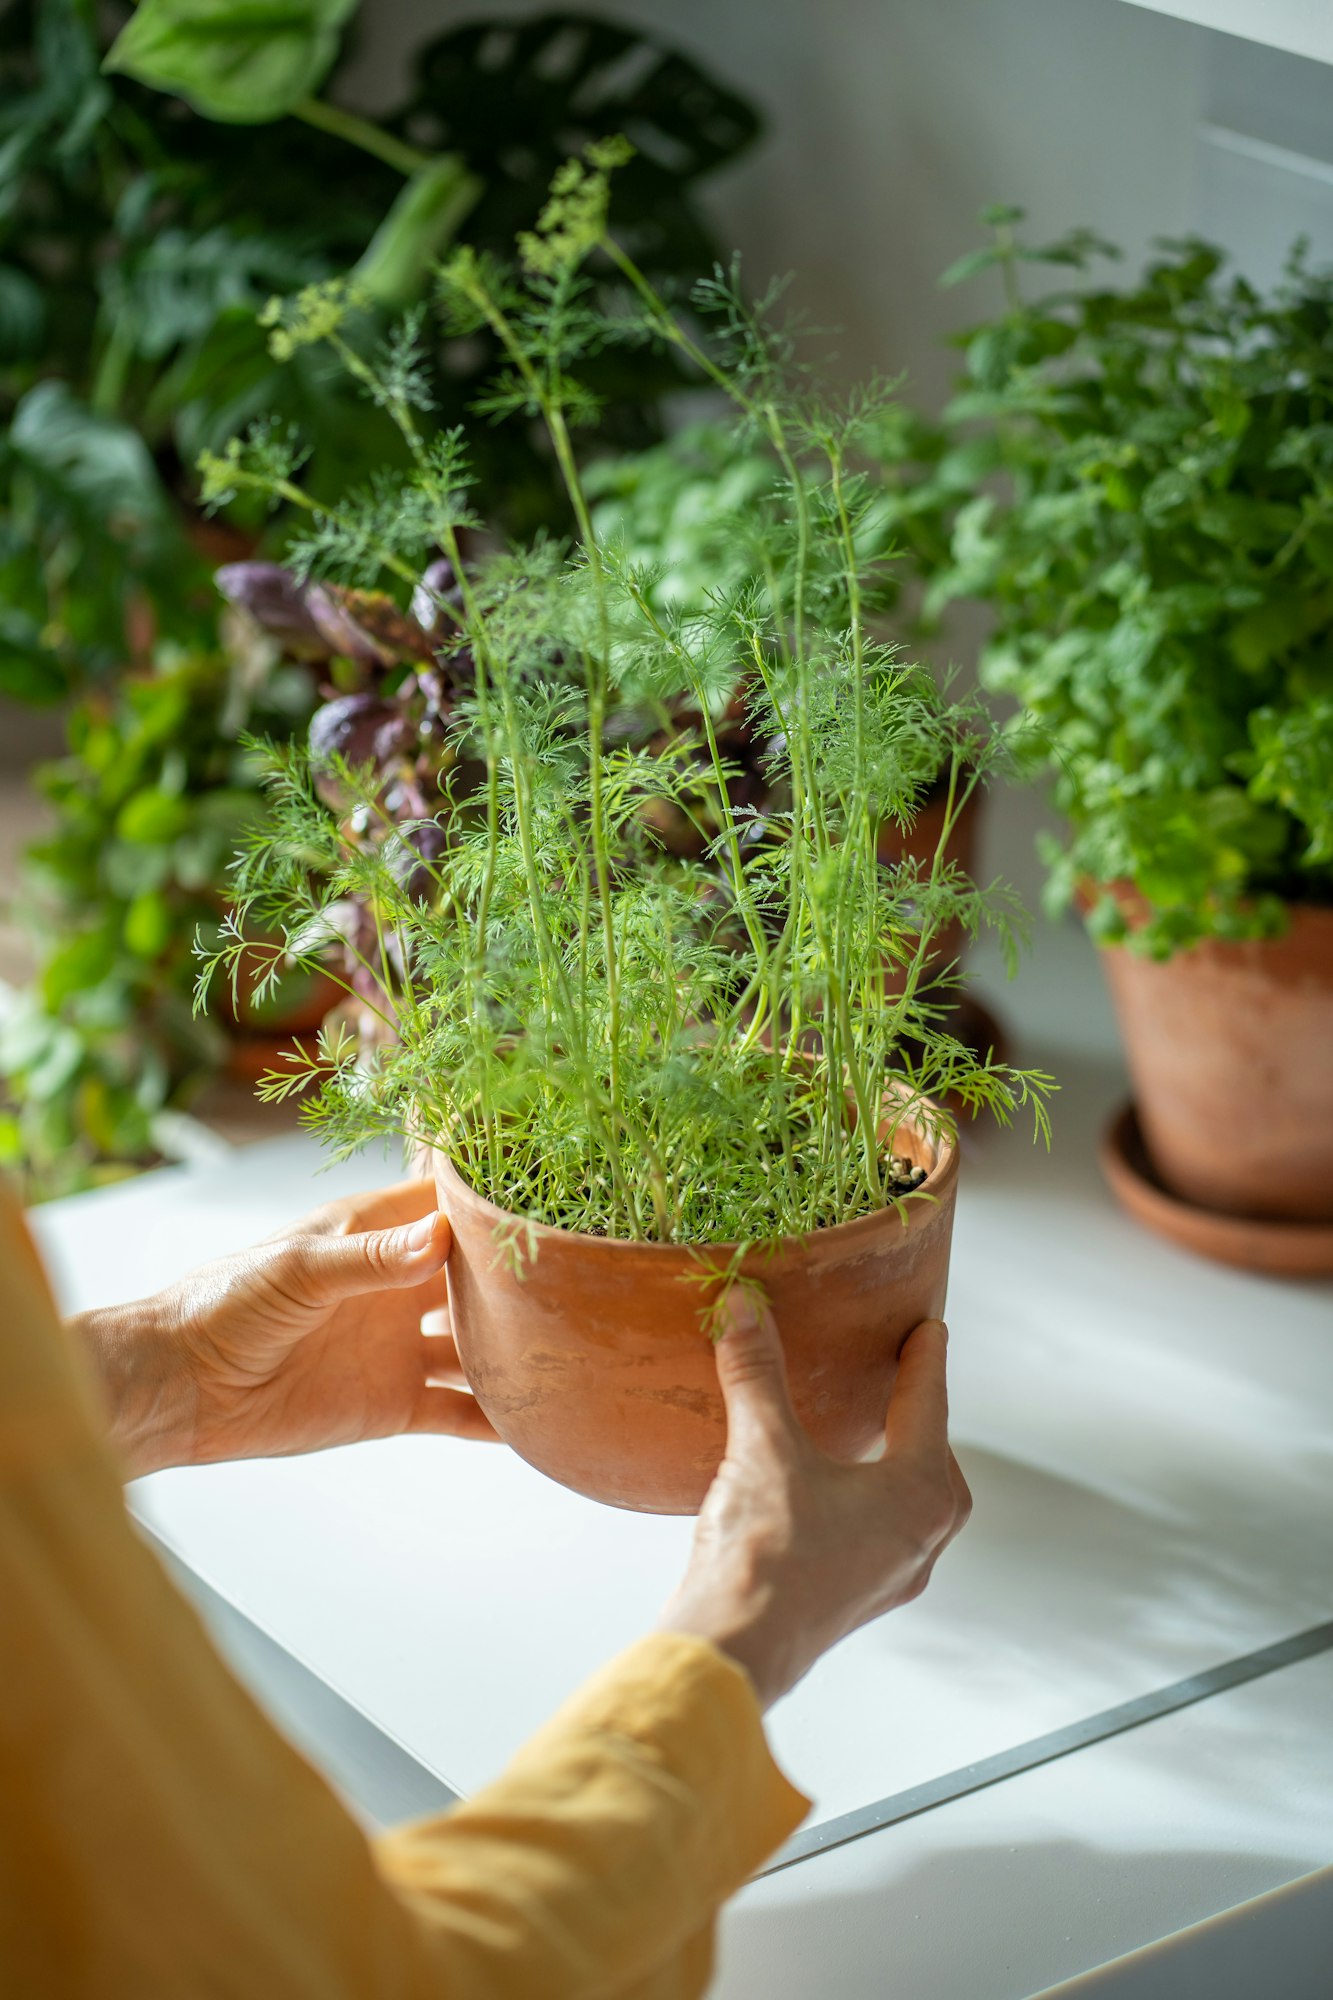
Dill comes in several varieties, each with its own growth habits and flavor profile. For container gardening, look for compact varieties like ‘Fernleaf’ or ‘Bouquet,’ which are well-suited to the limited space of pots and planters. These varieties tend to be more manageable and are ideal if you’re working with smaller areas or balconies.
If you have more space and are planting in garden beds, you might opt for taller varieties like ‘Long Island Mammoth’ or ‘Vierling.’ These types grow larger and produce more foliage, making them perfect for those who plan to use a lot of dill in their cooking or for preserving.
Tips for Seed Selection
- Always check the expiration date on seed packets. Fresh seeds will give you the best chance for successful germination.
- Consider your climate and the growing conditions in your area. Some dill varieties perform better in cooler climates, while others are suited for warmer areas.
- Think about your end use—whether for culinary uses, pickling, or ornamental purposes. This can guide your variety of choices.
Step 2: Planting Your Seeds
Once you’ve selected the right dill seeds, the next crucial step is planting them correctly. This stage will set the tone for the growth and health of your dill plants. Let’s discuss the best time to plant, how to prepare your soil, and what you need to know about seed placement and light requirements.
Best Time to Plant Dill Seeds
The timing of planting dill seeds largely depends on your local climate. Dill is a cool-season herb that thrives in milder temperatures. In most regions, the best time to plant dill seeds is either in early spring or late summer. For spring planting, aim to sow seeds directly into the garden about 1-2 weeks after the last spring frost.
This gives the soil enough time to warm up slightly, which is ideal for seed germination. In areas with mild winters, planting in late summer can allow for a fall harvest before temperatures drop too low.
Soil Preparation and Seed Depth
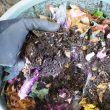
Dill isn’t particularly demanding when it comes to soil, but it does best in well-draining soil with a neutral pH. Prepare your planting area by loosening the soil to a depth of about 8-10 inches and mix in some compost or aged manure to improve fertility and drainage.
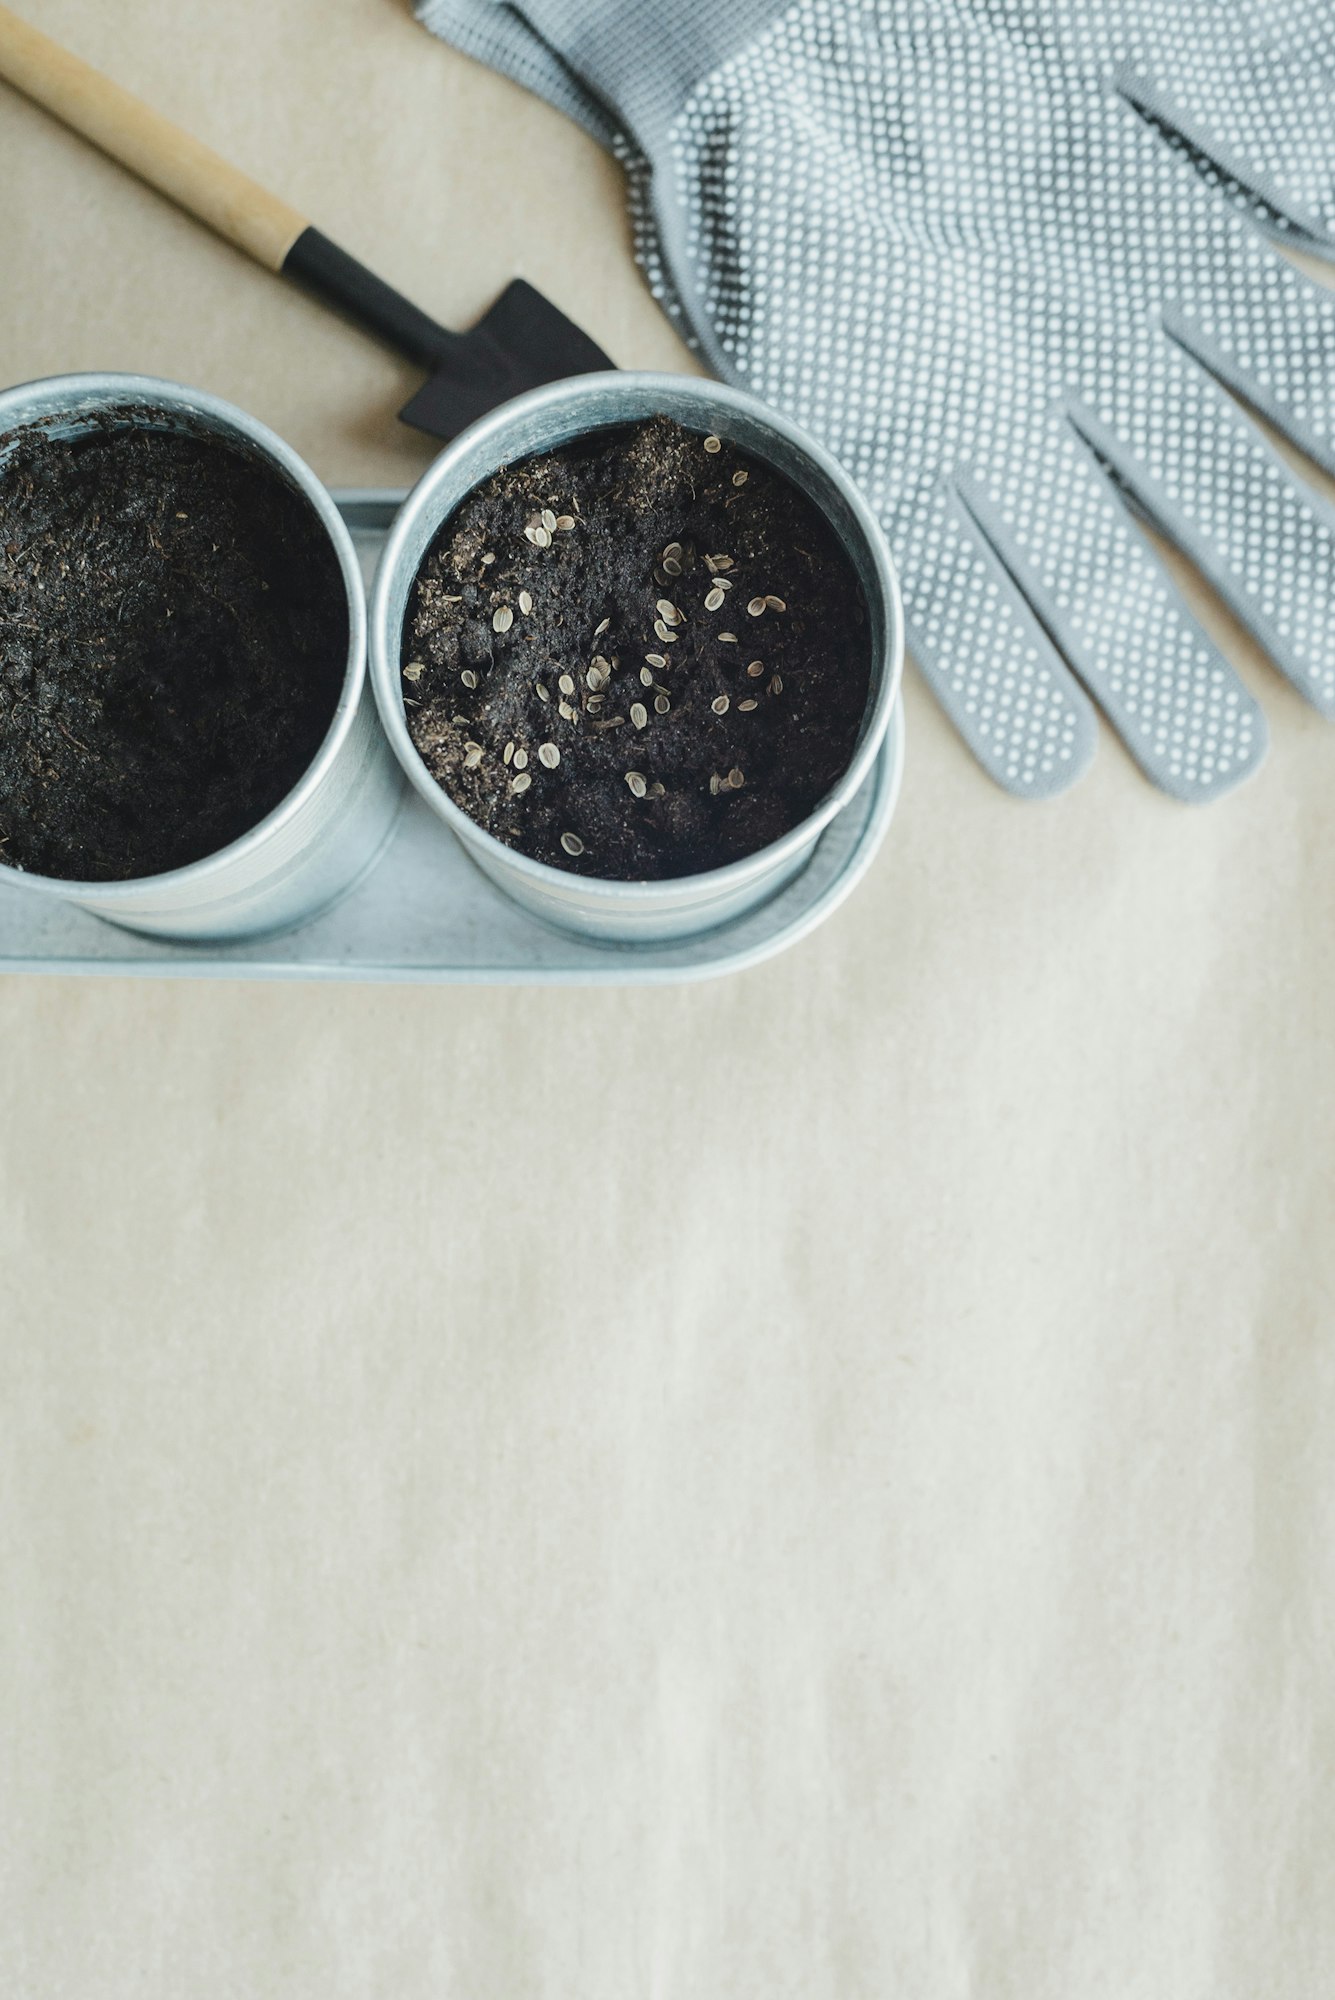
When planting the seeds, sprinkle them lightly on the surface of the soil and cover them with a thin layer of soil—about 1/4 inch deep. Dill seeds need some light to germinate, so avoid burying them too deeply.
Spacing and Light Requirements
Proper spacing is essential for the growth of dill. If you’re growing dill for its leaves, space the seeds about 18 inches apart. For seed production, allow more space between plants, as dill can grow quite tall and bushy. Each row of dill should be spaced about 12 inches apart to provide ample air circulation, which helps prevent fungal diseases.
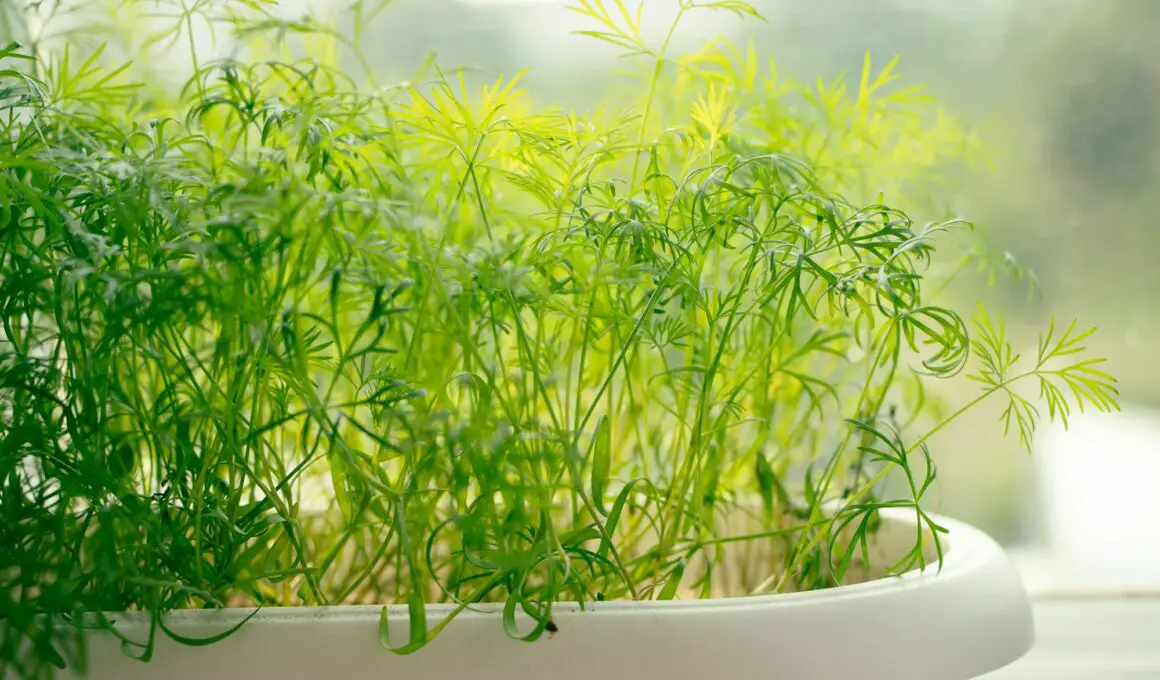
Light is critical for dill. The plant requires at least 6-8 hours of direct sunlight per day. If you’re growing dill indoors or in a partially shaded area, you might need to supplement with grow lights to ensure your plants get enough light. Placing your dill in a sunny spot will not only enhance its growth but also improve the flavor and aroma of the leaves.
Step 3: Caring for Your Dill Plants
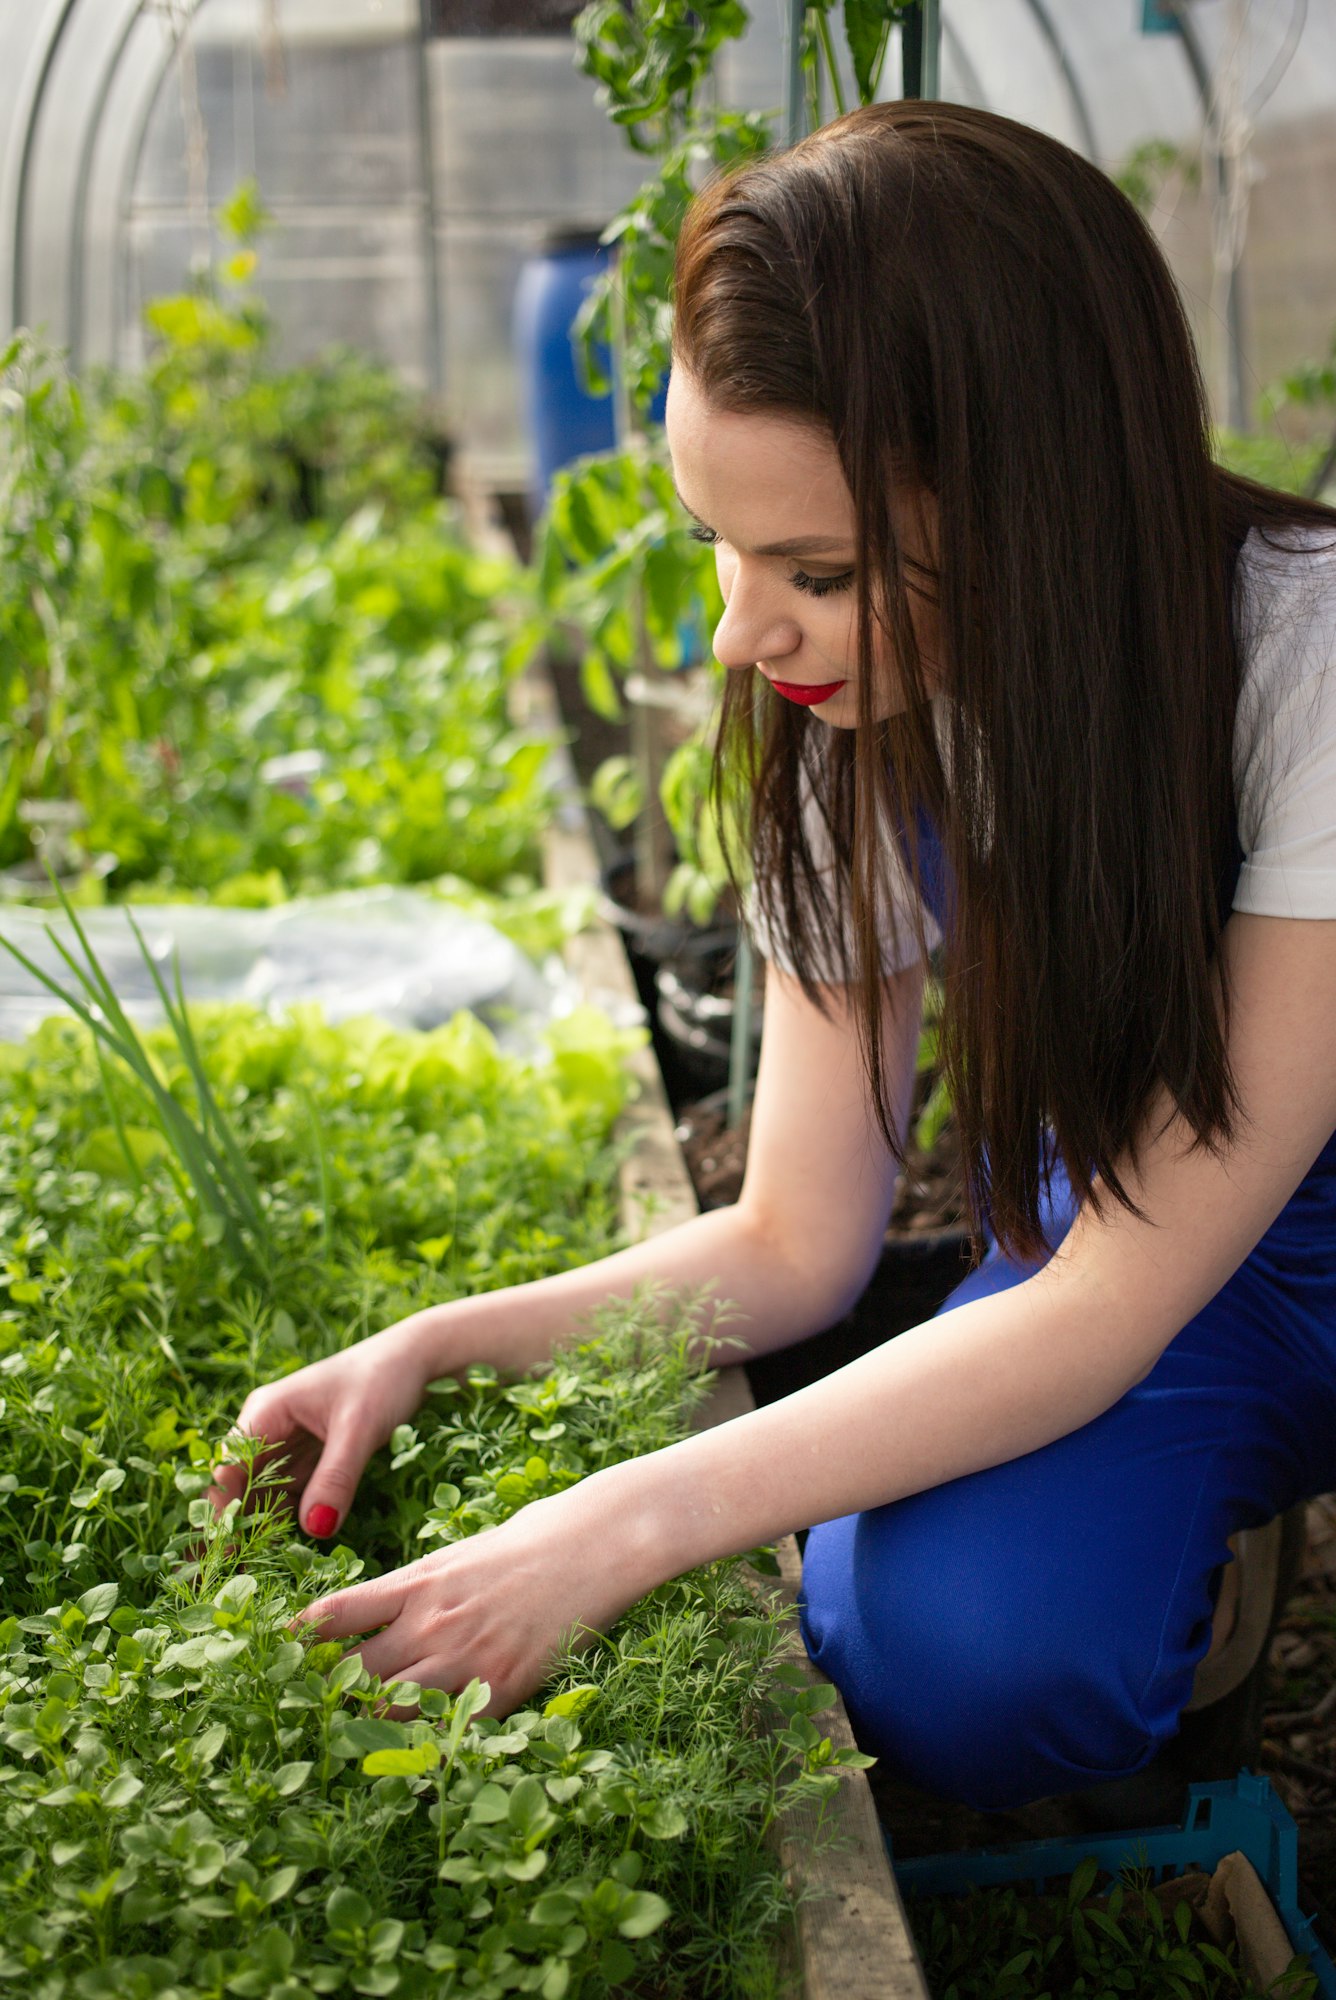
Proper care is essential to ensure your dill plants thrive. This includes regular watering, appropriate fertilization, and pest management. Here’s how to keep your dill healthy and productive throughout the growing season.
Watering Requirements
Dill prefers a consistent moisture level and does not tolerate dry soil well, especially when it’s young. Water your dill plants regularly, aiming to keep the soil moist but not soggy. Generally, this means watering deeply once or twice a week, depending on the weather conditions and soil type.
During particularly hot or dry periods, you may need to water more frequently. It’s best to water early in the morning to allow the foliage time to dry before nightfall, which can help prevent fungal diseases.
Fertilization and Natural Alternatives
While dill is not a heavy feeder, providing it with the right nutrients can help promote lush growth. If you’ve amended the soil with compost before planting, additional fertilizer may not be necessary. However, if growth seems slow or the plant appears pale, a light application of a balanced, water-soluble fertilizer can be beneficial. Apply this every 4-6 weeks during the growing season.
For a more organic approach, consider using fish emulsion or seaweed extract, which are gentle on plants and enrich the soil with nutrients. Additionally, regularly adding compost around the plants can help improve soil health and provide a slow-release source of nutrients.
Managing Pests Organically
Dill can attract a range of pests, such as aphids and spider mites. To manage these pests organically:
- Monitor your plants regularly for signs of pest activity. Early detection is key to effective control.
- Use insecticidal soap or neem oil as a treatment for infestations. These products are safe for use on edible plants and effective against many common pests.
- Encourage beneficial insects like ladybugs and lacewings, which prey on aphids and other pests. Planting flowers nearby or providing a habitat for these beneficial insects can help keep pest populations in check.
Step 4: Pruning and Maintenance
Pruning and regular maintenance are key aspects of growing dill that not only help maintain the health of your plants but also enhance their productivity. Let’s explore the best practices for pruning dill and keeping your garden tidy and healthy.
How and When to Prune Dill Plants
Dill grows quickly and can become leggy if not pruned correctly. Pruning also helps to extend the harvesting period and encourages fuller, bushier plants. Here’s how to do it effectively:
- Begin pruning when the plant is about 8-10 inches tall. This encourages branching, leading to more leaves for harvest.
- Pinch off the top growth. Use your fingers to pinch off the top few inches of the main stem, just above a leaf node. This promotes the growth of lateral branches.
- Regularly remove any weak or damaged stems. This helps to divert the plant’s energy to the stronger, more productive parts.
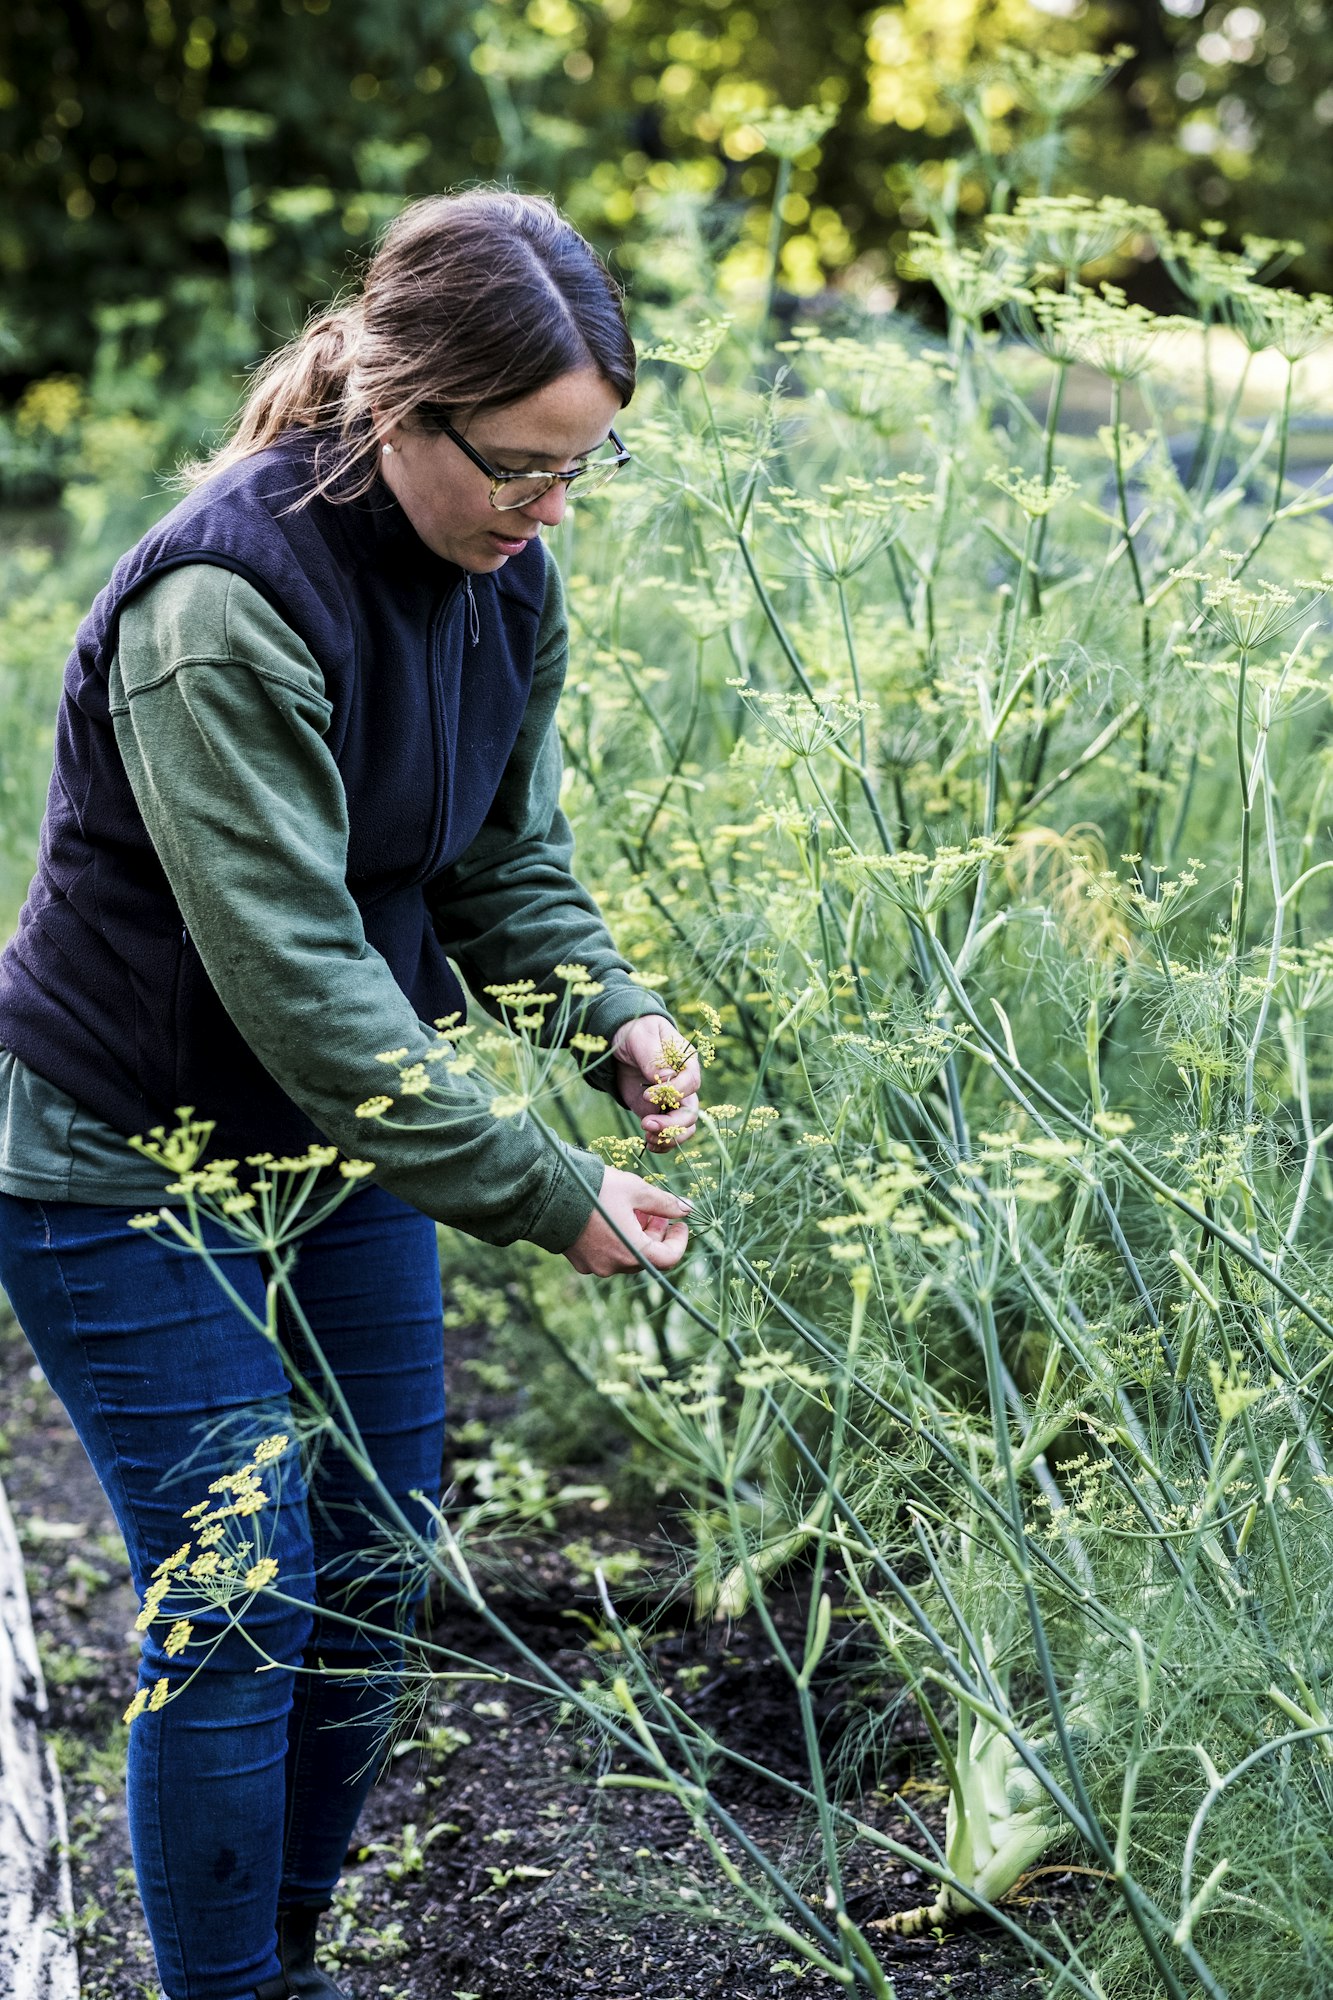
- Once flowering begins, regularly snip off the flower heads. This practice, known as deadheading, prevents the plant from going to seed too early in the season, prolonging leaf production. However, if you want some plants to produce seeds, allow a few flowers to develop and set seeds.
Weeding and General Maintenance Practices
Weeding is crucial as dill competes poorly with weeds, especially in its early growth stages. Weeds can overshadow young plants and use up nutrients and water from the soil. Here’s how to manage weeds and maintain your dill garden:
- Weed regularly. Hand-pulling weeds is often the most effective and least disruptive method around dill, especially in small gardens or containers.
- Mulch around your dill plants. Applying a layer of organic mulch such as straw, shredded leaves, or bark can help suppress weeds, retain soil moisture, and provide nutrients as it decomposes.
- Check for signs of stress or disease. Yellowing leaves, stunted growth, or wilting can indicate problems like nutrient deficiencies or disease. Address these issues promptly by adjusting watering practices, applying appropriate organic treatments, or removing affected parts of the plant.
Additional Maintenance Tips
- Watering: Maintain a consistent watering schedule, ensuring that the soil remains moist but not waterlogged.
- Feeding: If growth seems slow, apply a light dose of a balanced, organic fertilizer midway through the season to give your plants a boost.
Step 5: Harvesting Your Dill
Harvesting your dill at the right time and in the right way not only ensures the best flavor but also encourages continued growth. Here are guidelines on how to determine the best time to harvest, techniques for doing so effectively, and tips for storing and preserving your dill.
Knowing When to Harvest
Dill can be harvested as soon as the true leaves begin to form; this is typically 6 to 8 weeks after planting. The leaves are most flavorful just before the plant begins to flower. If you’re harvesting for the seeds, wait until the flowers have matured and the seeds begin to turn brown before collecting them.
Techniques for Harvesting Dill
To harvest dill without harming the plant, follow these tips:
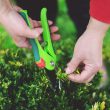
- Use sharp scissors or shears: Clean, sharp cuts help prevent damage to the tender stems.
- Harvest in the morning: The essential oils are strongest and the plants are most hydrated at this time, resulting in better flavor and storage life.
- Cut about one-third of the leaves: This encourages new growth and can help prolong the life of the plant. Always cut close to a branching point or a leaf node.
Storing and Preserving Fresh Dill
After harvesting, there are several ways to store and preserve dill to maintain its freshness and flavor:
- Refrigeration: Wrap the dill leaves in a damp paper towel and place them in a plastic bag. Store in the vegetable drawer of your refrigerator. This method will keep the dill fresh for about 1-2 weeks.
- Freezing: Dill can be frozen either by chopping the leaves and placing them in ice cube trays with water or by freezing the whole sprigs in airtight bags. Frozen dill maintains its flavor for several months and can be used directly from the freezer.
- Drying: Tie the dill sprigs into small bunches and hang them in a warm, dry place out of direct sunlight. Once dried, strip the leaves and seeds from the stems and store them in an airtight container.
Additional Preservation Tips
- Making dill vinegar: Steep fresh dill in vinegar for a few weeks to create a flavorful condiment for salads and recipes.
- Pickling: Dill is a classic ingredient in pickles. Combine it with vinegar, water, and spices to pickle cucumbers or other vegetables.
By following these harvesting and storage techniques, you can enjoy your home-grown dill for many meals to come. Properly managing the harvest not only maximizes the yield but also extends the enjoyment of your gardening efforts.