In This Article Show
Starting seeds indoors isn’t just about getting a head start on the growing season; it’s about creating an optimal environment for young plants to flourish, ensuring stronger, more resilient growth when they finally reach the great outdoors.
Why consider starting seeds indoors? For starters, it allows gardeners to control the environment: temperature, light, and moisture can all be managed more effectively inside than in the unpredictable outdoor climate.
This guide covers everything from determining the best time to start your seeds indoors based on your USDA hardiness zone to the essential supplies you’ll need. We’ll also walk you through a step-by-step process to ensure your seedlings get the best possible start, paving the way for a successful transition to your garden.
Why Start Seeds Indoors?
Embarking on your gardening journey by starting seeds indoors can dramatically transform your approach to growing plants. Here’s why it’s a game-changer for gardeners at all levels:
Faster Germination in Controlled Conditions
Seeds are like babies of the plant world; they thrive in conditions that are just right. When you start seeds indoors, you give them a cozy blanket of warmth, the perfect amount of moisture, and the gentle light they need to wake up and grow. This controlled environment leads to quicker germination compared to the unpredictable conditions outdoors.
By maintaining ideal temperatures and humidity levels, your seeds don’t just sprout faster; they do so more reliably, ensuring that your gardening efforts are rewarded with sprouts that are eager to grow.
Get Gardening For Beginners
Our new EBOOK shows newcomers and green thumbs alike a step by step guide to growing the garden of their dreams.
Early Start for Longer Growing Season Crops
For those of us not blessed with year-round warmth and sunshine, the growing season can feel all too short. Starting seeds indoors gives us a head start, extending the growing season for our plants. This is especially crucial for crops that need more time to mature than our local climates provide.
For example, tomatoes, peppers, and eggplants benefit immensely from this early start. By the time the frost has said its final farewell, your plants will be ready to face the world, well on their way to producing a harvest that’s worth the wait.
Protection from Outdoor Elements and Pests
The great outdoors is not always great for the tender, young sprouts that emerge from seeds. Wind, heavy rain, and fluctuating temperatures can spell disaster for these youngsters. Not to mention, the outdoors is a buffet for a variety of pests, from insects to birds, all looking for their next meal.
Starting your seeds indoors shields them from these hazards, allowing them to grow strong and resilient in a protected environment. This early protection is crucial in building a robust foundation for your plants, one that will serve them well as they eventually transition outdoors.
By starting seeds indoors, you’re not just giving your plants a protective start; you’re also setting the stage for a more successful, productive garden.
Understanding Your Growing Zone
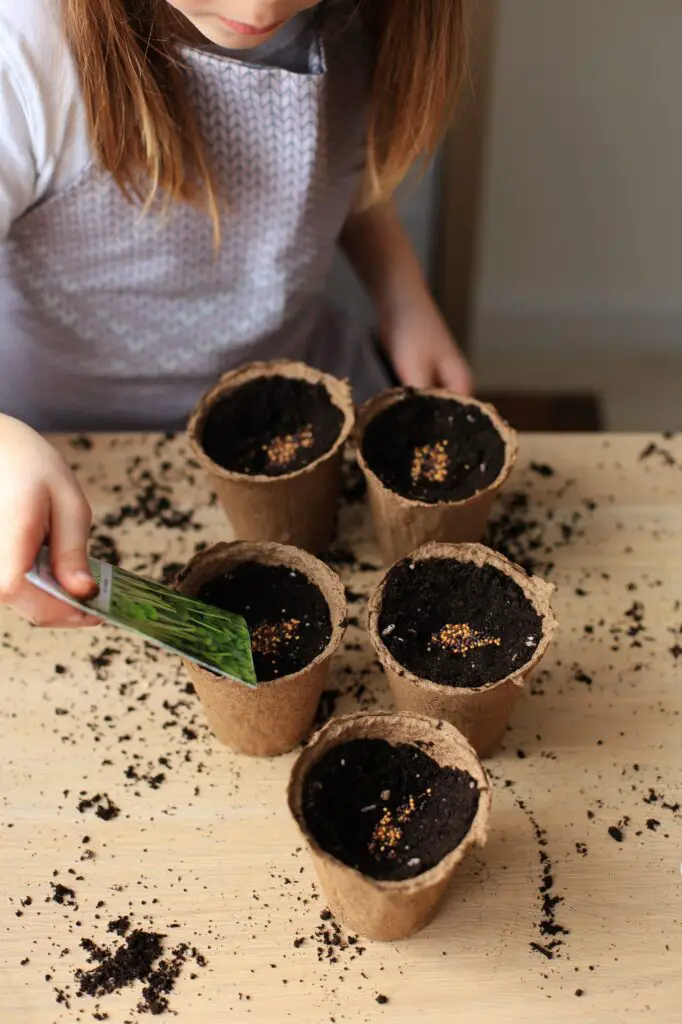
Navigating the gardening calendar starts with a crucial step: understanding your USDA hardiness zone. This might sound like a bit of horticultural jargon, but it’s essentially a guide that helps gardeners determine the most opportune times to sow seeds and plant outdoors, ensuring the best chance for plant survival and growth throughout the season.
Explanation of USDA Hardiness Zones
The United States Department of Agriculture (USDA) has divided North America into 13 primary hardiness zones based on average annual minimum winter temperatures. Each zone is a guide for identifying how well plants will withstand the winter cold in your location.
Get Gardening For Beginners
Our new EBOOK shows newcomers and green thumbs alike a step by step guide to growing the garden of their dreams.
The zones range from 1 (the coldest) to 13 (the warmest), with each zone being 10°F warmer (or colder) in an average winter than the adjacent zone. Knowing your zone helps you choose plants that are best suited to your environment and, crucially, when to start them.
Resources to Find Your Specific Growing Zone
Finding your growing zone is easier than ever. The USDA’s official website offers a detailed Hardiness Zone Map where you can input your zip code to discover your exact zone. Additionally, numerous gardening apps and websites provide zone information and tailored gardening tips based on your locality.
These resources are invaluable for planning your garden, as they take much of the guesswork out of timing and plant selection.
Adjusting Indoor Starting Times Based on Your Zone
Once you know your hardiness zone, you can adjust your seed starting schedule accordingly. Generally, you’ll count backward from your area’s last expected frost date to determine when to start seeds indoors.
This can range from 6 to 8 weeks for warmer zones to as much as 10 to 12 weeks for cooler zones. The goal is to have your seedlings ready to go outside after the danger of frost has passed but not so early that they outgrow their indoor space.
For example, if you’re in Zone 5, where the last frost might be in late April, you’d typically start seeds indoors around late February to early March. Conversely, in Zone 9, where the last frost could be as early as late January, starting seeds indoors might begin in November or December for certain crops.
Essential Supplies for Starting Seeds Indoors
Embarking on the indoor seed-starting journey sets the stage for a flourishing garden. To ensure success from the get-go, it’s crucial to have the right tools and conditions. Here’s a rundown of the essential supplies you’ll need to start your seeds indoors, creating an optimal environment for those first tender shoots to emerge.
Seed Starting Trays or Containers
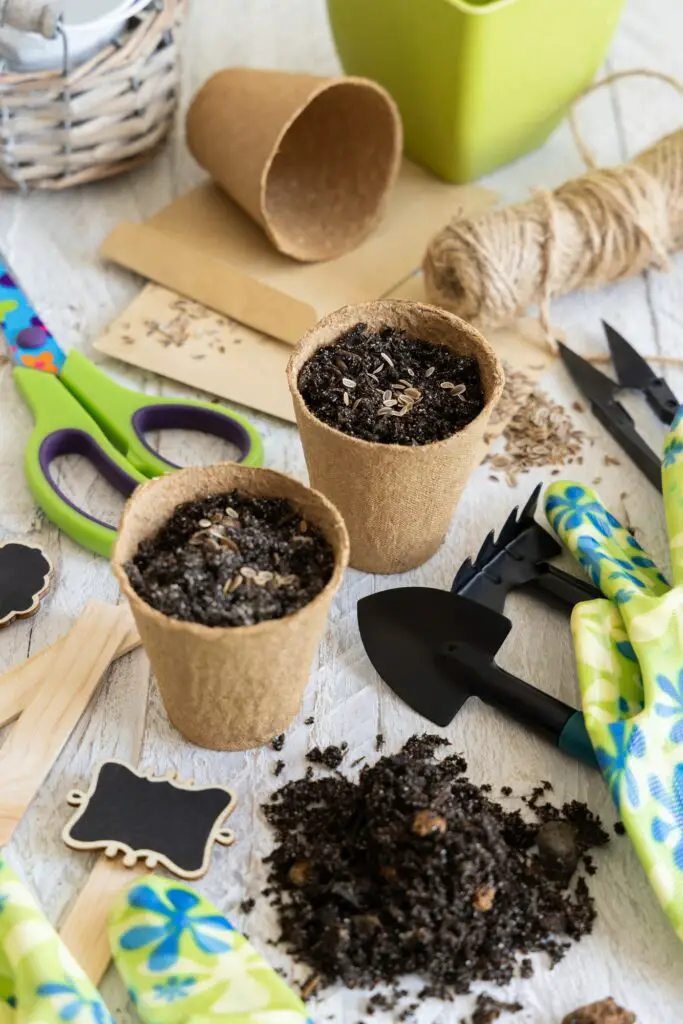
The foundation of your indoor setup begins with choosing the right containers. Seed starting trays are popular for convenience, often with a clear plastic lid to retain humidity. However, you’re not limited to store-bought options.
Repurposed containers like yogurt cups, egg cartons, or even homemade newspaper pots can work just as well, provided they have drainage holes. The key is ensuring your seedlings have enough room to grow without being overcrowded.
Soil Types and Mixes Ideal for Seed Germination
Not all soil is created equal, especially when it comes to starting seeds. A lightweight, sterile seed starting mix is ideal, offering the perfect balance of aeration, moisture retention, and drainage.
These mixes usually contain peat moss, vermiculite, and perlite, which encourages strong root development and reduces disease risk. Avoid using garden soil; it’s too heavy and may contain pathogens harmful to young plants.
Lighting and Temperature Control Methods
Seedlings need plenty of light to grow strong and healthy. Investing in grow lights can make all the difference if you lack natural sunlight. LED or fluorescent grow lights mimic the sun’s spectrum, providing your plants with the energy they need.
As for temperature, most seeds germinate best in warm conditions, around 65-75°F (18-24°C). A heat mat under your seed trays can help maintain this consistent warmth, especially in cooler environments.
Watering Tools and Techniques for Young Seedlings
Overwatering is as detrimental as under-watering. Seedlings require moist soil, but it’s important to avoid soggy conditions. Using a spray bottle or a small watering can with a fine rose attachment allows you to water without disturbing the soil or dislodging seeds gently.
Monitoring soil moisture is key; aim for a consistent level of dampness, and consider covering trays with a plastic dome or wrap to help retain humidity until seeds germinate.
Equipping yourself with these essentials paves the way for a successful indoor seed-starting venture. Each component, from the right container to the optimal soil mix, lighting, and watering methods, plays a pivotal role in nurturing the early stages of plant growth.
Deciding Which Seeds to Start Indoors
As you prepare to breathe life into your garden, deciding which seeds to start indoors versus those to sow directly outdoors is a critical step. This decision can impact not only the health and timing of your plants but also your overall gardening success. Here’s a guide to help you navigate this decision-making process, including a list of plants that are ideal candidates for indoor starts, and tips for selecting the best seeds for your garden.
List of Common Vegetables, Herbs, and Flowers to Start Indoors:
- Vegetables: Tomatoes, peppers, eggplants, broccoli, cauliflower, and cabbage are all excellent choices for indoor starts. These plants benefit from a longer growing season and can be protected from early pests by starting indoors.
- Herbs: Basil, parsley, cilantro, and dill can all get a head start indoors. These herbs tend to have a slower germination rate, so starting them inside can help ensure they’re ready for transplanting at the right time.
- Flowers: Petunias, marigolds, pansies, and snapdragons are great options to start inside. Starting flowers indoors allows you to enjoy their beauty early in the season and often results in healthier, more robust plants.
Considerations for Direct Sow vs. Indoor Start Seeds
- Germination Time: Plants with a longer germination period or those that require a longer growing season than your local climate allows should start indoors.
- Climate: If you live in a region with a short growing season, starting seeds indoors can extend the time your plants have to mature and produce.
- Plant Sensitivity: Some plants don’t transplant well due to sensitive root systems (e.g., carrots, beets, and radishes) and are better off being sown directly into the garden.
Tips for Selecting High-Quality Seeds
- Purchase from Reputable Suppliers: Look for seed companies with positive reviews and a commitment to seed quality. Organic and non-GMO labels can also be indicators of high-quality seeds.
- Check Packaging Dates: Ensure the seeds are intended for the current growing season to guarantee germination rates. Seeds lose viability over time.
- Research Plant Varieties: Some varieties are better suited for certain climates or conditions. Choose varieties that match your growing zone and garden environment.
- Germination Rates: Check the seed packet for germination rate information. A higher germination rate means a higher likelihood that the seeds will sprout successfully.

Starting seeds indoors allows you to control the environment and gives your plants a head start, leading to a more productive garden. By selecting the right seeds and understanding the needs of each plant, you can optimize your gardening efforts, ensuring a lush, vibrant garden filled with healthy vegetables, herbs, and flowers.
Timing: When to Start Your Seeds Indoors
Getting the timing right for starting seeds indoors is akin to setting a solid foundation for a building—it’s essential for ensuring the rest of the structure is stable and successful. Here’s how to nail the timing, including general guidelines, specific advice for popular plants, and tips on creating a personalized planting calendar that syncs perfectly with nature’s schedule.
General Guidelines for Counting Back from the Last Frost Date
Find Your Last Frost Date
Your local cooperative extension office or a reliable gardening website can provide this date. It’s the average date of the last spring frost in your area.
Count Backwards
General advice suggests starting most seeds indoors 6 to 8 weeks before your last frost date. However, this can vary based on the crop. Fast-growing plants like lettuce might need less time, whereas slower growers like tomatoes might need more.
Consider Plant Growth Rate
Factor in how quickly the seedlings grow and how soon they can safely be transplanted outside after the risk of frost has passed.
Specific Timing for Popular Plants
- Tomatoes: Start seeds indoors 6 to 8 weeks before your last frost date. They need a warm start and plenty of time to develop.
- Peppers: Like tomatoes, peppers should be started 6 to 8 weeks before the last frost. They also enjoy warmth and need time to mature.
- Lettuce: Since lettuce can tolerate a bit of cold, start these seeds 4 to 6 weeks before the last frost date. They’re quick growers and can be moved outside sooner.
- Flowers: Timing can vary widely depending on the species. For example, petunias and pansies should be started 10 to 12 weeks before the last frost, as they grow more slowly and need more time to develop before transplanting.
Creating a Personalized Planting Calendar
- List Your Plants: Write down all the plants you plan to grow and their specific needs regarding indoor start time and transplanting.
- Organize by Date: Using your last frost date as a reference point, calculate the start dates for each type of seed and mark them on a calendar. Don’t forget to consider the transplanting dates as well, ensuring they align with your plants’ tolerance for outdoor conditions.
- Monitor and Adjust: Be prepared to adjust your calendar based on observations of your plant’s growth and the current year’s weather conditions. Flexibility is key in gardening, as not every season is the same.
By understanding and applying these timing principles, you can optimize the growth of your indoor-started seeds, ensuring they have the best chance of thriving once transplanted outdoors. A personalized planting calendar takes the guesswork out of the process, allowing you to focus on the joy of watching your garden grow.
Step-by-Step Guide to Starting Seeds Indoors
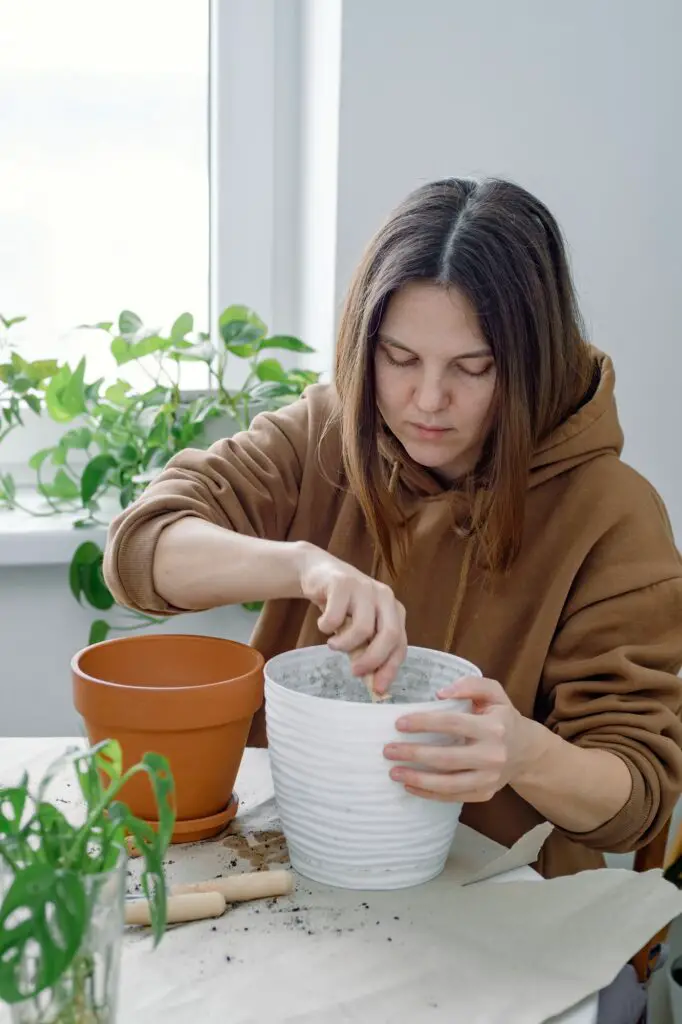
Starting seeds indoors is an exciting journey into the heart of gardening. It’s about more than just planting; it’s about nurturing life from the very beginning. Follow this step-by-step guide to ensure your indoor seed-starting adventure sets you on the path to a bountiful garden.
1. Preparing Your Containers and Soil
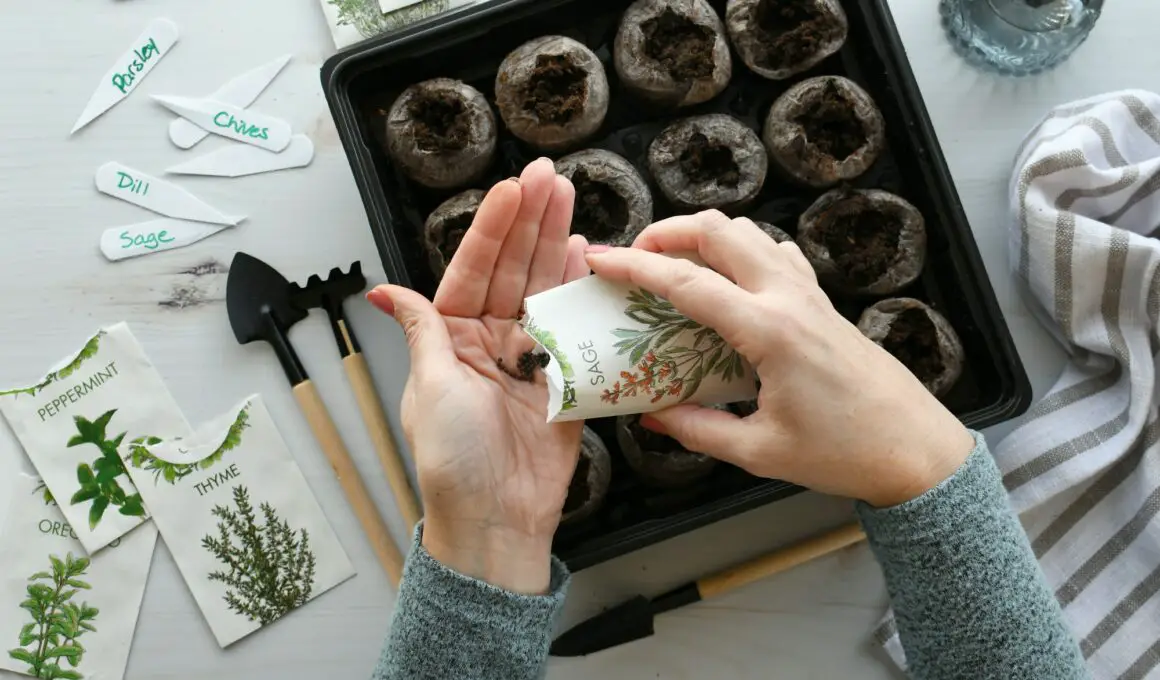
- Choose the Right Containers: Whether you’re using seed starting trays, peat pots, or repurposed household items, ensure they have good drainage. Clean them thoroughly if they’ve been used previously to prevent disease.
- Select a High-Quality Seed Starting Mix: Opt for a lightweight, nutrient-rich mix designed for seed germination. Avoid using garden soil as it may contain pathogens harmful to seedlings.
- Prepare the Mix: Moisten the soil mix slightly before filling your containers. It should be damp but not soggy, providing an ideal environment for seeds.
2. Planting the Seeds
- Read the Seed Packet: It will provide specific instructions on how deep to plant the seeds. A general rule of thumb is planting seeds at a depth of about two times their width.
- Sow the Seeds: Place seeds in the soil according to the recommended spacing. For small seeds, it may be easier to sprinkle them on top of the soil and lightly cover them. Larger seeds can be pressed into the soil to the appropriate depth.
- Label Your Containers: Use plant labels to keep track of what you’ve planted and when. This will help you monitor growth and keep your planting schedule organized.
3. Ideal Conditions for Germination (Light, Temperature, Humidity)
- Light: After planting, seeds don’t initially need light to germinate, but once they sprout, ensure they get plenty of it. Position them under grow lights or in a sunny window.
- Temperature: Most seeds germinate best in warm conditions, around 65-75°F (18-24°C). A heat mat can help maintain this steady warmth.
- Humidity: Covering your containers with a plastic dome or wrap can help retain moisture and warmth, creating a mini greenhouse effect. Just remember to remove the cover once seeds have sprouted to prevent mold growth.
4. Monitoring Growth and Troubleshooting Common Issues
- Watering: Keep the soil consistently moist but not waterlogged. Use a spray bottle for gentle watering that won’t disturb the seeds or young roots.
- Thinning Seedlings: If you’ve sown multiple seeds per container, you may need to thin them out once they’ve sprouted to avoid overcrowding. Choose the strongest seedling and gently remove the others.
- Dealing with Issues: Be on the lookout for signs of mold, damping off (a fungal disease that affects seedlings), or pests. Proper ventilation, not overwatering, and using sterile soil can help prevent these problems.
Starting seeds indoors is a rewarding process that sets the stage for a successful gardening season. By following these steps, you’re not just growing plants; you’re cultivating a deeper connection to the food you eat and the beauty you create in your garden.
Transplanting Seedlings Outdoors
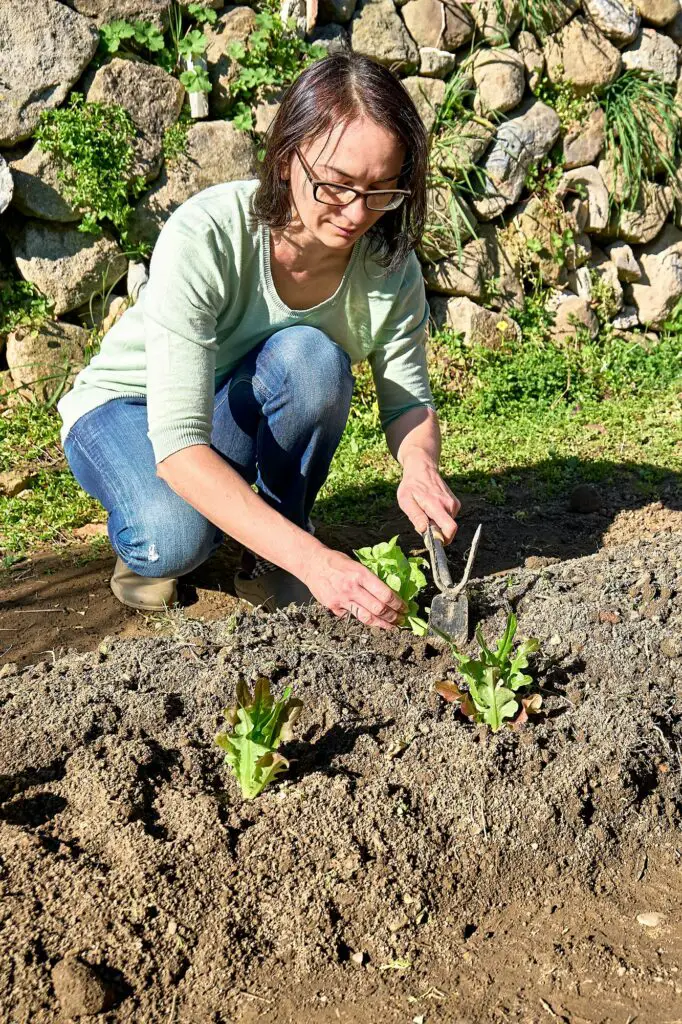
After nurturing your seedlings indoors, the next step in their journey is moving them to their permanent home in the garden. Transplanting is a critical phase, requiring care to ensure your plants adapt and thrive outdoors. Here’s how to successfully transition your seedlings from the cozy indoors to the great outdoors.
Hardening Off Seedlings to Prepare Them for Outdoor Conditions
What is Hardening Off?
This process gradually acclimates indoor-grown seedlings to the harsher conditions they’ll face outside, including direct sunlight, wind, and temperature fluctuations.
How to Do It
Begin about a week before you plan to transplant. Place seedlings outdoors in a shaded, protected area for a few hours each day, gradually increasing their exposure to sun and wind. Bring them back inside at night or if temperatures drop significantly.
Monitor Closely
Monitor your seedlings for signs of stress (e.g., wilting, sunburn) and adjust their exposure accordingly. This gradual adaptation helps toughen up the plants, making them more resilient to outdoor conditions.
Best Practices for Transplanting to Avoid Shock
- Choose the Right Time: Transplant on a cloudy day or in the late afternoon to reduce stress from heat and sunlight.
- Water Before Transplanting: Ensure seedlings are well-watered before moving them, which helps reduce transplant shock.
- Handle With Care: When removing seedlings from their containers, be gentle. Transplant them with their entire soil block to disturb the roots as little as possible.
- Plant at the Correct Depth: Most seedlings should be planted at the same depth they were growing indoors, except for tomatoes, which can be planted deeper to encourage more robust root growth.
- Water Generously After Planting: Once they’re in the ground, water the seedlings thoroughly to help settle the soil around the roots and eliminate air pockets.
Timing for Moving Plants Outdoors Based on Crop and Climate
- Follow Your Hardiness Zone: Your local hardiness zone and the last frost date are key factors in determining the right time to transplant. Warm-season crops (e.g., tomatoes, peppers) should be transplanted after the danger of frost has passed and the soil has warmed.
- Consider the Crop’s Preferences: Some plants, like lettuce and peas, prefer cooler weather and can be transplanted earlier, while others, like basil and cucumbers, need warm soil and air temperatures.
- Watch the Weather: Even with all the planning, be prepared to protect your plants if an unexpected cold snap occurs after transplanting. Having row covers or cold frames handy can save your crop.
Transplanting seedlings outdoors is a significant milestone in the gardening season. By hardening off your plants, handling them carefully during the transplant, and choosing the right timing based on your local climate and crop preferences, you can ensure a smooth transition.
This careful preparation paves the way for your seedlings to grow into strong, productive plants that will fill your garden with life and bounty.

