


In This Article Show
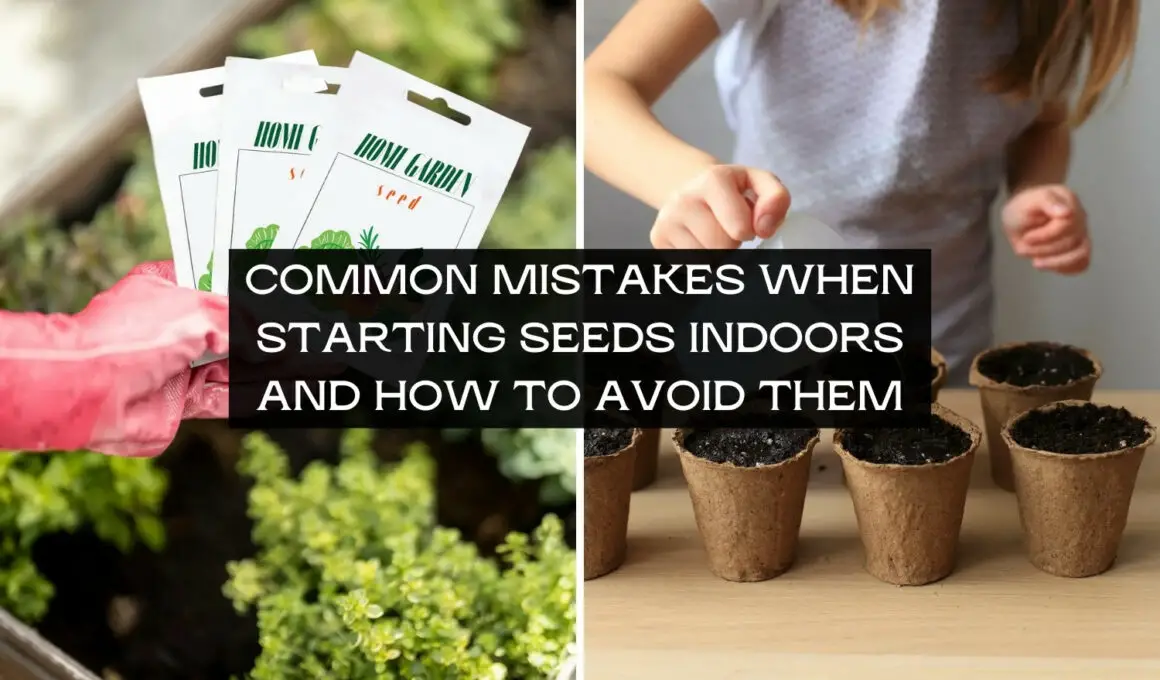
Starting seeds indoors is a crucial step for gardeners aiming to get a head start on the growing season. Whether you’re nurturing vegetables, herbs, or flowers, the process can be both exciting and a bit daunting.
Mistakes are common, but with the right knowledge, they can easily be avoided. From selecting suitable seed varieties to understanding the importance of light, moisture, and soil quality, this guide will cover the essentials.
Our goal is to equip you with the insights needed to successfully kick-start your indoor gardening journey, ensuring your seedlings grow healthy and strong, ready for their eventual move outdoors. Let’s simplify the process and set the foundation for a flourishing garden.
Choosing The Wrong Seed Varieties
Selecting the right seed varieties is pivotal for indoor seed-starting success. The indoor environment offers controlled conditions that are ideal for nurturing the early growth of many plants, yet not all seeds are suitable for this method.
Some plants thrive when started indoors, allowing them to get a jump on the growing season, especially in regions with shorter growing periods. Conversely, some seeds fare better when sown directly into the garden, as they’re sensitive to transplanting or prefer the natural conditions outdoors from the start.
Importance of Choosing the Right Seeds
- Growth Habit: Plants with a compact growth habit or those requiring a longer growing season than your local climate can provide are prime candidates for indoor starting. This includes many vegetables like tomatoes, peppers, and eggplants, as well as flowers such as marigolds and petunias.
- Transplant Sensitivity: Some plants, like root vegetables (carrots, beets) and fast-growing greens (spinach, lettuce), can be negatively impacted by transplanting. They prefer to germinate and grow in their permanent location from the outset.
Tips for Identifying Suitable Plants for Indoor Starting
- Read Seed Packets Carefully: Manufacturers provide valuable information on whether a plant is best started indoors or outdoors. Look for terms like “start indoors” or “direct sow.”
- Consider Your Climate: If your growing season is short, starting seeds indoors can give plants like tomatoes and peppers the extra time they need to mature and produce fruit before the first frost.
- Research Plant Characteristics: Plants that are sensitive to root disturbance or grow rapidly, such as peas and cucumbers, might not be the best for indoor starting. Instead, focus on those that benefit from a controlled start.
By carefully selecting the right seed varieties for indoor starting, you can maximize your gardening success and enjoy a bountiful harvest. Remember, the goal is to give your plants the best possible start, setting the stage for their eventual transition to the great outdoors.
Ignoring Seed Packet Instruction
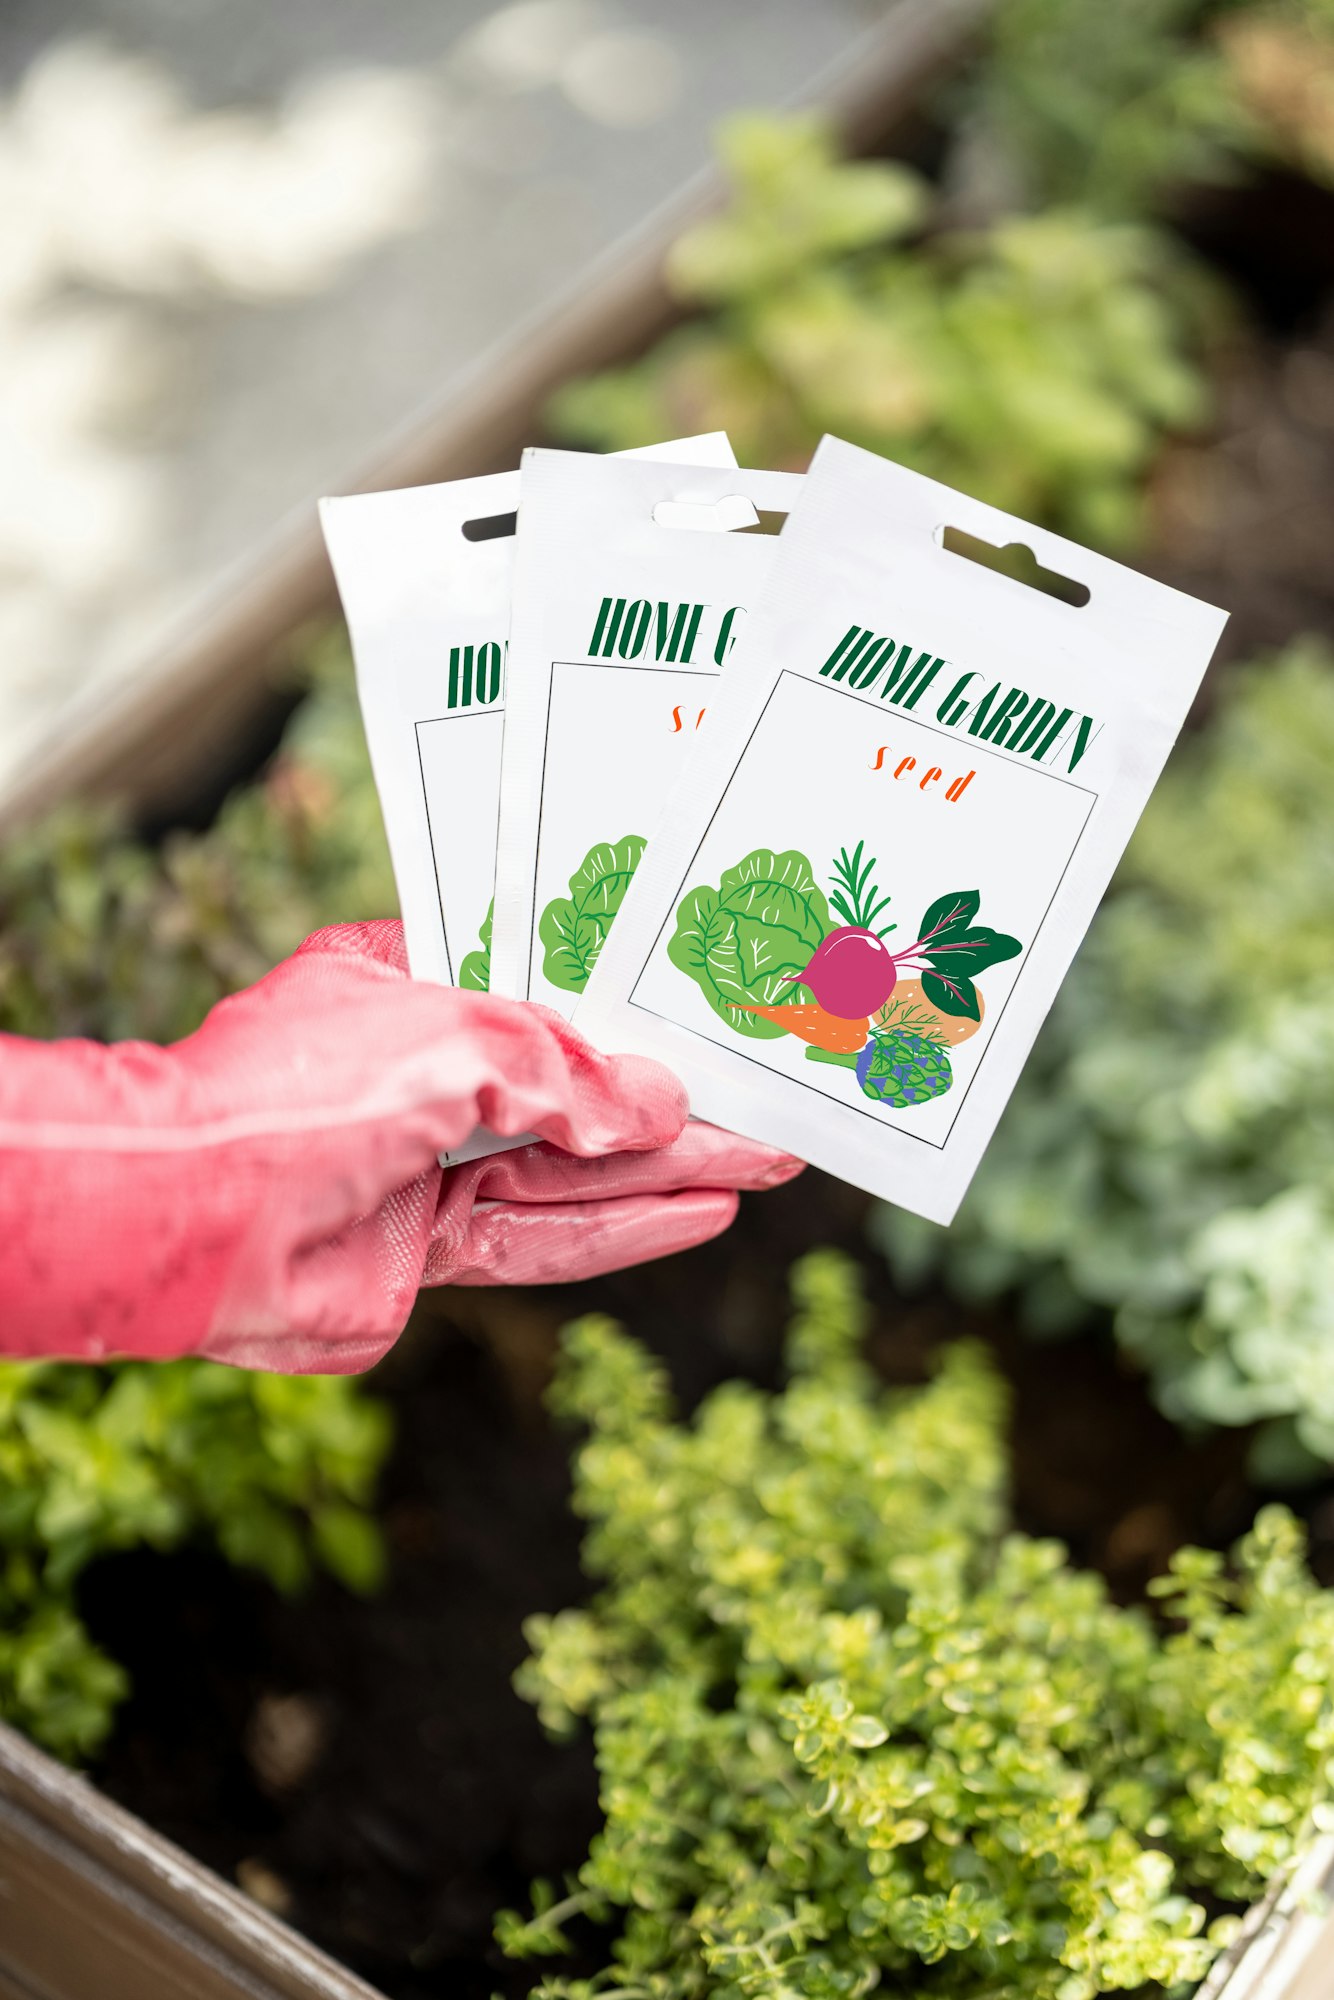
Ignoring seed packet instructions is a common mistake that can hinder the growth and health of your indoor seedlings. These packets are a treasure trove of essential information, tailored specifically to the needs of each plant variety. They offer guidance on planting depth, spacing, light requirements, and more, which are crucial for ensuring optimal growth conditions from the start.
How to Properly Read and Follow Seed Packet Instructions for Optimal Growth
- Take Time to Read Thoroughly: Before planting, carefully read the entire seed packet. Look for any specific pre-germination treatments like soaking or stratification that might be required.
- Note Key Dates: Pay attention to recommended sowing times based on your local climate and the average last frost date. This helps in planning when to start seeds indoors to ensure they’re ready for transplanting at the right time.
- Follow Specific Instructions: Adhere to the guidelines for soil depth, spacing, and whether to cover seeds with soil or leave them exposed for light.
- Monitor and Adjust: Use the packet’s information as a starting point but be prepared to adjust based on the conditions in your home. For instance, if your seedlings are stretching toward light, they may need more direct exposure or supplemental lighting.
By not overlooking the valuable guidance seed packets offer, gardeners can significantly improve the germination rates and health of their indoor-started plants. This attention to detail sets the stage for robust growth and, ultimately, a more successful gardening season.
Planting Seeds Too Early or Too Late
Timing is everything when it comes to starting seeds indoors. Planting too early can lead to leggy, overgrown seedlings that struggle once transplanted outside, while starting too late may not give plants enough time to mature before the growing season ends. Understanding the right timing is crucial and largely depends on your growing zone and the specific needs of each plant.
Understanding the Right Timing Based on Your Growing Zone
- Your growing zone, determined by the USDA Plant Hardiness Zone Map in the United States, influences when you should start seeds indoors. Each zone has its average last frost date in spring and first frost date in fall, framing your growing season.
- Most seed packets and gardening guides reference the average last frost date when suggesting when to start seeds indoors. Typically, you’ll start seeds 4 to 8 weeks before this date, but it varies by plant species. Some, like tomatoes and peppers, might need a longer indoor start time, while others, like squash, prefer a shorter indoor period.
By paying close attention to the timing of starting seeds indoors, you’ll give your plants the best possible start, aligning their growth cycle with the natural conditions outside. This strategic planning can lead to stronger, more productive plants ready to thrive in your garden.
Poor Soil Quality
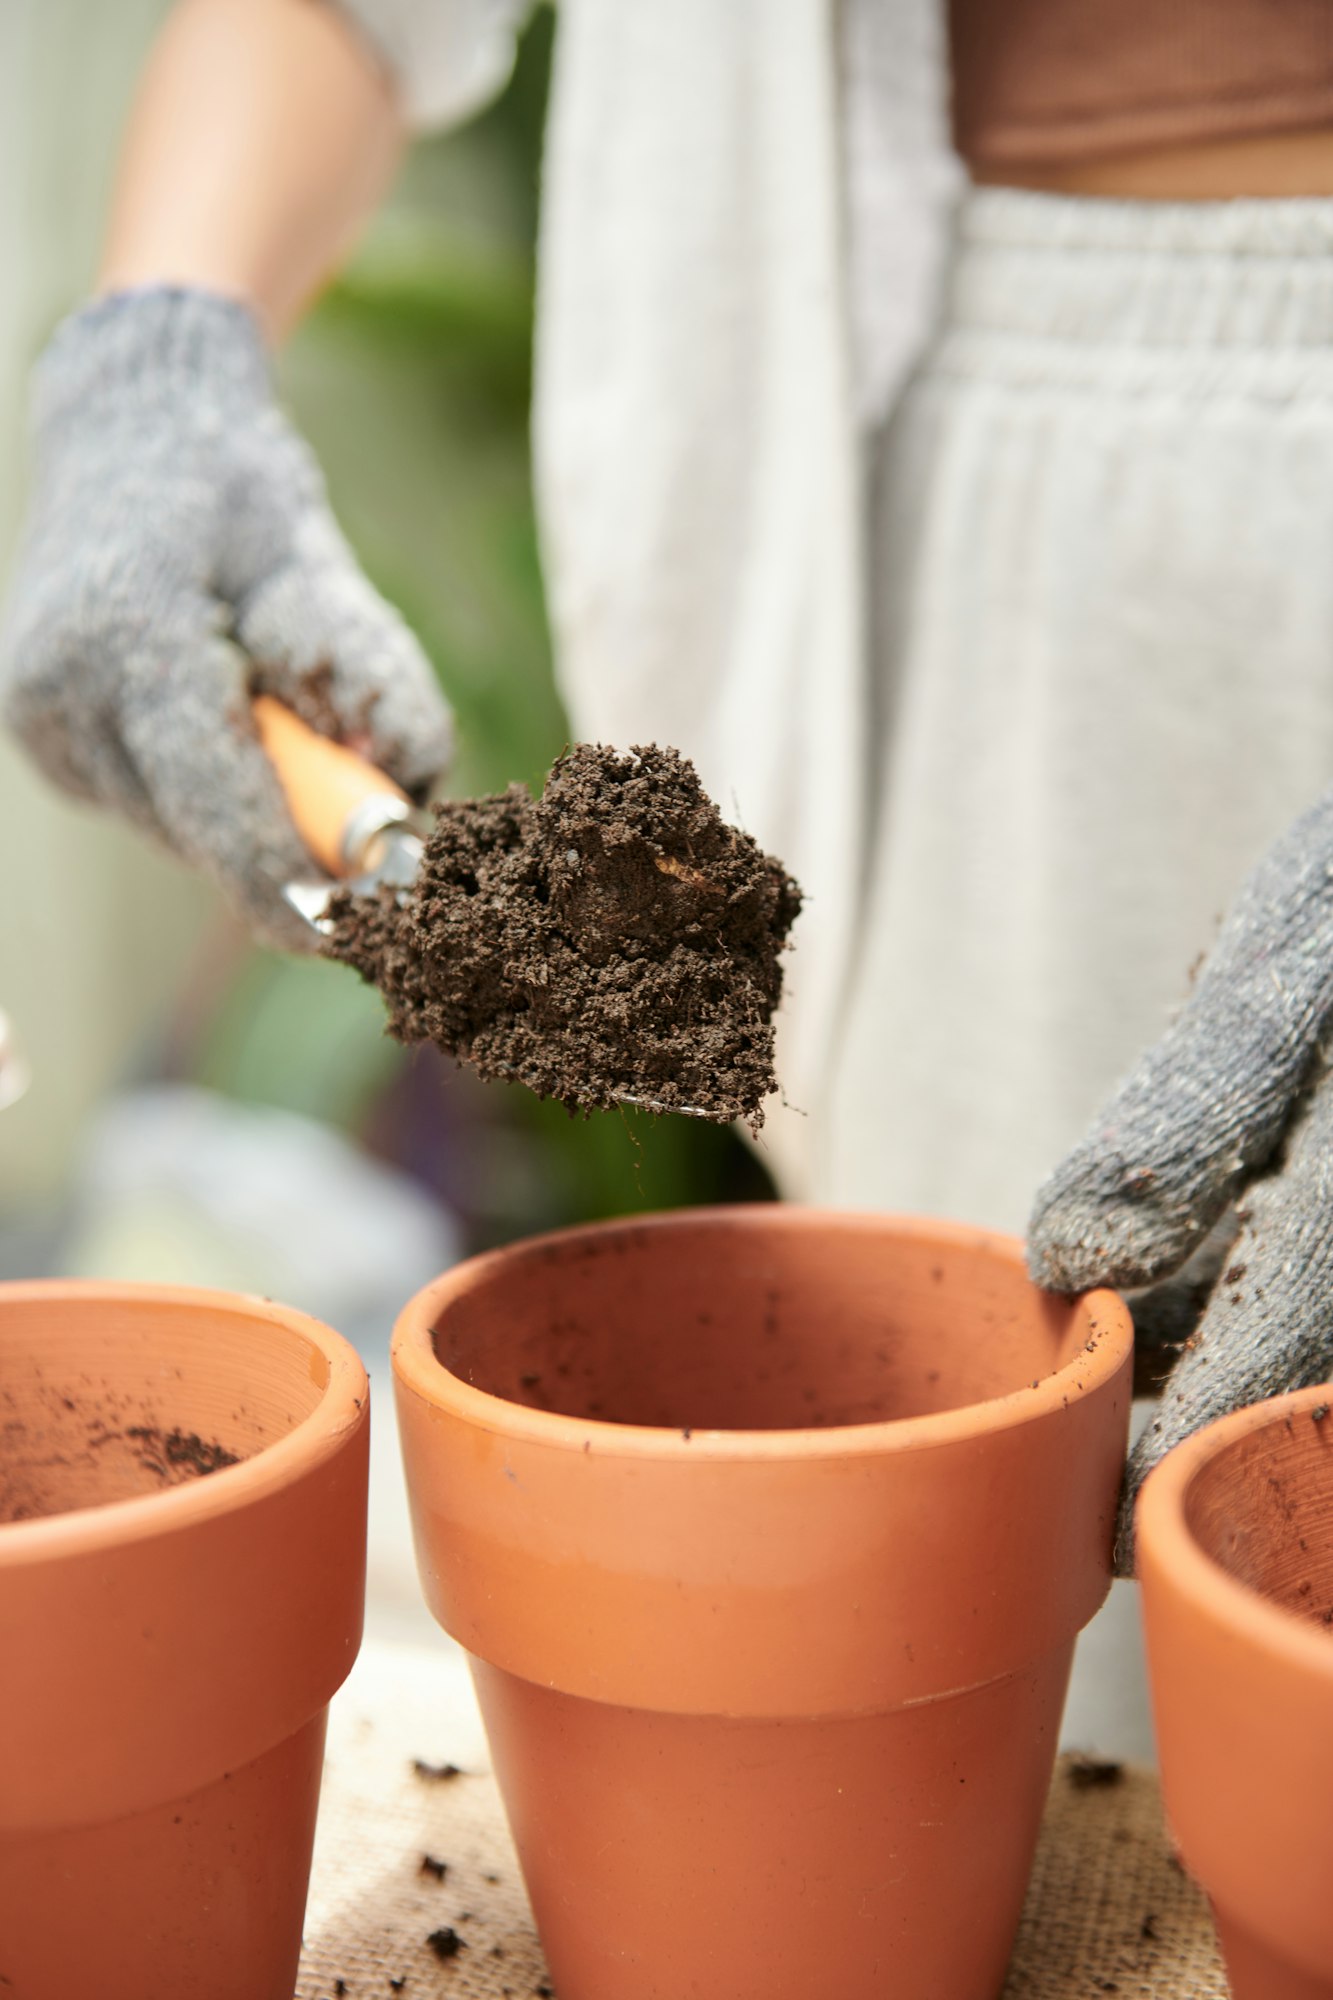
The foundation of healthy seedlings begins with the soil. Poor soil quality can lead to weak growth, disease, and even the death of young plants. Using the right soil mix for seed starting is crucial because it ensures proper drainage, aeration, and nutrient availability, which are all key to the early development of plants.
Importance of Using the Right Soil Mix
- Drainage and Aeration: Seed starting mixes are designed to be lightweight and porous, providing the delicate balance of water retention and drainage needed for seed germination and root growth.
- Nutrient Content: While seeds contain enough energy to germinate, seedlings rely on the soil for continued growth. A good starting mix will have the necessary nutrients for seedlings to thrive until they are transplanted.
- Disease Prevention: Many commercial and homemade soil mixes are sterilized or pasteurized to reduce the risk of soil-borne diseases, which can be devastating to young plants.
DIY Soil Mix Recipes
For those who prefer to mix their seed starting medium, here’s a basic recipe that can be adjusted based on availability and preferences:
- 4 parts compost or coir (coconut fiber) for a nutrient-rich base
- 1 part perlite for improved aeration and drainage
- 1 part vermiculite to help retain moisture
- (Optional) A handful of worm castings for added nutrients
Ensure all components are well-blended to create a uniform mix. If using compost, it should be fully decomposed and sifted to remove any large particles. For a sterile mix, consider pasteurizing your homemade mix by baking it in an oven at 200°F (93°C) for 30 minutes, which can help eliminate pathogens and weed seeds.
Inadequate Light
Inadequate light is one of the primary challenges when starting seeds indoors, significantly impacting seedling growth and health. Light is crucial for photosynthesis, the process by which plants convert light energy into chemical energy, fueling their growth and development. Without sufficient light, seedlings can become leggy, weak, and less capable of transitioning successfully to outdoor conditions.
Solutions for Providing Enough Light
1. Maximize Natural Light
- Place seedlings near south-facing windows to capture as much natural sunlight as possible.
- Rotate plants regularly to ensure even light exposure on all sides, preventing them from leaning toward the light source.
2. Artificial Lighting Options
- Fluorescent Lights: These are a cost-effective and efficient option for growing seedlings. Both T5 and T8 bulbs are suitable, with T5 being the more energy-efficient choice. Hang lights 2-3 inches above the seedlings and raise them as the plants grow.
- LED Grow Lights: LEDs are more energy-efficient than fluorescent bulbs and produce less heat. They can provide a full spectrum of light, which is beneficial for plant growth. LED lights should be positioned slightly further away from the plants than fluorescents, as they are more intense.
- Adjustable Light Systems: These systems allow you to easily adjust the height of the lights as your seedlings grow, ensuring that they receive the optimal intensity of light without getting burnt or stressed.
3. Timing
- Seedlings require about 14-16 hours of light per day. Use a timer to ensure they receive a consistent amount of light each day, which helps mimic natural day and night cycles.
4. Reflective Surfaces
- Use reflective materials like aluminum foil or white paint around the growing area to bounce light back onto the plants, increasing overall light exposure.
By addressing the challenge of inadequate light, you can grow stronger, healthier seedlings ready for a successful transition to outdoor gardening. Artificial lighting offers a reliable solution, ensuring that your plants receive the consistent, intense light they need during the crucial early stages of growth.
Overwatering or Underwatering
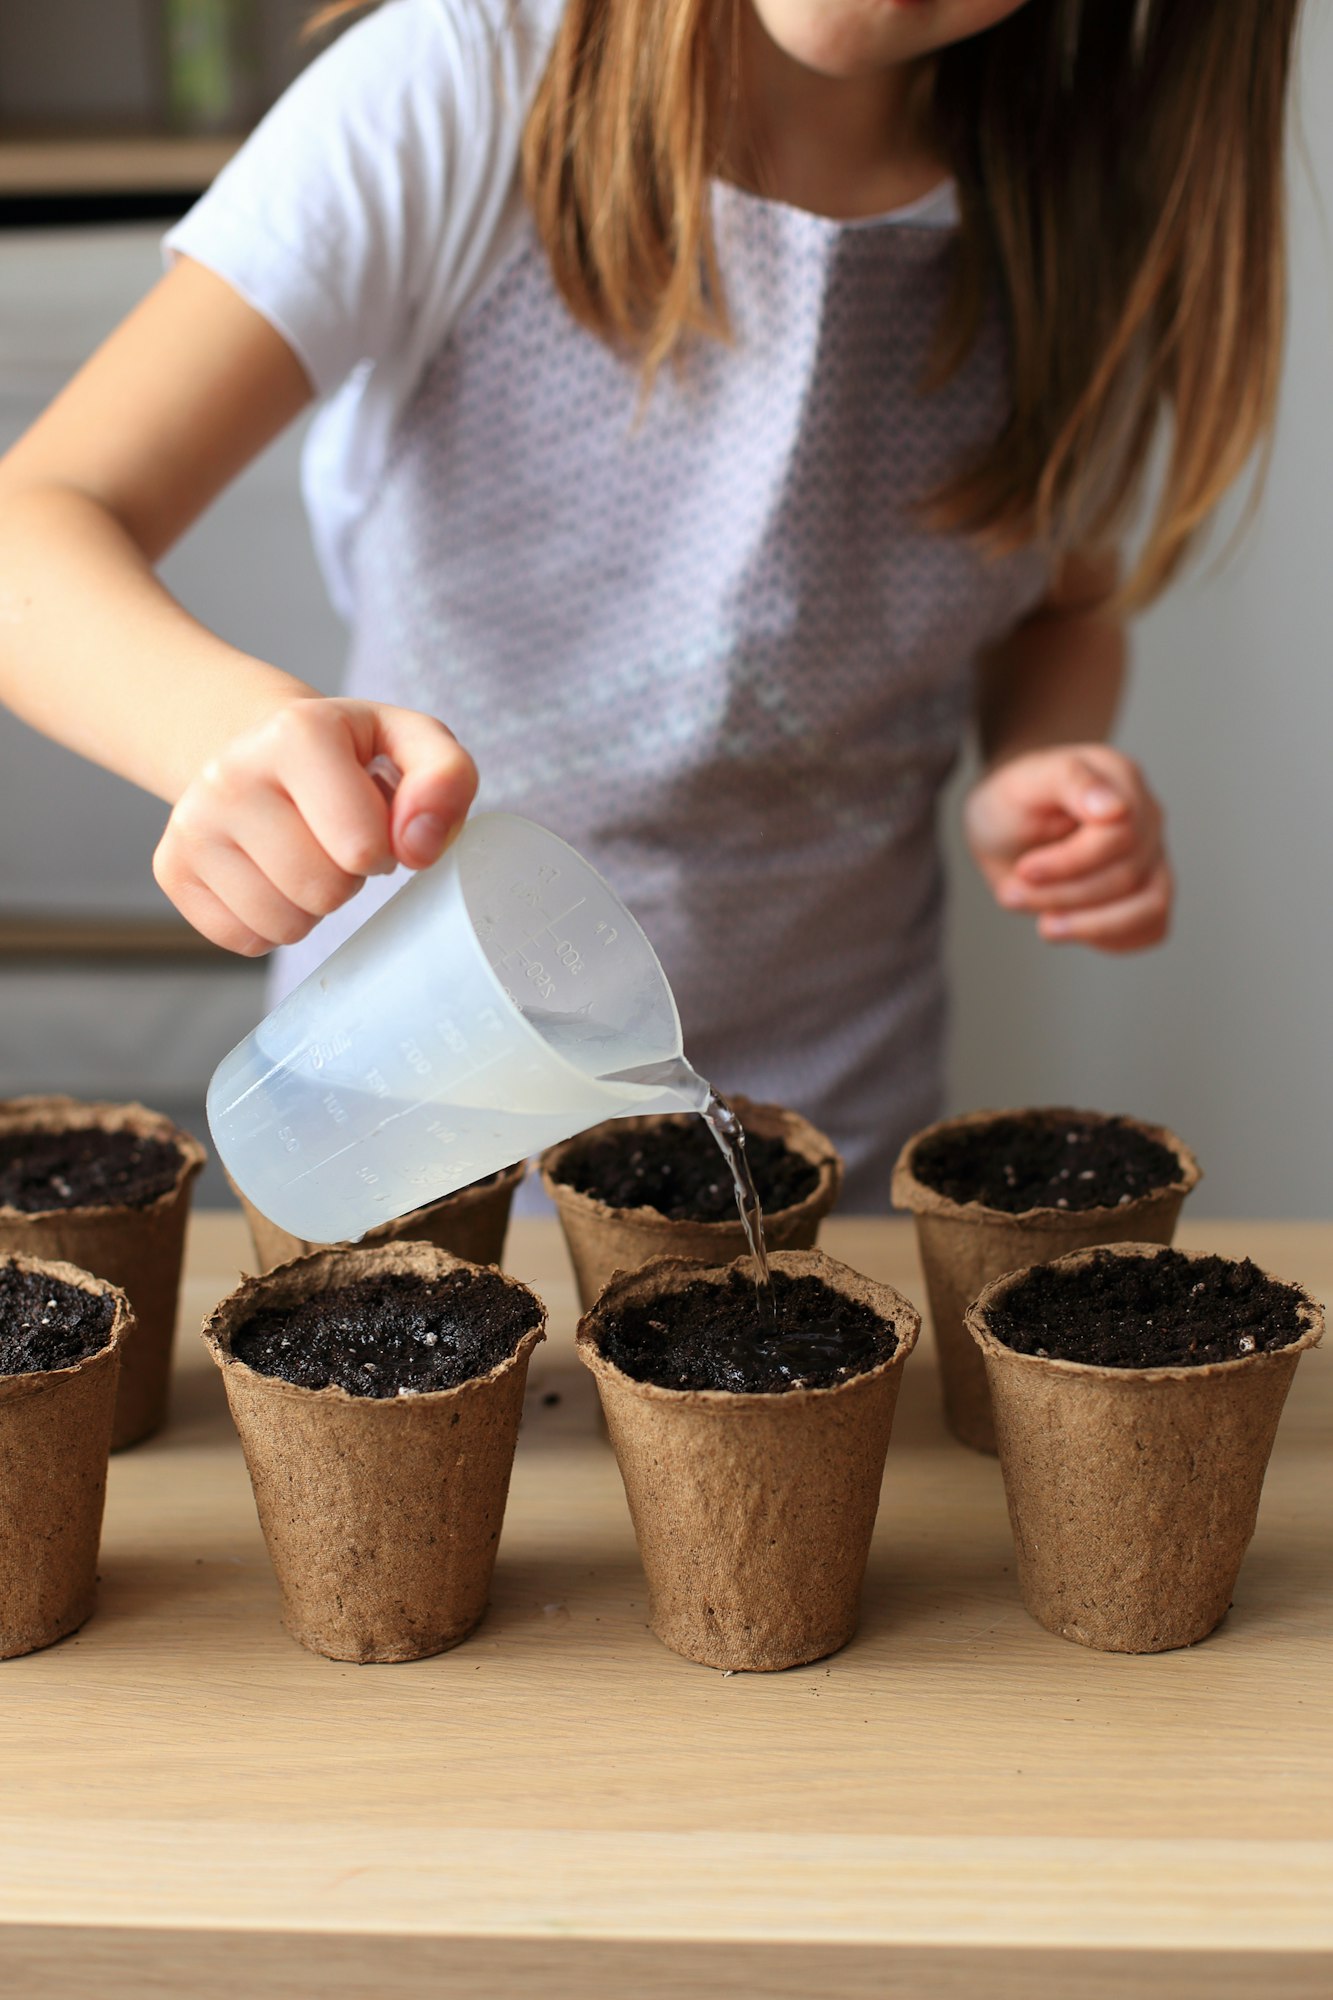
Maintaining the perfect moisture balance is critical for seedling health, as both overwatering and underwatering can lead to significant problems. Seedlings are particularly sensitive to their moisture environment, requiring consistent, but not excessive, water to thrive.
Dangers of Overwatering
- Root Rot: Excess water can suffocate plant roots, preventing them from absorbing oxygen. This can lead to root rot, a condition where roots become mushy and brown, ultimately killing the plant.
- Disease: Overly moist conditions are breeding grounds for fungal diseases, such as damping-off, which causes seedlings to collapse and die.
- Reduced Growth: Constantly waterlogged soil inhibits root growth and function, leading to stunted plant development.
Dangers of Underwatering
- Slow Growth: Without adequate water, seedlings can’t transport nutrients from the soil, leading to slowed or stunted growth.
- Wilting: Seedlings will begin to wilt and may not recover if left dry for too long, as their delicate roots can quickly dehydrate.
- Root Damage: Underwatering can cause roots to dry out and die back, making it difficult for the plant to recover even after watering resumes.
Tips for Maintaining the Perfect Moisture Balance
- Check Soil Moisture Regularly: Use your finger to check the soil moisture. The top inch of soil should be moist but not waterlogged. Watering needs can vary based on the environment, so it’s essential to check regularly rather than sticking to a strict schedule.
- Use the Right Soil Mix: A seed starting mix designed for good drainage and water retention can help prevent overwatering and underwatering issues.
- Proper Drainage: Ensure that your seedling containers have adequate drainage holes. This allows excess water to escape, preventing water from pooling at the bottom and causing root issues.
- Watering Technique: Water seedlings gently to avoid disturbing the soil or damaging tender stems and leaves. A watering can with a fine rose or a spray bottle set to a gentle mist is ideal for young seedlings.
- Bottom Watering: Consider bottom watering by placing seedling trays in a shallow tray of water, allowing the soil to absorb water from the bottom up. This encourages deeper root growth and ensures that the soil is evenly moistened.
- Monitor Environmental Conditions: Humidity, temperature, and light all affect how quickly soil dries out. Seedlings in a warm, dry, or brightly lit environment may need more frequent watering compared to those in cooler, dimmer conditions.
By paying close attention to the watering needs of your seedlings and adjusting your care practices accordingly, you can avoid the pitfalls of overwatering and underwatering. This careful management of soil moisture is crucial for developing strong, healthy plants ready for transplanting to the garden.
7. Neglecting Temperature Requirements
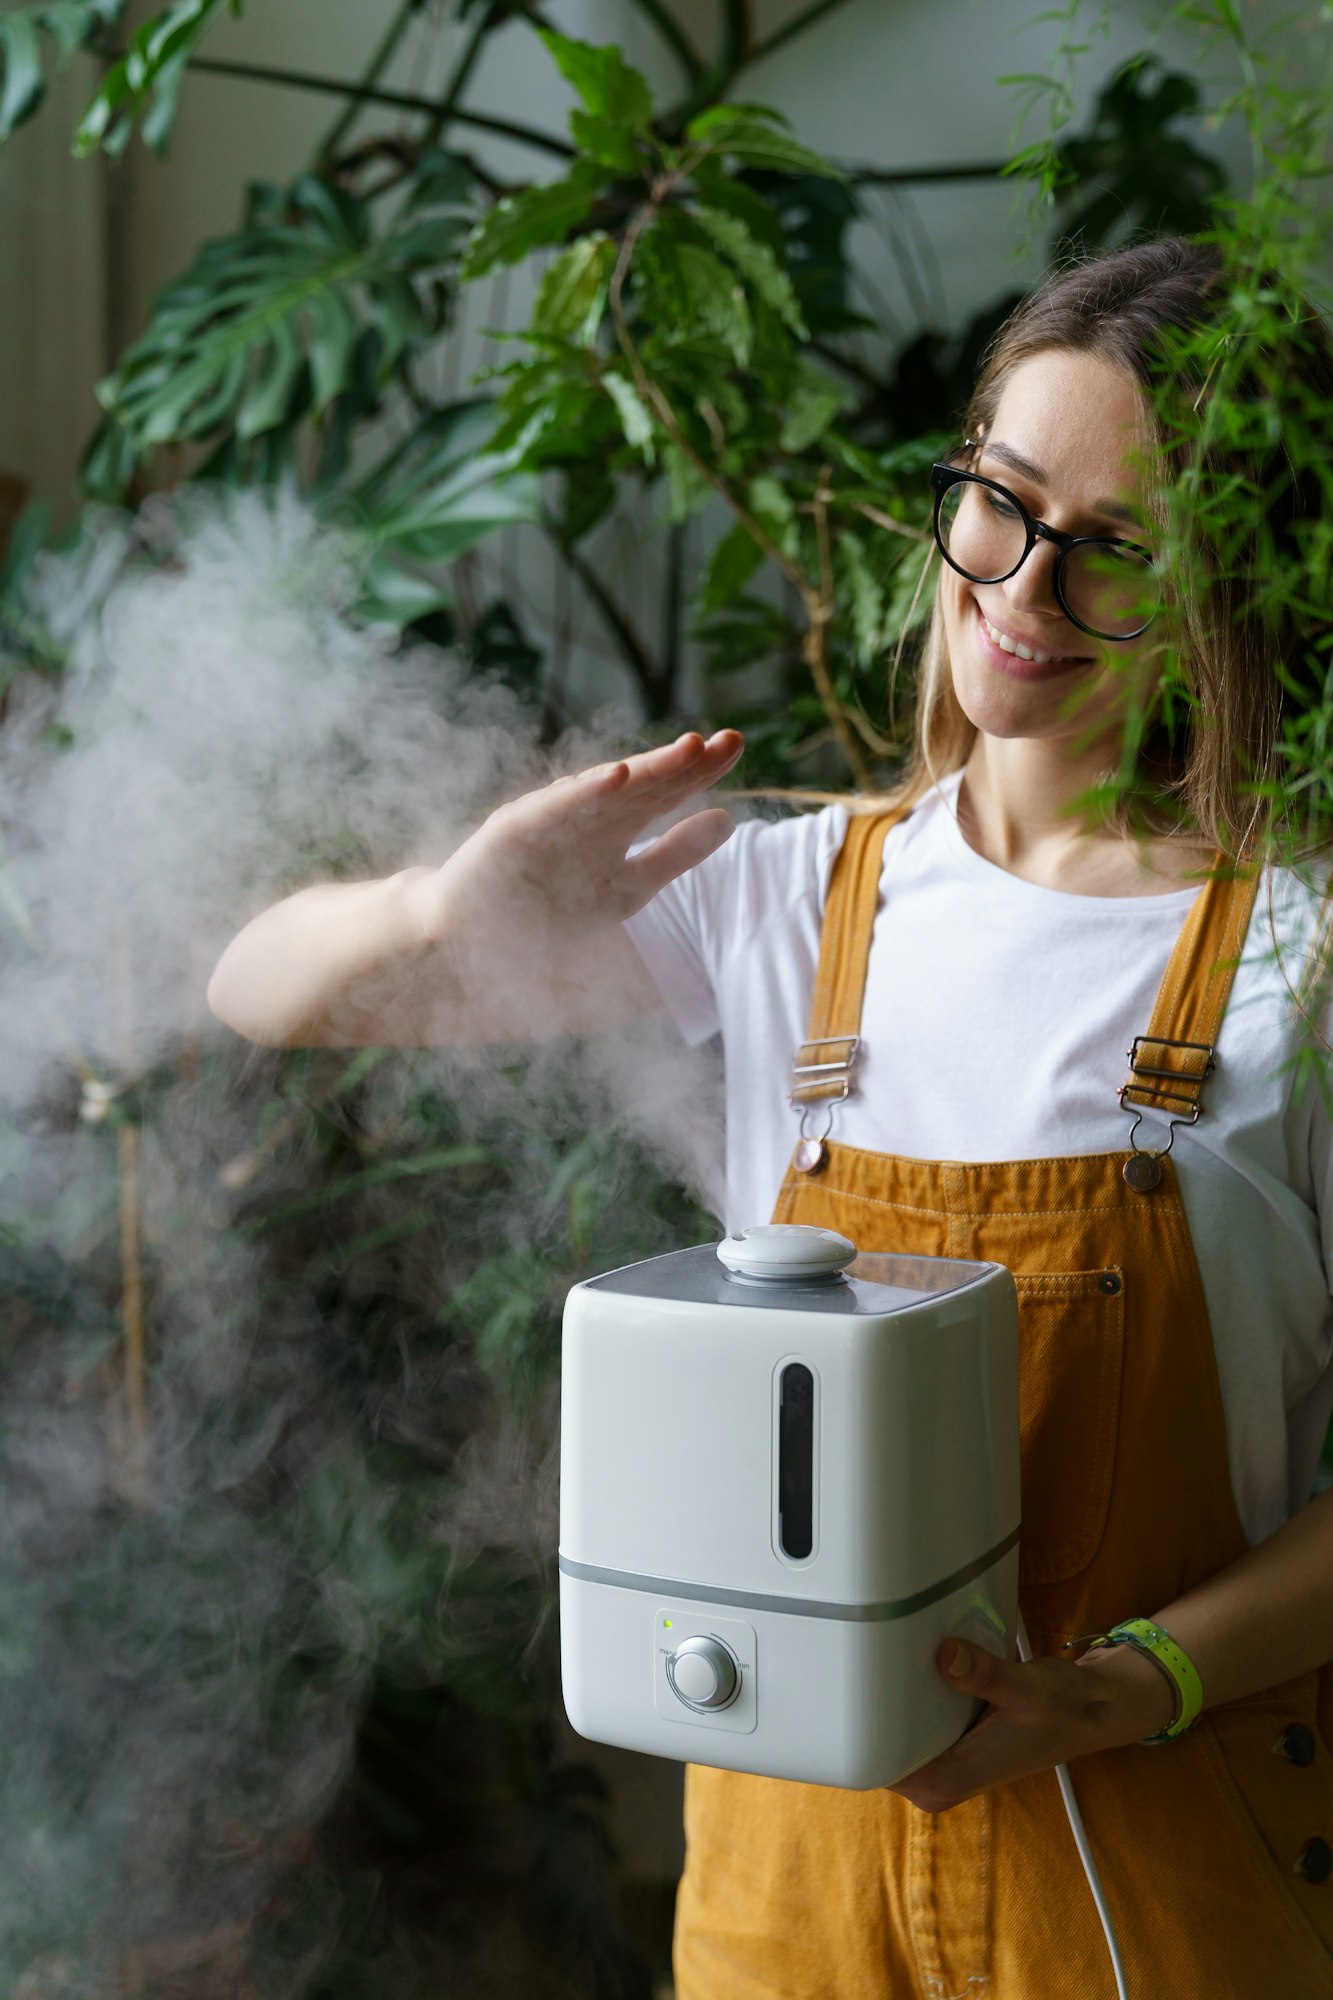
Temperature plays a critical role in the germination of seeds and the subsequent growth of seedlings. Each plant species has specific temperature requirements for optimal germination, and failing to provide these conditions can lead to poor germination rates or weak seedling growth. Understanding and managing temperature is crucial for successful indoor seed starting.
Strategies for Managing Indoor Temperatures
1. Use of Heating Mats
- Seedling heat mats are designed to gently warm the soil, promoting faster and more uniform germination, especially for seeds that require warmer soil temperatures.
- Place the heat mat under the seedling trays and use a thermostat to control the temperature, ensuring it stays within the optimal range for the seeds you’re growing.
2. Room Selection
- Choose a warm room or a location in your home that maintains a stable temperature within the required range for your seeds. Avoid areas prone to drafts or significant temperature fluctuations.
- South-facing rooms tend to be warmer and may be ideal for seed starting, especially for warm-season crops.
3. Monitoring and Adjusting Temperature
- Regularly check the temperature near your seedlings with a thermometer to ensure they remain within the desired range.
- Adjust the room temperature if possible or use additional heating sources, such as space heaters, to maintain optimal conditions. Always be mindful of safety when using supplemental heating.
4. Utilize Natural Heat Sources
- Placing seedling trays on top of a refrigerator or another appliance that emits a small amount of heat can provide a gentle warmth beneficial for germination.
- Ensure that the heat source does not get too hot, which could harm the seeds or dry out the soil too quickly.
5. Transition to Cooler Temperatures
- Once seeds have germinated, some may benefit from being moved to a slightly cooler location to promote stronger, stockier growth, especially if you’re starting cool-season plants or if your seedlings are getting too leggy.
By carefully managing the temperature conditions of your indoor seed-starting setup, you can significantly improve the germination rates and growth of your seedlings. This careful attention to temperature helps create a strong foundation for healthy, productive plants in your garden.
8. Skipping Pre-germination Steps When Needed
Pre-germination techniques, including soaking, stratification, and scarification, are valuable methods to stimulate germination in seeds that have specific requirements or are known to have long germination periods.
These steps mimic natural conditions that seeds would encounter in the wild, helping to break dormancy and encourage quicker, more uniform sprouting. Not all seeds require these treatments, but for those that do, skipping these steps can lead to poor germination rates.
Soaking
- Overview: Soaking seeds in water for a specified period helps soften the seed coat, making it easier for the embryo to emerge. It’s particularly beneficial for seeds with hard outer shells.
- How to Perform: Place seeds in a bowl of room-temperature water for 12 to 24 hours. Larger seeds or those with particularly hard coats may benefit from longer soaking times, but avoid soaking for too long, as seeds can drown or rot.
- Beneficial for: Beans, peas, and many flower seeds, including morning glories and lupines.
Stratification
- Overview: Stratification involves exposing seeds to a period of cold, moist conditions, simulating winter. This process breaks down germination inhibitors.
- How to Perform: Mix seeds with a slightly moist medium, such as sand or peat moss, and store them in a plastic bag or container in the refrigerator for several weeks to months, depending on the species’ requirements.
- Beneficial for: Many perennial flowers, native plants, and certain fruit tree seeds, such as those from apples and blueberries.
Scarification
- Overview: Scarification entails physically breaking, scratching, or softening the seed coat to allow water and oxygen to reach the embryo.
- How to Perform: Gently rub seeds against sandpaper or nick the seed coat with a knife, being careful not to damage the embryo inside. Another method involves briefly exposing seeds to boiling water followed by immediate soaking in room temperature water.
- Beneficial for: Seeds with very hard coats, such as nasturtiums, lupines, and locust tree seeds.
Implementing Pre-germination Techniques
- Identify Needs: Check seed packets or gardening resources to determine if your seeds require any pre-germination treatments.
- Follow Specific Instructions: Each seed type may have its own set of requirements for successful pre-germination. Pay close attention to recommended times and methods.
- Monitor and Adjust: After performing pre-germination techniques, plant the seeds according to their planting instructions. Some may require immediate planting, while others might need to dry first.
By understanding and applying these pre-germination techniques where needed, gardeners can significantly improve the germination success of challenging seeds, leading to a more diverse and thriving garden.
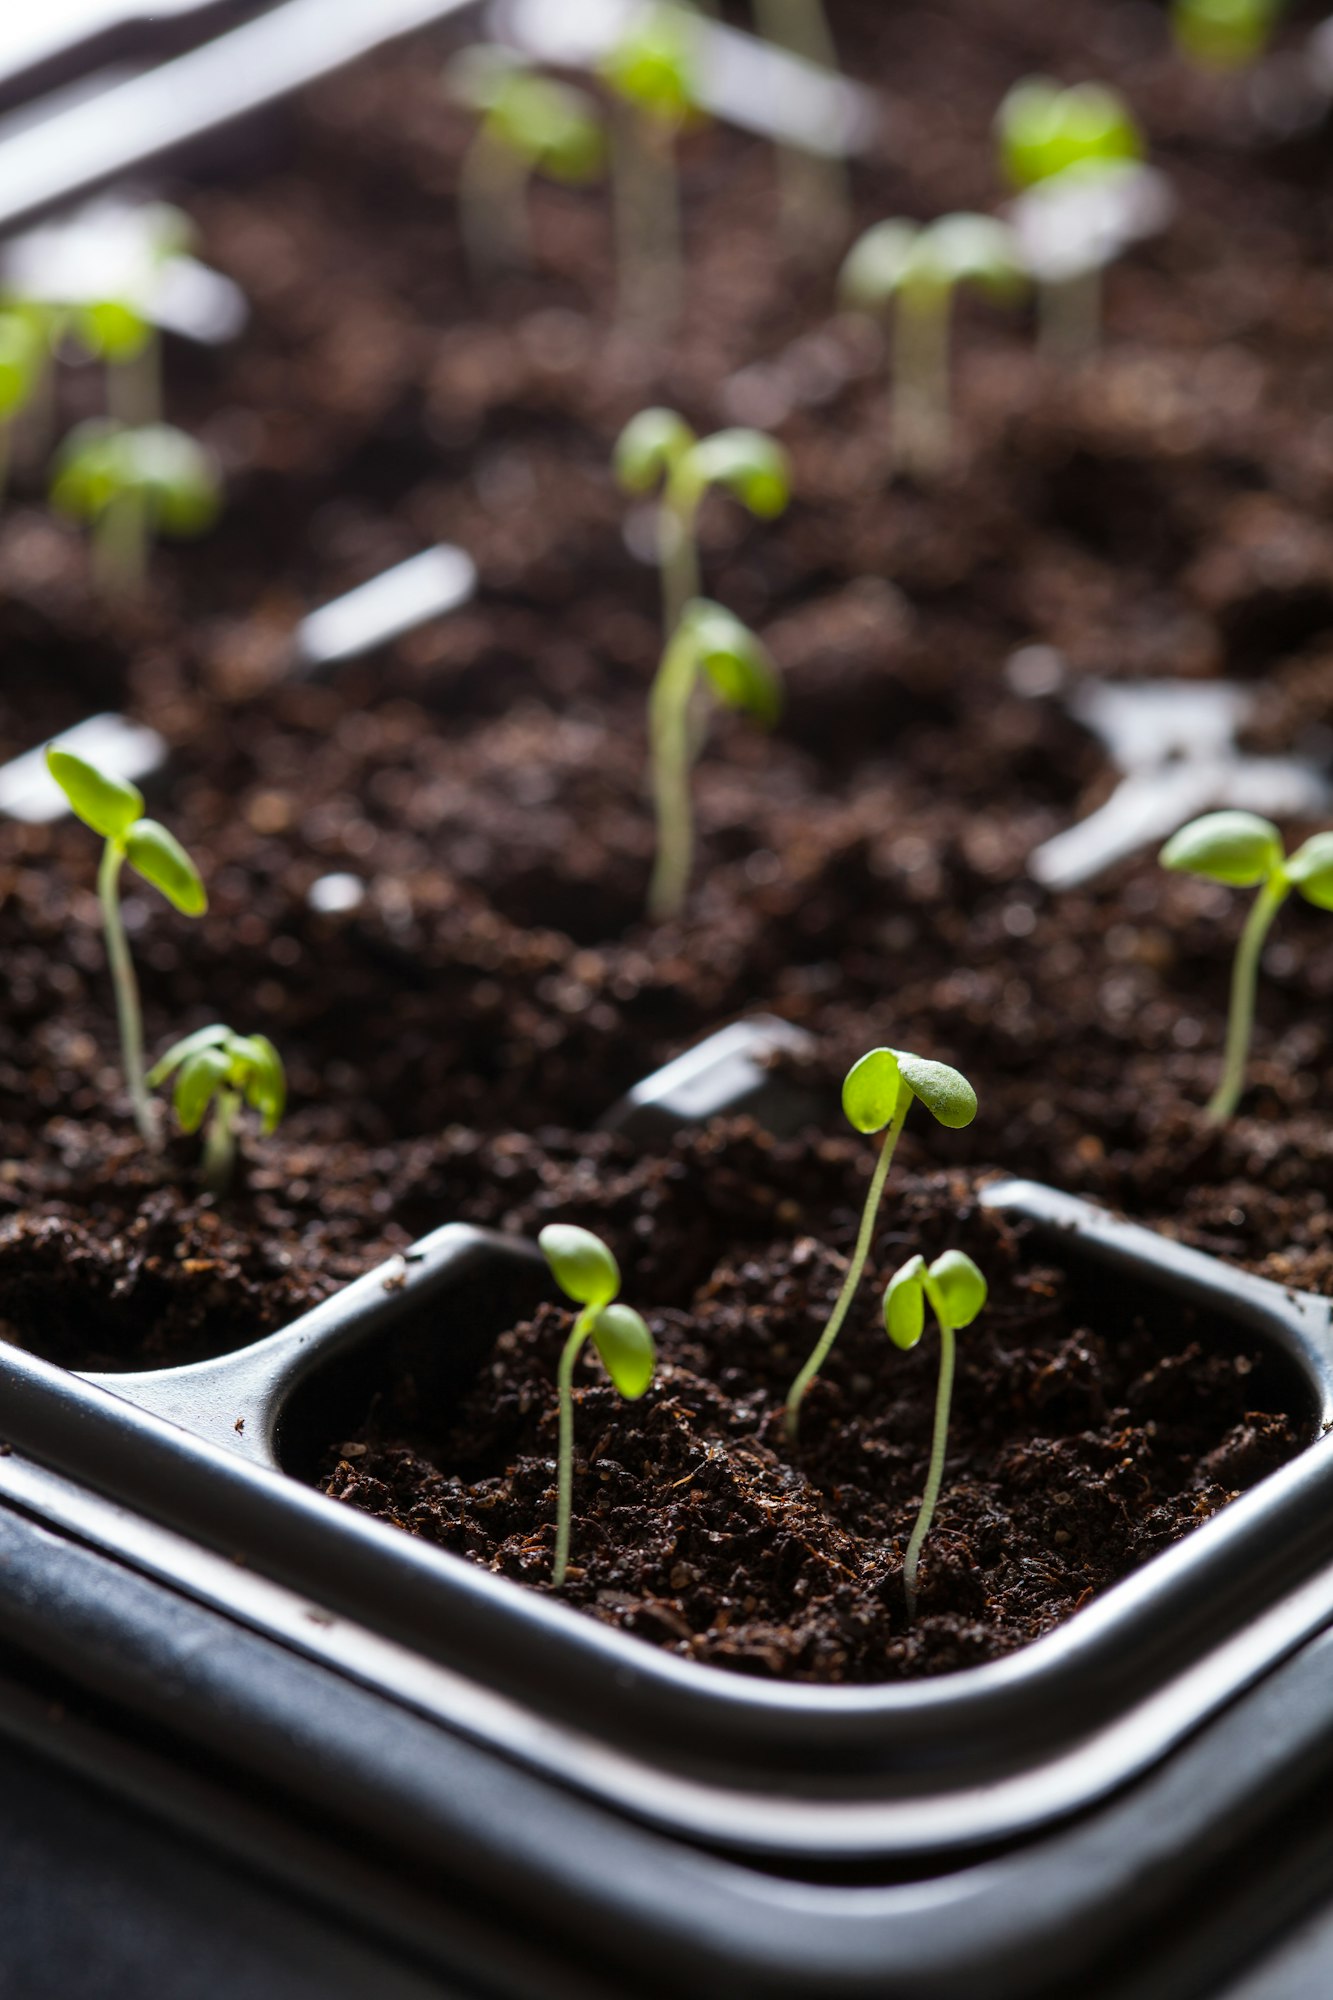
Not Thinning Seedlings

Not thinning seedlings is a common oversight that can lead to overcrowded conditions, negatively affecting plant health and development. Thinning is the process of removing some plants to ensure that those remaining have enough space, light, nutrients, and air circulation to grow robustly. This step is crucial for preventing competition among seedlings, which can result in weak, spindly plants susceptible to diseases and pests.
How and When to Thin Seedlings Safely
- Timing: Begin thinning when seedlings have developed their first set of true leaves, which are the second set of leaves to appear after the initial, simpler seed leaves (cotyledons). At this stage, plants are more easily distinguishable, and you can better identify the strongest seedlings to keep.
- Method: Use a pair of clean, sharp scissors or snips to cut the unwanted seedlings at soil level. Pulling them out can disturb the roots of the plants you wish to keep. If seedlings are not too closely entangled, you can gently tease them apart and transplant the extras to another container or location.
- Selection: Choose the strongest, healthiest-looking seedlings to remain. Look for those with robust stems, good color, and vigorous growth patterns.
- Spacing: Refer to the seed packet or a reliable gardening guide for information on the recommended spacing for your specific plants. This will vary depending on the growth habits and size of the mature plants.
- Care After Thinning: Water gently after thinning to help settle any disturbed soil around the roots of the remaining seedlings. Continue providing appropriate care, including sufficient light, water, and nutrients.
By carefully thinning your seedlings, you ensure that your garden has the best chance for success. This simple, yet essential, step leads to healthier, more productive plants capable of reaching their full potential.
Forgetting to Harden Off Seedlings Before Transplanting
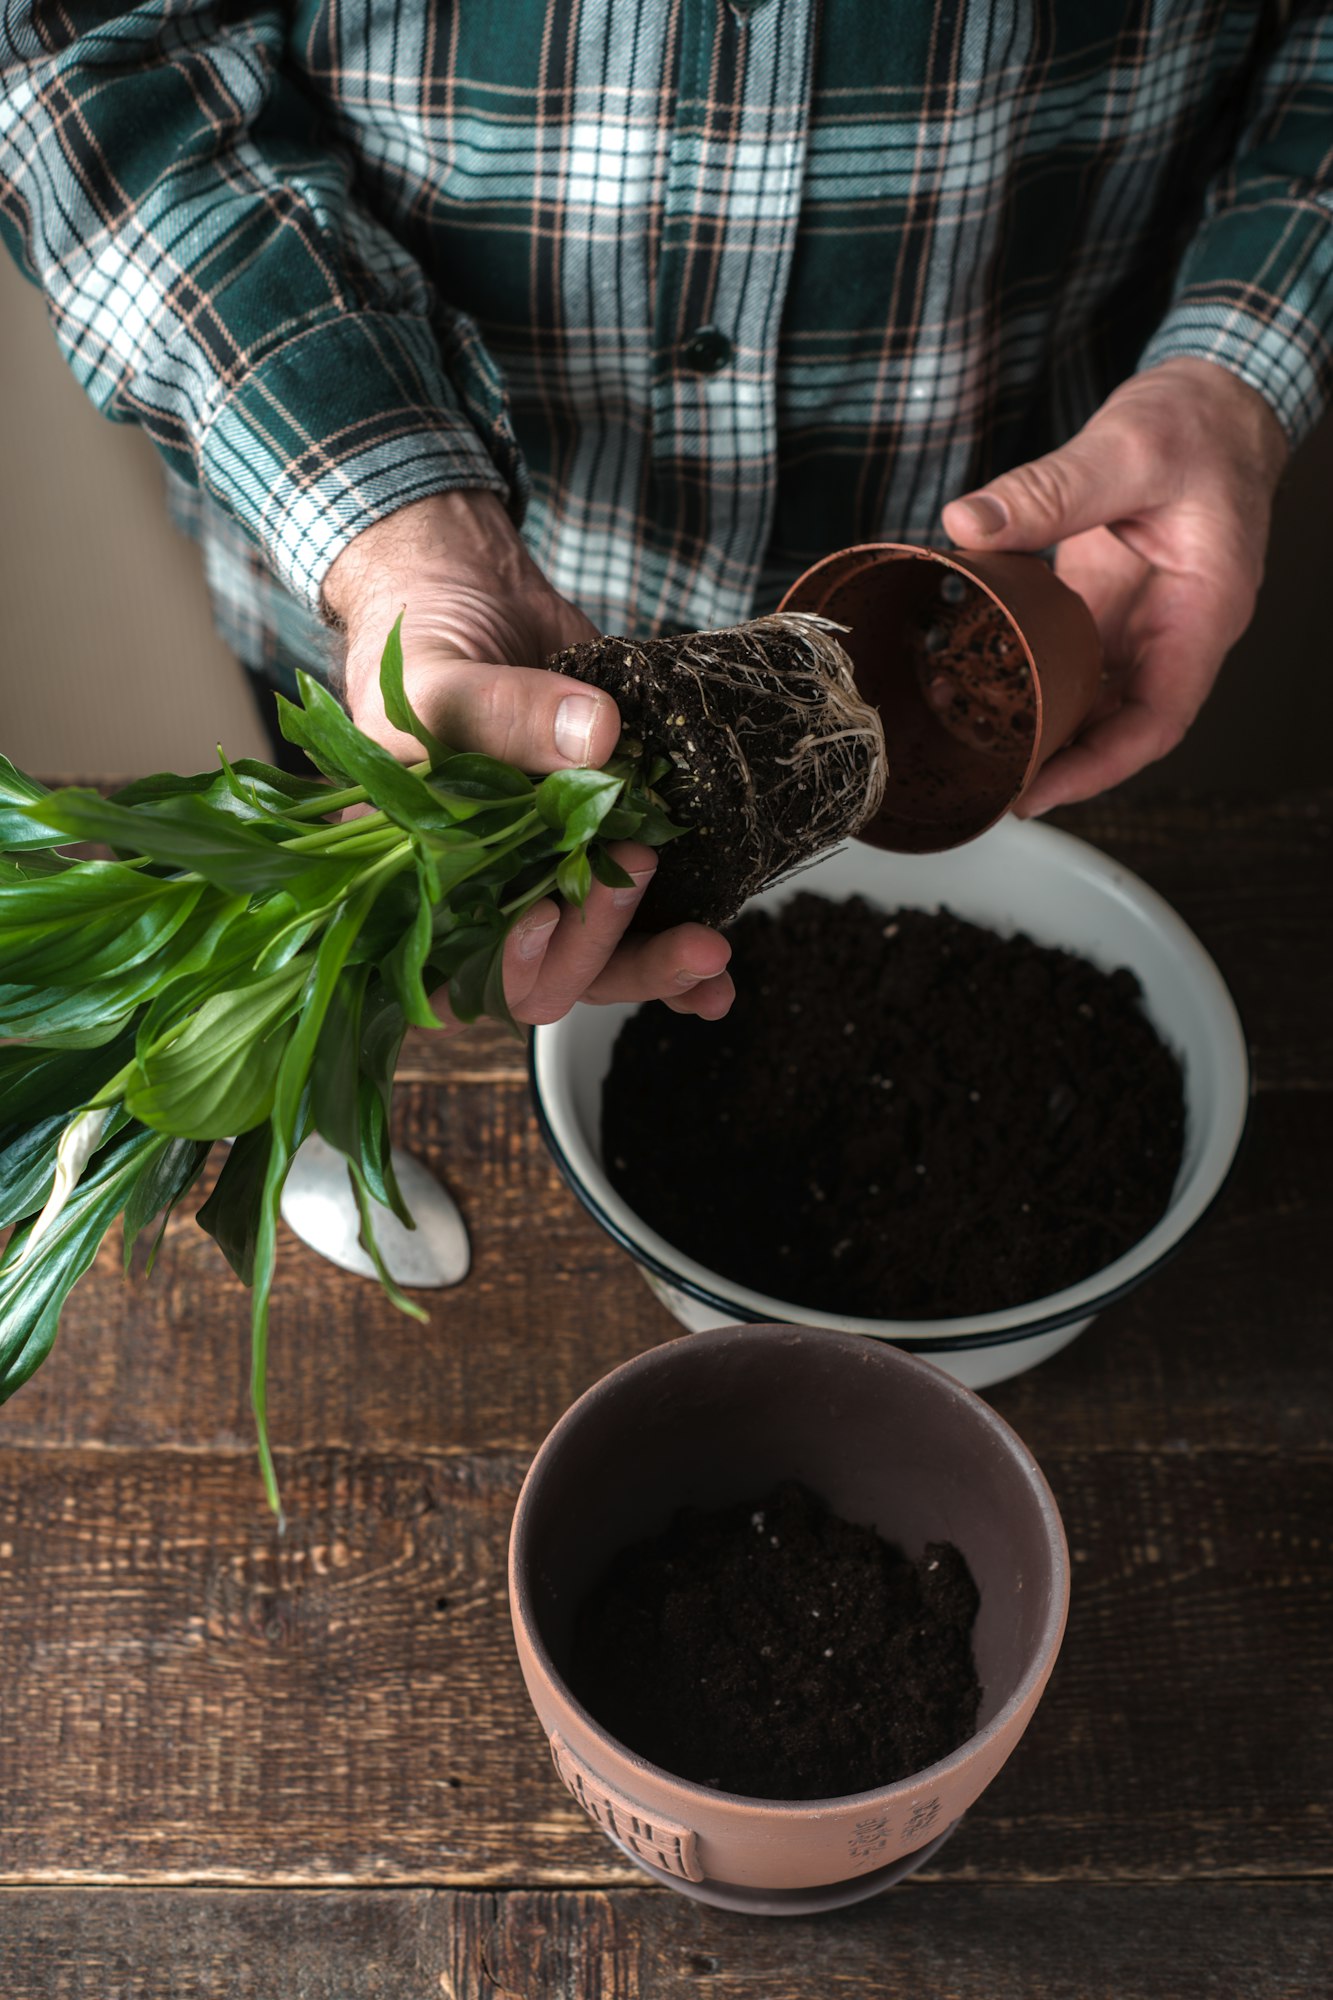
Forgetting to harden off seedlings before transplanting them outdoors is a common mistake that can jeopardize the success of your garden. Hardening off is the process of gradually acclimatizing indoor-grown seedlings to outdoor conditions.
This step is critical because seedlings raised indoors are not immediately prepared to withstand the sun’s full intensity, temperature fluctuations, wind, and other outdoor elements. Skipping this process can result in shock, stunted growth, or even the death of the seedlings.
Why Hardening Off is Critical for Transplant Success
- Adjustment to Sunlight: Indoor seedlings are accustomed to less intense light, even if grown under grow lights. Hardening off helps them adjust to the full strength of the sun, reducing the risk of sunburn and dehydration.
- Temperature Tolerance: It allows seedlings to gradually adapt to the cooler temperatures and variations they will face outdoors, especially during the night.
- Wind and Weather Resilience: Exposing seedlings to wind and outdoor weather in a controlled manner strengthens their stems and overall structure, making them more robust and capable of withstanding natural conditions.
Step-by-Step Guide to Hardening Off Your Seedlings
- Start Gradually: Begin the hardening-off process about 7-10 days before you plan to transplant your seedlings outdoors permanently.
- First Exposure: On the first day, place your seedlings outside in a sheltered, partially shaded spot for just 1-2 hours to avoid overwhelming them with direct sunlight and wind.
- Increase Exposure Gradually: Each day, increase the time your seedlings spend outside by 1-2 hours and gradually move them into brighter areas. If the weather is particularly harsh (e.g., strong winds or high heat), you may need to adjust the duration or provide some protection.
- Monitor the Seedlings: Pay close attention to how the seedlings are responding to the outdoor conditions. If they show signs of stress (wilting, bleaching leaves), reduce exposure time or provide more shade and try again more slowly.
- Nighttime Temperatures: After your seedlings have been outside for most of the day, it’s important to check the nighttime temperatures. If they drop below what your plants can tolerate, bring them back indoors or provide protection such as a cloche or frost cloth.
- Final Steps: By the end of the week or ten days, your seedlings should be ready to stay outside overnight (weather permitting). Ensure they are now in their final location with direct sunlight exposure to complete their hardening-off process.
- Transplanting: After hardening off, your seedlings are ready to be transplanted into the garden. Choose a cloudy day or late afternoon to transplant, if possible, to reduce stress on the plants.
By following these steps and properly hardening off your seedlings, you significantly improve their chances of thriving in their new outdoor environment. This gradual adjustment is a crucial step in the transition from seed starting indoors to successful planting in your garden.