

In This Article Show
Growing dill is more than just planting seeds and waiting for them to sprout; it’s about creating the right conditions for each stage of its lifecycle. From the moment the seed germinates to the day you harvest those aromatic leaves or seeds, each phase of growth requires attention and care. And whether you’re a seasoned gardener or someone who’s just adding dill to their garden for the first time, there’s always something new to learn.
With its feathery foliage and distinctive aroma, dill (Anethum graveolens) holds a special place not just in our gardens but also in our kitchens. Whether you’re sprinkling it over salmon or stirring it into a soothing soup, the flavor of fresh dill is unmistakable.
Understanding the growth stages of dill is key to harnessing its full potential, and that’s exactly what we’ll explore in this guide. Hence, I’ll walk you through each stage of Dill’s growth, and share insights from my own experiences.
The Growth Stages and Timelines of Dill
Let’s delve into the heart of dill cultivation, exploring each growth stage from germination to seed formation.
1. Germination
You’ll know your dill seeds have successfully germinated when you see small green shoots breaking through the soil’s surface. These are your dill seedlings, ready to grow under your care. Warmth and moisture are critical.
Plant dill seeds directly in the garden about 1/4 inch deep in well-draining soil. Ensure the soil is kept consistently moist but not waterlogged. A temperature range of 60-70°F (15-21°C) is ideal for germination.
Timeframe for dill seed germination
Dill seeds typically germinate within 7 to 14 days. The process can be quicker with optimal conditions, so patience and attention are key.
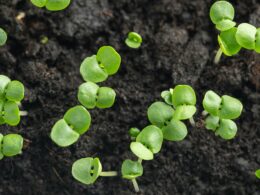
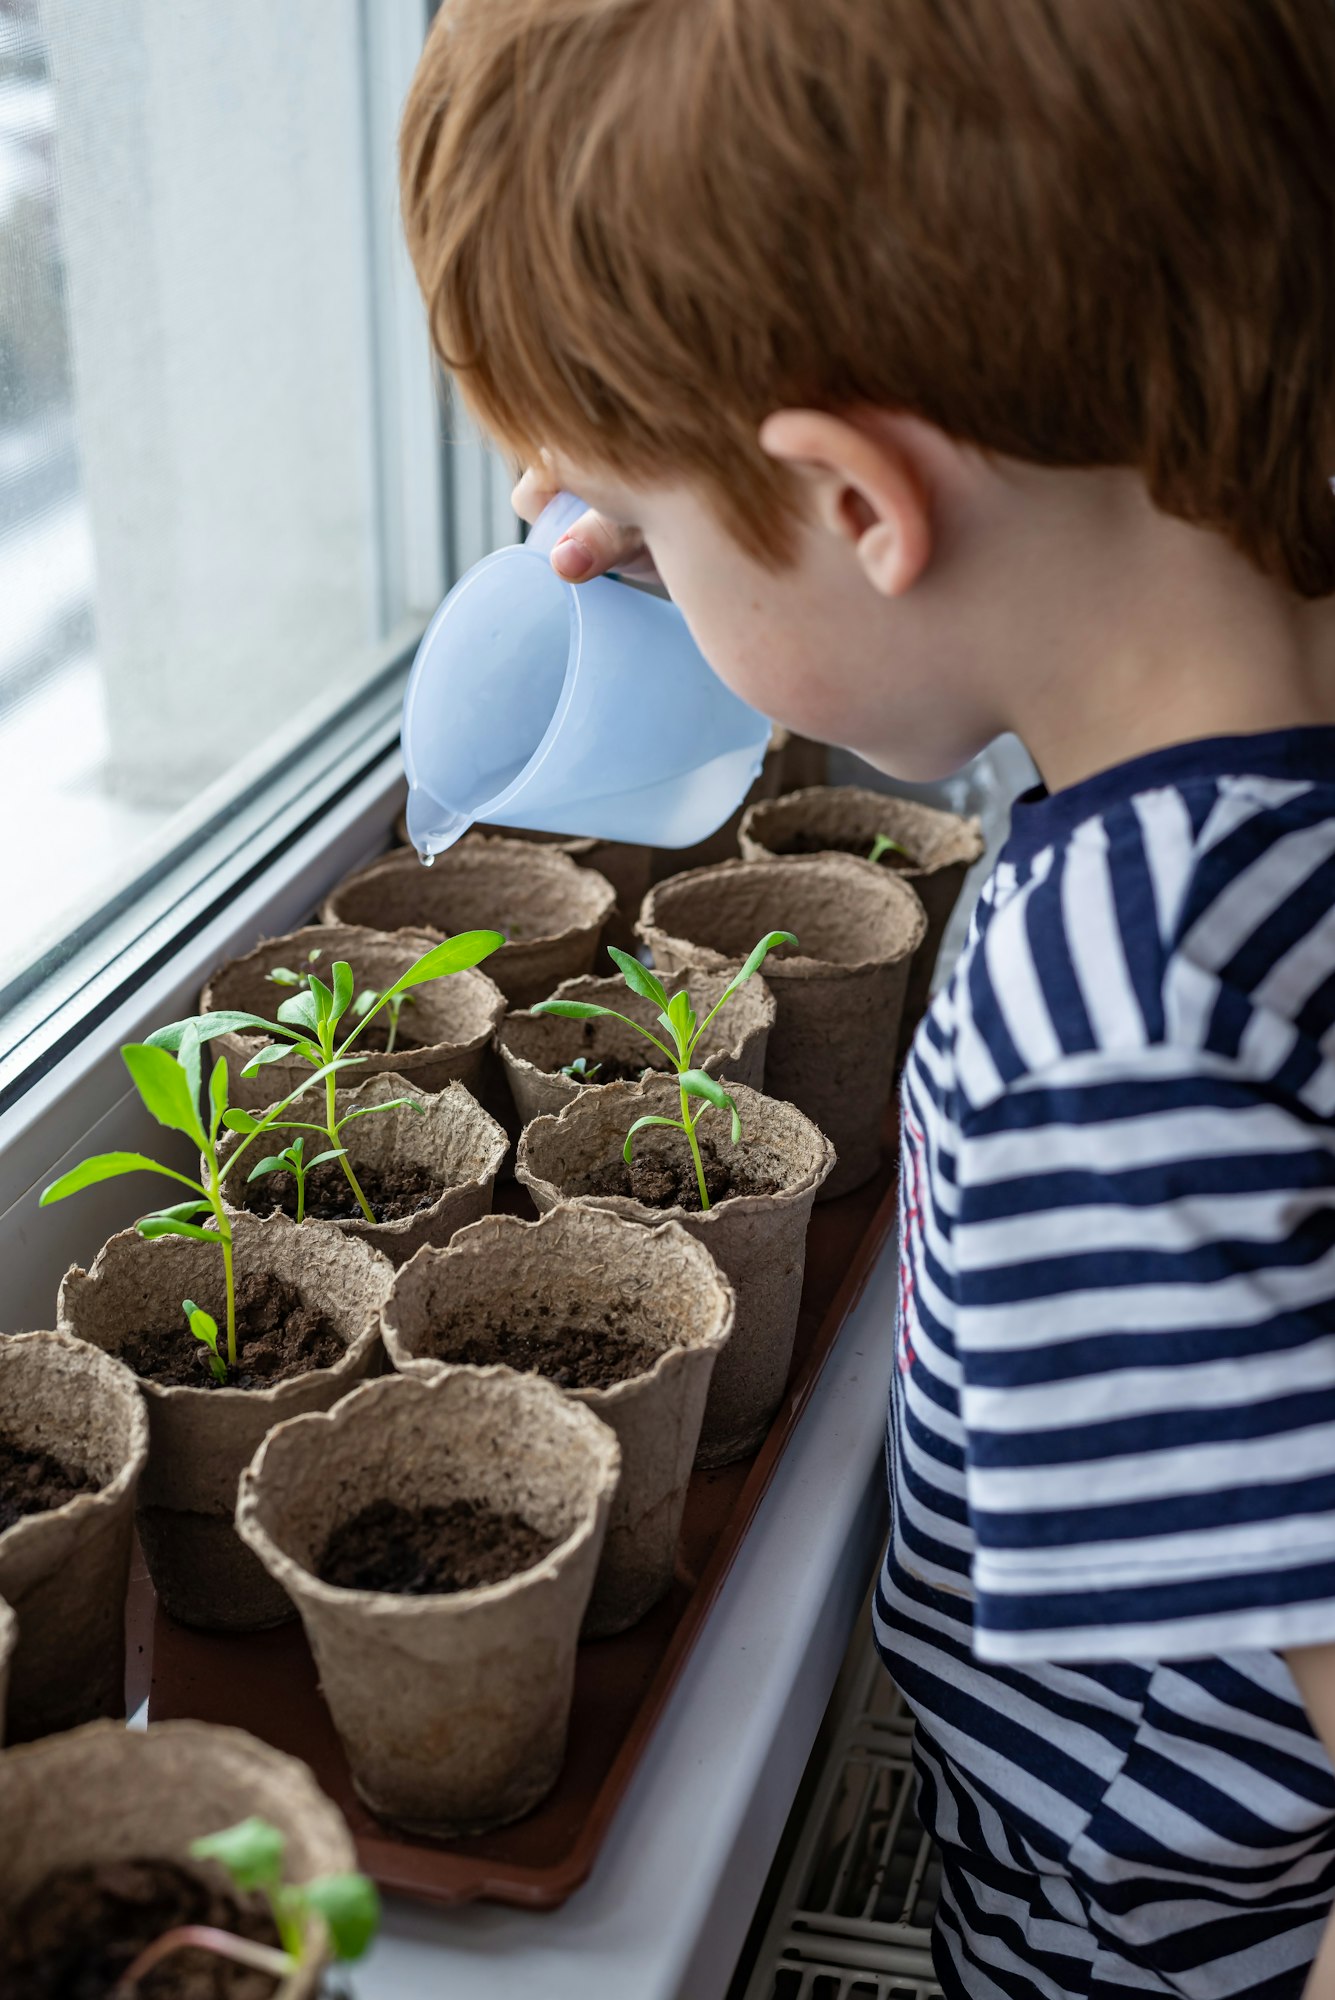
2. Seedling
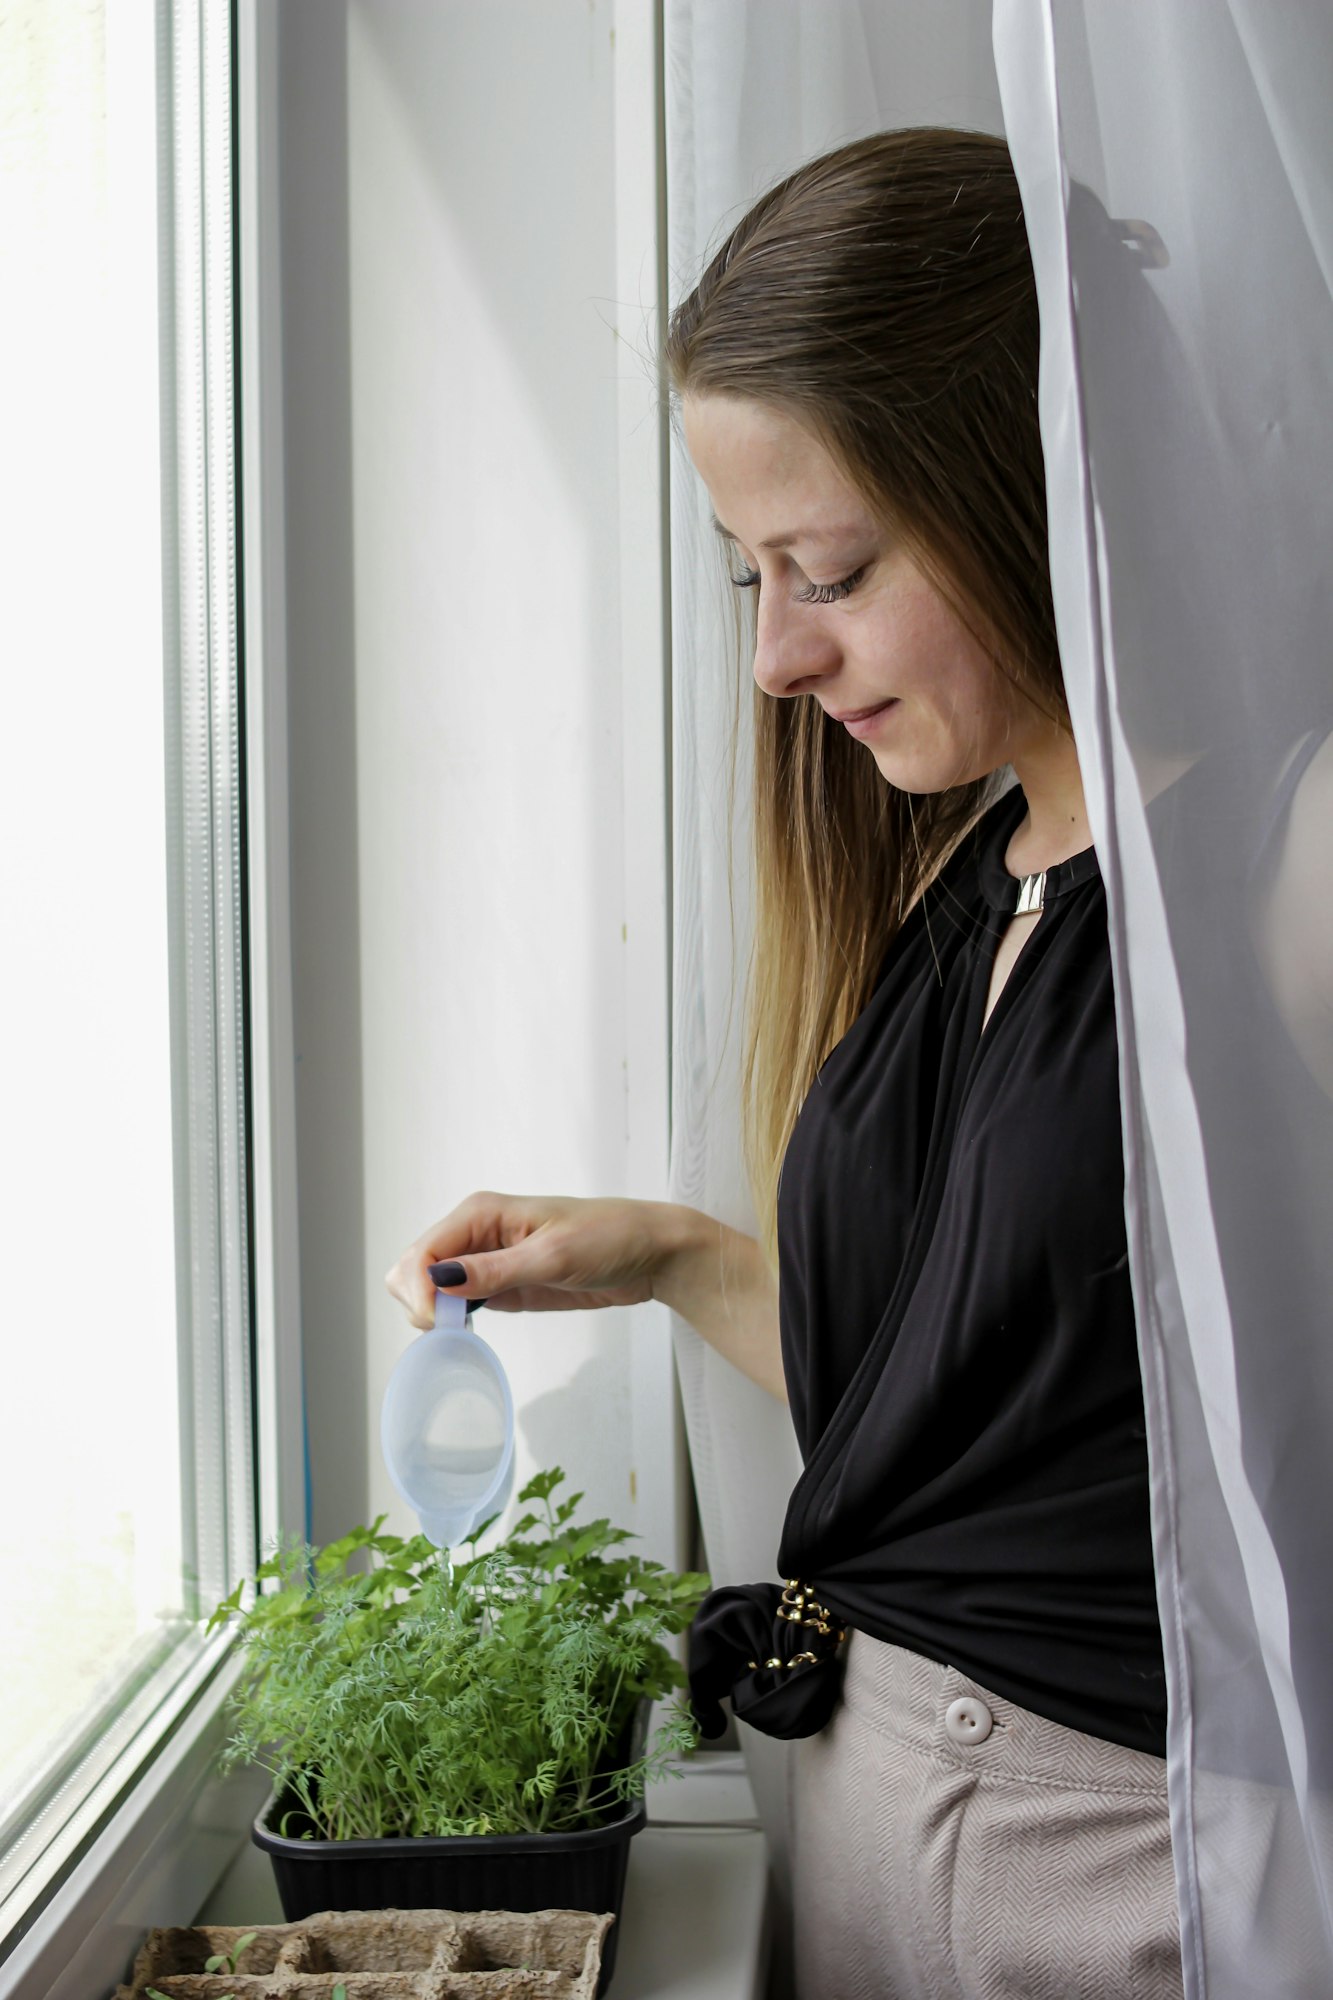
Dill seedlings have two initial leaves, or cotyledons, which will look different from the dill’s true leaves that follow. These true leaves are finely divided and delicate, resembling the mature dill foliage.
How to care for dill at this stage
- Watering: Keep the soil moist but not soggy. Dill seedlings are sensitive to over-watering.
- Spacing: If seeds were sown densely, thin seedlings to about 12-18 inches apart to allow for adequate airflow and growth space.
- Light requirements: Dill loves sunlight. Ensure your seedlings receive at least 6-8 hours of direct sunlight daily.
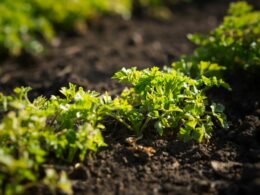
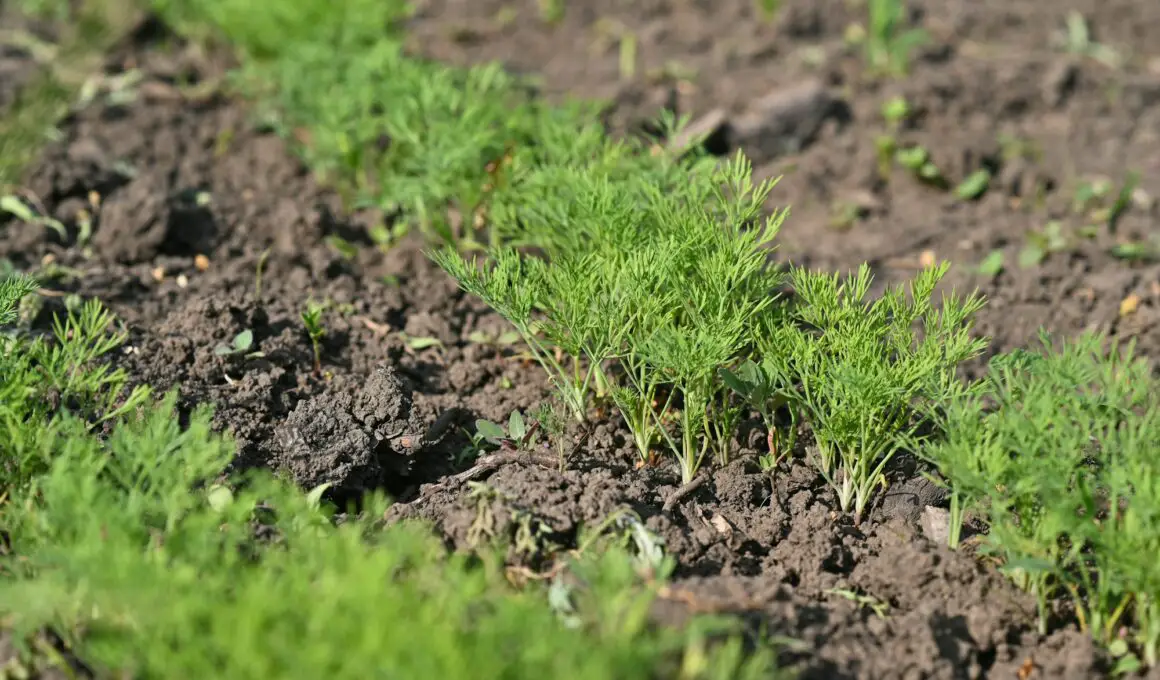
3. Vegetative Growth
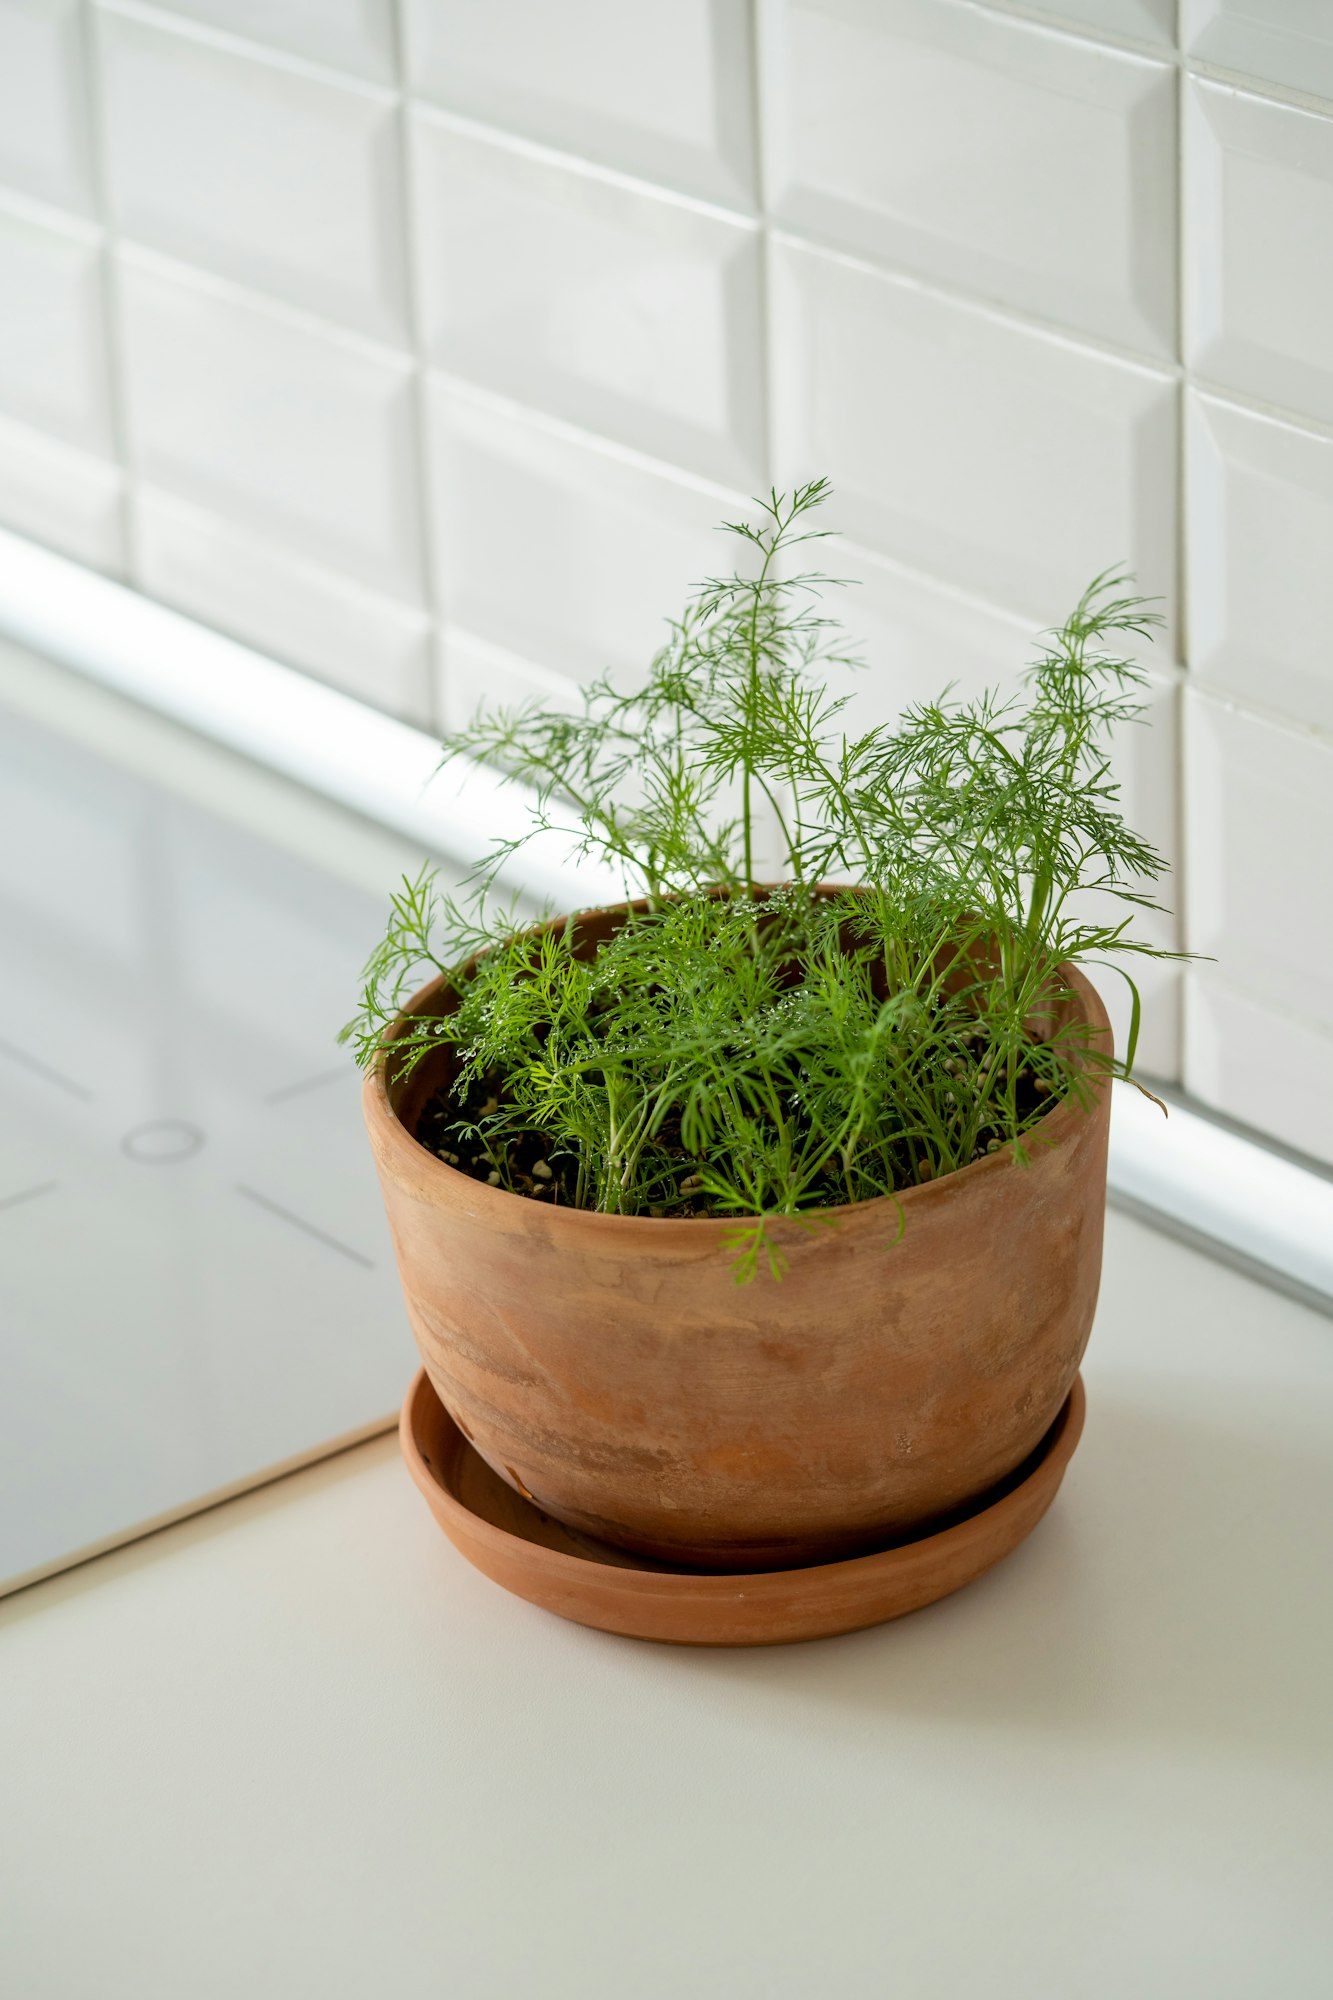
This stage is marked by rapid growth of leaves. The plant becomes bushier and taller, preparing for eventual flowering.
Tips for ensuring healthy vegetative growth
- Fertilize lightly; dill generally does well in soil that isn’t too rich.
- Continue to ensure adequate water, especially as the plant grows larger.
- Weed carefully around your dill plants to prevent competition for nutrients.
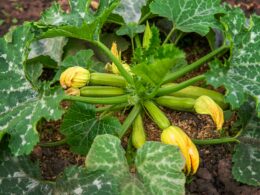
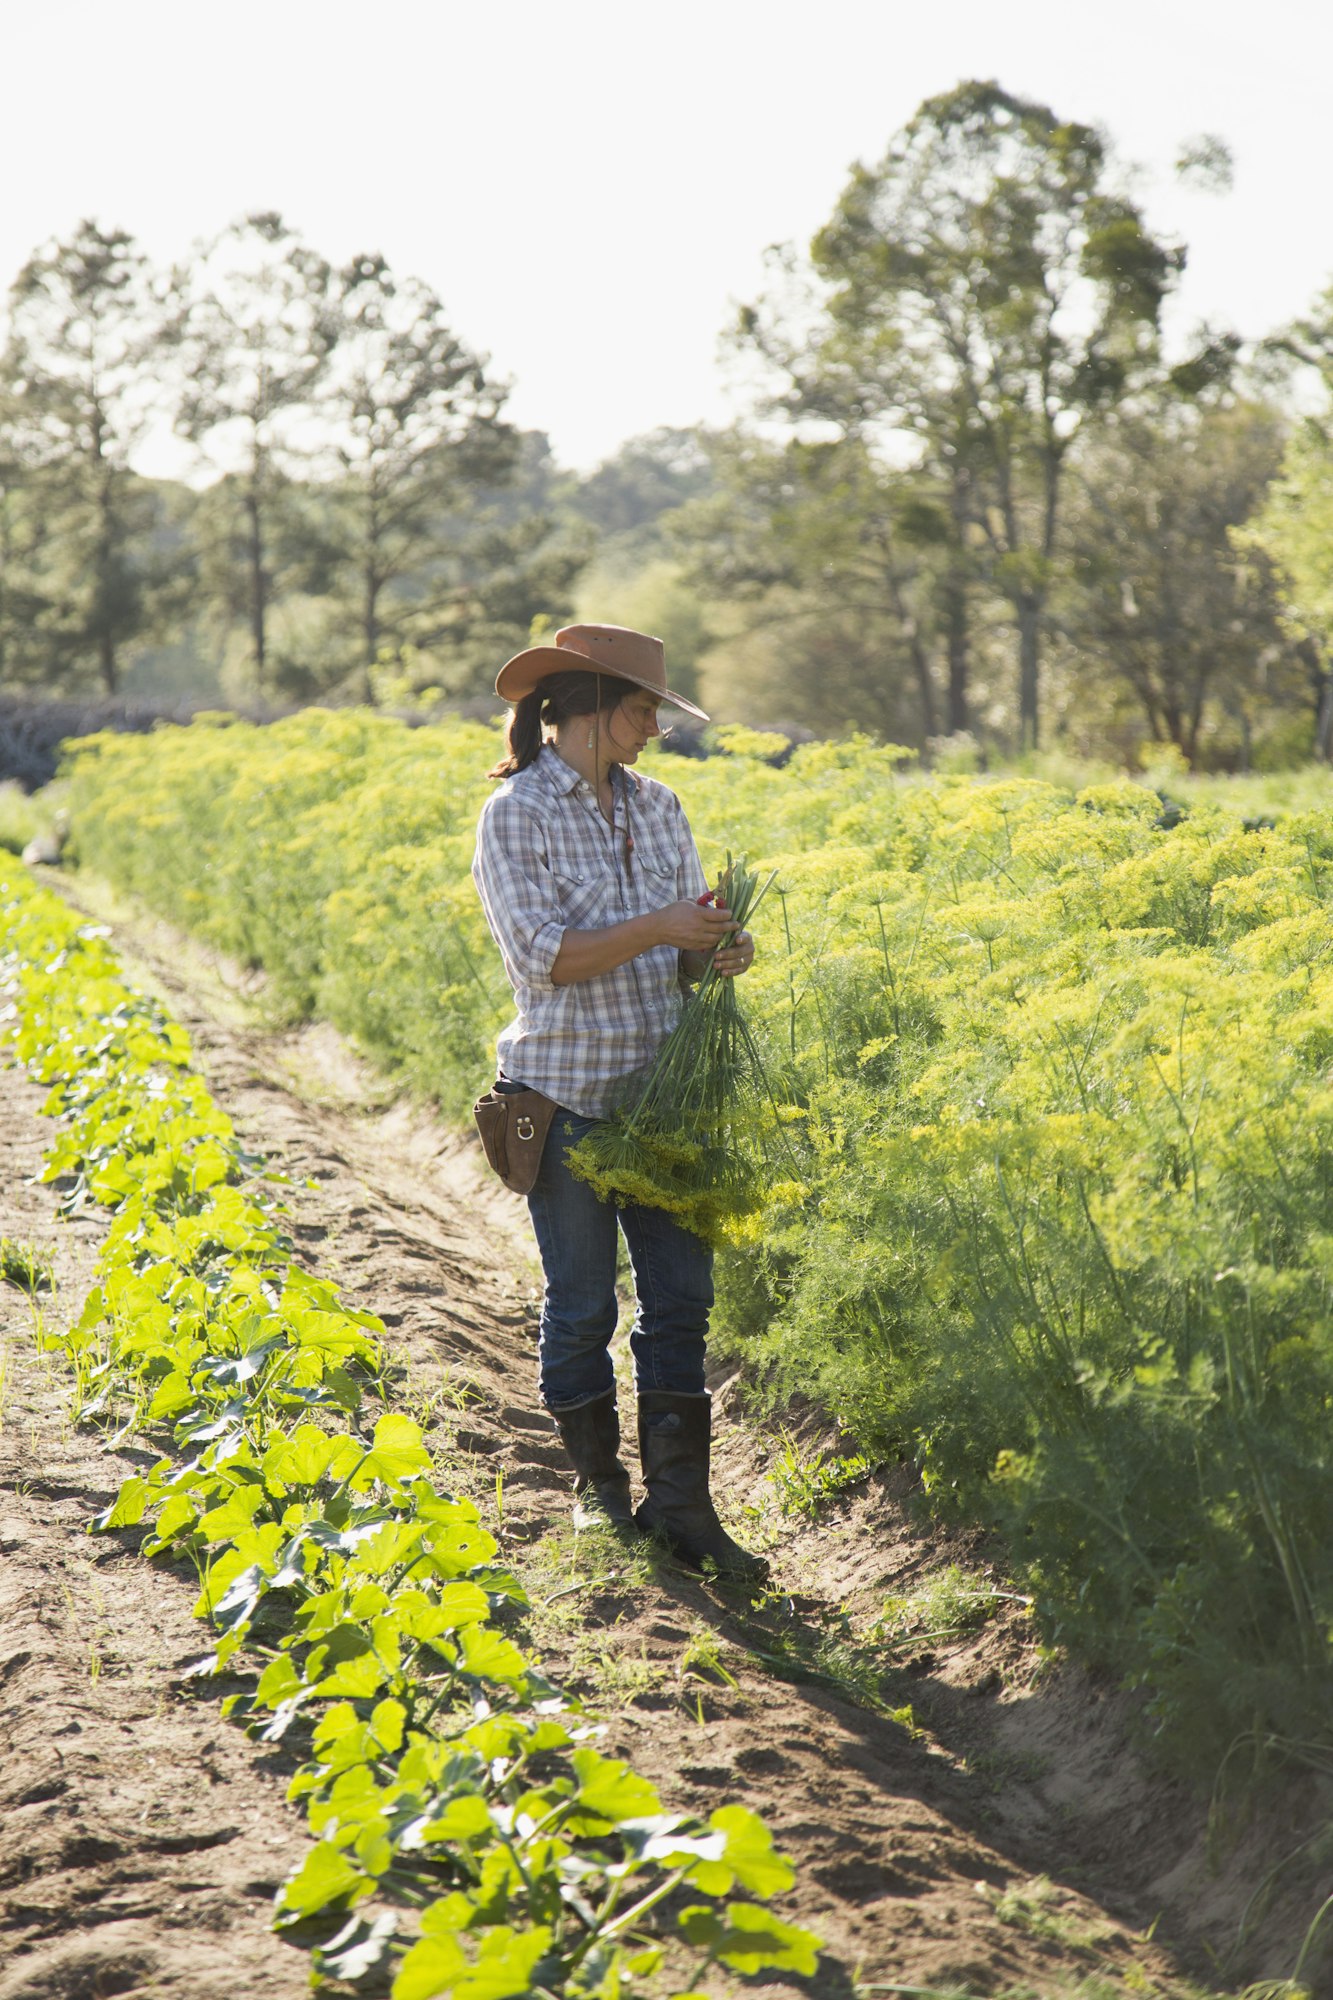
4. Flowering

Look for the development of a tall central stalk from which umbrella-shaped flower clusters emerge. These flowers will be yellow. Once dill starts flowering, leaf production slows and the flavor can become slightly bitter.
Keep the plant trimmed. Regular harvesting of leaves and cutting back the central stem can sometimes delay flowering. Planting dill at intervals (succession planting) ensures a continuous harvest of leaves before any one plant flowers.
5. Seed Formation
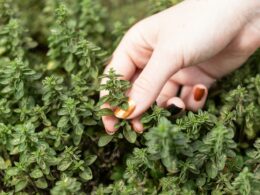
After flowering, dill will produce seeds. You’ll know the seeds are ready when the flower heads turn brown, and seeds can be easily rubbed off with your fingers.
Methods for harvesting and storing dill seeds
- Cut the flower heads off the plant with a good portion of the stem attached.
- Place the cuttings in a paper bag, hanging them upside down. The bag will catch the seeds as they dry and fall off.
- Store the dried seeds in an airtight container in a cool, dry place. They can be used for cooking or saved for planting next season.
Growing dill from seed to harvest is a rewarding process that adds both flavor and beauty to your garden. By understanding and nurturing dill through each of its growth stages, you’ll ensure a bountiful harvest of leaves and seeds to enhance your cooking and share with friends and family.