In This Article Show
Rosemary is one of the most cherished herbs in gardens and kitchens worldwide. With its fragrant leaves and myriad uses ranging from culinary to decorative, understanding how to grow rosemary effectively is essential for any gardener.
Whether you’re a beginner hoping to spice up your meals with fresh herbs or an experienced gardener looking to perfect your rosemary cultivation techniques, this guide will provide you with straightforward, practical advice to help your plants thrive.
In this post, we’ll walk through each stage of rosemary’s life cycle—from seed germination to full maturity. By the end, you’ll know exactly what to expect at each phase and how to provide the best care for optimal growth and bloom. Let’s get your rosemary garden started on the right foot!
Rosemary Growth Stages & Timelines
Stage 1: Seed Germination
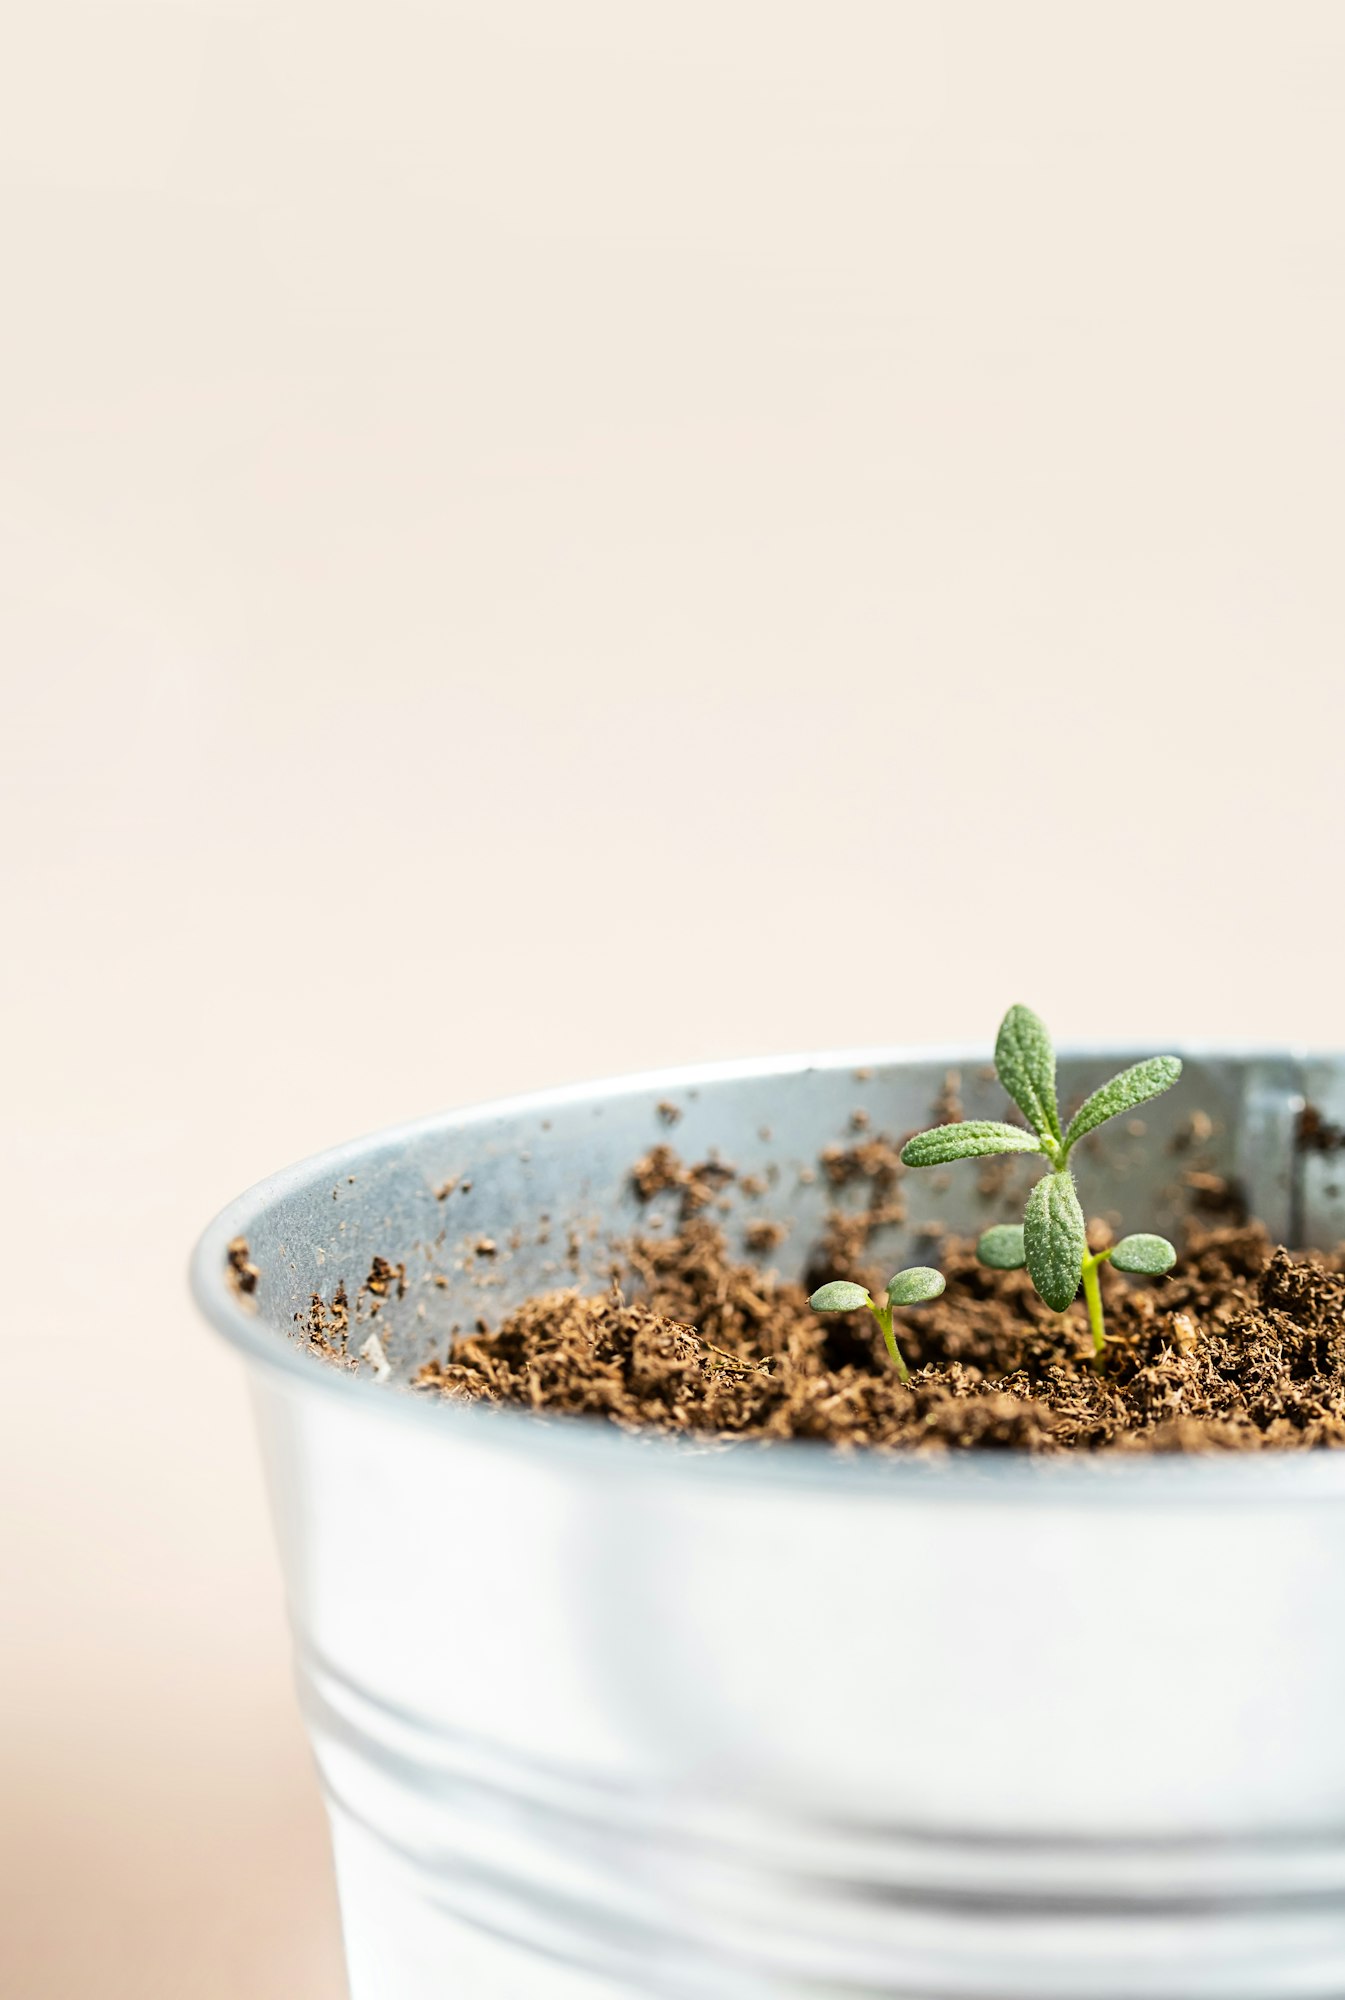
Germinating rosemary from seeds can be a test of patience due to their notorious slowness and low germination rate, but with the right approach, it can also be a rewarding start to your herb gardening.
Optimal Conditions for Germination
Rosemary seeds thrive in a light, well-draining soil mix, ideally at a temperature between 70-75°F (21-24°C). The key to success lies in maintaining consistent moisture without overwatering, which can lead to fungal problems and seed rot. Covering your seed tray or pot with plastic wrap can help retain humidity, but be sure to remove it occasionally to let the air circulate and prevent mold buildup.
Get Gardening For Beginners
Our new EBOOK shows newcomers and green thumbs alike a step by step guide to growing the garden of their dreams.
Light is crucial for germination, so place your seeds in a bright location but out of direct sunlight, which can be too harsh for them. A south-facing window or under-growth lights are excellent spots for encouraging germination.
Time Frame for Germination
Rosemary seeds take their time to sprout, often taking between two to three weeks, sometimes even longer. Patience is essential during this period. It’s not uncommon for germination rates to be low, so planting extra seeds is a wise strategy to ensure enough seedlings for transplantation.
What to Expect During This Stage
Initially, you may see little activity but don’t get discouraged. Keep the soil consistently moist and maintain the temperature steady. Once the seeds begin to sprout, you’ll notice tiny green shoots emerging from the soil. These are your future rosemary plants starting their journey.
As the seedlings appear, it’s important to keep them in a well-lit area and begin to harden them off to the natural outdoor conditions if you plan to transplant them outside. This gradual exposure prepares them for stronger, more resilient growth.
Stage 2: Seedling Development
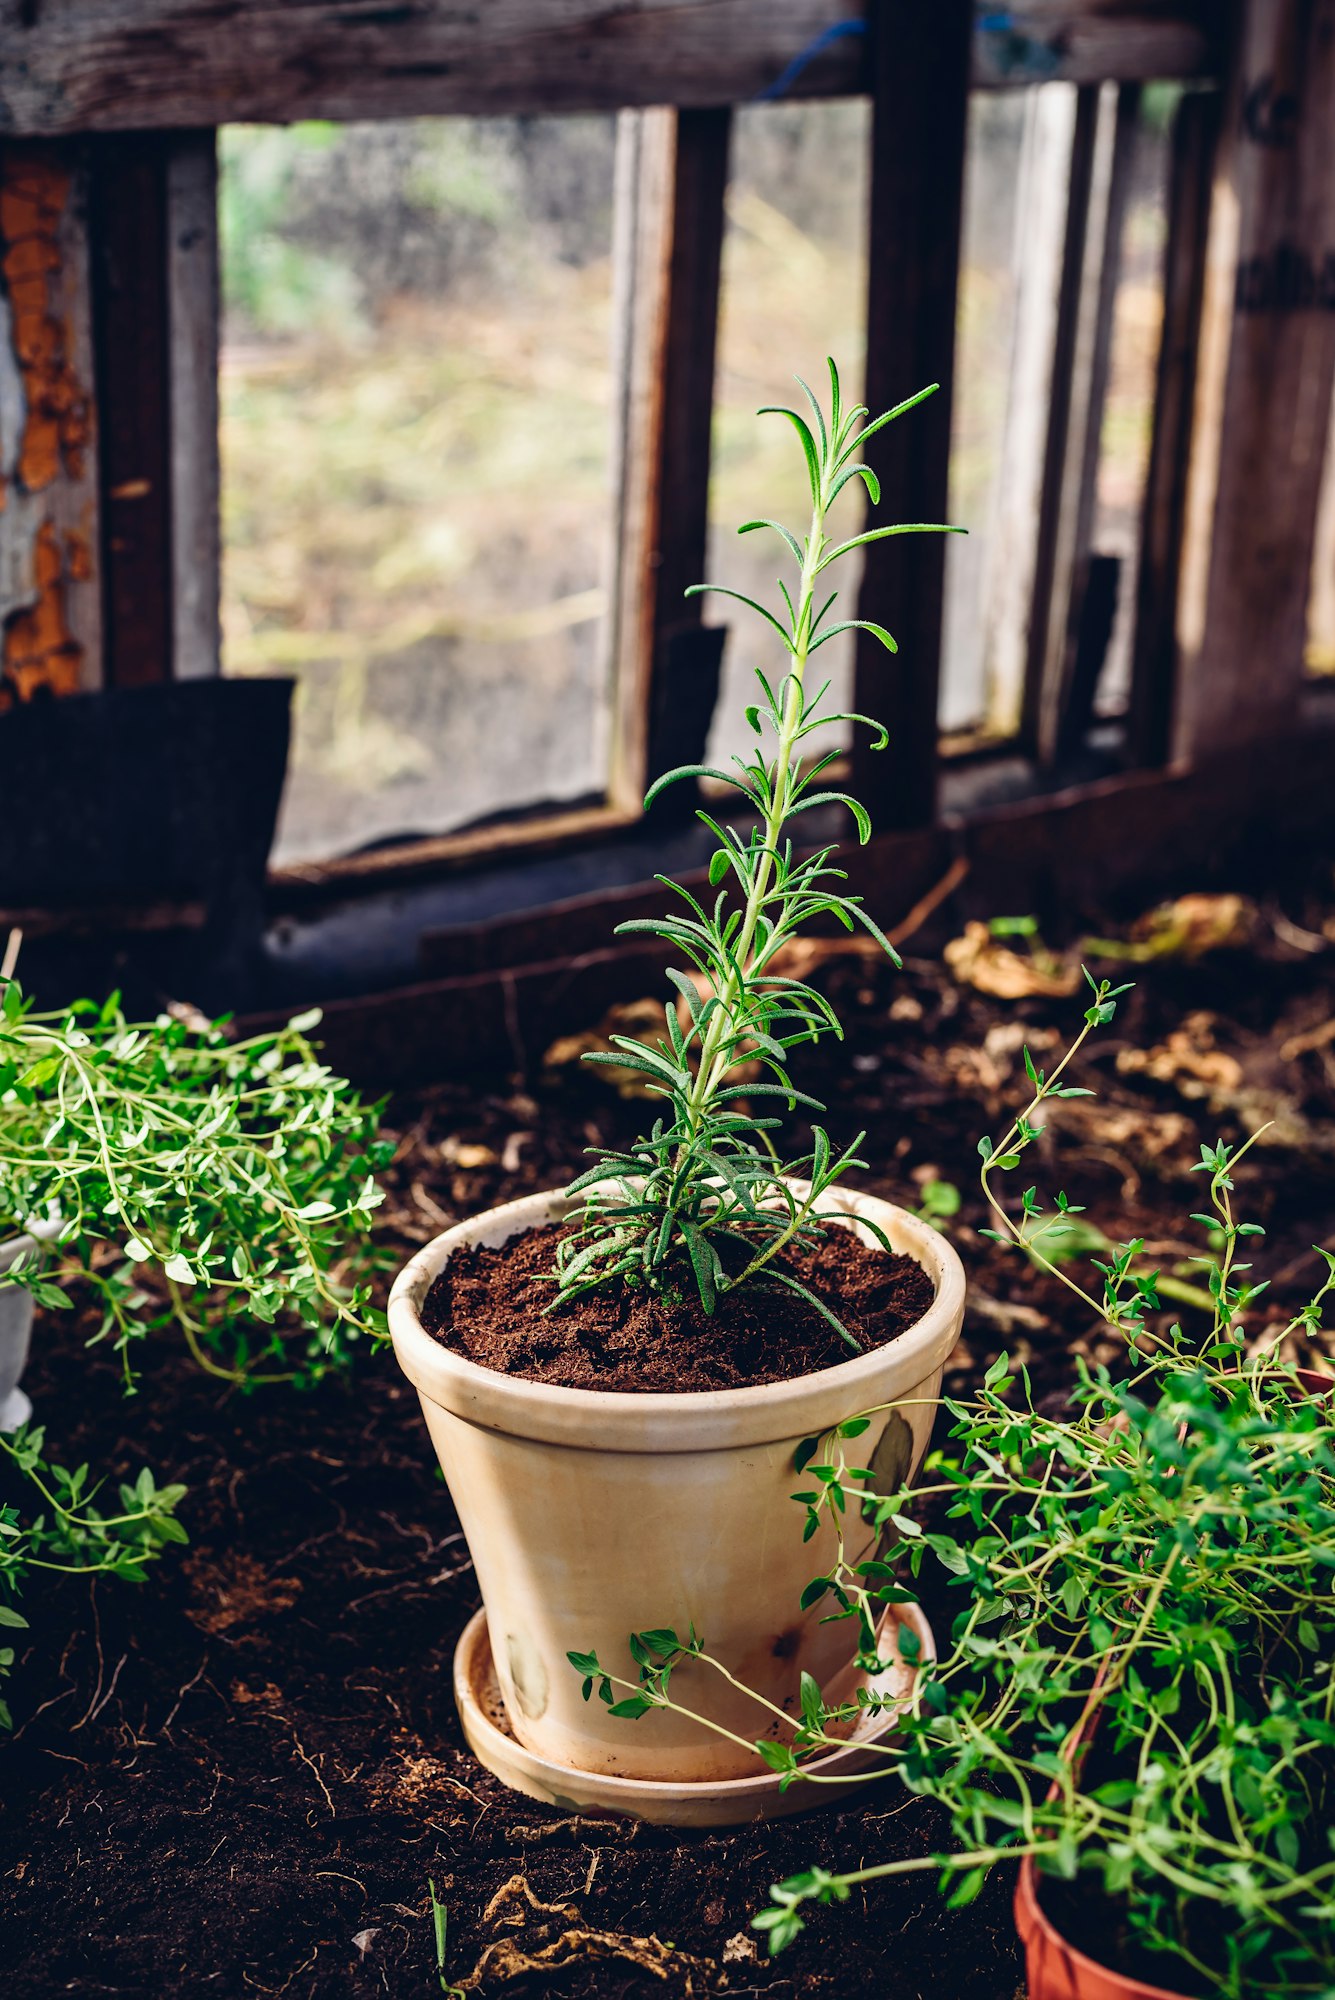
Once your rosemary seeds have germinated, the next critical phase is the seedling stage, where young plants begin to establish themselves. Proper care during this stage is crucial to developing strong, healthy rosemary plants.
Get Gardening For Beginners
Our new EBOOK shows newcomers and green thumbs alike a step by step guide to growing the garden of their dreams.
Identifying the Seedling Stage
Rosemary seedlings are recognizable by their first set of true leaves, which appear slightly different from the initial, more simplistic embryonic leaves (cotyledons). The true leaves will be more defined and start to show the characteristic needle-like shape of mature rosemary leaves, albeit much smaller. This is the point where seedlings begin to develop their root systems more extensively.
Caring for Rosemary Seedlings
- Watering: Rosemary prefers drier conditions as it is native to the Mediterranean region. At the seedling stage, aim to keep the soil slightly moist but never soggy.
- Lighting: Seedlings require plenty of light to grow sturdy and healthy. If natural sunlight is insufficient, especially in winter months, consider using a grow light.
- Temperature: Keep your rosemary seedlings in an environment where temperatures are consistently between 60-70°F (15-21°C).
- Transplanting: As seedlings grow and develop their root systems, they will eventually need more space. Transplant them into larger pots or your garden once they are 3-4 inches tall and have at least three sets of true leaves.
During transplantation, be gentle with the fragile roots to minimize stress and damage. Transplanting is also an excellent opportunity to introduce them gradually to outdoor conditions if they were started indoors.
Stage 3: Vegetative Growth
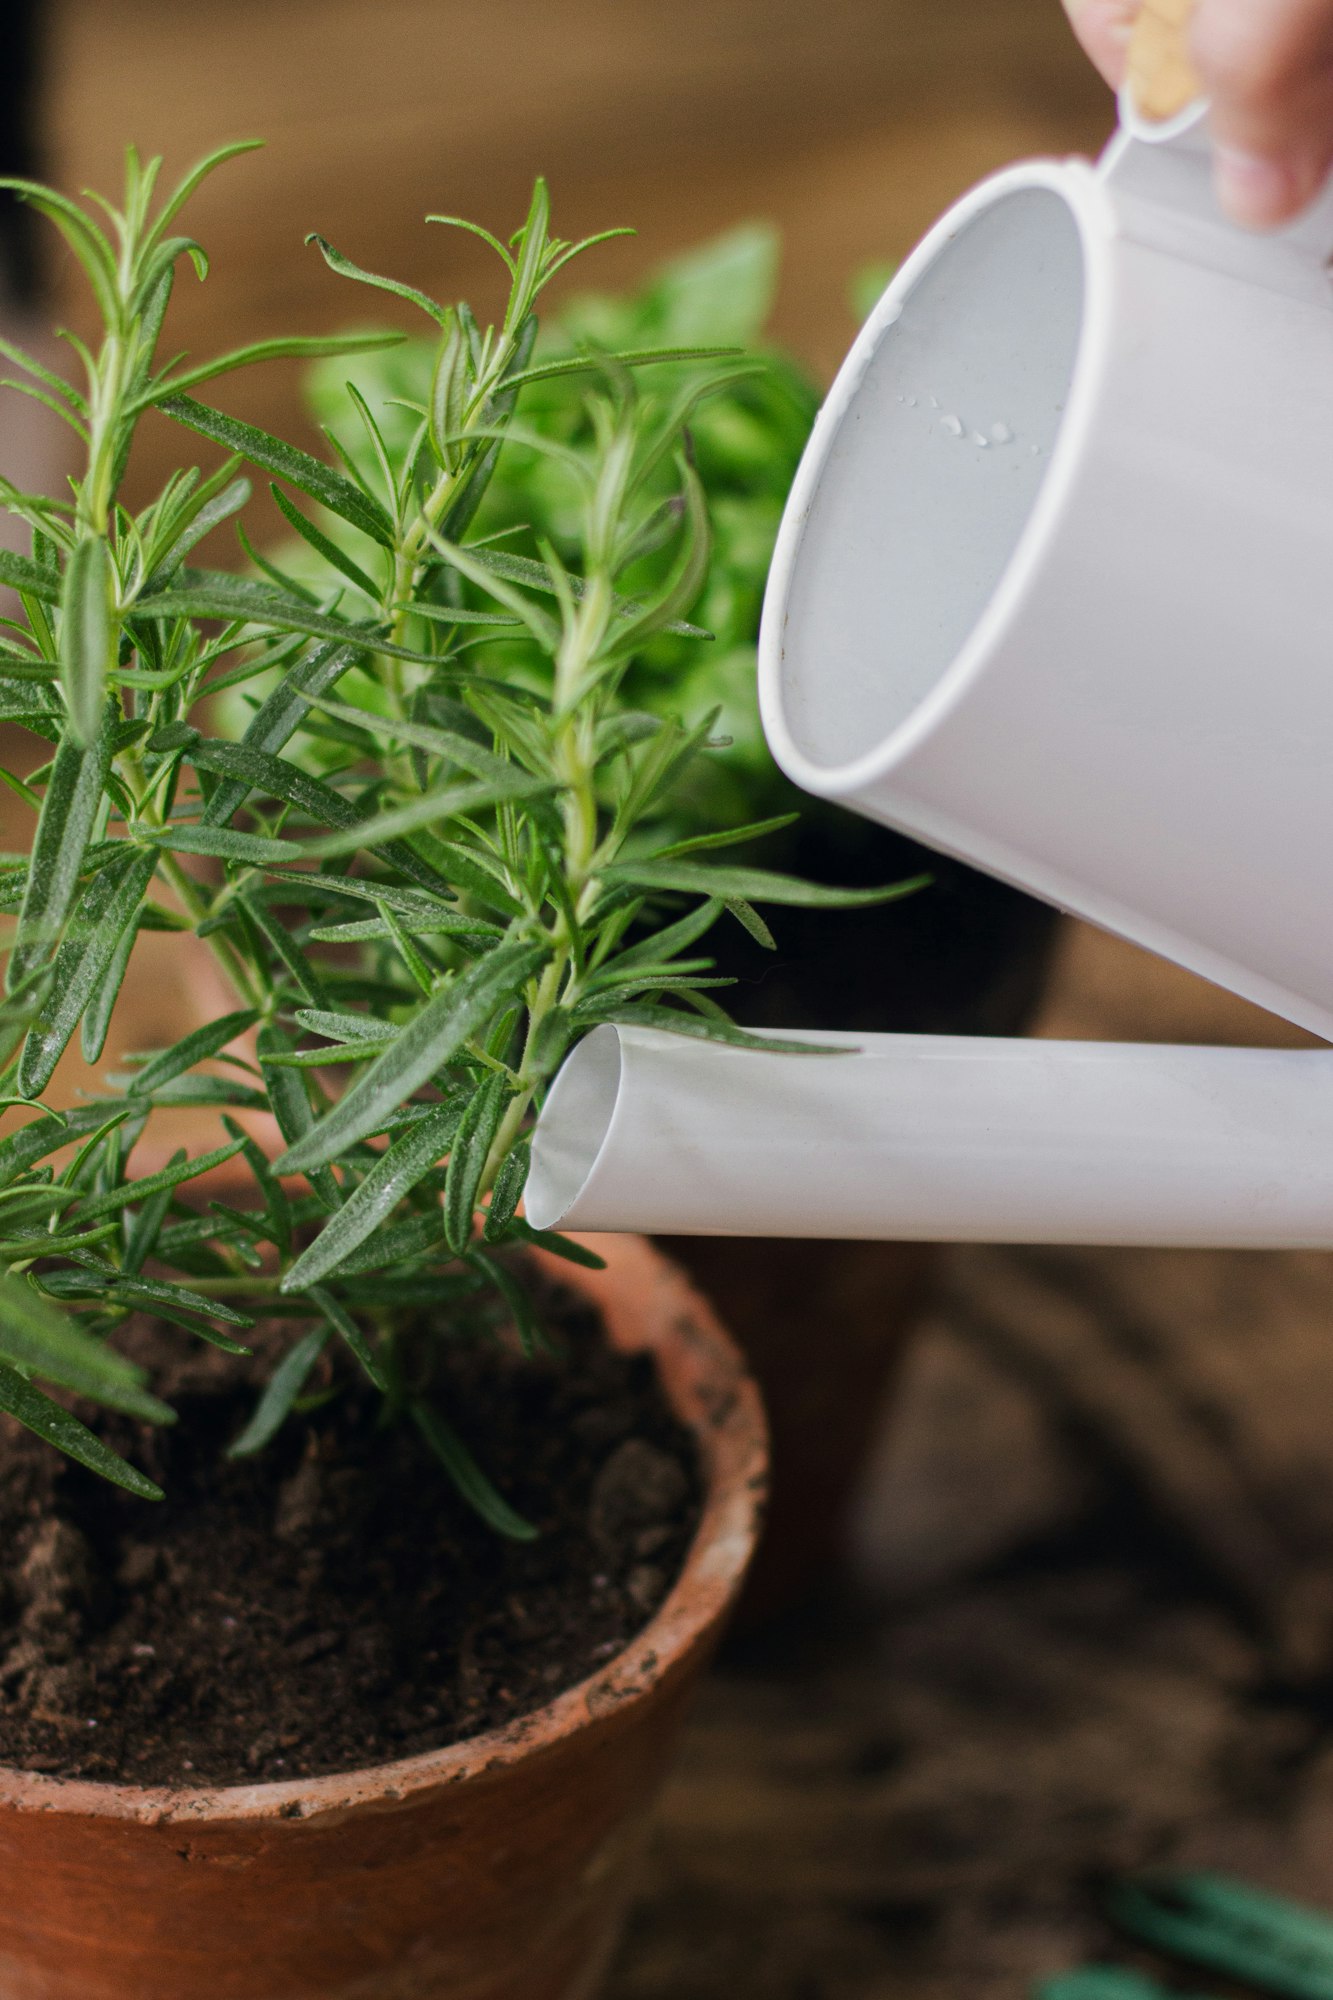
The vegetative stage of rosemary is when the plant focuses all its energy on growing leaves and stems. During this phase, rosemary expands its root system and increases in foliage density, preparing itself for future flowering and harvesting. This stage is crucial as it sets the foundation for a healthy and productive plant.
Care for Rosemary During Vegetative Growth
- Soil: Rosemary thrives in well-draining, sandy or loamy soil. It prefers a slightly acidic to neutral pH. Ensure good drainage to avoid waterlogging, which can cause root rot.
- Water: Water rosemary plants deeply but infrequently, allowing the soil to dry out between watering. This mimics the natural dry conditions of its native Mediterranean environment.
- Sunlight: Rosemary requires full sun for optimal growth, so ensure it gets at least 6-8 hours of direct sunlight daily. If growing indoors, a south-facing window or a supplemental grow light is necessary.
Signs of Healthy Growth and Common Issues
- Healthy Growth: A healthy rosemary plant during the vegetative stage should exhibit robust, green foliage and steady growth. The stems should be firm, and the plant should stand upright without drooping.
- Common Issues: Watch out for yellowing leaves or stunted growth, which could indicate poor drainage or nutrient deficiencies. Pests like spider mites and aphids can also affect rosemary, so keep an eye out for any signs of infestation and treat them promptly.
Stage 4: Maturation and Flowering

Rosemary typically reaches maturity within two years, ready to flower and fully establish itself. The timing can vary depending on growing conditions and care.
Characteristics and Flowering Process
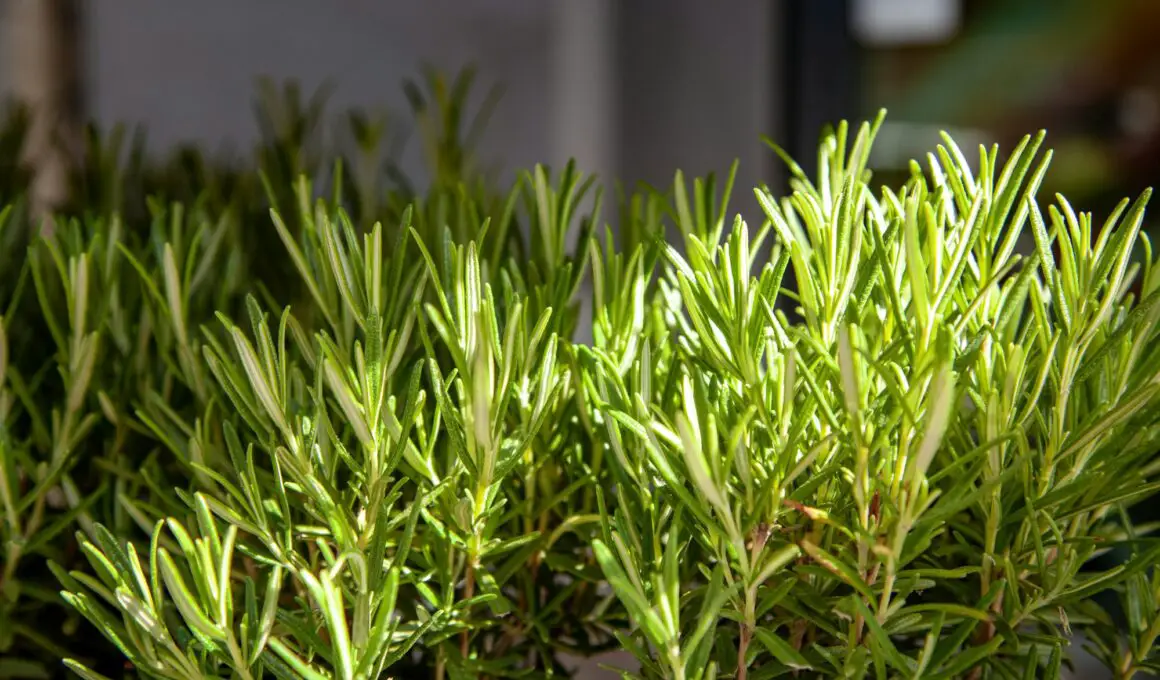
Mature rosemary plants are woody at the base with prolific, needle-like leaves. They can grow several feet tall. The flowering process usually begins in spring or early summer, producing small, pale blue to white flowers that are highly attractive to bees and other pollinators.
Encouraging Healthy Flowering
- Pruning: Regular pruning not only maintains the shape of the plant but also encourages thicker growth and flowering. Trim back after the first flush of blooms to promote a second blooming and improve air circulation within the plant.
- Feeding: Use a balanced, slow-release fertilizer at the beginning of the spring to boost nutrient levels and support flowering.
Stage 5: Harvesting
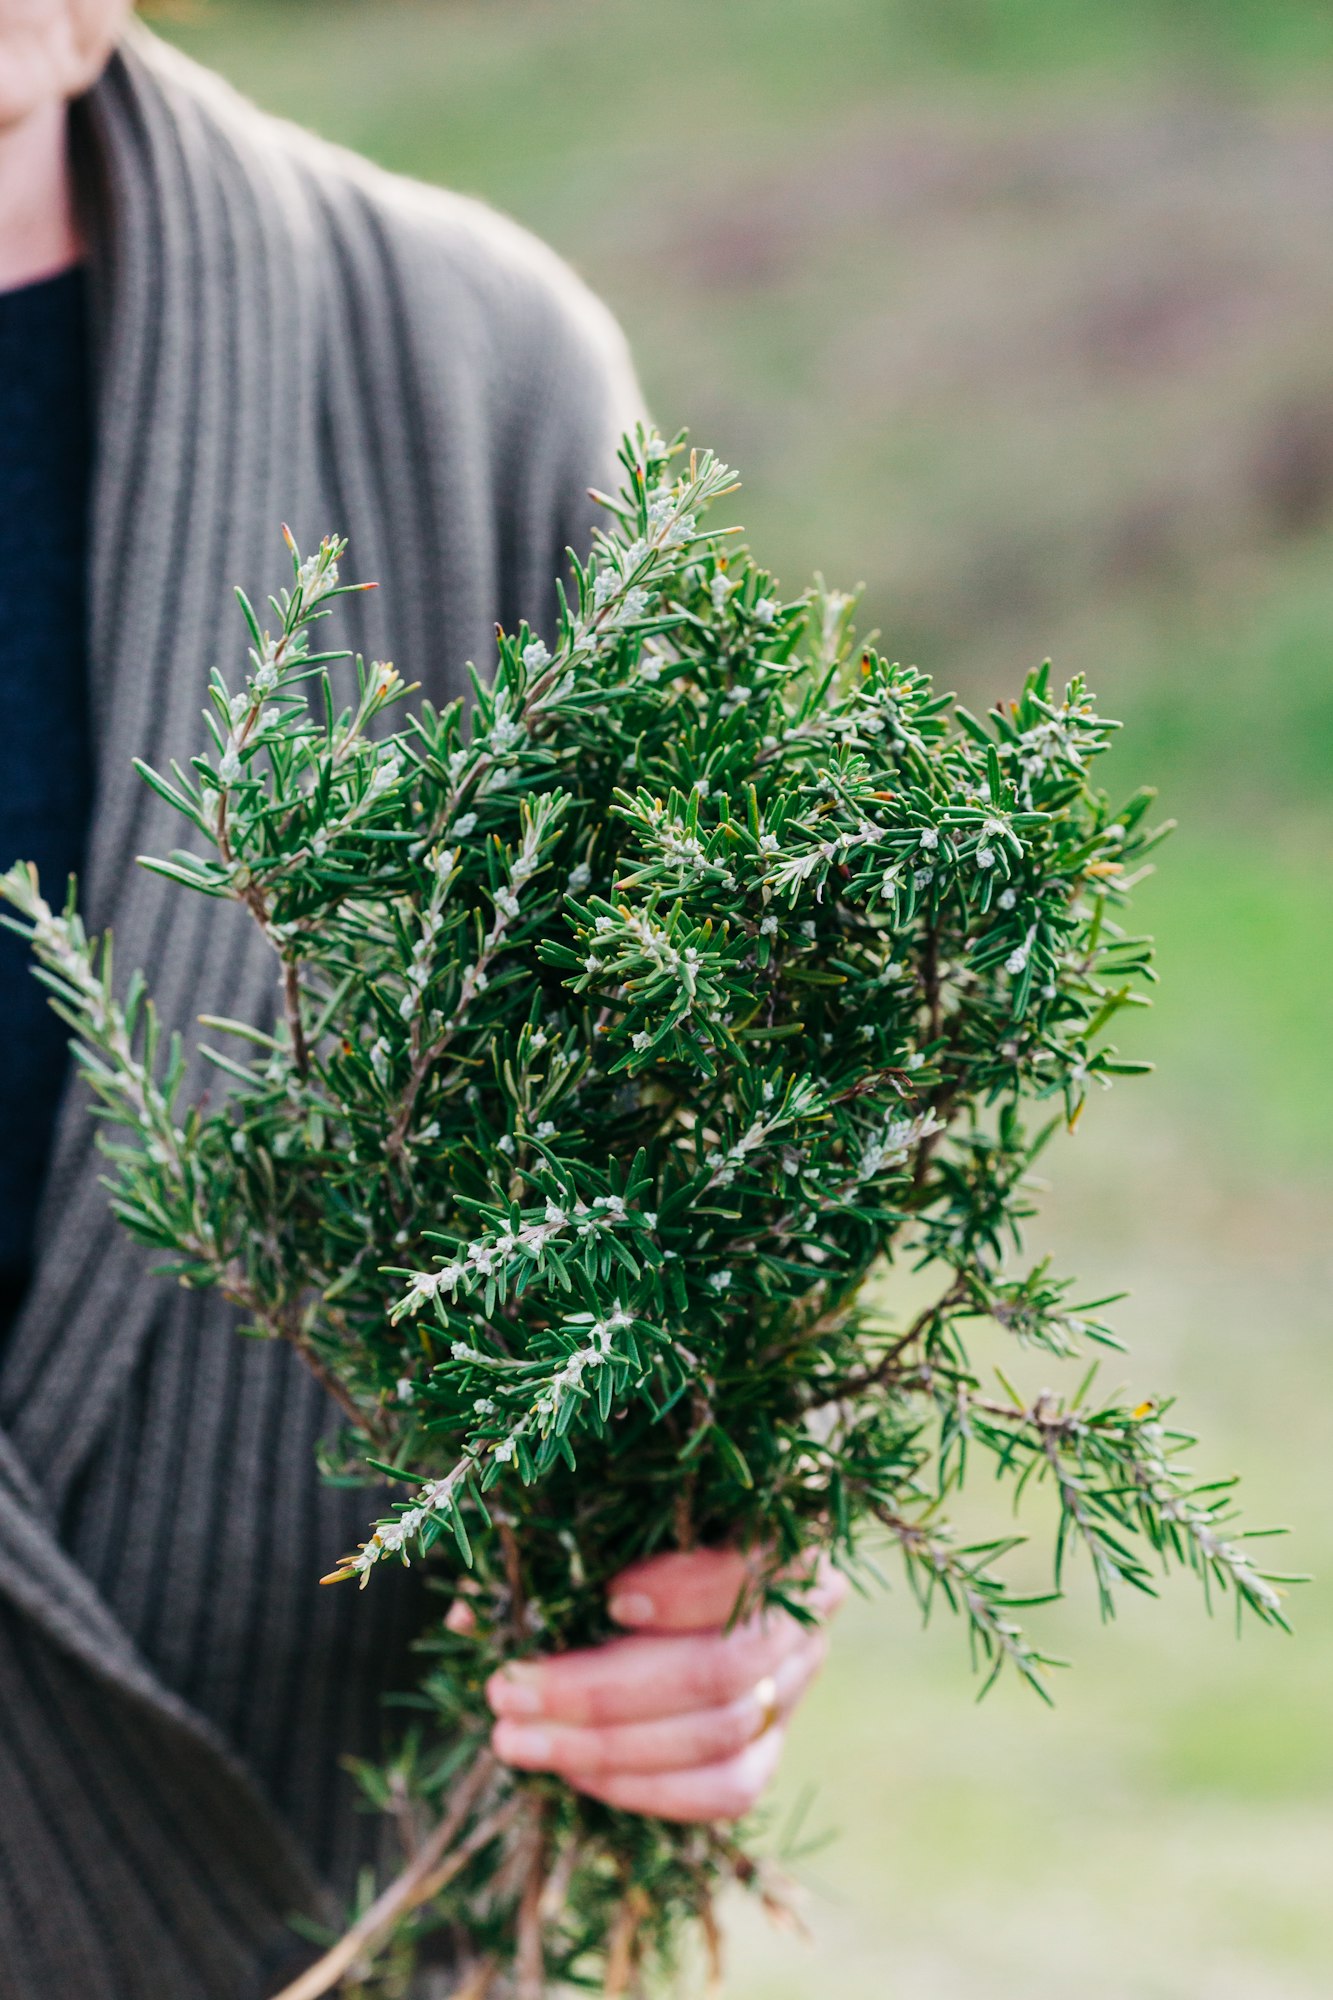
Harvest rosemary by snipping the stem just above a leaf junction to encourage more branching and dense growth. Use sharp scissors or pruning shears to make clean cuts.
Tips on When and How to Cut Rosemary
- When to Harvest: The best time to harvest rosemary is in the morning after the dew has dried but before the sun becomes too hot. This helps ensure the oils are concentrated, giving you the most flavor.
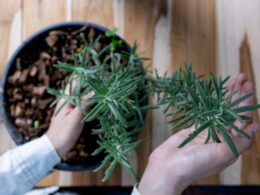
- How to Harvest for Culinary Use or Propagation: For culinary uses, cut the amount needed for cooking; rosemary is best used fresh. For propagation, cut longer stems, strip the lower leaves, and place them in soil or water to root.
Following these guidelines through each stage of growth will help ensure that your rosemary plants are healthy, vibrant, and productive.


