

In This Article Show
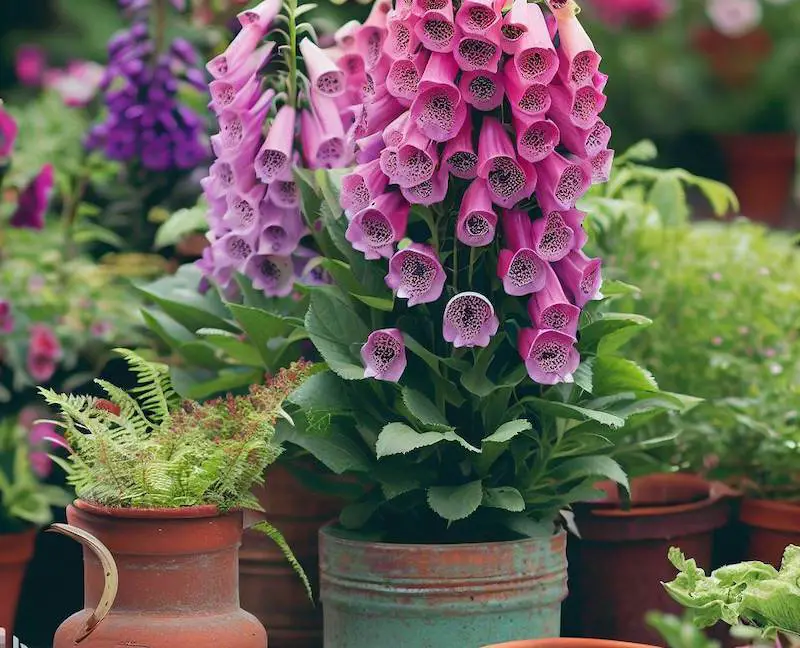
Foxglove, scientifically known as Digitalis, is not just admired for its aesthetic qualities; it also has fascinating uses in herbal medicine, particularly in treating heart conditions. In this post, I’ll walk you through five simple steps to cultivate these captivating flowers successfully. Whether you have a sprawling backyard or a modest balcony garden, let’s ensure your foxgloves thrive, bringing joy and color to your green space.
How to Grow Foxglove At Home
Read on as we explore each step, from seed selection to care and maintenance, to help you become a confident foxglove gardener.
Step 1: Choosing the Right Variety
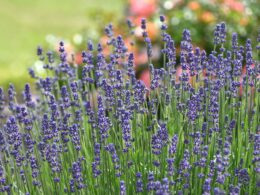
Foxglove, or Digitalis, comes in several captivating varieties, each with its unique charm and growing requirements. The key to flourishing foxglove starts with selecting the right type for your garden’s climate and aesthetic. Here are some popular varieties and tips to help you choose the best one for your garden:
Popular Varieties of Foxglove
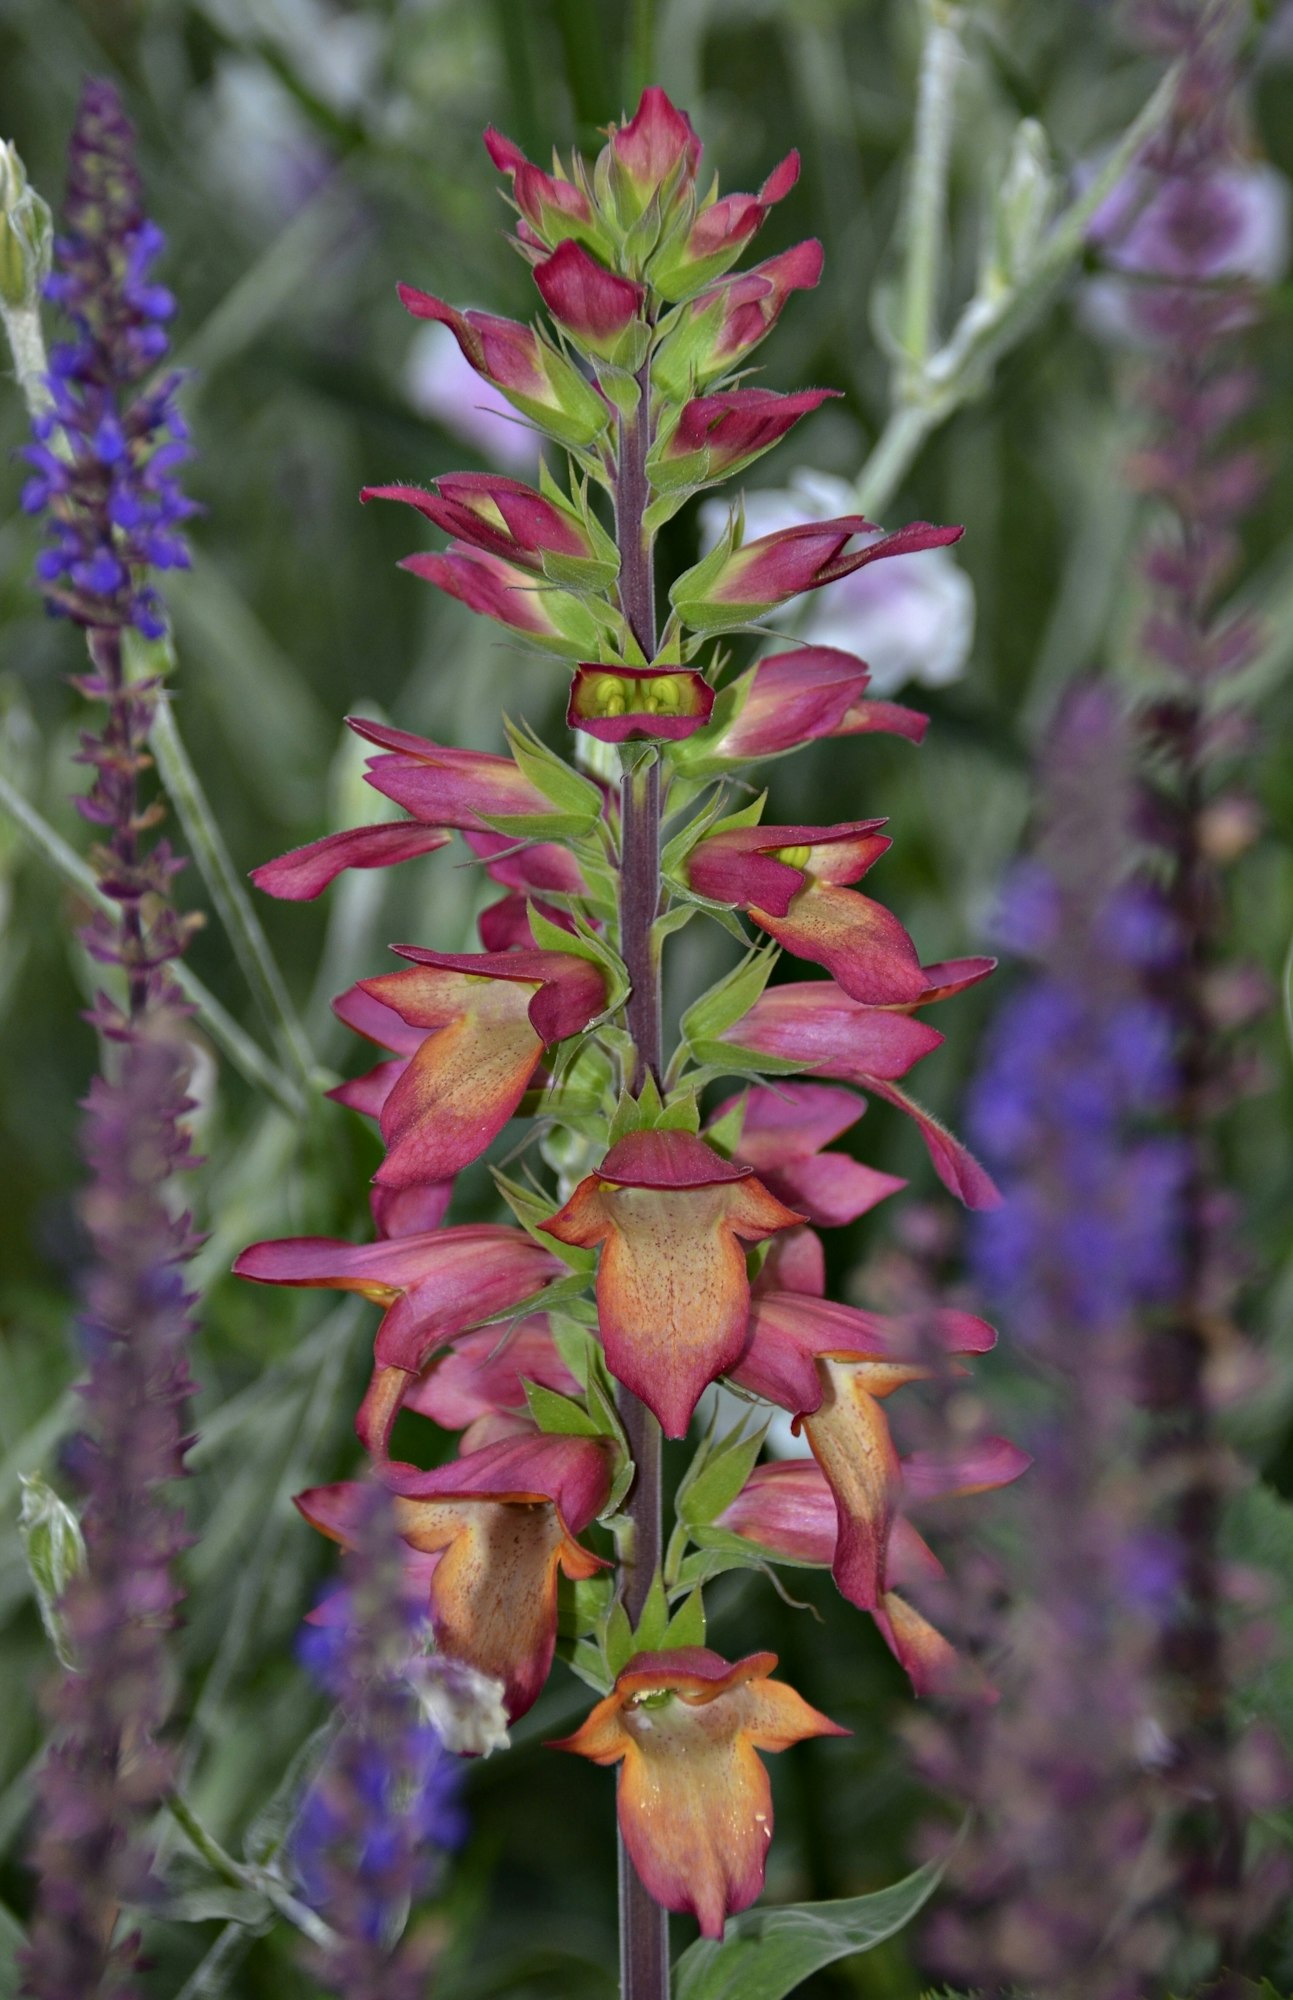
- Digitalis purpurea: The common foxglove, known for its majestic purple spikes, is perfect for adding height and color to shaded garden areas.
- Digitalis lutea: This species features smaller, yellow flowers. It’s less dramatic but more perennial, offering a more subtle charm and longer-lasting presence in the garden.
- Digitalis x mertonensis: Known as the strawberry foxglove, this hybrid sports sumptuous pink blooms. It’s a perennial, making it a longer-lasting addition to your garden.
- Digitalis grandiflora: The large yellow foxglove is a perennial favorite with robust yellow flowers. It’s excellent for a garden that needs a reliable, long-term flowering plant.
Tips for Selecting the Right Variety
- Consider your climate: Digitalis purpurea thrives in cooler climates and might struggle in hotter areas, whereas Digitalis grandiflora can tolerate a bit more warmth.
- Assess your garden’s light conditions: Most foxgloves prefer partial shade, but some can handle more sun. Ensure you choose a variety that matches the lighting conditions where you plan to plant them.
- Think about color schemes and heights: Depending on your garden’s existing design, select foxgloves that complement your other plants not only in color but also in height and form.
- Understand the lifecycle: Decide whether you prefer the cyclic self-seeding of biennials like Digitalis purpurea or the steadfastness of perennials like Digitalis lutea and Digitalis grandiflora.
Step 2: Planting Your Seeds
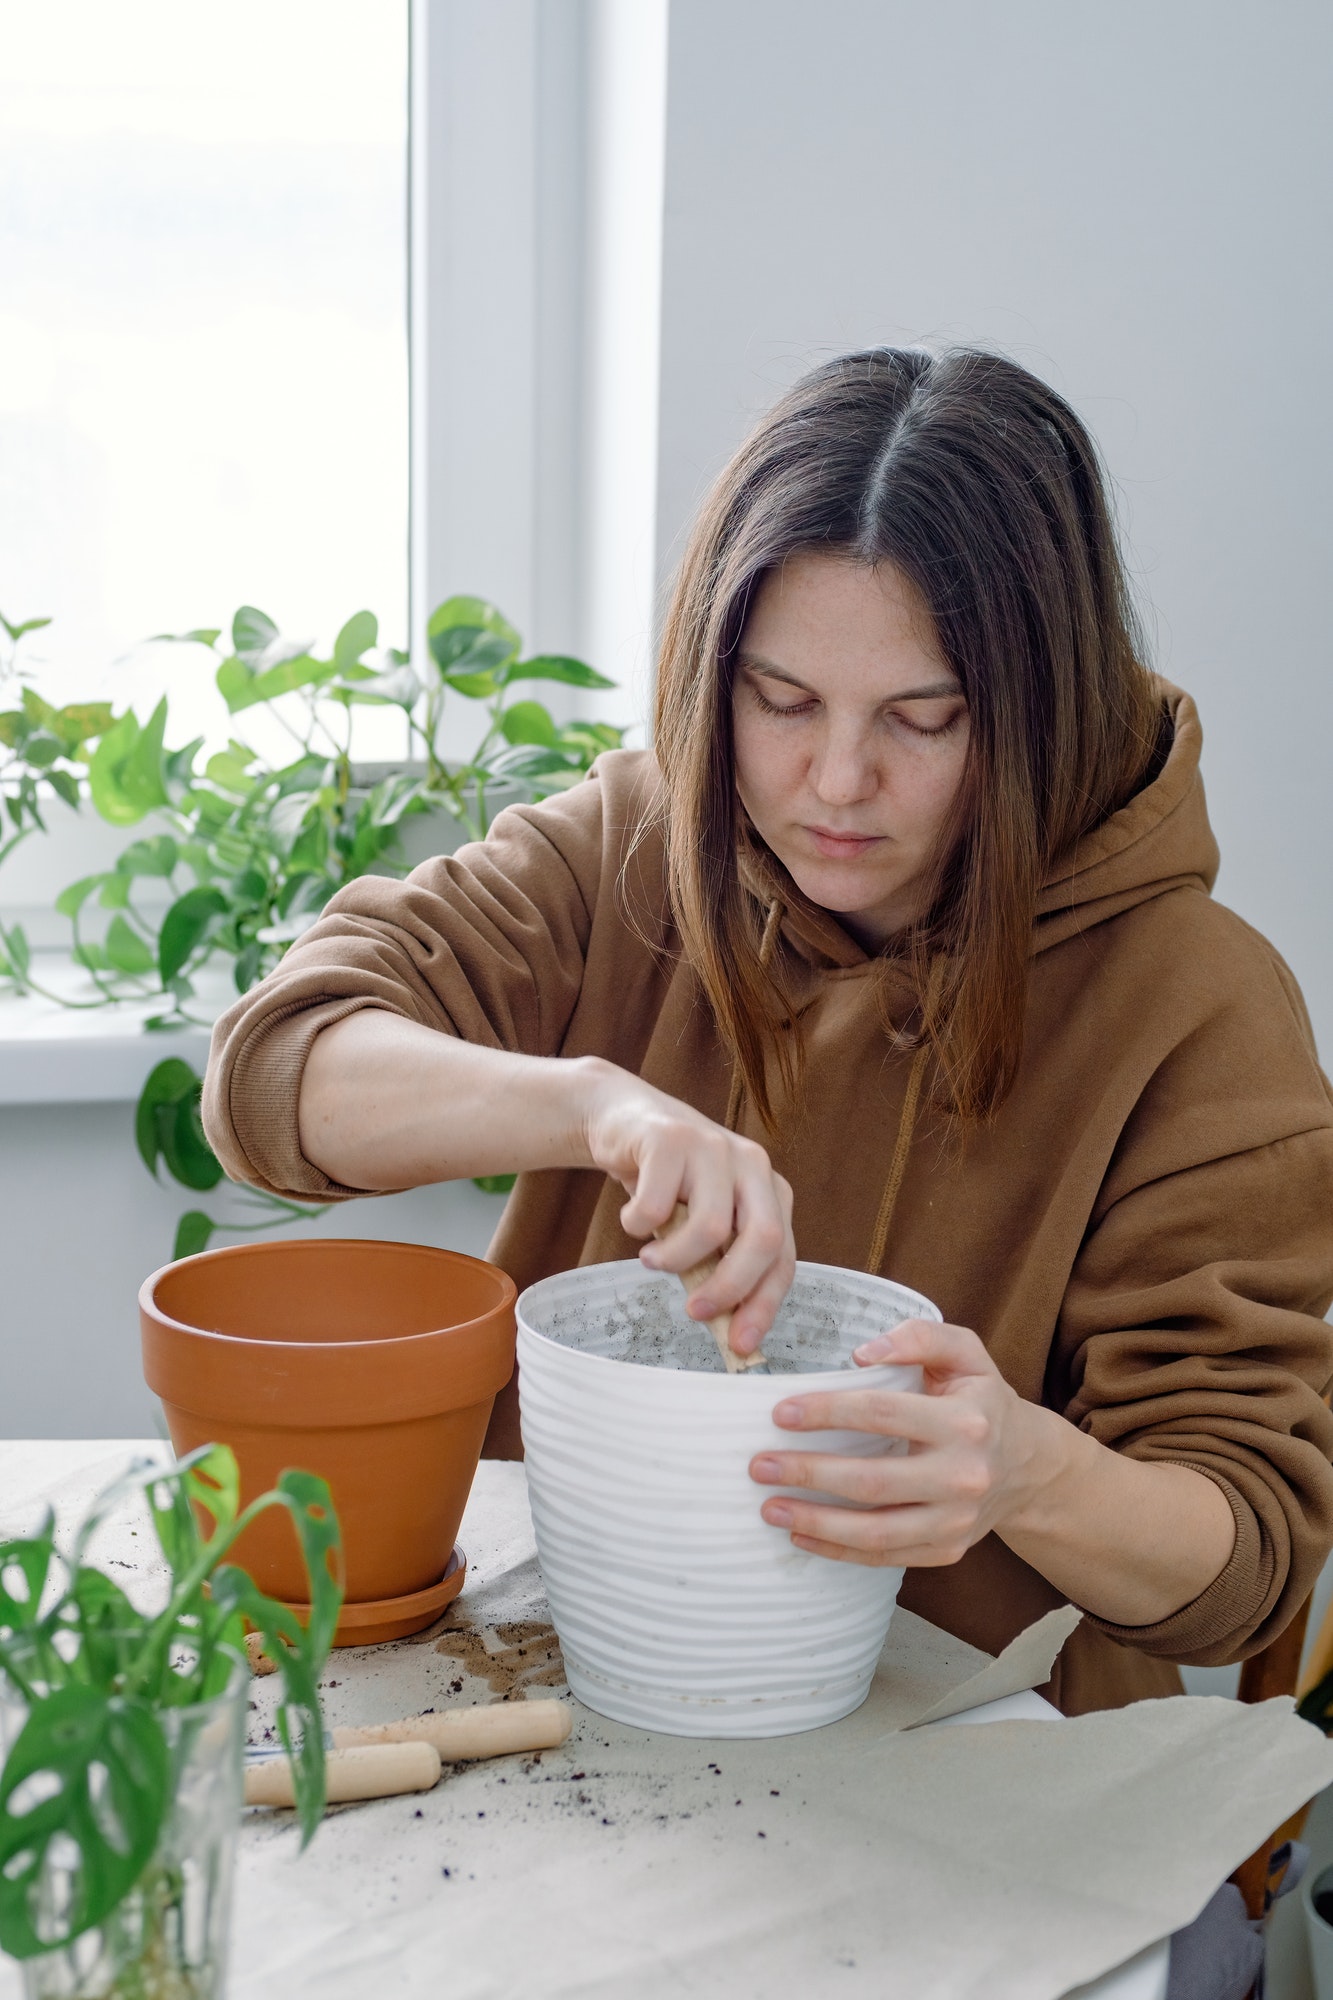
Planting foxglove seeds is a straightforward process, but timing, soil preparation, and initial care are crucial to ensure your plants get the best start possible. Here’s how to plant your foxglove seeds effectively:
Best Time to Plant Foxglove Seeds
- Timing: The best time to sow foxglove seeds is late spring to early summer or late summer to early fall. This timing allows the plants to establish themselves before either the winter chill or the peak summer heat.
- Climate Consideration: In cooler climates, sowing in early summer helps the seedlings establish before winter. In warmer areas, planting in early fall can be ideal as the mild winter allows for strong root development without the stress of summer heat.
Soil Preparation
- Soil Type: Foxgloves prefer well-drained, moist soil rich in organic matter. They thrive in slightly acidic to neutral soil pH.
- Preparing the Bed: Loosen the soil to about 12 inches deep and mix in compost or aged manure to enrich it. This will improve drainage and provide nutrients necessary for growth.
Seed Planting Depth and Technique
- Planting Depth: Foxglove seeds need light to germinate, so do not bury them deeply. Simply sprinkle the seeds on the surface of the soil and press them lightly into the earth.
- Spacing: Scatter the seeds thinly. Once seedlings develop and are about 2-3 inches tall, thin them out to about 12 to 18 inches apart to give each plant enough space to mature.
Initial Watering and Placement
- Watering: After planting, gently water the soil, ensuring it is moist but not waterlogged. Keep the soil consistently damp throughout the germination period.
- Sunlight and Placement: Foxgloves perform best in partial shade, especially in areas with hot summers. In cooler climates, they can tolerate more sun. Choose a spot that receives morning sunlight and afternoon shade, or dappled sunlight throughout the day, which is ideal for optimal growth.
Step 3: Caring for Young Plants
Once your foxglove seeds have sprouted and you’ve thinned the seedlings, proper care is essential to ensure your young plants thrive. Here’s how to care for your foxglove during this critical stage of their growth:
Watering Frequency and Soil Moisture Tips
- Consistent Moisture: Foxglove seedlings require consistently moist soil. Water them regularly to keep the soil from drying out, especially during dry spells. However, be careful not to overwater, as this can lead to root rot.
- Mulching: Applying a layer of mulch around the plants can help retain soil moisture and maintain an even soil temperature. Organic mulch like straw or leaf mold is beneficial as it also adds nutrients to the soil as it decomposes.
Fertilization Needs for Optimal Growth
- Light Feeding: Foxgloves benefit from light fertilization. A balanced, slow-release fertilizer applied in the early stages of growth can help develop strong roots and lush foliage. However, avoid over-fertilizing, as too much nitrogen can encourage leaf growth at the expense of flowers.
- Organic Options: Incorporating compost or a diluted solution of fish emulsion every 4-6 weeks can provide the necessary nutrients without the risk of chemical burn.
Identifying and Managing Common Pests and Diseases
Pests
Common pests that affect foxgloves include aphids and slugs. Aphids can be washed off with a strong stream of water or treated with insecticidal soap. Slugs can be deterred with diatomaceous earth or by setting up slug traps around the garden.
Diseases
Foxgloves are susceptible to fungal diseases like powdery mildew and rust. To prevent these, ensure adequate air circulation around the plants and avoid overhead watering. If signs of disease appear, treat the plants with a suitable fungicide, and remove any severely affected foliage to prevent the spread.
Preventative Care
Regular inspection of your foxgloves can help catch pests and diseases early, which is crucial for managing them effectively. Keep the area around the plants clear of debris and weeds to reduce hiding spots for pests and decrease the likelihood of disease.
Step 4: Transplanting to the Garden
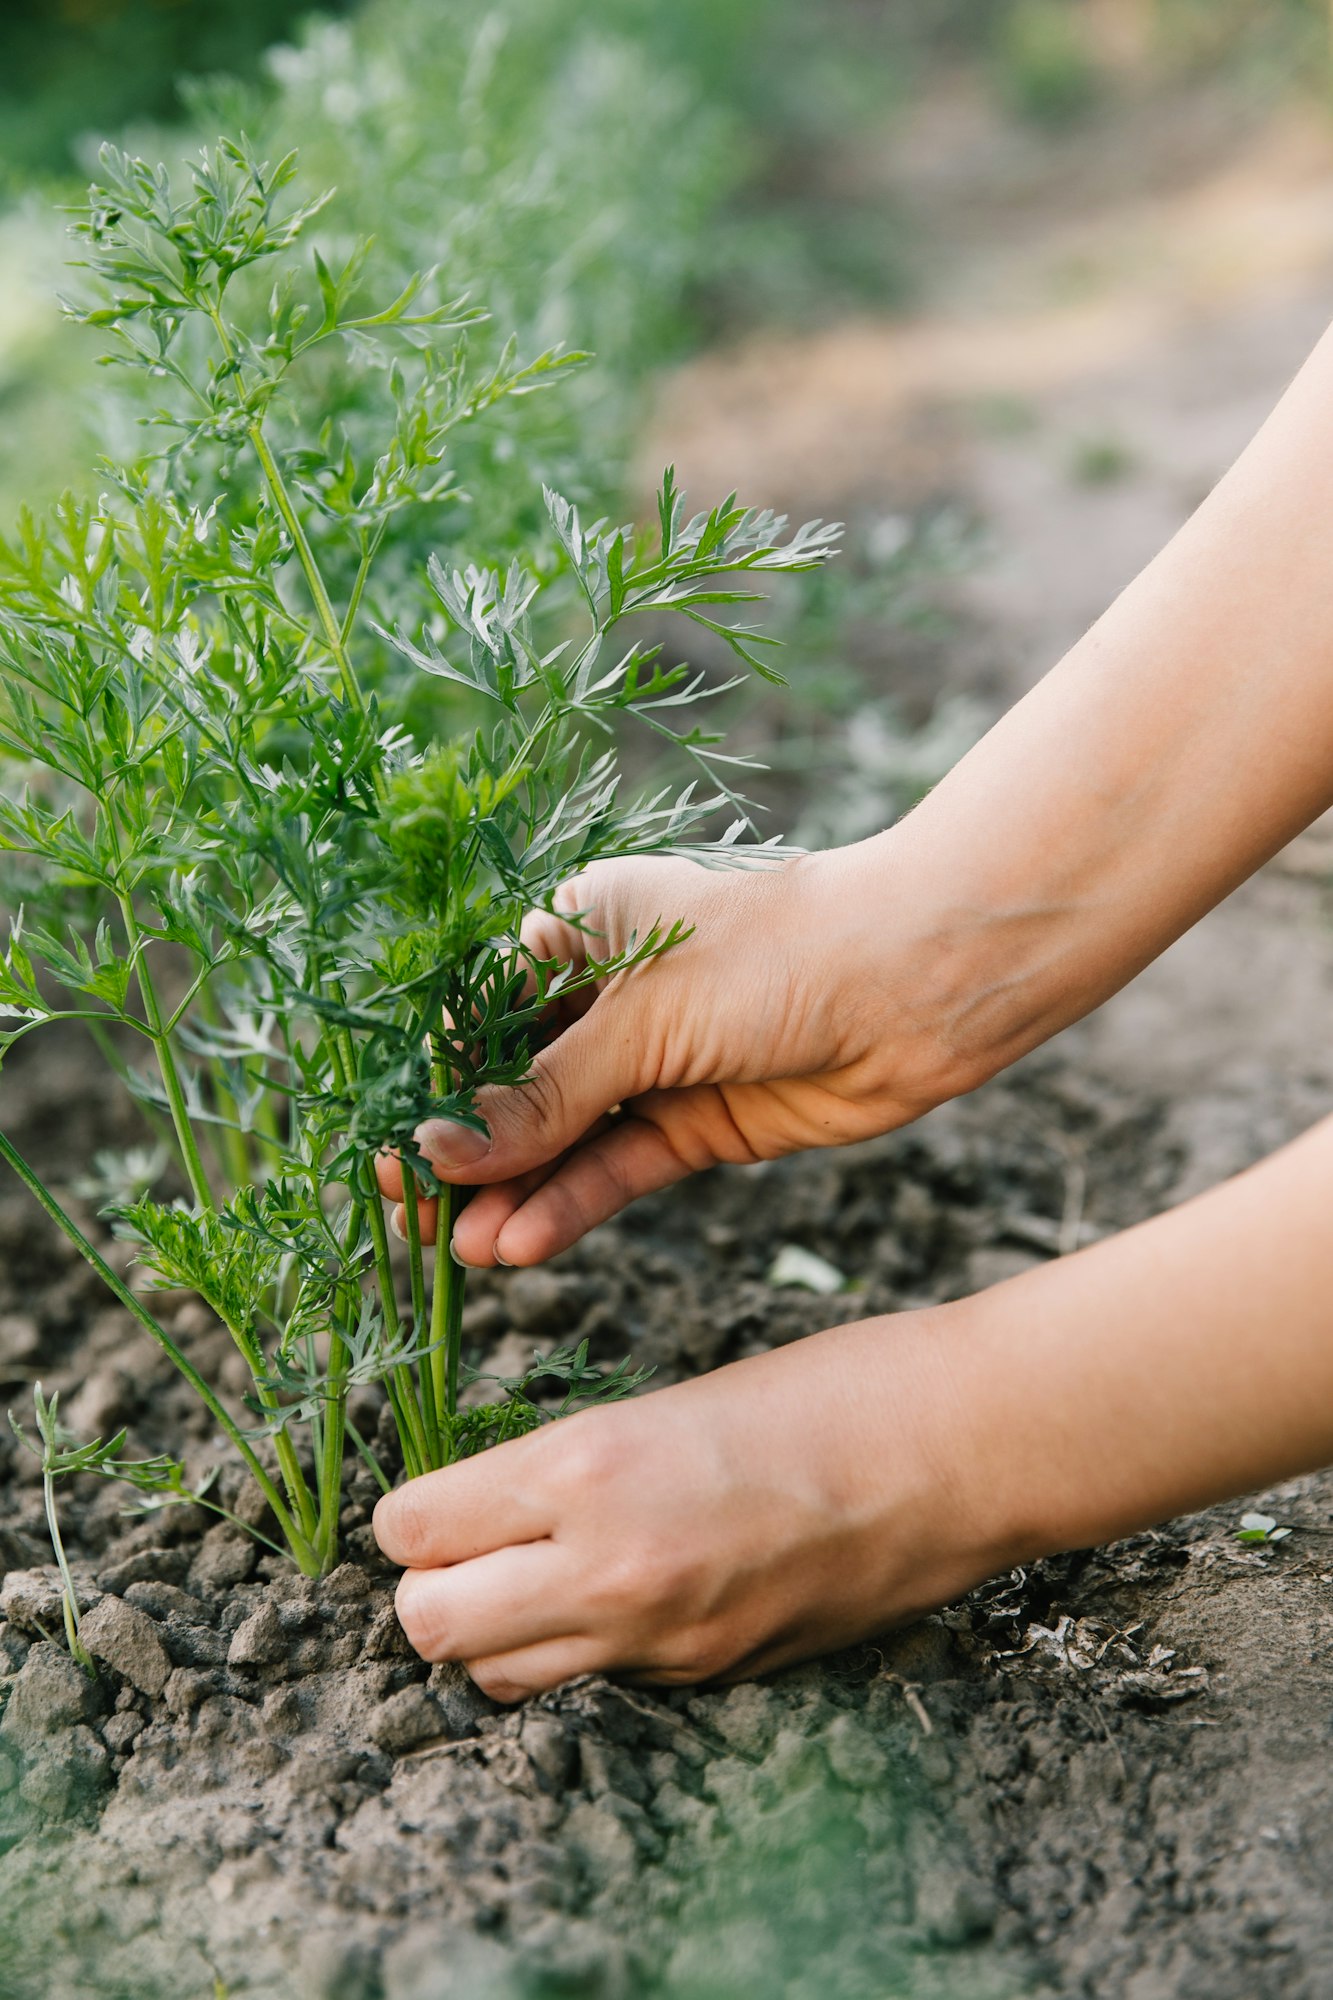
After your foxglove seedlings have grown strong enough in their initial growing environment, the next critical step is to transplant them into your garden. Here’s how to ensure a successful transition:
When to Transplant Seedlings Outdoors
The best time to transplant foxglove seedlings outdoors is after the last expected frost when they are about 3-4 inches tall and have a few true leaves. This timing helps avoid cold damage and gives the plants enough time to establish before the high heat of summer.
Choosing the Right Spot in the Garden
- Sunlight: Foxgloves prefer partial shade, especially in regions with hot summers. An ideal location would receive morning sunlight and afternoon shade. In cooler climates, they can tolerate more sun but should be protected from the harshest midday rays.
- Spacing: Plant foxgloves about 12-18 inches apart. This spacing allows ample room for growth and air circulation, which helps prevent disease. Consider the mature size of the plants to avoid overcrowding.
Techniques for Transplanting to Reduce Shock to the Plants
- Pre-Transplant Care: Water your seedlings well a few hours before transplanting to ensure they are hydrated.
- Soil Preparation: Prepare the garden soil by loosening it and mixing in compost to help with nutrient content and drainage. This preparation makes it easier for the roots to spread out.
Transplanting Process
- Dig a hole in the prepared soil that is just big enough for the seedling’s root ball.
- Carefully remove the seedling from its current container, trying to keep the root ball intact.
- Place the seedling in the hole at the same depth it was growing previously; deeper planting can bury the stem and lead to rot.
- Backfill the hole gently but firmly to eliminate air pockets and ensure the plant is stable.
- Water thoroughly after transplanting to help settle the soil around the roots and provide necessary hydration.
Step 5: Ongoing Care and Maintenance
Once your foxgloves are established in your garden, ongoing care and maintenance are crucial to ensure they continue to thrive and bloom beautifully. Here’s how to keep your foxgloves healthy and vibrant:
Pruning and Deadheading to Encourage More Blooms
Deadheading
As the flowers on your foxglove fade, remove them by cutting back the spent flower spikes to just above the next healthy bud. This practice encourages the plant to produce more blooms and extends the flowering period. For varieties that are biennial or that you wish to prevent from self-seeding, removing the flower spikes before they set seed can focus the plant’s energy on growth rather than reproduction.
Pruning
At the end of the flowering season, especially for perennial varieties, cut back the foliage to ground level after the leaves die back. This tidies up the plant and helps prevent fungal diseases by removing potential overwintering sites.
Winter Care for Perennial Varieties
- Mulching: Apply a thick layer of mulch around the base of your foxgloves in late fall. This insulates the roots against freezing temperatures and helps retain soil moisture during the cold months.
- Protection: In extremely cold climates, consider adding more substantial protection like a burlap wrap around the plants or temporarily covering them with a frost cloth during particularly harsh weather.
How to Collect Seeds for the Next Planting Season
Timing
If you want to collect seeds from your foxgloves, allow some of the flower spikes to mature and form seed pods after blooming.
Collection Process
Wait until the seed pods turn brown and dry before harvesting them to ensure the seeds are ripe.
- Carefully cut the seed pods from the plant, and place them in a paper bag to catch any loose seeds.
- Once indoors, break open the pods over a clean dish or sheet of paper to collect the seeds. Remove any chaff or plant debris.
- Storage: Store the cleaned seeds in a cool, dry place in a labeled envelope. Properly stored, foxglove seeds can remain viable for several years.
With regular deadheading, appropriate winter care, and the occasional collection of seeds, your foxgloves will not only survive but thrive year after year. These simple maintenance tasks will help ensure that your garden remains a stunning showcase of these dramatic and beautiful plants.