


In This Article Show
Marigolds are a staple in any gardener’s arsenal, offering not just a burst of vibrant colors ranging from bright yellows to deep oranges but also acting as a natural pest deterrent, making them an excellent companion plant in vegetable gardens. Whether you’re a seasoned gardener or just starting out, marigolds are incredibly forgiving and easy to grow, thriving in a variety of climates. As we explore how to cultivate these cheerful blooms, we’ll focus on practical steps tailored for beginners.
How to Grow Marigold At Home
From selecting the right seeds to the basic care they require, growing marigolds at home can be a rewarding addition to your garden, enriching your outdoor space with their continuous bloom throughout the season.
Step 1: Choose the Right Variety
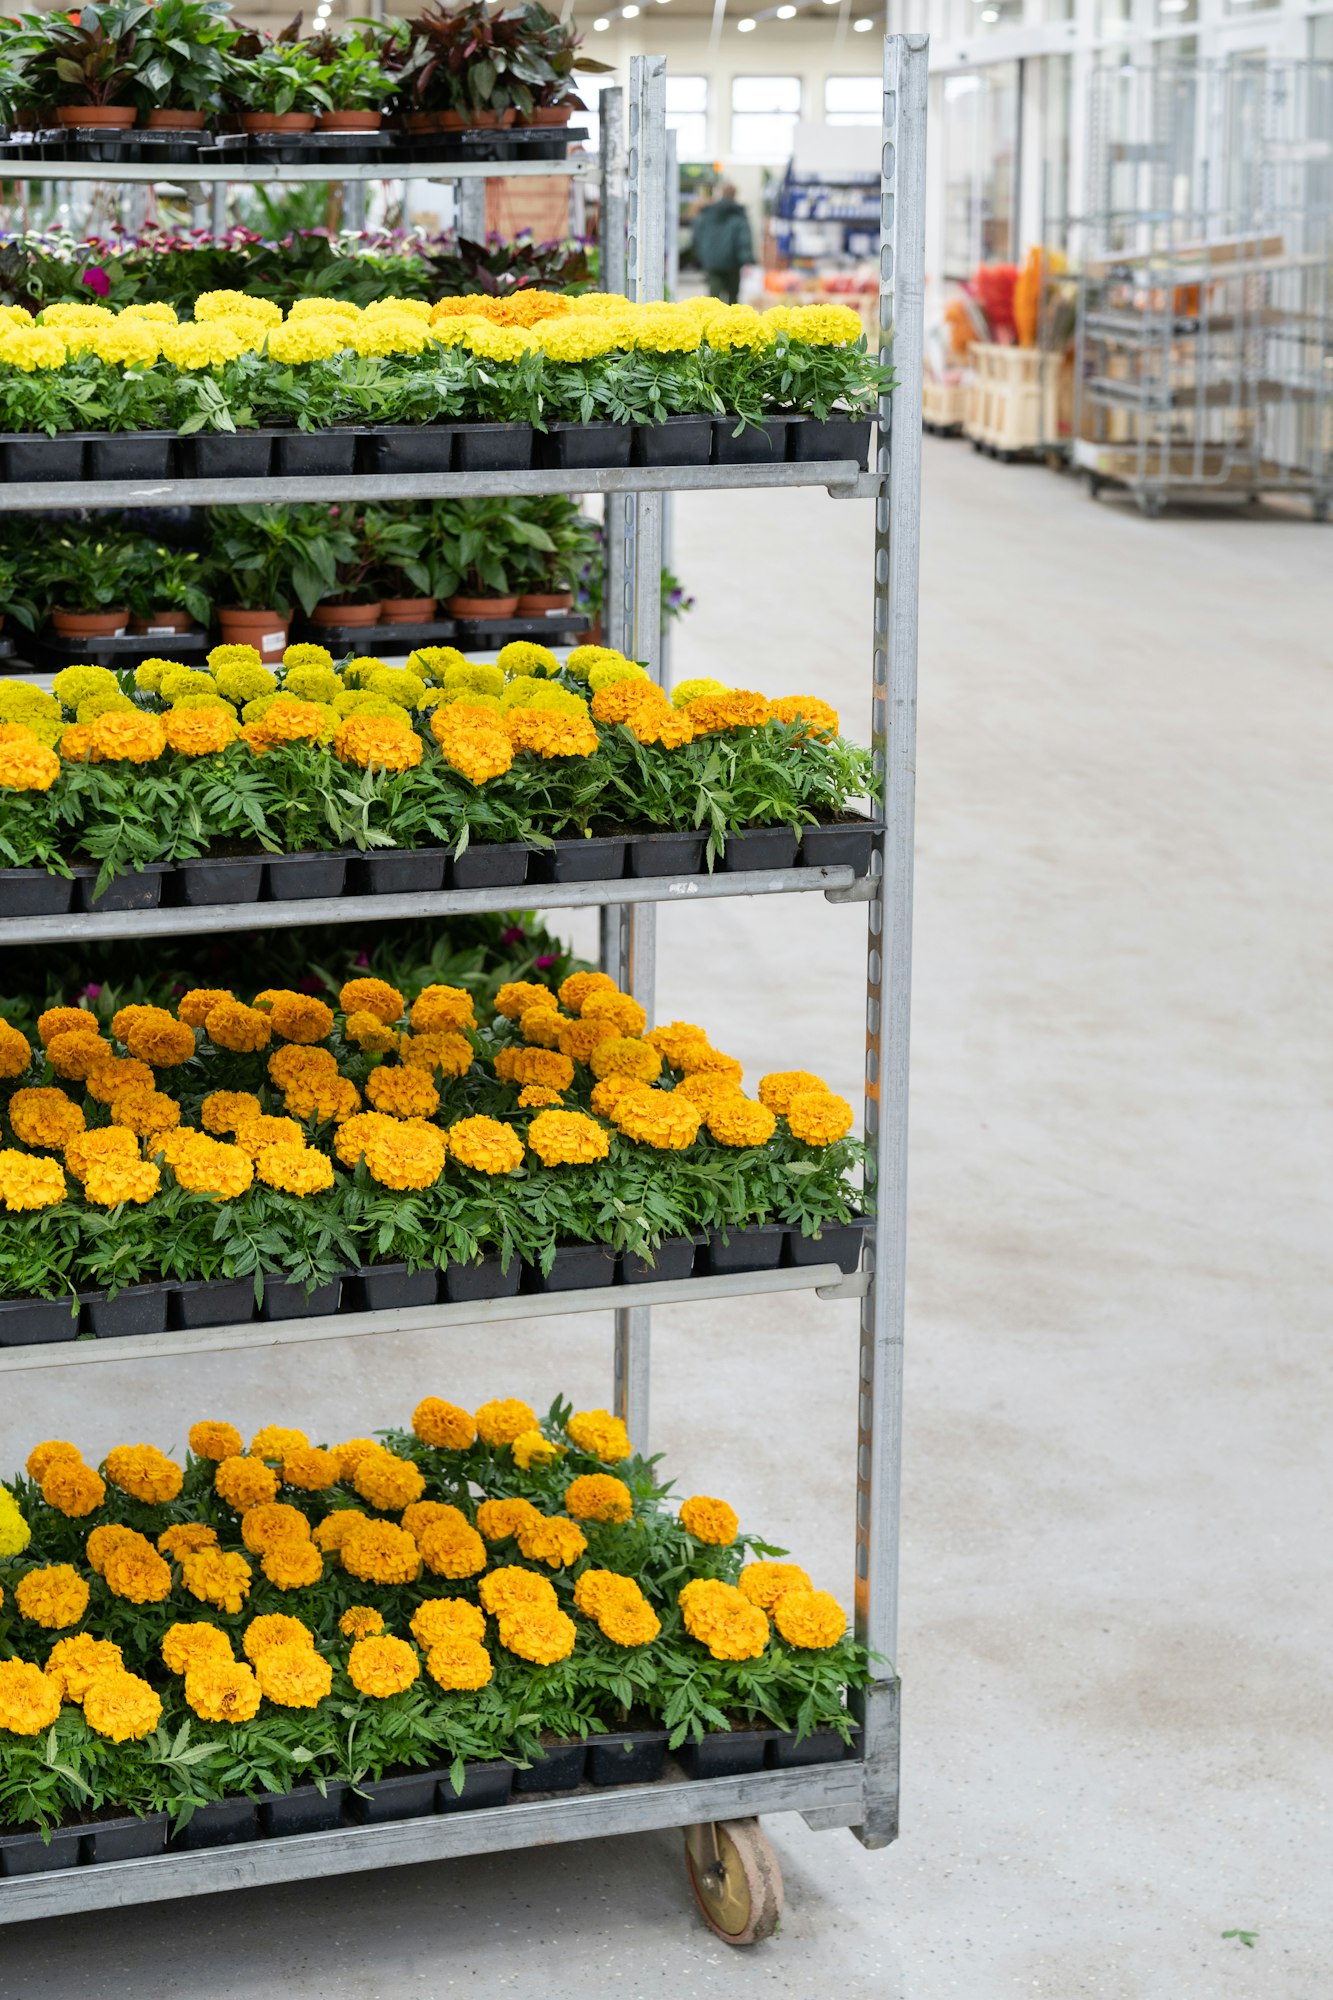
Selecting the right variety of marigold for your garden hinges on understanding the unique characteristics and growth requirements of each type. Marigolds generally fall into three main categories: French, African, and Signet marigolds, each offering distinct advantages depending on your gardening goals and environmental conditions.
1. French Marigolds (Tagetes patula)
Compact and bushy, French marigolds are ideal for border plantings and container gardens. They typically grow between 6 to 18 inches tall and are known for their wide range of colors and bi-color patterns. These varieties are particularly resilient to damp conditions and thrive even in cooler climates.
2. African Marigolds (Tagetes erecta)
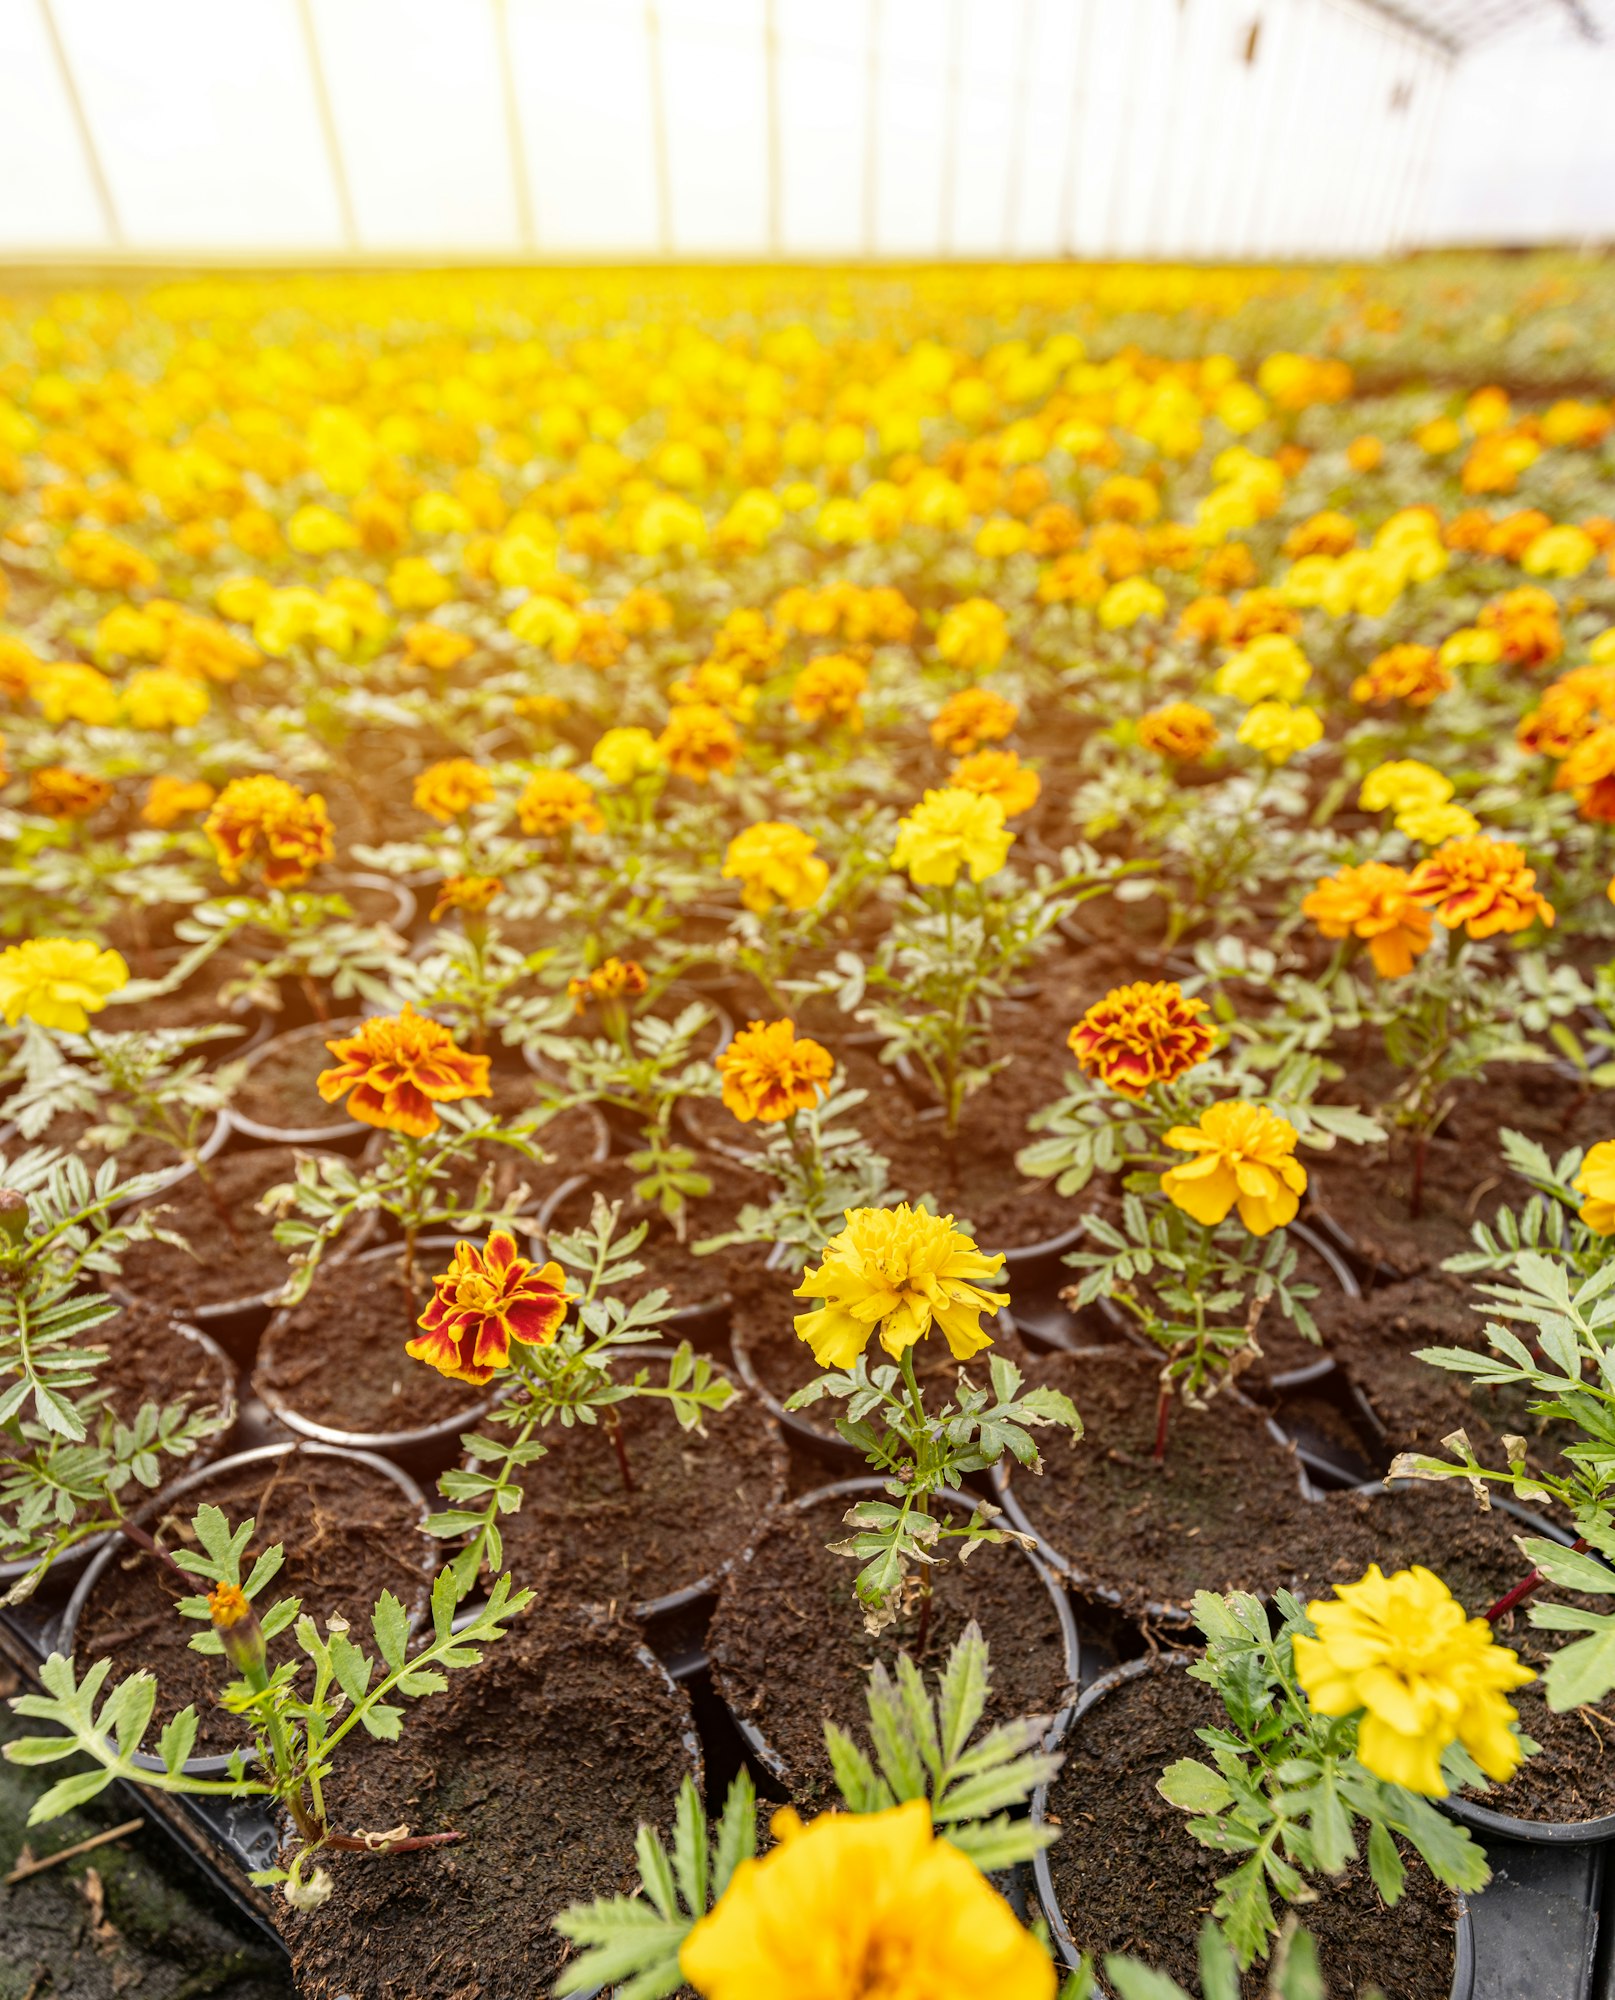
Also known as American marigolds, these are the giants of the marigold family, often reaching up to 3 feet in height. They produce large, full blooms that are predominantly yellow or orange. African marigolds are suited for a sunny garden spot and work well as a dramatic backdrop for smaller plants.
3. Signet Marigolds (Tagetes tenuifolia)
These marigolds are distinguished by their delicate, lacy foliage and smaller, daintier flowers, which are often edible. Growing up to 12 inches tall, Signet marigolds are excellent for edging, containers, or as a cheerful addition to a culinary garden. They prefer full sun and well-drained soil and are less prone to fungal diseases.
Tips on Selecting the Right Variety
- Consider Your Climate: African marigolds are best for warmer, sunnier climates, while French marigolds can tolerate cooler temperatures and less intense sun.
- Assess Your Space: If space is limited, French or Signet marigolds are preferable due to their smaller size. For larger garden areas, the bold presence of African marigolds can make a striking impact.
- Think About Usage: If you are interested in adding marigolds to your vegetable garden for pest control, French marigolds are highly recommended due to their strong scent which is known to deter pests.
Step 2: Planting Your Seeds
Planting marigold seeds is a straightforward process, but timing and soil preparation are key to ensuring your flowers bloom healthily and vigorously. Here’s how to get started:
1. Best Time to Plant Marigold Seeds
Marigold seeds should ideally be planted after the last frost in spring. This usually falls between late March and early May, depending on your local climate. For a head start, you can sow seeds indoors about 6 to 8 weeks before the last expected frost, then transplant them outside when the weather warms.
2. Step-by-Step Instructions on Soil Preparation and Seed Planting
- Choose the Right Location: Marigolds thrive in full sun, so select a spot that receives at least 6 hours of direct sunlight each day. If you are starting the seeds indoors, ensure they are placed by a window that gets ample sunlight or use an artificial grow light.
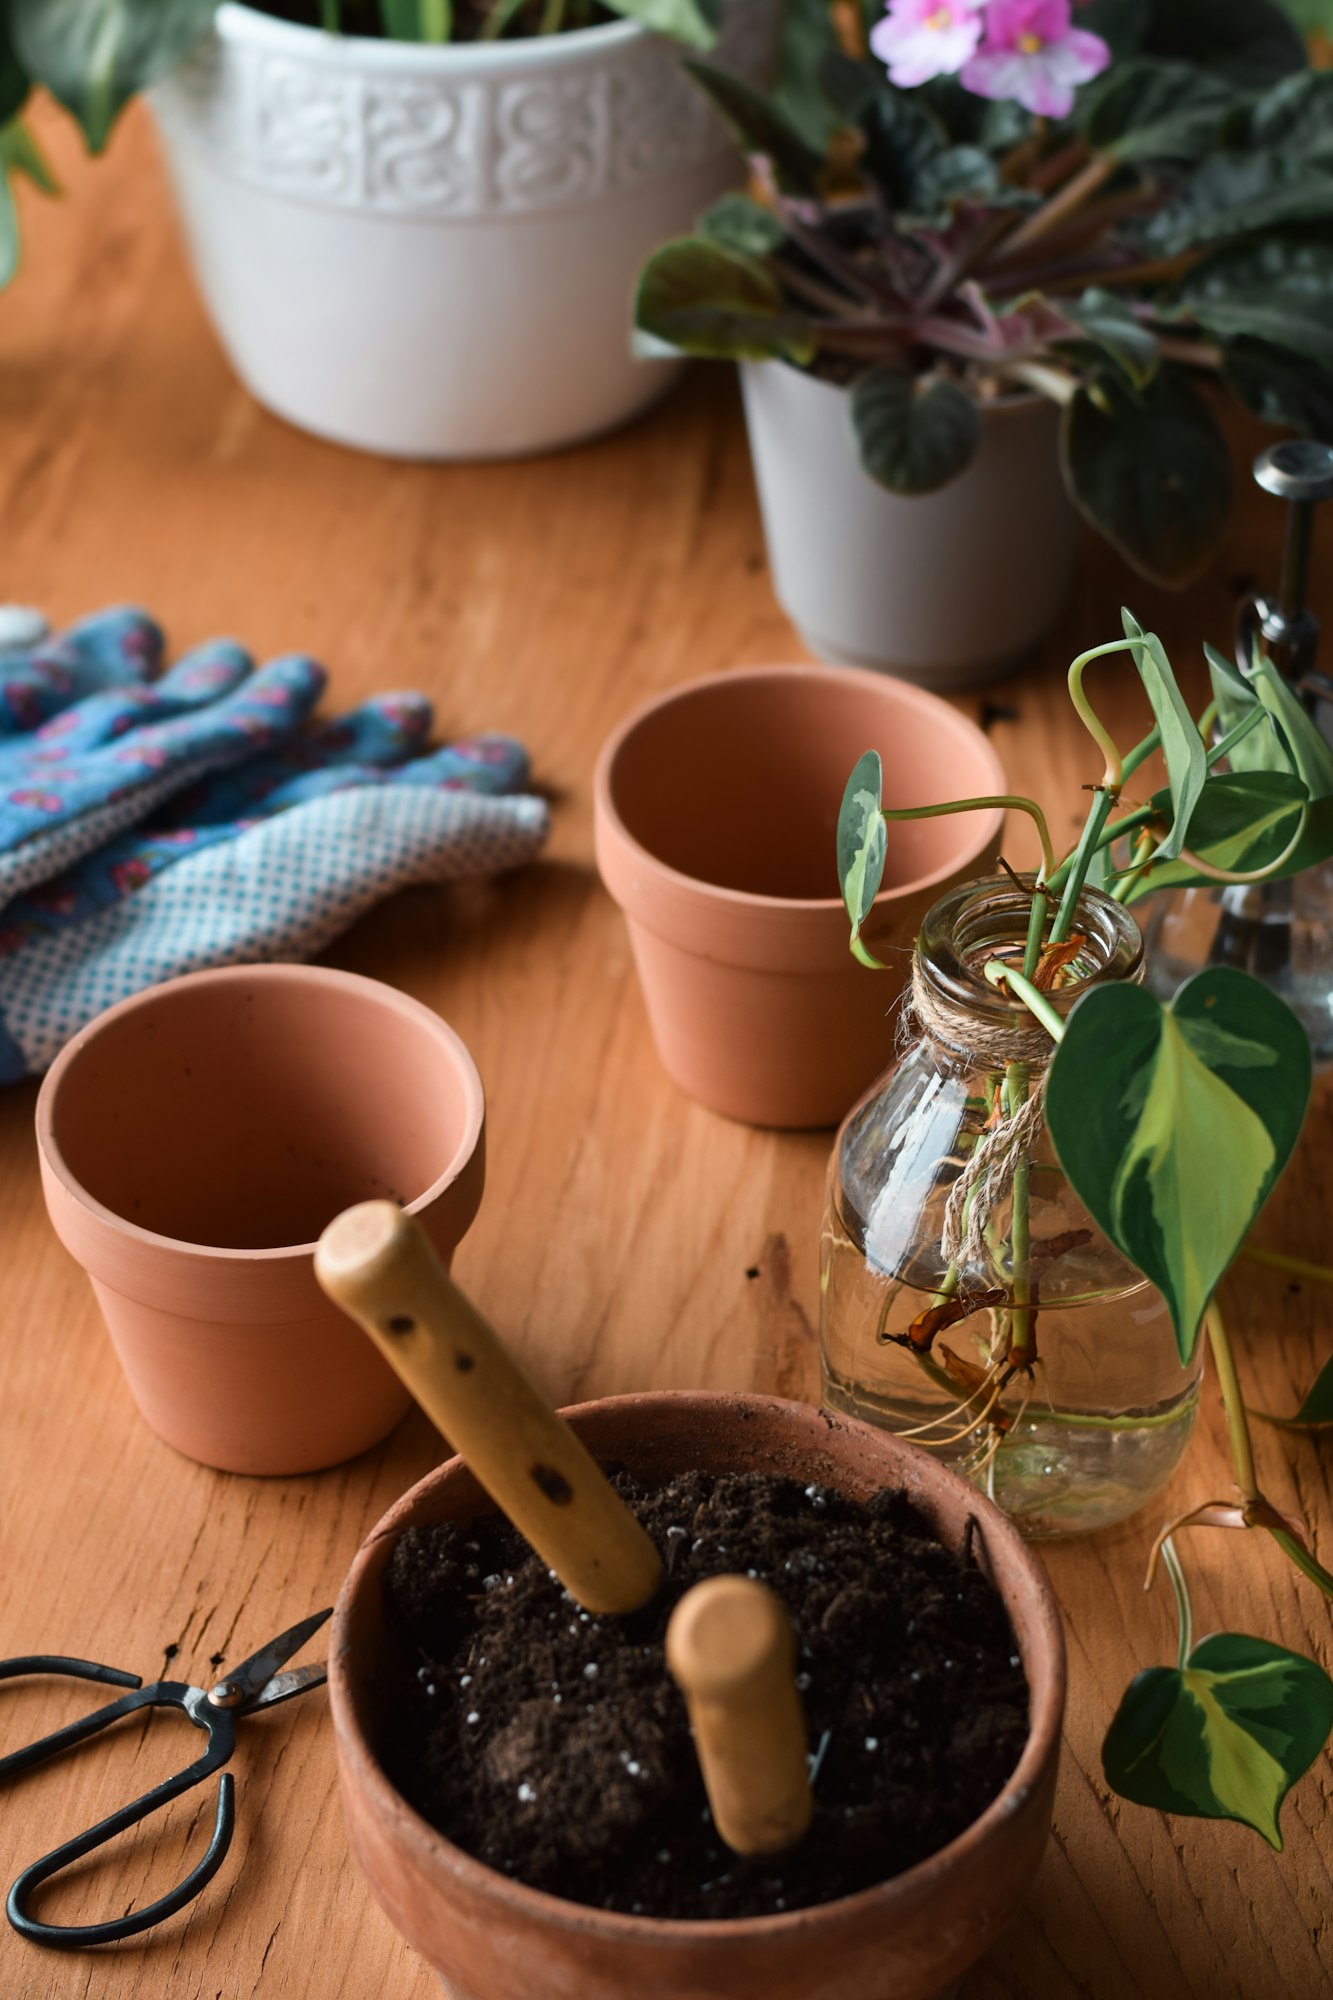
- Prepare the Soil: Marigolds are not particularly fussy about soil types but prefer well-draining soil. Enhance garden soil by mixing in organic compost to improve fertility and drainage. If planting in pots, use a good quality potting mix.
3. Sow the Seeds
- Direct Sowing: Loosen the soil to about an inch deep and sprinkle the seeds over the soil. Cover them lightly with a thin layer of soil or compost.
- Indoor Sowing: Use seed trays or small pots filled with potting mix. Place 2-3 seeds per pot, cover them lightly with soil, and gently water.
- Water Gently: After planting, water the seeds gently but thoroughly to moisten the soil. Use a spray bottle or a fine mist setting on a hose to avoid displacing the seeds.
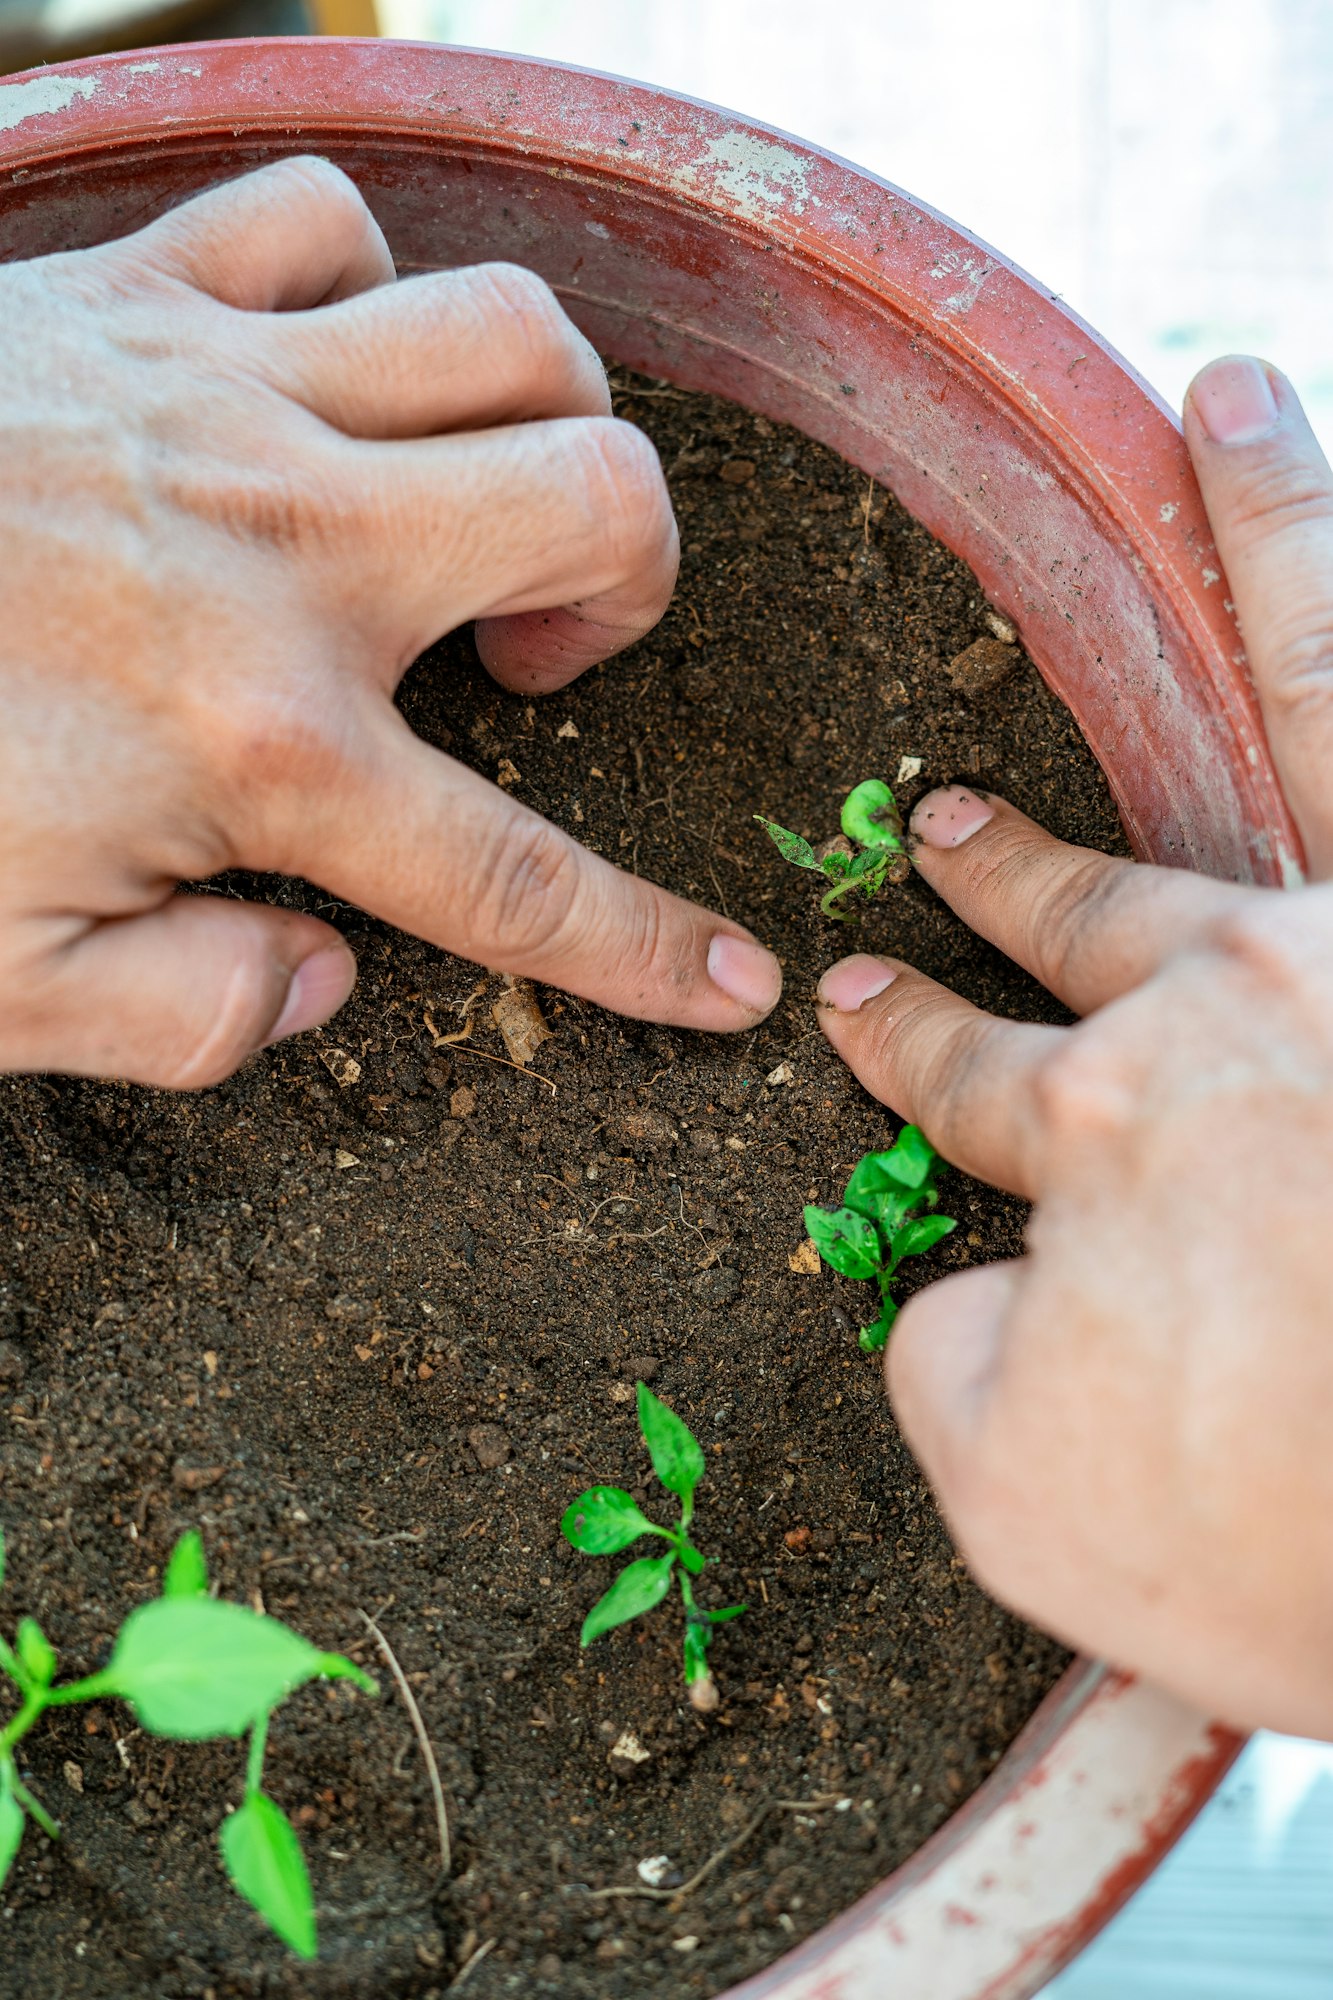
- Thin Seedlings: Once seedlings emerge and reach about 2 inches tall, thin them out to prevent overcrowding. Leave the strongest seedling in each spot, spacing them about 8-18 inches apart depending on the variety (refer to Step 1 for spacing based on type).
- Transplanting Seedlings: If started indoors, transplant the seedlings to your garden after the risk of frost has passed and they have developed several sets of true leaves. Harden off the seedlings by gradually exposing them to outdoor conditions over a week to reduce shock.
Step 3: Caring For Marigold Seedling
Proper care during the seedling stage is crucial to ensure your marigolds develop into robust, blooming plants.
1. Watering, Sunlight, and Temperature Needs
- Watering: Keep the soil consistently moist but not waterlogged. Water at the base of the plant early in the day to allow foliage to dry before nightfall, reducing the risk of disease.
- Sunlight: Marigolds need full sun to flourish. Ensure they receive at least 6 to 8 hours of direct sunlight daily.
- Temperature: Marigolds are warm-season plants and grow best in temperatures between 60°F and 75°F. Protect them from unexpected late spring frosts by covering them with a frost blanket if necessary.
2. Recognizing and Managing Common Seedling Issues
- Leggy Seedlings: This is often due to insufficient light. Ensure seedlings get enough direct sunlight or supplement with grow lights.
- Overwatering: Signs include yellowing leaves and a limp appearance. Allow the soil to dry out slightly between watering.
- Pests: Keep an eye out for aphids and slugs. Remove pests manually or use an appropriate organic pesticide.
Step 4: Transplanting and Maintenance
Once your seedlings are sturdy enough, they can be moved to their final growing location.
1. Guide on When and How to Transplant Seedlings Outdoors
- Transplant after the last frost when seedlings have at least 3-4 true leaves.
- Gradually acclimate seedlings to outdoor conditions over a week to avoid shock.
- Plant in well-draining soil in a sunny location, spacing them according to the variety’s size.
2. Ongoing Care Tips
- Watering: Water at the root level to avoid wetting the foliage, which can lead to fungal diseases.
- Weeding: Keep the area around the marigolds weed-free to prevent competition for nutrients.
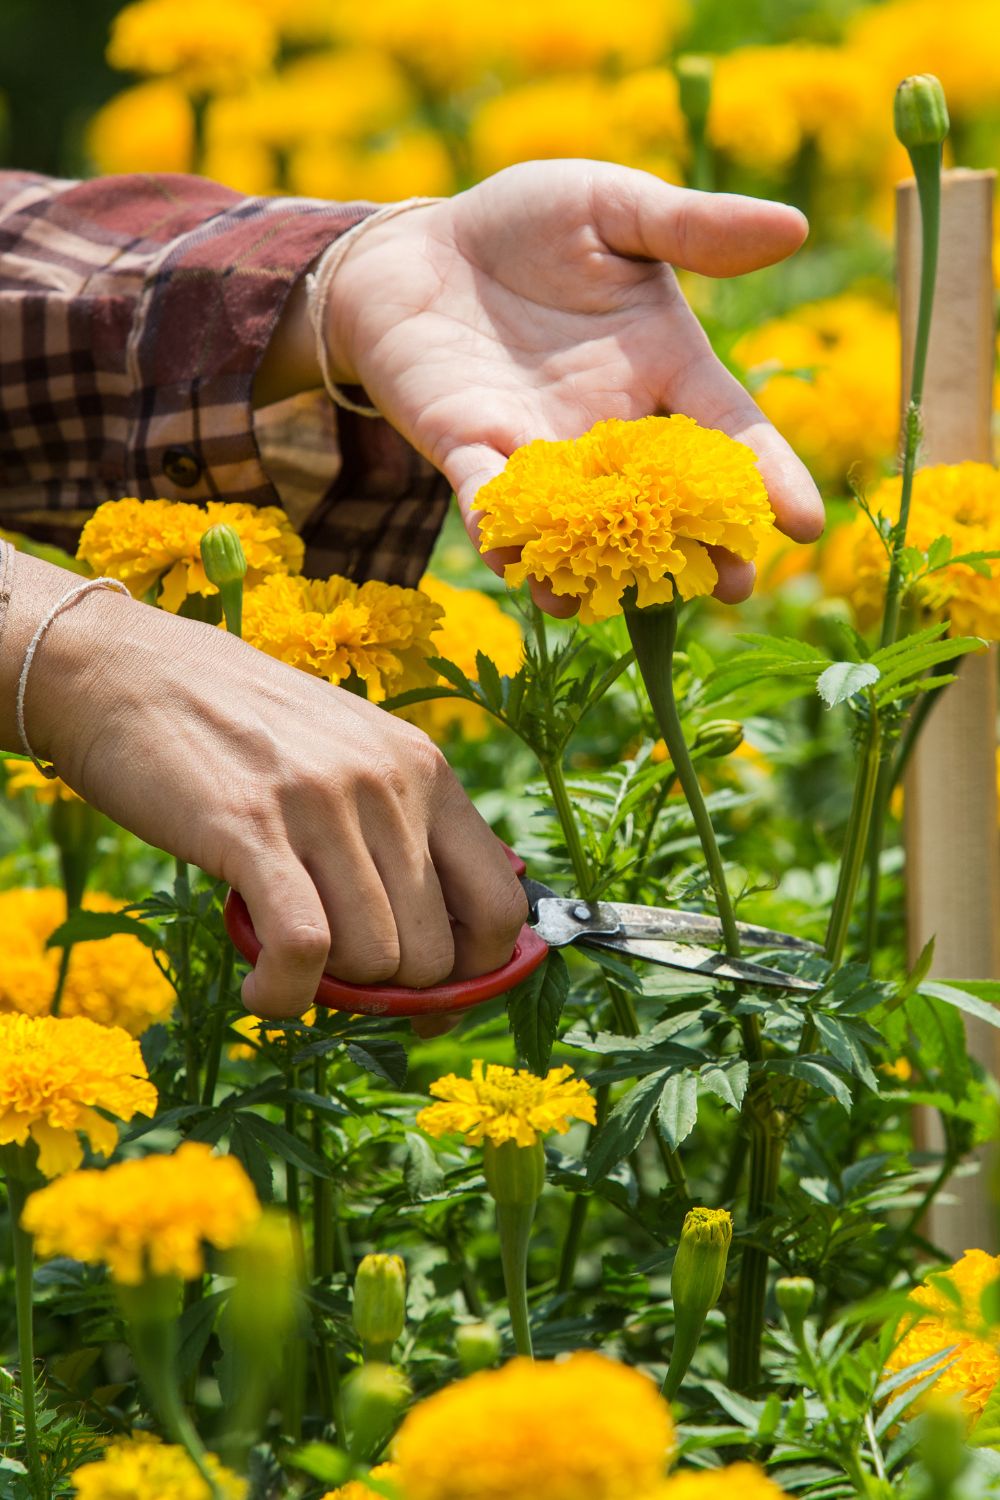
- Deadheading: Regularly remove spent blooms to encourage new growth and prolong blooming.
Step 5: Pest and Disease Management
Keeping your marigolds healthy involves proactive pest and disease management.
1. Common Pests and Diseases
- Pests: Aphids, spider mites, and thrips are common. Inspect plants regularly and wash off pests with water or use insecticidal soap.
- Diseases: Powdery mildew and leaf spot can occur. Ensure good air circulation and avoid overhead watering to minimize these issues.
2. Organic Methods to Protect Your Marigolds
- Neem Oil: An effective organic option for dealing with both pests and diseases.
- Companion Planting: Grow marigolds near vulnerable crops as they can repel pests naturally.
- Proper Spacing: This ensures adequate air circulation, which helps prevent the spread of diseases.
By following these steps and maintaining vigilant care, your marigolds will thrive, adding a splash of color and vitality to your garden.