


In This Article Show
If you’re looking to start a vegetable garden, spinach is an excellent choice for any beginner. Not only is spinach a versatile and nutritious leafy green, but it’s also straightforward to grow, making it perfect for those just getting their hands dirty in gardening. In this guide, I’ll walk you through five simple steps to cultivate your spinach right in your backyard or even on your balcony.
How to Grow Spinach At Home
Growing spinach at home isn’t just about adding beauty to your space; it’s about enjoying fresh, organic produce you’ve nurtured from seed to table. So, let’s get started and see how you can turn a small patch of ground or a few containers into a thriving spinach garden!
Step 1: Choosing the Right Spinach Variety

When starting your spinach garden, the first step is selecting the right type of spinach to grow. There are several varieties, each with its own set of characteristics and benefits. Understanding these can help you choose the best one for your gardening conditions and culinary preferences.
1. Savoy Spinach
This variety is easily recognizable by its dark green, crinkly and, curly leaves. Savoy spinach is highly tolerant of cold weather, making it an excellent choice for early spring and late fall planting. Its texture and robust flavor are perfect for both fresh salads and cooked dishes.
2. Flat-leaf Spinach
Known for its smooth leaves, flat-leaf spinach is easier to clean than Savoy, which makes it a favorite for many gardeners. It’s great for growing in milder climates and tends to be more resistant to bolting (going to seed) in warm weather. This variety is ideal for recipes where a smoother texture is preferred, such as in soups or sautéed as a side.
3. Semi-savoy Spinach
A hybrid of the Savoy and flat-leaf types, semi-savoy offers a good balance with slightly crinkled leaves that are easier to clean than fully crinkled Savoy leaves. It has good disease resistance and is suitable for both fall and spring growing seasons.
Choosing Based on Climate and Space
- If you have limited space or prefer container gardening, flat-leaf varieties are often recommended because they grow well in confined spaces.
- For cooler climates, consider Savoy since it can handle cold better.
- In warmer areas, flat-leaf spinach might be the best choice as it is more bolt-resistant.
By understanding the specific needs and advantages of each type, you can make an informed decision that ensures a successful and fulfilling spinach harvest.
Step 2: Preparing Your Planting Area

Before you sow your first seeds, preparing the right environment for your spinach is crucial. Spinach thrives under certain conditions, and getting your planting area ready will set the stage for a lush, productive garden.
Choosing the Right Location
- Sunlight: Spinach grows best in full sun to partial shade. Aim for a spot that gets at least 4 to 6 hours of sunlight daily. If you live in a hotter climate, partial shade can help prevent the plant from bolting too quickly.
- Space: Ensure that your planting area can accommodate the spinach’s growth. Spinach does not require a lot of room, making it ideal for small gardens and containers. Allow about 6 inches between plants and 12 inches between rows to give each plant enough room to mature.
Soil Preparation
- Soil pH: Spinach prefers a neutral to slightly alkaline soil, with an ideal pH range of 6.5 to 7.5. You can easily test your soil’s pH with a home testing kit available at garden centers.
- Nutrients: This leafy green requires nutrient-rich soil. Incorporate compost or a balanced organic fertilizer into your soil to provide a good mix of nitrogen, phosphorus, and potassium, which are essential for healthy growth.
- Preparing Beds: Whether you’re planting in the ground or containers, ensure good drainage to prevent waterlogging, which can lead to root diseases. For garden beds, loosen the soil to about 12 inches deep and mix in ample compost.
- Preparing Containers: For containers, select ones that are at least 6-8 inches deep and fill them with a high-quality potting mix that includes compost or slow-release fertilizer.
By carefully selecting the location and preparing the soil, you set a solid foundation for your spinach plants to thrive. Proper preparation now will lead to a more bountiful and enjoyable harvest later.
Step 3: Planting Your Spinach
Now that your garden or containers are ready, it’s time to plant your spinach. Timing and technique are key factors that influence the success of your spinach crop.
When to Plant Spinach
- Seasonal Temperatures: Spinach is a cool-weather crop that thrives when the daytime temperatures are between 50°F and 70°F (10°C to 21°C). In most regions, you can plant spinach in early spring as soon as the soil can be worked.
- Avoiding Heat: Spinach seeds will struggle to germinate in temperatures above 85°F (29°C). If you’re in a warmer climate, planting in partial shade or using row covers to cool the soil can help extend your planting season.
Planting Seeds and Seedlings
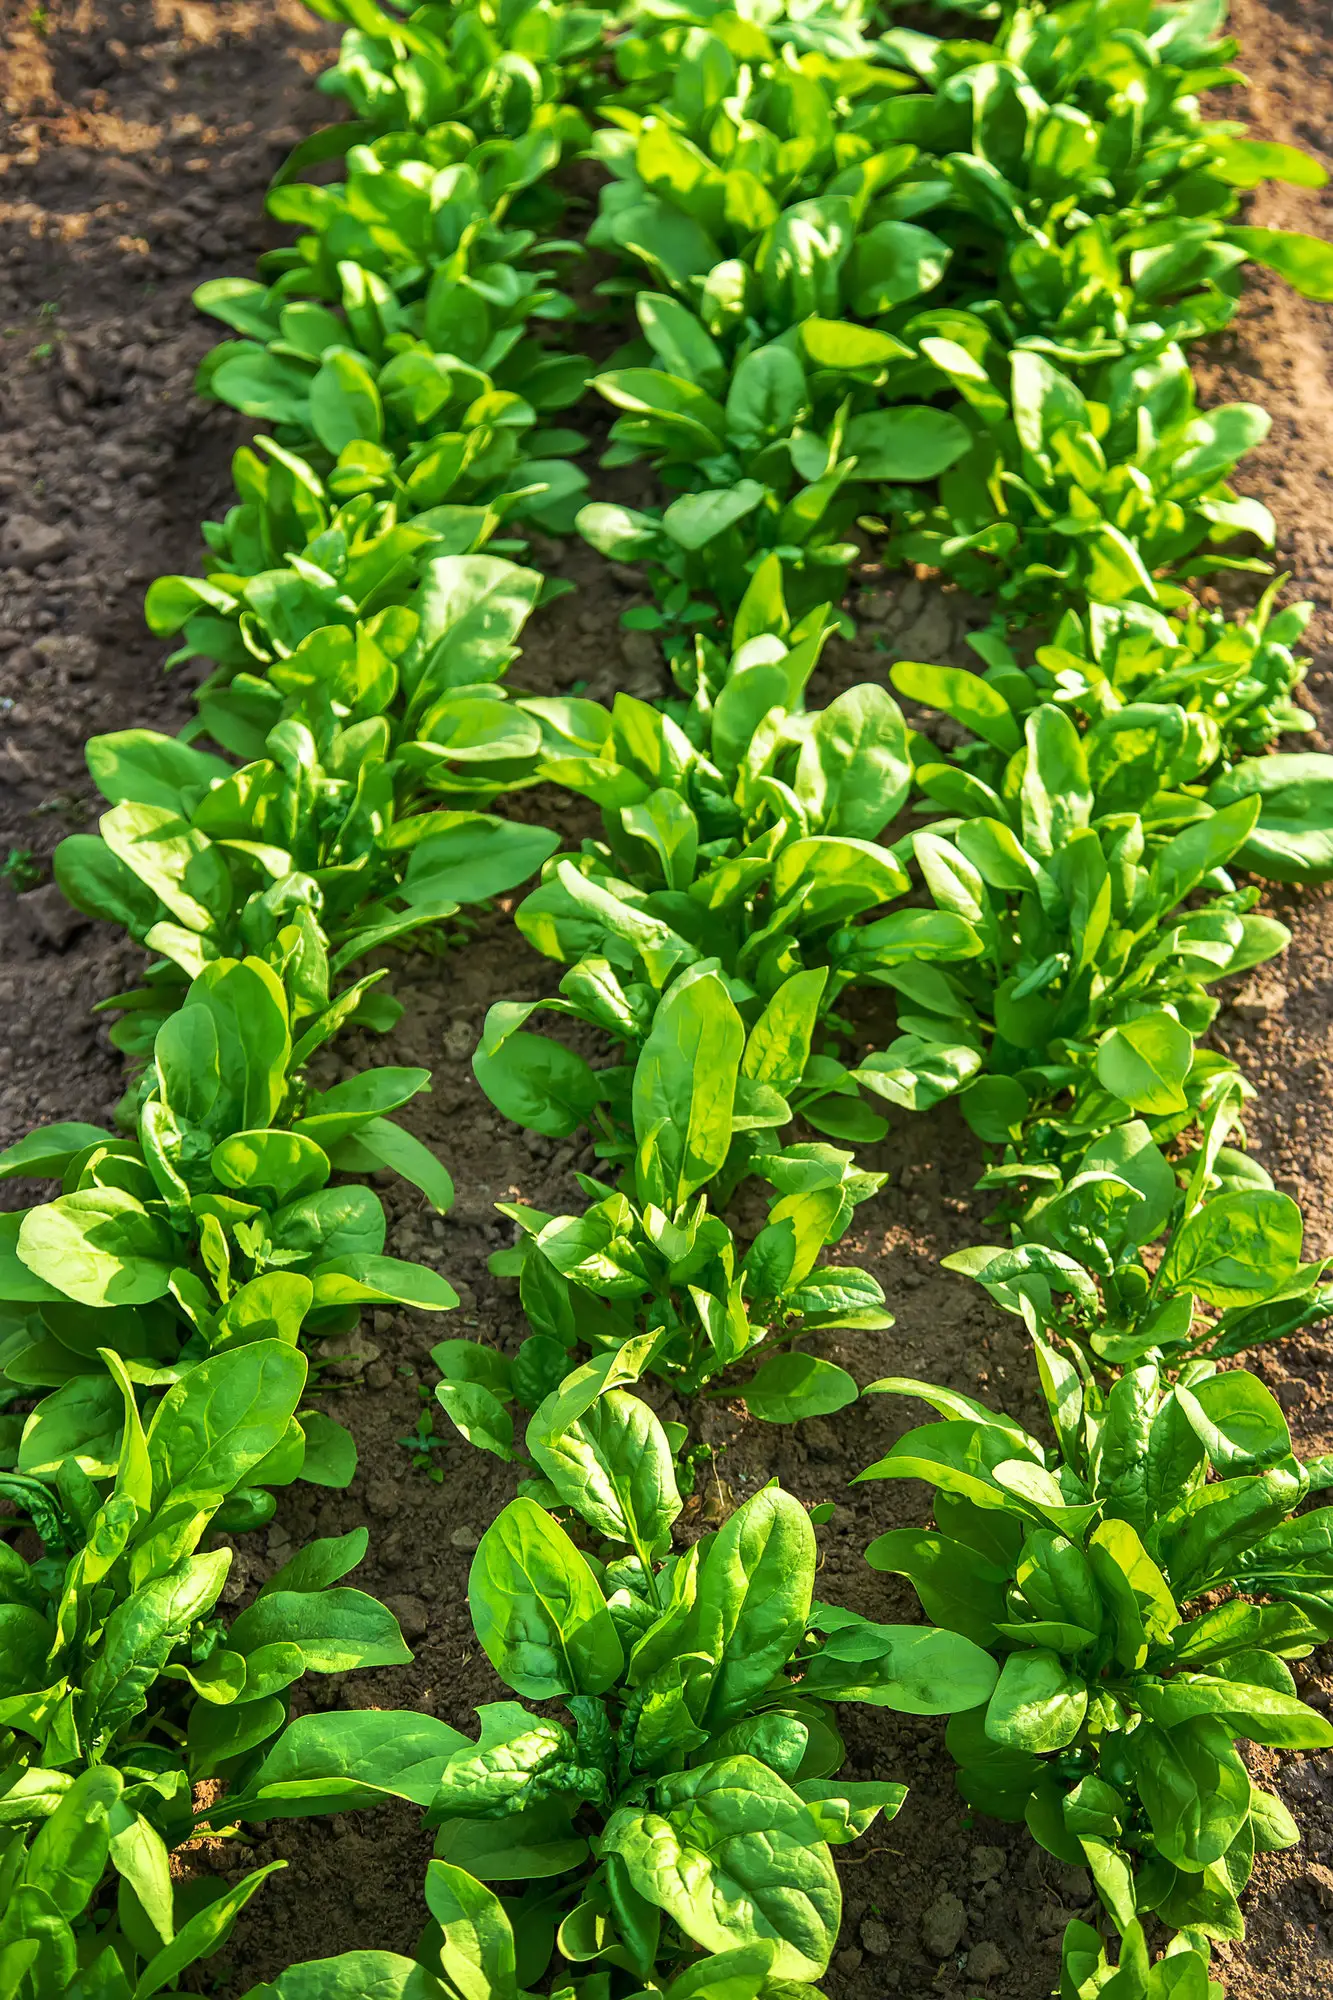
- Sowing Seeds: Plant spinach seeds directly in the soil about ½ inch (1.25 cm) deep. Space the seeds 2-3 inches (5-7.5 cm) apart in rows, which should be 12-14 inches (30-35 cm) apart. This spacing allows adequate air circulation and room for growth.
- Thinning Seedlings: Once your seedlings are about 2 inches (5 cm) tall, thin them to about 6 inches (15 cm) apart. Thinning ensures that the remaining plants have enough space to develop fully. The thinned seedlings can be used as baby spinach in salads.
- Planting Seedlings: If you start with spinach seedlings, ensure they are hardened off (gradually acclimated to outdoor conditions) before planting. Plant them at the same depth they were in the container, spaced about 6 inches apart. Water the seedlings immediately after planting to help establish them in their new location.
Properly planting your spinach at the right time and with the right techniques will ensure that your plants have the best start possible, paving the way for a healthy and productive crop.
Step 4: Caring for Your Spinach

Once your spinach is planted, proper care is essential to ensure healthy growth and a bountiful harvest. Regular attention to watering, fertilization, and pest management will keep your spinach thriving.
Watering Your Spinach
- How Much and How Often: Spinach needs consistent moisture to grow quickly and produce tender leaves. Aim to keep the soil consistently moist but not waterlogged. Water your spinach deeply once a week, providing about an inch of water each time.
- Monitoring Moisture: It’s crucial to avoid letting the soil dry out completely, as stress from drought can cause the plant to bolt (produce flowers), leading to bitter leaves.
Fertilization Needs
- Types of Fertilizer: A balanced, slow-release organic fertilizer is ideal for spinach, as it will provide a steady supply of nutrients. Look for a fertilizer with equal parts nitrogen, phosphorus, and potassium (e.g., 10-10-10).
- When to Apply: Fertilize your spinach about four to six weeks after planting, once the plants have established a good set of leaves. This will help promote lush, healthy growth without encouraging rapid bolting.
Common Pests and Diseases
- Pests to Watch For: Aphids and leaf miners are common pests that can affect spinach. Aphids can be managed by rinsing them off with a strong jet of water or using insecticidal soap. For leaf miners, remove and destroy affected leaves to prevent further damage.
- Diseases: Spinach can be susceptible to fungal diseases like downy mildew, especially in wet conditions. Ensure good air circulation around your plants and avoid overhead watering to keep the foliage dry. If signs of mildew appear, organic fungicides can be applied as a preventive measure.
- Natural Pest Control: Encouraging beneficial insects, such as ladybugs and lacewings, can help naturally control pest populations. Planting companion plants like dill or nasturtiums can also attract these helpful insects.
By following these care tips, you’ll ensure that your spinach plants are healthy, productive, and able to produce the best yield possible. Regular monitoring and maintenance will help you catch any issues early and keep your spinach garden thriving.