


In This Article Show
Have you ever considered growing your food at home? Beans are an excellent choice for beginners looking to venture into the world of home gardening. Not only are beans packed with protein, fiber, and vitamins, making them a powerhouse of nutrition, but they are also remarkably easy to grow and care for. Whether you have a spacious backyard or a small balcony, beans can thrive in a variety of settings, making them perfect for urban and rural gardeners alike.
How to Grow Beans At Home
In this post, we’ll walk you through five simple steps to get your bean garden started.
Step 1: Choosing the Right Bean Variety
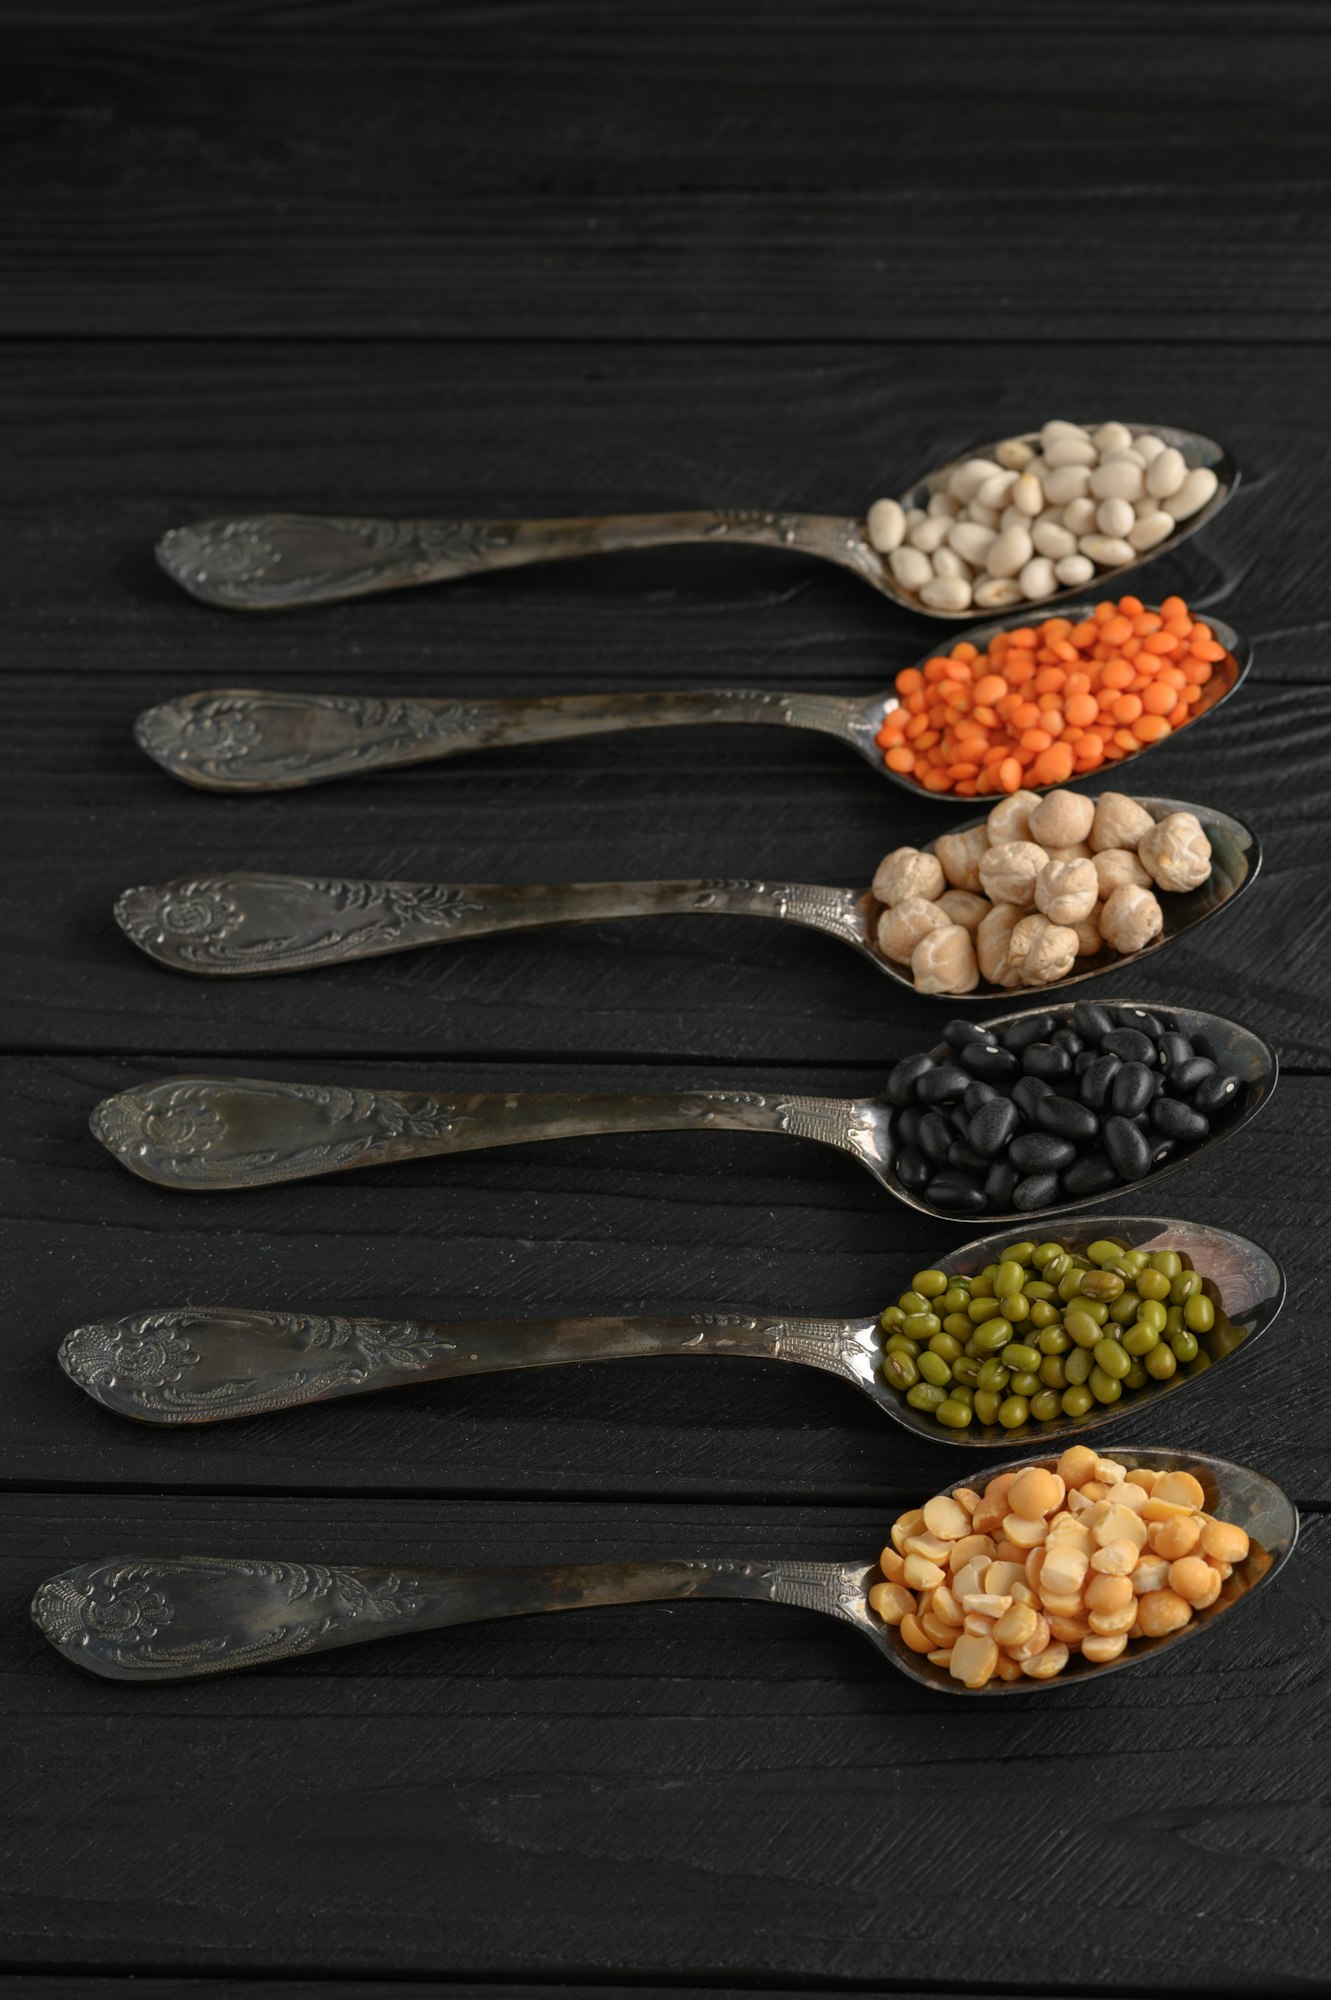
Selecting the appropriate type of bean to grow is crucial to your gardening success. Beans come in mainly two varieties: bush beans and pole beans. Each has its own set of benefits and is suitable for different kinds of garden setups.
1. Bush Beans
These are lower-growing plants that typically do not need support. They are ideal for gardeners who prefer a compact garden or have limited space. Bush beans tend to mature all at once, making them a great choice if you’re looking to harvest a large crop within a short period.
2. Pole Beans
If you have more vertical space, consider pole beans. They grow upwards on trellises or supports, making them perfect for smaller ground areas. Pole beans produce a steady crop throughout the growing season, which allows you to enjoy fresh beans over a longer period.
Choosing Based on Climate and Space
- Climate Considerations: Beans generally thrive in warm, frost-free weather. However, some varieties, like the Black Turtle or Pinto, are more tolerant of cooler temperatures. It’s important to choose a variety that suits your local climate conditions.
- Space Requirements: Evaluate the space you have. Bush beans are better for confined areas as they spread out less. If you’re utilizing vertical space, pole beans can be a great way to maximize your yield from a small footprint.
Step 2: Preparing Your Planting Area
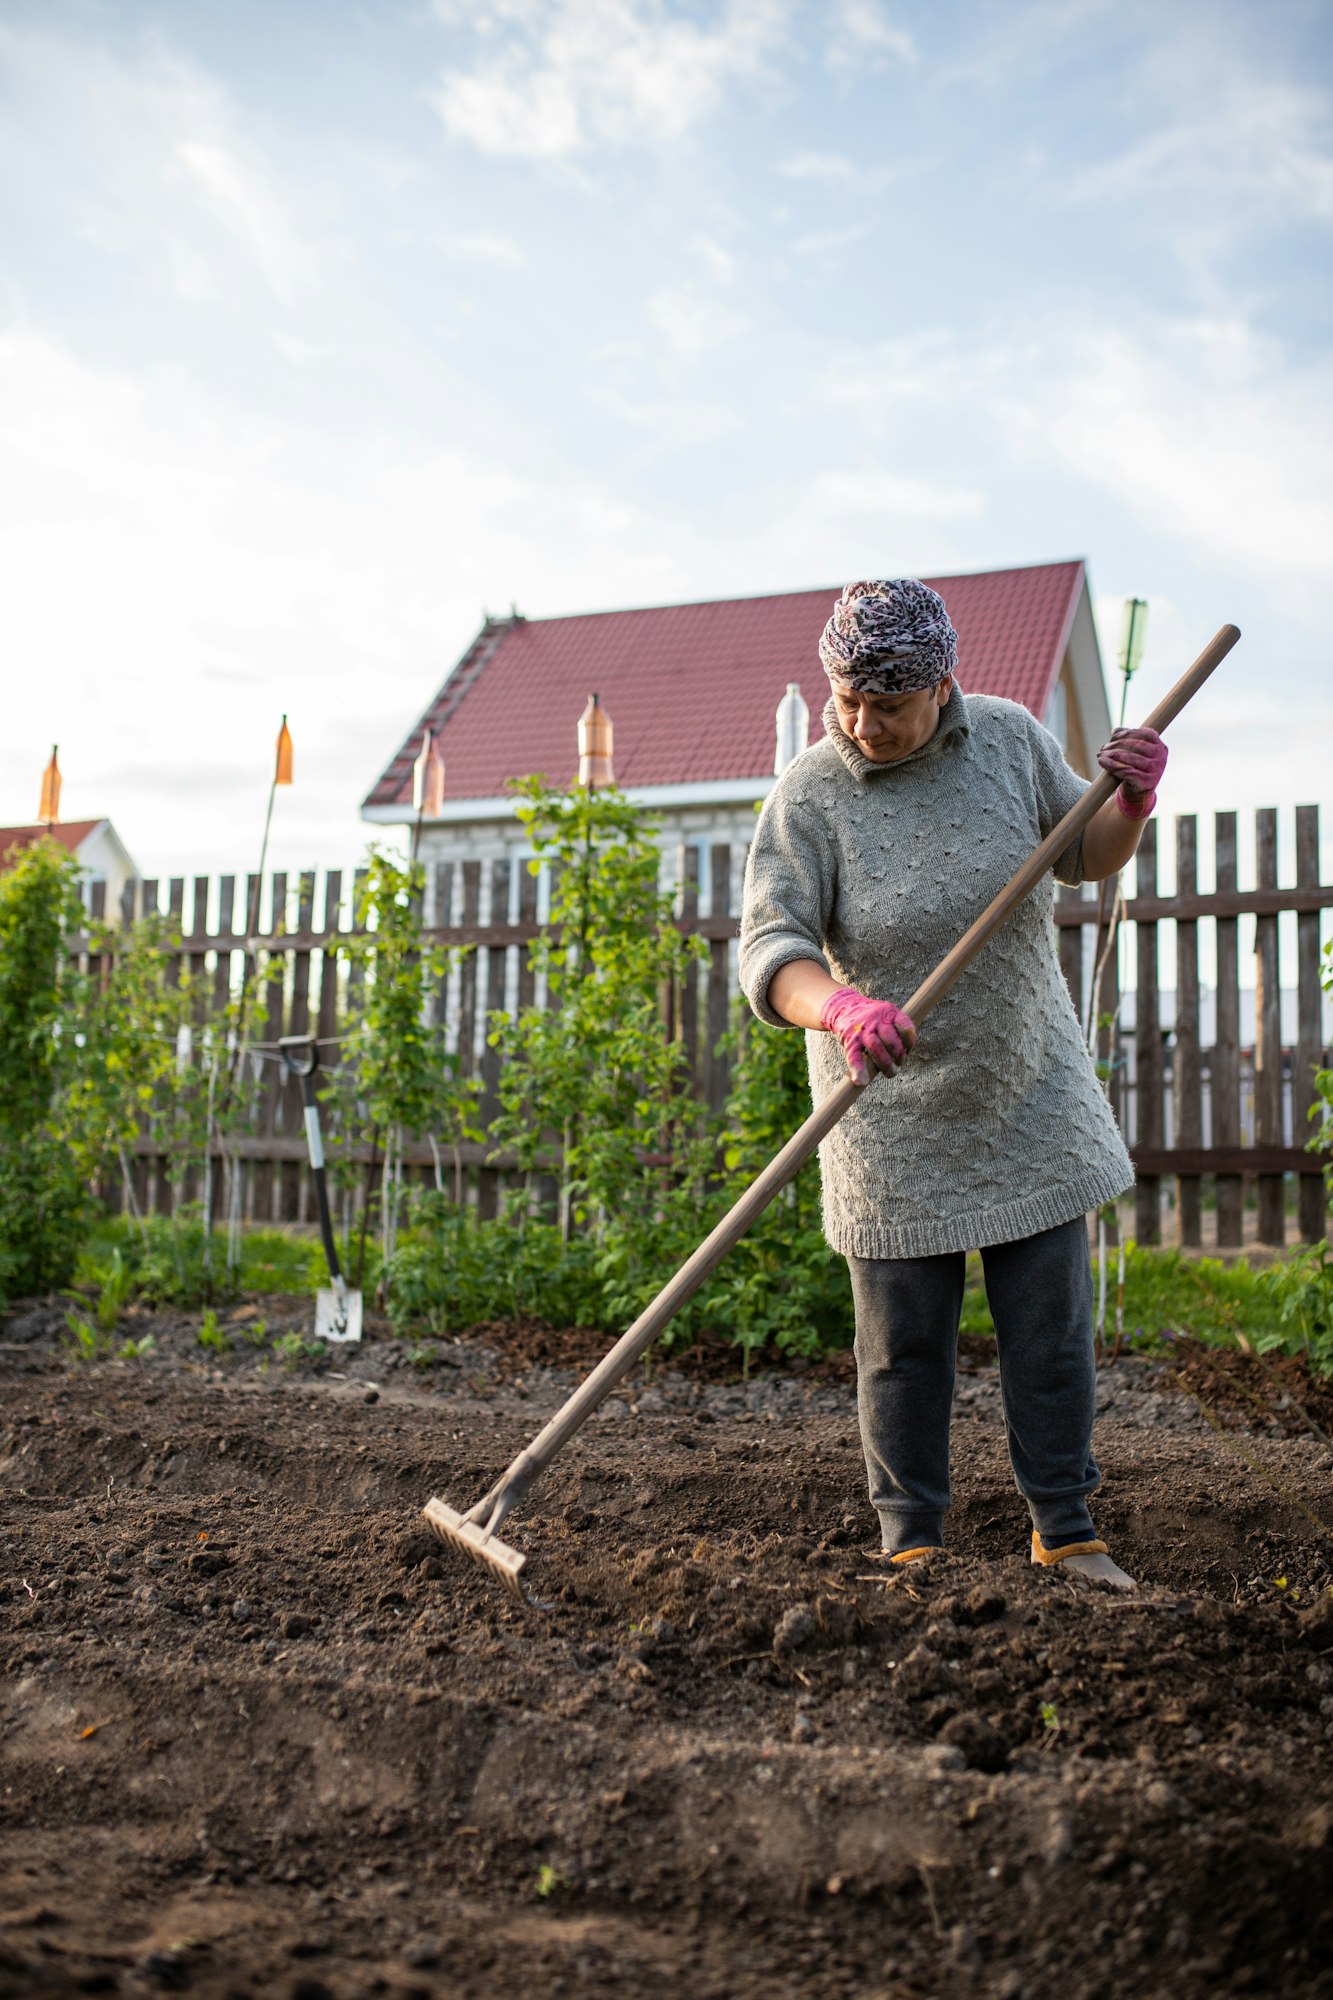
The success of your bean plants starts with where and how you prepare the planting area. Beans are fairly adaptable but thrive best in certain conditions. Here’s how to ensure your chosen spot and soil will promote healthy growth.
Choosing the Right Location
- Sunlight: Beans require full sun, meaning at least six hours of direct sunlight per day. A south-facing garden is typically ideal. Less sunlight can lead to slower growth and fewer pods.
- Soil Type: Well-drained soil is crucial. Beans do not do well in waterlogged soil, as it can lead to root diseases. Loamy soil is perfect because it retains moisture while draining well.
Preparing the Soil for Planting
- Soil Testing: Start with a soil test to determine the pH and nutrient levels. Beans prefer a soil pH between 6.0 and 6.8. A soil test can help you understand if you need to adjust the pH or add specific nutrients.
- Amending the Soil: Based on the soil test results, you might need to amend your soil. If your soil is too clayey, adding compost or aged manure can improve its structure and fertility. For sandy soil, organic matter can help retain moisture and nutrients.
- Tilling the Soil: Before planting, till the soil to a depth of about 8 to 10 inches. This will loosen it, allowing roots to penetrate more easily and access the nutrients they need. Remove any stones or large debris that could obstruct growth.
Organic Matter Addition
- Adding organic matter such as compost or aged manure enriches the soil, providing beans with the necessary nutrients for growth. Mix in a couple of inches of organic matter to enrich the soil and improve its structure.
- Once your planting area is well-prepared, you’ll be set to plant your beans with the confidence that they are positioned for optimum growth. Proper initial preparation pays off throughout the growing season, leading to a more bountiful harvest.
Step 3: Planting Your Beans
Planting your beans correctly is essential for ensuring healthy growth and a bountiful harvest. Here’s a detailed guide on when and how to plant bean seeds, along with tips on spacing, depth, and initial watering.
When to Plant
- Beans are sensitive to frost, so the ideal time to plant them is after the last frost date in your area. This typically occurs in late spring or early summer, depending on your climate.
- The soil temperature should be at least 60°F (15°C) for best germination results. You can use a soil thermometer to check the temperature.
How to Plant
- Planting Depth: Plant bean seeds about 1 to 1.5 inches deep into the soil. This depth helps ensure that the seeds have enough moisture to germinate but are not so deep that they struggle to emerge.
- Spacing: For bush beans, space the seeds about 2 to 4 inches apart in rows spaced 12 to 18 inches apart. For pole beans, space the seeds about 4 to 6 inches apart in rows, with rows about 24 to 36 inches apart. If using a trellis, plant the seeds near the base.
- Watering Initially: After planting, water the soil gently but thoroughly to settle the seeds. Keep the soil consistently moist but not waterlogged as the seeds germinate and begin to grow.
Care Tips
- Thinning: Once the seedlings are a few inches tall, thin them out so they are spaced properly according to the type (bush or pole). This prevents overcrowding and promotes better air circulation, which reduces the risk of disease.
- Support for Pole Beans: If you’re growing pole beans, ensure your trellis or support system is in place at the time of planting. This avoids disturbing the roots later on.
Step 4: Caring for Your Bean Plants
Proper care is crucial to ensure your bean plants thrive and produce a healthy crop. Regular watering, weeding, and appropriate fertilization, along with pest and disease management, are key components. Here’s how you can effectively care for your bean plants.
Regular Watering
- Beans require consistent moisture, especially when they flower and produce pods. Aim to water your plants about once a week with about an inch of water, depending on weather conditions.
- Avoid overhead watering to minimize the risk of disease. Use a soaker hose or drip irrigation to deliver water directly to the soil.
Weeding
- Keep the area around your bean plants free of weeds, which can compete with them for nutrients and water. Weed regularly, especially early in the growing season.
- Be gentle around the roots of your bean plants when weeding, as they can be quite shallow.
Use of Fertilizers
- Beans are light feeders but benefit from a small amount of fertilizer. If you add compost before planting, additional fertilizer might not be necessary.
- If you choose to fertilize, use a low-nitrogen fertilizer. Beans fix their nitrogen, so too much can reduce pod production.
Pest and Disease Management
- Common Pests: Watch out for pests like aphids, spider mites, and bean beetles. Insecticidal soap can be effective against these pests.
- Disease Prevention: Diseases like bean blight and rust can be a problem. Ensure good air circulation by spacing plants properly and using supports for pole beans.
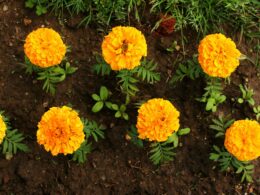
- Natural Remedies: Encourage beneficial insects that prey on pests by planting flowers nearby. Use neem oil or baking soda sprays to treat fungal infections.
Inspect your plants regularly for signs of stress or disease. Early detection is key to managing potential issues effectively.
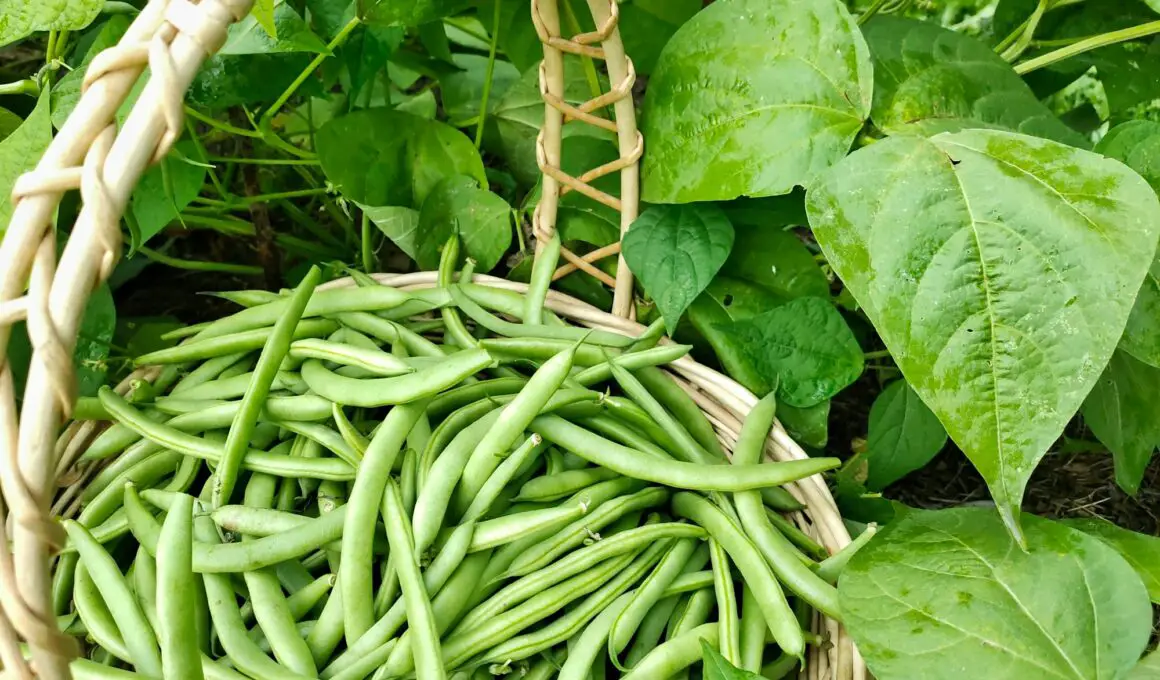
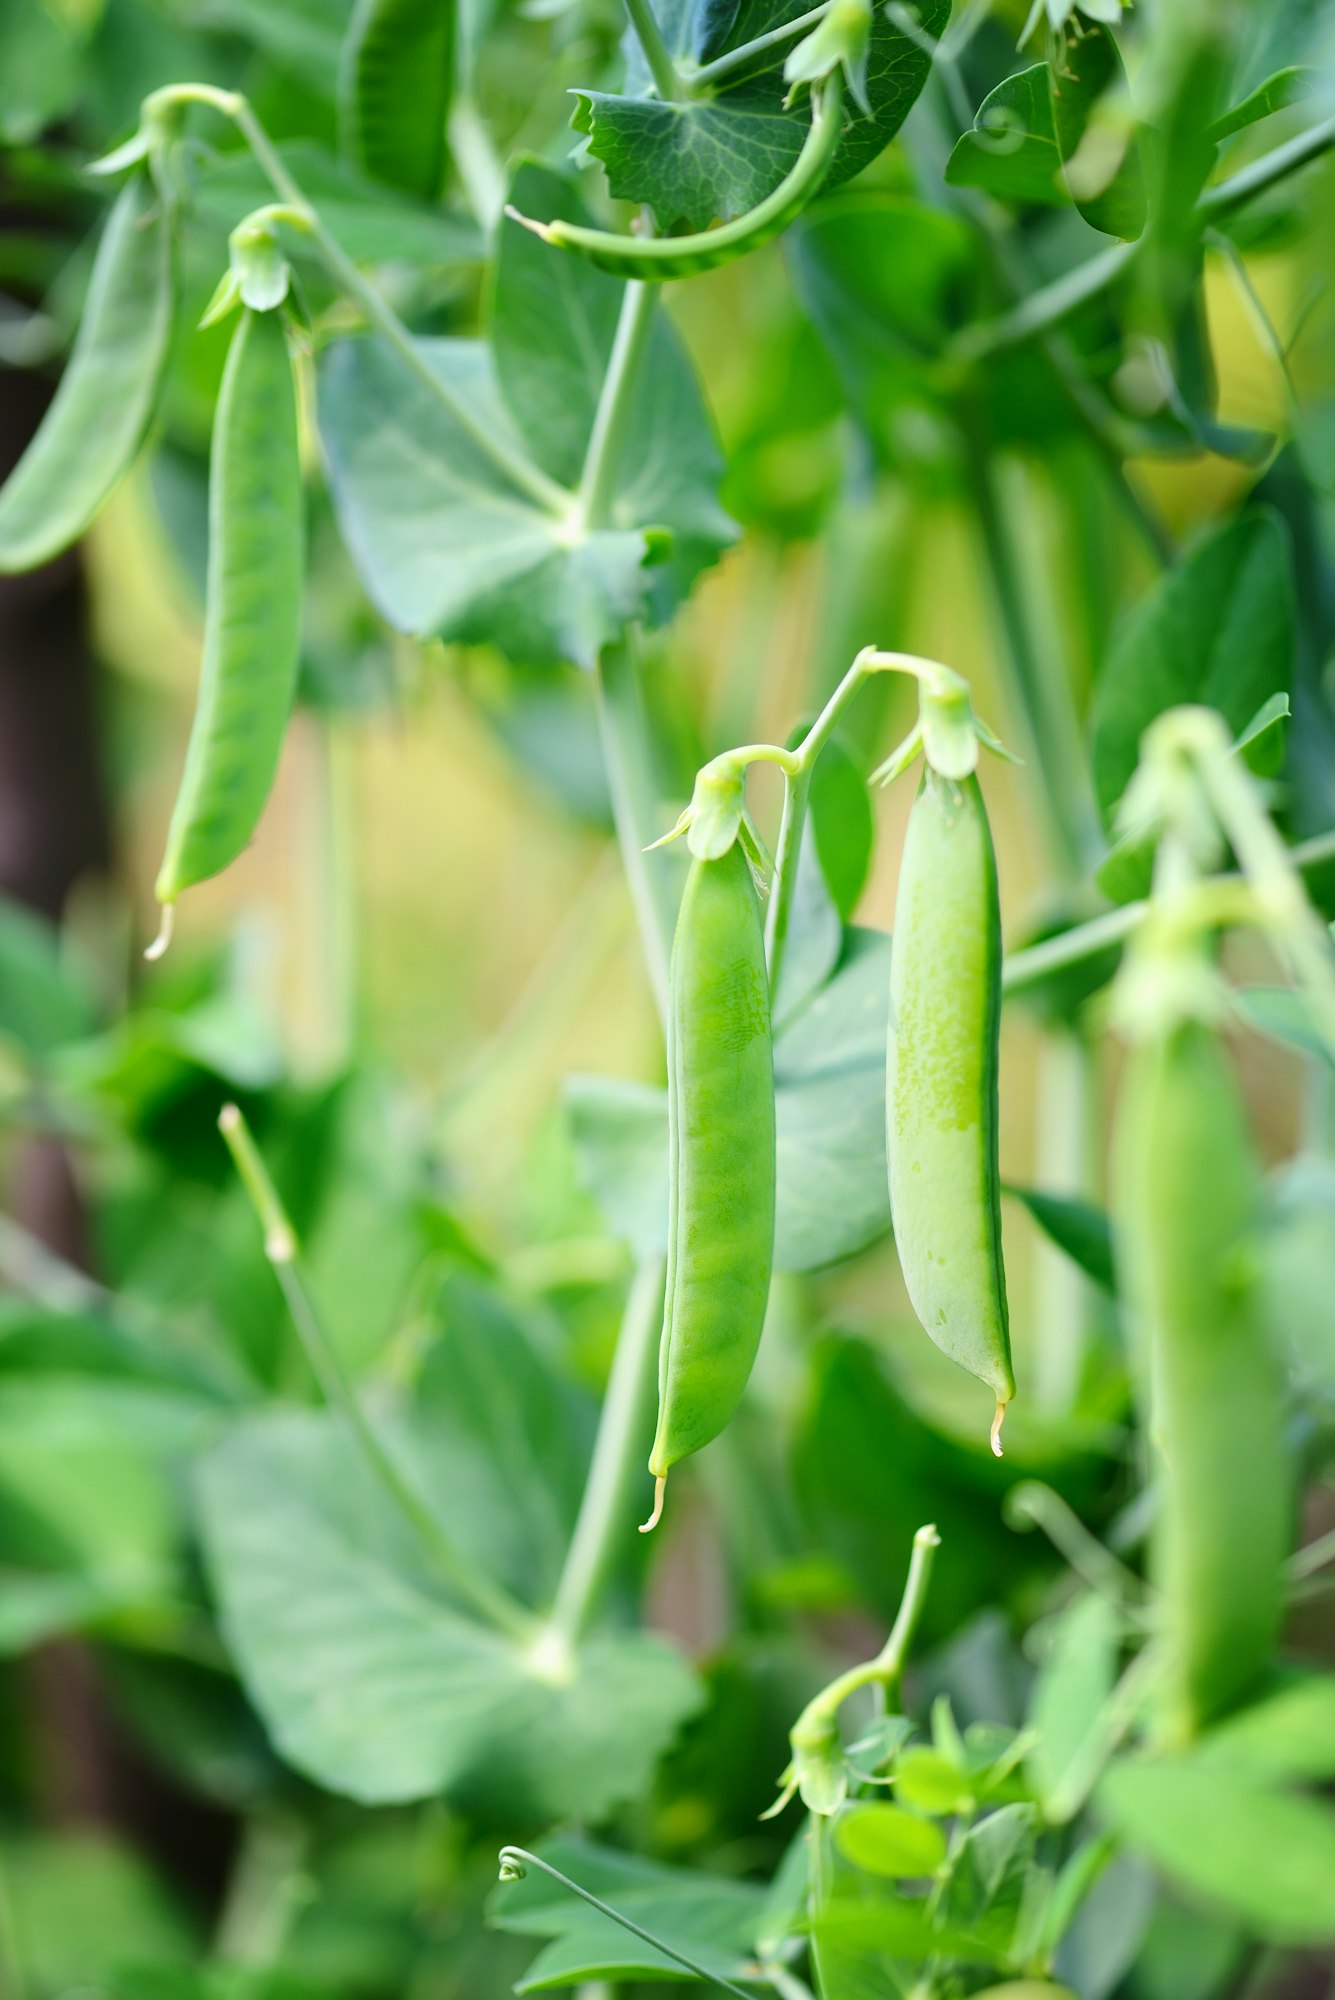
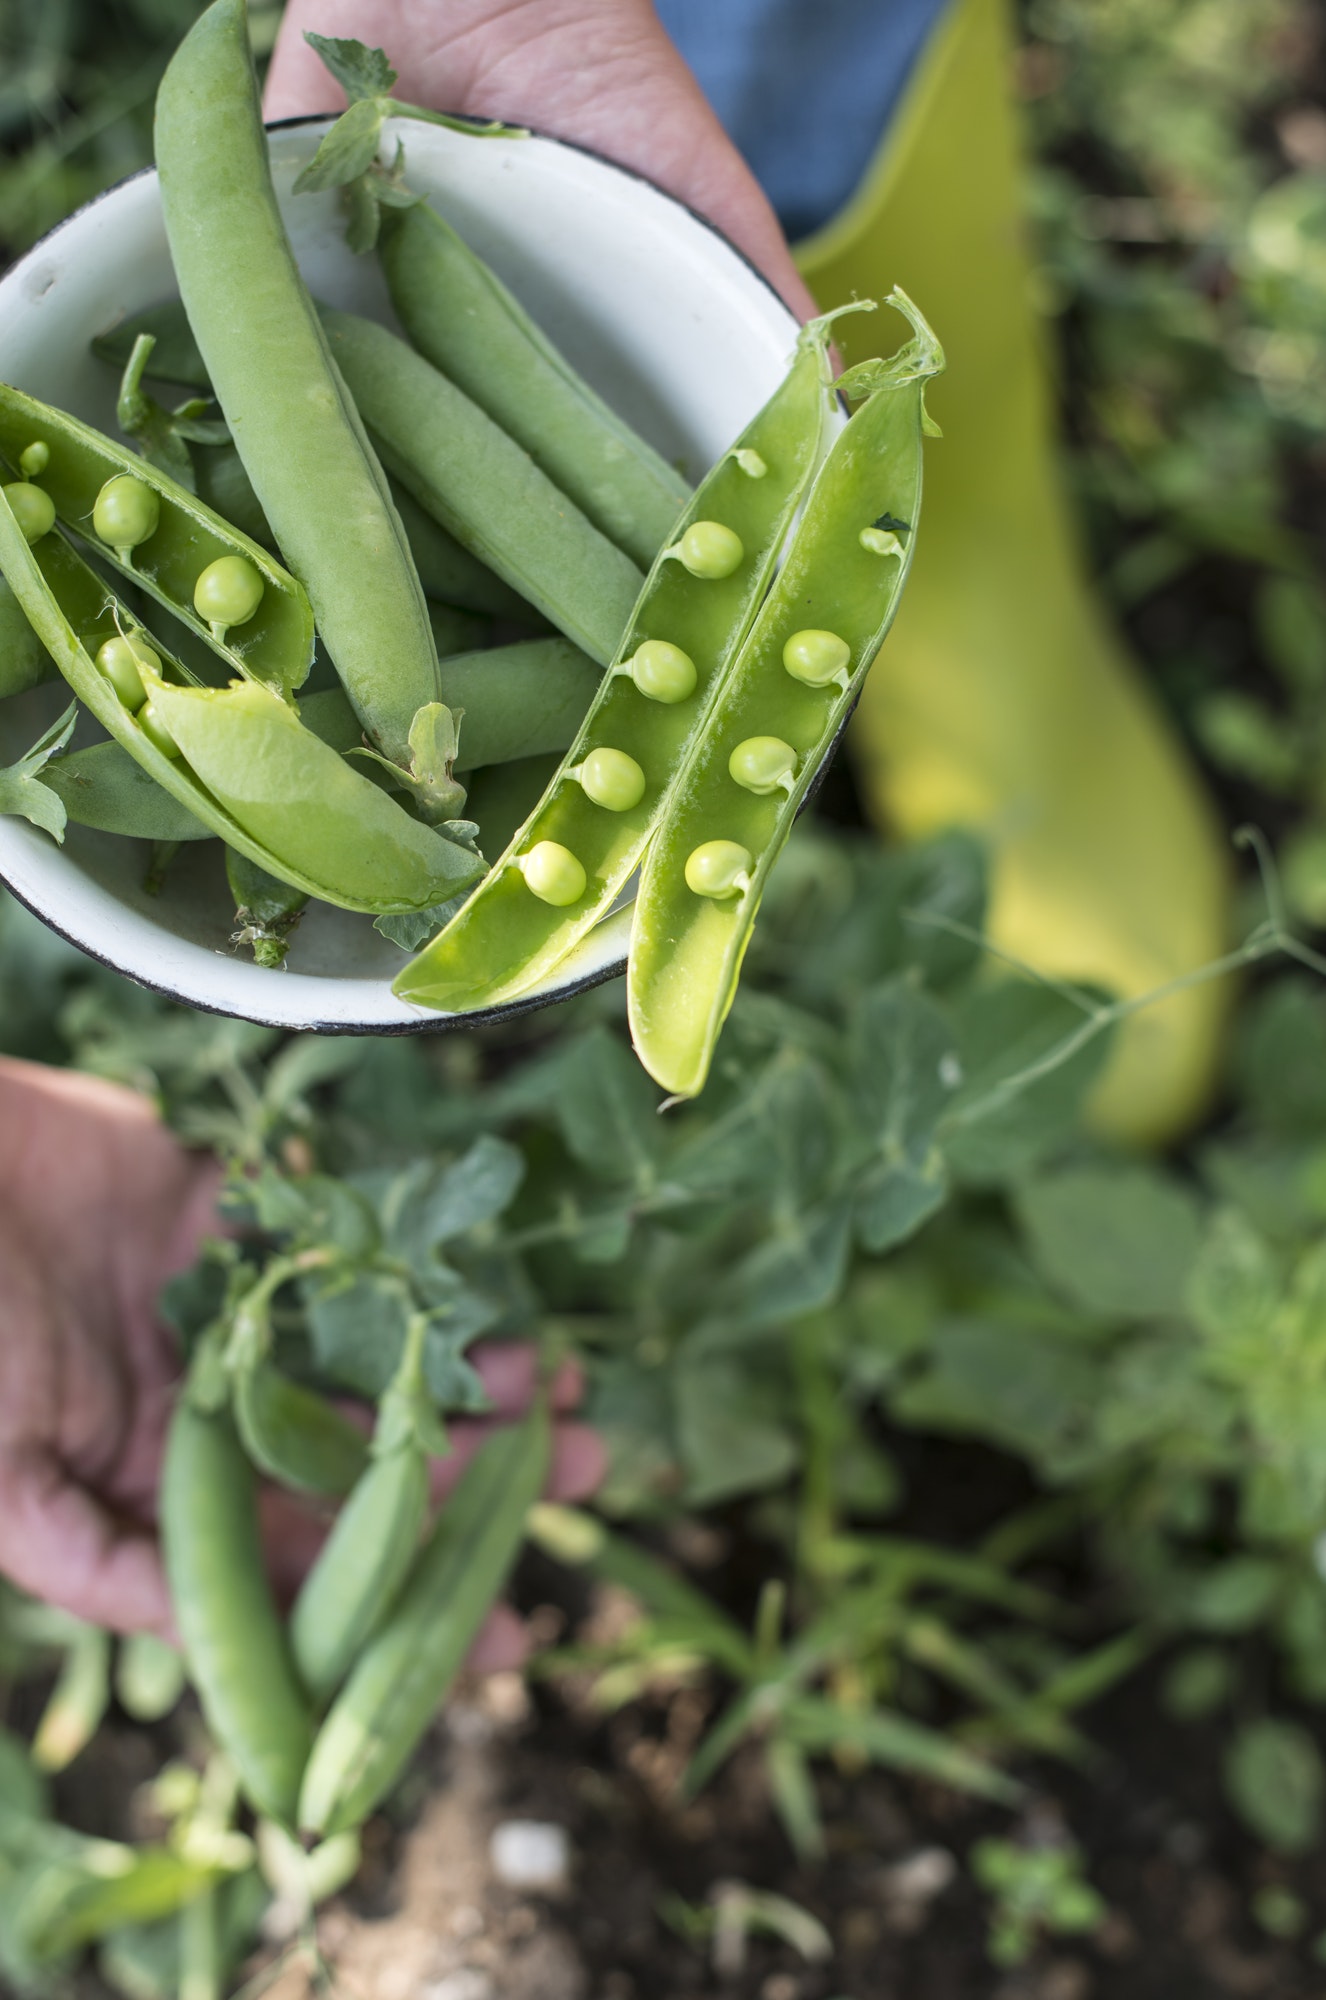
Step 5: Harvesting Your Beans
Harvesting your beans at the right time not only ensures the best flavor and texture but can also stimulate your plants to produce more beans. Here’s how to recognize when your beans are ready for harvest and tips for picking them effectively.
Signs That Your Beans Are Ready for Harvest
- Size and Firmness: Beans should be firm and snap easily when bent. The pods should feel plump and the beans inside should be fully developed, but not bulging excessively.
- Color and Appearance: Look for beans that have reached their full color, which varies by variety. Most green beans should be a vibrant green without any yellowing or brown spots.
- Experiment with a Test Harvest: If you’re unsure, pick a few beans and taste them. They should be tender and crisp, not tough or stringy.
Tips on How to Pick Beans
- Gentle Handling: Use both hands when picking beans to avoid damaging the plant. Hold the stem with one hand and pull the bean with the other.
- Regular Harvesting: Beans can be very productive, and regular harvesting encourages more production. Check your plants every other day once they start producing. Leaving beans on the plants too long can signal the plant to stop producing new pods.
- Morning Harvest: If possible, harvest beans in the morning when they are crisp and hydrated. This helps in keeping them fresh and firm.
After Harvest Care
- Watering and Care Continuation: After harvesting, continue to care for your plants by watering and weeding. This will help them continue producing for an extended season.
- Mulching: Consider mulching around the base of the plants to help retain soil moisture and control weeds.
Harvesting beans is a rewarding part of gardening that can continue throughout the growing season. With the right techniques, you can maximize your yield and enjoy fresh beans over many weeks.