


In This Article Show
Today, we’re tackling a common query among gardeners and health enthusiasts: Can you sprout black beans? In this comprehensive guide, we’ll walk you through the process step by step, demystifying the art of sprouting and showcasing the versatility of this humble legume.
Black beans, often hailed as a pantry staple, are delicious and packed with essential nutrients. As we embark on this journey, we’ll talk about the world of sprouting, uncovering its benefits and how it can elevate the nutritional profile of black beans.
Whether you’re a seasoned gardener or just starting, this guide is tailored to provide practical insights and actionable tips. So, grab your gardening gloves, and let’s get sprouting!
Can You Sprout Black Beans?
Yes, you can sprout black beans. Sprouting black beans involves soaking them in water, rinsing them regularly, and providing optimal conditions for germination. You can enjoy fresh and nutritious sprouted black beans at home with proper care and attention.
Can You Sprout Black Beans?
Factors Influencing Sprouting Ability
Sprouting black beans might seem straightforward, but several factors come into play to ensure successful germination. Understanding these factors can significantly impact the outcome of your sprouting endeavors. Factors influencing sprouting ability include:
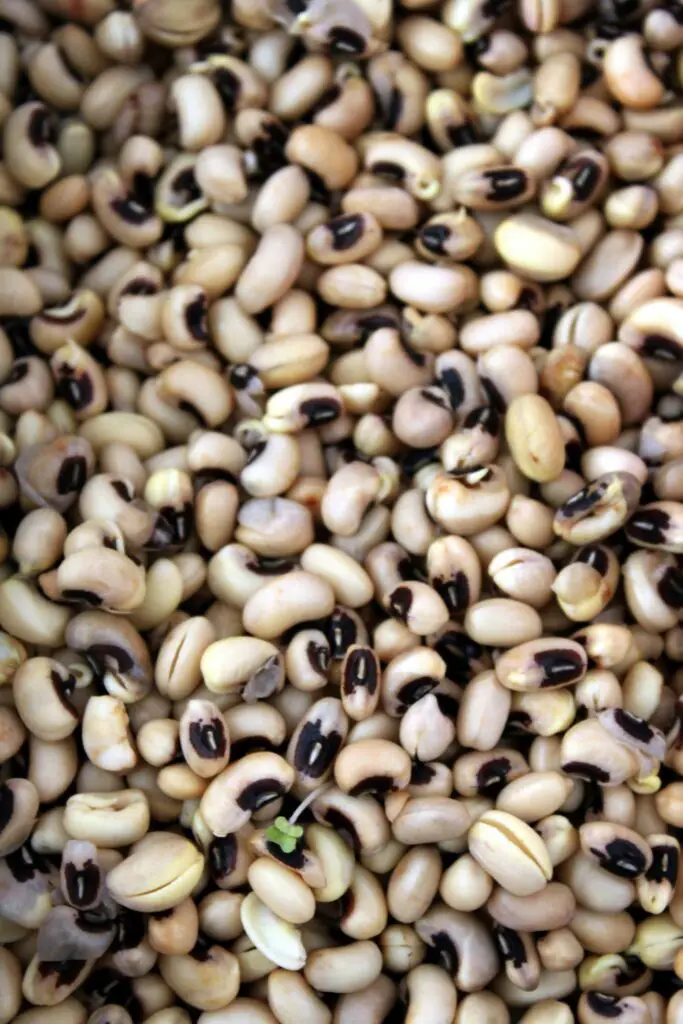
- Seed Quality: Starting with high-quality black beans is essential. Look for whole, undamaged beans, and free from any signs of mold or damage.
- Age of Beans: Fresher beans tend to sprout more readily than older ones. Check the expiration date on your bean package or source them from a reputable supplier.
- Environmental Conditions: Optimal temperature and humidity levels are crucial in sprouting. Aim for a warm, humid environment to encourage sprout growth.
- Soaking Time: Proper soaking allows the beans to absorb water and kickstart the sprouting process. However, over-soaking can lead to mold or spoilage, so timing is key.
- Seed Dormancy: Some seeds exhibit dormancy, a natural mechanism that delays germination until conditions are favorable. Understanding this trait can help you adjust your sprouting methods accordingly.
Preparing Black Beans for Sprouting
Before diving into the sprouting process, it’s essential to prepare your black beans properly. Follow these steps to ensure optimal sprouting conditions:
- Sorting: Inspect the black beans and remove any debris, broken beans, or stones.
- Washing: Rinse the beans under cold water to remove any dust or dirt.
- Soaking: Place the washed beans in a bowl or jar and cover them with water. Allow them to soak for 8-12 hours or overnight. This step softens the beans and initiates the sprouting process.
- Draining: After soaking, drain the water from the beans using a fine-mesh strainer or colander. Rinse them thoroughly under running water to remove any residual starch or inhibitors.
Methods for Sprouting Black Beans
You can use several methods to sprout black beans, depending on your preference and available resources. Here are three common methods:
Jar Method
Place the soaked and drained beans in a wide-mouthed glass jar. Cover the opening with a breathable fabric or mesh secured with a rubber band. Rinse and drain the beans twice a day until sprouts appear.
Tray Method
Spread the soaked and drained beans evenly on a sprouting tray or shallow container lined with moistened paper towels or cloth. Keep the beans moist by misting them with water regularly. Harvest the sprouts once they reach the desired length.
Bag Method
Place the soaked and drained beans in a clean kitchen towel or cloth. Roll up the towel and secure the ends with rubber bands. Keep the towel moist by spraying it with water as needed.
Check for sprouts daily and harvest when ready. Experiment with different methods to find the one that works best for you. With patience and proper care, you’ll soon enjoy fresh, homegrown, sprouted black beans bursting with flavor and nutrition.
Steps to Sprout Black Beans
1. Soaking
- Sort and wash the black beans: Remove any debris or damaged beans and rinse the black beans under cold water to remove dirt and impurities.
- Soak the beans: Place the washed black beans in a bowl or jar and cover them with water. Allow the beans to soak for 8-12 hours or overnight. This softens the beans and initiates the sprouting process.
2. Rinsing
- Drain the soaked beans: After the soaking period, drain the water from the beans using a fine-mesh strainer or colander.
- Rinse the beans: Rinse the soaked beans thoroughly under running water to remove any residual starch or inhibitors. Ensure the beans are clean before proceeding to the next step.
3. Draining
- Prepare the sprouting container: Transfer the rinsed beans to a sprouting container of your choice, such as a glass jar, sprouting tray, or bag.
- Ensure proper drainage: Ensure that the sprouting container has adequate drainage to prevent waterlogging, which can lead to mold or spoilage.
- Position the container: Place the container in a location with good airflow and indirect sunlight.
4. Germination
- Maintain optimal conditions: Keep the sprouting beans in a warm, humid environment to facilitate germination. Ideal temperatures range between 70-80°F (21-27°C).
- Allow time for germination: Depending on environmental conditions, the beans will begin to sprout within 1-3 days. Monitor the progress of the sprouts regularly.
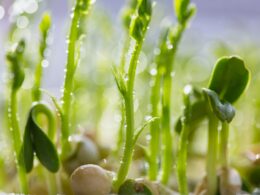
5. Growing Sprouts
- Continue rinsing: Rinse the sprouting beans 2-3 times a day with fresh water to keep them moist and prevent drying out.
- Promote healthy growth: Provide adequate airflow and humidity to encourage vigorous sprout growth. Avoid direct sunlight, as it can cause the sprouts to overheat and dry out.
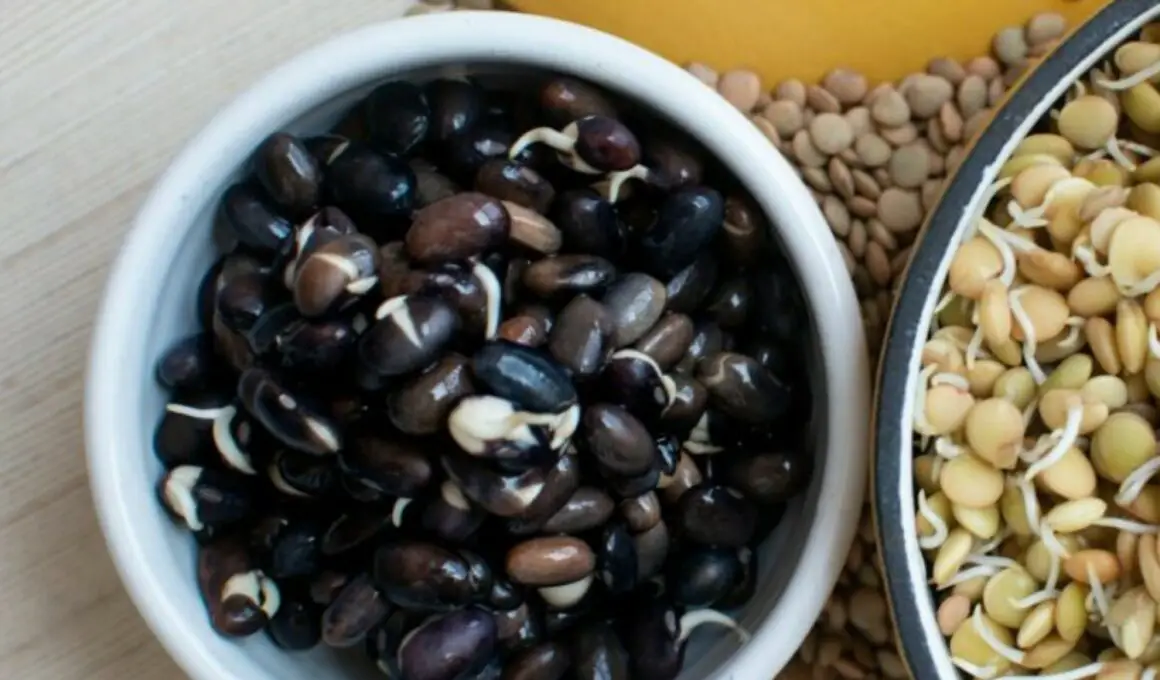
6. Harvesting
- Monitor sprout length: Once the sprouts have reached the desired length, typically 1/4 to 1/2 inch, they are ready to harvest.
- Harvest the sprouts: Gently remove the sprouts from the sprouting container, taking care not to damage them.
- Rinse and store: Rinse the harvested sprouts under cold water to remove any remaining hulls or debris. Store the sprouts in a clean, airtight container in the refrigerator for up to one week.
By following these steps, you can successfully sprout black beans at home and enjoy the fresh, nutritious sprouts in a variety of dishes. Experiment with different sprouting methods and techniques to find what works best for you.
Tips for Successful Black Bean Sprouting
Temperature and Humidity Considerations
Optimal Temperature
Maintain a consistent temperature range of 70-80°F (21-27°C) during sprouting. Avoid exposing the sprouting beans to extreme temperatures, as this can hinder germination.
Humidity Levels
Ensure adequate humidity by regularly misting the sprouting beans or placing a damp cloth over the container. Proper humidity promotes healthy sprout growth and prevents dehydration.
Troubleshooting Common Issues
- Mold or Spoilage: If you notice mold or an unpleasant odor developing during the sprouting process, discard the affected beans immediately.
- Slow Germination: If the beans take longer than expected to sprout, check the environmental conditions, such as temperature and humidity.
- Uneven Sprouting: To promote uniform sprouting, ensure that the beans are spread evenly in the sprouting container and receive equal access to water and airflow.
Storage of Sprouted Black Beans
- Refrigeration: Store the harvested sprouted black beans in a clean, airtight container in the refrigerator. Proper refrigeration helps maintain freshness and prevents spoilage.
- Shelf Life: Sprouted black beans can be stored in the refrigerator for up to one week. Discard any sprouts that appear slimy or develop an off odor before consuming.
- Rinse Before Use: Before using sprouted black beans in recipes, rinse them under cold water to remove any remaining hulls or debris. Pat them dry gently with a paper towel before incorporating them into dishes.
By implementing these tips, you can maximize your success in sprouting black beans at home and enjoy the fresh, nutritious sprouts in various culinary creations. With proper care and attention to detail, you’ll be sprouting black beans like a pro in no time!