


In This Article Show
With over 13 years of hands-on experience in the dirt and a constant eagerness to share what I’ve learned, I find beans not only a versatile crop in the kitchen but also a fascinating subject in the garden. They’re packed with nutrition, relatively easy to grow, and can even enrich the soil they call home, making them an excellent choice for gardeners of all levels.
Understanding the growth stages of beans is crucial for any gardener looking to optimize their harvest. Each stage, from the initial germination to the final harvest, carries its own set of needs and markers for health and progress. By knowing what to expect and when to expect it, we can provide our bean plants with the precise care they need to thrive.
In this post, we’ll walk through the entire lifecycle of bean plants. I’ll share insights on the timelines for each growth stage, tips for dealing with common challenges, and strategies to help you achieve the best yield from your garden. Whether you’re tending a few plants in backyard containers or managing a larger plot, the information here aims to support your gardening journey.
The Growth Stages & Timelines of Beans
Understanding the life cycle of bean plants is pivotal for any gardener or farmer. This section breaks down each stage, providing you with insights to nurture your plants through their journey from seed to harvest.
1. Germination (Seed Stage)

Germination marks the beginning of the bean’s life cycle, usually occurring within 8 to 10 days after planting, depending on the bean variety and environmental conditions. This stage is influenced by soil temperature, moisture, and seed depth. Optimal soil temperature ranges from 70°F to 80°F (21°C to 27°C) for most bean types.
Adequate moisture is crucial, but overwatering can suffocate the seeds, hindering germination. Planting seeds at the right depth, about 1 to 2 inches (2.5 to 5 cm), is also essential for successful germination. The first visual cue of germination is the emergence of the radicle (root) followed by the hypocotyl, which pushes the seedling above the soil surface.
2. Seedling Stage
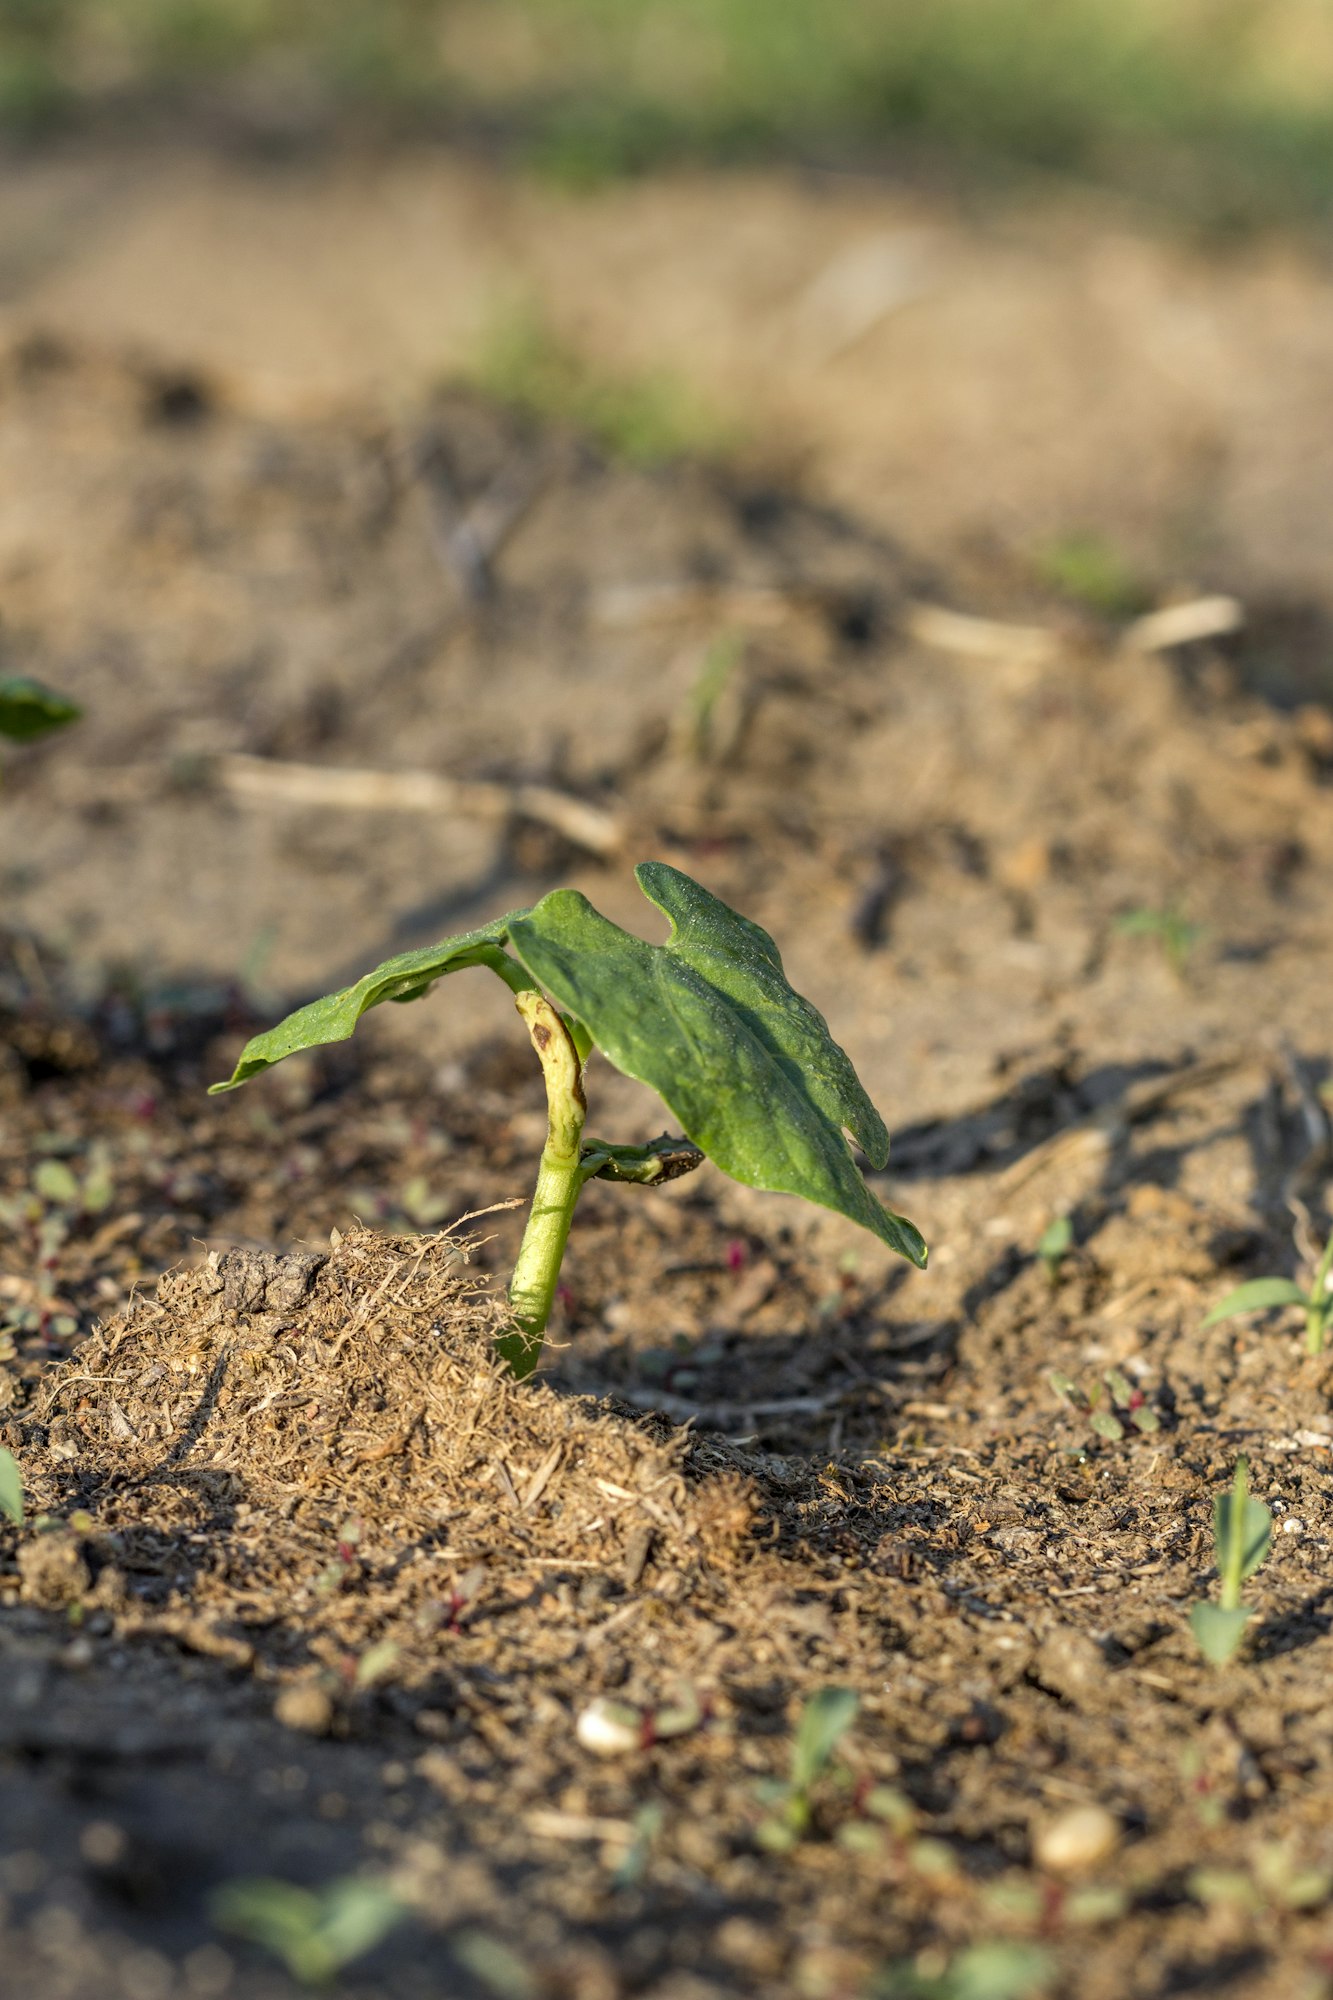
During the seedling stage, the first true leaves will develop, differentiating from the initial seed leaves (cotyledons). This stage is critical for establishing a strong foundation for future growth. Keep the soil consistently moist but not waterlogged, and ensure the seedlings receive plenty of sunlight or adequate artificial light.
Protecting the young plants from pests and extreme weather is also vital. This stage lasts about 2 to 3 weeks, with important milestones including the development of true leaves and the plant’s ability to photosynthesize, reducing its reliance on the seed’s stored energy.
3. Vegetative Stage
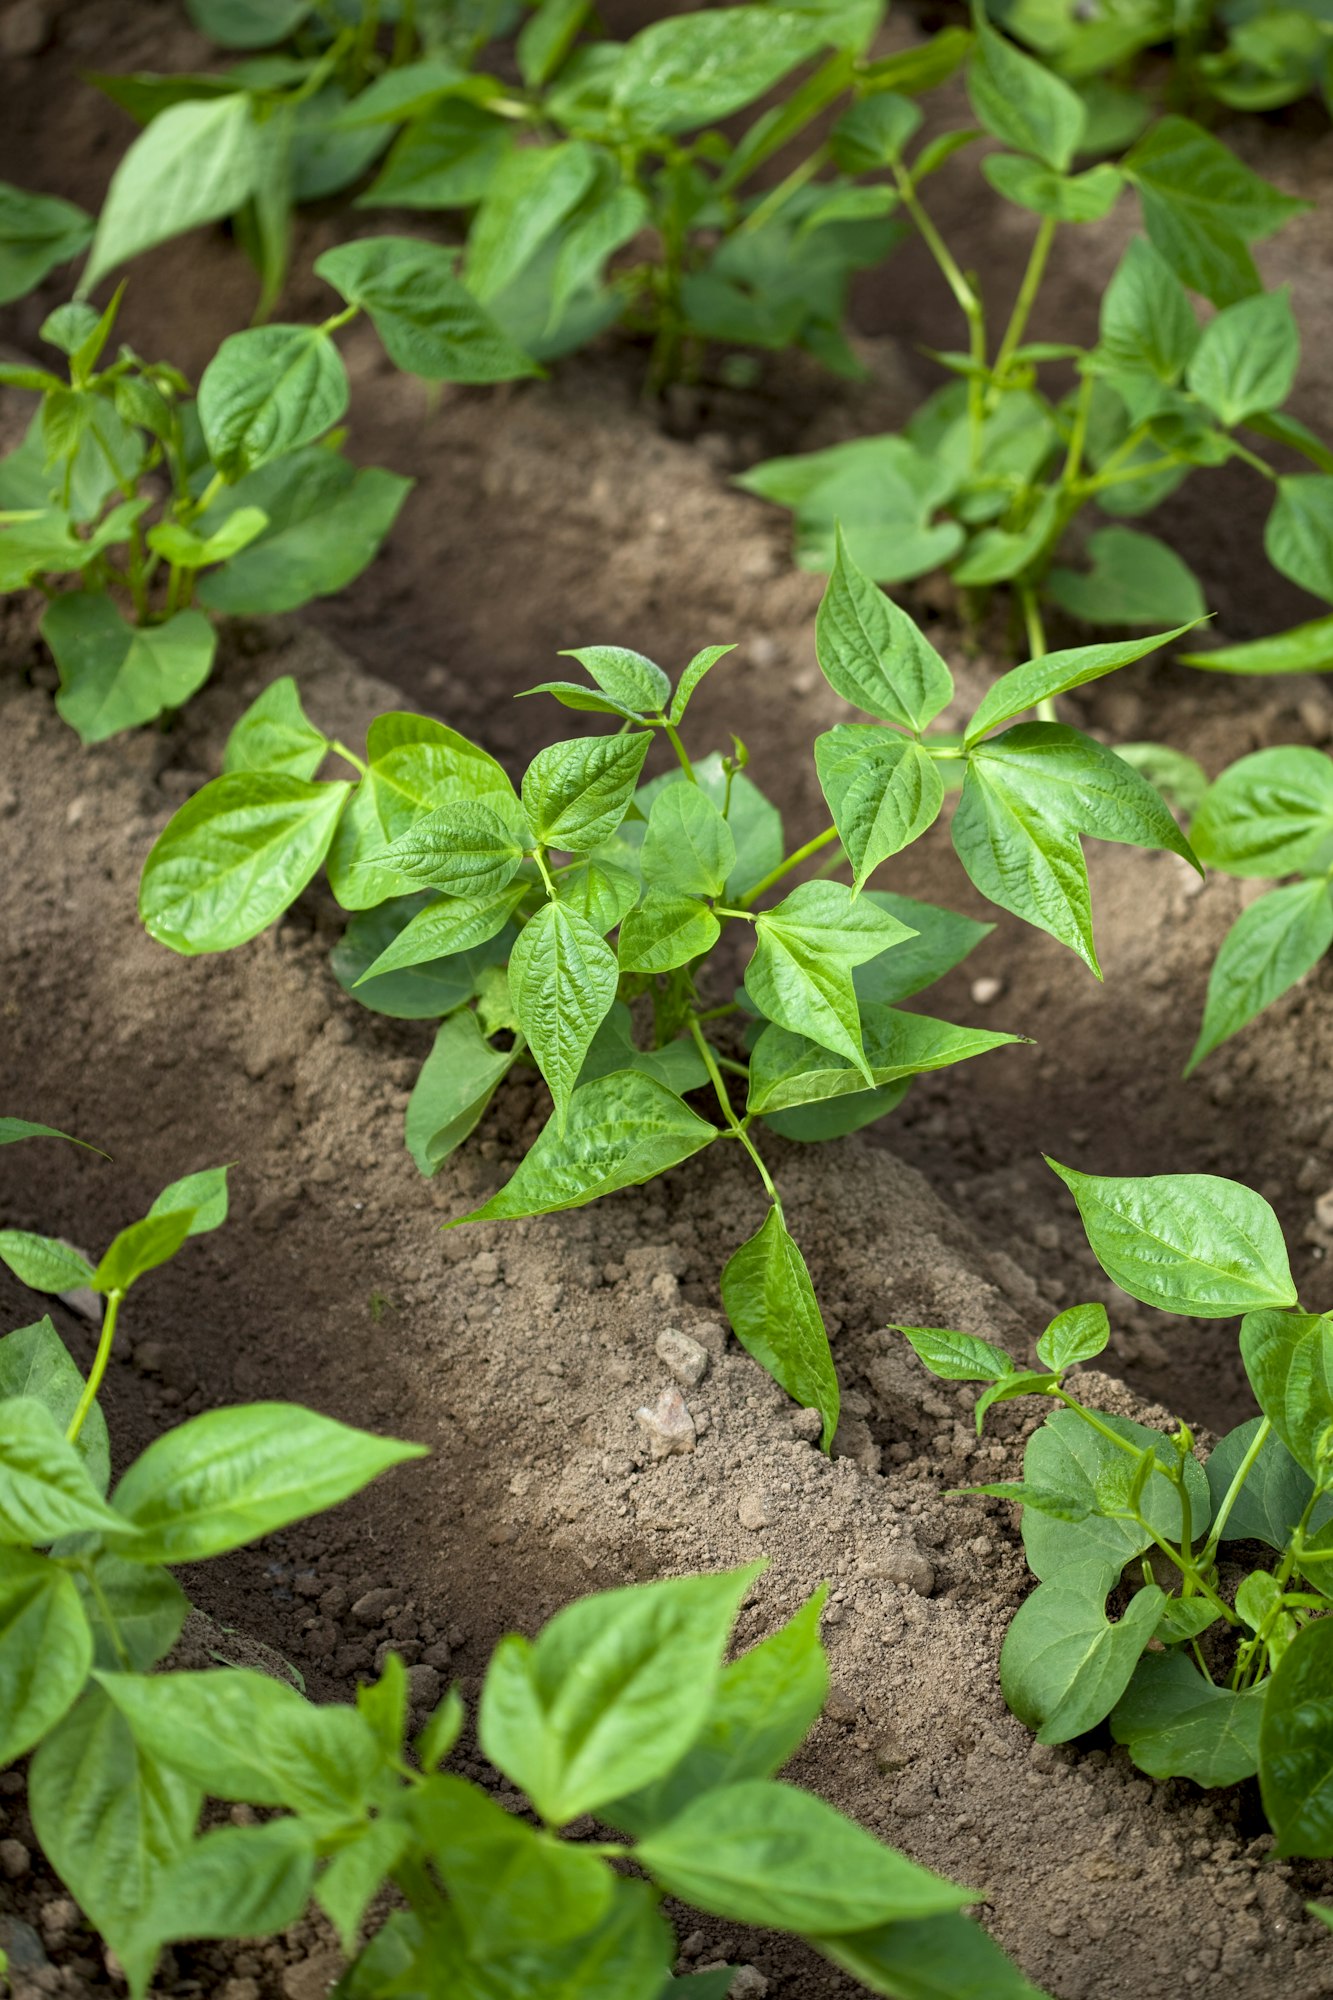
As the plant enters the vegetative stage, it focuses on growing leaves and stems, building a robust framework for later stages. This period is essential for accumulating the resources needed for flowering and fruiting. Support your plants by maintaining soil health with regular, balanced fertilization and ensuring they receive enough water and sunlight.
The timeframe for this stage varies among bean varieties but generally spans 3 to 4 weeks. Indicators of healthy growth include dark green, vibrant leaves, and sturdy stems.
4. Flowering Stage
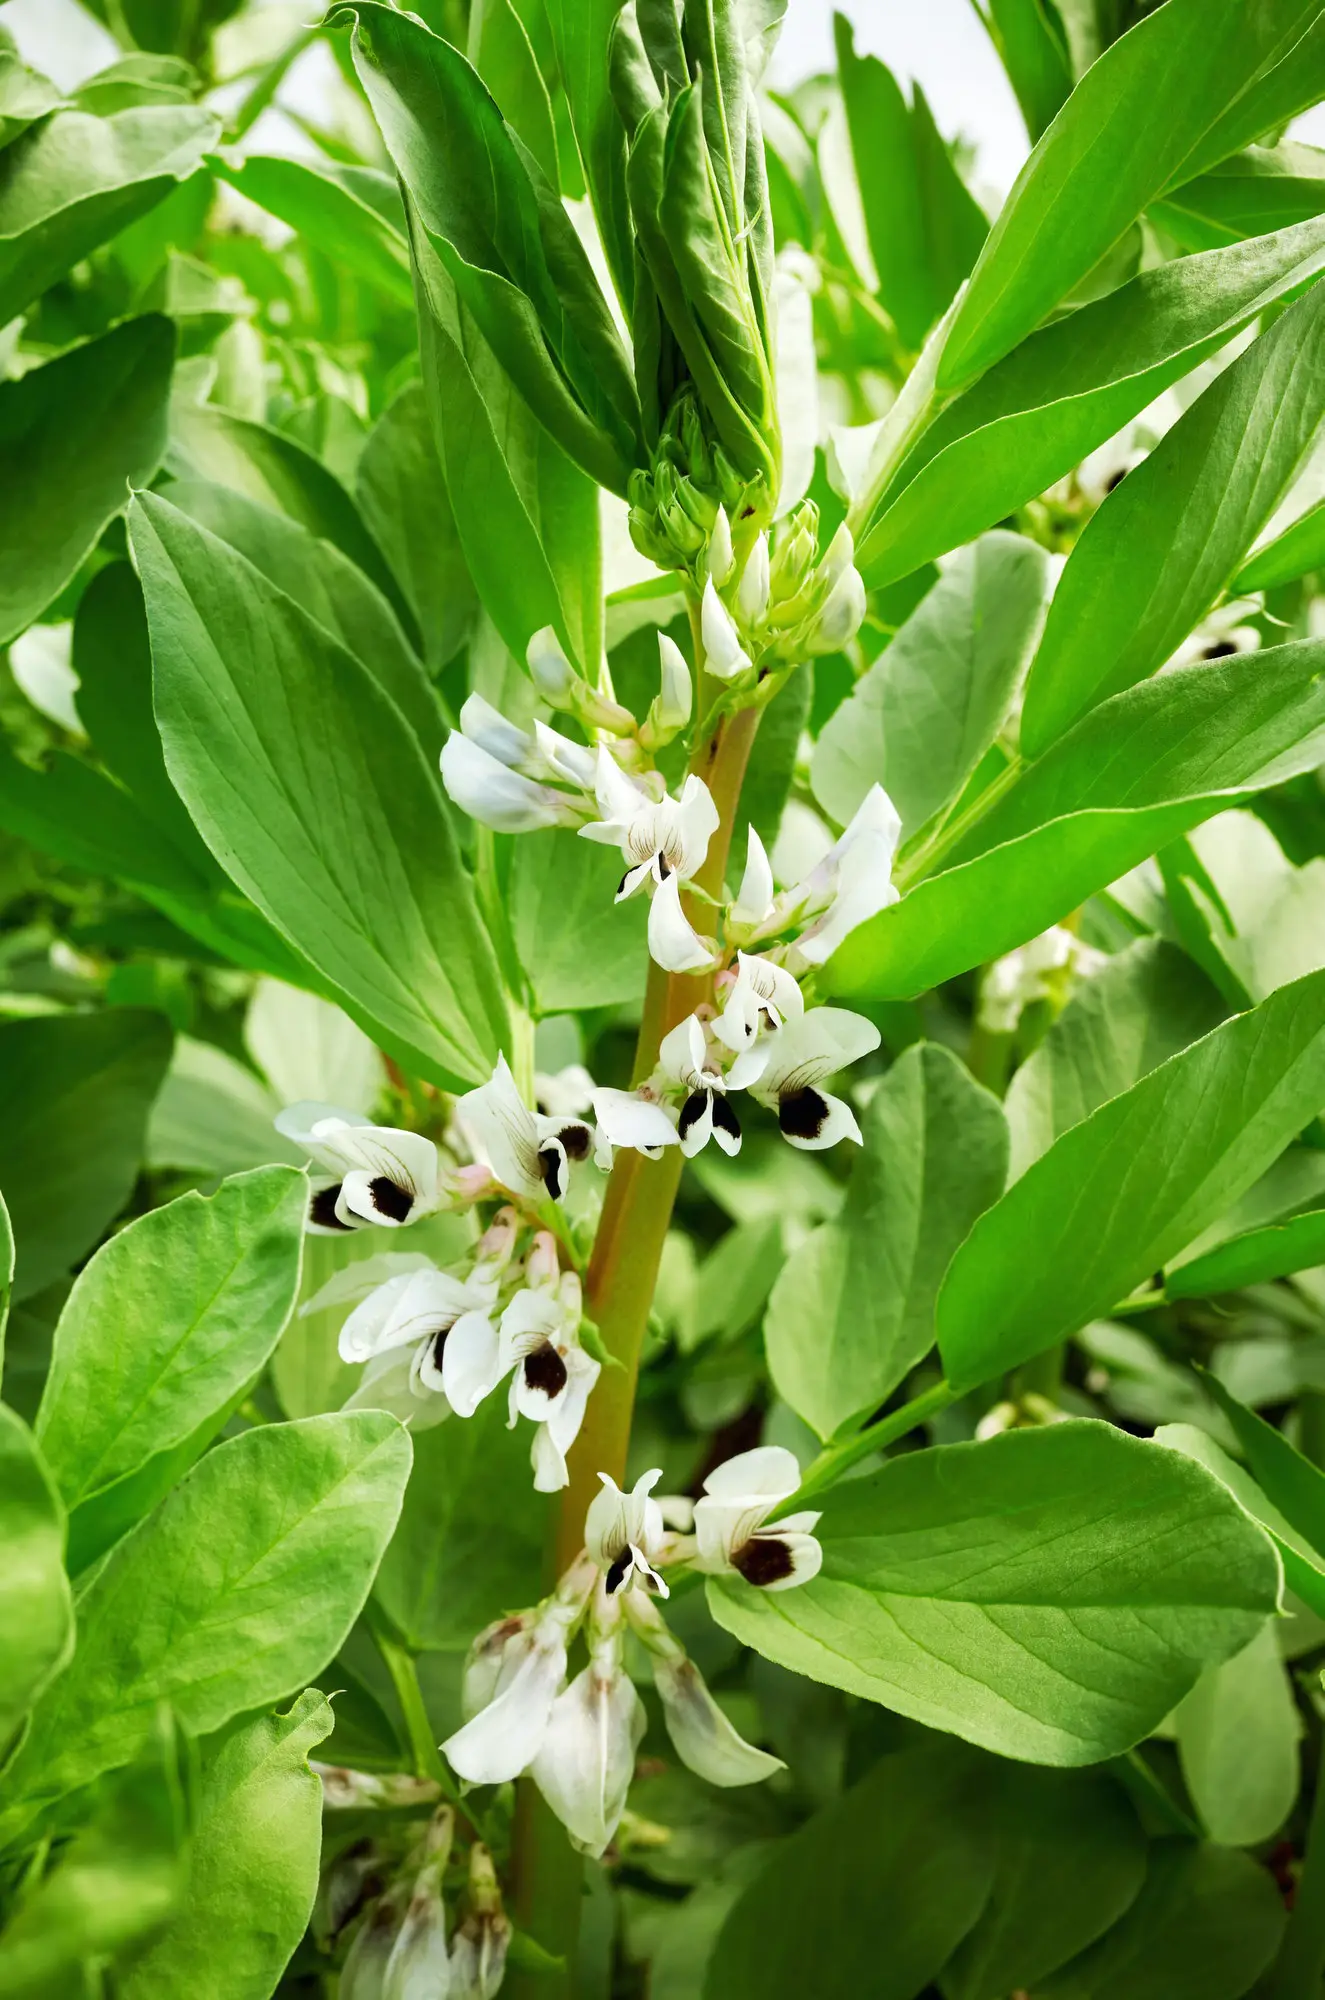
The flowering stage signifies the plant’s readiness to reproduce, usually occurring 4 to 6 weeks after planting. This stage is crucial for bean production, as flowers are the precursors to pods. Ensure your bean plants are well-watered and have sufficient nutrients to support flower development.
If you’re growing beans in an area with low bee activity, you might consider gentle manual pollination to encourage fruit set. The appearance of blossoms signals the beginning of this stage, with pollination soon following.
5. Pod Development and Maturation
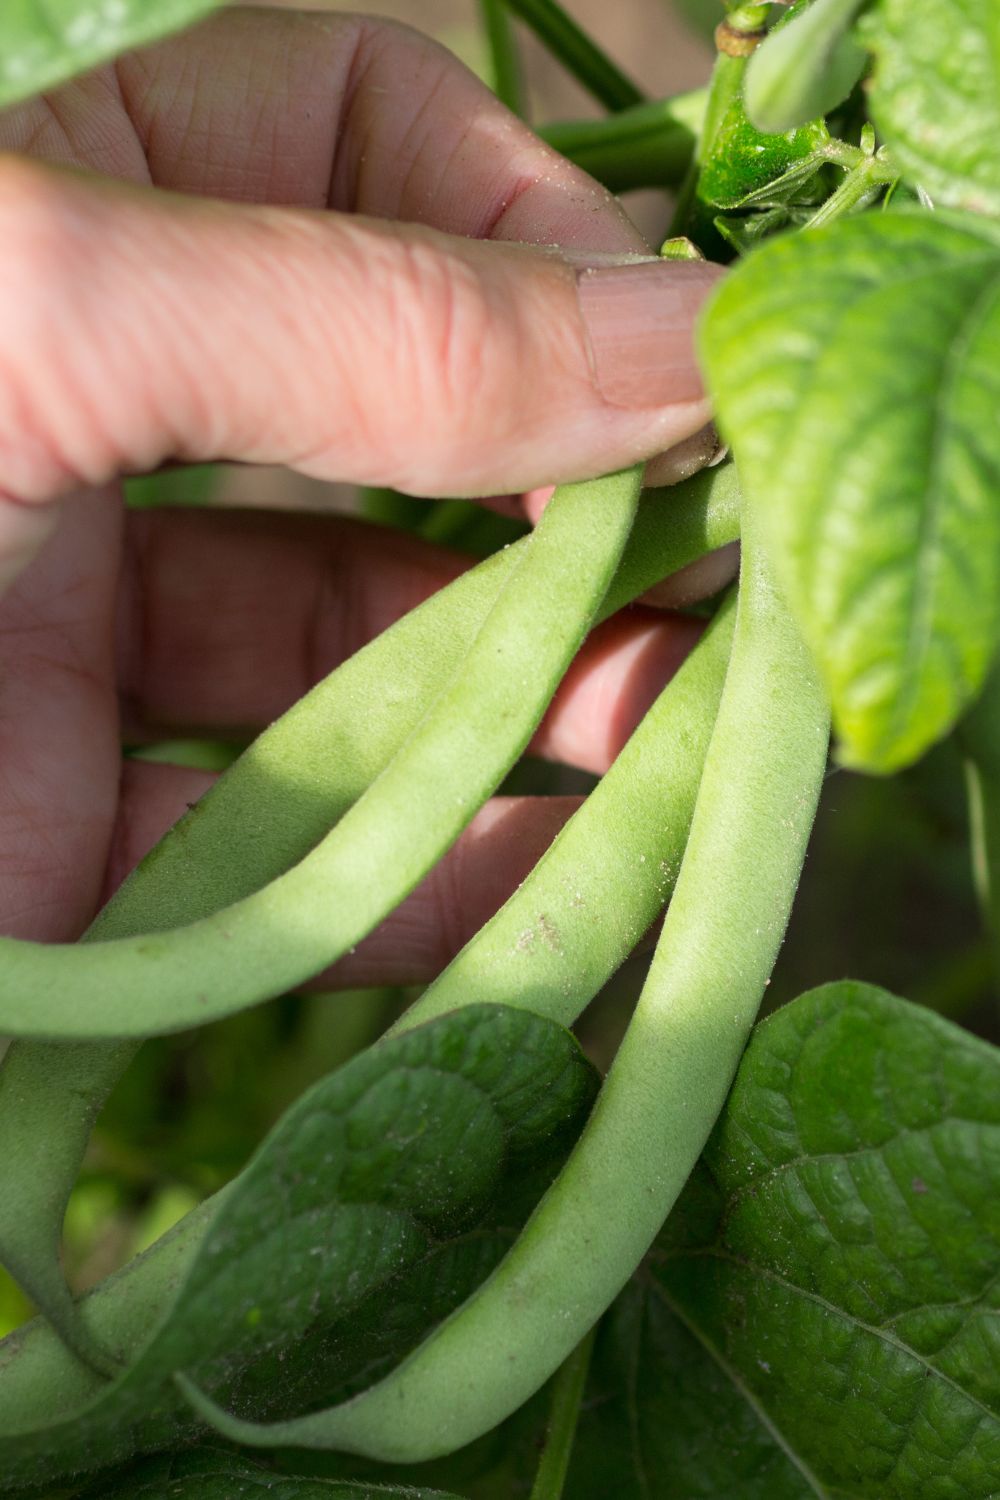
After successful pollination, the plant focuses its energy on developing and maturing pods. This stage can last anywhere from 2 to 4 weeks, depending on the variety and growing conditions. Watch for the pods to reach their full size and change color—this is a sign of maturity.
For snap beans, harvest when the pods are firm and full but before the seeds bulge. For dry beans, wait until the pods are dry and the seeds rattle inside. Consistent watering and monitoring for pests are critical during this stage to ensure the healthy development of pods.
Harvesting and Post-Harvest
Harvesting beans at the right time and handling them correctly post-harvest is as crucial as nurturing them through their growth stages. Let’s delve into how to identify the perfect harvesting time, employ the best harvesting techniques, and manage post-harvest practices to maintain bean quality.
When to Harvest Beans
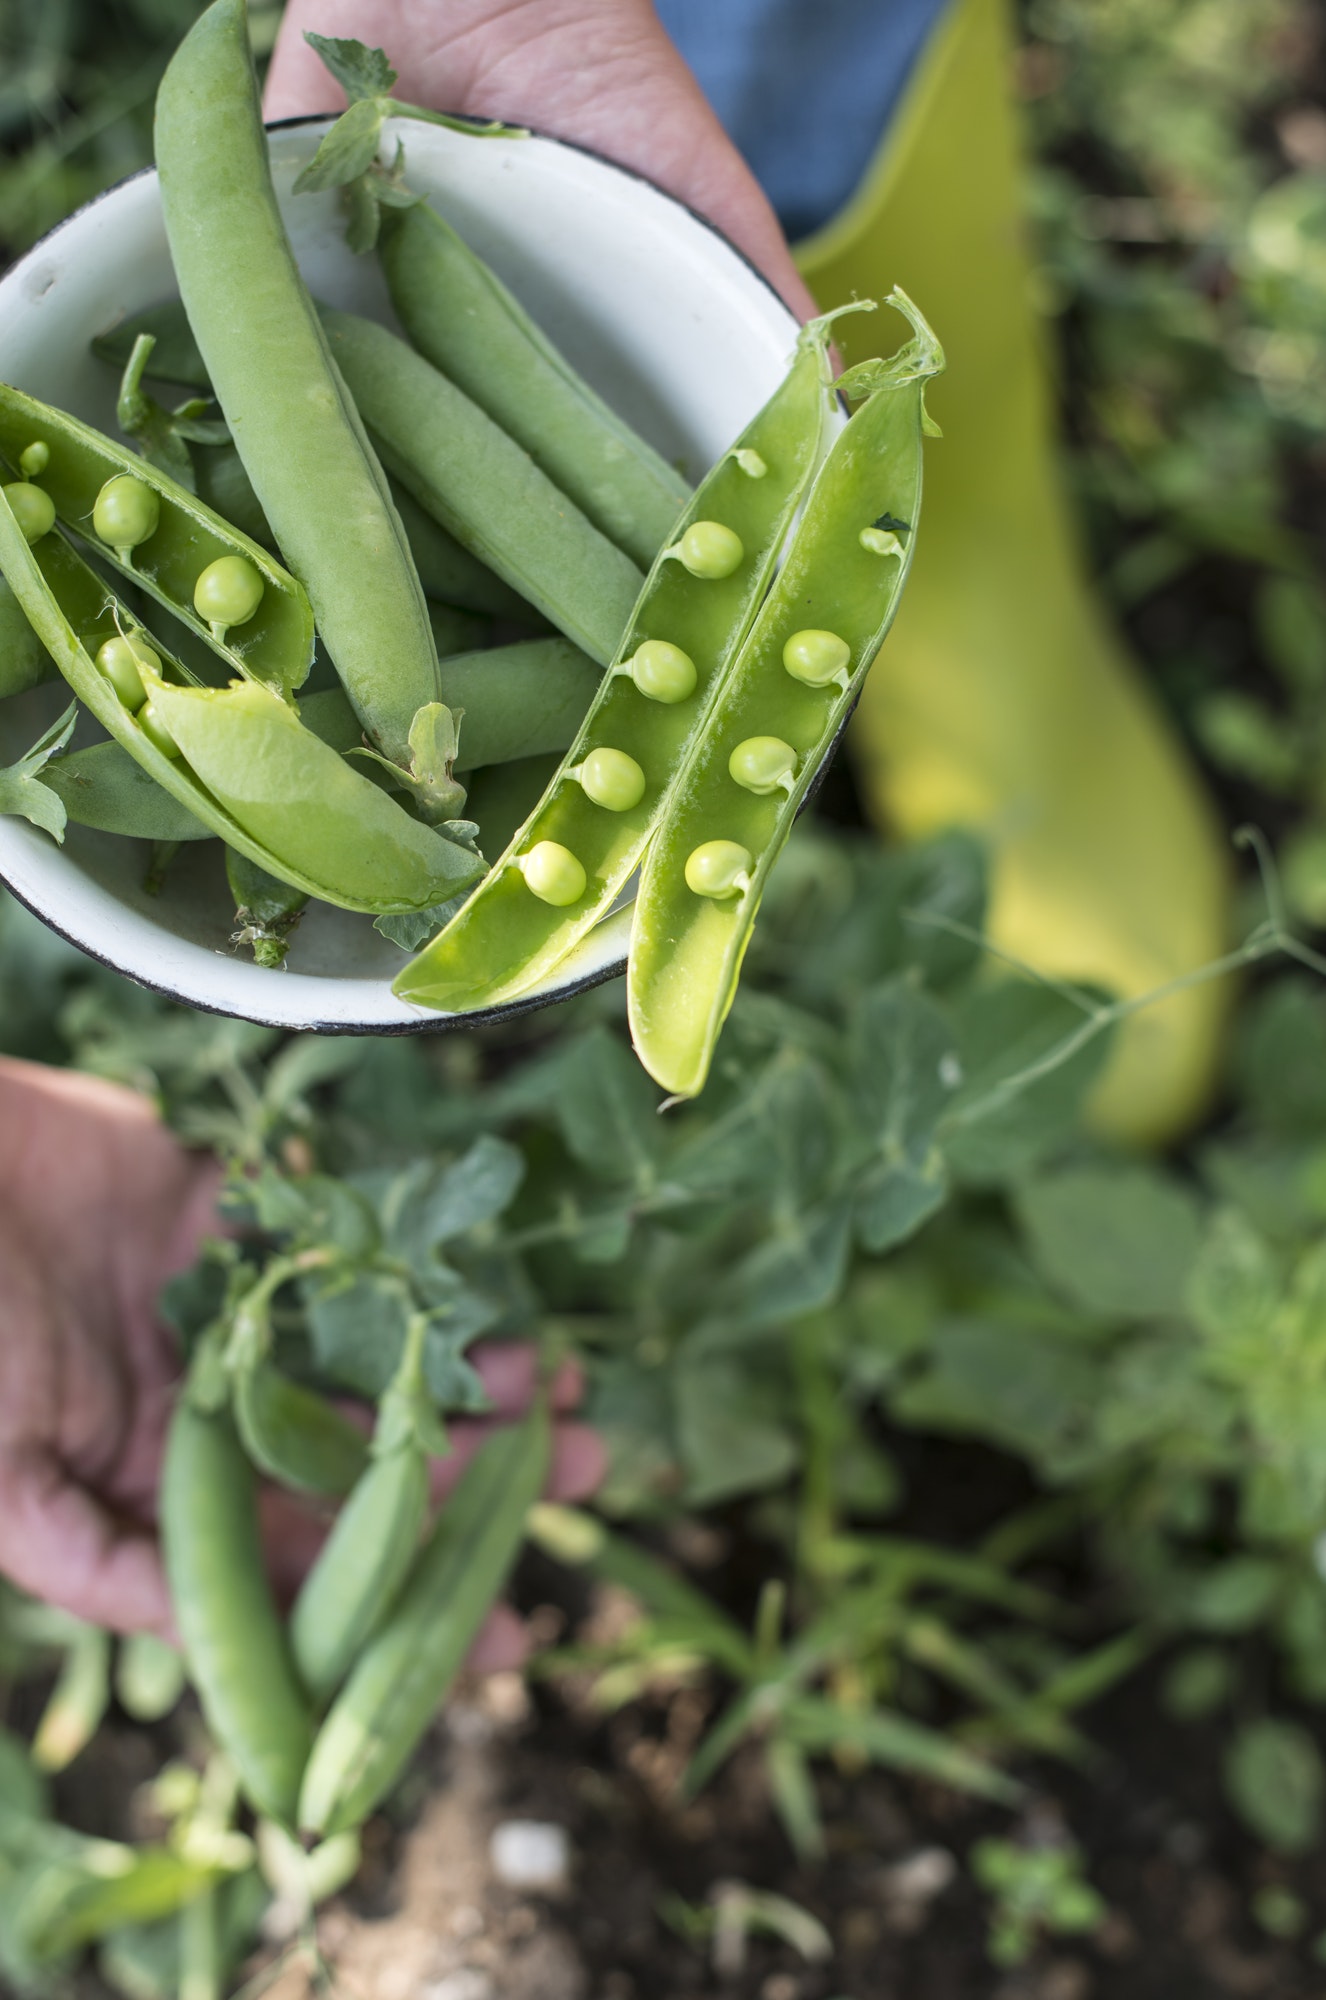
Green and Snap Beans
These should be harvested while the pods are still tender and before the seeds inside have fully matured. The pods should feel firm and snap easily when bent. This typically occurs 2 to 3 weeks after the flowering stage. Harvesting at this stage ensures the beans are at their peak in flavor and texture.
Dry Beans
These are ready for harvest when the pods have fully matured and dried on the plant. The pods will turn yellow and then brown, and you’ll be able to hear the seeds rattle inside when shaken. This stage usually arrives several weeks after the pods have developed and begun to lose their green color.
Harvesting Techniques
Harvesting beans gently is key to avoiding damage to the plant and ensuring continued production, especially for varieties that produce over a long period.
- For Green and Snap Beans: Use two hands when picking the beans. Hold the stem with one hand and the bean pod with the other, gently pulling to avoid snapping off branches.
- For Dry Beans: Once the pods are dry, you can pull up the entire plant or cut it at the base. Then, remove the pods by hand or thresh them gently to separate the beans.
By understanding and attentively nurturing your bean plants through these growth stages, you can significantly enhance your chances of a fruitful harvest. Each stage contributes to the development of the beans, and your role in providing the necessary care and conditions cannot be overstated.