


In This Article Show
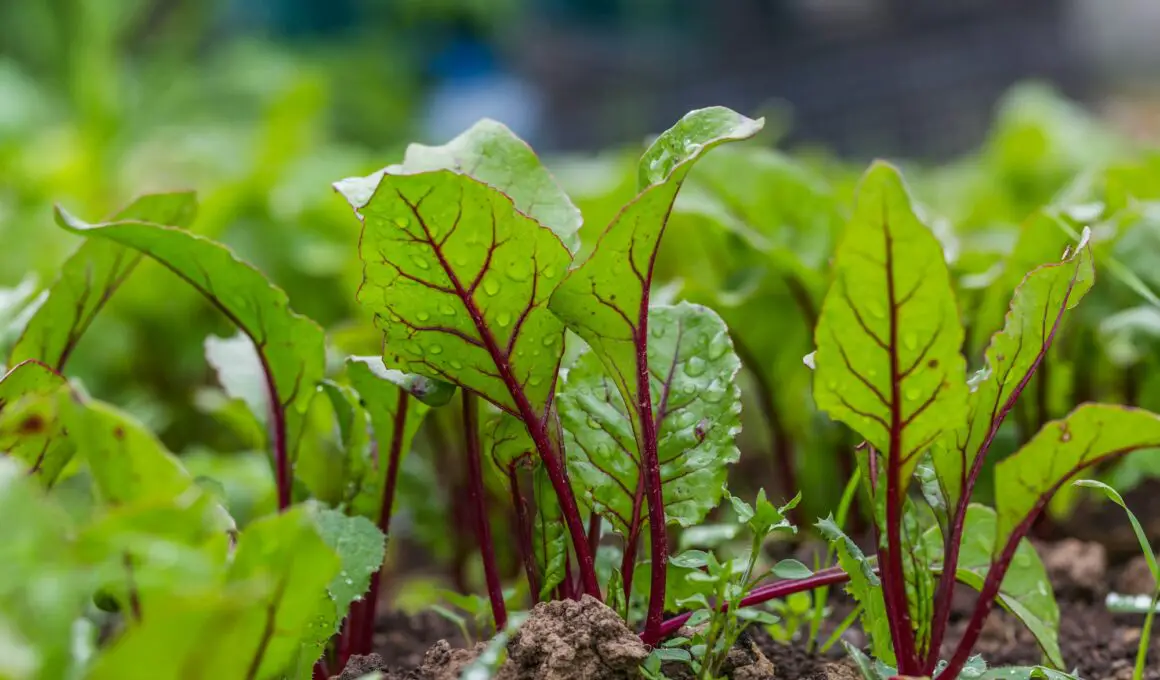
Whether you’re looking to enhance your diet with these nutrient-rich vegetables or simply enjoy the process of gardening, beets are a perfect choice for beginners. They require minimal space and can thrive in a variety of climates, making them ideal for any backyard or balcony garden. In this guide, I’ll walk you through five easy steps to cultivate beets, ensuring you get the best yield from your garden.
How to Grow Beets At Home
Let’s get your hands dirty and your garden flourishing with vibrant beetroot!
Step 1: Choosing the Right Beet Variety
Selecting the right variety of beets for your garden is the first critical step toward successful beet cultivation. Beets come in a delightful range of types, each with its own unique flavor and texture. Here are some popular varieties that are well-suited for home gardens:
- Detroit Dark Red: A classic choice, known for its deep red color and sweet taste. This variety is highly adaptable to different soil conditions and climates.
- Golden Beet: As the name suggests, these beets have a beautiful golden hue and a slightly milder flavor than their red counterparts. They are particularly good for eating raw in salads.
- Chioggia Beet: Also known as the candy cane or bullseye beet, this variety features distinctive red and white concentric rings. Chioggia beets are sweet and tender, ideal for adding a visual pop to your dishes.
- White Albino: These beets are less earthy in flavor and great for those who prefer a milder taste. They also don’t stain like red beets, which can be a neat bonus during preparation.
When choosing a beet variety, consider the following tips
- Climate Compatibility: Check if the variety you’re interested in is suitable for your local climate. Some varieties, like ‘Detroit Dark Red,’ are particularly resilient and can handle cooler temperatures.
- Soil Requirements: Beets generally prefer well-draining, loamy soil. If your soil is heavy clay or sand, consider varieties that are known for their adaptability or improve your soil with compost to provide a better growing environment.
- Personal Preference: Think about what you enjoy eating. If you prefer sweeter flavors, go for the ‘Golden Beet’ or ‘Detroit Dark Red.’ If you’re interested in visual appeal for your dishes, the ‘Chioggia Beet’ might be the best choice.
Step 2: Preparing the Soil
Preparing the soil properly is crucial for growing healthy beet plants. Beets prefer well-drained, fertile soil with a pH between 6.0 and 7.5. Here’s a step-by-step guide to ensure your soil is ready to support the best possible growth of your beet plants:
1. Test the Soil
Before planting, it’s important to test your soil’s pH and nutrient levels. This can help you determine if any amendments are needed to create the optimal growing environment for beets.
2. Clear the Area
Remove any weeds, rocks, and debris from the planting area. Beets need a clean, clear space to grow without competition.
3. Loosen the Soil
Beets grow best in loose soil that allows for proper root expansion. Use a garden fork or tiller to loosen the soil to a depth of at least 8-10 inches. This will also help improve drainage and aeration.
4. Enrich the Soil
Add organic matter to enrich the soil. Compost, well-rotted manure, or a balanced organic fertilizer can provide the nutrients beets need to thrive. Mix this organic matter into the loosened soil to distribute nutrients evenly.
5. Level the Soil
After enriching the soil, rake the surface smoothly to remove any large clumps and ensure an even planting area. This makes it easier to plant the seeds at a uniform depth.
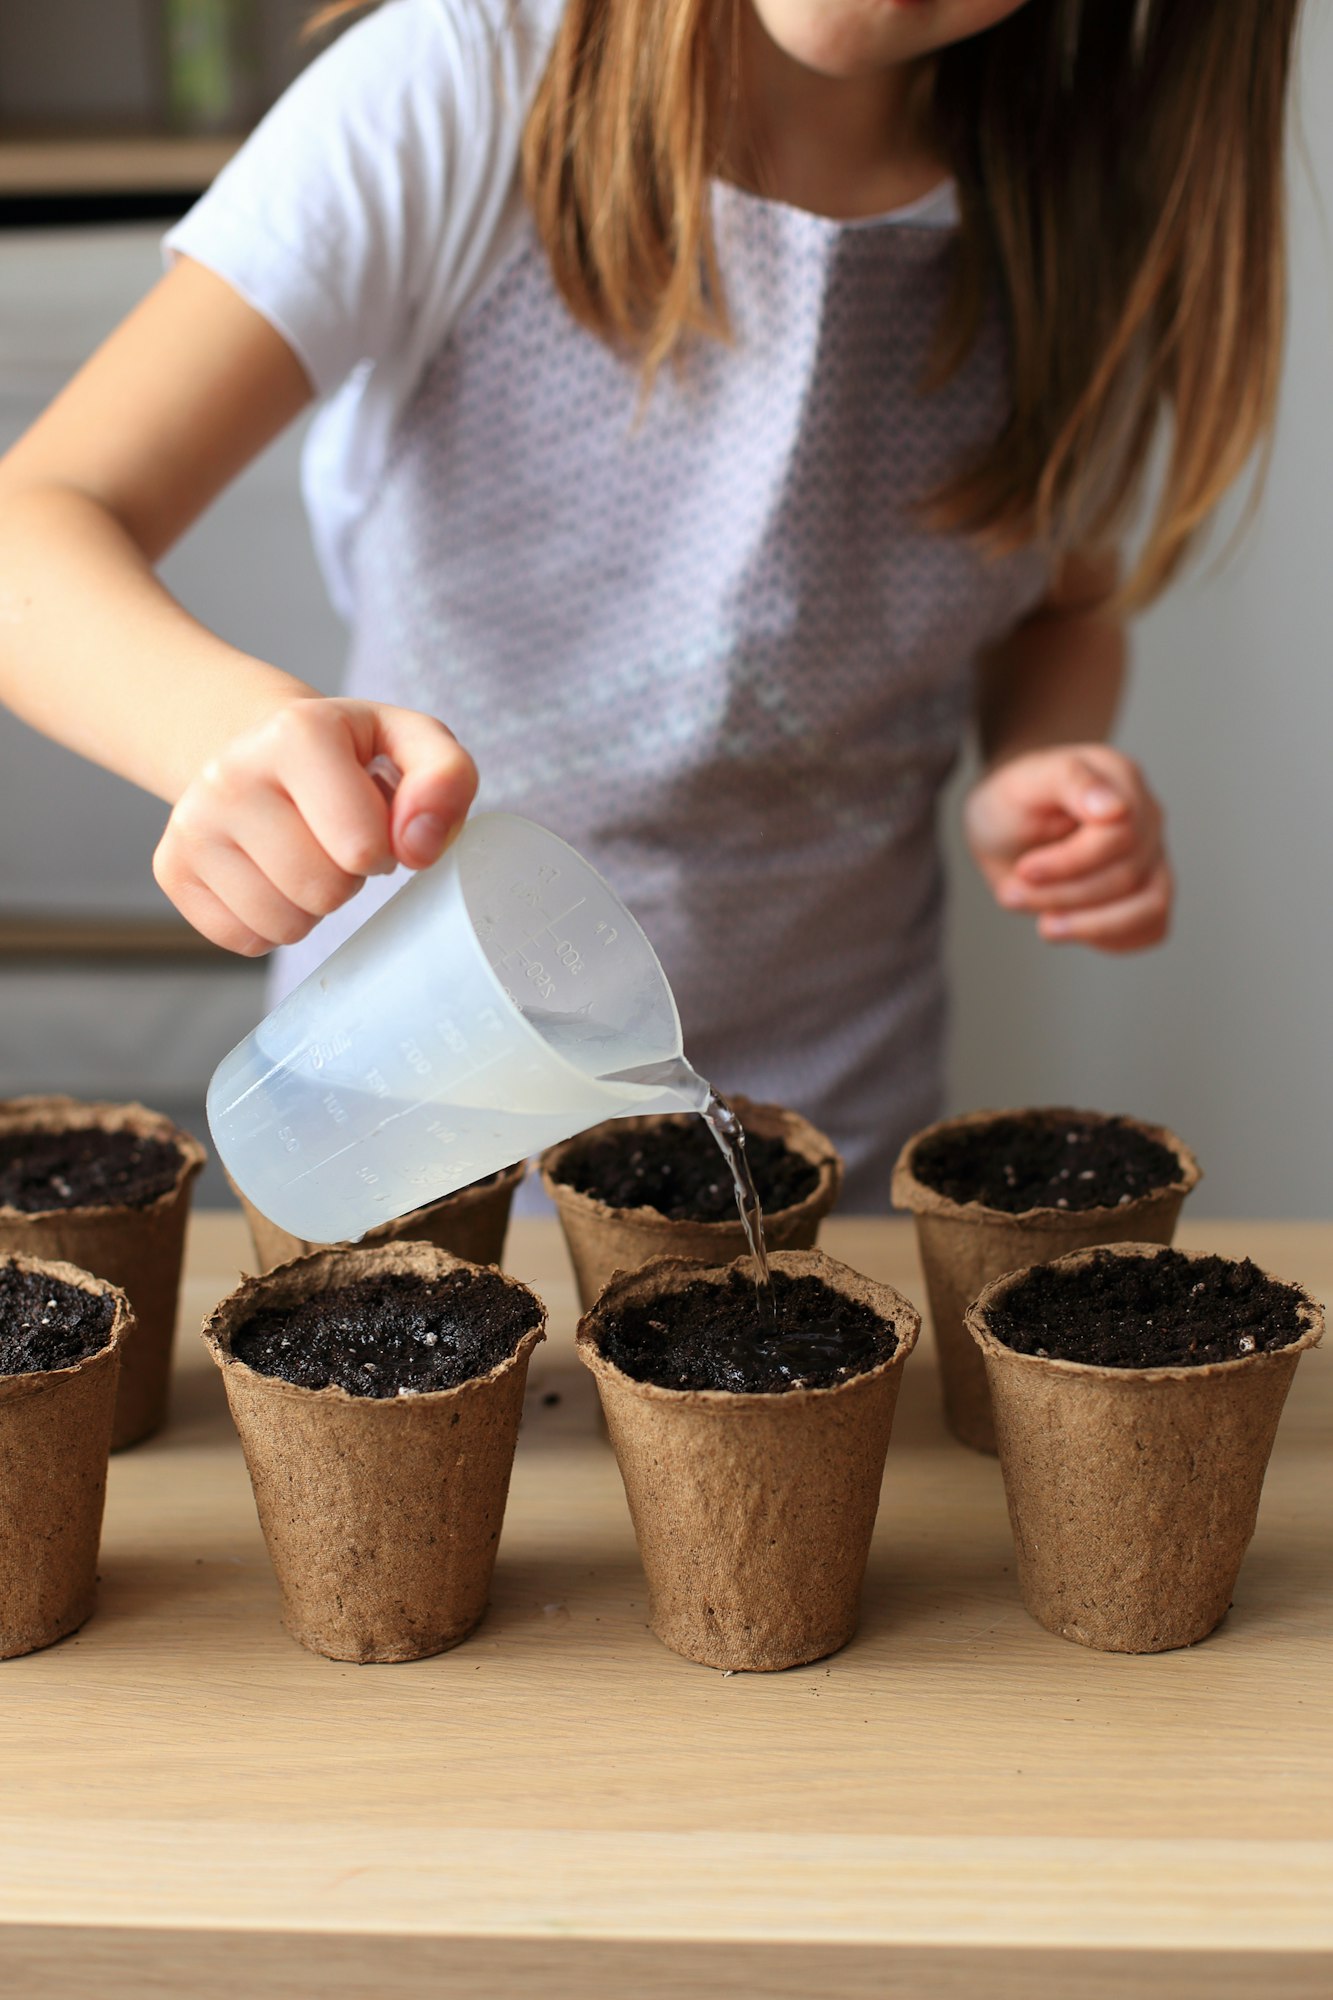
6. Moisture Adjustment
Finally, ensure the soil is moist but not waterlogged. Water the area lightly if it feels dry, allowing the moisture to seep deeply into the prepared soil. This pre-planting moisture will help ensure the best start for your beet seeds.
Step 3: Planting the Seeds
Planting beet seeds at the right time and with the right technique can significantly enhance your chances of a successful harvest. Here’s what you need to know to get your beet seeds into the ground effectively:
Best Time to Plant Beet Seeds
Beets are a cool-season crop, which makes them ideal for early spring and late summer planting:
- Spring Planting: Aim to plant beet seeds 2 to 4 weeks before your last spring frost date. This gives the beets enough time to mature before the heat of summer.
- Fall Planting: For a fall harvest, plant seeds about 6 to 8 weeks before your first expected fall frost. Cooler autumn temperatures can enhance the sweetness of the beets.
How to Plant Beet Seeds Correctly
Follow these steps to ensure your beet seeds are planted for optimal growth:
1. Spacing and Depth
Plant beet seeds about 1/2 inch deep and 1 to 2 inches apart. Proper spacing helps reduce crowding, which can lead to smaller beets.
2. Rows and Groups
If planting in rows, keep each row about 12 to 18 inches apart. This spacing allows you easy access to your plants for maintenance and harvesting. Alternatively, beets can be sown in patches or groups, which can be an efficient use of space.
3. Sowing the Seeds
Drop one to two seeds per hole. Because beet seeds are actually clusters of several seeds, this will ensure at least one seed germinates per spot. You’ll thin these later, which encourages the strongest seedlings to thrive.
4. Cover and Press
After placing the seeds, cover them with soil and gently press the earth over them to make good contact with the seeds. This helps with water absorption and root formation.
5. Watering
Water your newly planted seeds gently but thoroughly. The soil should be moistened deeply but not waterlogged. Consistent moisture is key to germination and early growth.
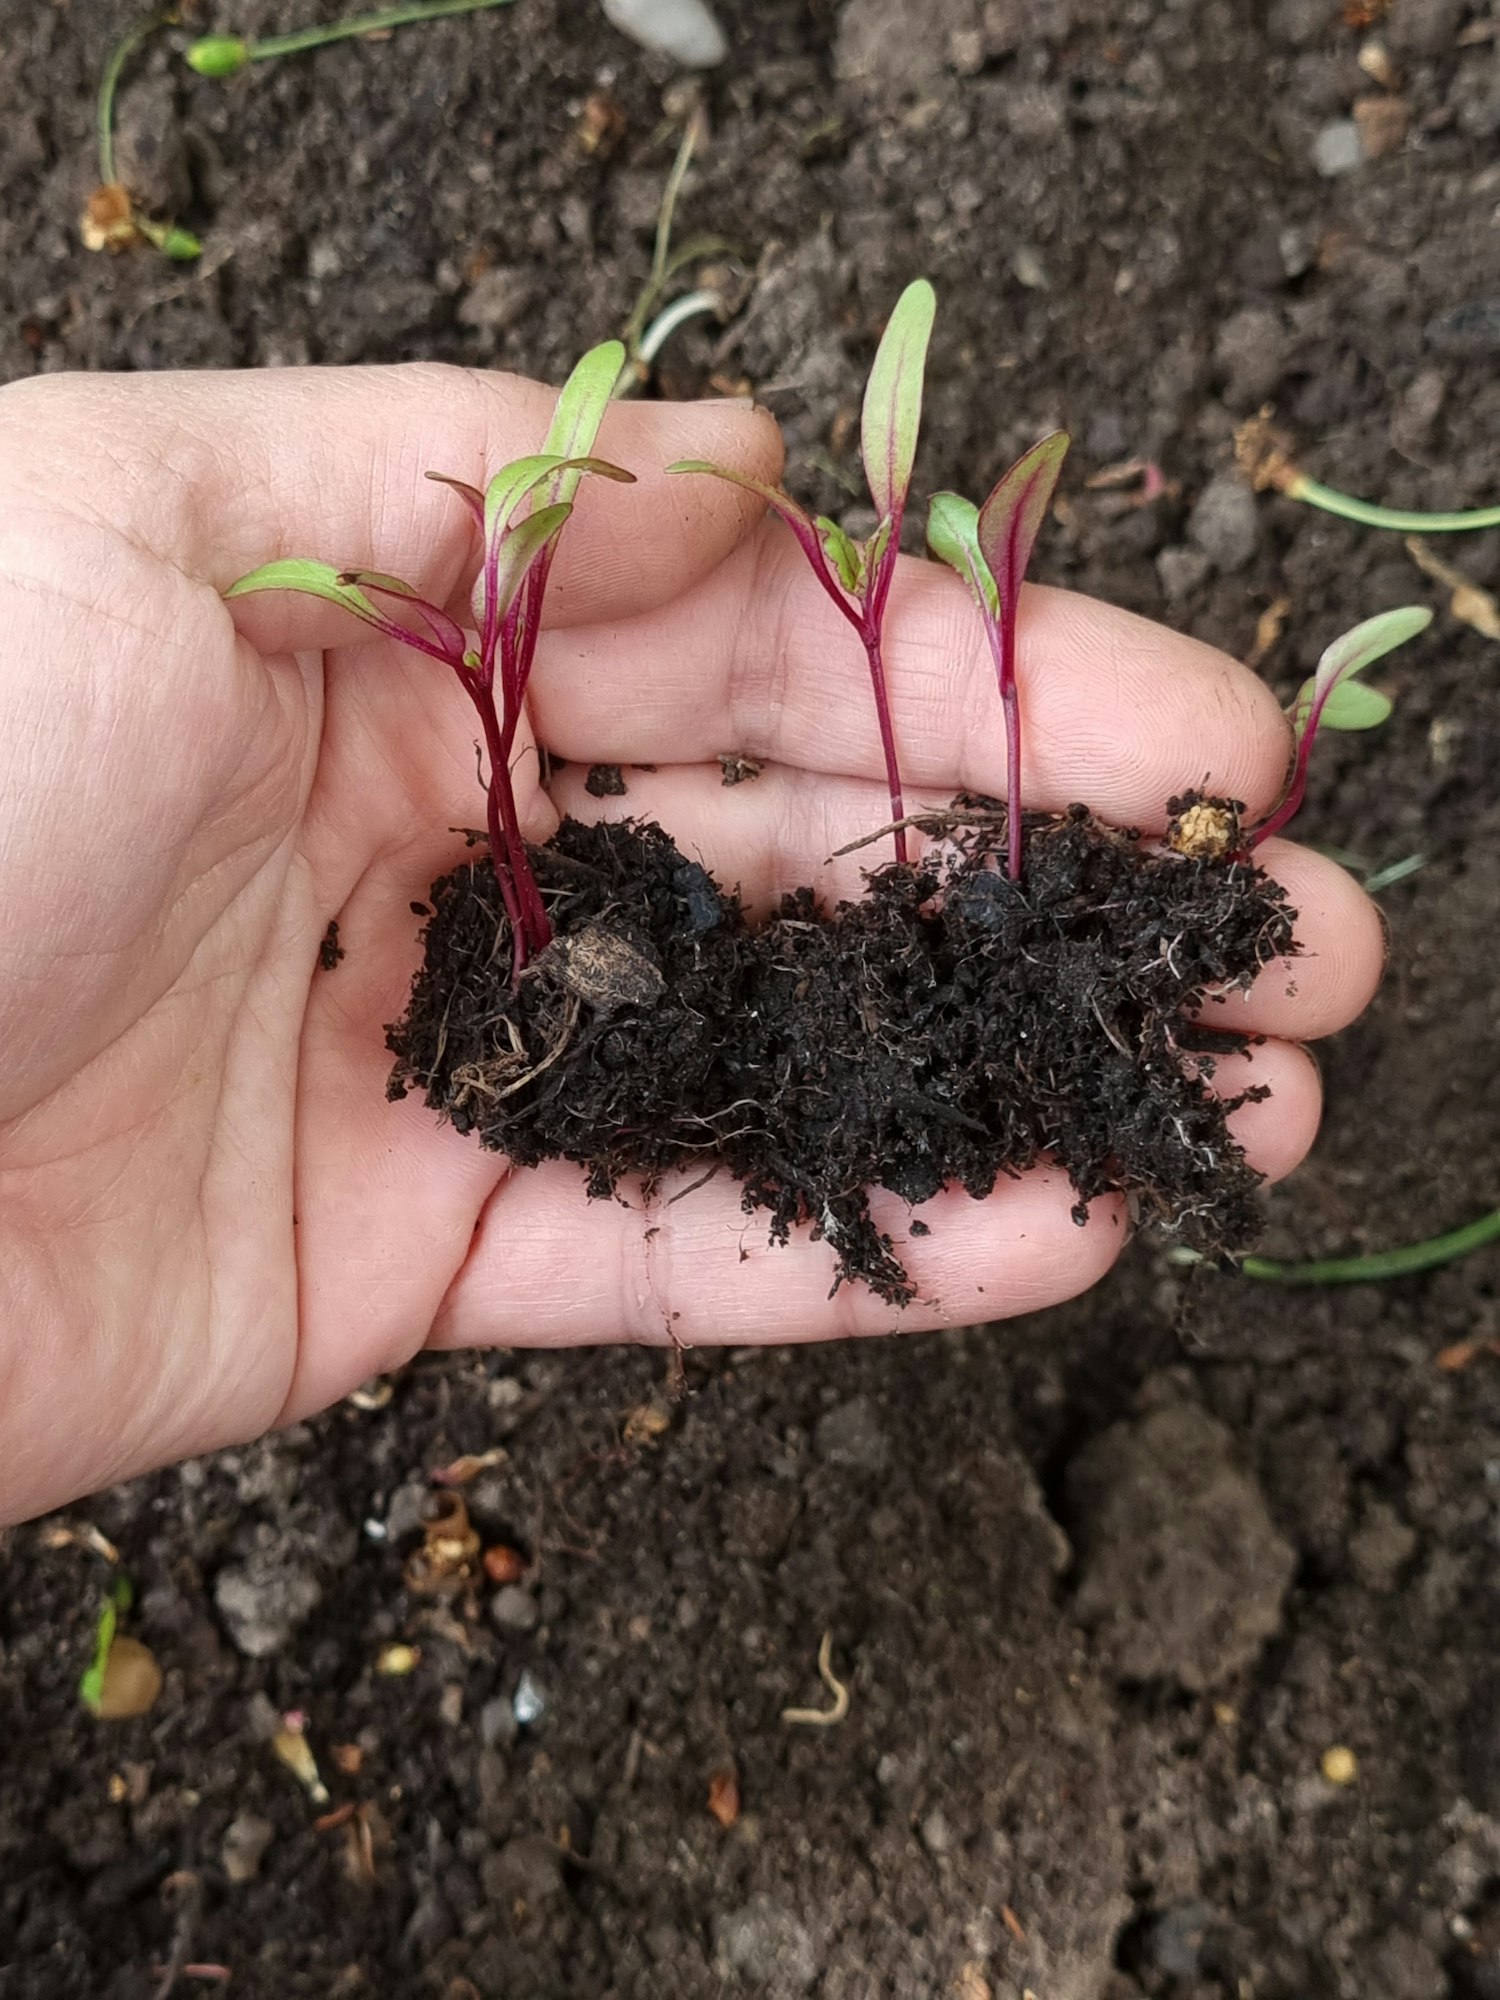
6. Thinning Seedlings
Once the seedlings are about 2 inches tall, thin them to one plant every 3-4 inches. Thinning is crucial because it prevents overcrowding and ensures that each beet has enough space to develop properly.
Step 4: Caring for Your Beet Plants
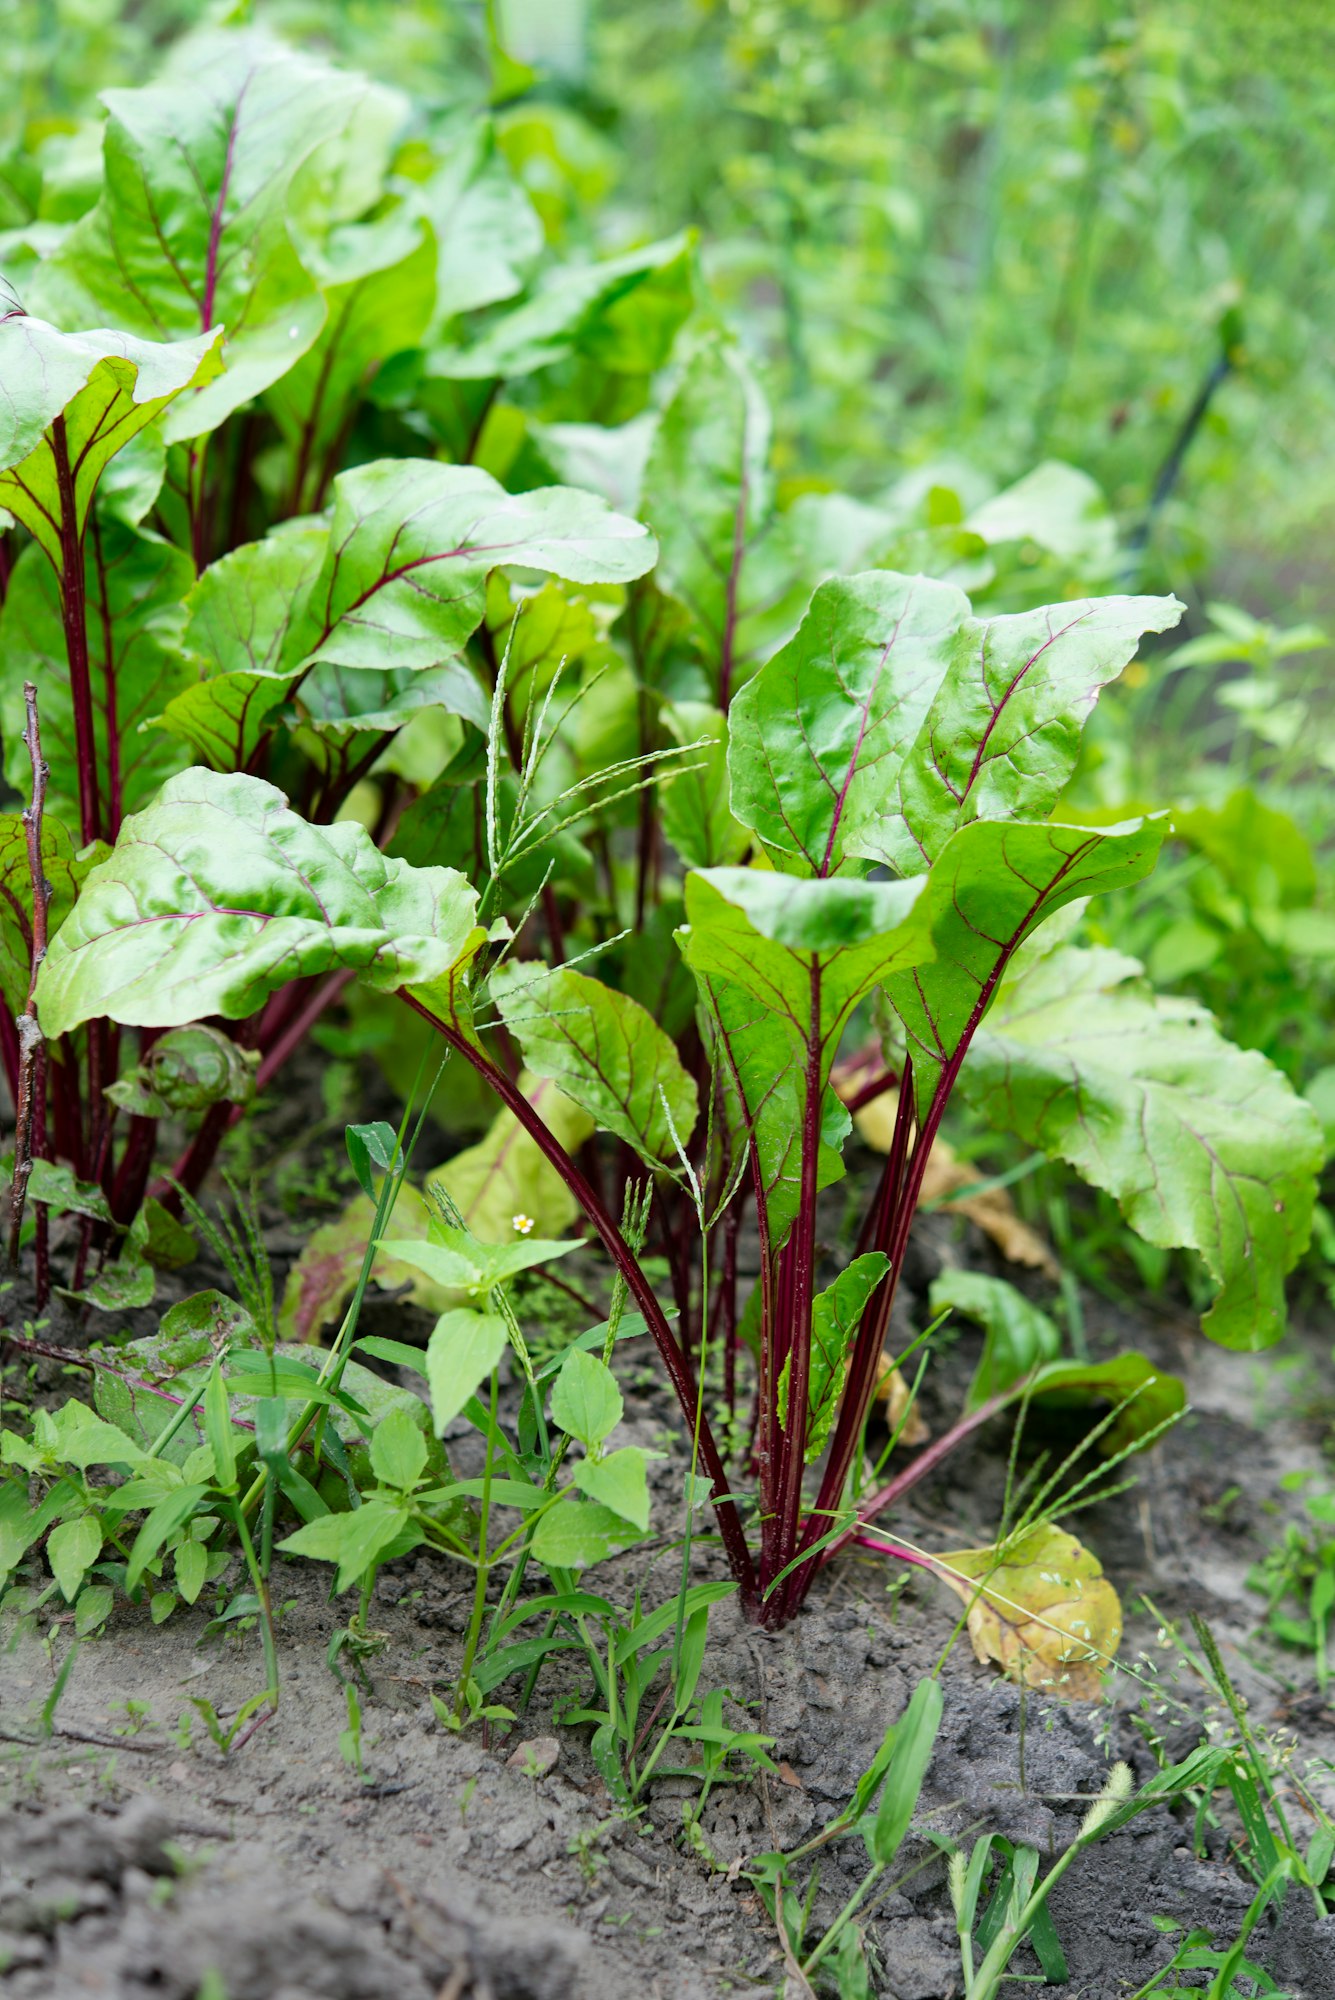
After planting your beet seeds, regular care is essential to ensure healthy growth and a bountiful harvest. Here are some key care practices:
Watering
Beets require consistent moisture to develop their characteristic round roots. Here’s how to water them effectively:
- Frequency and Amount: Water beets deeply once or twice a week, providing about 1 inch of water each time. The goal is to moisten the soil to a depth of at least 6 inches. In hotter, drier weather, you may need to water more frequently to maintain consistent soil moisture.
- Tips: Use a soaker hose or drip irrigation to deliver water directly to the soil, minimizing moisture on the leaves, which can lead to disease. Always water in the morning to allow any moisture on the foliage to dry before evening.
Fertilizing
While beets don’t require a lot of fertilizer, the right nutrients can encourage robust growth:
- Types of Fertilizer: Use a balanced fertilizer, ideally with an NPK ratio of 10-10-10 or a similar blend. Organic options like compost or fish emulsion are excellent choices for providing slow-release nutrients without overfeeding.
- Application Schedule: Apply fertilizer about four weeks after planting, once the plants have established themselves and true leaves have formed. This will give them a boost during their main growing period.
Weeding
Keeping weeds under control is crucial, as weeds compete with beets for nutrients, water, and light:
- Methods: Regularly hoe around your beets to remove weeds. Be careful not to disturb the beet roots when removing larger weeds by hand.
- Mulching: Applying a layer of organic mulch around beet plants can help suppress weeds, retain soil moisture, and maintain an even soil temperature. Straw, shredded leaves, or grass clippings are effective choices.
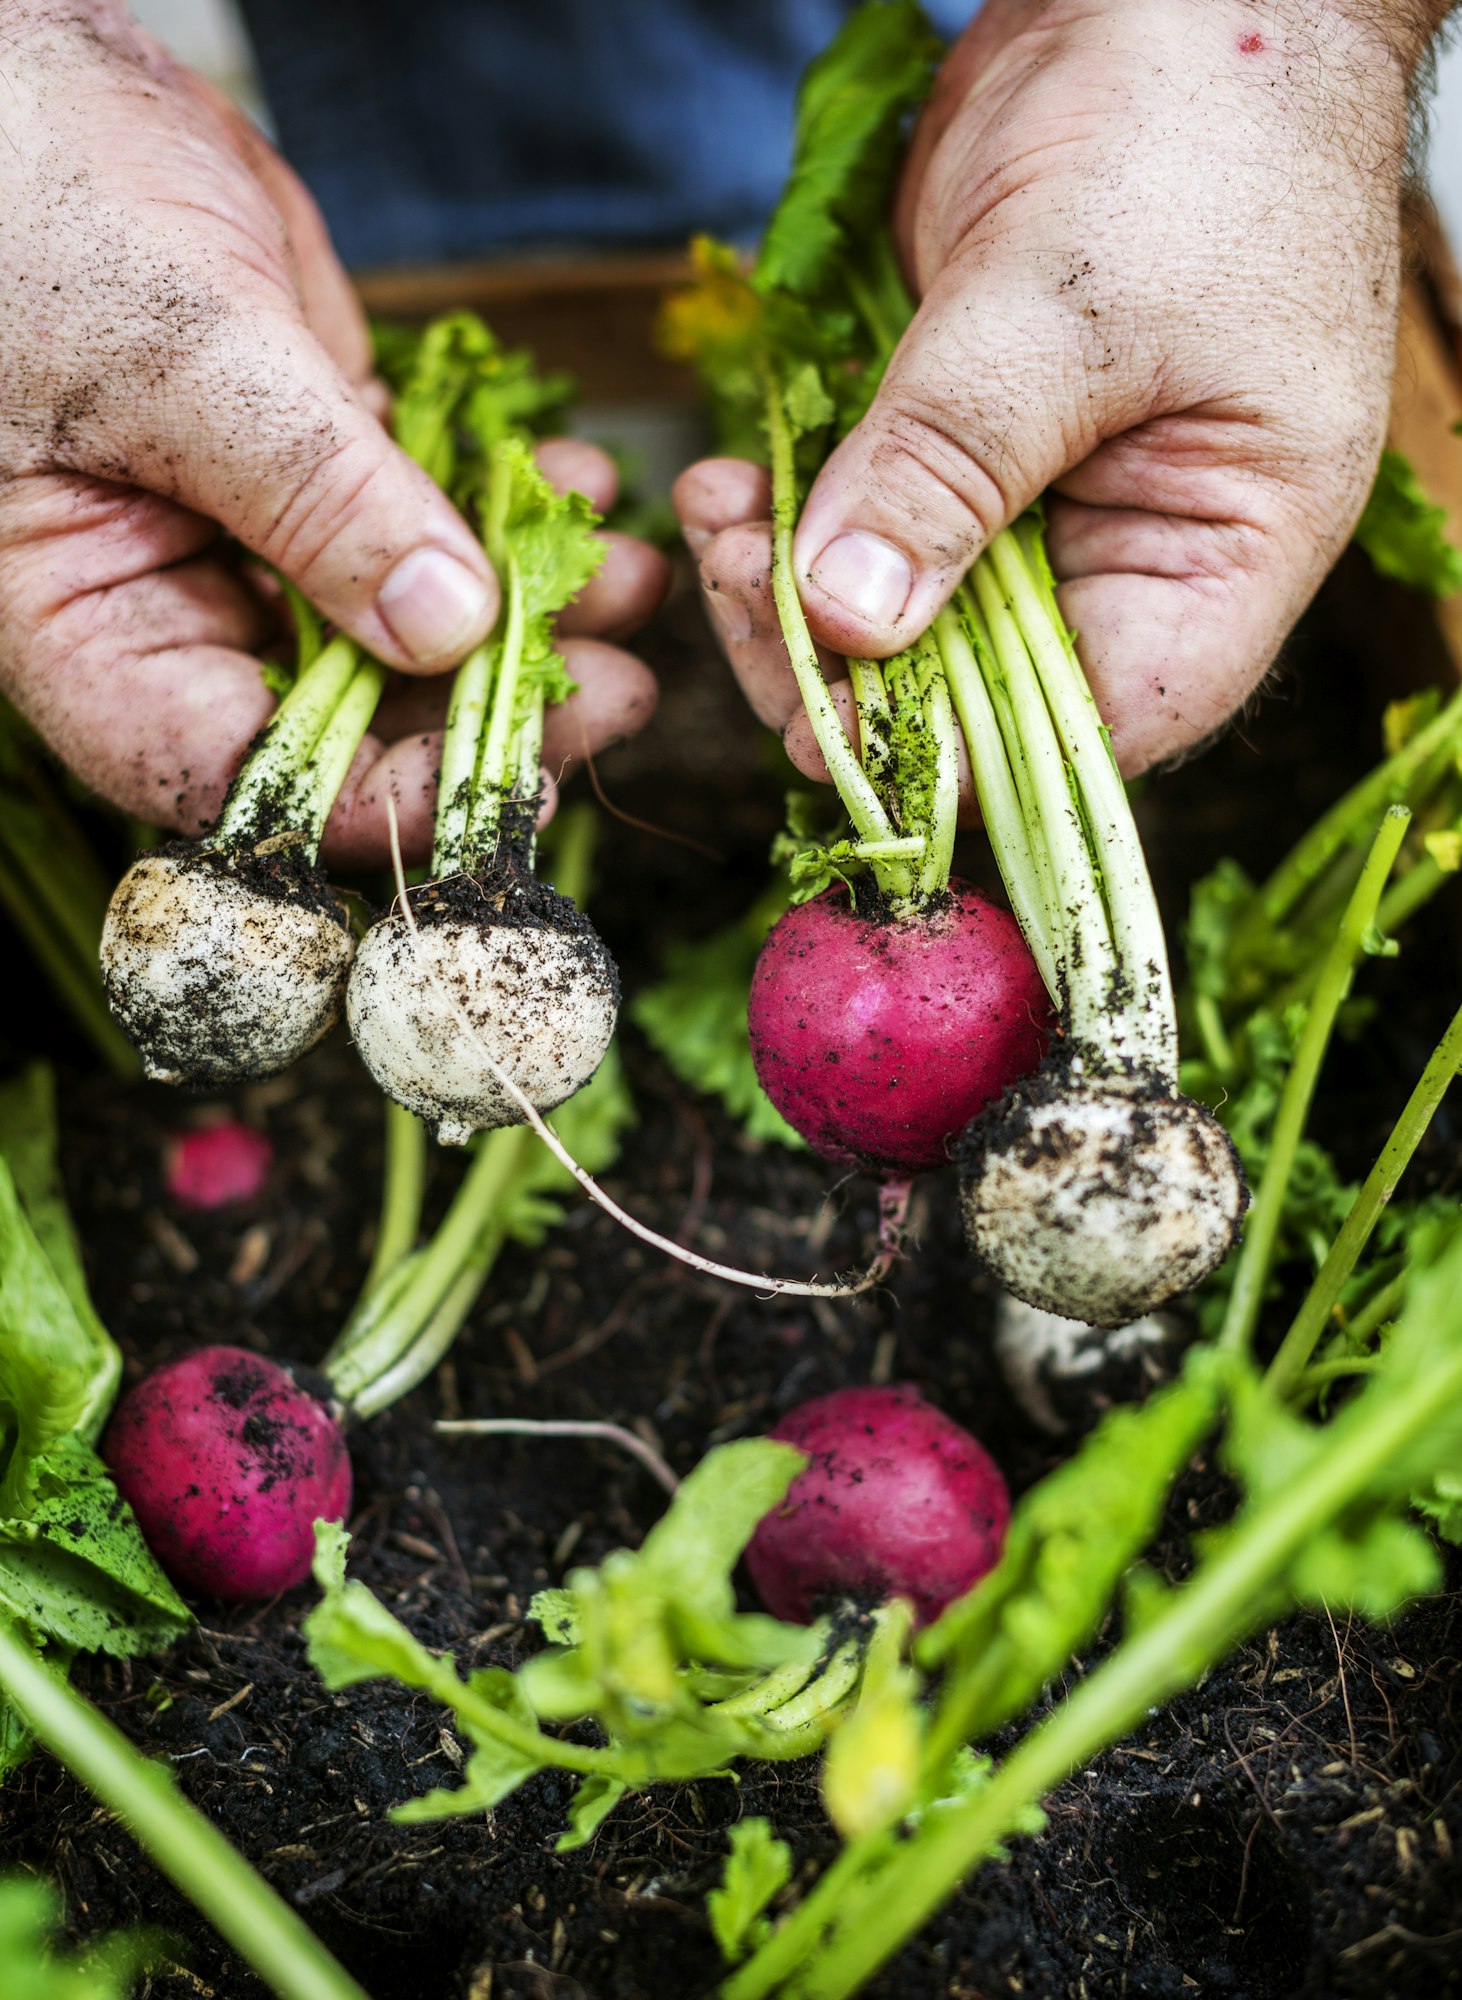
Step 5: Harvesting Your Beets
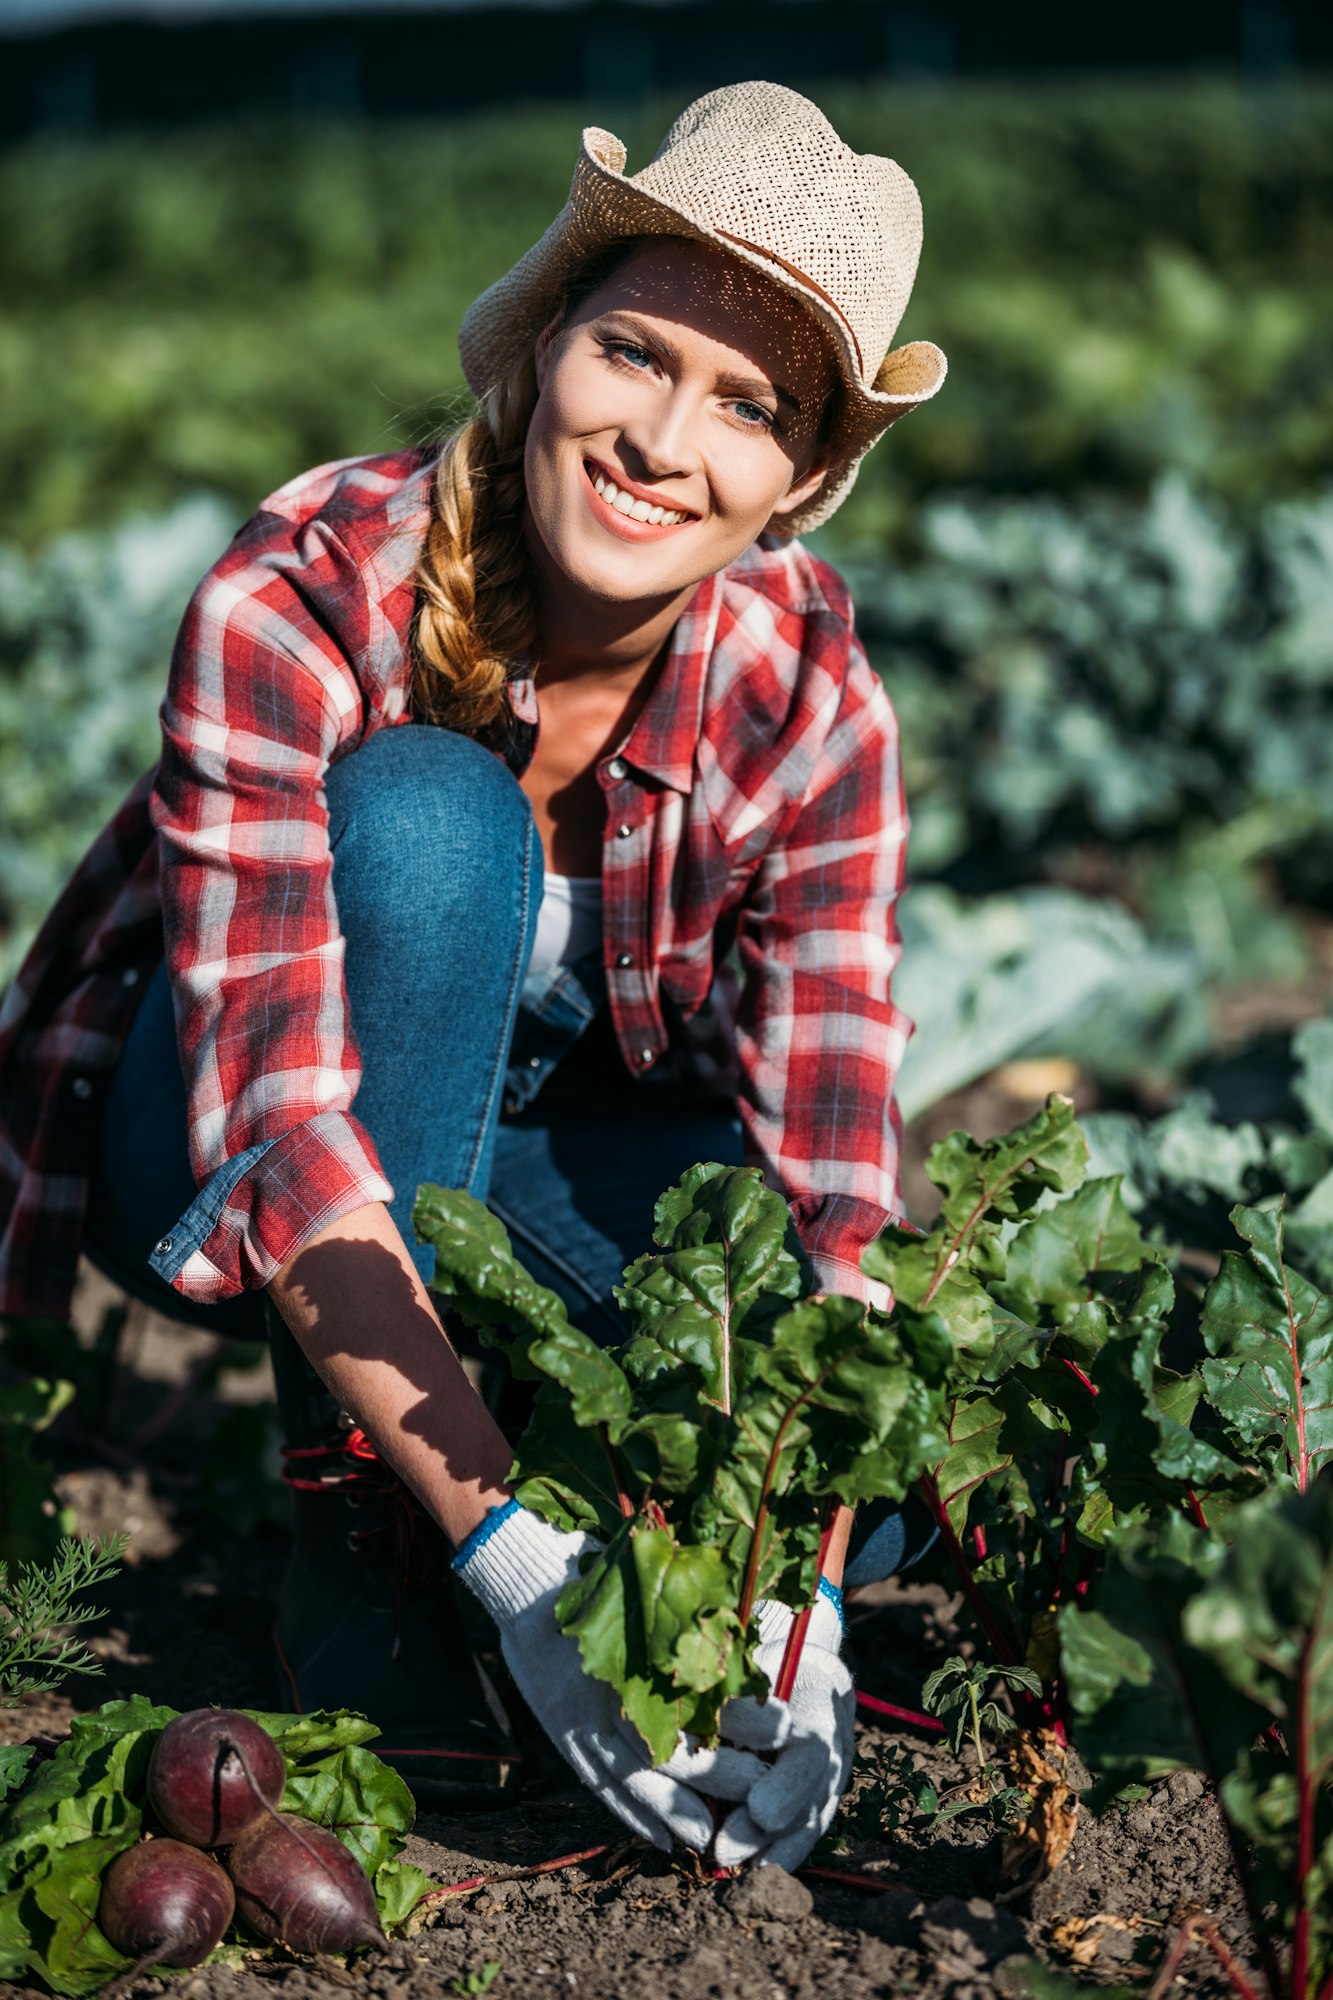
Harvesting your beets at the right time ensures they are tender, flavorful, and at their nutritional peak. Here’s how to determine when they’re ready and how to harvest them properly:
Signs That Your Beets Are Ready for Harvest
- Size: Beets are best harvested when they are about the size of a golf ball to a tennis ball, approximately 1.5 to 3 inches in diameter. Smaller beets are tenderer and sweeter.
- Age: Generally, beets take between 50 to 70 days to reach harvest size, depending on the variety and growing conditions.
- Foliage: Healthy, vibrant leaves are a good sign that the beets beneath are ready. The part of the beetroot that protrudes above the soil surface will also indicate maturity.
How to Harvest Beets Without Damaging the Plant
- Loosen the Soil: Use a garden fork to gently loosen the soil around the beet. This makes it easier to pull the beet without breaking the root.
- Pull Gently: Grasp the beet by the base of the leaves and tug gently. If the beet does not come out easily, loosen more soil around it.
- Remove the Leaves: After harvesting, cut the leaves off about 2 inches above the root. This helps prevent the leaves from drawing moisture and nutrients away from the root during storage.
Tips on Storing Beets After Harvest
- Immediate Use: If you plan to use beets soon after harvesting, they can be kept in the refrigerator for 1–2 weeks.
- Long-Term Storage: For longer storage, keep beets in a cool, humid place like a root cellar. They can last for several months if stored properly.
- Freezing: Beets can be frozen for longer preservation. Cook them first, then peel, slice, or dice, and freeze in airtight containers.
- Leaves Storage: Don’t discard the beet greens! They are edible and can be stored in the refrigerator for up to a week, used similarly to spinach or Swiss chard.
By following these harvesting and storage tips, you’ll be able to enjoy your home-grown beets at their best, both fresh and over the months to come.