

In This Article Show
Spring is the season when your home starts to feel a little stale—but a full makeover can be pricey and overwhelming. These simple wood crafts are a happy middle ground: they look high-end, they take an afternoon, and you don’t need fancy tools.

Most use scrap wood, basic hardware, and paint you may already have.
Pick one or two to start, and watch your space feel lighter, brighter, and more “you” by this weekend.
1. Shiplap-Style Welcome Sign

A slim, modern sign that feels boutique but builds in a snap. The striped “shiplap” look adds texture, and the crisp lettering pops like a store-bought piece.
Materials Needed:
- 1×6 board (2–3 ft)
- Paint or stain + painter’s tape
- Stick-on vinyl letters or stencil
How to make it:
- Sand the board smooth and wipe off dust.
- Stain or paint the base; let dry.
- Add painter’s tape every 3 inches to mimic shiplap lines; paint a lighter color between.
- Apply vinyl letters (or stencil) your message and seal with a clear coat.
2. Minimal Peg Rail Shelf

This slim shelf with pegs is perfect for entryways or kitchens. It feels Scandinavian and clean, yet it’s just a board and dowels.
Materials Needed:
- 1×4 board (length to fit wall)
- 3/4″ wooden dowel
- Wood glue
How to make it:
- Cut dowel into 2–3 inch pegs; sand ends.
- Mark peg spacing on board and drill holes slightly smaller than the dowel.
- Glue and tap pegs into holes; clamp until dry.
- Mount on wall with screws through studs or keyhole hangers.
3. Pressed Flower Wood Coasters

Pretty little squares that capture spring flowers under glossy resin. They look like boutique coasters but use scrap wood.
Materials Needed:
- 1/4″ wood squares (4×4″)
- Dried pressed flowers
- Clear epoxy resin or pour-on gloss
How to make it:
- Sand wood squares and seal with a thin coat of clear finish.
- Arrange pressed flowers on each square.
- Mix resin per directions and pour a thin layer to cover.
- Pop bubbles with a heat gun or straw; cure flat.
4. Slatted Wood Plant Pedestal

A small riser that makes any plant look like sculpture. The slat design adds airiness and mid-century vibes.
Materials Needed:
- 1×2 wood strips
- Wood glue + brad nails (optional)
- Stain or paint
How to make it:
- Cut two square frames from 1x2s (top and base).
- Cut multiple equal slats for sides.
- Glue and attach slats between frames on all four sides, leaving small gaps.
- Sand, finish, and let dry before adding a plant.
5. Arched Wood Mantel Mirror (No-Glass Illusion)

Create a faux “arched mirror” using a plywood arch and metallic paint. It reflects light visually without real glass—safe and stunning.
Materials Needed:
- Thin plywood sheet
- Metallic silver or champagne paint
- Jigsaw
How to make it:
- Draw a large arch on plywood; cut with a jigsaw and sand edges.
- Prime and paint the surface metallic, using smooth strokes.
- Add a thin black painted border to mimic a frame.
- Mount with command strips or small nails above a console.
6. Checkerboard Wood Tray
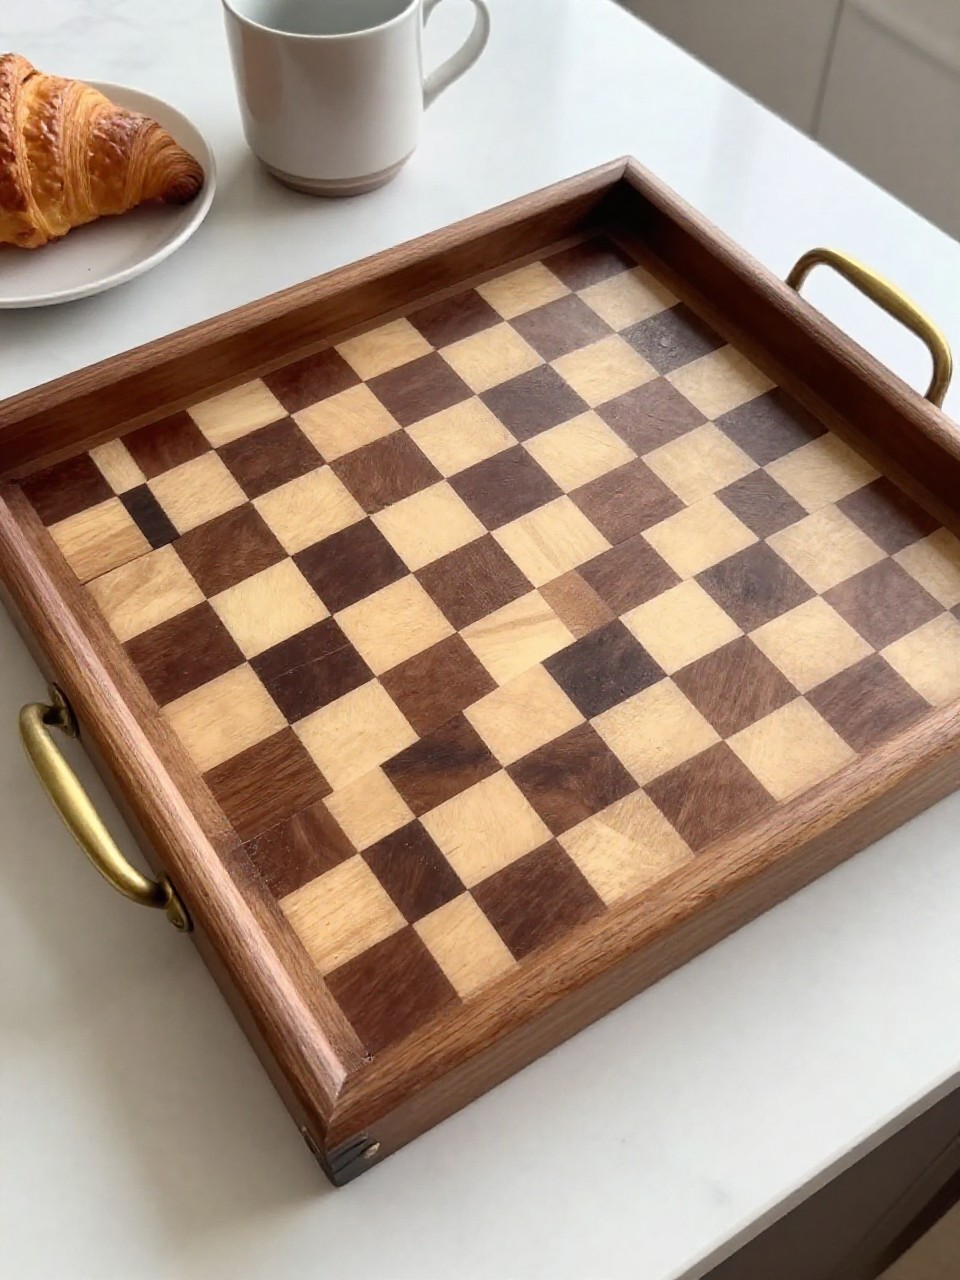
A modern checkered serving tray that looks hand-crafted and fancy. The pattern comes from stain, not complicated joinery.
Materials Needed:
- Plywood rectangle (about 12×18″)
- Painter’s tape
- Two wood stains (light and dark)
How to make it:
- Sand tray base and seal with pre-stain.
- Tape a checkerboard grid; stain alternating squares dark.
- Remove tape and stain the remaining squares light.
- Add side handles (optional) and finish with clear topcoat.
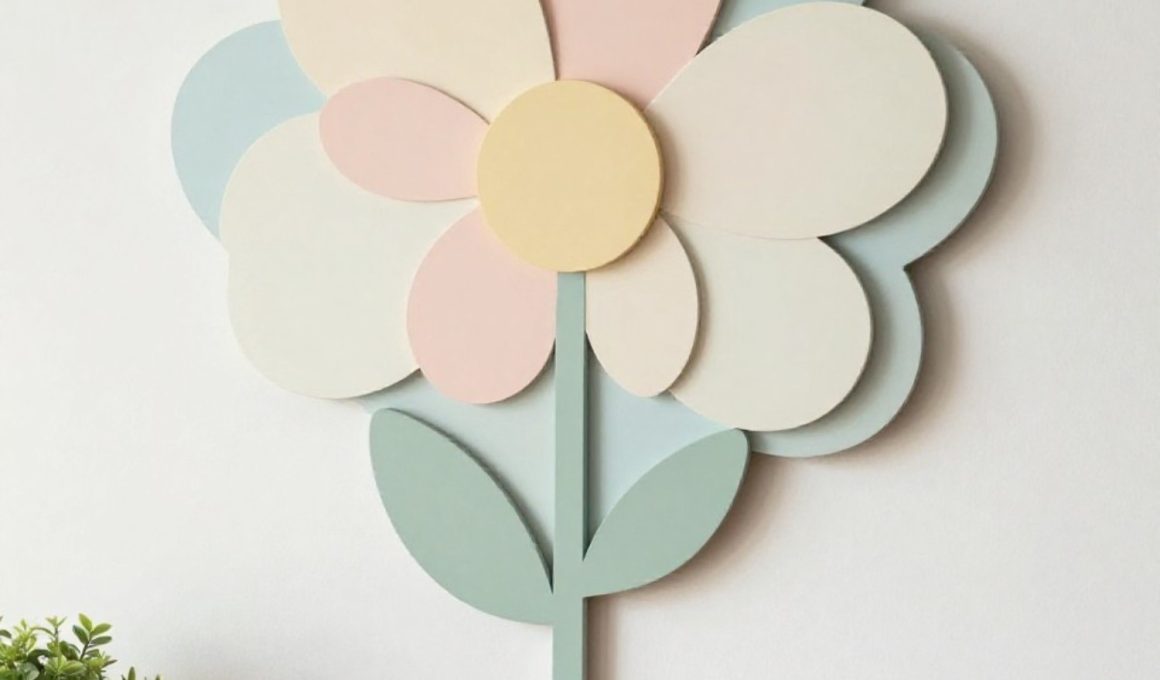
7. Layered Wood Flower Wall Art

Simple petal shapes stacked for 3D art that feels happy and springy. Great scrap-wood use and super forgiving.
Materials Needed:
- Scrap plywood or craft wood
- Craft knife or jigsaw
- Paints (pastels)
How to make it:
- Sketch 2–3 sizes of simple flower shapes; cut them out.
- Sand lightly and paint each layer a different color.
- Glue smaller flowers centered on larger ones to stack.
- Mount to a backing board or hang individually.
8. Curvy Wood Bookend Pair

Organic S-curve bookends that look sculptural on shelves. Cut once, split in two—easy and clever.
Materials Needed:
- 2×6 board
- Jigsaw
- Sandpaper + paint or stain
How to make it:
- Trace a tall S-curve onto the 2×6.
- Cut along the line with a jigsaw to create two mirrored pieces.
- Sand all edges super smooth.
- Finish with paint or stain; add felt pads to bottoms.
9. Cedar Herb Drying Rack

A simple hanging rack that smells amazing and looks like a spa. Perfect for drying spring herbs or flowers.
Materials Needed:
- Cedar strip or dowel
- Jute twine
- Small S-hooks or clothespins
How to make it:
- Cut cedar to 18–24 inches and sand smooth.
- Tie twine to both ends to create a hanging loop.
- Add S-hooks or clip-on clothespins along the dowel.
- Hang and clip small herb bundles upside down.
10. Herringbone Scrap Wood Frame

Turn off-cuts into a chic herringbone photo frame. The texture makes your print feel gallery-worthy.
Materials Needed:
- Old frame with flat face
- Scrap wood strips
- Wood glue
How to make it:
- Cut scraps into short equal pieces.
- Glue pieces in a herringbone pattern onto the frame face.
- Trim edges flush with a craft knife; sand lightly.
- Stain or paint, then seal.
11. Floating Wood House Numbers

Big, modern house numbers mounted on a wood plaque. The shadow gap makes them look custom.
Materials Needed:
- Cedar or hardwood plaque
- Modern metal or acrylic numbers
- Exterior finish
How to make it:
- Cut and sand plaque; round edges slightly.
- Stain or oil and seal with exterior topcoat.
- Pre-drill and mount numbers with included spacers for a floating look.
- Hang near door with outdoor-rated screws.
12. Sculpted Wood Candle Holder Trio

Soft, hand-shaped holders from simple blocks feel like artisan pottery. Grouped together, they glow.
Materials Needed:
- Small wood blocks or 4×4 cutoffs
- Forstner bit (for tea lights)
- Sandpaper + wax or paint
How to make it:
- Drill shallow holes sized for tea lights.
- Round corners and facets by sanding for an organic shape.
- Finish with tinted wax or matte paint.
- Add felt pads underneath.
13. Rainbow Wood Suncatcher Arch

An arched frame with colored translucent film throws soft rainbows. Light, playful, and so easy.
Materials Needed:
- Thin plywood arch frame
- Colored window film or cellophane
- Clear-drying glue
How to make it:
- Cut an arched frame (like a donut shape) and sand smooth.
- Adhere colored films in bands across the opening’s back.
- Trim excess and smooth bubbles.
- Hang in a sunny window with fishing line.
14. Mosaic Wood Headboard Panel

Create a stunning headboard from small wood tiles arranged in a sunburst. It looks luxe but is just glue and stain.
Materials Needed:
- Plywood backer (bed width)
- Wood shim tiles or cut triangles
- Wood glue + stain
How to make it:
- Draw a center point and sketch your sunburst lines on the backer.
- Glue tiles from the center outward, keeping edges tight.
- Stain sections in varying tones for depth.
- Seal and mount to the wall behind the bed.
15. Wavy Edge Charcuterie Board
A free-form serving board with a gentle wavy edge that feels coastal and modern. No router needed—just sand to perfection.
Materials Needed:
- Hardwood board (maple, walnut, or oak)
- Jigsaw
- Food-safe oil
How to make it:
- Sketch an organic outline with a slight handle.
- Cut along the line with a jigsaw; smooth all edges well.
- Round the rim by hand-sanding for a soft, pebble feel.
- Finish with food-safe oil; reapply as needed.
16. Botanical Wood Lantern (LED)

A simple wood frame with vellum panes and pressed leaves glows softly. It’s dreamy on patios or bedside tables.
Materials Needed:
- 1/2″ square dowels
- Vellum or rice paper + pressed leaves
- Battery LED candle
How to make it:
- Cut dowels to form a cube frame; glue into four sides plus top and bottom.
- Sandwich pressed leaves between two vellum sheets.
- Glue the vellum panels inside each frame side.
- Place LED candle inside and enjoy the glow.