

In This Article Show
You pull into your neighborhood every day and pass dozens of mailboxes, but yours is the one you actually stop at. Maybe it’s just a plain post right now, or the plants around it died years ago and never got replaced. I’ve been there too—that little patch of dirt by the mailbox that you keep meaning to do something with.
Here’s the thing: the mailbox is the first thing people see when they come to your house. It’s a small space, but fixing it up makes a bigger difference than you’d think.
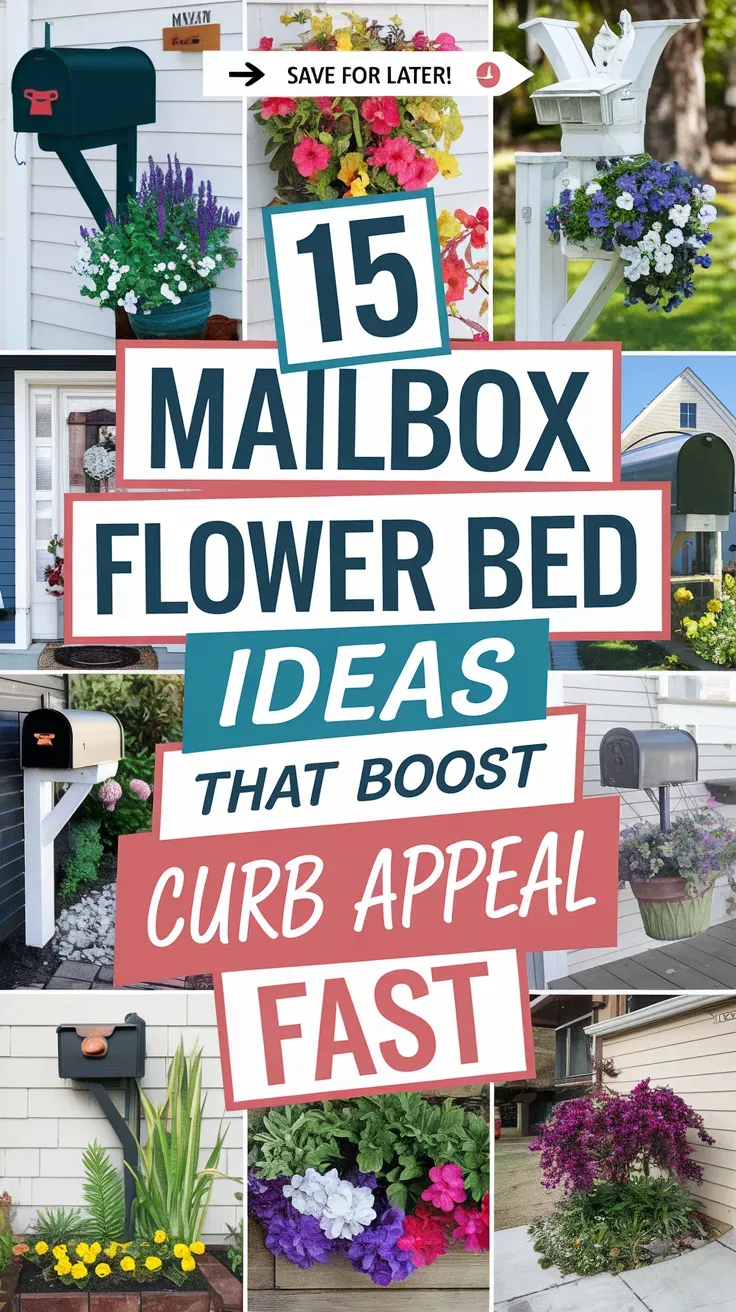
In this post, I’ll walk you through fifteen mailbox flower bed ideas that boost your curb appeal fast with minimal effort.
1. Cottage Garden Spillover
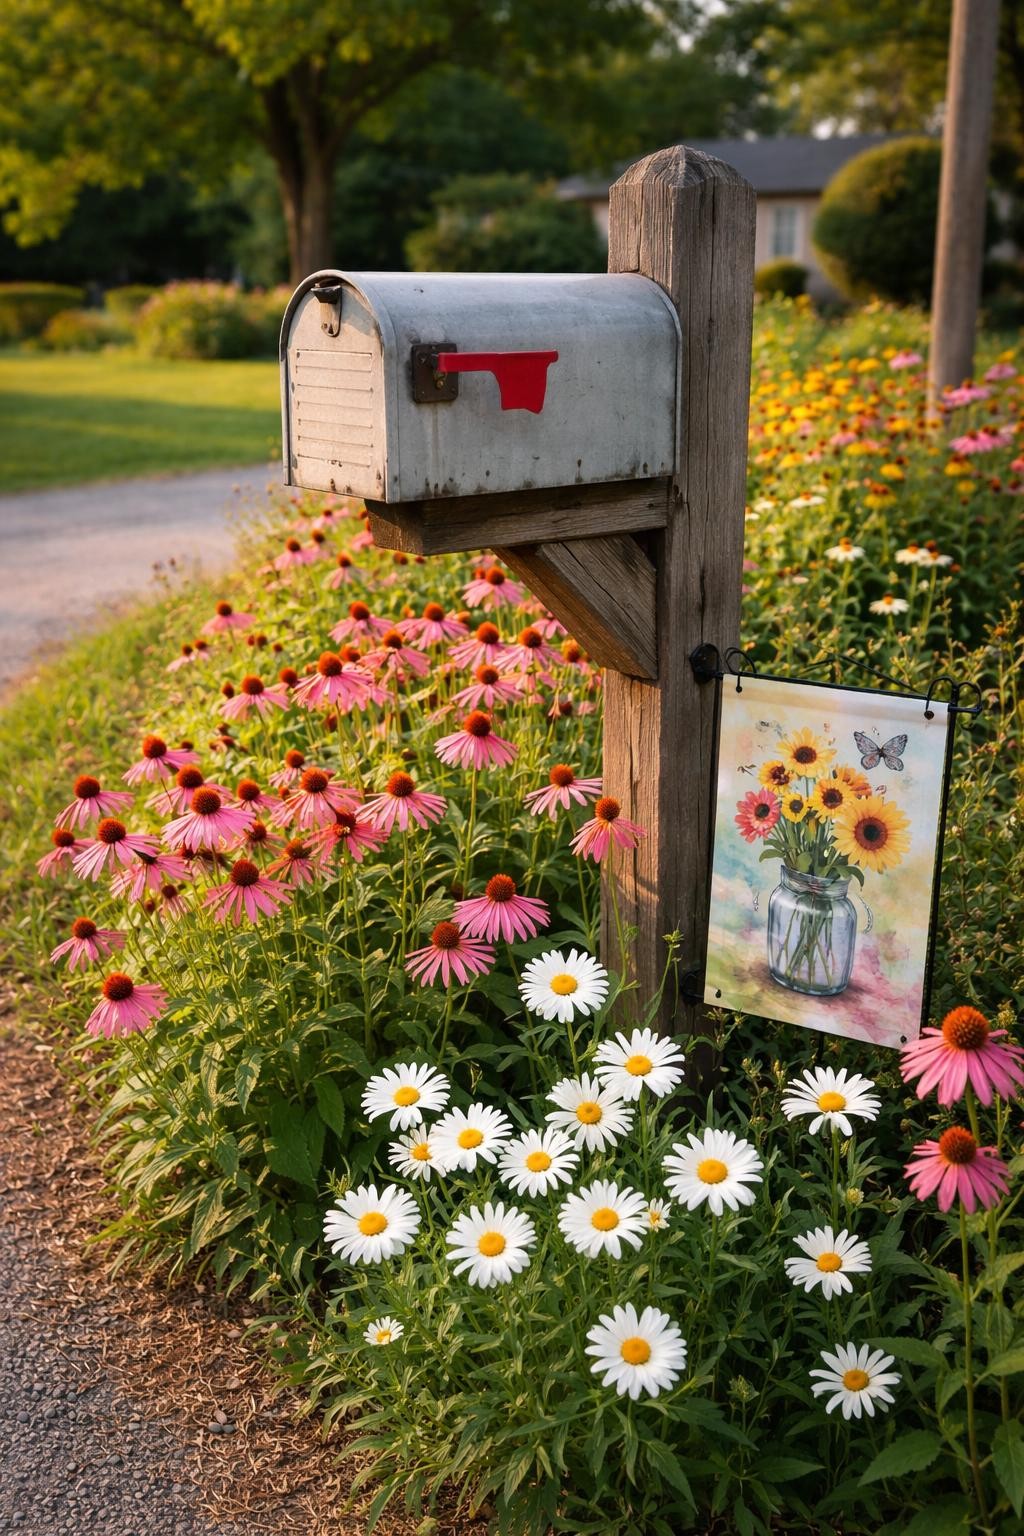
A relaxed mix of colorful perennials that spill over the edges. This style looks like it’s been growing for years and welcomes everyone who stops by.
How this idea works:
- Step 1: Prepare a bed around your mailbox that extends about two feet in all directions.
- Step 2: Plant a mix of old-fashioned flowers like coneflowers, black-eyed Susans, and salvia.
- Step 3: Let taller plants go behind the mailbox and shorter ones in front.
- Step 4: Add a few stepping stones so you can reach the mailbox without crushing plants.
2. Succulent and Gravel Ring

Modern and drought-tolerant, this design uses sculptural succulents in a bed of decorative gravel. It looks sharp with almost no watering needed.
How this idea works:
- Step 1: Clear a circular area around the mailbox and edge it with steel or stone.
- Step 2: Plant a mix of succulents like hens and chicks, sedum, and small agave.
- Step 3: Fill the space between plants with fine gravel in a contrasting color.
- Step 4: Tuck a few larger rocks among the succulents for natural texture.
3. Climbing Vine Mailbox

A mailbox almost hidden by flowering vines. A small trellis behind the post lets vines climb and create a living sculpture.
How this idea works:
- Step 1: Install a small arched trellis or teepee behind the mailbox post.
- Step 2: Plant a flowering vine like clematis or morning glory at the base.
- Step 3: Train the vine up the trellis and let it spill over the mailbox.
- Step 4: Prune occasionally to keep it from covering the mailbox flag or numbers.
4. Rustic Galvanized Tub Planter
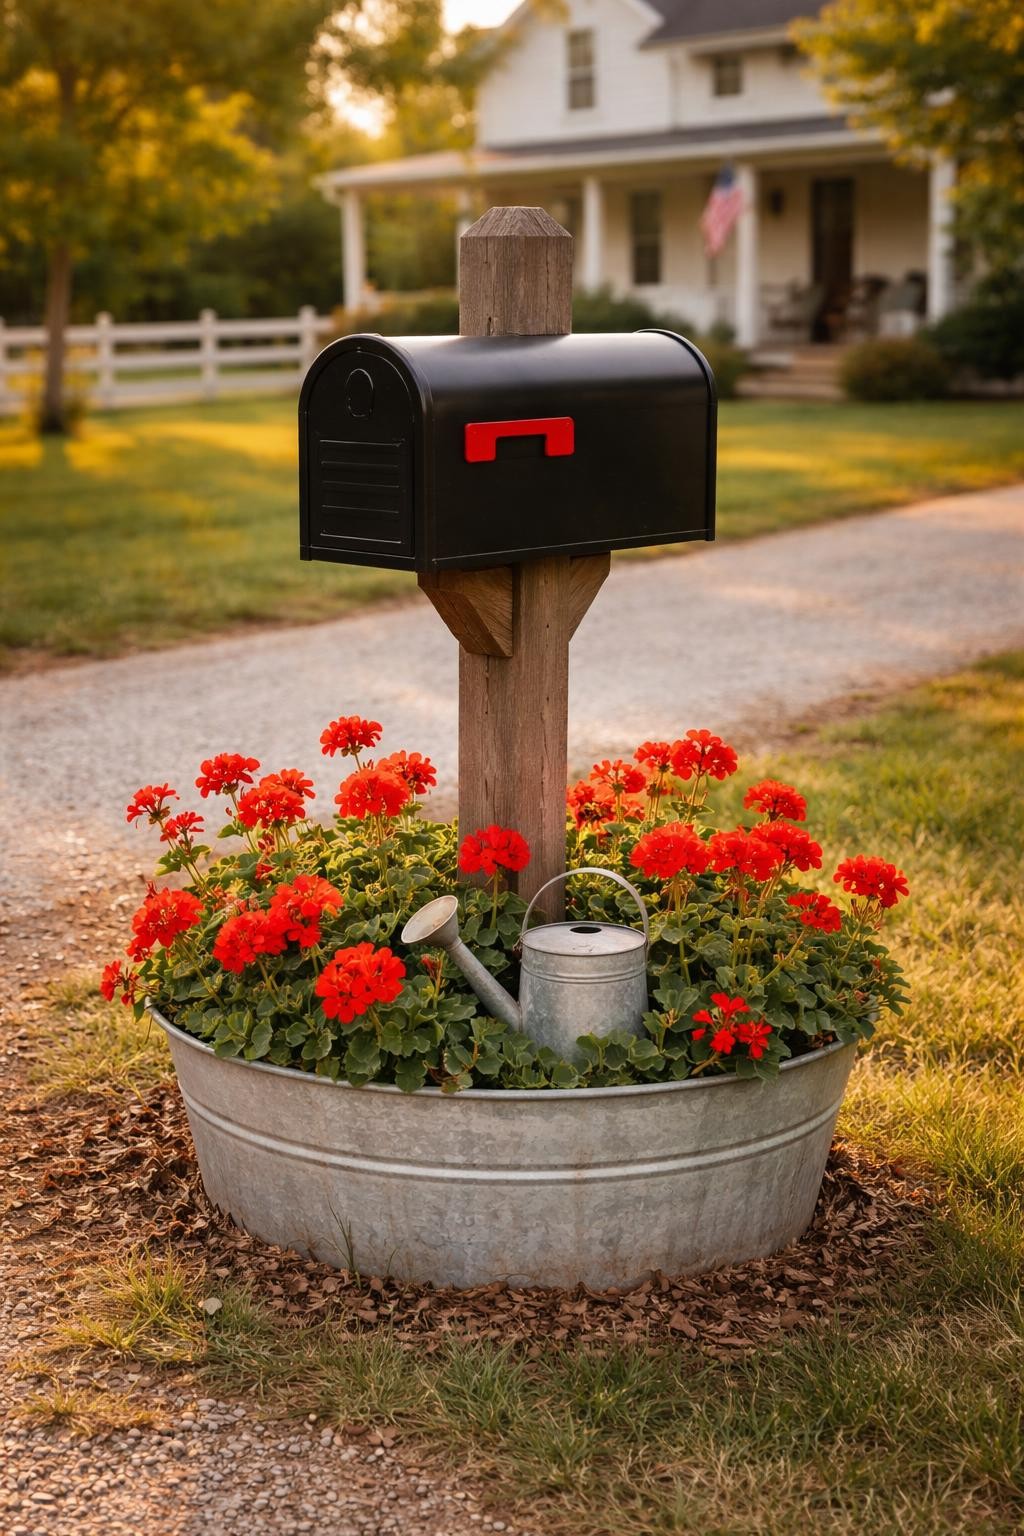
No digging required. A galvanized tub or old watering trough becomes an instant planter around your mailbox. It’s portable and charming.
How this idea works:
- Step 1: Find a large galvanized tub or trough with drainage holes drilled in the bottom.
- Step 2: Position it around your mailbox post, centering the post in the middle.
- Step 3: Fill with potting soil and plant a mix of annuals and trailing plants.
- Step 4: Let trailing plants like ivy or sweet potato vine spill over the edges.
5. Stone Ring with Low Perennials
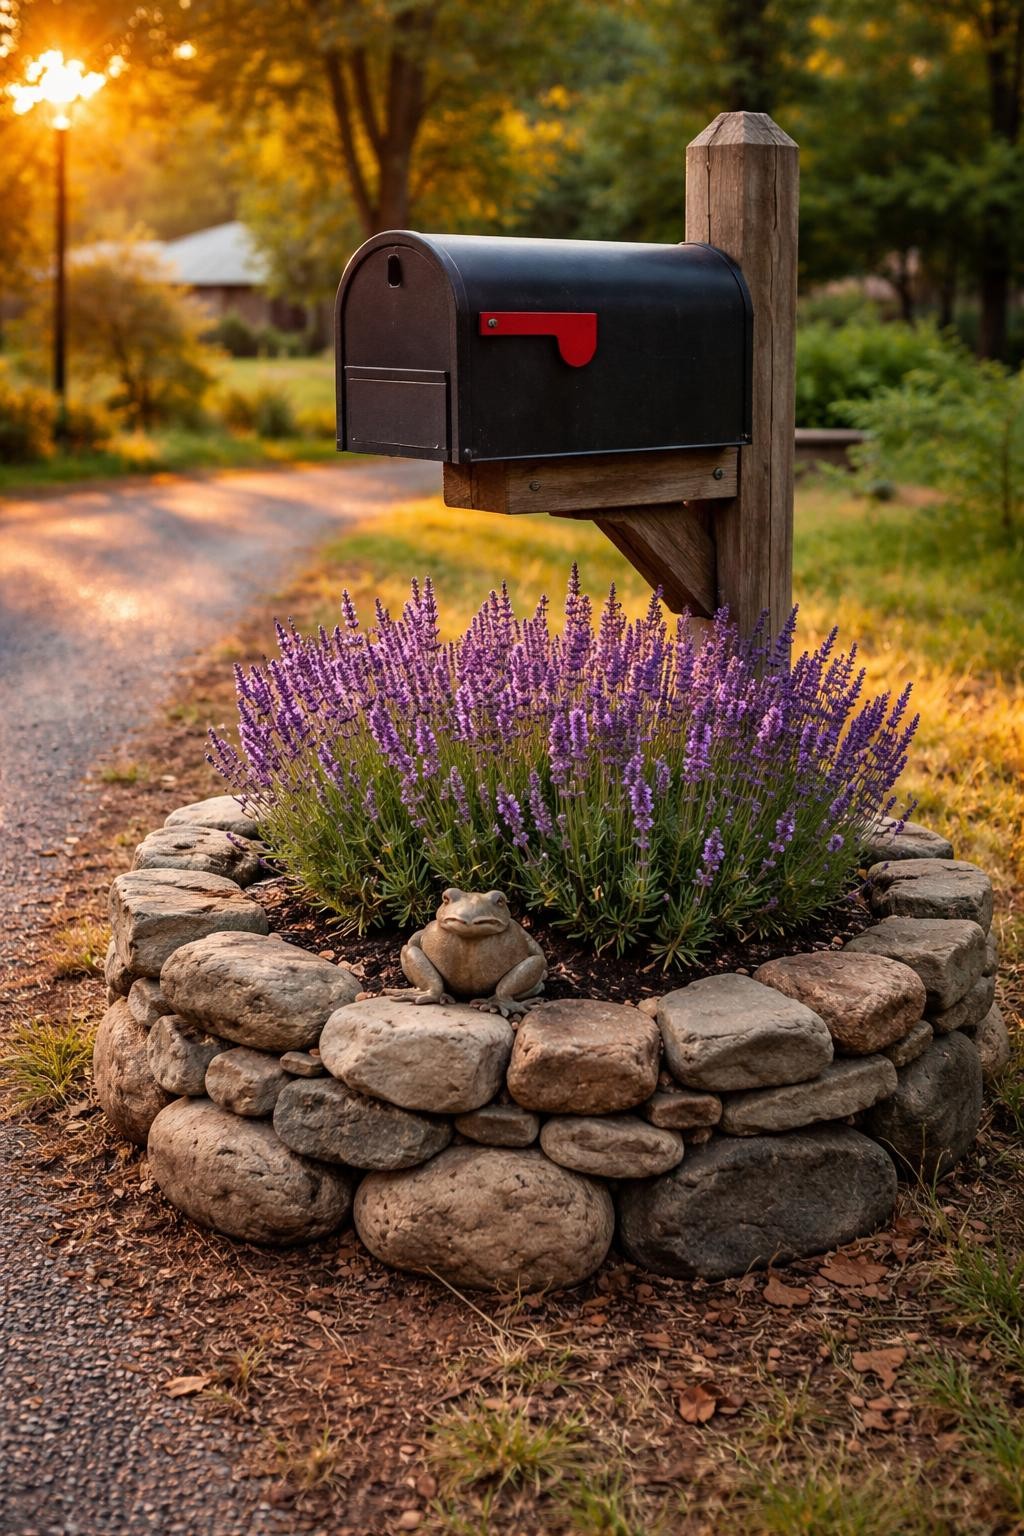
A natural stone ring creates a permanent, tidy edge. Low-growing perennials inside bloom year after year with minimal care.
How this idea works:
- Step 1: Build a low stone ring around the mailbox using fieldstone or river rock.
- Step 2: Fill the interior with good soil and plant low perennials like lavender or creeping phlox.
- Step 3: Mulch with small gravel to match the stones and suppress weeds.
- Step 4: Leave a small gap in the stone ring for access if needed.
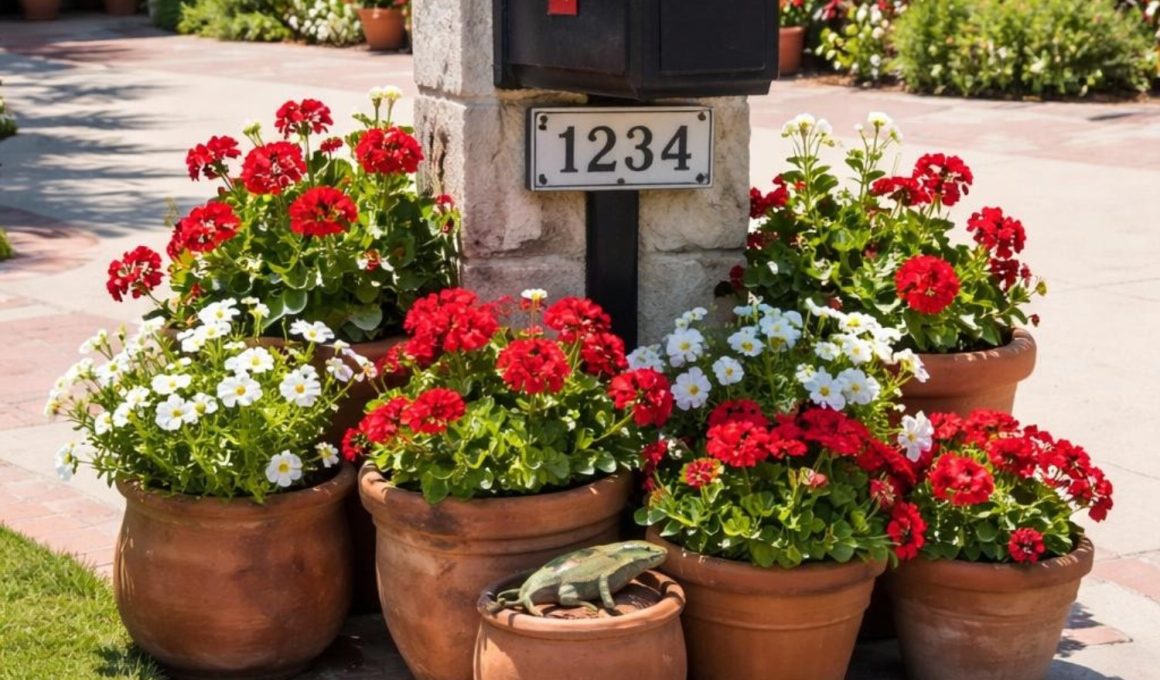
6. Colorful Annual Rotation
Change the look with the seasons by planting fresh annuals each spring. It’s more work but gives you a chance to try new color schemes every year.
How this idea works:
- Step 1: Prepare a simple bed around the mailbox with good soil and compost.
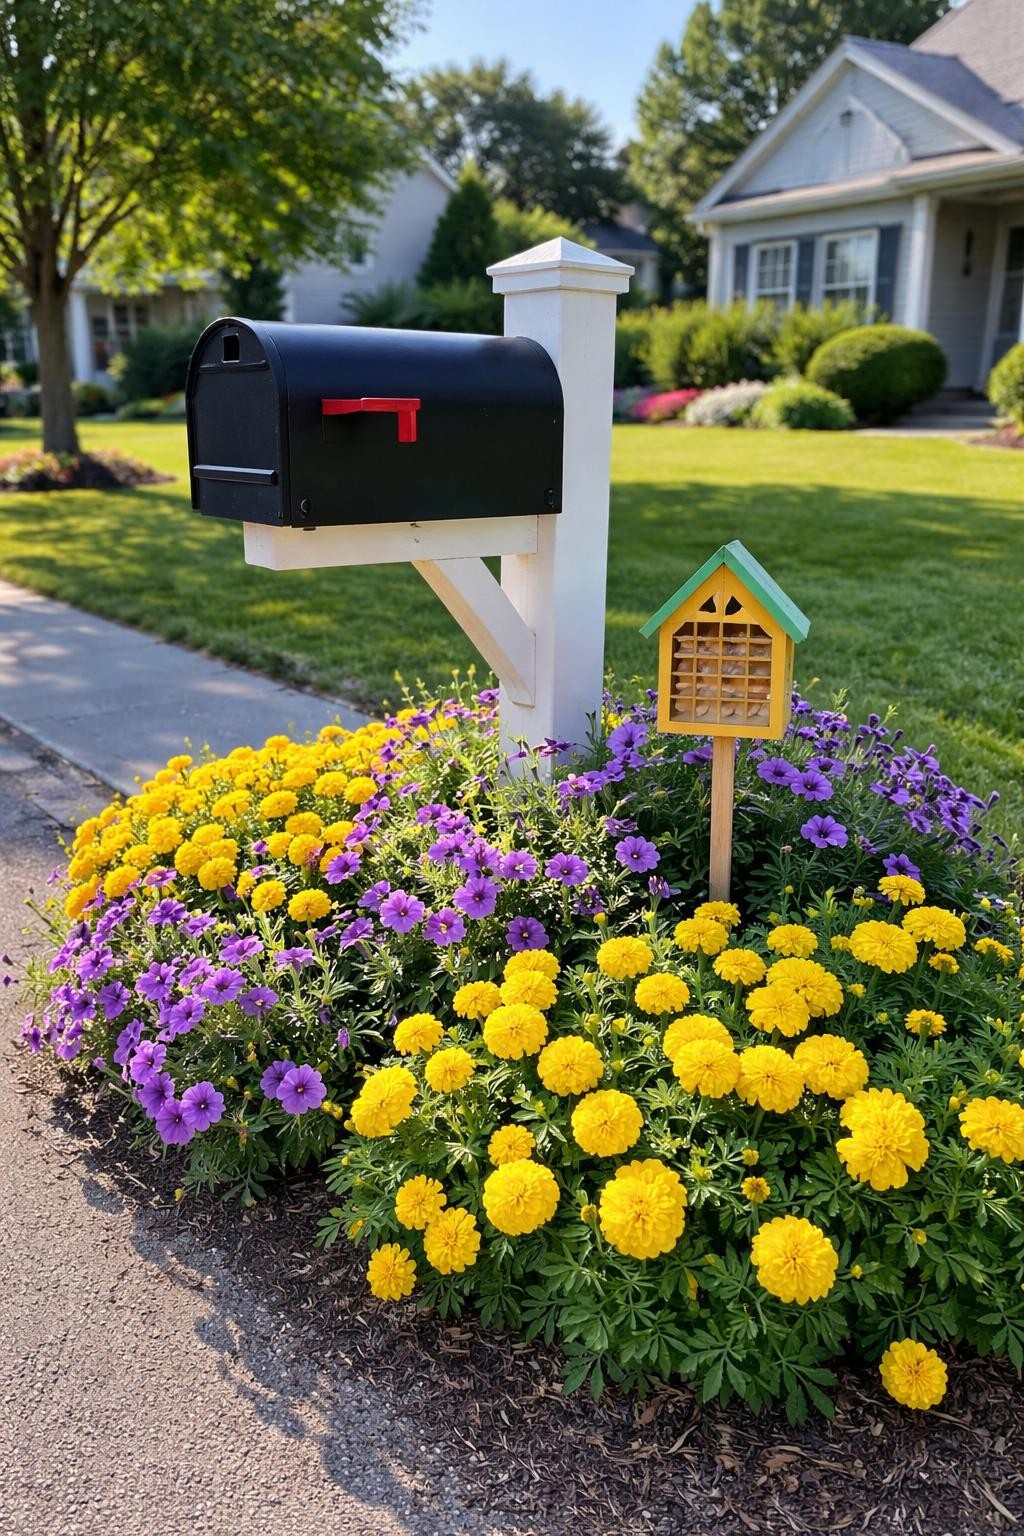
- Step 2: Choose a color scheme each spring—maybe red and white, or purple and yellow.
- Step 3: Plant annuals like petunias, marigolds, or zinnias in groups for impact.
- Step 4: Replace them in fall with cool-season pansies or kale for winter color.
7. Ornamental Grass Clump
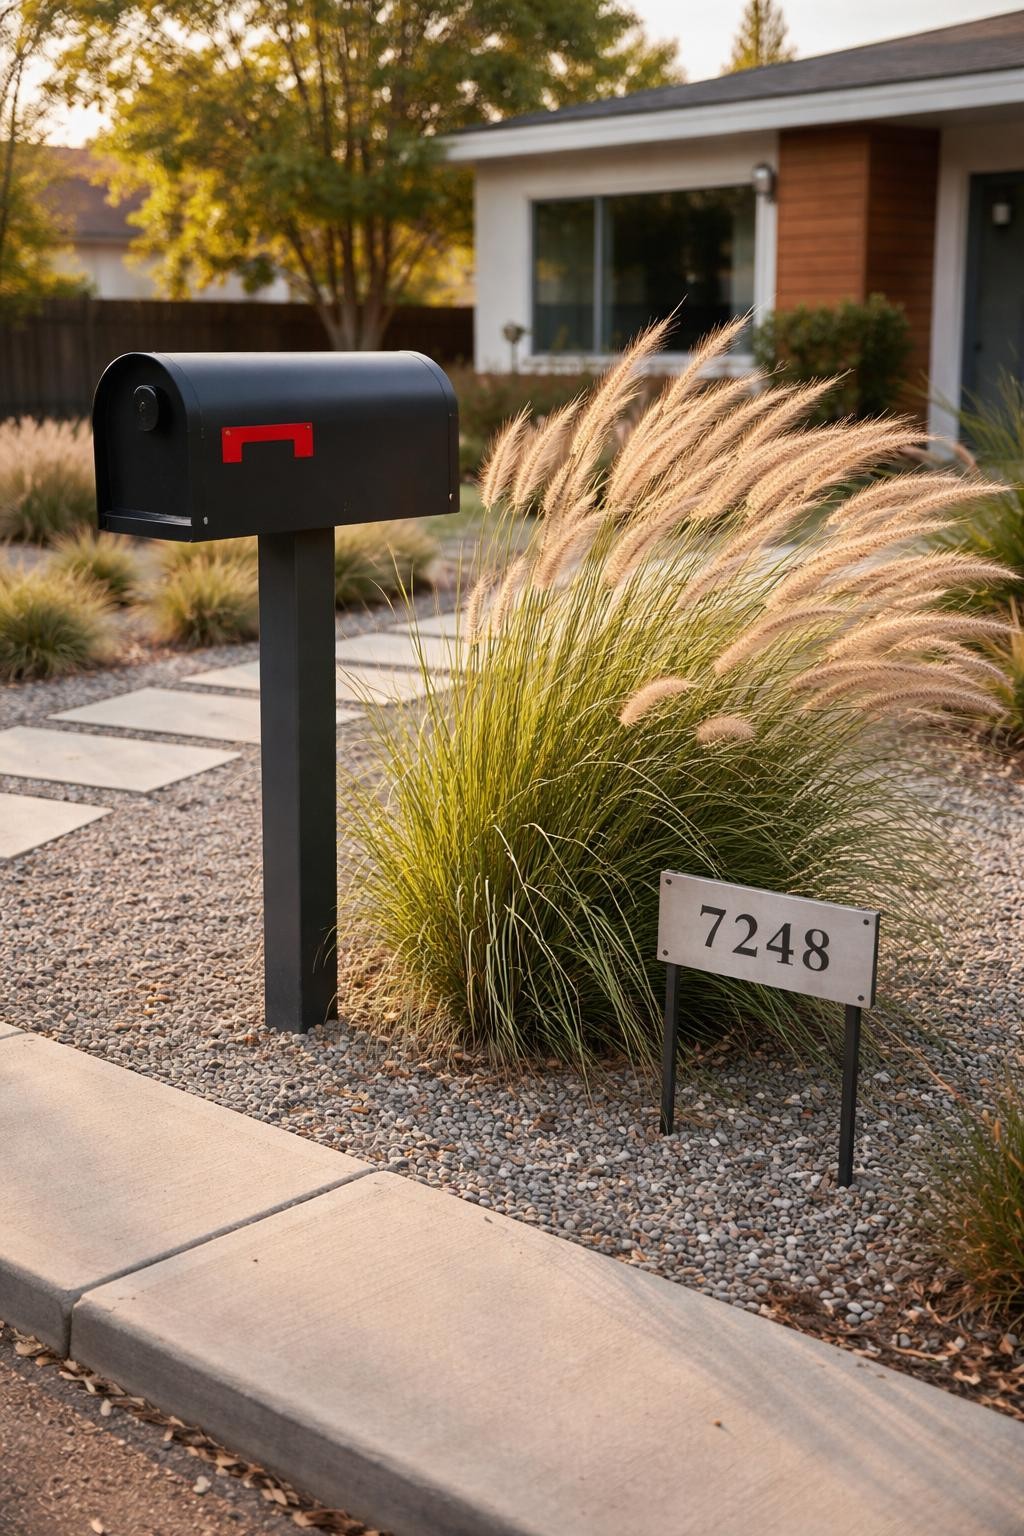
Simple and architectural, a single clump of ornamental grass next to the mailbox. It moves in the wind and looks good in every season.
How this idea works:
- Step 1: Plant one large clump of ornamental grass like maiden grass or fountain grass.
- Step 2: Position it slightly to one side of the mailbox, not directly in front.
- Step 3: Mulch around it with gravel or bark to keep things clean.
- Step 4: Cut it back to a few inches in late winter before new growth starts.
8. Terra Cotta Pot Collection
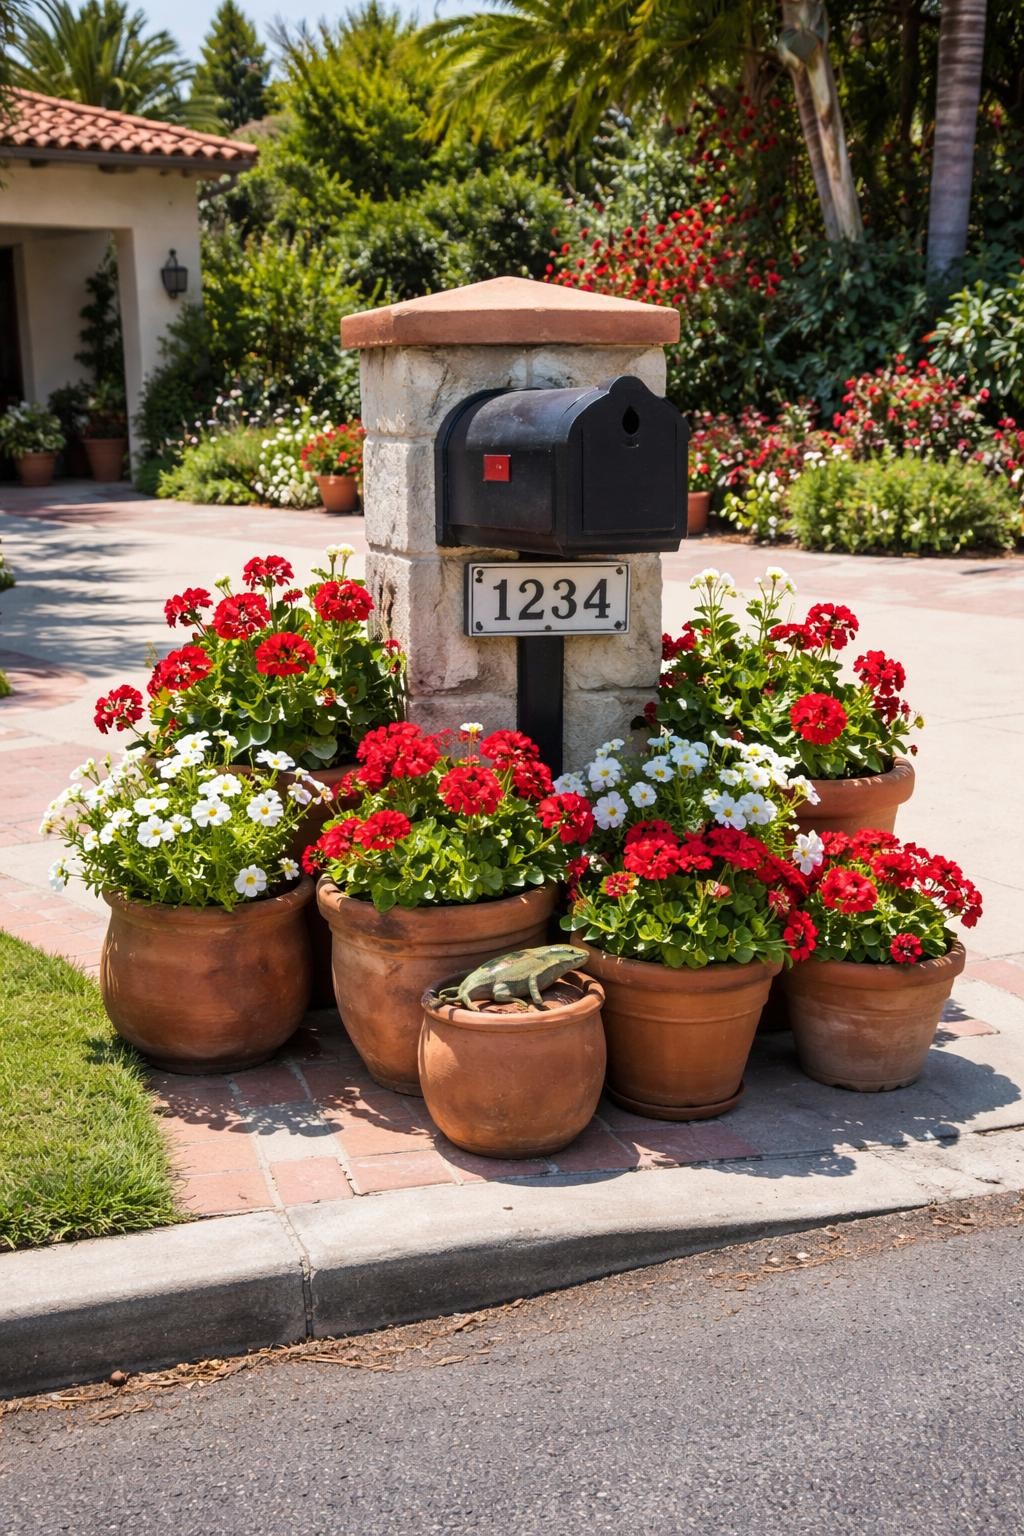
A cluster of terra cotta pots in different sizes around the mailbox. You can rearrange them and change plants easily.
How this idea works:
- Step 1: Collect terra cotta pots in various sizes, from small to large.
- Step 2: Arrange them around the mailbox base in a pleasing cluster.
- Step 3: Plant each pot with a different flower or trailing plant.
- Step 4: Group them so they overlap slightly for a collected look.
9. Low Boxwood Hedge
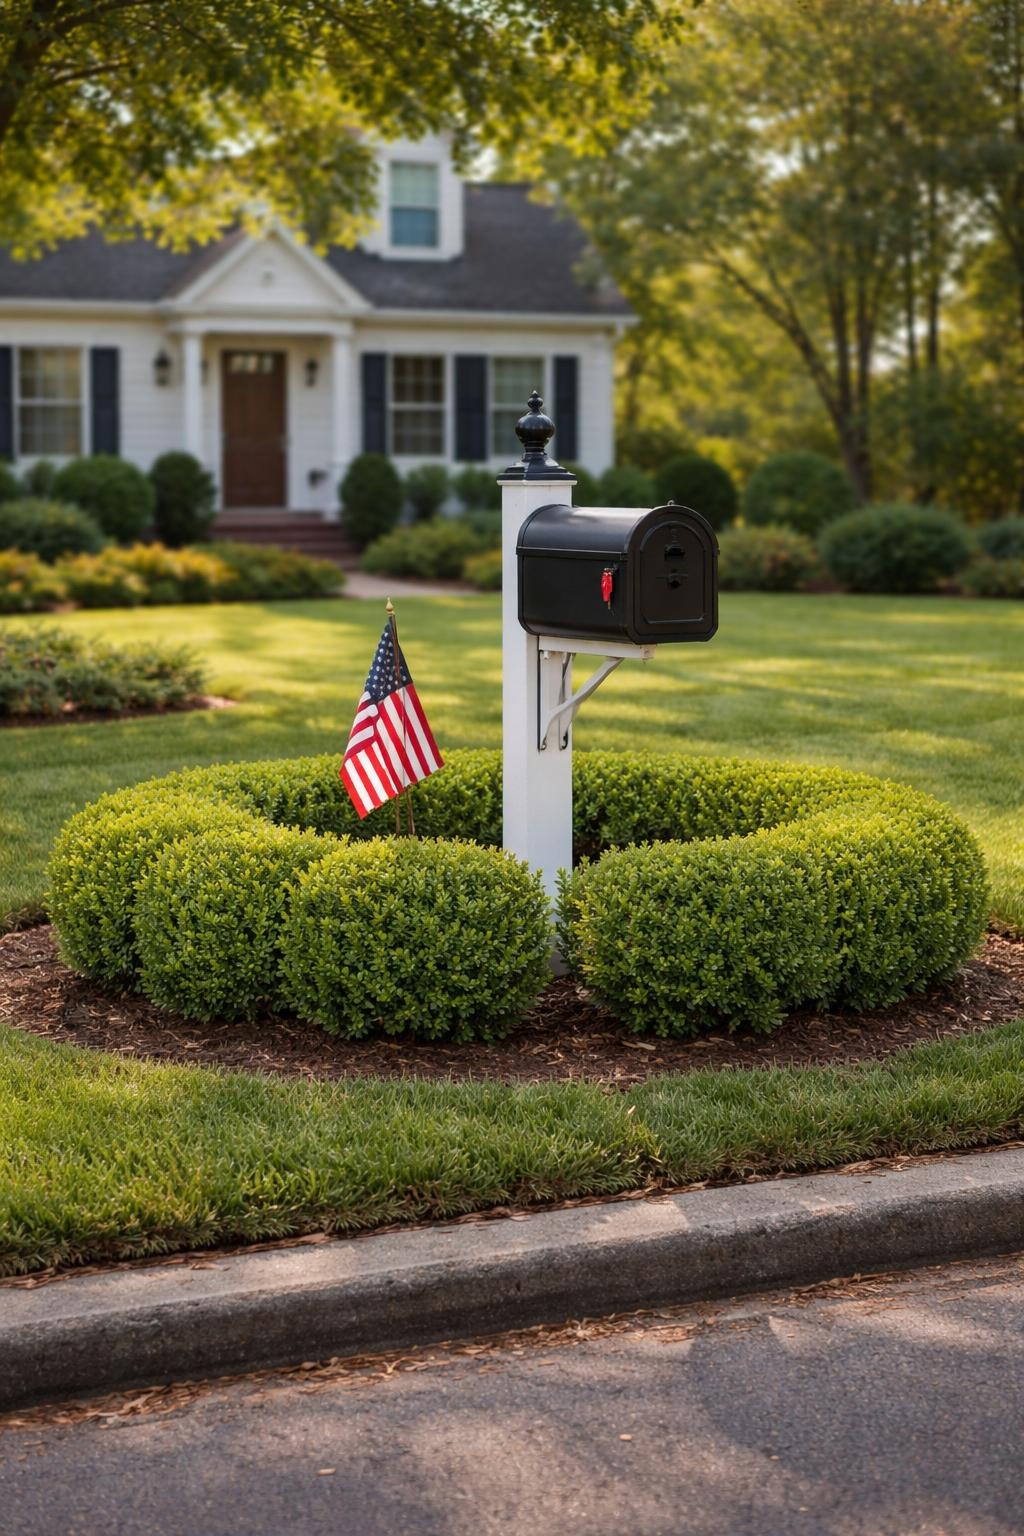
Evergreen structure that looks tidy year-round. A small hedge of boxwoods frames the mailbox like a living picture.
How this idea works:
- Step 1: Plant four to six dwarf boxwoods in a semicircle around the mailbox.
- Step 2: Space them about a foot apart so they’ll grow together over time.
- Step 3: Keep them trimmed to a uniform height, below the mailbox itself.
- Step 4: Mulch between them with gravel or bark for a clean finish.
10. Wildflower Mini Meadow
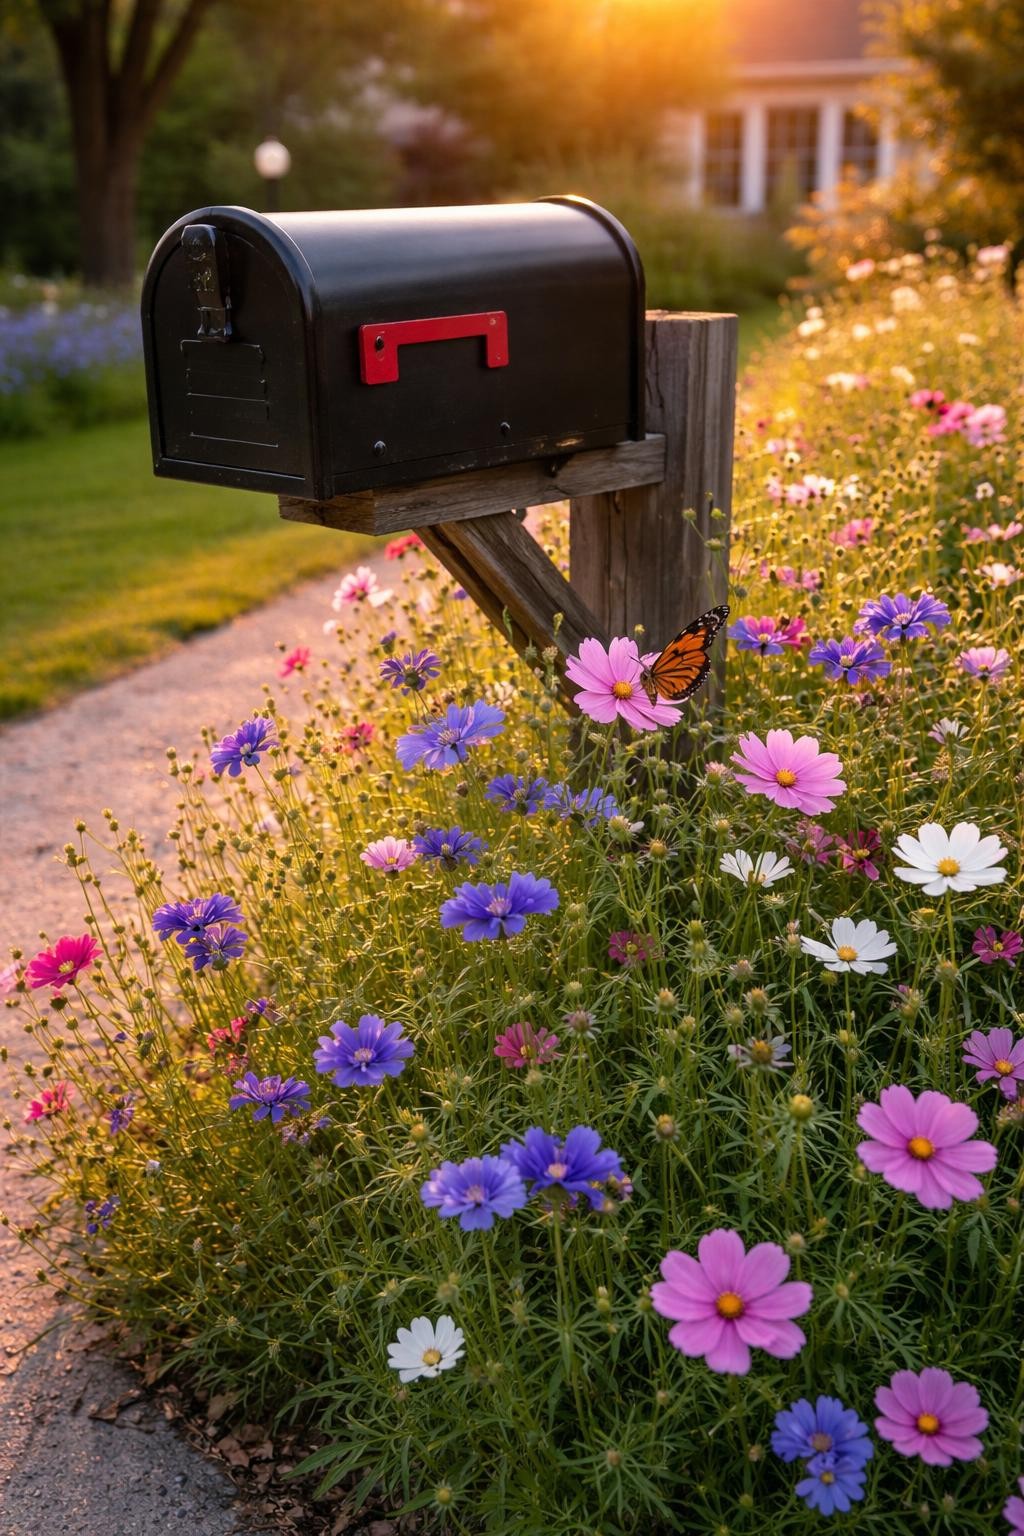
A tiny patch of wildflowers that feels loose and natural. It attracts bees and butterflies right to your mailbox.
How this idea works:
- Step 1: Clear a small area and scatter wildflower seeds suited to your region.
- Step 2: Water regularly until they establish, then let nature take over.
- Step 3: Leave some flowers to go to seed at the end of the season.
- Step 4: Add a small pollinator house on a stake nearby.
11. Stacked Stone Planter
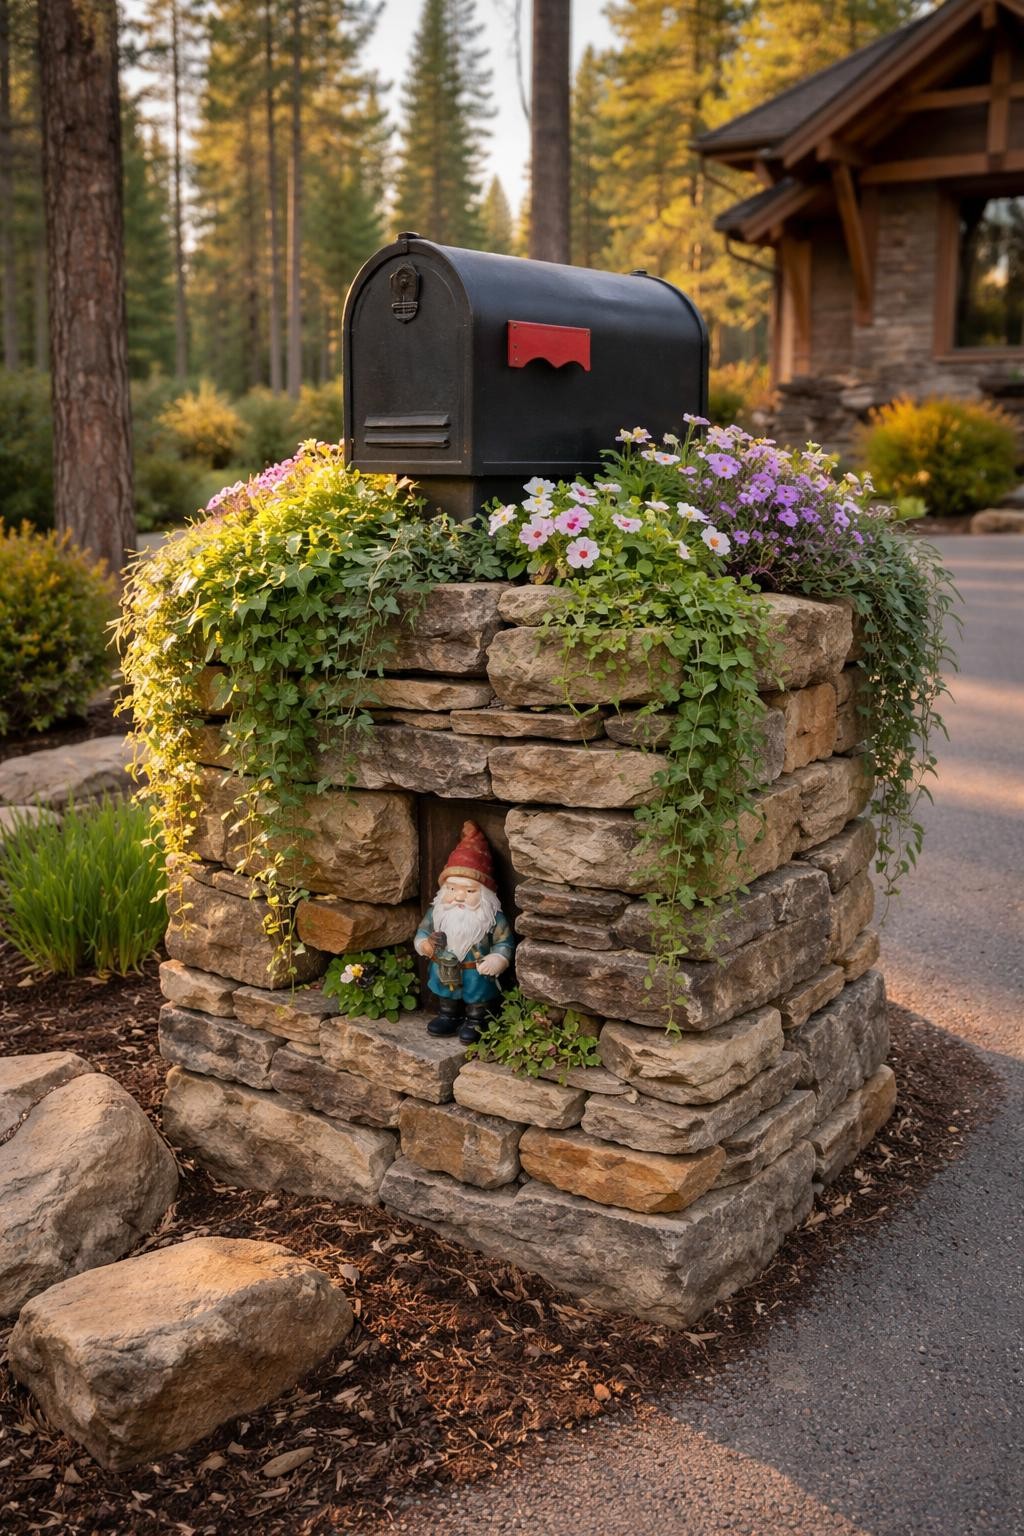
A low wall of stacked stone creates a raised planter around the mailbox. It adds height and makes the flowers more visible.
How this idea works:
- Step 1: Build a low stacked stone wall in a circle or square around the mailbox.
- Step 2: Fill the interior with good soil, leaving a few inches below the stone top.
- Step 3: Plant trailing plants that will spill over the stones.
- Step 4: Tuck small succulents or moss into the stone cracks for detail.
12. Rustic Log Edging
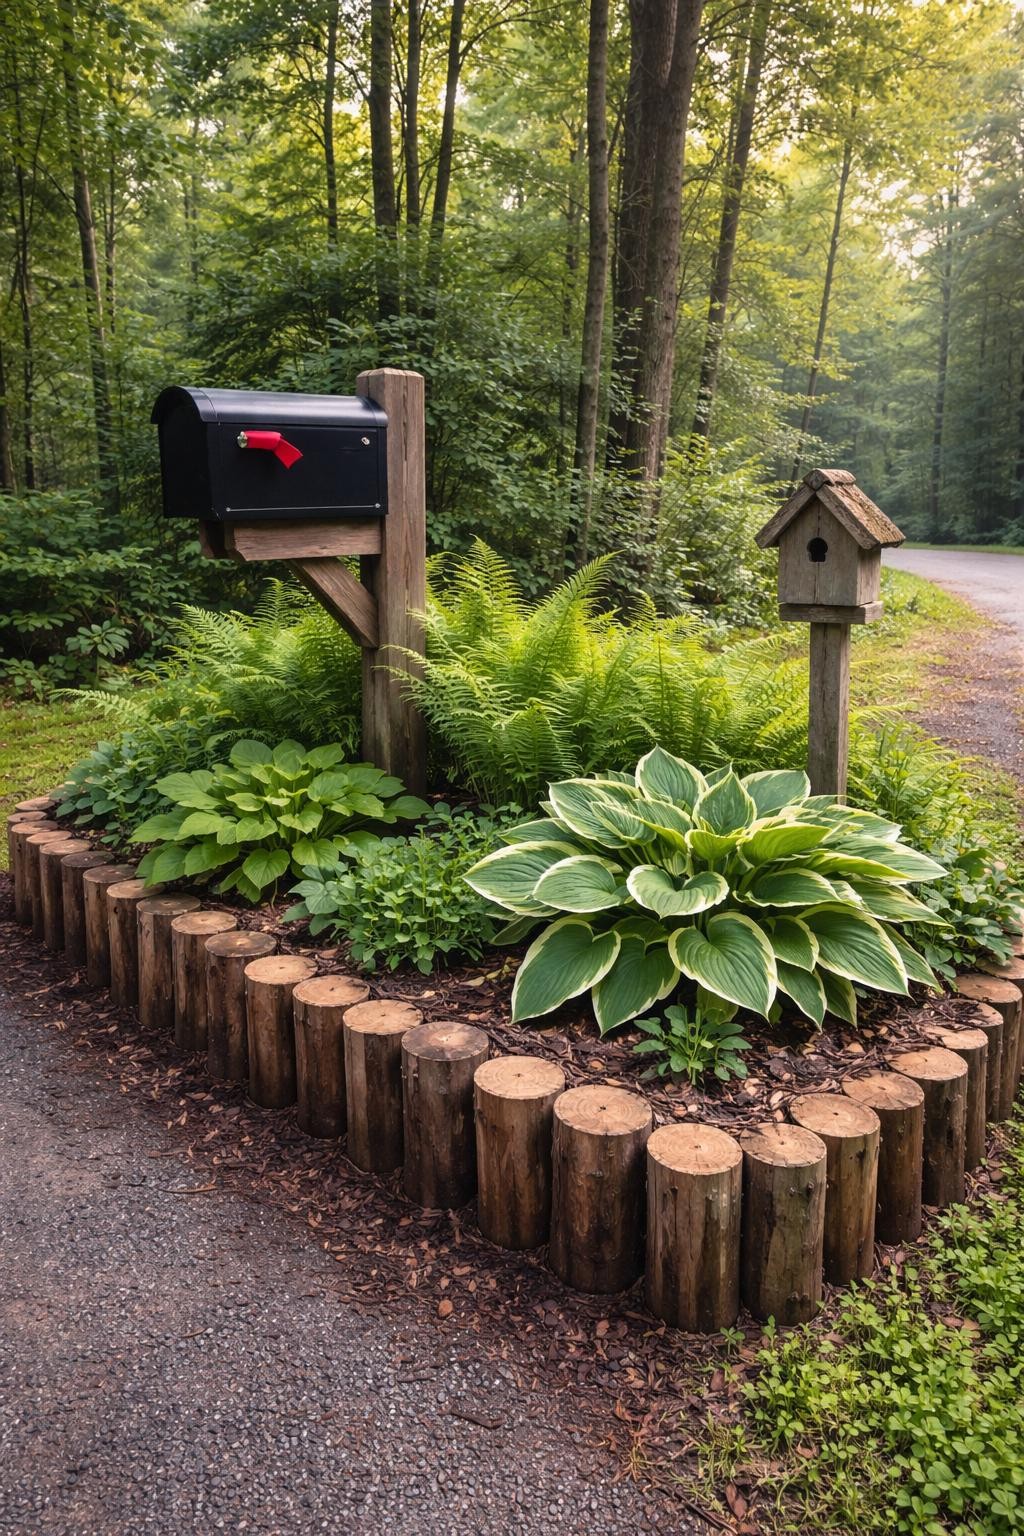
Simple and natural, log rounds or small logs create a rustic border. It’s an inexpensive way to define the space.
How this idea works:
- Step 1: Collect logs or log rounds of similar size and thickness.
- Step 2: Set them vertically or horizontally around the mailbox bed as edging.
- Step 3: Fill the inside with soil and plant low-maintenance perennials.
- Step 4: Let moss grow on the logs over time for an aged look.
13. Monochromatic White Garden
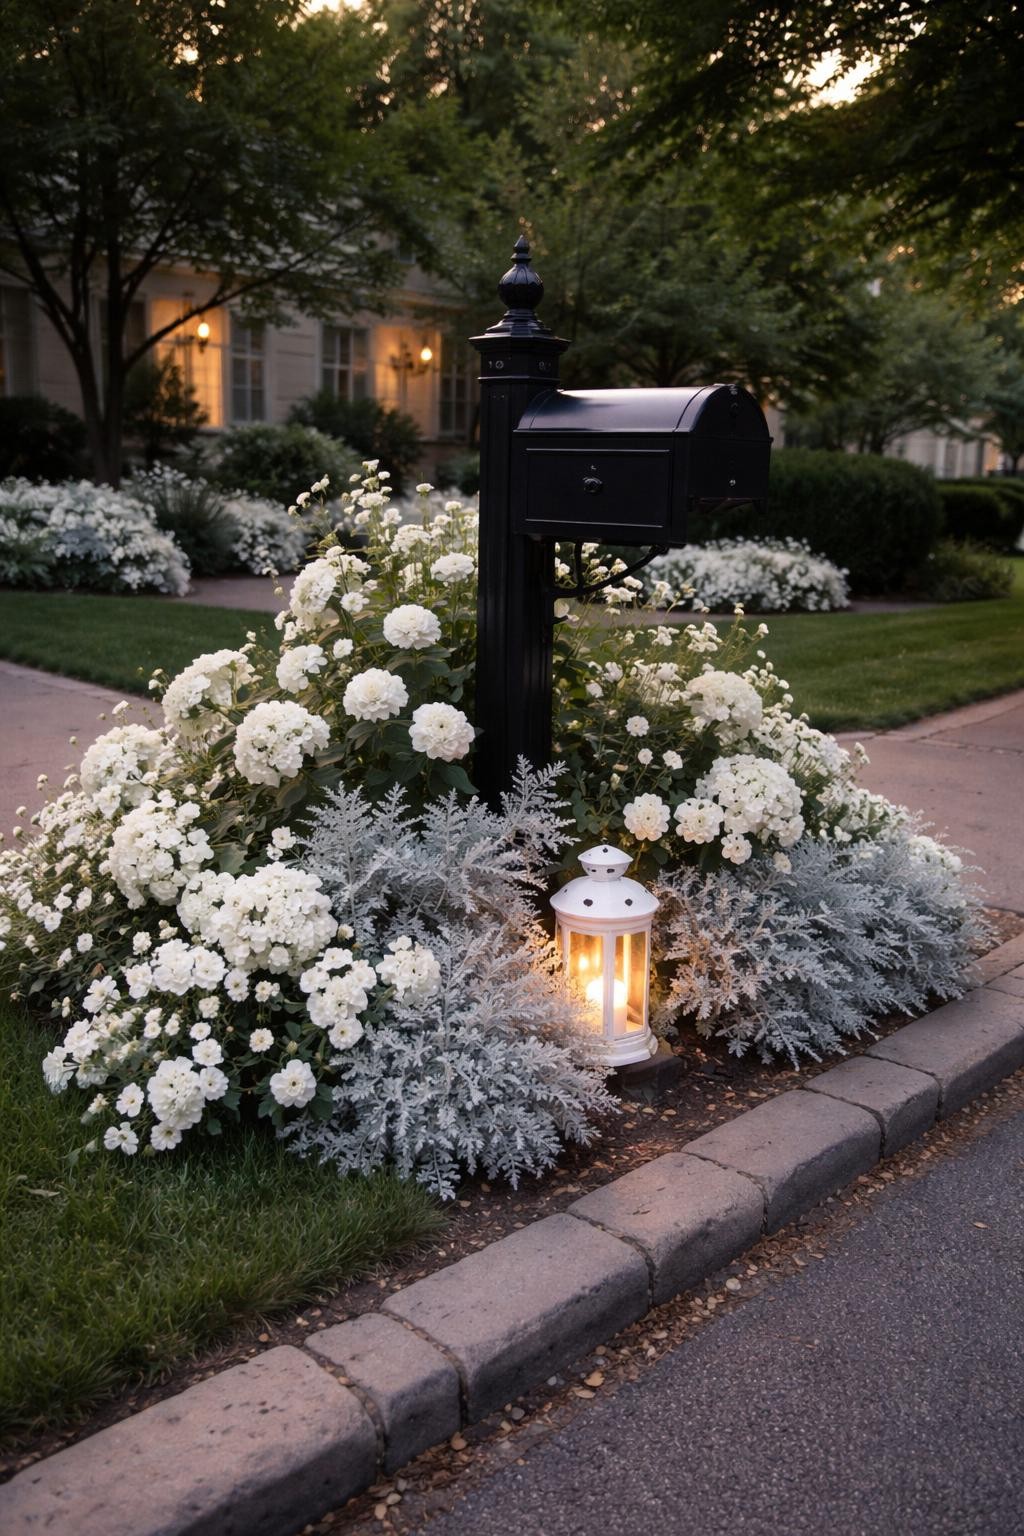
All-white flowers feel elegant and modern. They also show up beautifully in the evening and near dusk.
How this idea works:
- Step 1: Choose white-flowering plants like white petunias, alyssum, and shasta daisies.
- Step 2: Plant them in groups for mass impact around the mailbox.
- Step 3: Add silver foliage plants like dusty miller for contrast.
- Step 4: Use white gravel mulch to tie the whole look together.
14. Herb Garden Mailbox
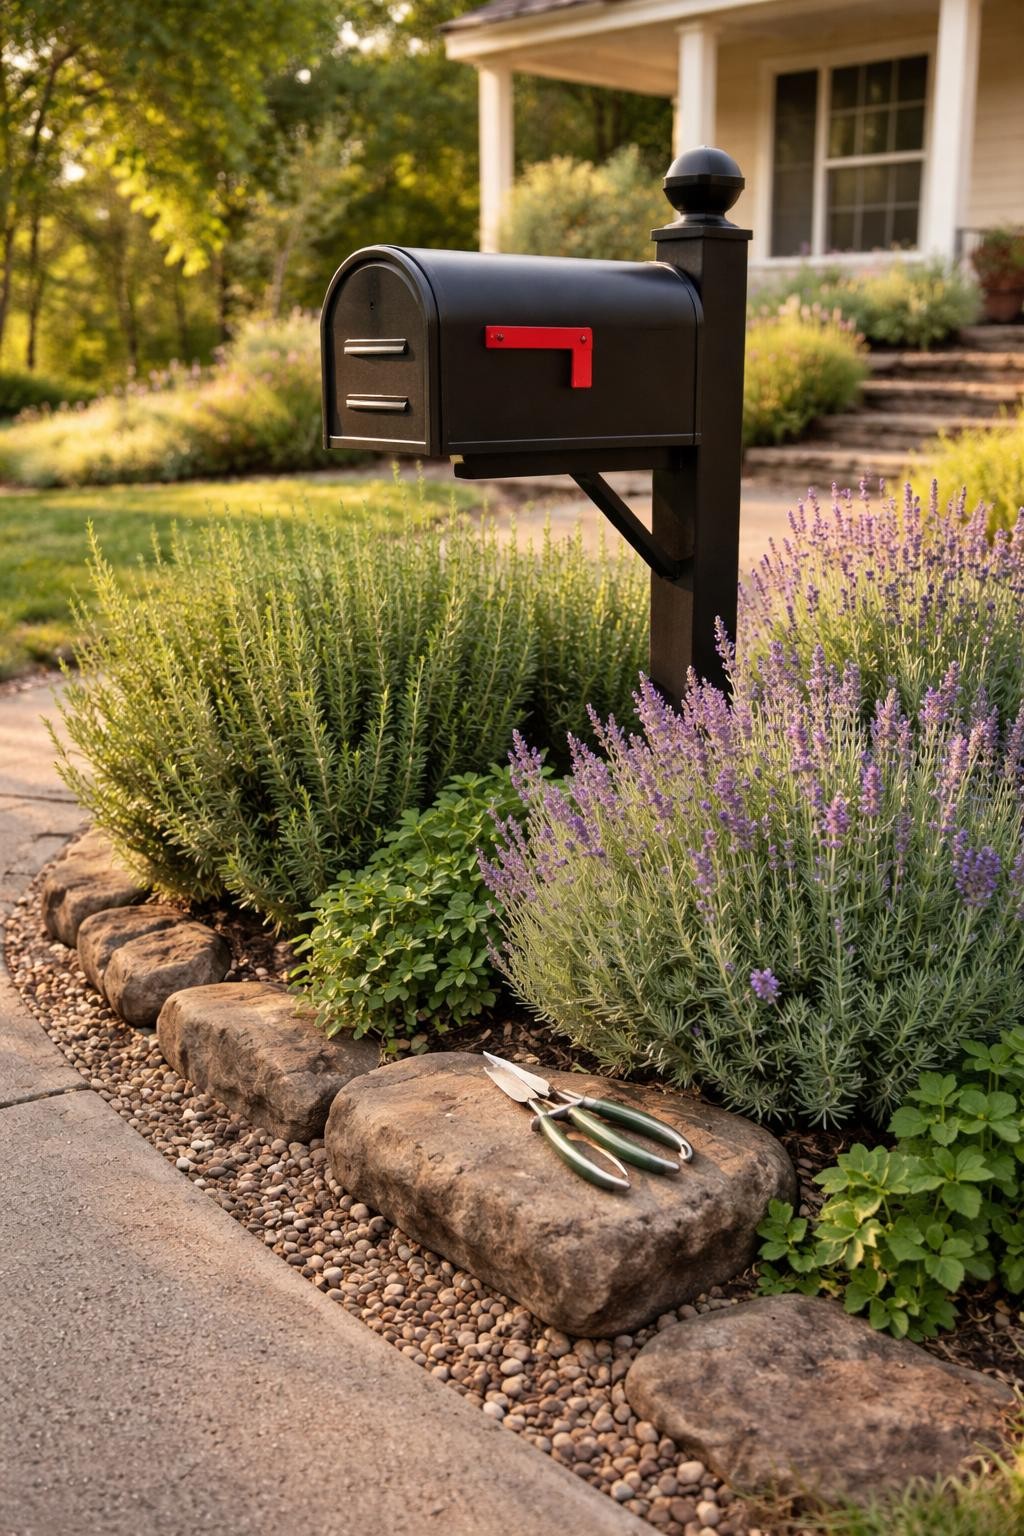
Useful and beautiful, a mini herb garden right by the mailbox. You can snip fresh herbs on your way inside.
How this idea works:
- Step 1: Plant a mix of culinary herbs like rosemary, thyme, oregano, and sage.
- Step 2: Arrange them with taller herbs like rosemary in the back, low ones in the front.
- Step 3: Mulch with small gravel to keep herbs clean and dry.
- Step 4: Add a small herb marker stake for each variety.
15. Hanging Basket Mailbox
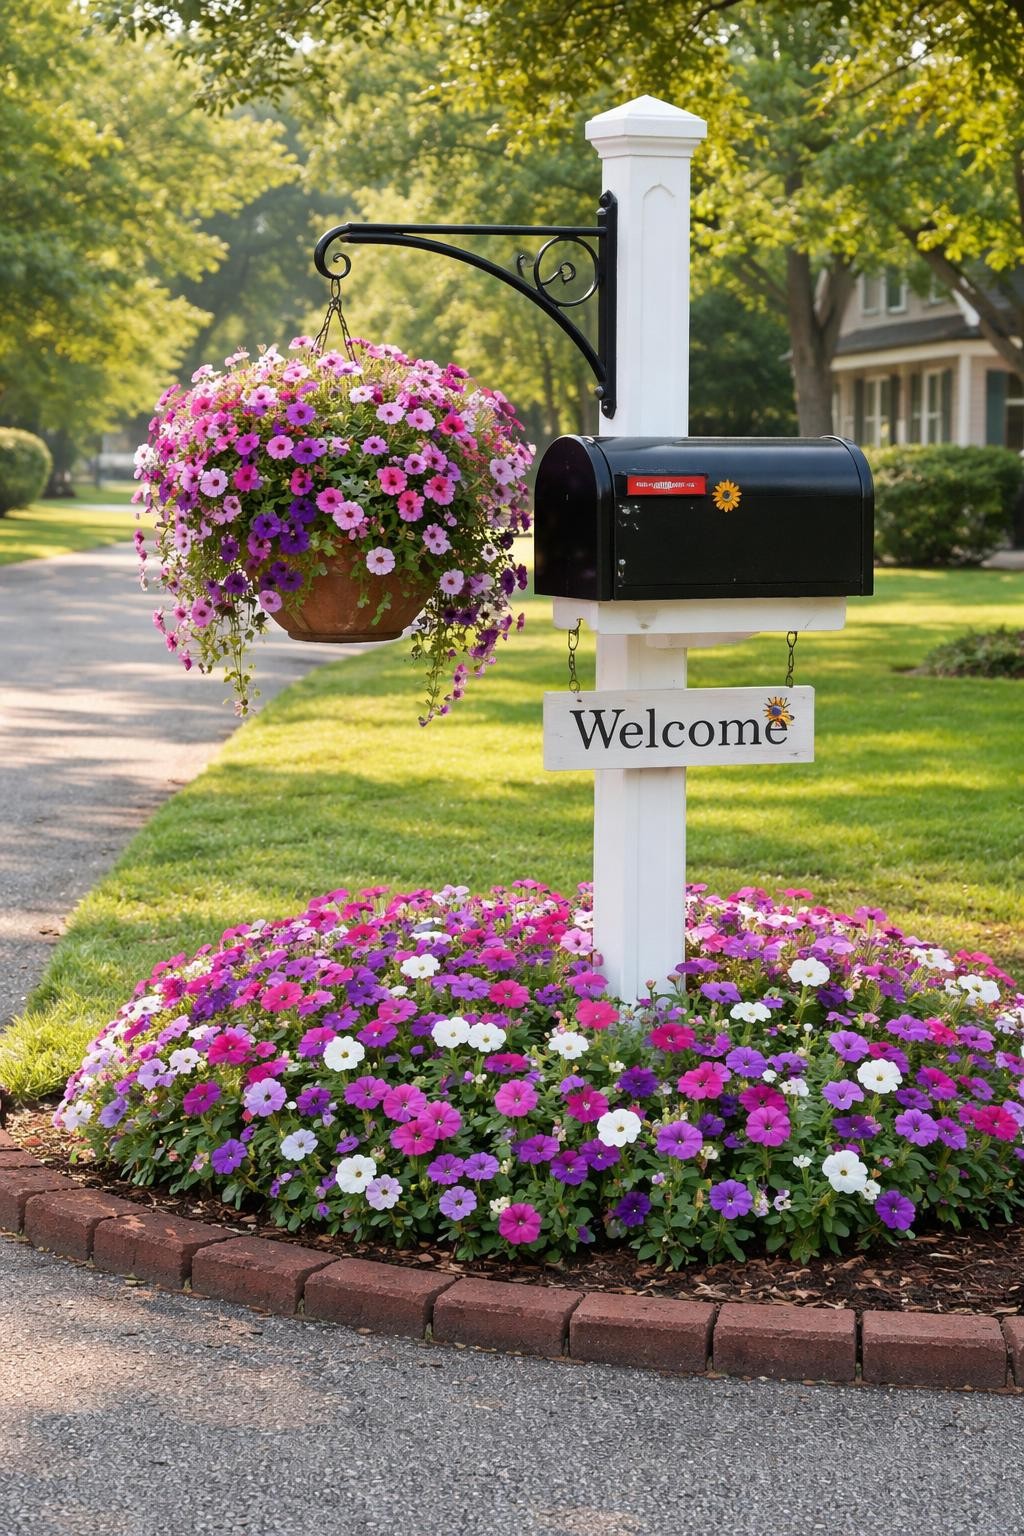
Flowers at eye level and below. A hanging basket bracket on the mailbox post adds another layer of color above the ground plants.
How this idea works:
- Step 1: Install a sturdy hanging basket bracket on the mailbox post.
- Step 2: Plant a hanging basket with trailing flowers like petunias or million bells.
- Step 3: Plant complementary flowers in the ground bed below.
- Step 4: Water the hanging basket regularly since it dries out faster.