


In This Article Show
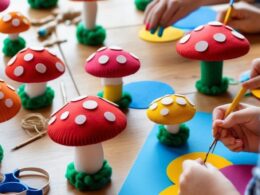
When you need to keep kids busy, decorate a party, or plan a calm classroom activity, paper lanterns are a great choice. They look beautiful, use simple supplies, and come together fast. In this list, you’ll find fun and easy lantern ideas you can make with printer paper, tissue, or cardstock.
Each project includes clear steps and materials so you can pick one and start crafting right away. Let’s jump into colorful, glowing paper lanterns you’ll be proud to hang.
1. Classic Slit-Cut Paper Lantern

This lantern has the familiar cylinder shape with even slits that let light peek through like gentle stripes. Kids love the quick reveal when the paper rolls into a lantern, and the simple steps make it beginner friendly.
Materials Needed:
- Construction paper or cardstock (9×12 inch)
- Scissors
- Glue stick or tape
- Ruler and pencil
- String or ribbon for hanging
How to make it:
- Fold the paper in half lengthwise and mark a 1-inch border along the open long edge.
- Cut even slits from the folded edge to the pencil line, then unfold and roll into a cylinder.
- Glue or tape the short edges together and add a paper handle on top.
- Let glue set, then hang your lantern with ribbon or place over a battery tea light.
2. Rainbow Tissue Window Lantern
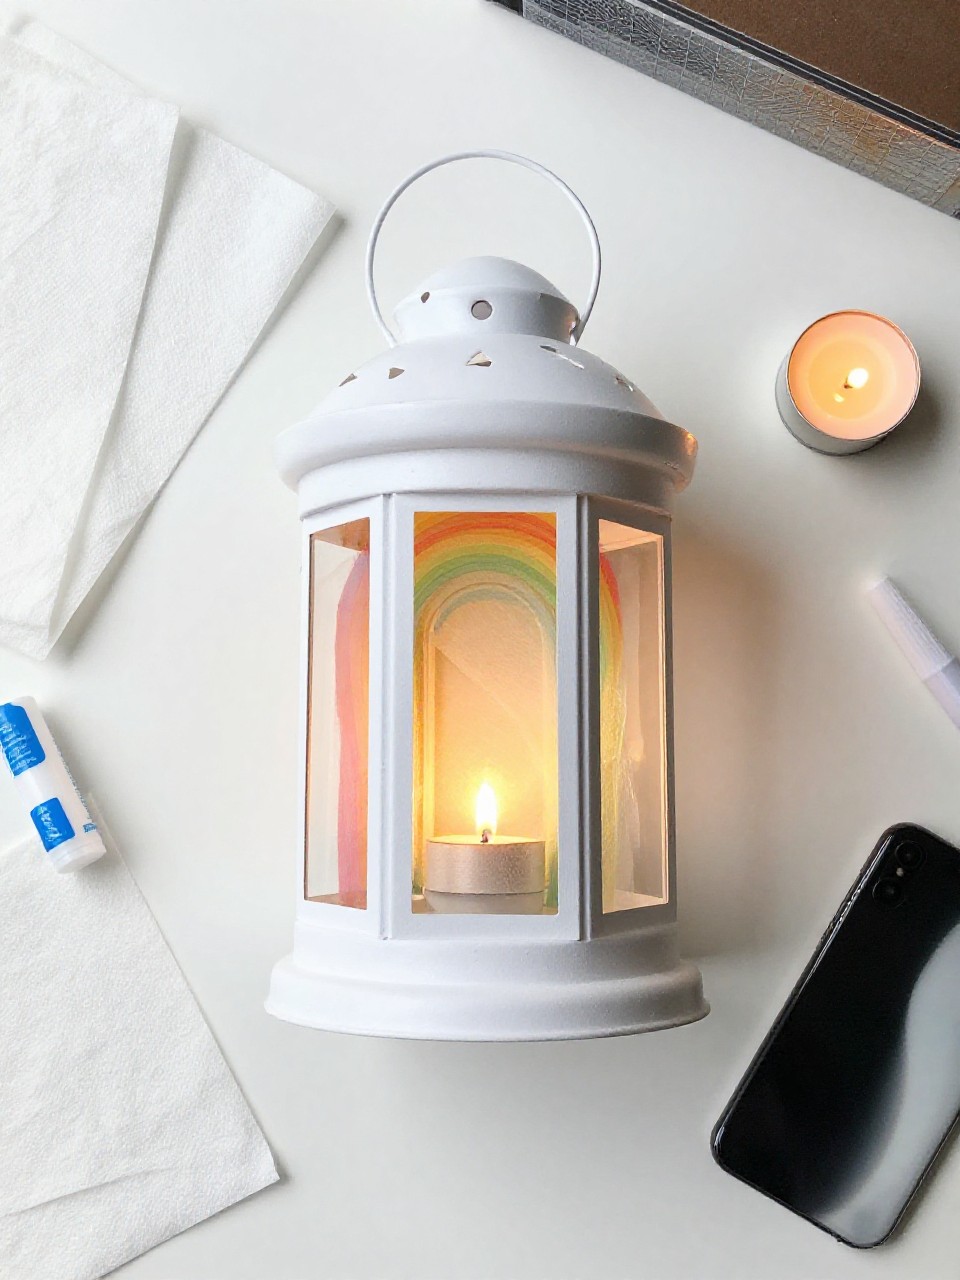
This boxy lantern glows with rainbow tissue squares like stained glass when a light shines inside. Kids enjoy arranging colors and seeing how they blend, making it a satisfying color-mixing project.
Materials Needed:
- White cardstock
- Tissue paper squares (rainbow colors)
- Clear glue or glue stick
- Craft knife or scissors (adult help)
- Battery tea light
How to make it:
- Cut a cardstock strip (4 inches tall, 12 inches long) and cut rectangular “windows” along the middle.
- Glue tissue squares on the back to cover each window, overlapping colors.
- Roll into a cylinder or fold into a square and glue edges to form the lantern.
- Let dry, then place over a battery tea light to see the colors glow.
3. Starry Night Cutout Lantern
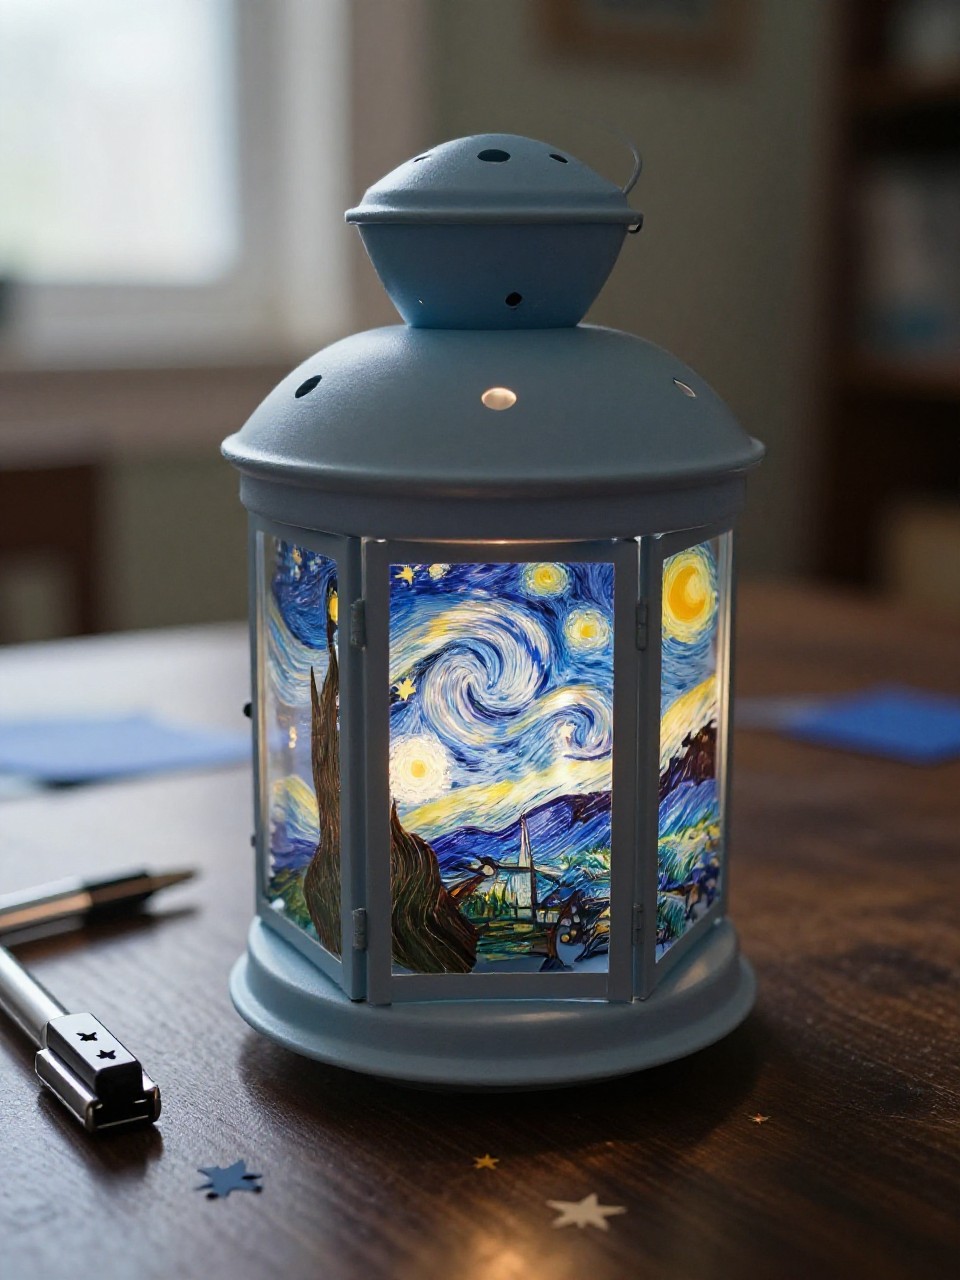
This deep-blue lantern features punched stars and moons that twinkle when lit. Kids love seeing the shapes light up like a tiny night sky, and the hole-punching is simple and fun.
Materials Needed:
- Dark blue cardstock
- Star and circle hole punches (or scissors)
- Silver gel pen or white paint pen
- Tape or glue
- Battery tea light
How to make it:
- Cut cardstock to about 5×12 inches; mark a 1-inch border on all sides.
- Punch stars and moons within the border area to create a pattern.
- Add dotted constellations with gel pen, then roll and tape the short edges.
- Place over a battery tea light and enjoy the glowing star shapes.
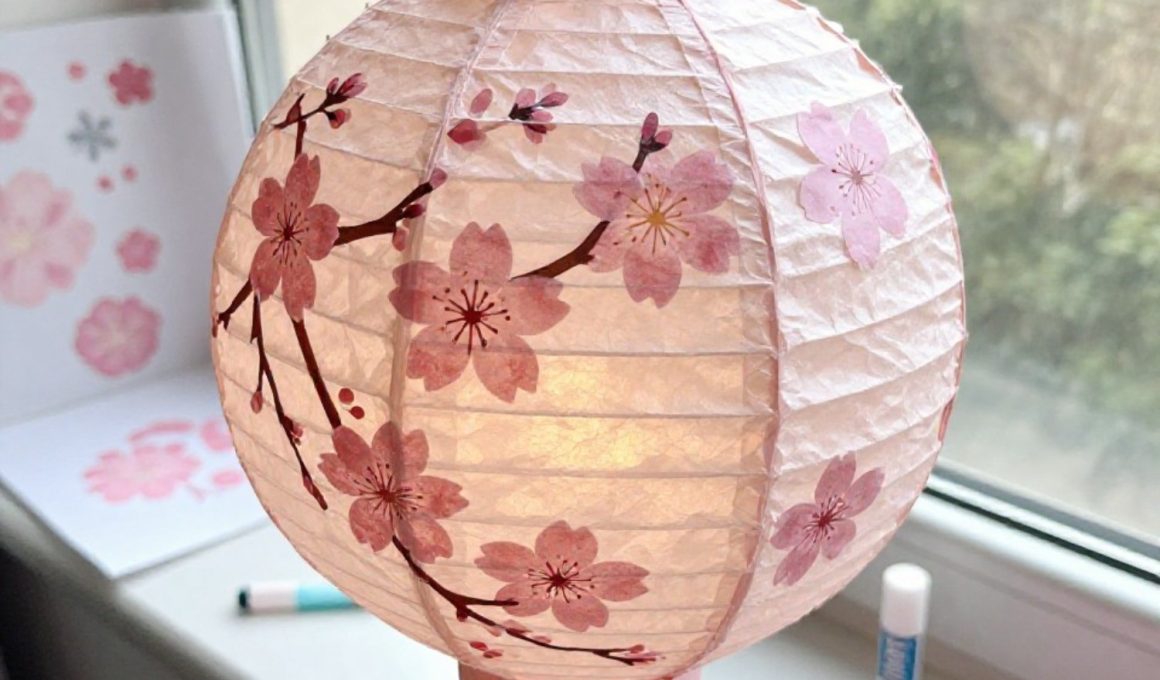
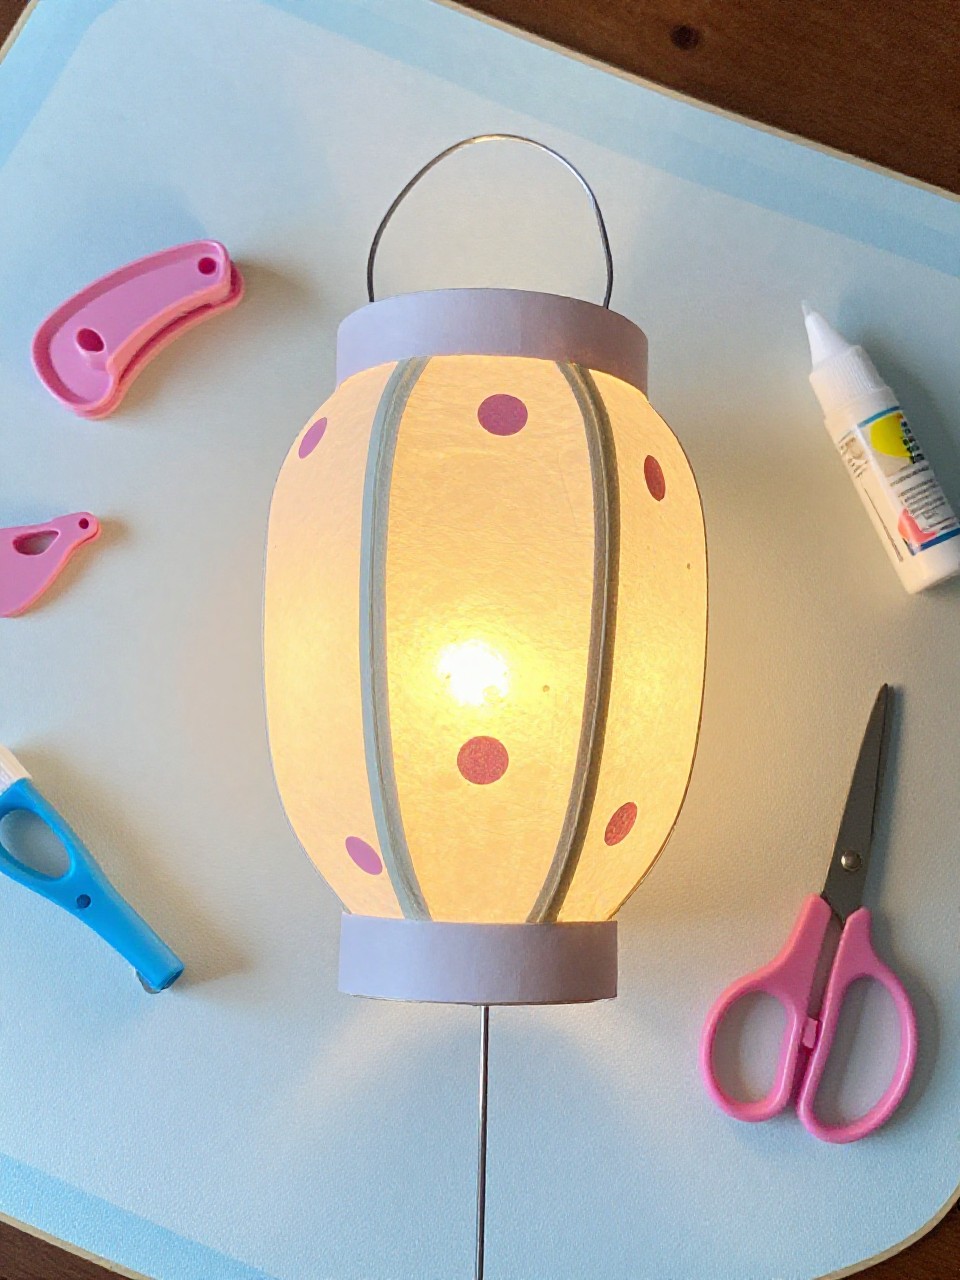
4. Cherry Blossom Paper Lantern
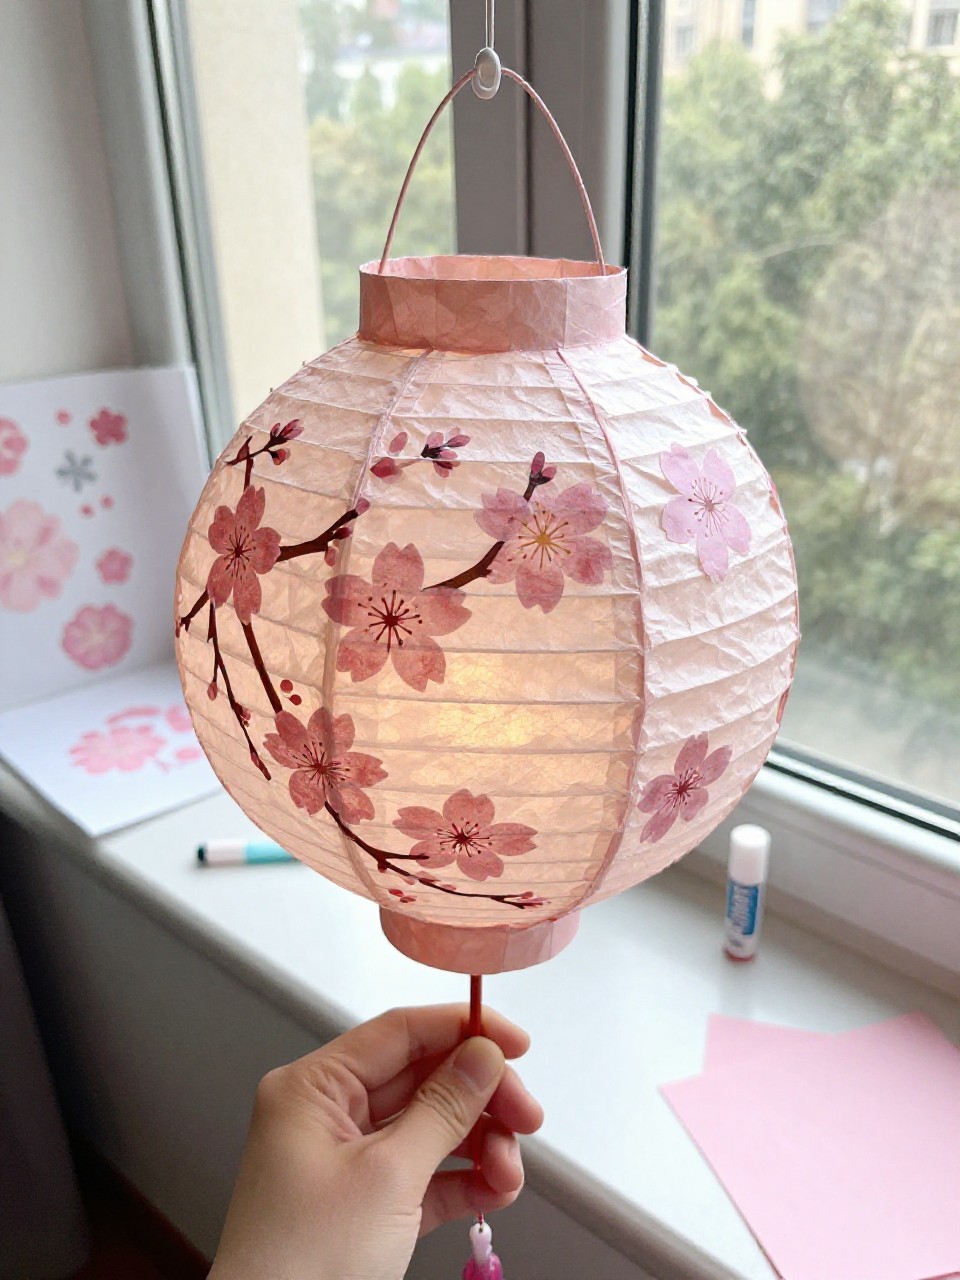
This pale pink lantern shows simple paper blossoms and tiny branches, giving a soft spring look. Kids enjoy adding clusters of flowers and seeing a plain lantern turn into a gentle garden scene.
Materials Needed:
- Light pink cardstock
- Brown marker or thin paper strips (for branches)
- Small flower punch or hand-cut blossoms
- Glue stick
- Ribbon for hanging
How to make it:
- Make a basic slit-cut lantern from pink cardstock.
- Draw thin branches or glue brown strips around the lantern.
- Add small pink and white paper blossoms along branches.
- Glue a ribbon handle on top and hang in a sunny window.
5. Watercolor Wash Lantern
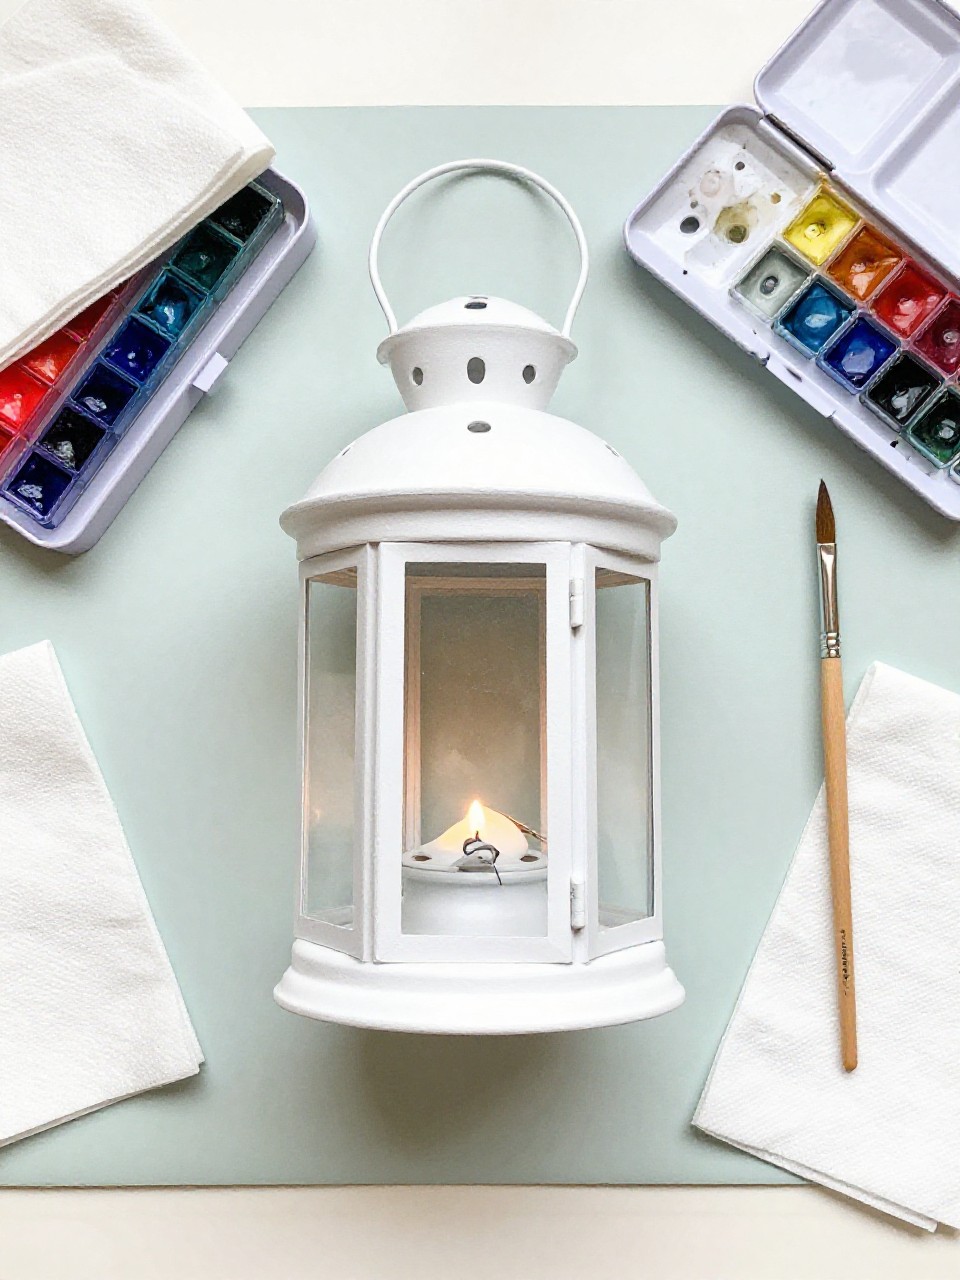
This lantern shows soft watercolor swirls that glow beautifully when lit. Kids love painting freely and watching the colors blend before turning it into a lantern.
Materials Needed:
- Watercolor paper or heavy cardstock
- Watercolor paints and brush
- Water cup and paper towel
- Tape or glue
- Battery tea light
How to make it:
- Paint the paper with sweeping watercolor washes; let dry fully.
- Fold and slit-cut like a classic lantern or leave as a smooth cylinder.
- Roll and glue the short edges together to form the lantern.
- Place over a battery tea light to see the colors shine through.
6. Garden Firefly Jar Lantern
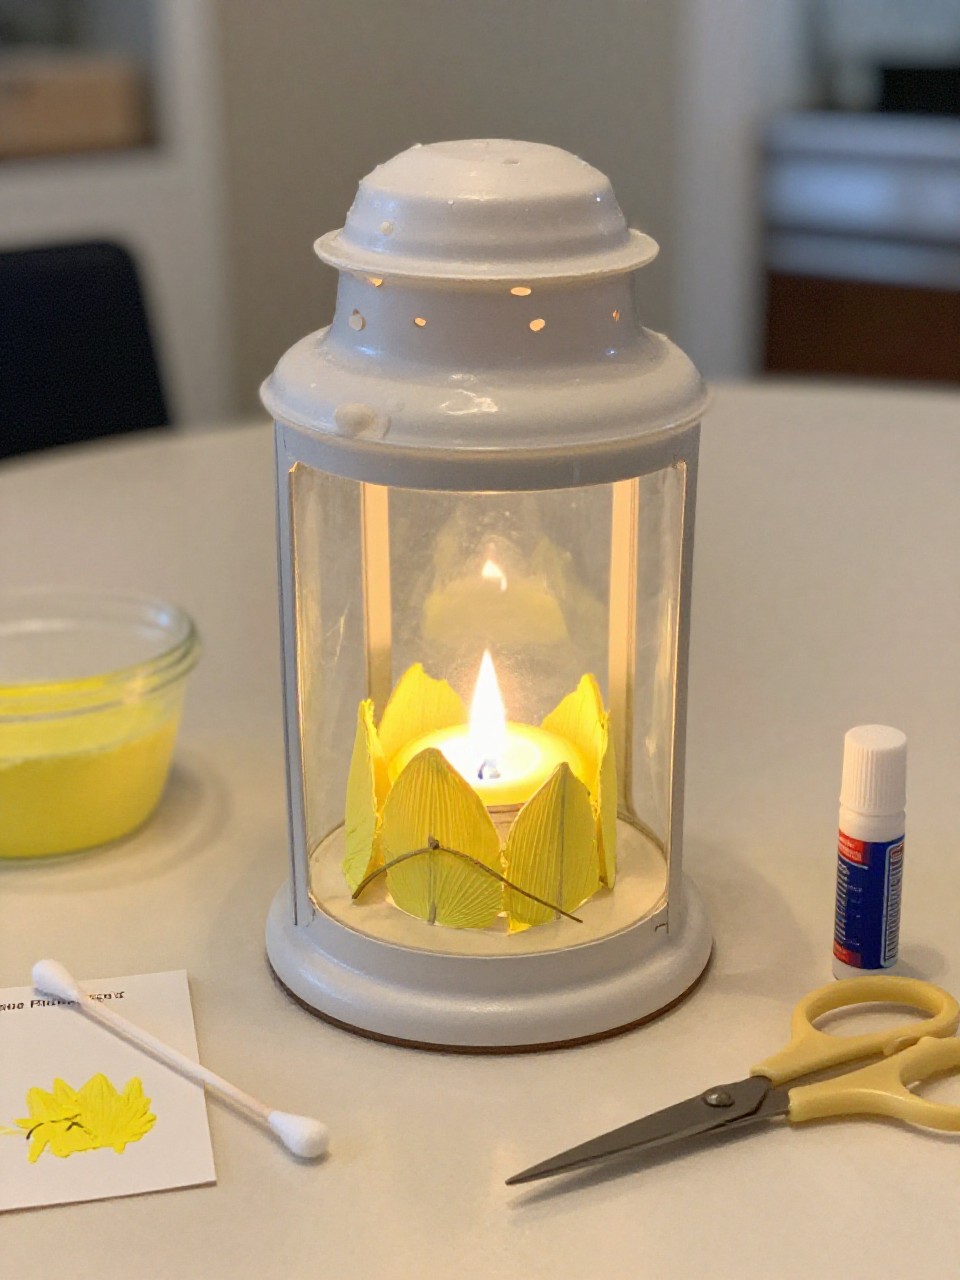
Made from paper wrapped around a clear cup, this lantern has tiny yellow “fireflies” and leaf silhouettes. Kids enjoy dotting bright paint for glowing bugs and adding simple nature shapes.
Materials Needed:
- Black construction paper
- Yellow acrylic or tempera paint (cotton swab applicator)
- Green paper for leaves
- Clear plastic cup or recycled jar (no flame)
- Tape or glue
How to make it:
- Cut black paper to wrap snugly around the cup; cut small leaf shapes from green paper.
- Dot yellow “fireflies” across the black paper; let dry.
- Glue on leaf silhouettes and wrap paper around the cup, securing the seam.
- Place a battery tea light inside the cup for a gentle glow.
7. Ombre Fringe Lantern
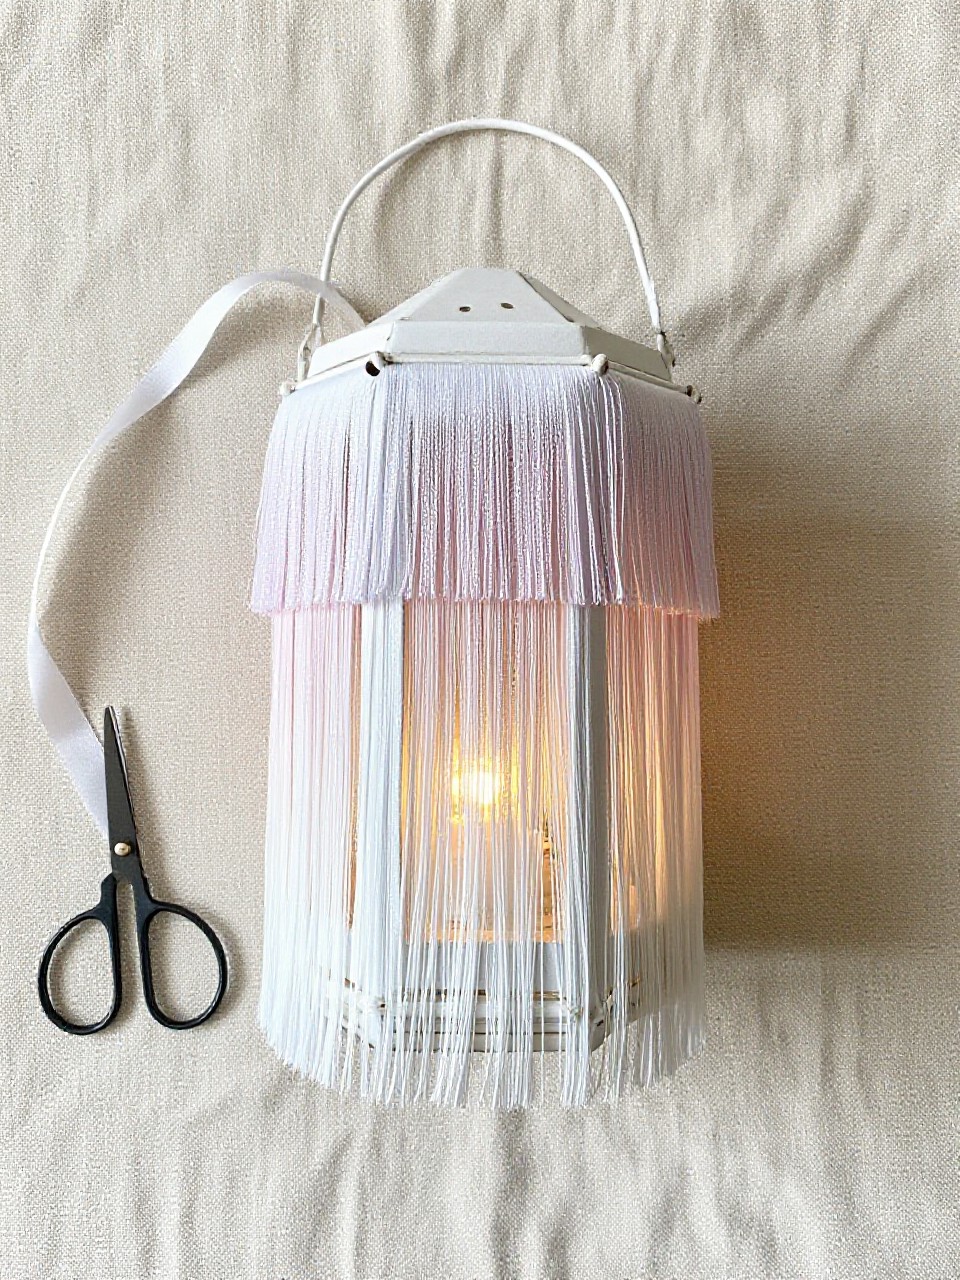
This tall lantern has layered fringes that fade from dark to light, creating soft movement and texture. Kids love snipping fringe and choosing color gradients, and the result looks fancy yet simple to make.
Materials Needed:
- Three shades of colored paper (same color family)
- Scissors
- Glue stick
- Ruler
- Ribbon for hanging
How to make it:
- Cut three strips of paper (4×12 inches each) and fringe along one long edge.
- Glue the darkest fringe around the bottom of a rolled cylinder base, then medium, then light.
- Add a paper handle or ribbon at the top.
- Fluff the fringe and hang where it can catch a breeze.
8. Stained Glass Heart Lantern
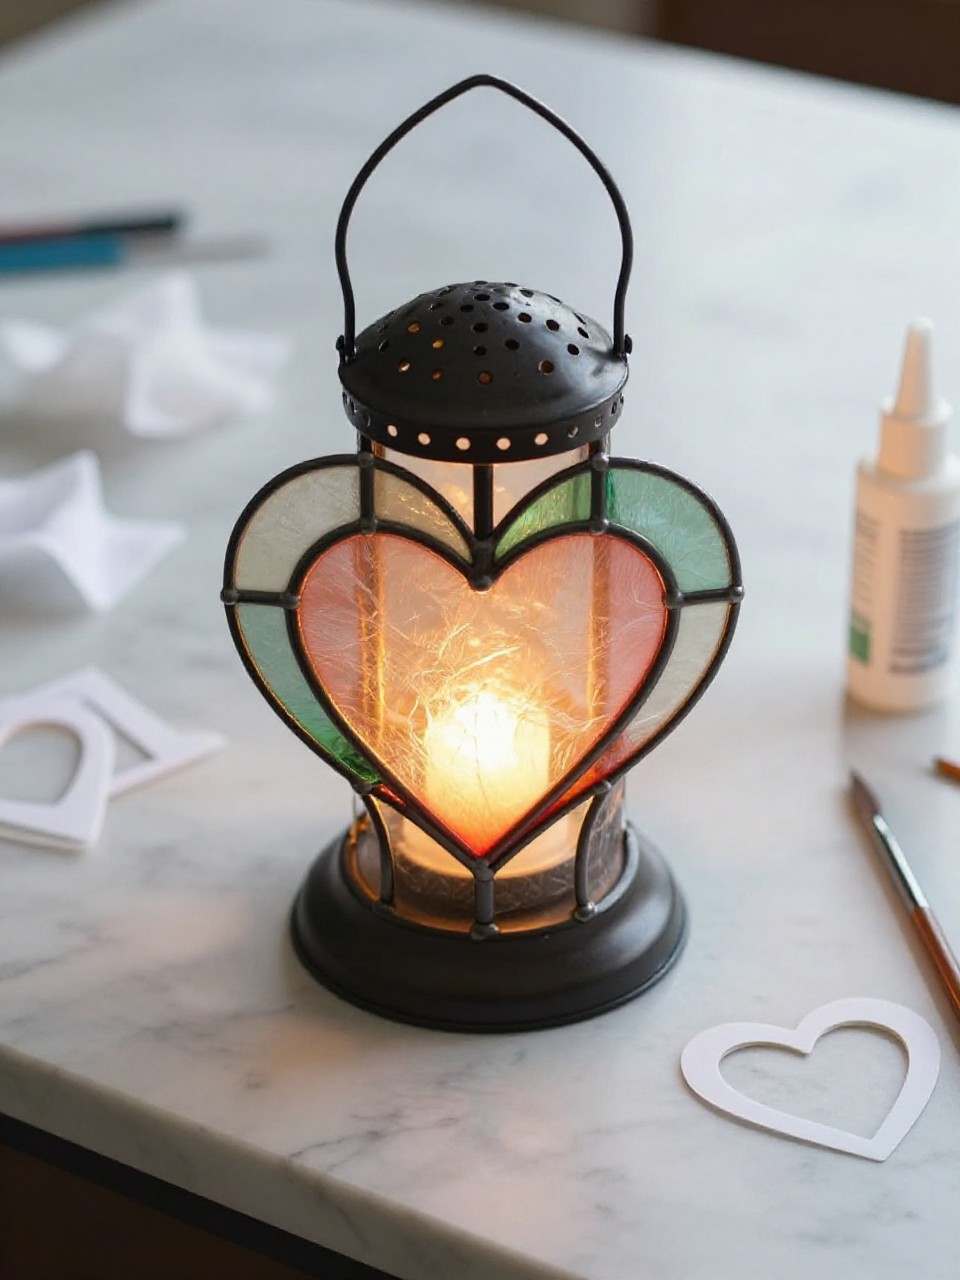
This sweet lantern shows heart-shaped windows filled with colorful tissue that glow warmly. Kids enjoy choosing color combos and seeing the hearts light up, perfect for parties or kind notes.
Materials Needed:
- White or red cardstock
- Tissue paper in warm colors
- Glue stick
- Heart stencil and pencil
- Battery tea light
How to make it:
- Draw several hearts on cardstock and carefully cut them out to make windows.
- Glue tissue paper behind each opening, overlapping pieces for rich color.
- Roll and glue the cardstock into a cylinder.
- Place over a battery tea light and display on a windowsill.
9. Galaxy Swirl Lantern
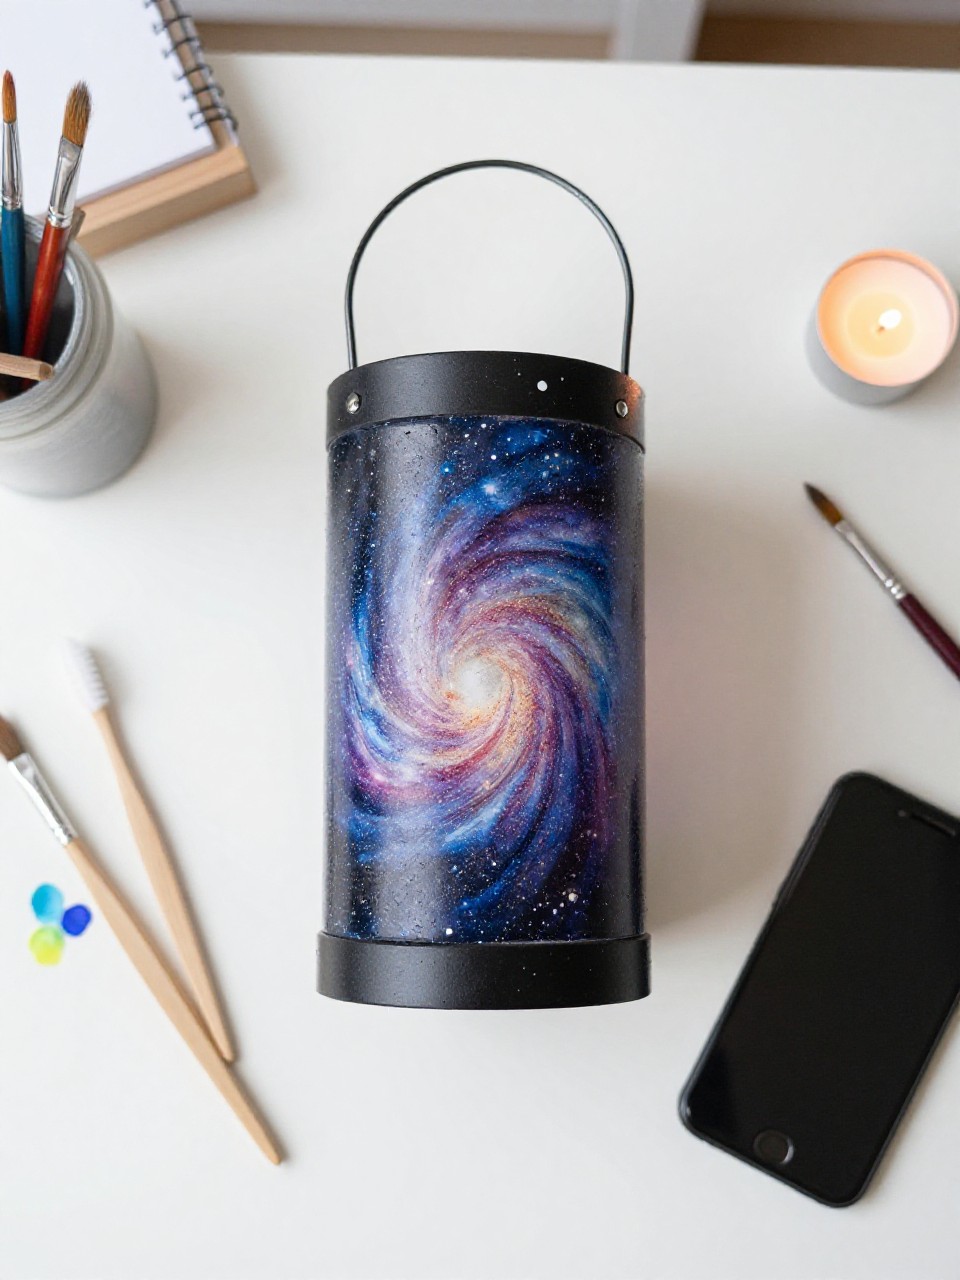
This dark, spacey lantern has painted swirls, speckles of stars, and a cool cosmic vibe. Kids love splatter painting and watching their galaxy come to life under a soft light.
Materials Needed:
- Black cardstock
- Acrylic paint in blues, purples, white
- Old toothbrush or stiff brush (for splatter)
- Tape or glue
- Battery tea light
How to make it:
- Paint swirls and clouds with blues and purples on black cardstock; let dry.
- Splatter white paint lightly for stars and let dry again.
- Roll and secure into a cylinder with tape or glue.
- Place over a battery tea light and enjoy the night-sky look.
10. Autumn Leaf Silhouette Lantern
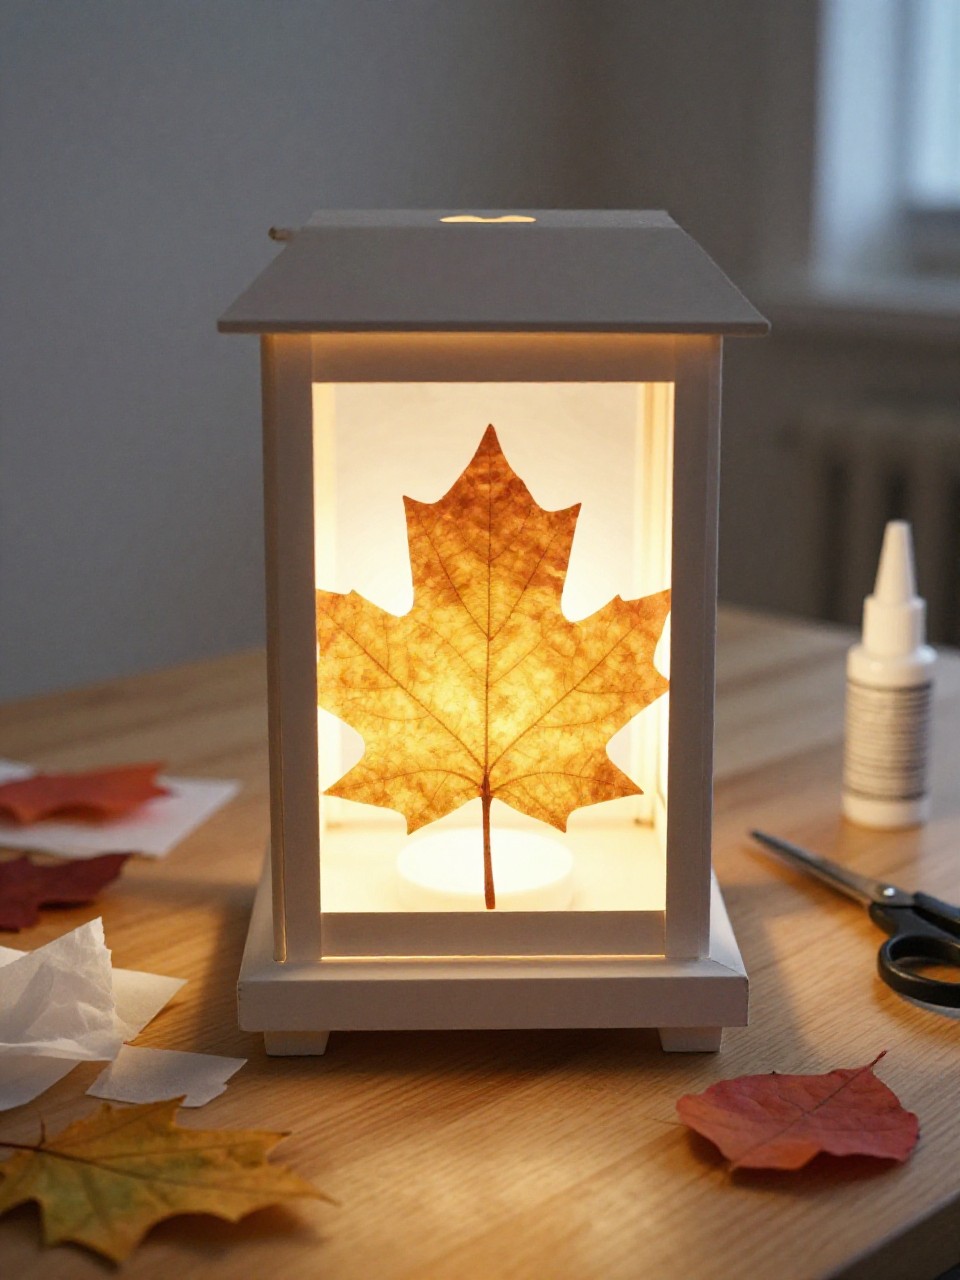
This lantern shows bold leaf shapes with warm tissue behind them for a fall glow. Kids enjoy tracing real leaves and seeing the colors shine through like a mini campfire.
Materials Needed:
- Brown or kraft cardstock
- Real leaf templates or printed leaf shapes
- Tissue paper in reds, oranges, yellows
- Glue stick
- Battery tea light
How to make it:
- Trace and cut leaf shapes out of the cardstock to create windows.
- Glue warm-colored tissue behind each leaf opening.
- Roll the cardstock into a cylinder and secure the seam.
- Set over a battery tea light for a cozy autumn feel.
11. Butterfly Meadow Lantern
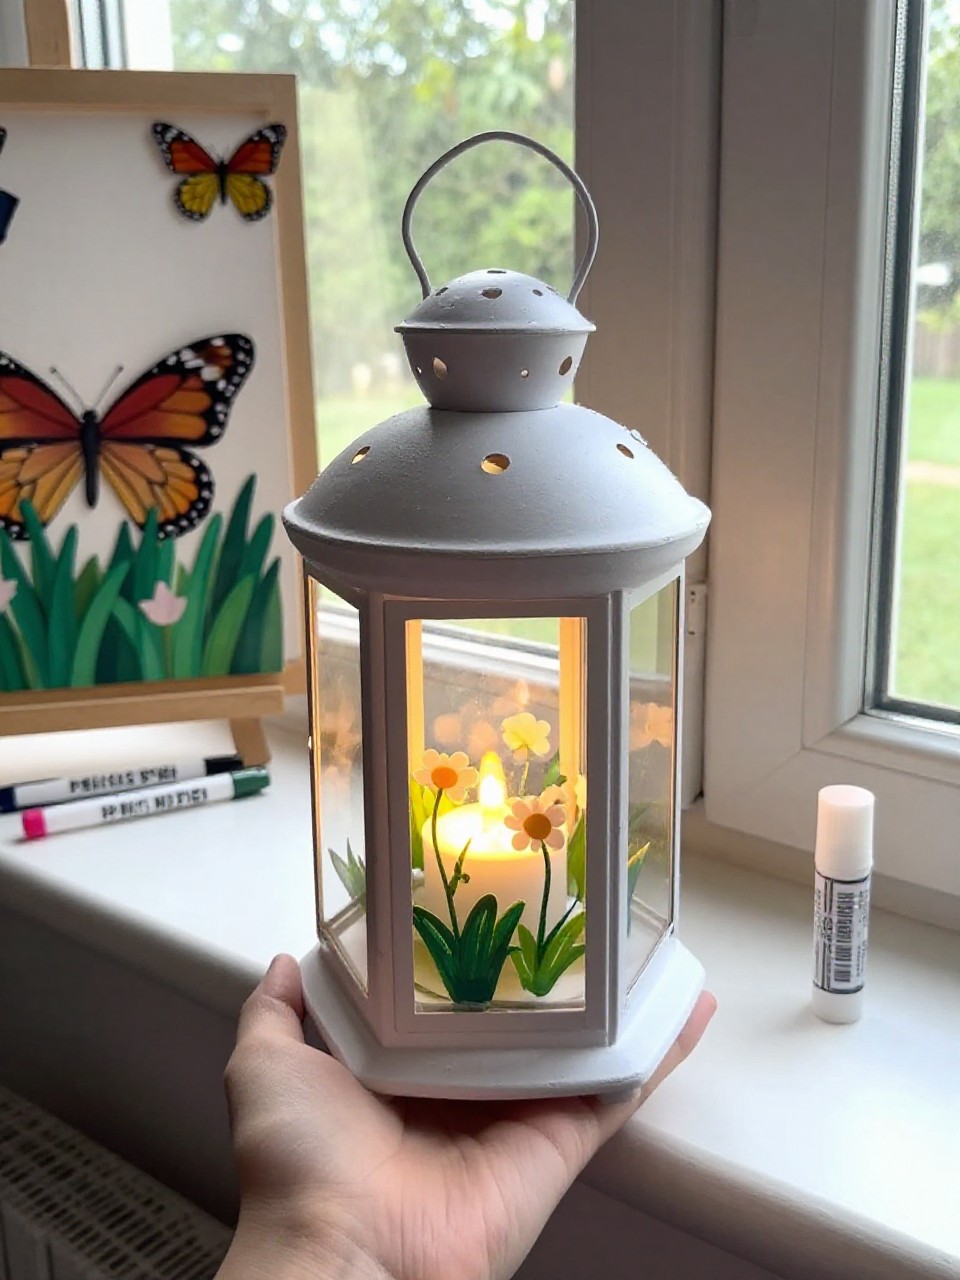
This cheerful lantern features bright butterflies flying across a grassy base. Kids enjoy decorating each butterfly and placing them at different heights for movement.
Materials Needed:
- Light green cardstock
- Colored paper for butterflies
- Markers or crayons
- Glue stick
- Ribbon handle
How to make it:
- Make a classic slit-cut lantern from green cardstock.
- Cut simple butterfly shapes; color patterns with markers.
- Glue butterflies around the lantern, some tilted for motion.
- Add a ribbon handle and hang near a window.
12. Confetti Party Lantern
This festive lantern is covered in bright paper confetti dots that sparkle in any room. Kids love punching or cutting colorful bits and sticking them on for a quick party look.
Materials Needed:
- White cardstock
- Colorful paper scraps
- Hole punch or scissors
- Glue stick
- String for hanging
How to make it:
- Make a classic slit-cut lantern from white cardstock.
- Punch or cut small circles from colorful scraps.
- Glue confetti dots all over the lantern in clusters.
- Add string and hang several together for a party garland.
13. Snowflake Lace Lantern
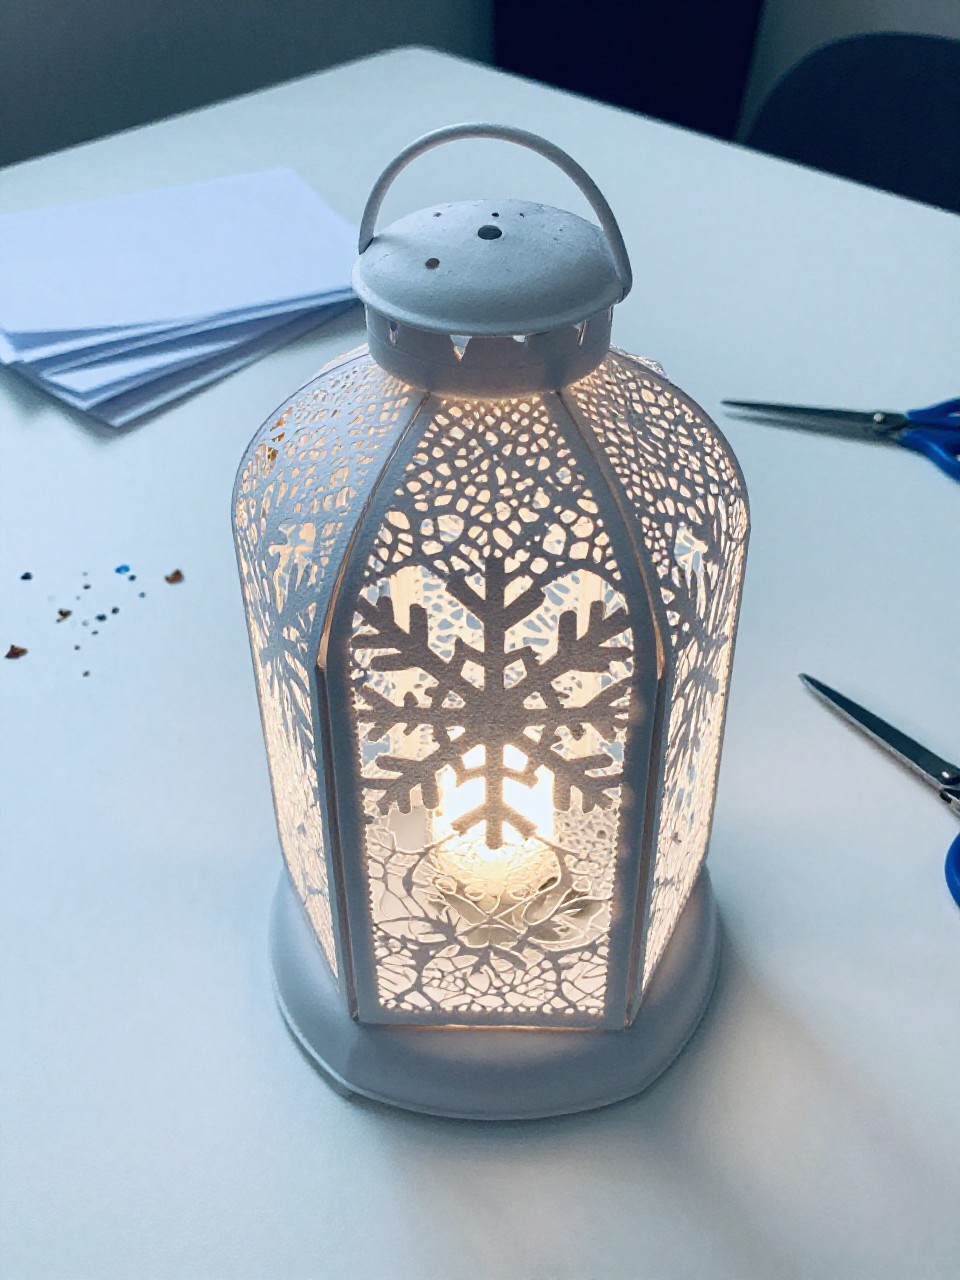
This winter lantern has delicate paper snowflakes that look like lace against cool blue light. Kids enjoy folding and snipping unique snowflakes, and every lantern turns out different.
Materials Needed:
- Light blue cardstock
- White copy paper for snowflakes
- Scissors
- Glue stick
- Battery tea light
How to make it:
- Fold white squares and cut snowflakes; unfold carefully.
- Glue snowflakes around a blue cardstock base.
- Roll and glue into a cylinder or make a slit-cut lantern first, then decorate.
- Set over a battery tea light for a frosty glow.
14. Paper Strip Weave Lantern
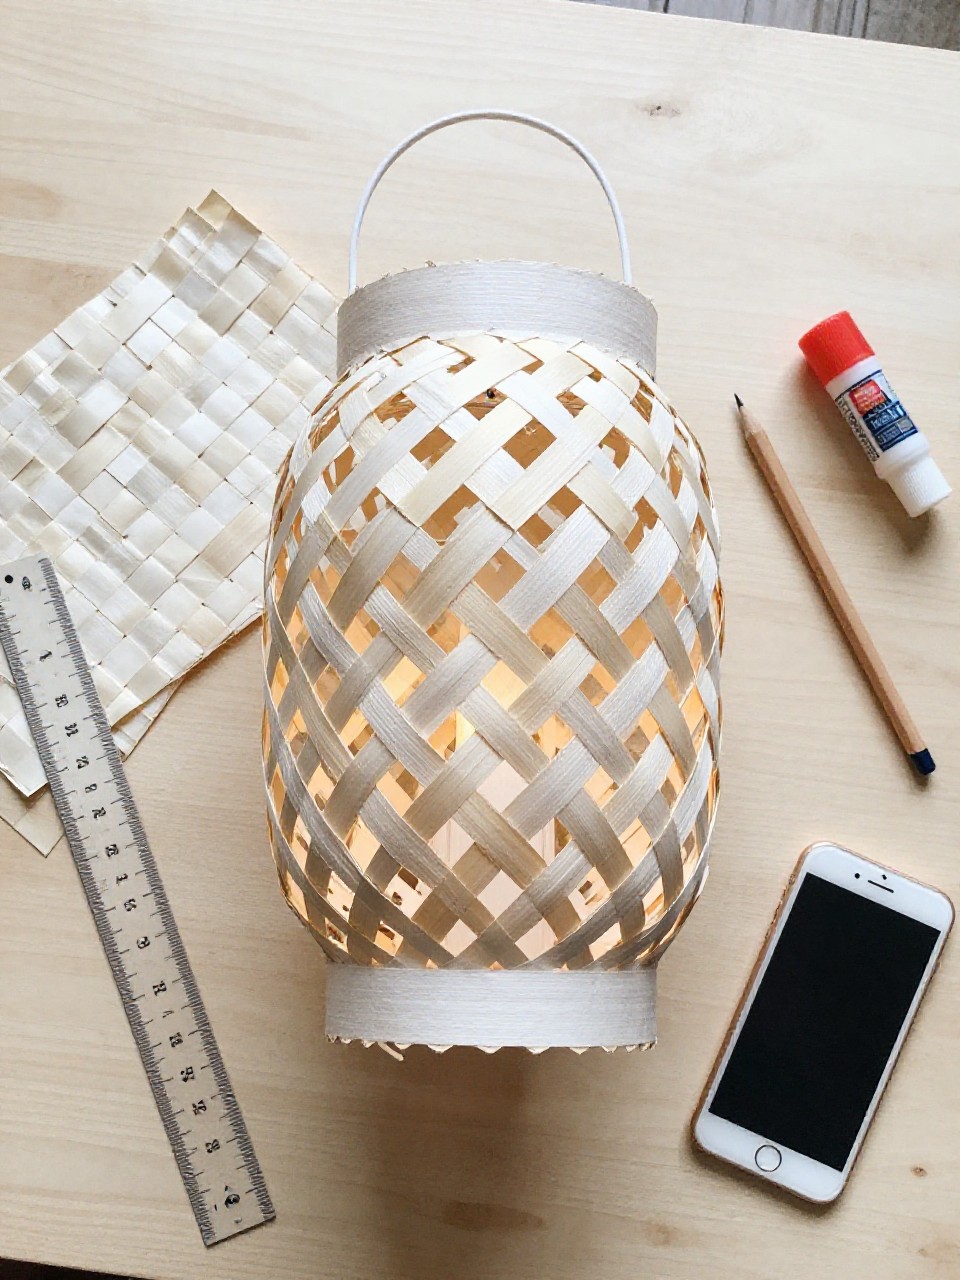
This lantern features woven strips that create a basket-like texture and gentle light gaps. Kids enjoy the hands-on weaving and seeing the pattern form as they go.
Materials Needed:
- Two contrasting colors of cardstock
- Ruler and pencil
- Scissors
- Glue stick
- Ribbon handle
How to make it:
- Cut one sheet into a base with slits (leave 1-inch borders); cut the other sheet into long strips.
- Weave strips over-under through the slits; glue ends to secure.
- Roll and glue the woven sheet into a cylinder.
- Add a ribbon handle and hang to show the pattern.
15. Floral Doily Glow Lantern
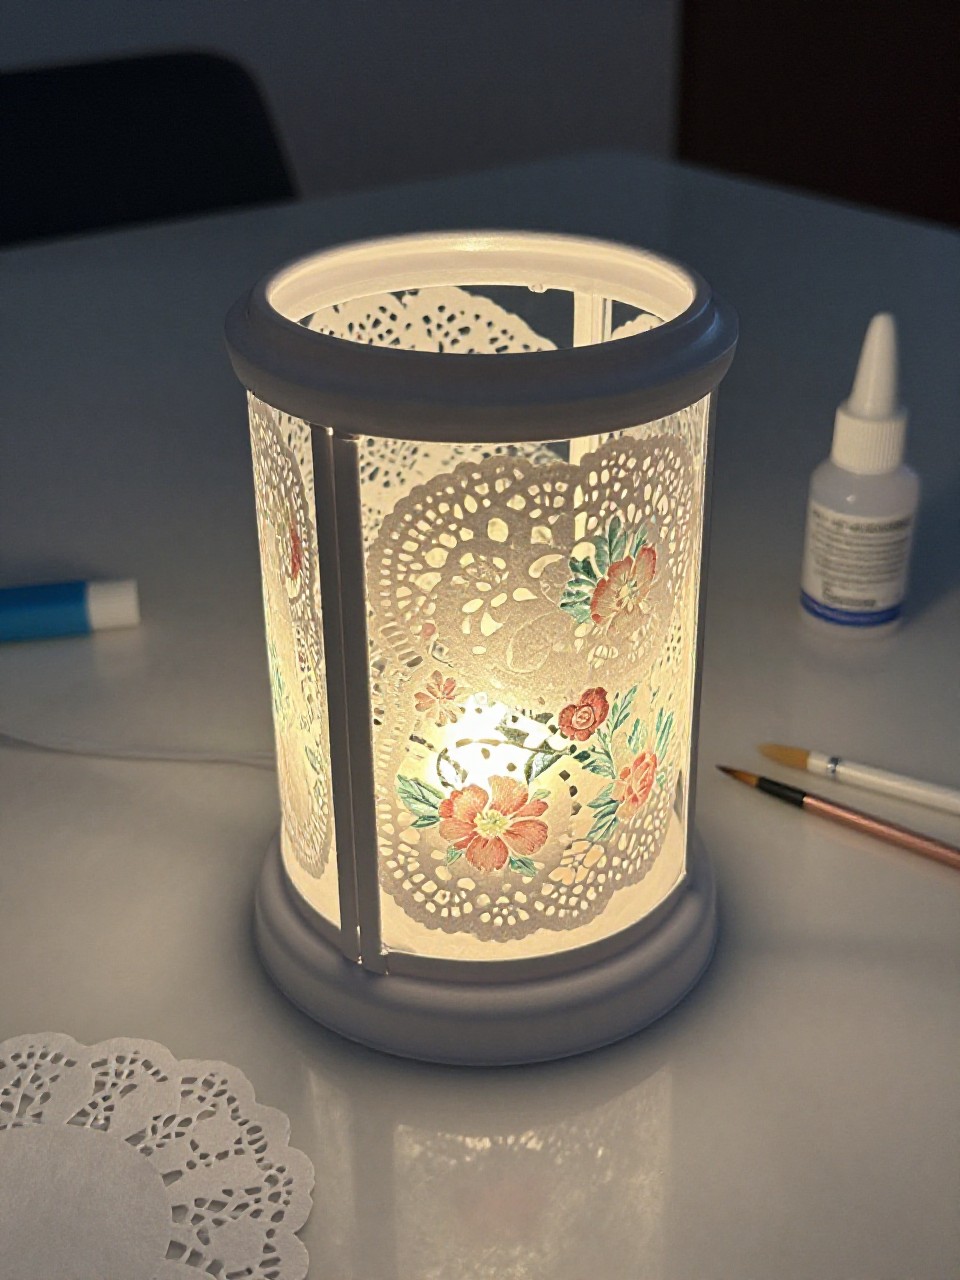
This sweet lantern uses paper doilies that let light pass through tiny lace holes, creating a gentle glow. Kids love the instant elegance and the easy paste-and-wrap step.
Materials Needed:
- Colored cardstock (pastel works well)
- Paper doilies
- Glue stick or Mod Podge and brush
- Tape
- Battery tea light
How to make it:
- Arrange and glue doilies onto the cardstock, trimming edges to fit.
- Optional: Brush a thin Mod Podge coat over doilies; let dry.
- Roll and tape the cardstock into a cylinder.
- Place over a battery tea light and set on a shelf.
16. Panda Face Paper Lantern
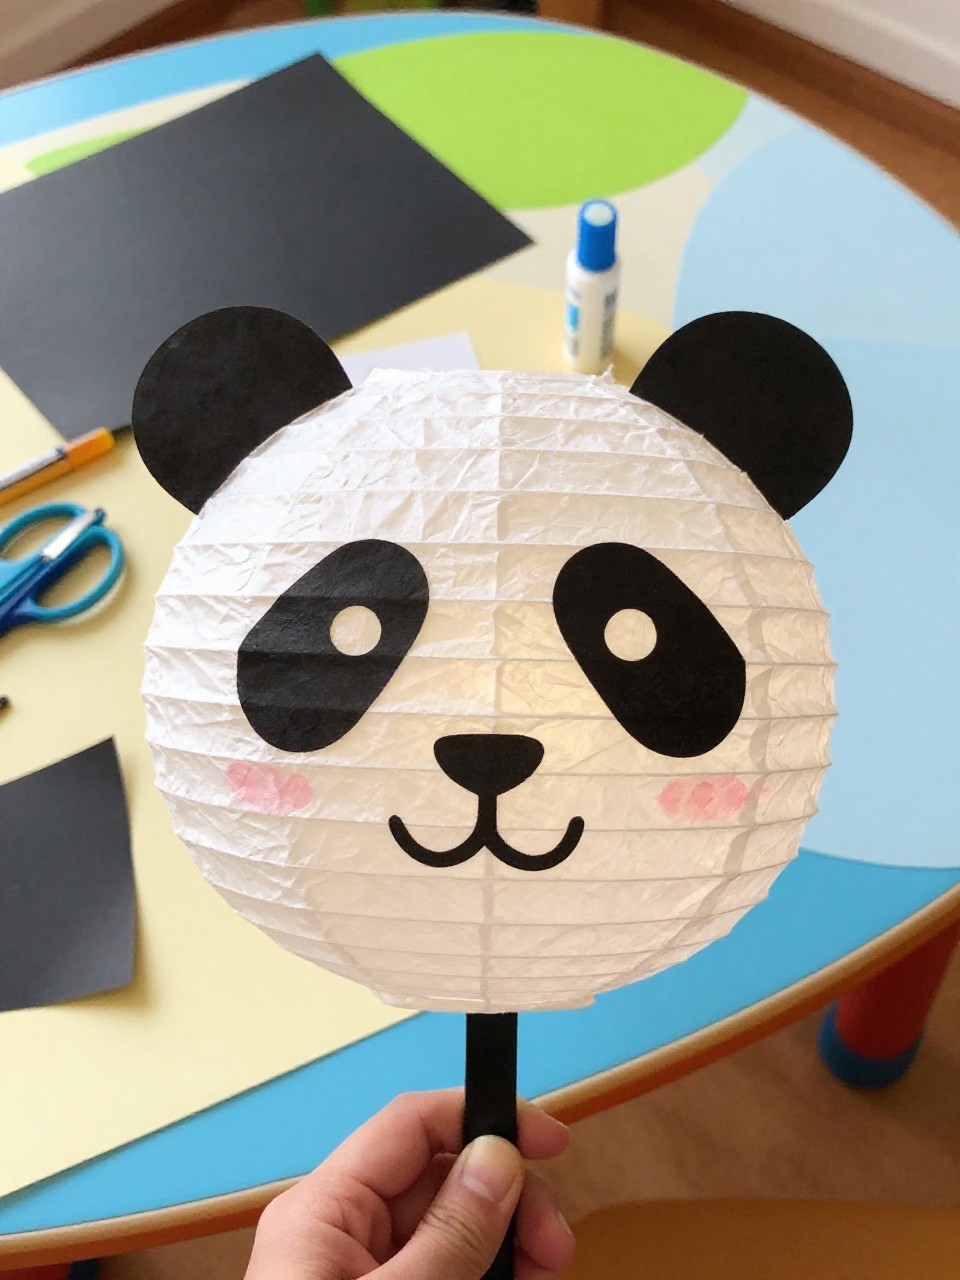
This cute lantern shows a simple panda face with round ears and gentle eyes on a white cylinder. Kids enjoy building a friendly character with easy shapes, and it looks adorable hanging in groups.
Materials Needed:
- White cardstock
- Black paper for ears, eyes, and nose
- Glue stick
- Marker for mouth
- String for hanging
How to make it:
- Roll white cardstock into a cylinder and glue the seam.
- Cut and glue on black ear circles at the top edge.
- Add oval eye patches, small eyes, and a nose; draw a tiny mouth.
- Tie on string and hang your panda lantern for instant charm.