


In This Article Show
Keeping kids busy can be hard, especially on rainy days or when screens start calling. If you want simple, cute projects that bring smiles, these ice cream paper crafts are perfect. Each idea is easy to set up and uses basic supplies you likely have.
This list will help you find quick wins for home or classroom fun. Let’s jump into sweet, colorful paper treats kids will love to make.
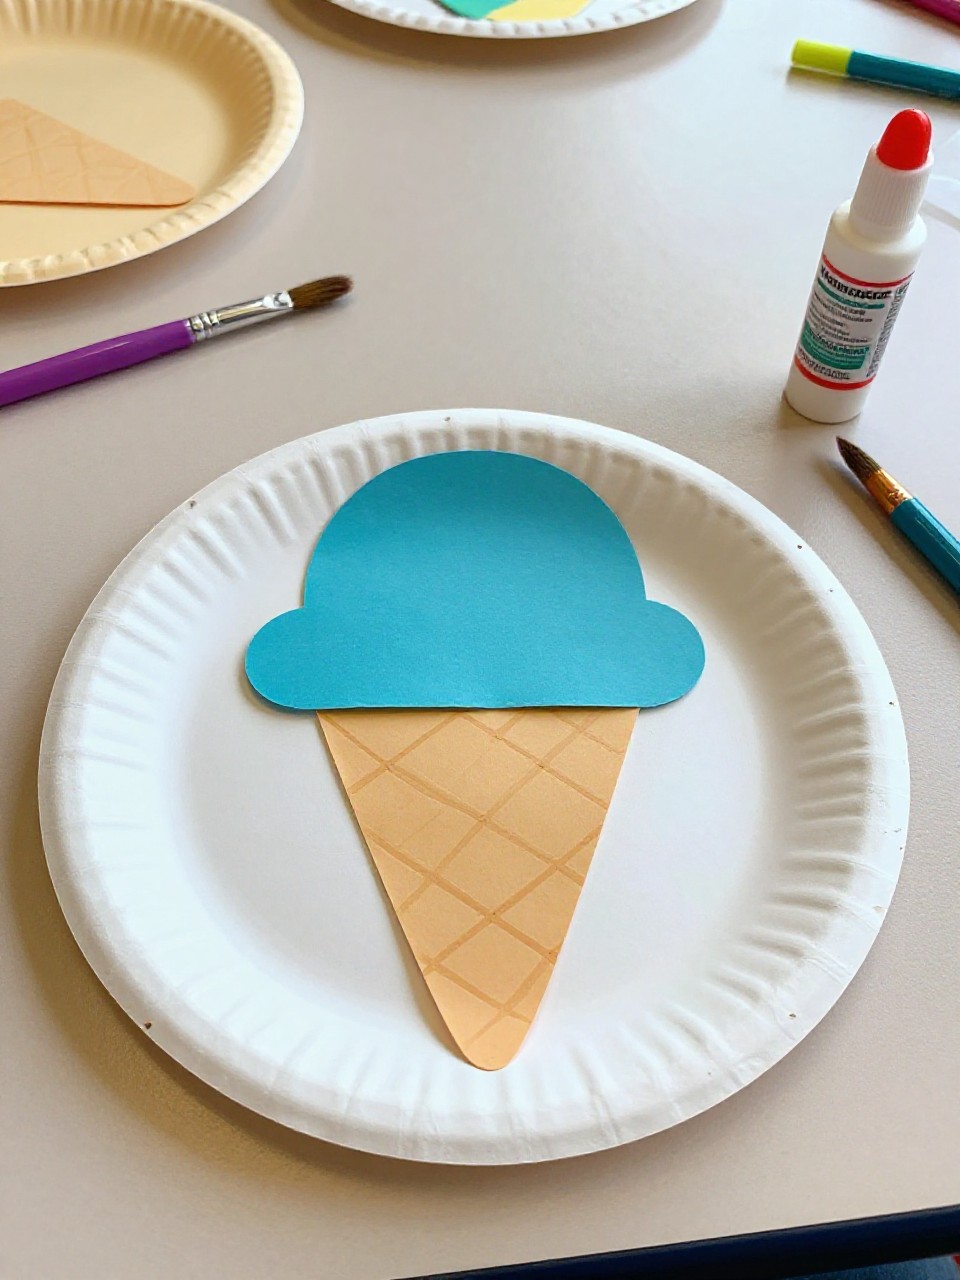
1. Paper Cone Ice Cream Collage
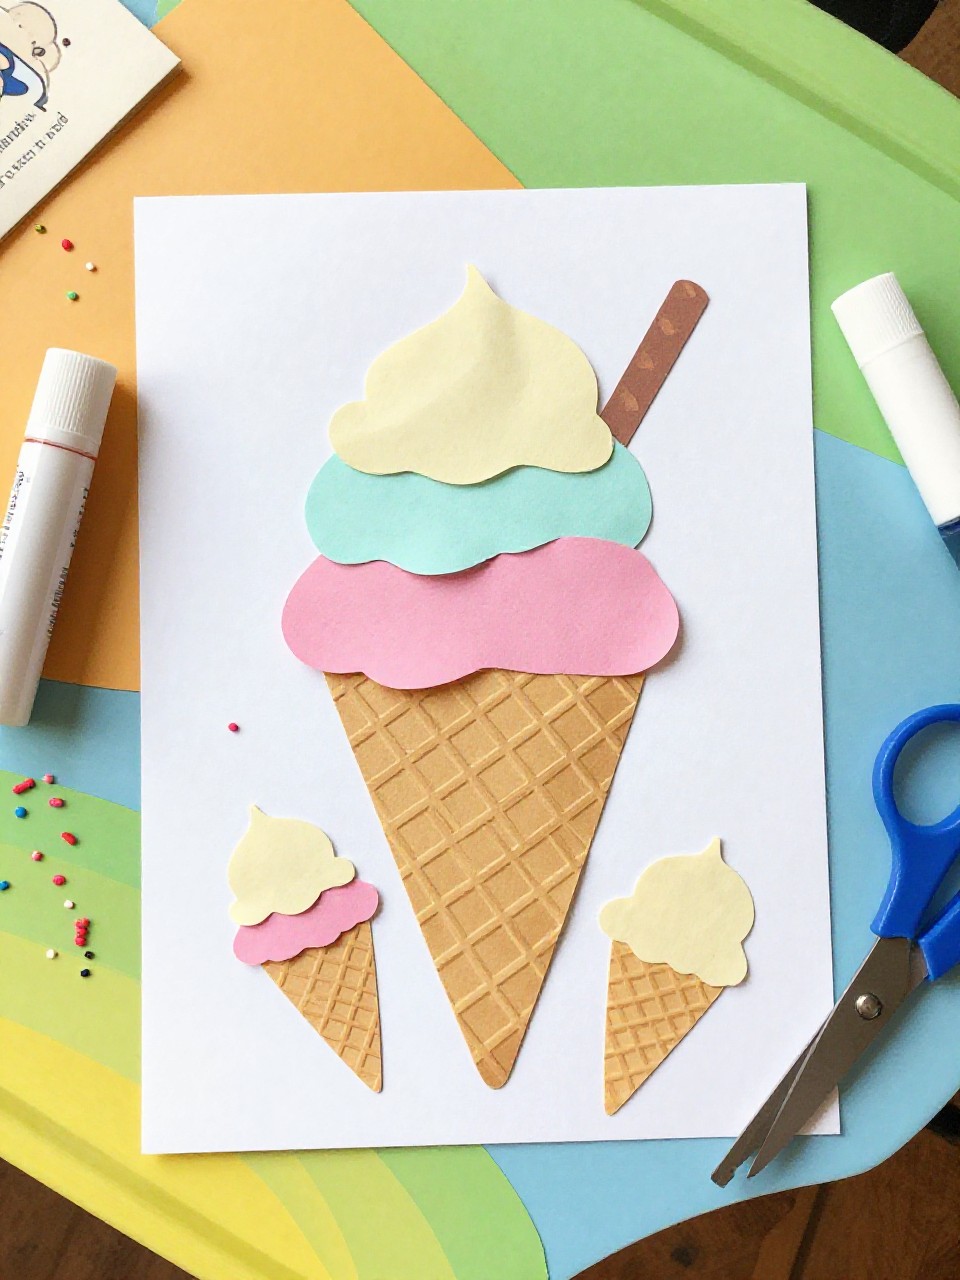
This craft looks like a tall cone stacked with colorful paper scoops and sprinkles on a flat sheet. Kids love choosing flavors with different colors and layering scoops to build their dream cone. It’s simple and great for beginners.
Materials Needed:
- Colored construction paper (browns for cones, bright colors for scoops)
- Scissors (kid-safe)
- Glue stick
- Markers or crayons
- Sequins or hole-punched paper “sprinkles” (optional)
How to make it:
- Cut a triangle for the cone and several circles for scoops.
- Glue the cone at the bottom of a background sheet and stack scoops above it.
- Draw waffle lines on the cone and add sprinkles with sequins or paper bits.
- Let dry and hang the collage on the wall.
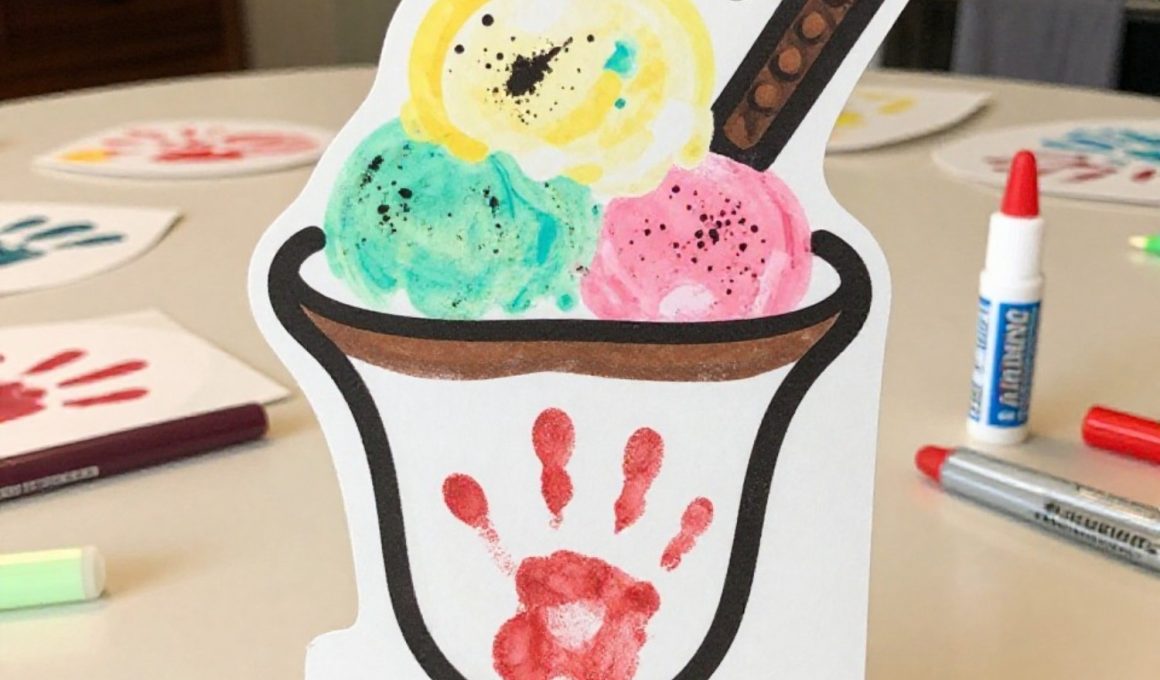
2. Handprint Ice Cream Sundae
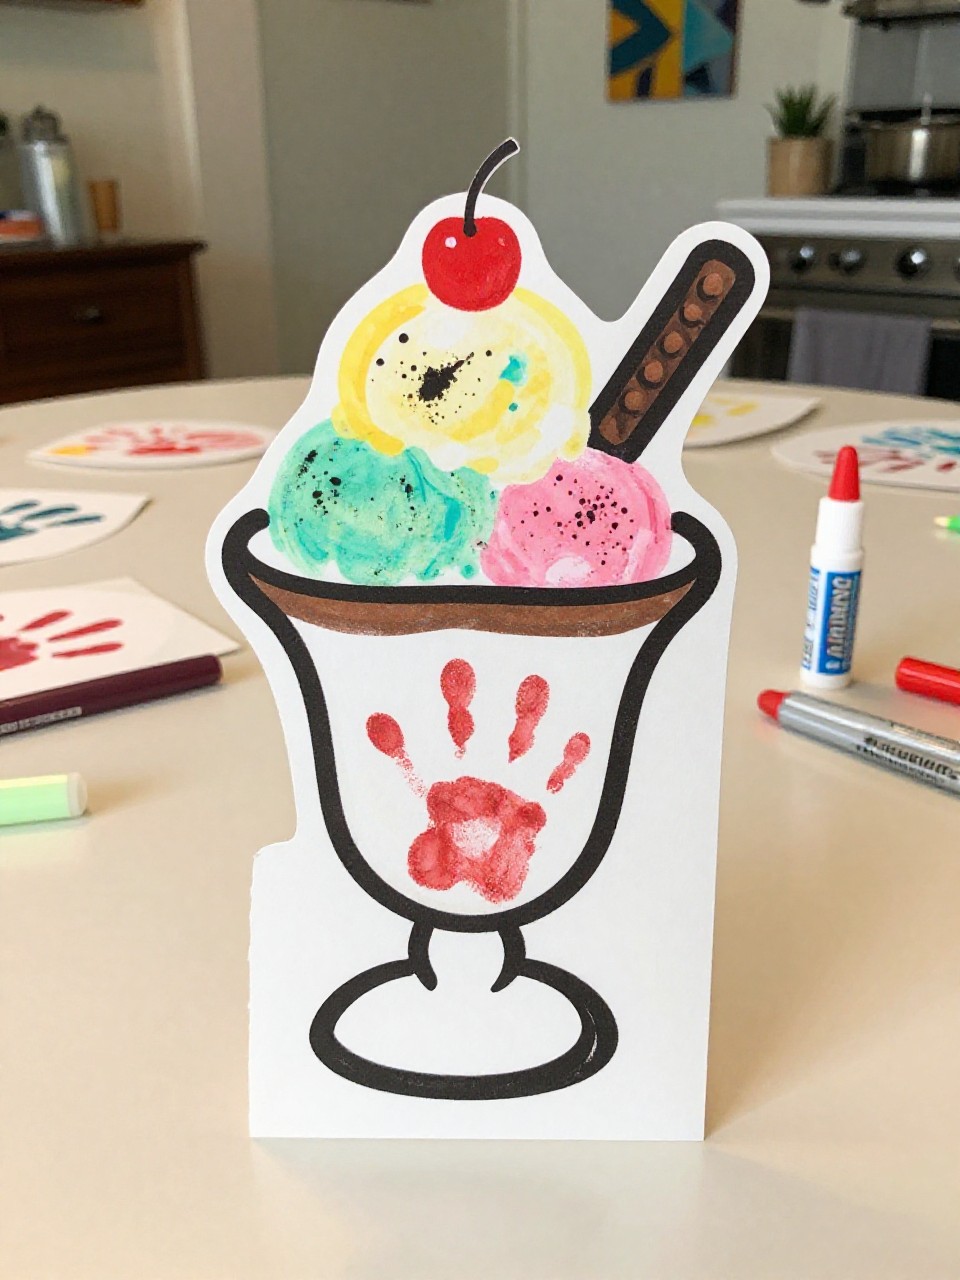
This looks like a paper bowl filled with “ice cream scoops” made from the child’s handprints, topped with a cherry. Kids enjoy tracing and seeing their hands turn into sweet scoops, making it personal and fun.
Materials Needed:
- White or pastel cardstock (background)
- Colored paper for handprints
- Scissors
- Glue stick
- Red pom-pom or red paper dot (cherry)
How to make it:
- Trace and cut out 2–3 handprints from different colored papers.
- Cut a simple bowl shape and glue it near the bottom of the background.
- Layer the handprints like scoops above the bowl and add a red cherry.
- Add details like chocolate drizzle with marker and display.
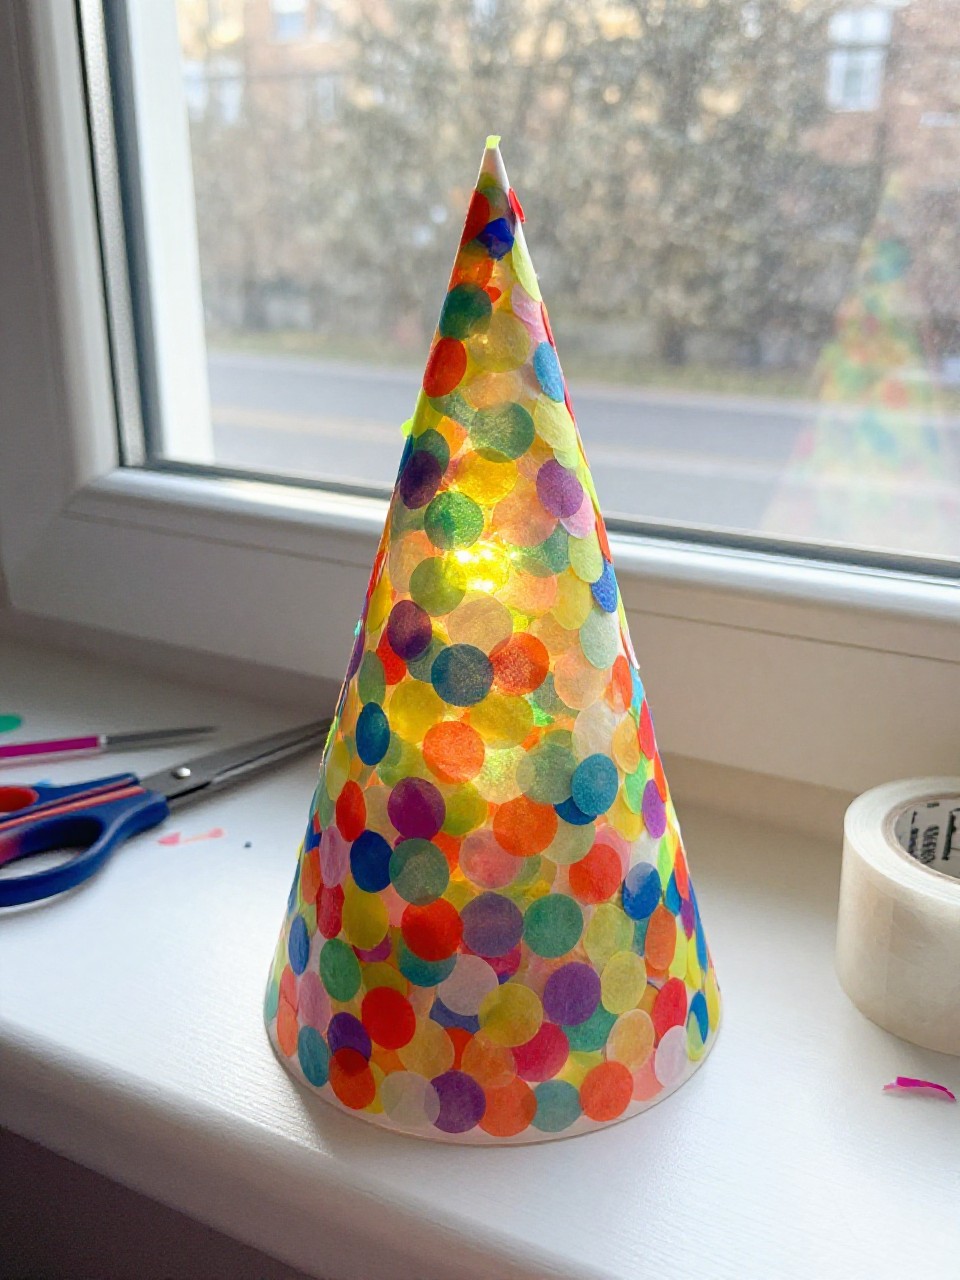
3. Accordion Cone Ice Cream Pop-Up
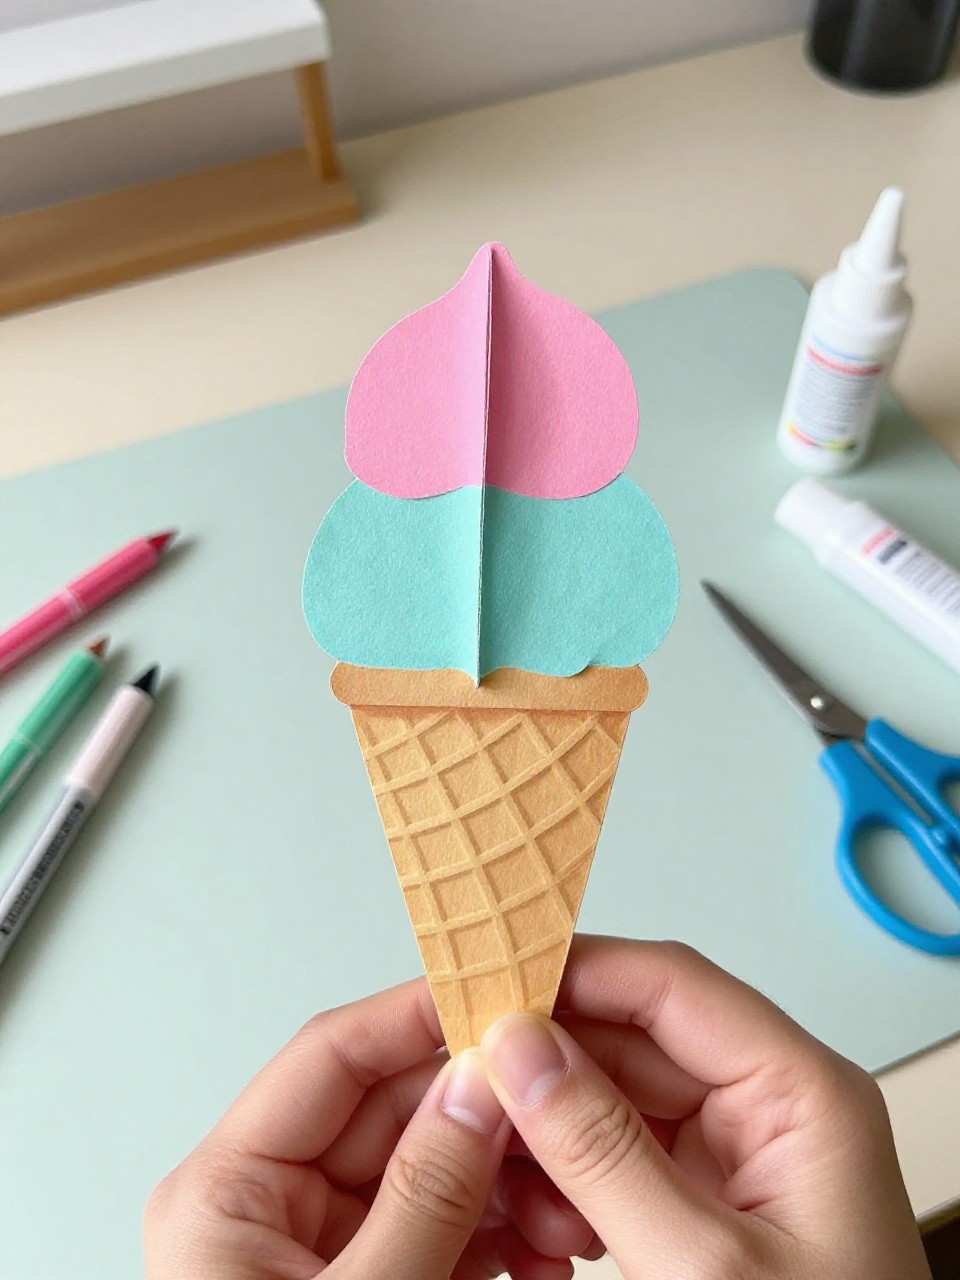
This craft stands up like a 3D cone with an accordion-folded paper base and a puffy scoop on top. Kids love the pop-up feel and the gentle squeeze-and-release motion.
Materials Needed:
- Brown paper (for cone)
- Colored paper (for scoop)
- Scissors
- Glue stick
- Markers for waffle lines
How to make it:
- Cut two identical cone triangles; accordion-fold a strip of brown paper.
- Glue the accordion strip between the two triangles to make a 3D cone base.
- Cut a round scoop and glue it to the top; draw waffle lines on the cone.
- Add sprinkles or a smile and let it dry standing up.
4. Sprinkle-Shaker Ice Cream Card
This looks like a greeting card with a cone and a clear window scoop filled with paper sprinkle confetti that shakes. Kids enjoy the satisfying rattle and gifting it to someone special.
Materials Needed:
- Folded cardstock (card base)
- Brown paper (cone)
- Colored paper (scoop)
- Clear plastic from packaging or a small bag
- Confetti or hole-punched paper
How to make it:
- Cut a circle window in the scoop piece and tape clear plastic behind it.
- Create a small pocket with foam tape or folded paper and add confetti.
- Seal the pocket, glue the cone and shaker scoop onto the card.
- Write a message inside and shake to test.
5. Tissue Paper Swirl Scoop Art
This looks like a large scoop made from crushed tissue paper dots glued in swirls on a background, with a paper cone at the bottom. Kids love the texture and pressing the tissue balls into glue.
Materials Needed:
- Construction paper (background and cone)
- Tissue paper in ice cream colors
- Glue
- Pencil for wrapping tissue (optional)
- Markers
How to make it:
- Glue a cone triangle at the bottom of a background sheet.
- Draw a big circle above it for the scoop outline.
- Crumple small tissue pieces and glue them inside the circle in swirls.
- Add sprinkles with marker and let dry flat.
6. Paper Plate Ice Cream Cone
This craft uses a cut paper plate as a scoop with a separate paper cone. Kids enjoy painting or coloring the plate and adding big sprinkle shapes.
Materials Needed:
- Paper plate (small)
- Brown construction paper (cone)
- Paint or markers
- Scissors
- Glue stick
How to make it:
- Cut the paper plate into a rounded scoop shape.
- Cut a brown triangle cone and draw waffle lines.
- Color or paint the plate, then glue it above the cone.
- Add paper sprinkle rectangles and display.
7. Popsicle Stick Frame Ice Cream Art

This looks like a small popsicle-stick frame holding a paper cone picture inside. Kids enjoy building the frame and making mini art to gift or hang.
Materials Needed:
- 4 popsicle sticks
- Cardstock square (background)
- Colored paper (cone and scoops)
- Glue
- String for hanging (optional)
How to make it:
- Glue four sticks into a square frame; let dry.
- Cut and glue a cone and scoop shapes on the cardstock.
- Decorate with markers and tiny paper sprinkles.
- Glue the art behind the frame and add a hanging loop.
8. Fold-and-Cut Ice Cream Garland
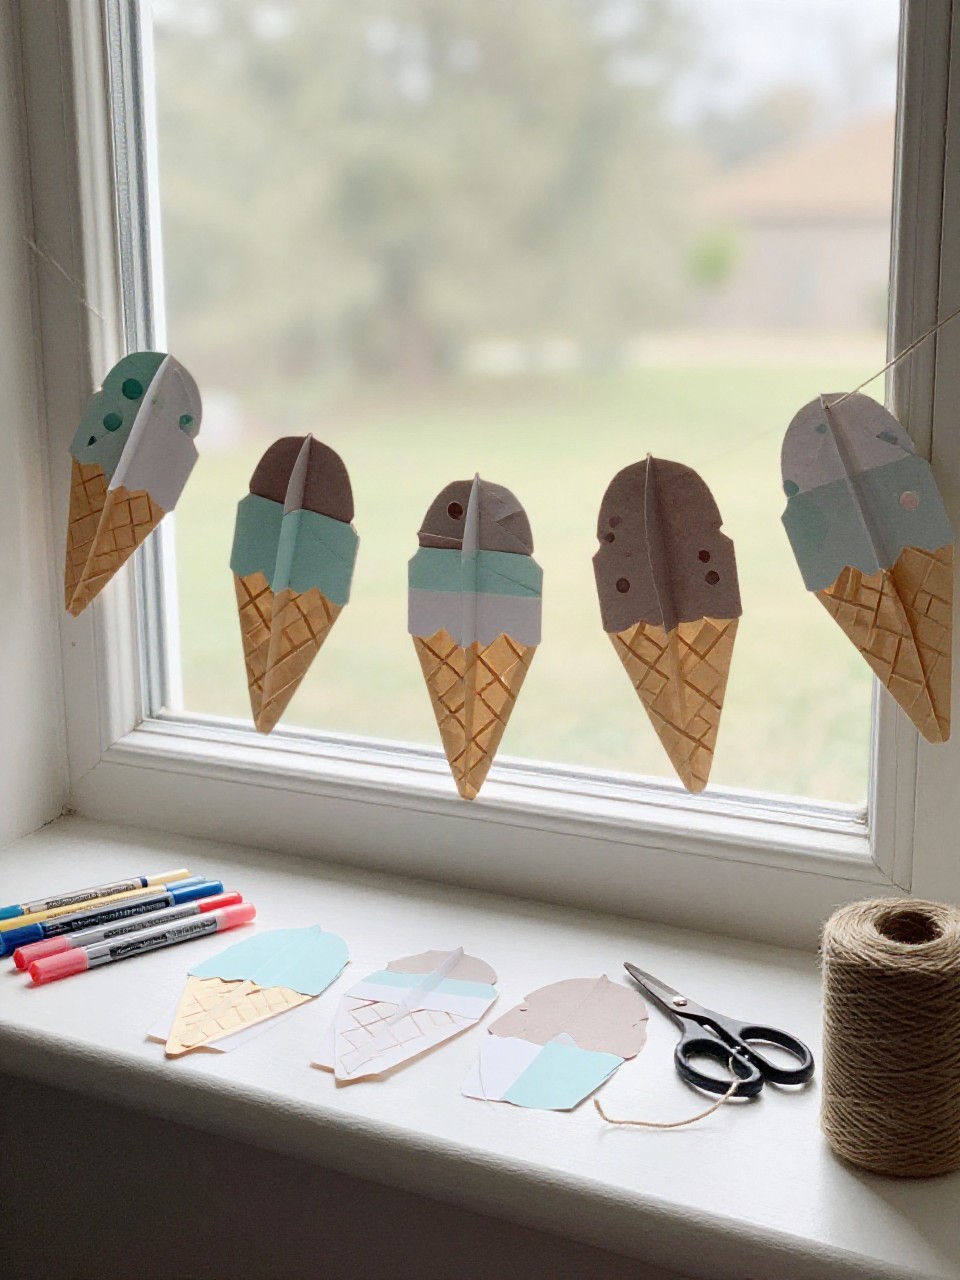
This is a string of repeating paper cone shapes folded and cut like paper dolls, then colored as different flavors. Kids love seeing a long banner appear from a few cuts.
Materials Needed:
- Long strip of lightweight paper
- Pencil
- Scissors
- Markers or crayons
- Twine and tape (optional for hanging)
How to make it:
- Accordion-fold a strip of paper into equal panels.
- Draw half a cone-and-scoop shape with the sides touching the folds.
- Cut along the outline, unfold, and color each ice cream differently.
- Tape the garland to twine and hang across a room.
9. Kawaii Smiley Ice Cream Bookmarks
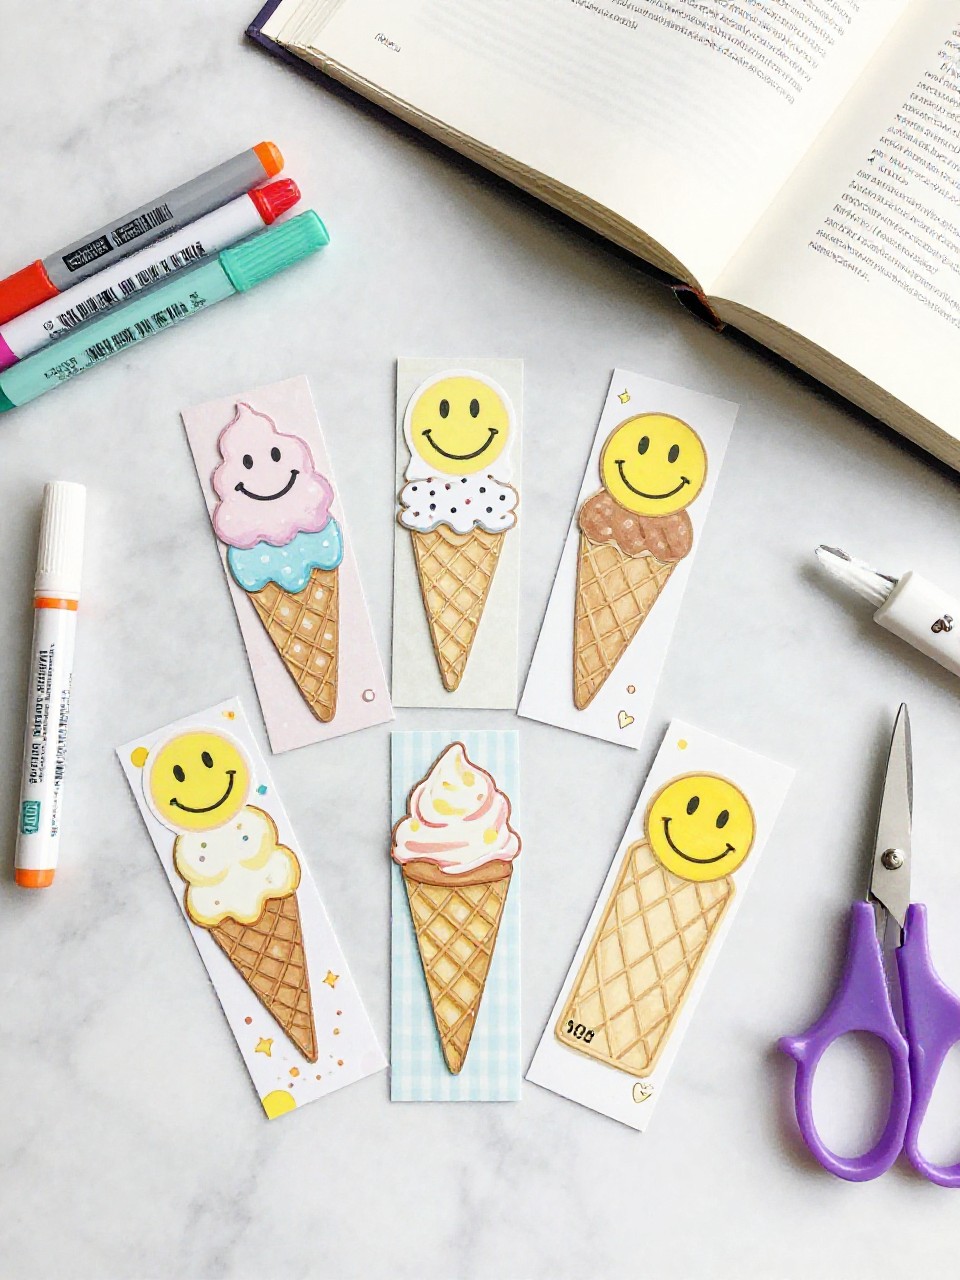
These are corner bookmarks shaped like scoops with cute faces that hug a page corner, sitting on a tiny cone. Kids enjoy drawing expressions and using their bookmarks in favorite books.
Materials Needed:
- Square origami or construction paper
- Brown paper (cone)
- Black fine-tip marker
- Glue stick
- Small dots or pens for cheeks (optional)
How to make it:
- Fold a paper square into a corner bookmark triangle.
- Round the open edges to look like a scoop; add a small cone triangle.
- Draw a kawaii face and tiny sprinkles on top.
- Let dry and slide onto a book page.
10. Cone Hat Party Crowns
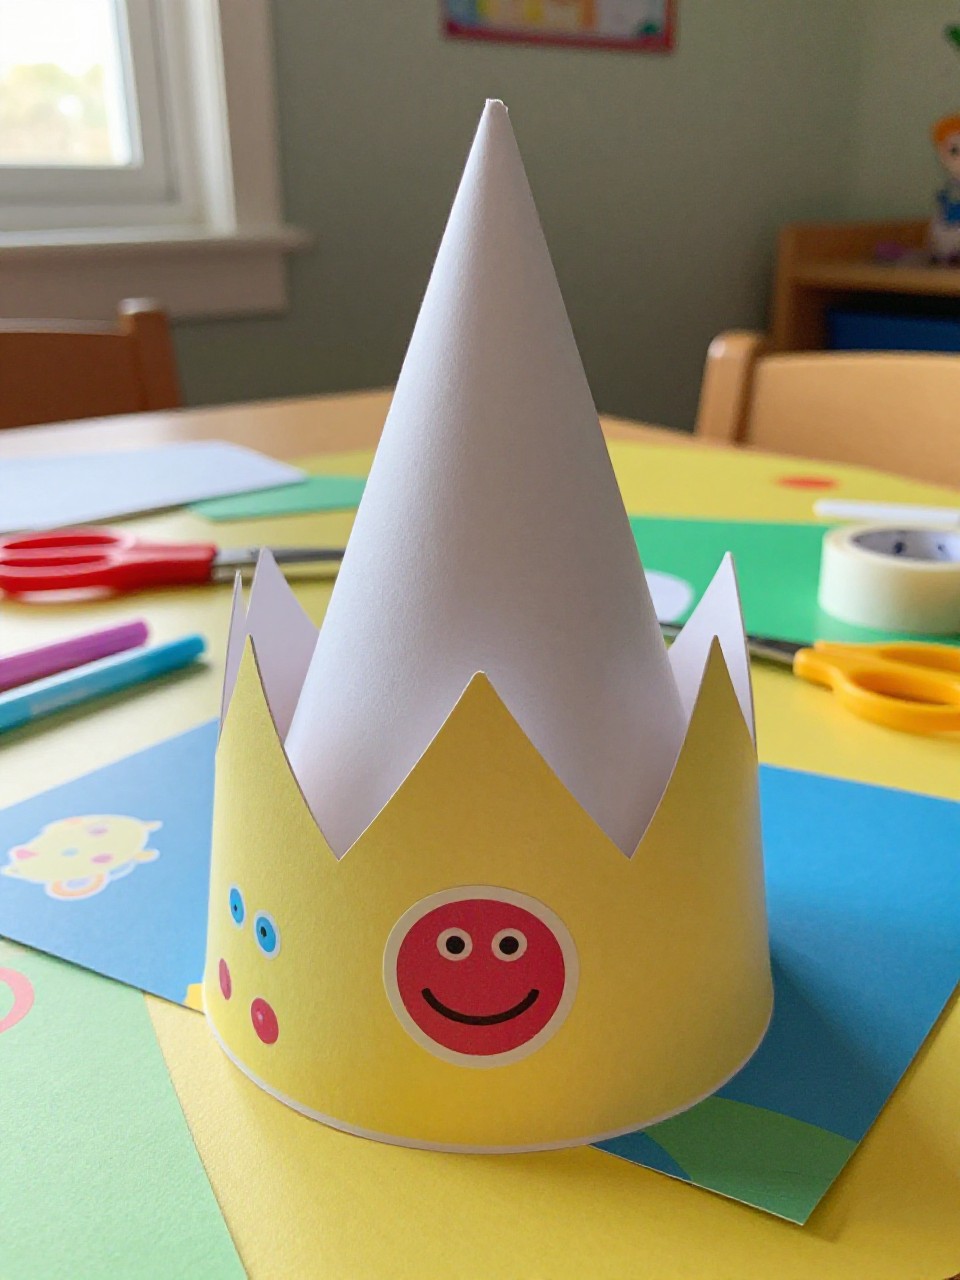
This looks like a simple paper headband with a big ice cream cone and paper scoops stacked like a party crown. Kids love wearing their “flavor” and parading around.
Materials Needed:
- Cardstock strips (headband)
- Brown paper (cone)
- Colored paper (scoops)
- Stapler or tape
- Markers and stickers
How to make it:
- Fit a cardstock strip around the head and staple or tape to size.
- Cut a cone and 2–3 scoop circles; glue them stacked on the band.
- Decorate with sprinkles, faces, or glitter.
- Let set, then wear the crown for playtime.
11. Drippy Paint Ice Cream Poster
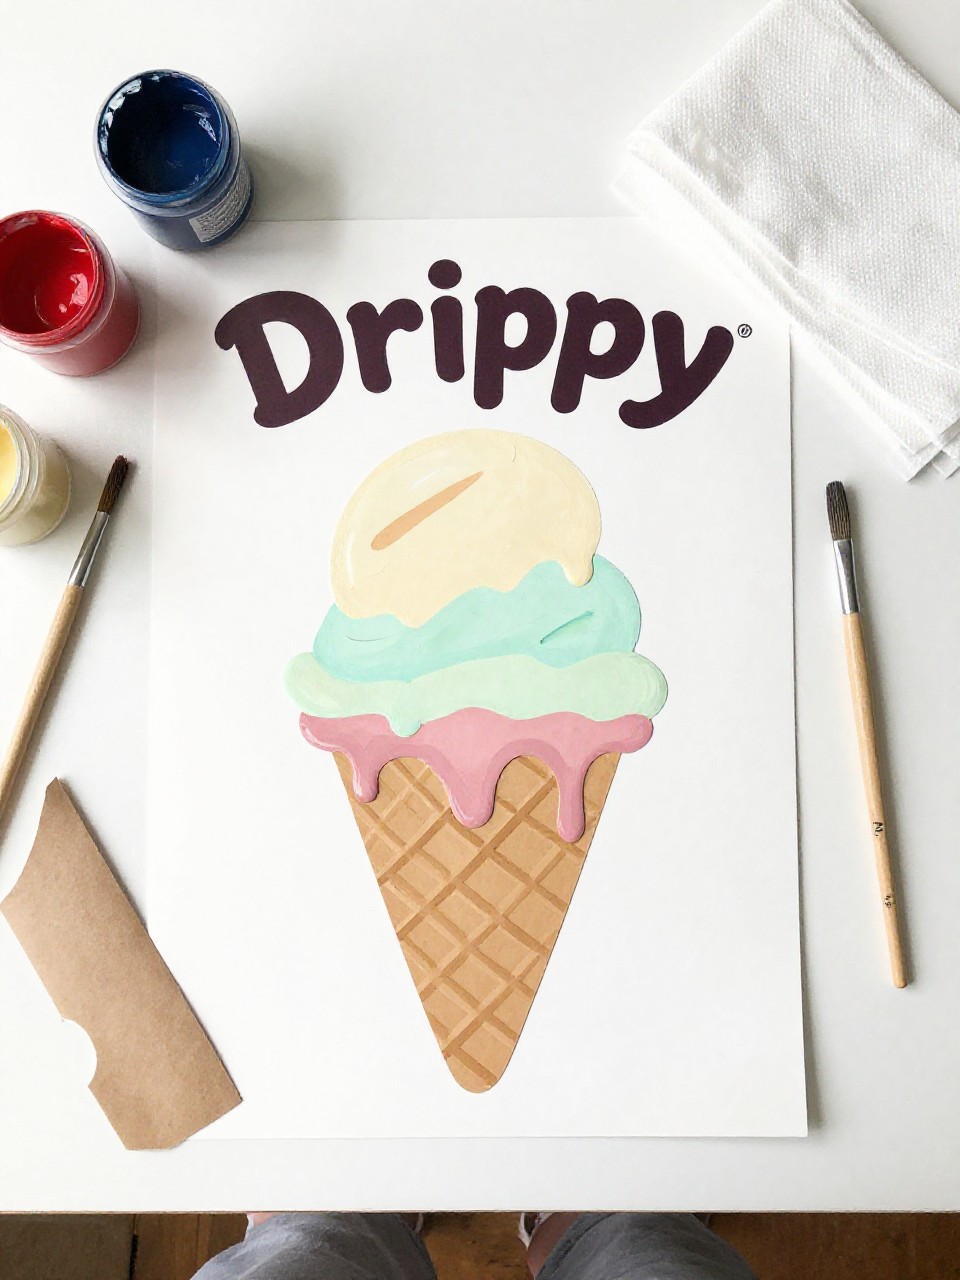
This looks like a big poster with a cone and paint “drips” flowing from paper scoops. Kids enjoy tilting the paper and watching paint make realistic melted ice cream lines.
Materials Needed:
- Large poster paper
- Brown paper (cone)
- Washable paint (various colors)
- Glue stick
- Paintbrush
How to make it:
- Glue a large cone at the bottom of the poster.
- Paint big scoop shapes above the cone.
- Add extra paint at the edges and tilt the poster to create drips.
- Let it dry flat and hang up.
12. Lift-the-Flap Ice Cream Flavors
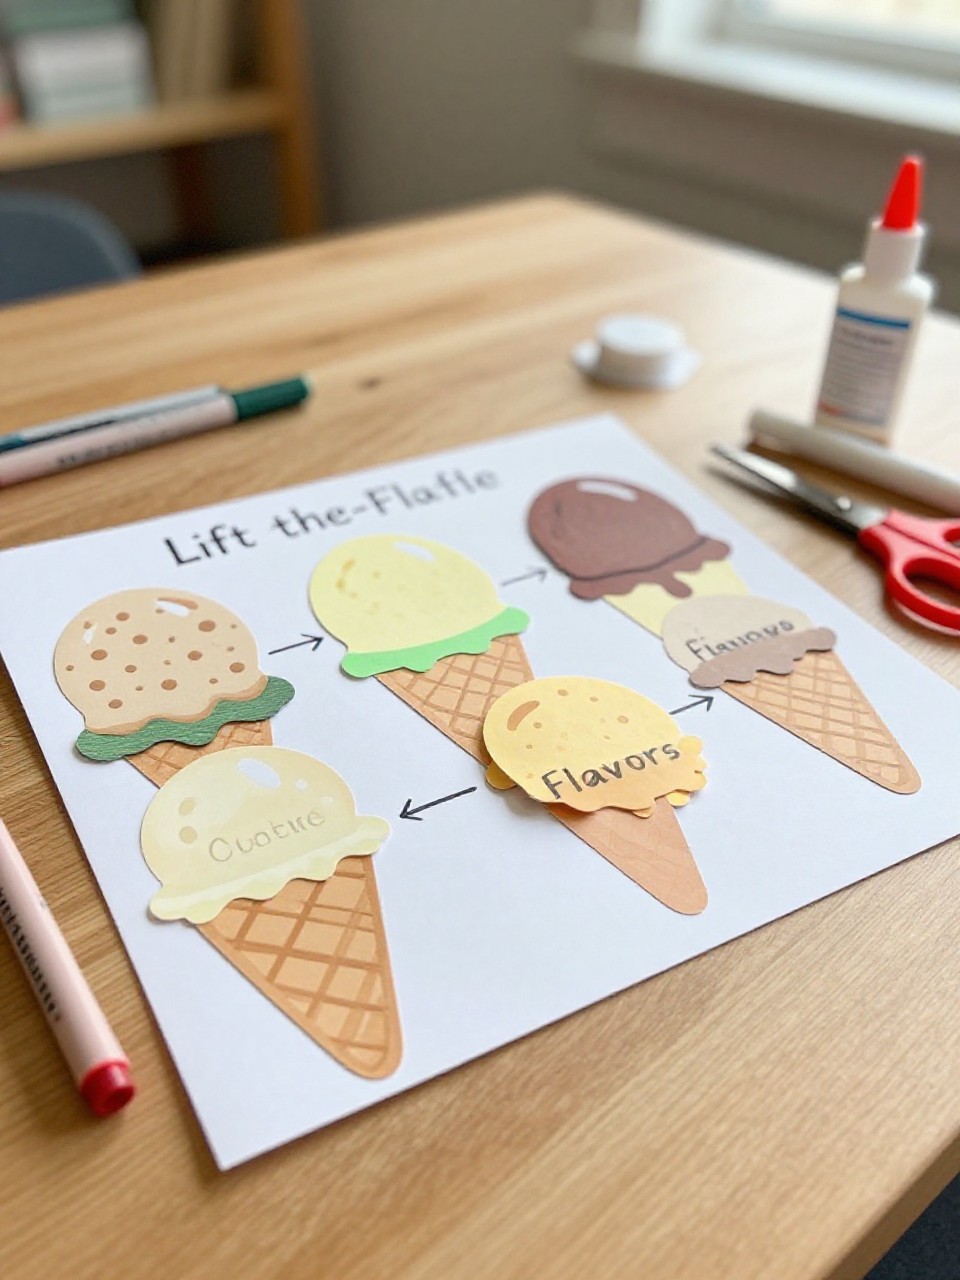
This looks like a row of scoops where each top layer flips up to reveal a “hidden flavor” or message underneath. Kids love the surprise and writing jokes or flavors inside.
Materials Needed:
- Cardstock (background)
- Colored paper (scoops)
- Brown paper (cone)
- Glue stick
- Marker for messages
How to make it:
- Glue a cone near the bottom center of the background.
- Cut scoops and score a small fold at the top to make flaps.
- Glue only the folded strip so each scoop lifts up.
- Write surprise flavors or notes under each flap.
13. Confetti Cone Suncatchers
This looks like a bright window suncatcher: a cone with a translucent scoop filled with colored tissue confetti. Kids enjoy layering colors and seeing sunlight glow through.
Materials Needed:
- Black paper (frame)
- Contact paper or clear laminating sheet
- Tissue paper bits
- Brown paper (cone)
- Scissors
How to make it:
- Cut a thick outline ring for a scoop and a cone triangle.
- Stick the scoop frame onto contact paper, sticky side up.
- Fill the scoop area with tissue confetti; seal with another contact sheet.
- Attach the cone and tape to a sunny window.
14. Paper Roll Ice Cream Stand
This is a mini “ice cream stand” scene with paper cones sitting in a cardboard roll base and paper scoops on top. Kids love pretend play and arranging flavors.
Materials Needed:
- Cardboard paper towel roll
- Colored paper (cones and scoops)
- Scissors
- Glue or tape
- Markers
How to make it:
- Cut the roll lengthwise and press flat; punch or cut round holes across the top.
- Roll brown paper into small cone cones and tape.
- Cut scoop circles and glue on top of cones; decorate with faces or sprinkles.
- Stand the cones in the holes and play shop.
15. Watercolor Wash Ice Cream Cards
These are folded cards with soft watercolor scoops and a simple paper cone, perfect for thank-you notes. Kids enjoy blending colors and watching water spread.
Materials Needed:
- Watercolor paper cards
- Watercolors and brush
- Brown paper (cone)
- Glue stick
- Black pen for message
How to make it:
- Glue a small brown cone near the bottom front of the card.
- Paint round scoops above it using wet-on-wet watercolor washes.
- Add sprinkles or a smile once dry.
- Write a sweet note inside.
16. Folded Paper Popsicle Puppets
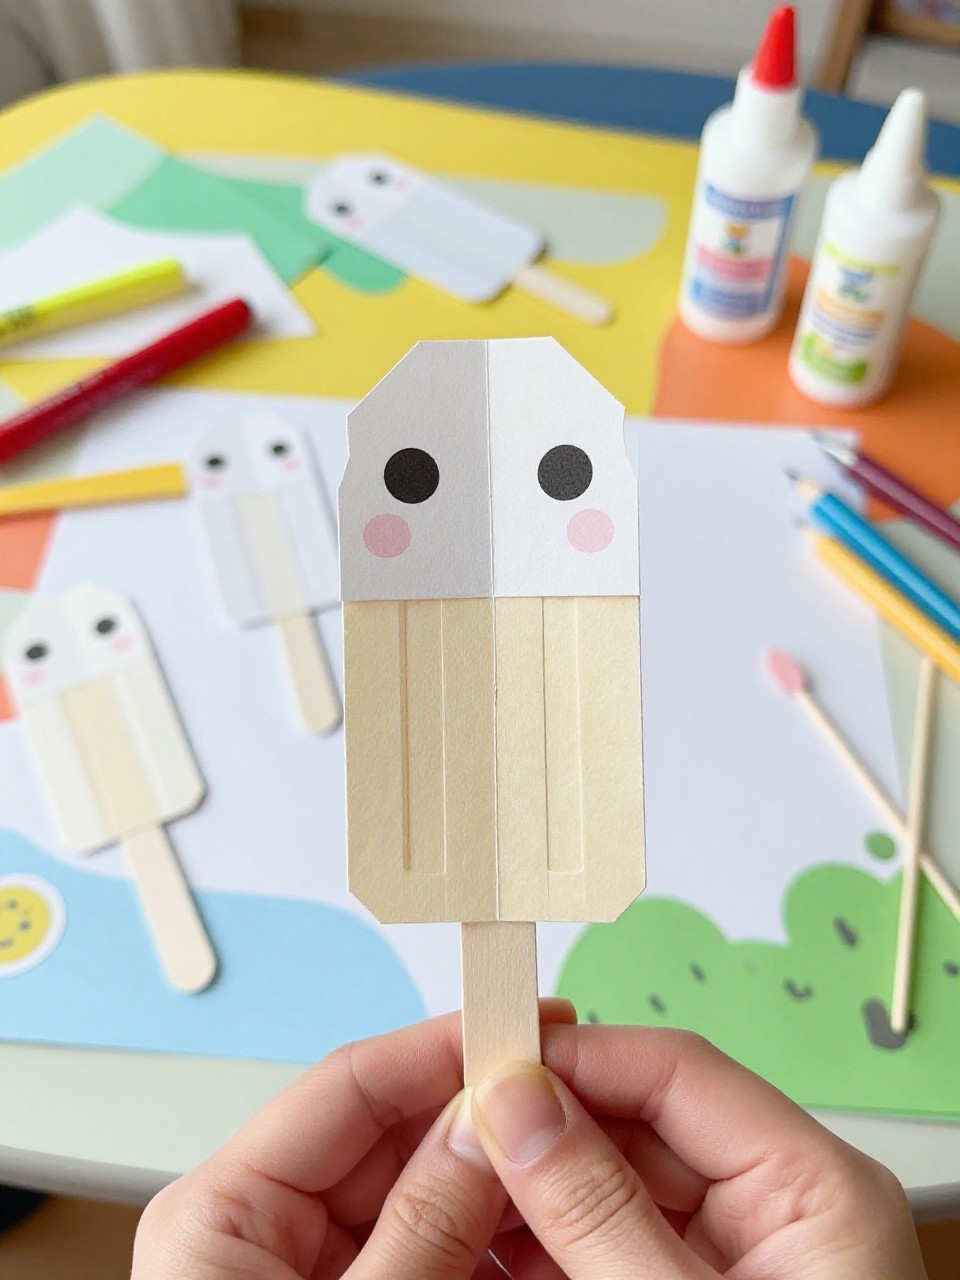
These are bright popsicle shapes made from folded paper with a stick, turning into simple hand puppets. Kids love decorating faces and using them for mini shows.
Materials Needed:
- Colored paper
- Craft sticks
- Glue
- Scissors
- Markers and stickers
How to make it:
- Fold a rectangle of colored paper in half and round the corners for a popsicle shape.
- Glue the sides, leaving the bottom open; insert and glue a craft stick.
- Draw faces, add sprinkles or stripes with markers and stickers.
- Let dry, then use as playful puppets.