
In This Article Show
Keeping kids busy on rainy days or during long afternoons can be tough, and sometimes you just want a simple, low-mess project that looks great. Oyster shells are a fun, easy material that turns into charming art paint, glue, and a little sparkle.
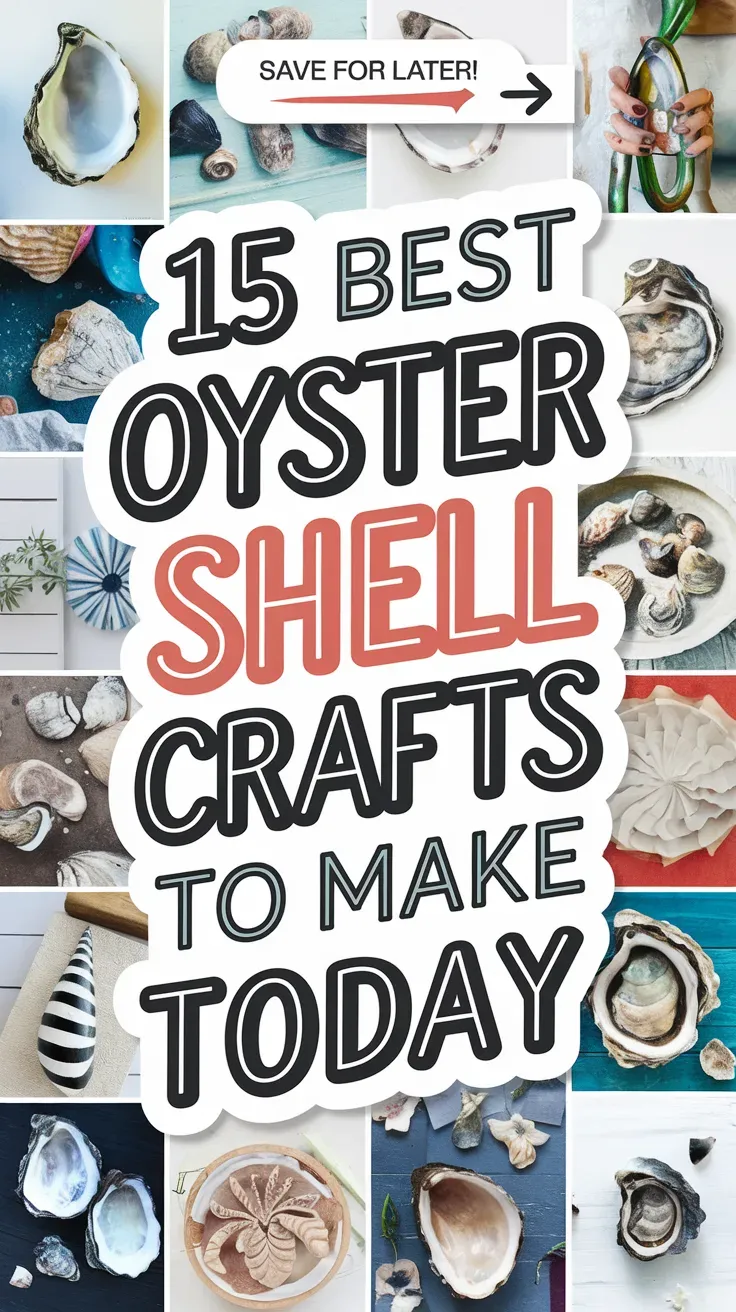
This list gives you clear, beginner-friendly oyster shell crafts you can finish in an afternoon. Grab a few shells and basic supplies, and let’s dive into creative ideas you’ll be proud to display or gift.
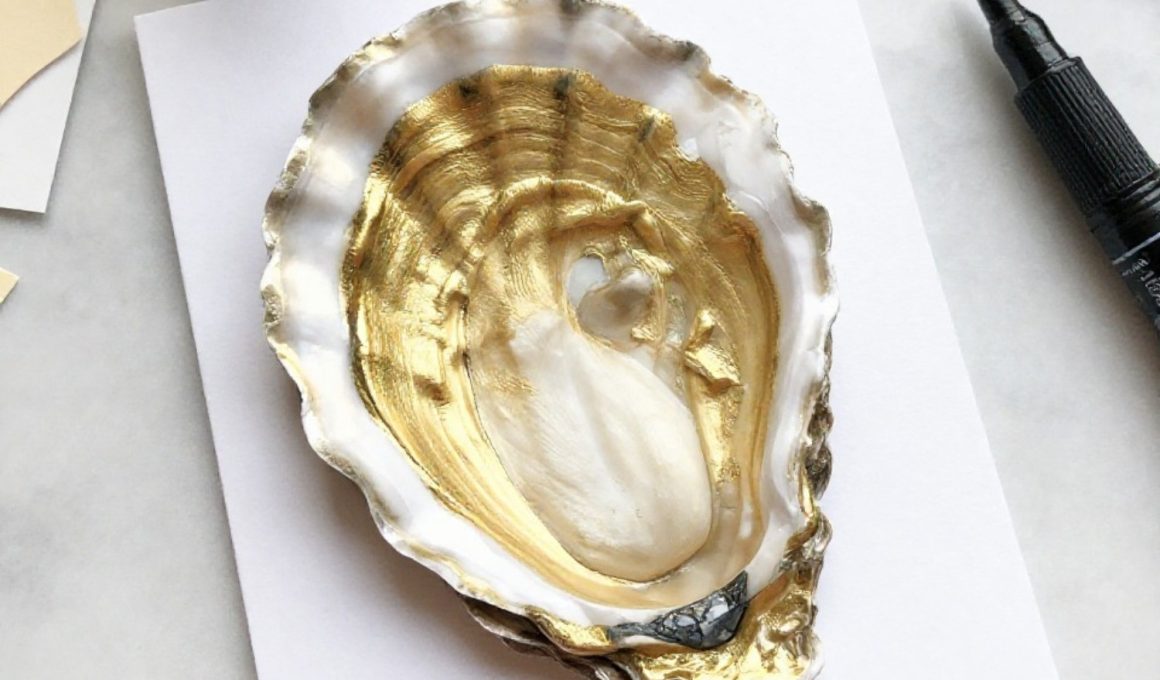
1. Painted Oyster Shell Trinket Dish
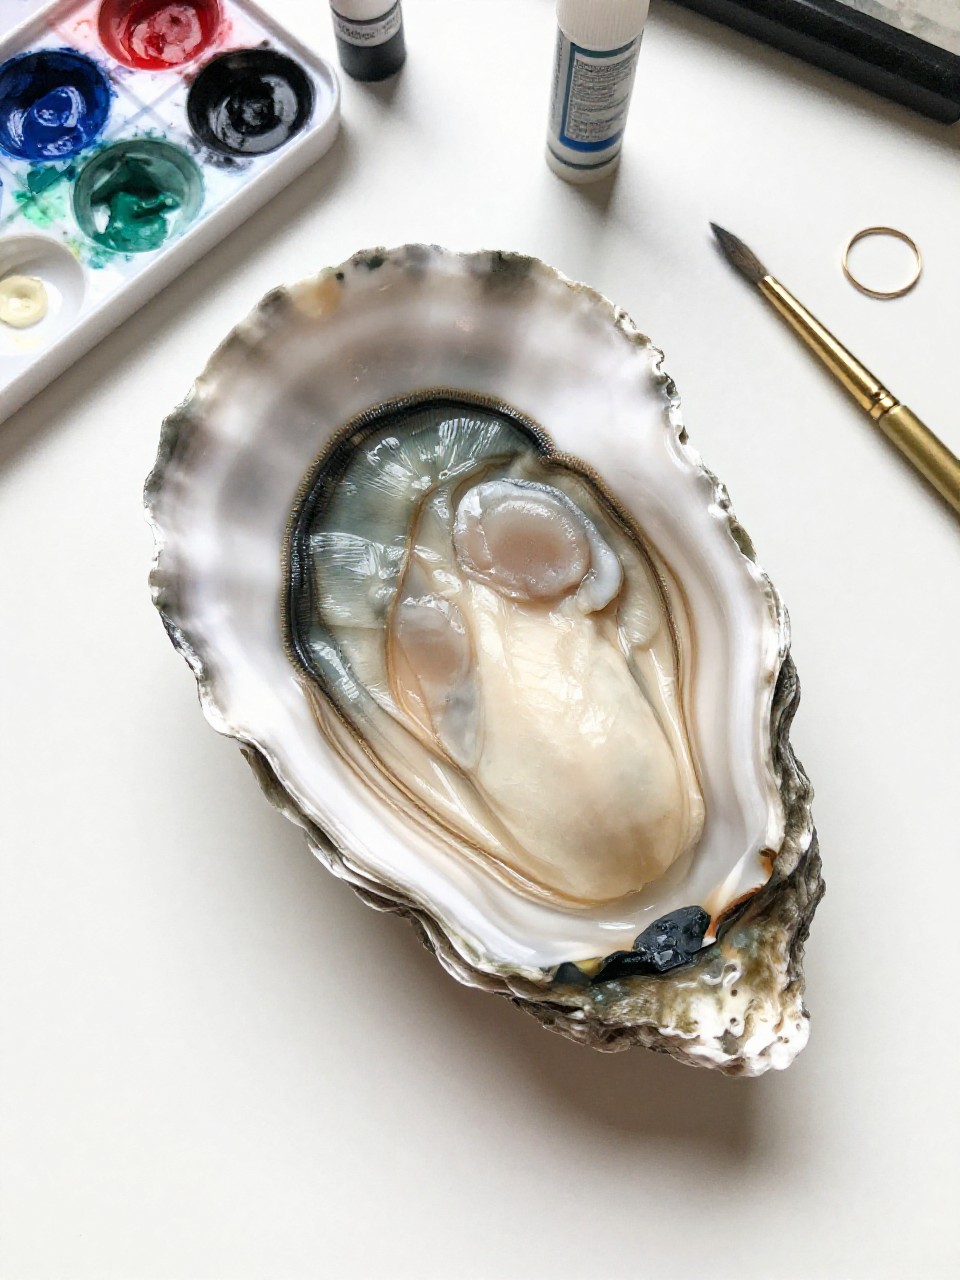
This small dish keeps rings and tiny treasures safe, with a shiny gold edge and bright colors inside the shell. Kids love mixing paints on the curved surface and seeing the shell turn into a fancy mini bowl.
Materials Needed:
- Clean oyster shells, scrubbed and dried
- Acrylic paints (pastels or brights)
- Gold paint pen or gold leaf and adhesive
- Mod Podge or clear sealant
- Small brush set
How to make it:
- Wash and dry shells; lightly sand the inside if needed.
- Paint the inside of each shell in a solid color or simple pattern.
- Add a gold edge around the rim; seal with a thin coat of Mod Podge.
- Let dry fully and use as a jewelry catchall.
2. Oyster Shell Mermaid Ornament
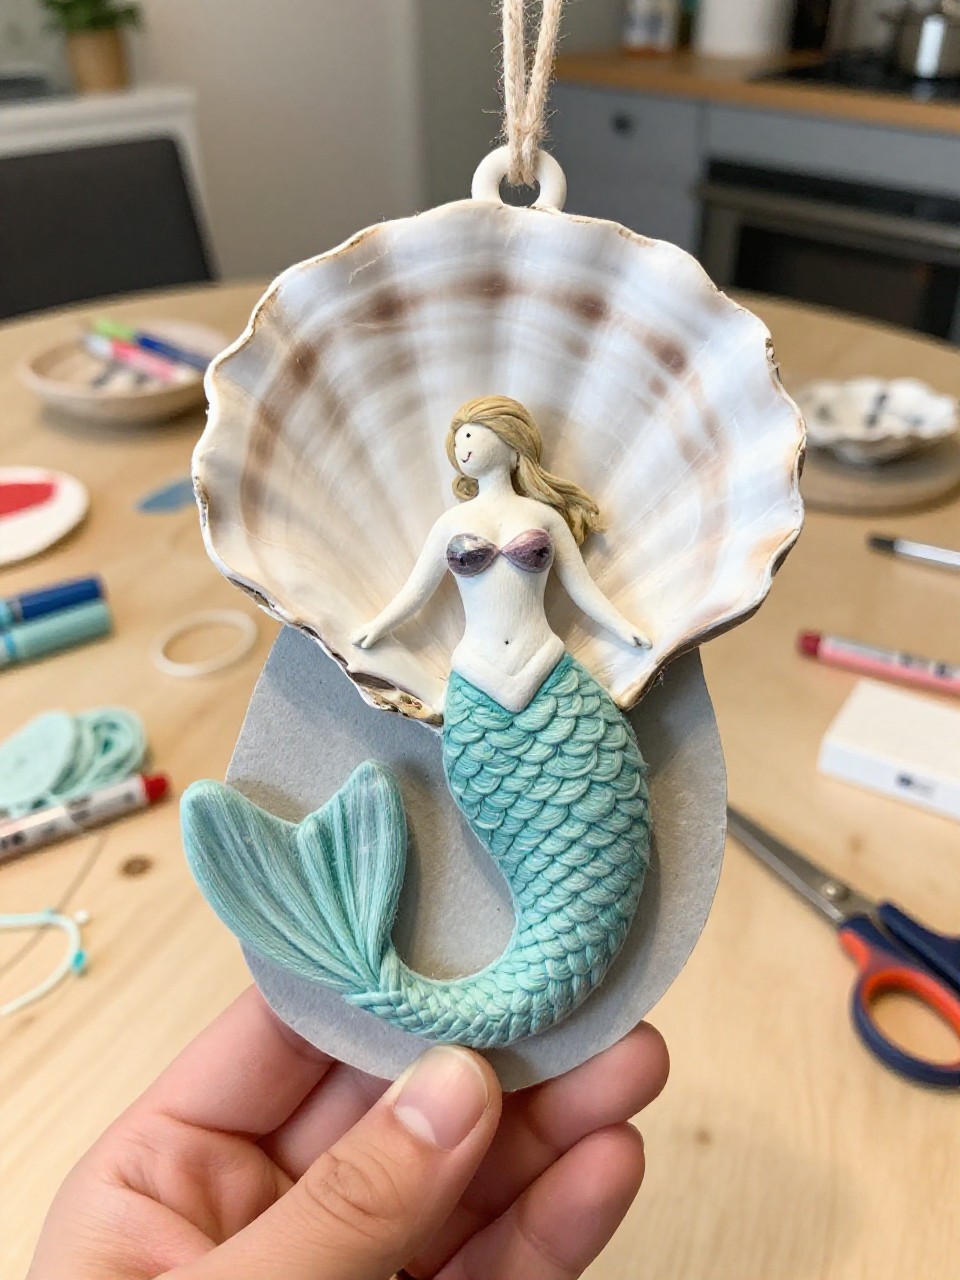
A single oyster shell becomes a mermaid with painted scales, a simple face, and yarn hair. Kids enjoy choosing hair colors and drawing cute expressions, making each ornament unique.
Materials Needed:
- Oyster shells
- Acrylic paints and paint pens
- Yarn or embroidery floss (for hair)
- Ribbon or twine (for hanging)
- Hot glue or strong craft glue
How to make it:
- Clean and dry shells; punch a small hole at the top or plan to glue ribbon on the back.
- Paint the shell as a mermaid body with scale patterns; add a simple face near the narrow end.
- Glue yarn to the top for hair; tie on ribbon for a hanger.
- Let dry and hang on a hook, window, or tree.
3. Gilded Oyster Shell Place Cards
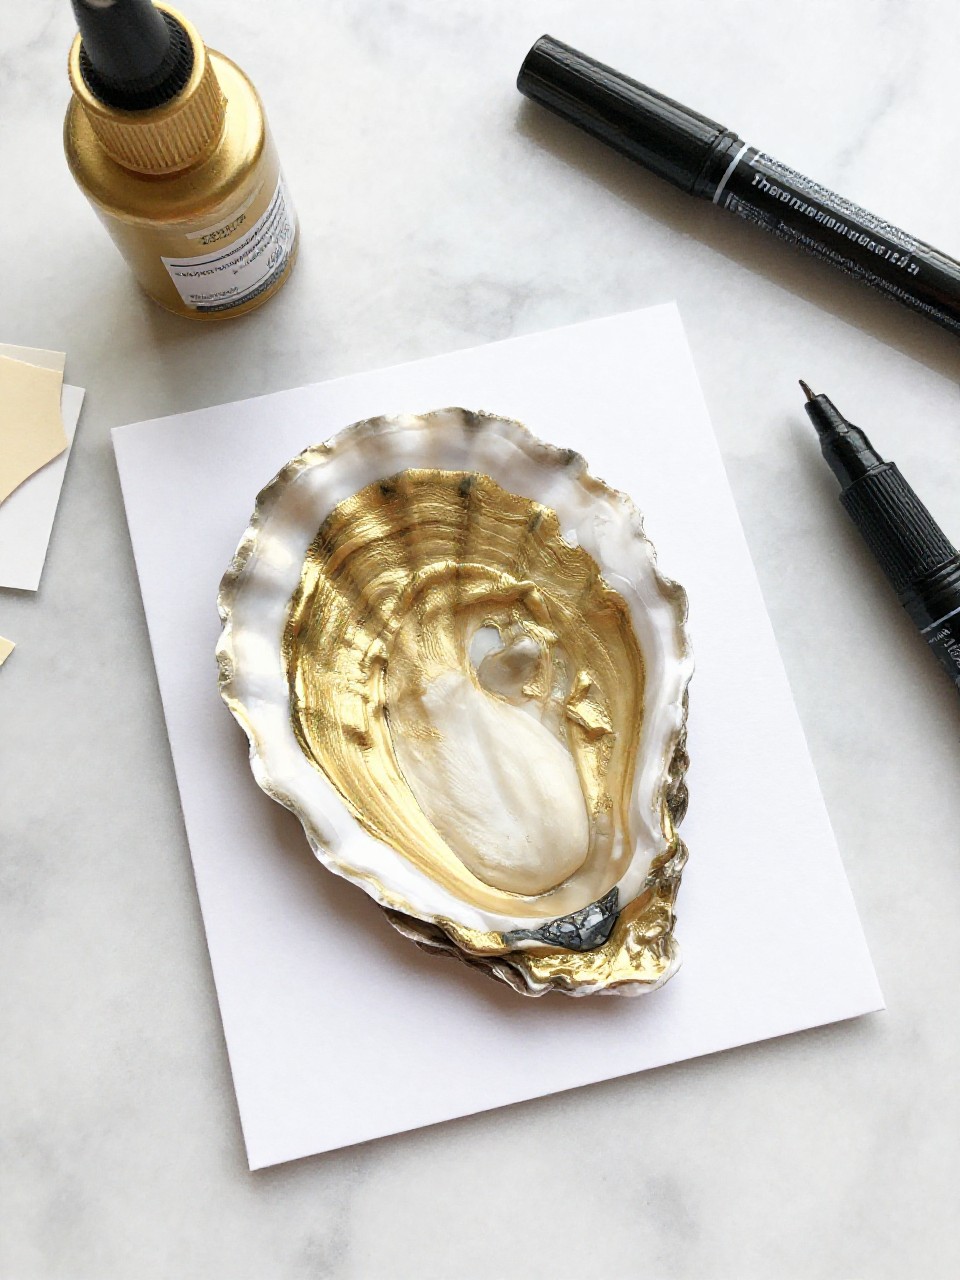
These elegant shells hold name tags for dinners or classroom events, with gold rims and simple labels. Kids like writing names and seeing their table look fancy with very little work.
Materials Needed:
- Oyster shells
- Gold paint or gold leaf kit
- Small cardstock name tags
- Fine-tip marker
- Glue dots or tiny dab of glue
How to make it:
- Clean shells and paint the rims gold; let dry.
- Write guest names on small cardstock pieces.
- Attach the name tag inside the shell with a glue dot.
- Set on plates or desks as personalized place cards.
4. Oyster Shell Mini Photo Frame Magnet
A shell turns into a tiny frame with a favorite photo trimmed to fit and a magnet on the back. Kids love picking photos of pets or friends and turning them into fridge art.
Materials Needed:
- Oyster shells
- Small printed photos
- Scissors
- Mod Podge and brush
- Adhesive magnet strip
How to make it:
- Clean shells and choose a photo area that fits the shell’s inner shape.
- Cut the photo to size and glue it inside the shell with Mod Podge.
- Smooth bubbles, then seal lightly over the top.
- Stick a magnet on the back and place on the fridge after drying.
5. Oyster Shell Sea Creature Collage
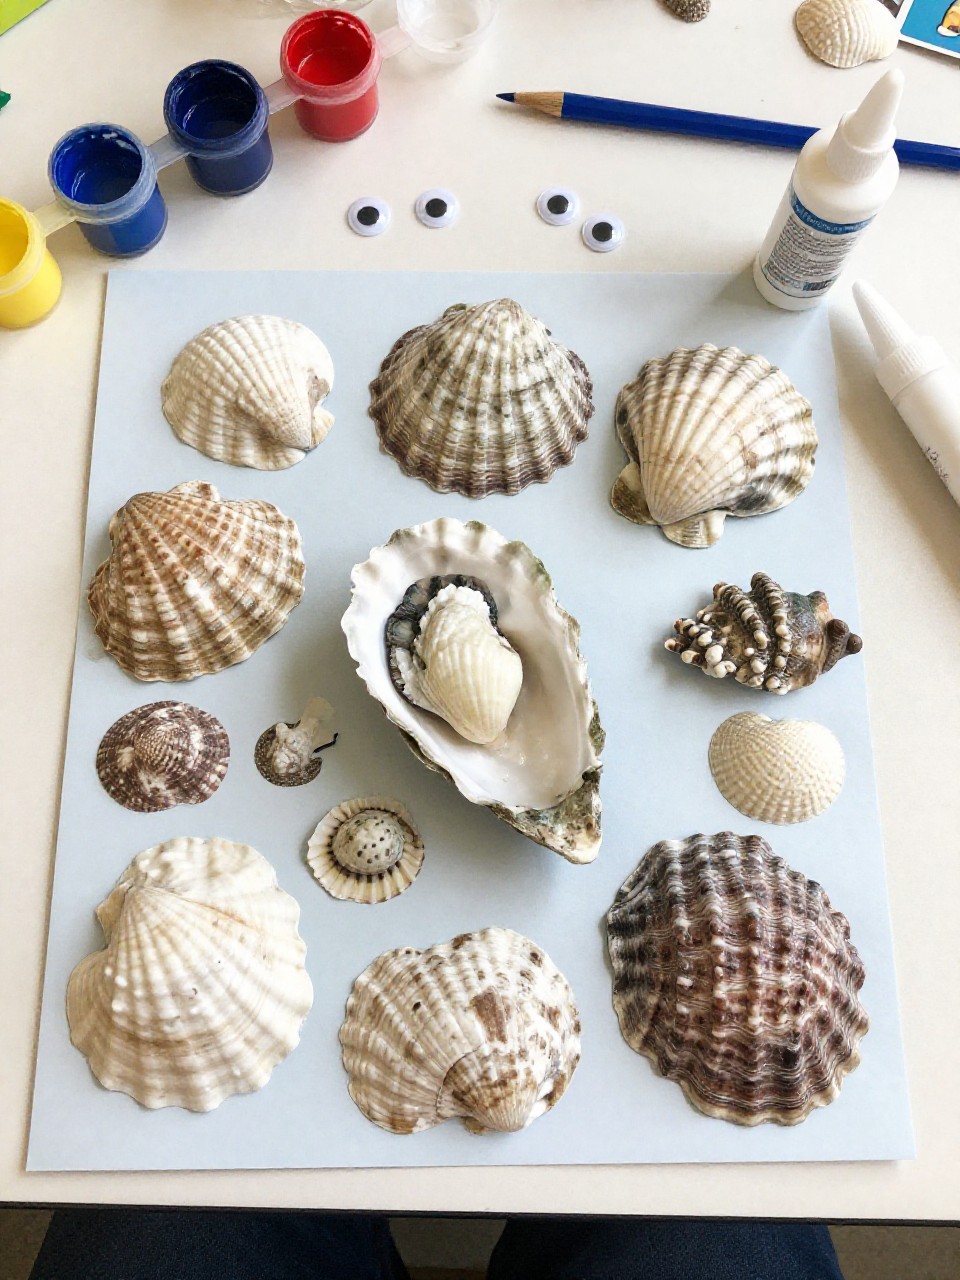
Arrange shells on a painted background to make fish, turtles, or crabs, adding googly eyes and fins. Kids enjoy the puzzle feel of moving shells around to design their own ocean scene.
Materials Needed:
- Oyster shells, assorted sizes
- Heavy cardstock or canvas board
- Acrylic paints and brush
- Googly eyes
- Craft glue
How to make it:
- Paint the background blue or sandy and let dry.
- Place shells to form sea creatures; test layouts before gluing.
- Glue shells down and add eyes, fins, or legs with paint.
- Dry flat, then hang or display upright.
6. Decoupage Floral Oyster Shells
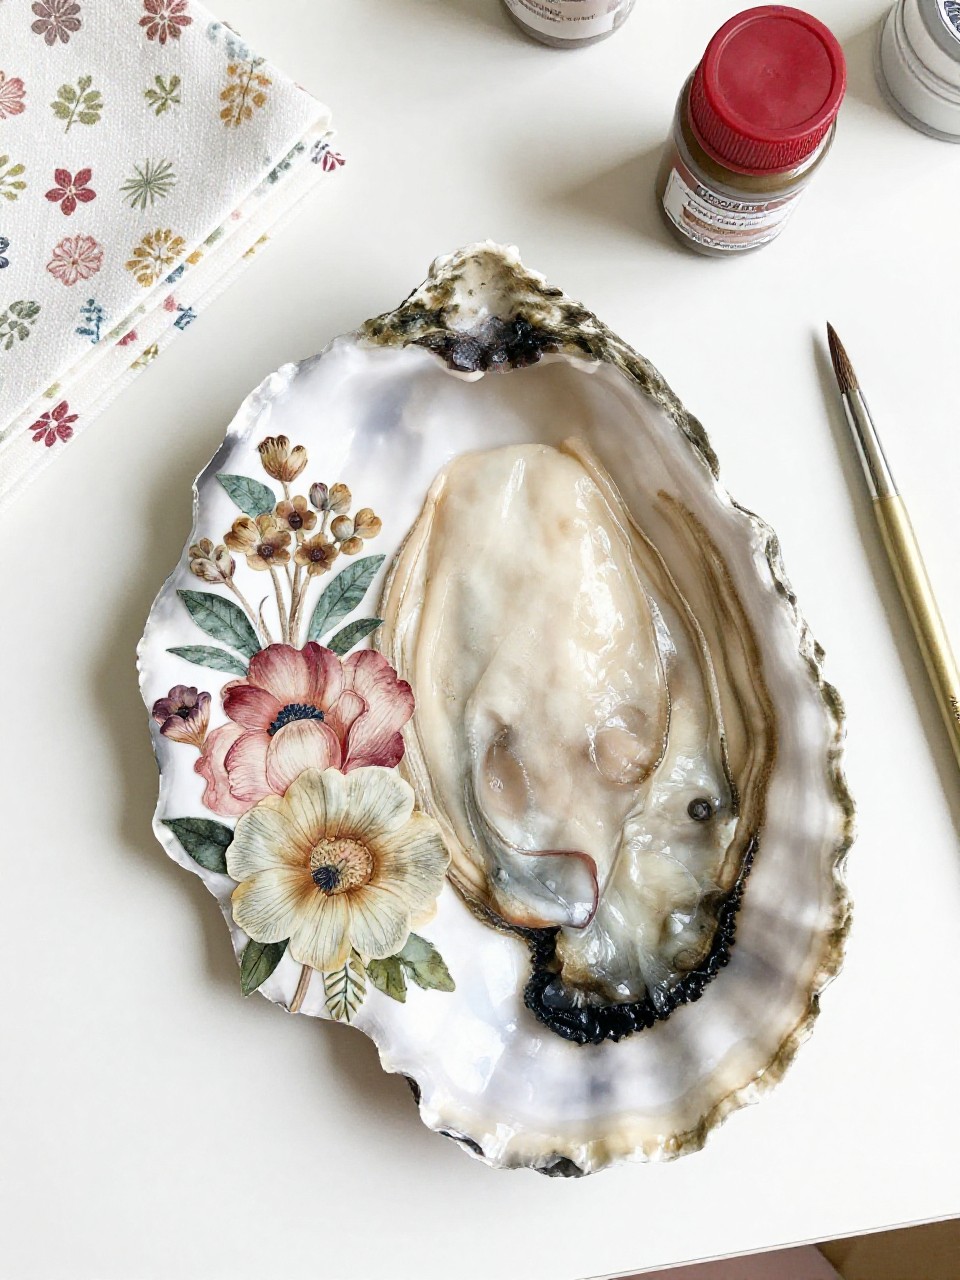
These shells feature delicate flower patterns made with napkin or tissue decoupage and a glossy seal. Kids like how easy it is to press designs onto the curved surface for a fancy look.
Materials Needed:
- Oyster shells
- Patterned napkins or tissue paper
- Mod Podge and soft brush
- Gold paint pen (optional rim)
- Small scissors
How to make it:
- Clean shells; separate the printed napkin layer.
- Cut or tear floral shapes and place inside the shell.
- Brush Mod Podge under and over the paper, smoothing gently.
- Add a gold rim and let dry glossy.
7. Oyster Shell Candle Tealights
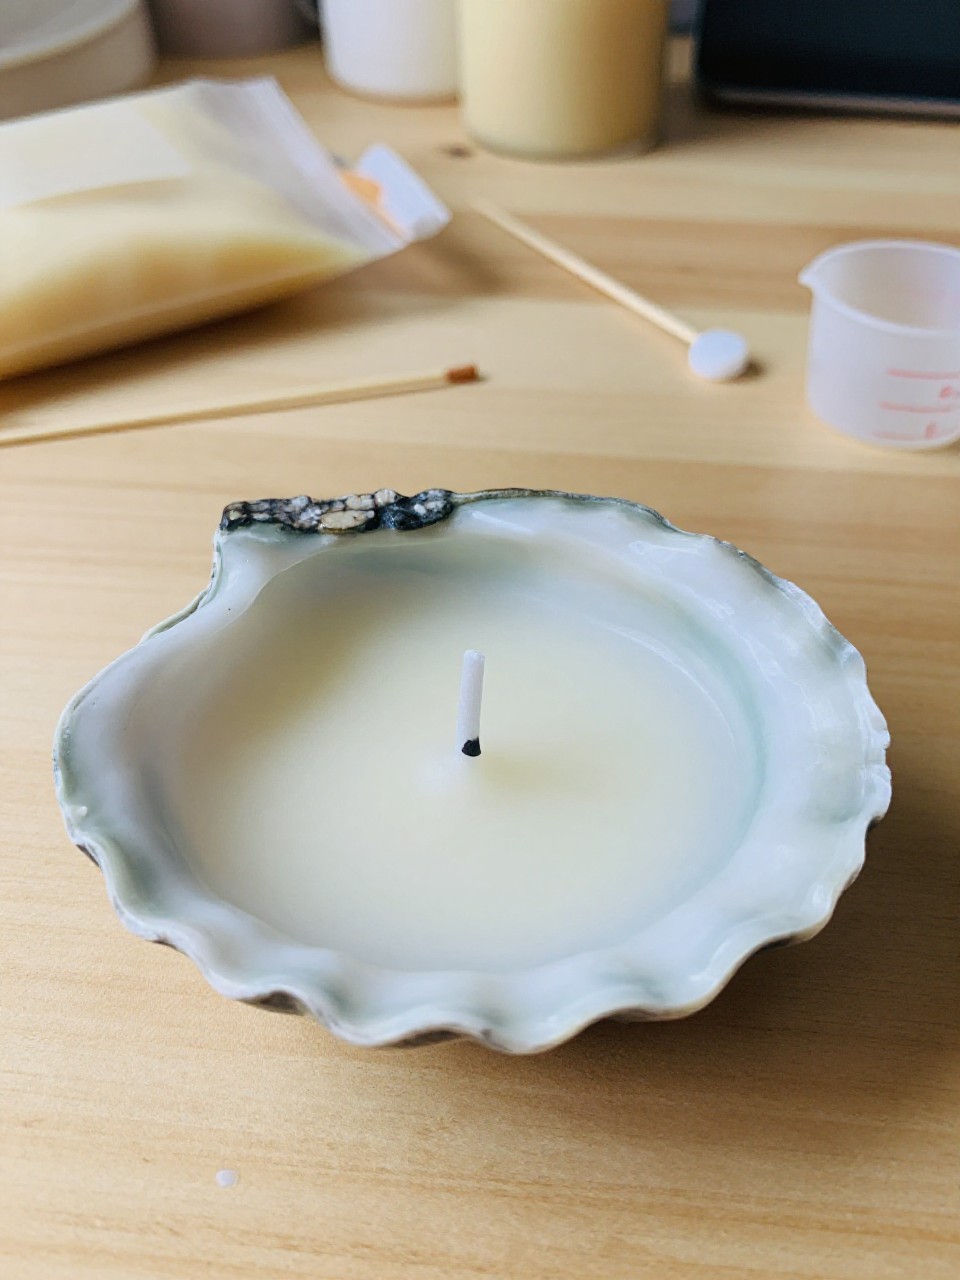
Turn shells into tiny tealight holders with poured wax and a short wick, perfect for supervised evening glow. Older kids enjoy measuring, melting with help, and watching the wax set smooth.
Materials Needed:
- Large, steady-bottom oyster shells
- Soy wax flakes
- Pre-tabbed wicks (short)
- Wax-safe container and microwave or double boiler
- Optional scent oil
How to make it:
- Clean shells and sit them level in an egg carton or rice-filled tray.
- Melt soy wax, add a drop of scent, and place a wick in each shell.
- Pour wax carefully and center the wicks.
- Cool until solid before lighting with adult supervision.
8. Oyster Shell Rainbow Pendants

Paint shells in rainbow stripes and add a jump ring and cord for a cheerful necklace. Kids love wearing their own bright jewelry and picking their favorite color order.
Materials Needed:
- Small oyster shells
- Acrylic paints and fine brush
- Small screw eye or jump ring with glue
- Waxed cord or ribbon
- Clear sealant
How to make it:
- Clean shells; paint simple rainbow stripes across the front.
- Seal the paint and let dry.
- Twist in a small screw eye or glue on a jump ring at the top.
- String on a cord and tie adjustable knots.
9. Oyster Shell Garden Markers

Label herb names on painted shells and stake them in soil with wire or sticks. Kids like helping in the garden and recognizing plants with their own signs.
Materials Needed:
- Oyster shells
- Outdoor acrylic paint or paint pen
- Clear outdoor sealant
- Wooden skewers or garden wire
- Strong glue
How to make it:
- Clean shells; paint a solid light color as a base and dry.
- Write herb or veggie names in bold letters.
- Seal for weather resistance.
- Glue shell to a skewer or wire and place in pots or beds.
10. Oyster Shell Beach Fairy House
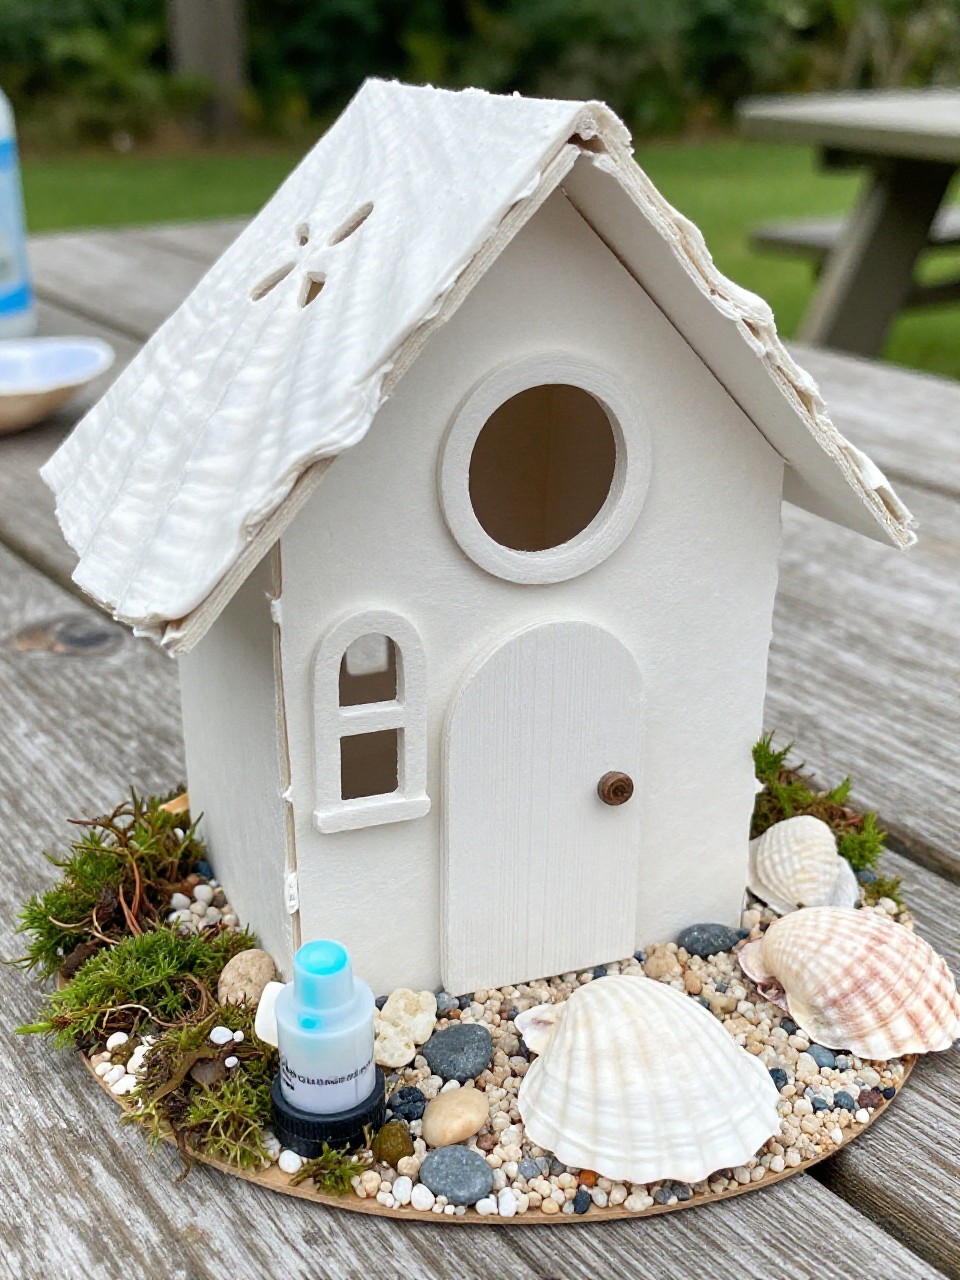
Make a tiny fairy house by gluing shells onto a small box or stone, adding a shell door and pebble path. Kids enjoy building a mini world that feels magical and seaside fresh.
Materials Needed:
- Oyster shells, small pebbles
- Small cardboard box or flat stone
- Craft glue or hot glue
- Moss or sand
- Paint pen for simple details
How to make it:
- Choose a base and plan where shells will form walls or roof.
- Glue shells around the base; add a shell door and a pebble path.
- Add moss or sand and draw tiny windows or dots.
- Let dry, then place on a shelf or garden nook.
11. Oyster Shell Wind Chime
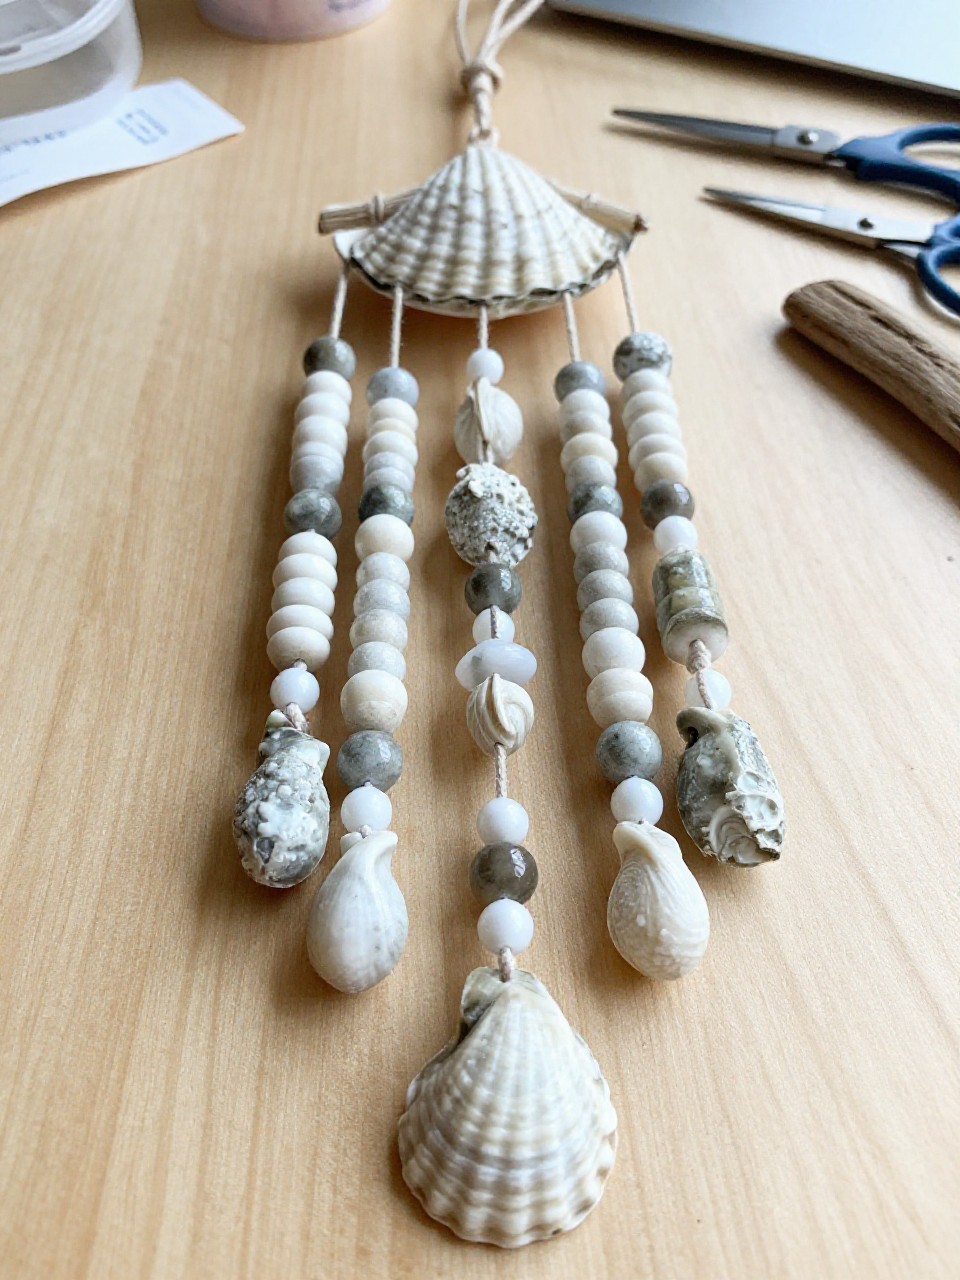
String shells with beads onto twine and hang from a driftwood stick for gentle seaside sounds. Kids like choosing bead colors and hearing the soft clink in the breeze.
Materials Needed:
- Oyster shells (holes drilled by an adult)
- Twine or fishing line
- Beads
- Small driftwood or stick
- Scissors
How to make it:
- Drill small holes near shell tops with adult help.
- Thread shells and beads onto lengths of twine.
- Tie each strand to the driftwood and balance spacing.
- Hang in a breezy spot and enjoy the sound.
12. Oyster Shell Holiday Angels
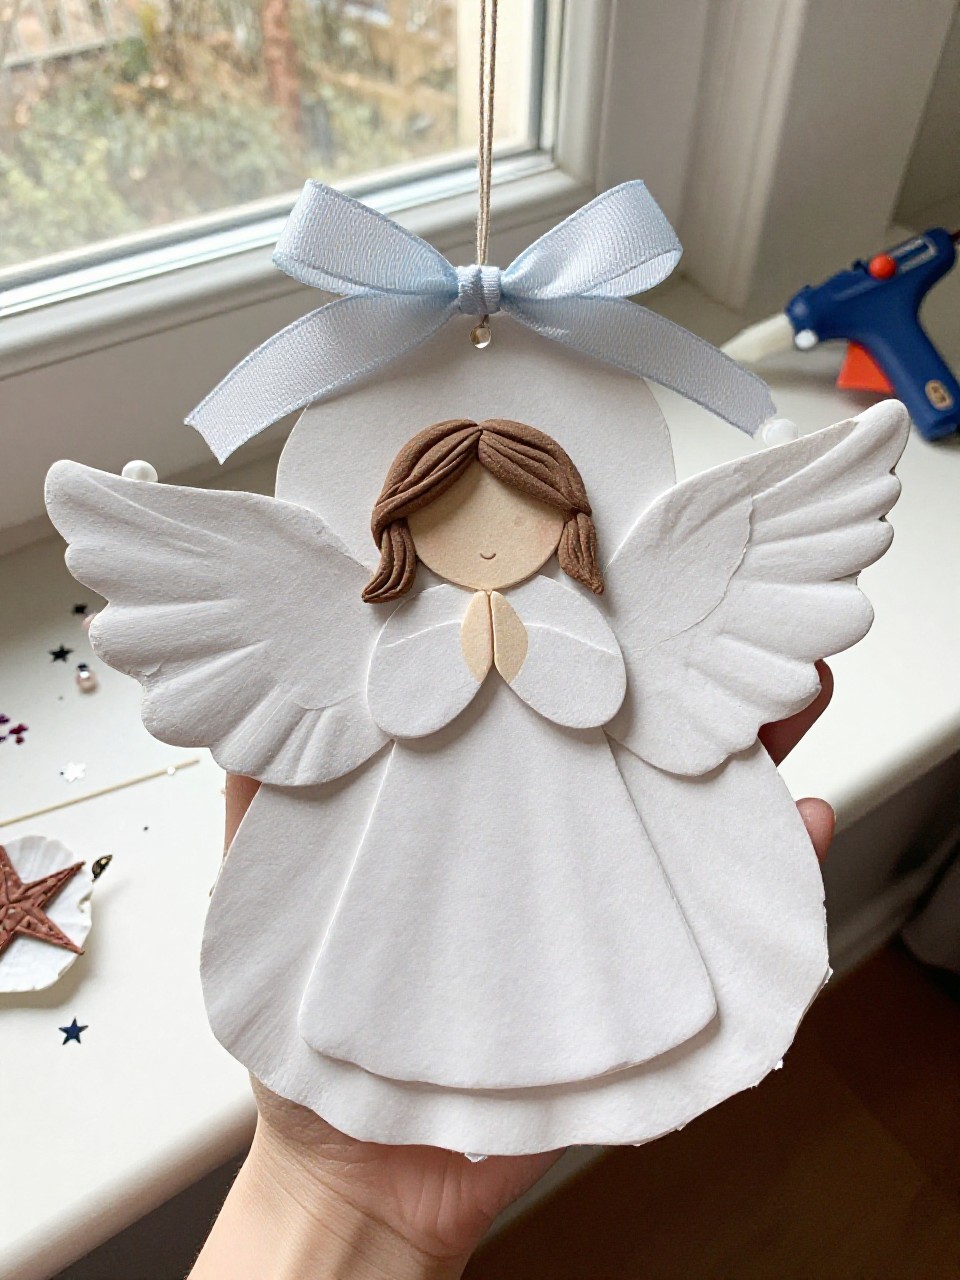
Create simple angels with a shell body, a bead head, and ribbon wings. Kids love the cute shape and turning shells into sweet decor for gifts or trees.
Materials Needed:
- Oyster shells
- Wooden bead or large pearl bead
- Ribbon for wings
- Hot glue or strong craft glue
- Twine loop (for hanging)
How to make it:
- Clean shells; glue a bead to the narrow end as the head.
- Fold ribbon into a bow and glue on the back as wings.
- Add a twine loop to the top for hanging.
- Let dry and decorate with tiny dots or stars if desired.
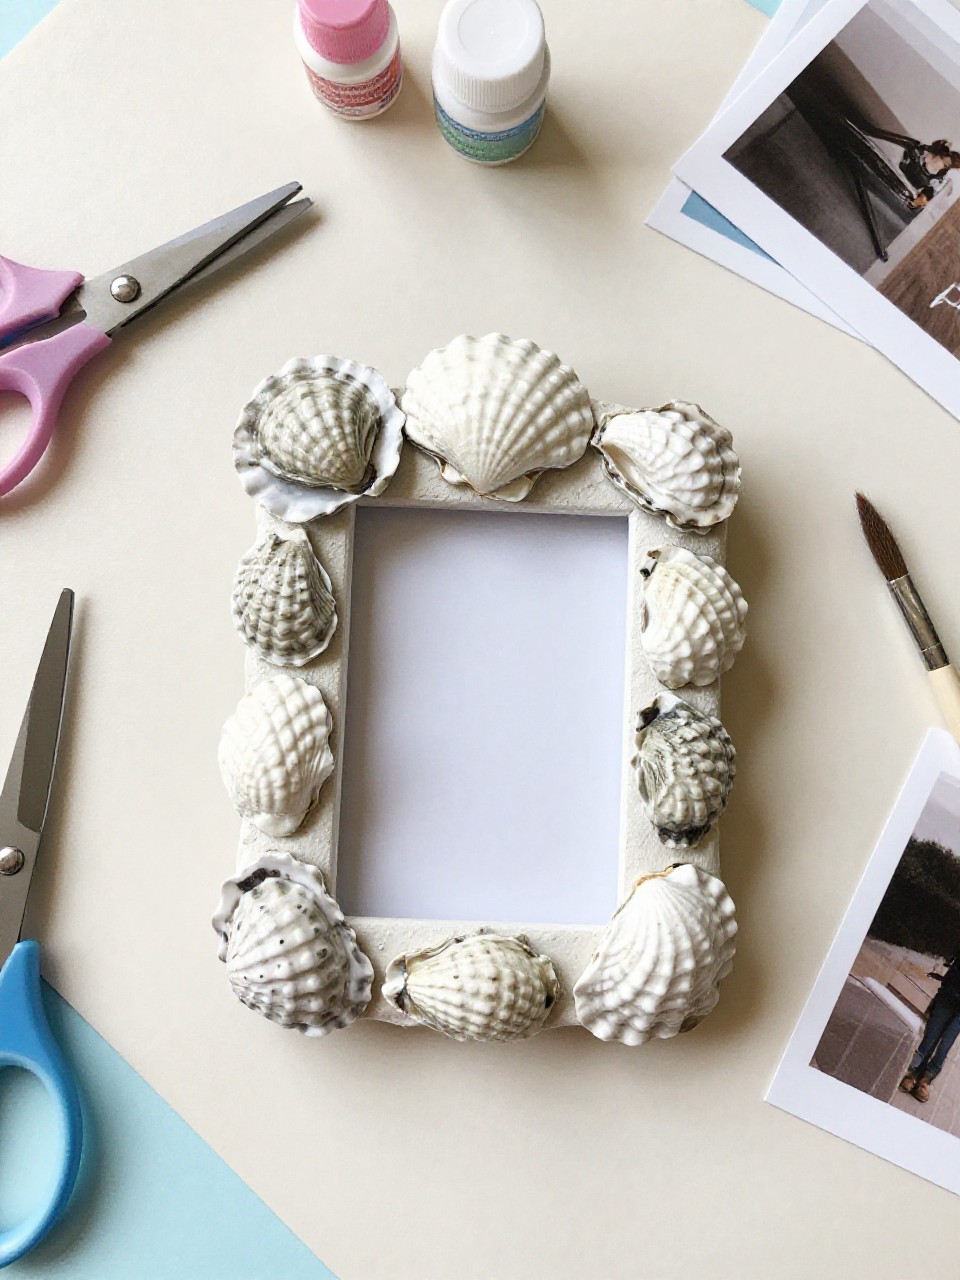
13. Oyster Shell Mosaic Picture Frame
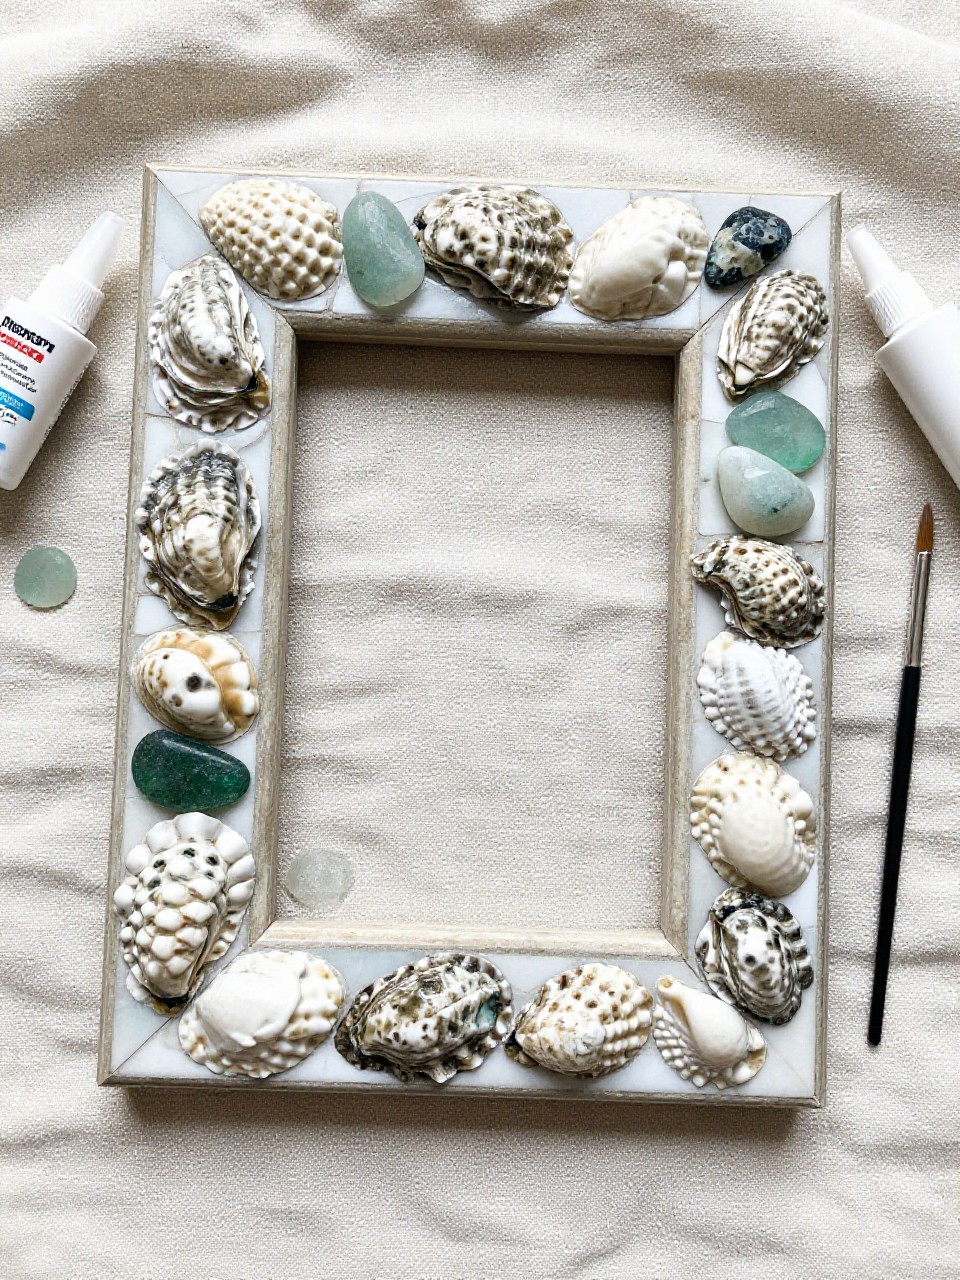
Decorate a plain frame with layered shells and a few sea glass pieces for texture. Kids enjoy arranging the mosaic border and seeing a simple frame turn coastal and pretty.
Materials Needed:
- Plain wooden picture frame
- Oyster shells, broken bits okay
- Sea glass or small pebbles
- Strong craft glue
- White paint (optional base)
How to make it:
- Paint the frame white if desired and let dry.
- Glue shells around the frame, fitting pieces like a puzzle.
- Fill gaps with sea glass or pebbles.
- Dry flat, add a photo, and display.
14. Oyster Shell Mini Planters
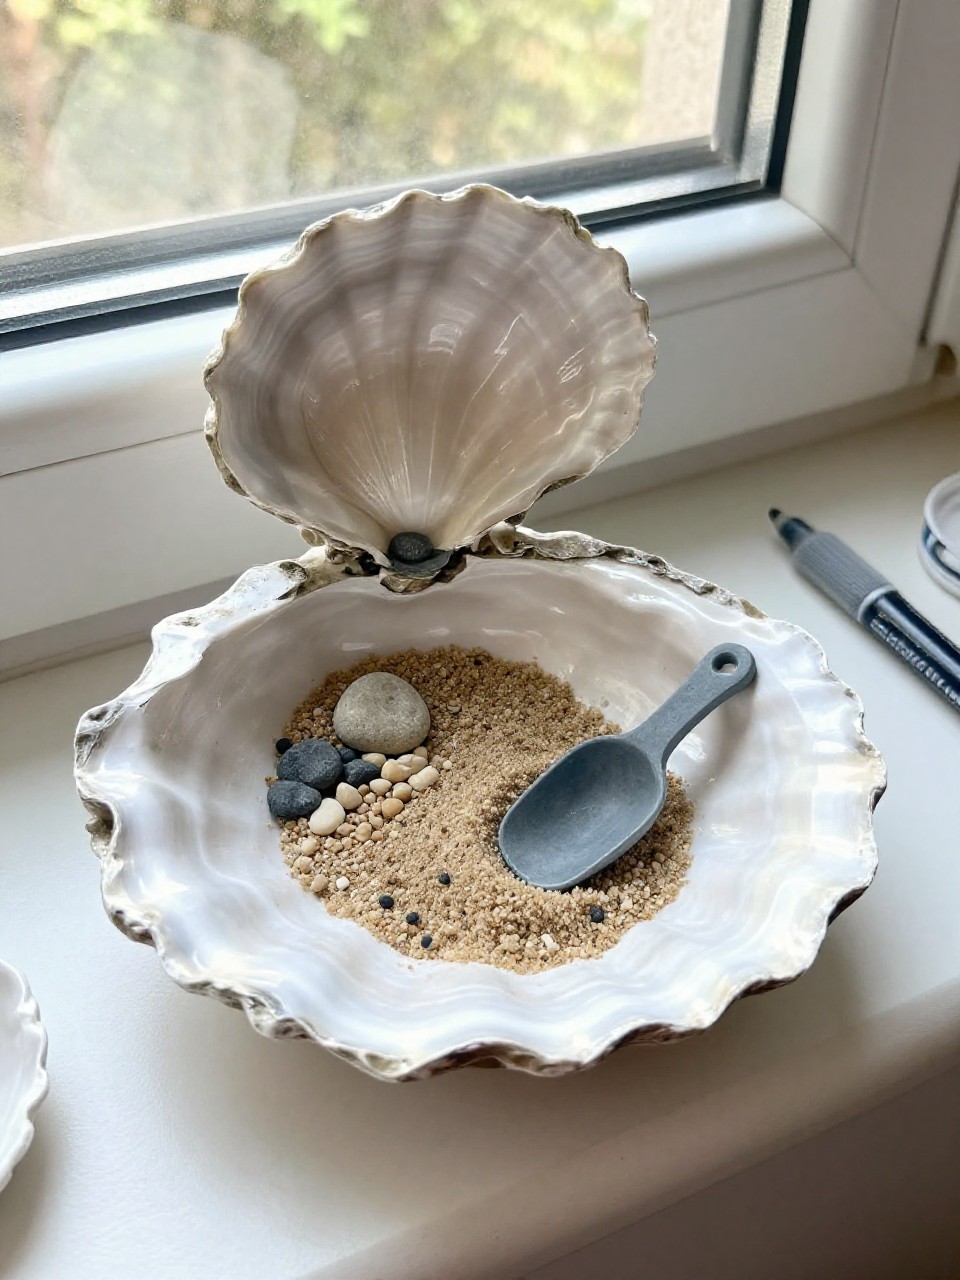
Use deep shells as tiny planters for air plants or faux succulents with a sprinkle of sand. Kids like choosing plant shapes and making mini gardens to line a window.
Materials Needed:
- Deep oyster shells
- Air plants or small faux succulents
- Sand or tiny pebbles
- Craft glue (for faux plants only)
- Optional gold paint for rim
How to make it:
- Clean shells; paint rims if you want a fancy edge.
- Add a spoon of sand or pebbles inside.
- Nestle an air plant (no glue) or glue a faux plant in place.
- Set along a windowsill and mist air plants weekly.
15. Oyster Shell Treasure Map Box
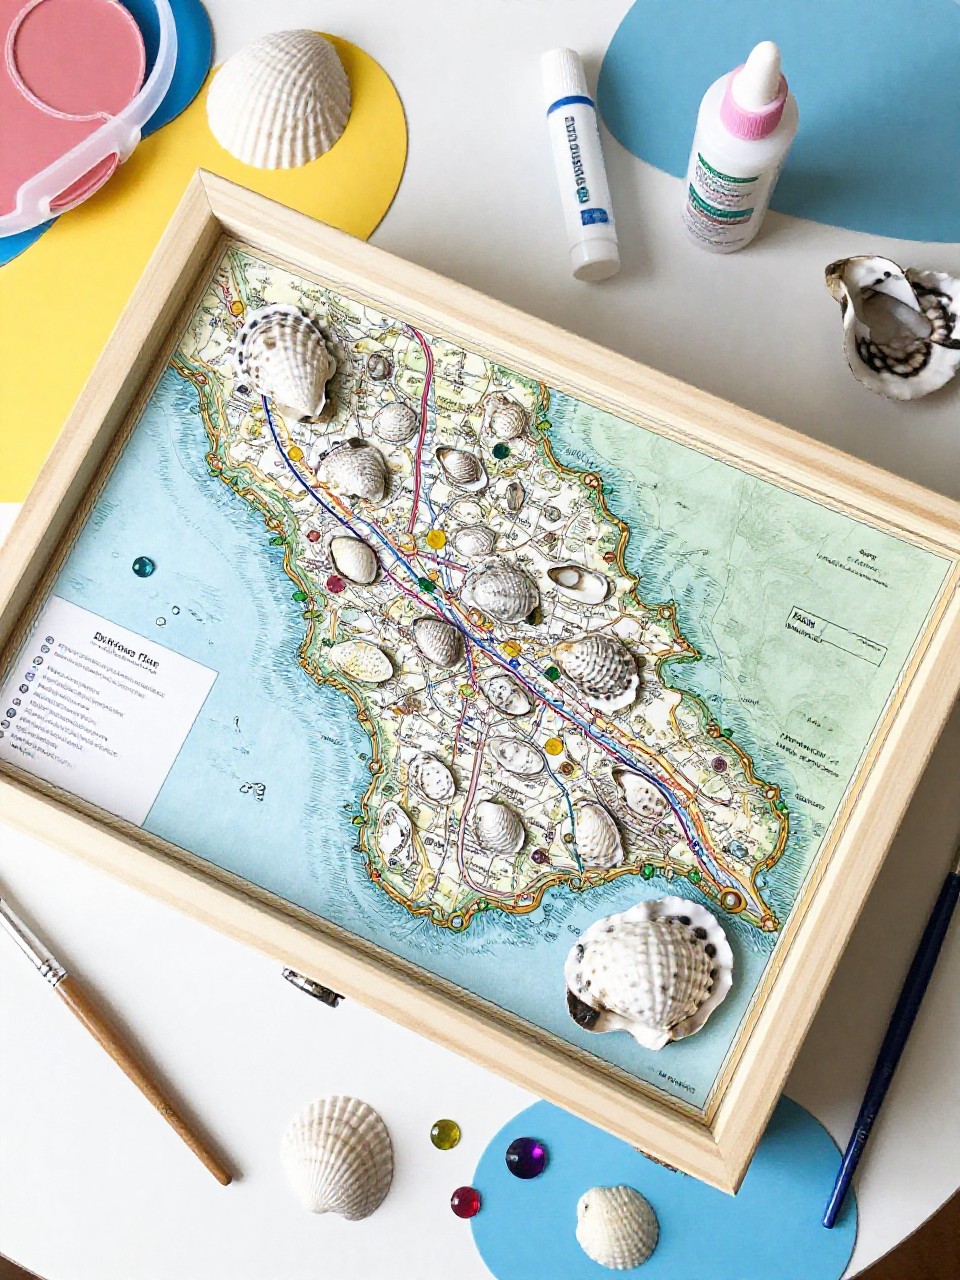
Cover a small box lid with shells and paint a simple “X marks the spot” map inside the lid. Kids enjoy hiding notes or coins and playing pirate games with their custom treasure box.
Materials Needed:
- Small cardboard or wood box
- Oyster shells
- Acrylic paints and brush
- Craft glue
- Tiny stickers or gems (optional)
How to make it:
- Glue oyster shells to the box lid in a fun pattern; let set.
- Paint the inside lid with a mini treasure map and an “X.”
- Add stickers or gems as treasure decor.
- Dry completely and store small keepsakes inside.