

In This Article Show
Fall brings perfect weather for creative indoor activities that celebrate the season’s natural beauty. The changing leaves, harvest time, and cozy atmosphere make autumn an ideal time for hands-on projects that kids love.
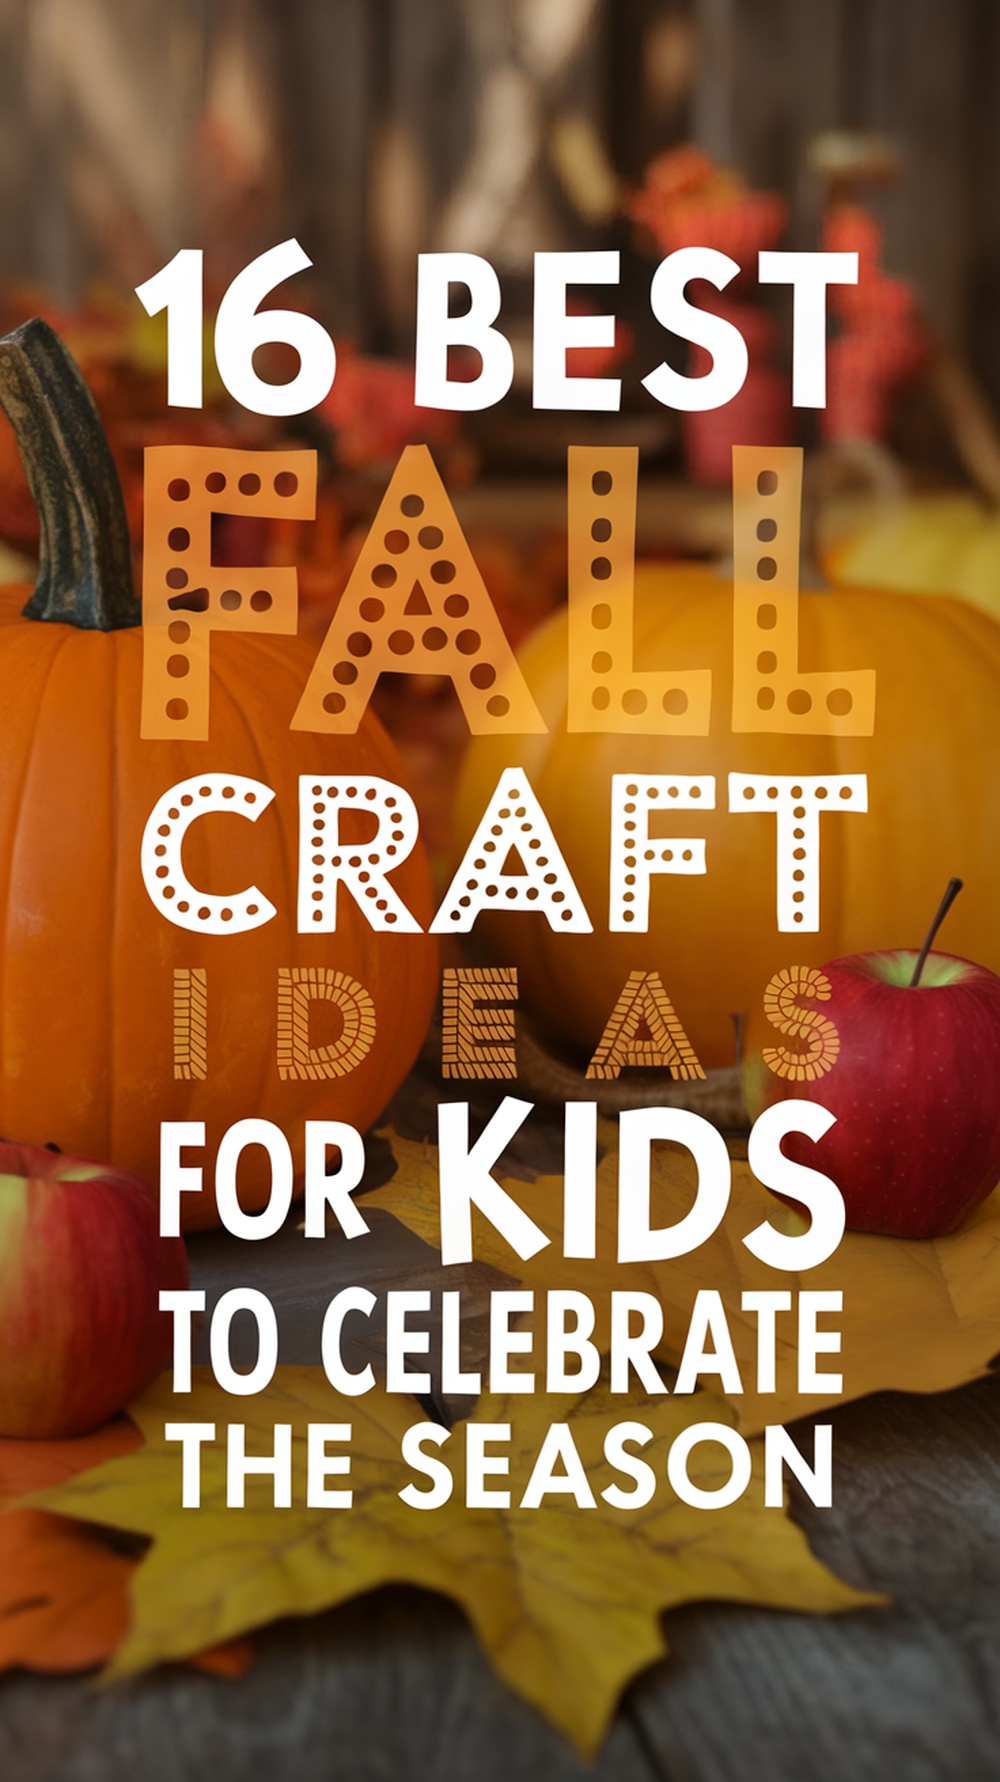
These 16 fall craft ideas use simple materials like leaves, pinecones, pumpkins, and recycled items to create memorable projects that connect children with nature.
From nature-based art projects to festive decorations, each craft helps kids explore the colors and textures of autumn while developing their creativity and fine motor skills.
1. Painted Fall Leaves Art

I love making painted leaf art with kids during autumn. We collect fresh leaves from the yard and use them as brushes.
I dip leaves in paint and press them onto paper. This creates beautiful leaf prints with natural textures.
Shop the Inspiration


How to make Painted Fall Leaves Art
Materials Needed:
- Real or faux leaves (clean and dry)
- Acrylic paints in fall colors (red, orange, yellow, gold, blue, etc.)
- Small paintbrushes
- Paint palette or paper plate
- Paper towels or newspaper for your workspace
The Steps:
- Step 1: Prepare Your Leaves
Lay out your leaves flat and ensure they’re clean and dry. If using real ones, press them between books for a day or two to prevent curling. - Step 2: Choose Your Colors
Pick fall shades like burnt orange, mustard yellow, deep red, or even metallic tones. Mix and match to create layered effects or gradient blends. - Step 3: Paint the Leaves
Using a small brush, gently paint the surface of each leaf. You can cover them fully, outline the veins, or paint fun designs like stripes and dots. - Step 4: Let Them Dry
Place the leaves on parchment paper or newspaper and let them dry completely. Acrylic paint usually dries in about 15–20 minutes. - Step 5: Display or Decorate
Once dry, use your painted leaves for garlands, wreaths, or framed artwork. They also make lovely place settings for a fall dinner table.
2. Pinecone Owl Craft

I love making pinecone owls with kids during the fall. This craft uses a pinecone as the owl’s body. You need felt, googly eyes, and orange paper for the beak. Paint works too.
Glue eyes onto the pinecone’s top. Cut a small triangle from orange paper for the beak.
Shop the Inspiration


how to make Pinecone Owl Craft
Materials Needed:
- Pinecones
- Brown, orange, and yellow cardstock or construction paper
- Googly eyes
- Scissors
- Glue or hot glue gun
- Pencil
The Steps:
- Step 1: Prepare Your Pinecone
Choose a pinecone that stands upright on its own. Shake off any loose debris and let it dry completely if it’s freshly collected. - Step 2: Make the Owl’s Eyes
Cut two large circles from brown cardstock and slightly smaller ones from a lighter shade (or orange/yellow). Glue googly eyes in the center and attach the layered circles to the front of the pinecone near the top. - Step 3: Create the Beak and Feet
Cut a small triangle from orange paper for the beak and glue it just below the eyes. Then cut two small feet shapes and attach them to the bottom of the pinecone so your owl can stand. - Step 4: Add Wings and Ears
Cut two long oval shapes for wings and glue them on each side of the pinecone. For ears, cut two small triangles from brown paper and glue them near the top. - Step 5: Let It Dry and Display
Allow the glue to set, then display your cute pinecone owl on a shelf, windowsill, or table.
3. Pumpkin Paper Lanterns

I love making pumpkin paper lanterns with kids. They need orange paper, scissors, and battery tea lights. Cut paper into pumpkin shapes. Draw faces with markers. These lanterns brighten up any room for fall.
Shop the Inspiration

how to make Pumpkin Paper Lanterns
Materials Needed:
- Orange and yellow cardstock or construction paper
- Green paper for stems
- LED tea lights or battery candles
- Scissors
- Glue or double-sided tape
- Ruler and pencil
The Steps:
- Step 1: Cut the Paper Strips
Cut 8–10 strips of orange or yellow paper, each about 1 inch wide and 8 inches long. These will form the pumpkin’s body. - Step 2: Create the Pumpkin Shape
Stack the strips, punch a small hole through both ends, and insert a brad fastener or tie with string. Gently spread the strips to create a round, pumpkin-like shape. - Step 3: Add the Stem
Cut a small rectangle from green paper, roll it up to form a stem, and glue it to the top of your pumpkin. - Step 4: Make the Face (Optional)
Cut out eyes, a nose, and a mouth from black or dark paper. Glue them to the front to make a jack-o’-lantern face. - Step 5: Light It Up
Place a small LED tea light inside the paper pumpkin for a soft glow.
4. Apple Stamping Prints

Apple stamping creates beautiful fall art using real apples as stamps. I cut apples in half and dip them in paint.
Kids press the apple onto paper to make colorful prints. This craft helps develop fine motor skills while celebrating autumn.
Shop the Inspiration


How to make Apple Stamping Prints
Materials Needed:
- Apples (cut in half)
- Acrylic or washable paint (red, yellow, orange, green)
- Paper plates or paint palette
- White cardstock or thick paper
- Paper towels
- Paintbrush (optional)
The Steps:
- Step 1: Prepare the Apples
Cut apples in half horizontally or vertically. Use a paper towel to blot the cut surface dry so the paint sticks better. - Step 2: Apply the Paint
Pour small amounts of paint onto a plate. Either dip the apple directly into the paint or use a brush to apply an even coat on the flat surface. - Step 3: Stamp the Paper
Press the painted apple firmly onto your paper, then lift it carefully to reveal the print. Experiment with different colors or overlap prints for a fun effect. - Step 4: Add Details
Once dry, use a paintbrush or marker to add stems and leaves to your apple prints. - Step 5: Display or Gift It
Frame your finished prints, make handmade greeting cards, or use them as festive wrapping paper.
5. Leaf Rubbing Art

I love this classic fall activity because it works for all ages. Place a leaf under paper and rub with a crayon to reveal the leaf’s shape and texture.
This craft teaches kids about different leaf patterns while creating colorful art.
Shop the Inspiration

how to make Leaf Rubbing Art
Materials Needed:
- Real leaves (dry and flat)
- White paper
- Crayons (with the wrappers removed)
- Tape (optional)
the steps:
- Step 1: Gather and Prepare Leaves
Collect a variety of leaves with interesting veins and shapes. Make sure they’re dry and flat — press them in a book for a day if needed. - Step 2: Arrange the Leaves
Place one or more leaves vein-side up on a flat surface. Lay a sheet of white paper on top and secure the corners with tape to keep it from moving. - Step 3: Start Rubbing
Hold a crayon sideways and gently rub it across the paper. Watch as the leaf’s shape and details appear like magic! Use different colors to bring your leaf art to life. - Step 4: Add Creative Touches
Layer multiple rubbings, blend colors, or draw around them to turn your leaf rubbings into a complete fall scene. - Step 5: Display Your Artwork
Hang your finished leaf rubbings on the wall, frame them, or use them as seasonal greeting cards.
6. Scarecrow Made from Recycled Materials

I love making scarecrows from items around my house. Large fruit cans work great for the body.
Beer cans and plastic bottles make perfect arms and legs. I use old plastic bags to stuff the scarecrow.
Shop the Inspiration


how to make Scarecrow Made from Recycled Materials
Materials Needed:
- Old flannel shirt and jeans
- Burlap sack or old pillowcase (for the head)
- Straw, dried grass, or shredded paper (for stuffing)
- Buttons, felt, and fabric scraps (for face and patches)
- String or twine
- Hat, scarf, and gloves (optional)
The Steps:
- Step 1: Build the Frame
Use two wooden sticks or broom handles to make a cross shape — one for the body and one for the arms. Tie them securely together with string. - Step 2: Dress the Scarecrow
Put the shirt and jeans on the frame. Button or tie the shirt to keep it in place. - Step 3: Add Stuffing
Fill the clothes with straw, dried grass, or old newspaper to give the scarecrow shape. Tie the ends of the sleeves and pants to keep the stuffing inside. - Step 4: Make the Head
Stuff a burlap sack or pillowcase and tie it at the bottom to form a head. Draw or glue on a face using buttons, felt, and fabric scraps for eyes, nose, and mouth. - Step 5: Add Finishing Touches
Top with a straw hat and scarf. You can even add gloves or patches for extra charm.
7. Acorn Necklace Making

I love making acorn necklaces with kids during the fall. You can use acorn caps with colorful beads. Simply thread the caps and beads onto the string. This creates beautiful nature jewelry.
Shop the Inspiration


How to make Acorn Necklace Making
Materials Needed:
- Acorns (real or faux)
- Small wooden beads (optional)
- Twine or string
- Hot glue or craft glue
- Drill or pushpin (for adult use)
The Steps:
- Step 1: Prepare the Acorns
If you’re using real acorns, make sure they’re clean and dry. Remove any dirt and bake them at a low temperature (around 200°F for 20 minutes) to kill any bugs inside. - Step 2: Make the Holes
Adults should carefully drill or poke a small hole through the acorn top for threading the string. - Step 3: String the Necklace
Cut a piece of twine long enough for a necklace. Thread the acorns and beads in your preferred pattern. Alternate between acorns and wooden beads for extra texture and color. - Step 4: Secure and Finish
Tie the ends of the twine together with a double knot. You can add a dab of glue for extra security if needed. - Step 5: Decorate or Gift It
Paint the acorns, add glitter, or tie a small ribbon to make them extra special. These necklaces make wonderful handmade gifts or keepsakes from a fall nature walk.
8. Fingerprint Pumpkin Cards

I love making fingerprint pumpkin cards with kids. They’re simple and fun. Press orange paint on your finger. Make fingerprints in a pumpkin shape on cardstock. Add a green stem with a marker.
Shop the Inspiration


how to make Fingerprint Pumpkin Cards
Materials Needed:
- White cardstock or blank cards
- Orange, green, brown, and black paint
- Paintbrushes or markers
- Googly eyes (optional)
- Glue
- Wet wipes or paper towels
The Steps:
- Step 1: Prepare Your Work Area
Lay down some newspaper or craft paper to keep things clean. Set out your paints and brushes. - Step 2: Make the Pumpkin Prints
Dip your fingertip in orange paint and press it onto the cardstock to form small round shapes — these will be your pumpkins. You can make one large pumpkin or several small ones per card. - Step 3: Add Details
Once the paint dries, use a brush or marker to draw stems, vines, and leaves with green and brown paint. Add faces with black paint or marker to make them look like jack-o’-lanterns. - Step 4: Decorate and Assemble
Glue on googly eyes for extra character, or outline the pumpkins with markers for more definition. Fold the cardstock to make a greeting card if you haven’t already. - Step 5: Write Your Message
Inside, write a fun fall greeting like “Happy Harvest!” or “You’re Pumpkin Perfect!”
9. Paper Plate Pumpkin Faces

I love making pumpkin faces with paper plates. Kids can paint plates orange and add cut-out eyes, nose, and mouth. This craft works great for toddlers and preschoolers. They practice cutting skills while creating fall decorations.
Shop the Inspiration


how to make Paper Plate Pumpkin Faces
Materials Needed:
- Orange paint or orange paper plates
- Black construction paper
- Green construction paper
- Scissors
- Glue stick
- Paintbrush (if painting)
- Marker (optional for adding details)
The Steps:
- Step 1: Paint or Prepare the Plates
If you’re using plain white paper plates, paint them orange and let them dry completely. You can also use pre-colored orange plates to skip this step. - Step 2: Cut Out the Faces
From black construction paper, cut out triangles for eyes and noses and various mouth shapes — from happy smiles to silly grins. - Step 3: Add the Stem
Cut small green rectangles from construction paper for the pumpkin stems. Glue them to the top of each plate. - Step 4: Assemble the Faces
Glue the eyes, nose, and mouth pieces onto the plate to create your pumpkin faces. Let kids get creative — no two faces have to look alike! - Step 5: Add Final Touches
Draw extra details like vines or eyebrows with markers, or glue on googly eyes for a fun twist.
10. DIY Fall Leaf Garland

I love making leaf garlands with kids because they’re simple and beautiful. You just need colorful fall leaves and string or twine. First, I collect fresh leaves in different colors. Then I help kids thread the leaves onto the string to make a pretty garland.
Shop the Inspiration

how to make DIY Fall Leaf Garland
Materials Needed:
- Real or faux fall leaves
- Twine or string
- Scissors
- Glue, tape, or a hole punch
- Mini clothespins (optional)
The Steps:
- Step 1: Gather or Prepare Leaves
Collect colorful fall leaves from outside or use store-bought faux ones. If you’re using real leaves, press them between book pages for a few days to keep them flat and crisp. - Step 2: Cut and Prepare the Twine
Measure how long you want your garland to be, then cut the twine or string to that length. Leave extra space at the ends for hanging. - Step 3: Attach the Leaves
Punch small holes near the top of each leaf and thread the twine through, spacing them evenly. Alternatively, you can use glue or mini clothespins to attach them to the string. - Step 4: Add Accents (Optional)
For a more festive touch, add small pinecones, acorns, or paper cutouts between the leaves. - Step 5: Hang and Enjoy
Drape your garland across a mantel, doorway, or wall. It instantly adds cozy autumn charm to your home!
11. Pinecone Bird Feeder

I love making pinecone bird feeders with kids. This craft takes about 10 minutes and uses simple materials. You need pinecones, peanut butter, birdseed, and string. Roll the pinecone in peanut butter, then cover it with seeds. Hang your feeder outside and watch birds visit your yard.
Shop the Inspiration


how to make Pinecone Bird Feeder
Materials Needed:
- Large pinecone
- Peanut butter or nut butter alternative
- Birdseed
- String or twine
- Butter knife or spoon
- Plate or shallow dish
The Steps:
- Step 1: Prepare the Pinecone
Shake out any dirt or debris from the pinecone. If it’s closed tightly, leave it in a warm place for a few hours—it’ll open naturally. - Step 2: Tie the String
Cut a piece of string and tie it securely around the top of the pinecone, leaving enough length to hang it later. - Step 3: Add the Peanut Butter
Use a butter knife or spoon to spread peanut butter into the pinecone’s cracks and scales. Make sure it’s coated well so the seeds will stick. - Step 4: Roll in Birdseed
Pour birdseed onto a plate or shallow dish. Roll the peanut-butter-covered pinecone in the seeds until it’s fully coated. Press gently to help them stick. - Step 5: Hang Outside
Hang your finished bird feeder on a tree branch or porch where birds can easily find it.
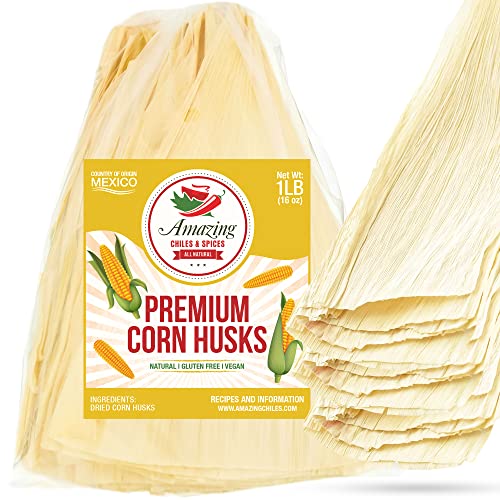
12. Corn Husk Dolls

I love making corn husk dolls during the fall. They’re simple crafts that need a few supplies. Kids can shape the husks into dolls easily. The material is cheap and works well for beginners.
Shop the Inspiration


how to make Corn Husk Dolls
Materials Needed:
- Dried corn husks (available at craft or grocery stores)
- Twine or string
- Scissors
- Bowl of warm water
- Markers or small craft eyes (optional)
The Steps:
- Step 1: Soften the Corn Husks
Soak the corn husks in a bowl of warm water for about 10 minutes to make them flexible and easier to work with. Gently pat them dry with a towel. - Step 2: Form the Head and Body
Take several husks and bundle them together. Tie one end tightly with string to form the head. Trim the ends to shape the bottom evenly. - Step 3: Add Arms
Roll a smaller husk into a tube for the arms and place it between layers of the body. Tie string below the head and again at the waist to hold the arms in place. - Step 4: Shape the Skirt or Legs
For a skirt, spread the bottom of the husks evenly. For legs, divide the husks into two sections and tie off each one separately. - Step 5: Add Finishing Touches
Decorate your doll with markers, small buttons, or pieces of yarn for hair. You can even add mini hats, scarves, or painted faces for personality.
13. Toilet Paper Roll Owls

I love making owl crafts with toilet paper rolls because they’re simple and fun. Kids can easily turn empty rolls into cute owls using basic supplies. These owls work great for fall decorating. I use cupcake liners for wings and add buttons for eyes.
Shop the Inspiration


how to make Toilet Paper Roll Owls
Materials Needed:
- Empty toilet paper rolls
- Colored paper (orange, yellow, red, and brown)
- Googly eyes
- Glue stick or craft glue
- Scissors
- Black marker
The Steps:
- Step 1: Shape the Owl’s Ears
Take a toilet paper roll and gently press down the top edge on both sides to create two small “ear” points. - Step 2: Add the Feathers
Cut feather shapes from the colored paper and glue them in layers along the front and sides of the roll. Mix warm fall colors for a seasonal touch. - Step 3: Make the Face
Glue on two large googly eyes near the top. Then cut a small triangle from orange paper to make a beak and glue it right under the eyes. - Step 4: Add Details
Draw small feather lines or patterns with a marker for extra personality. - Step 5: Display Your Owls
Let them dry completely, then line them up on a shelf, windowsill, or table for a cheerful fall display.
14. Tissue Paper Autumn Trees

I love this simple craft that brings fall colors indoors. Kids scrunch colorful tissue paper and glue it onto tree templates. This project works great for different ages. Younger children develop fine motor skills while older kids enjoy the creative process. The finished trees look beautiful displayed on windows or walls.
Shop the Inspiration


how to make Tissue Paper Autumn Trees
Materials Needed:
- Brown construction paper or cardstock (for tree trunks)
- Colored tissue paper (red, orange, yellow, and brown)
- Scissors
- Glue stick
- Tape
The Steps:
- Step 1: Make the Tree Trunk
Cut out a tree trunk shape from brown construction paper. You can make it flat for wall art or fold the bottom to help it stand up. - Step 2: Cut the Leaves
Cut tissue paper into small squares or leaf shapes using fall colors like red, orange, and yellow. - Step 3: Add the Leaves
Crumple each tissue paper piece slightly to give it texture, then glue it onto the top of the tree trunk to form a full canopy of leaves. - Step 4: Layer for Dimension
Keep adding more tissue leaves to create a fuller, more realistic look. Mix colors for a vibrant fall effect. - Step 5: Display Your Trees
Let them dry completely, then display your trees on a table, windowsill, or classroom board.
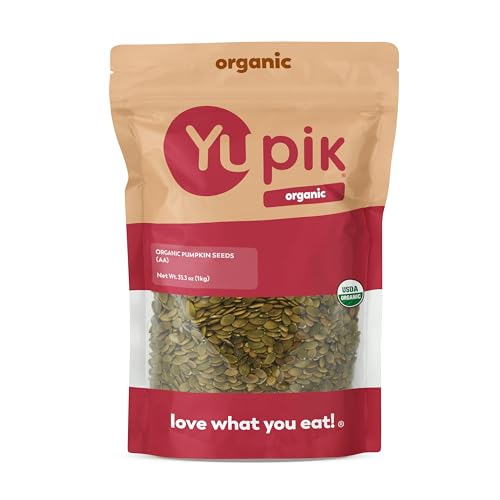
15. Pumpkin Seed Mosaic

I love making pumpkin seed mosaics with kids. This craft uses real pumpkin seeds to create colorful art pieces. First, I clean and dry pumpkin seeds. Then I paint them in fall colors like orange, red, and yellow.
Shop the Inspiration


how to make Pumpkin Seed Mosaic
Materials Needed:
- A real or faux pumpkin
- Clean, dried pumpkin seeds
- Acrylic paint (fall colors like orange, yellow, and brown)
- Paintbrushes
- Craft glue or hot glue gun
- Pencil for sketching your design
The Steps:
- Step 1: Prepare and Paint the Seeds
Start by painting your pumpkin seeds in different shades of fall colors. Let them dry completely before you begin gluing. - Step 2: Sketch Your Design
Lightly draw your design on the pumpkin using a pencil. You can create patterns, leaves, or even swirls inspired by autumn. - Step 3: Glue the Seeds
Apply glue along your design lines and carefully press the painted seeds into place, layering or alternating colors to create depth. - Step 4: Fill in the Details
Keep adding seeds until your design is complete. You can mix in unpainted seeds for a natural look. - Step 5: Let It Dry and Display
Allow the glue to dry fully, then display your pumpkin as a centerpiece or on your porch.
16. Paper Bag Leaf Puppets

I love making paper bag leaf puppets with kids during the fall. You need brown paper bags, markers, and craft sticks. Draw leaf shapes on the bags. Cut them out and decorate with fall colors like red, orange, and yellow.
Shop the Inspiration


Paper Bag Leaf Puppets
Materials Needed:
- Brown paper lunch bags
- Colored construction paper (orange, yellow, red, and brown)
- Googly eyes
- Glue stick or craft glue
- Scissors
- Black marker
The Steps:
- Step 1: Make the Puppet Base
Start with a brown paper bag. This will be the puppet’s body — the flap side will be its face. - Step 2: Cut Out the Leaves
Use colored construction paper to cut out leaf shapes in various fall colors. These will be used to decorate the puppets. - Step 3: Add the Face
Glue two googly eyes to the top flap of the bag. Then draw a smiling mouth using a black marker. - Step 4: Decorate the Body
Glue the paper leaves onto the front and sides of the paper bag. You can add extra details like arms or hair made from more paper or real leaves. - Step 5: Bring It to Life
Once the glue dries, slip your hand inside the bag and make your leaf puppet “talk.”