




In This Article Show
No-carve pumpkins are perfect when you want fall decor that looks polished without dealing with knives, pumpkin seeds, or a short display life. Paint, fabric, clay, ribbon, pressed leaves, and simple embellishments can completely change the look of a pumpkin while keeping its shape intact. They are also easier to make with children and simpler to move around the house once finished.
These good-looking no-carve pumpkin decorating ideas include modern patterns, elegant textures, playful food themes, and creative designs that work for mantels, tables, porches, parties, and contests. Start with a clean, dry pumpkin and use painter’s tape, removable adhesive, or small dots of craft glue whenever you want to protect the surface.
1. Moody Floral Painted Pumpkin
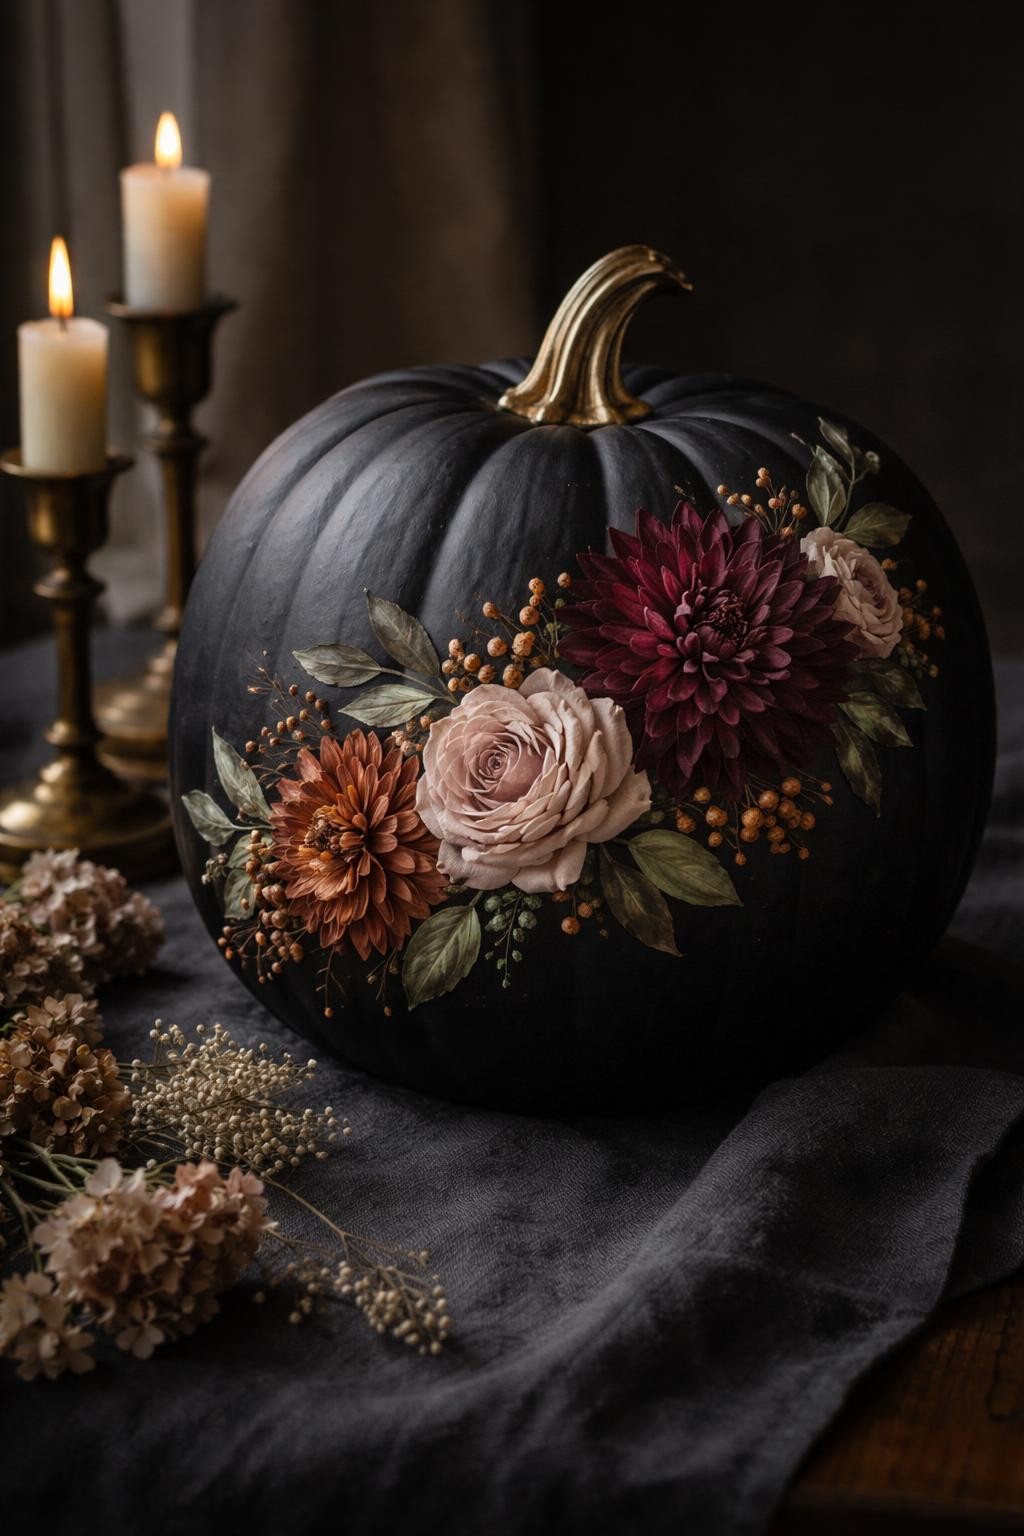
Paint the pumpkin matte black, deep plum, or charcoal, then sketch a loose floral arrangement flowing from one lower side toward the stem. Use burgundy, rust, blush, mustard, and olive to create a rich autumn palette. Larger flowers should sit near the center, with smaller leaves and berries tapering toward the edges.
Leave part of the dark background visible so the design does not become crowded. Fine gold lines around selected petals can add a subtle polished finish. This pumpkin works beautifully in formal table settings because it feels seasonal without looking overly rustic.
2. Velvet Ribbon-Wrapped Pumpkin
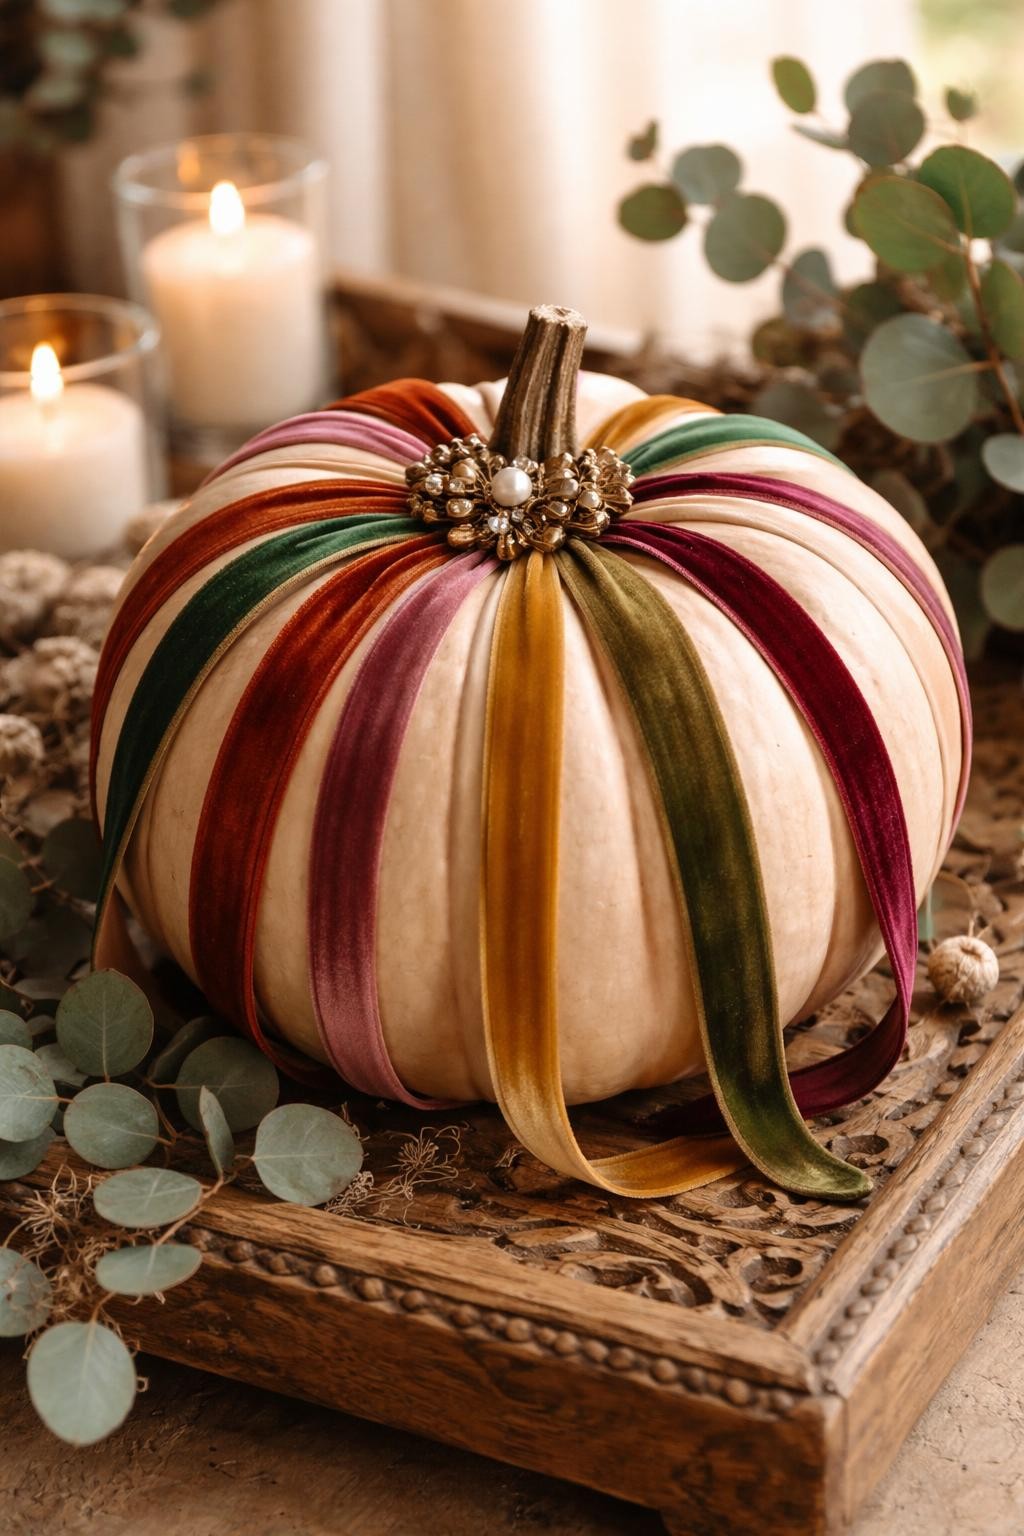
Cut narrow lengths of velvet ribbon long enough to run from the stem to the base of the pumpkin. Place one ribbon along each natural ridge and secure it discreetly at the top and bottom with glue dots or removable adhesive. Alternate several coordinated colors for a soft striped effect.
Gather the ribbon ends neatly around the stem and cover them with a vintage-style brooch, decorative button, or small bow. The velvet catches light differently across each ridge, giving the pumpkin a rich texture without requiring paint or carving.
3. Botanical Pressed-Flower Pumpkin
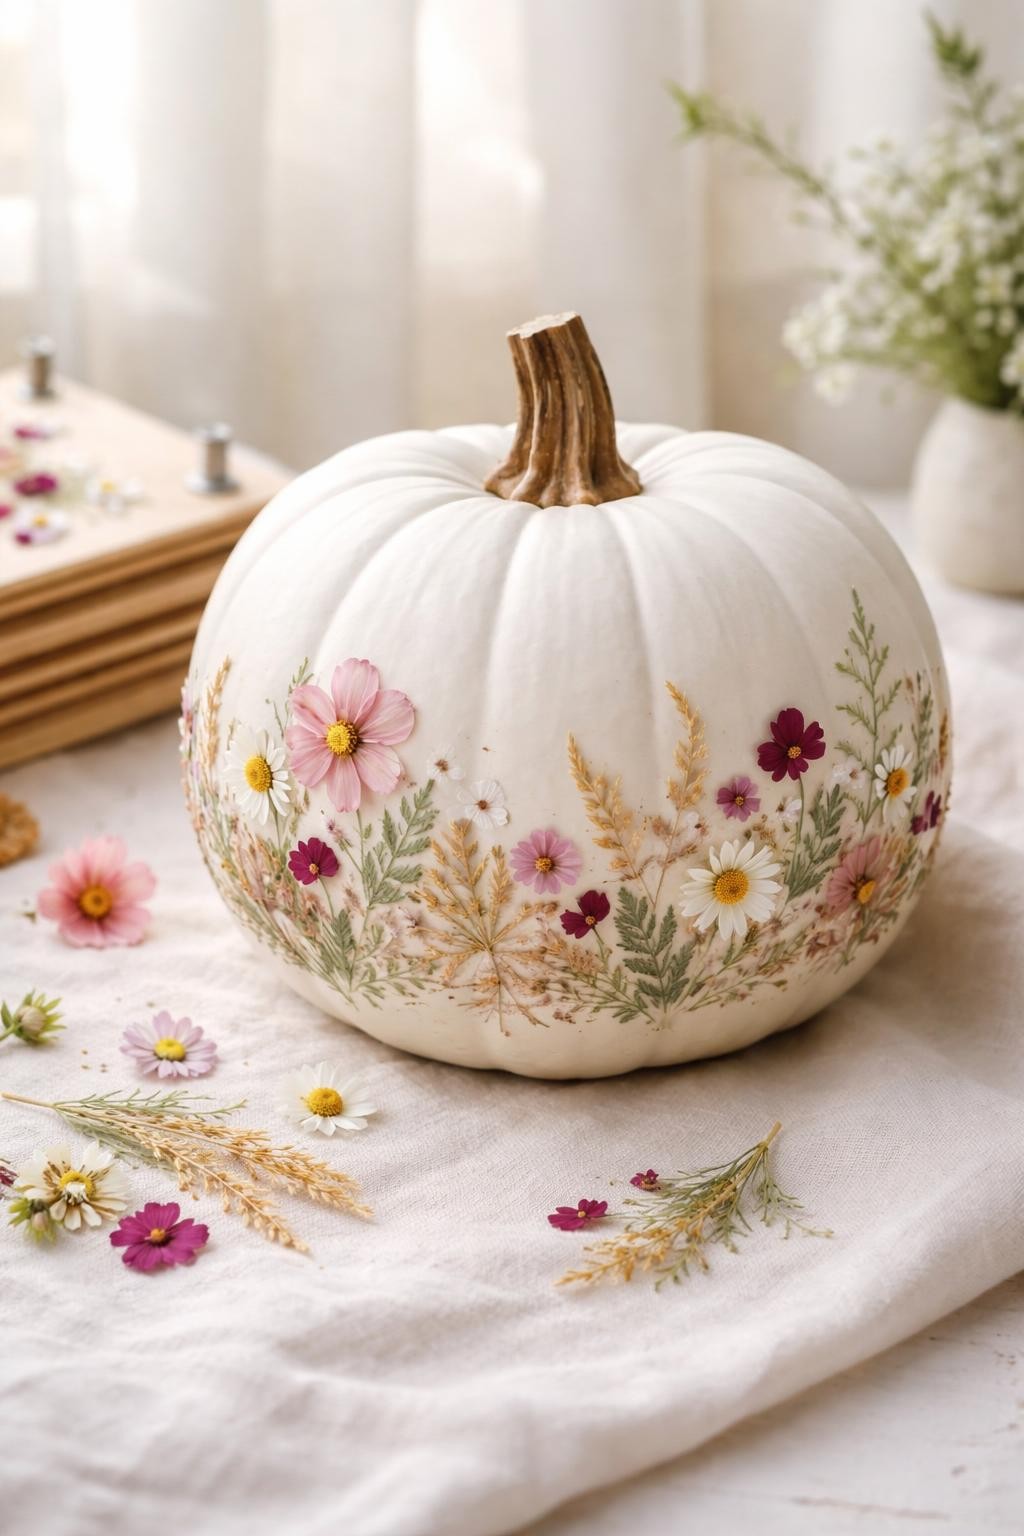
Arrange fully dried pressed flowers and leaves across the pumpkin before attaching anything. Create a meadow along the lower half or build a diagonal cluster that rises toward the stem. Small flat flowers work best because they sit smoothly against the curved surface.
Apply a thin layer of decoupage medium beneath each piece and gently seal the top once everything is dry. Keep some empty white space between the plants so the individual shapes remain visible. The finished pumpkin feels delicate, organic, and easy to coordinate with neutral fall decor.
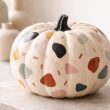
4. Modern Terrazzo Pumpkin
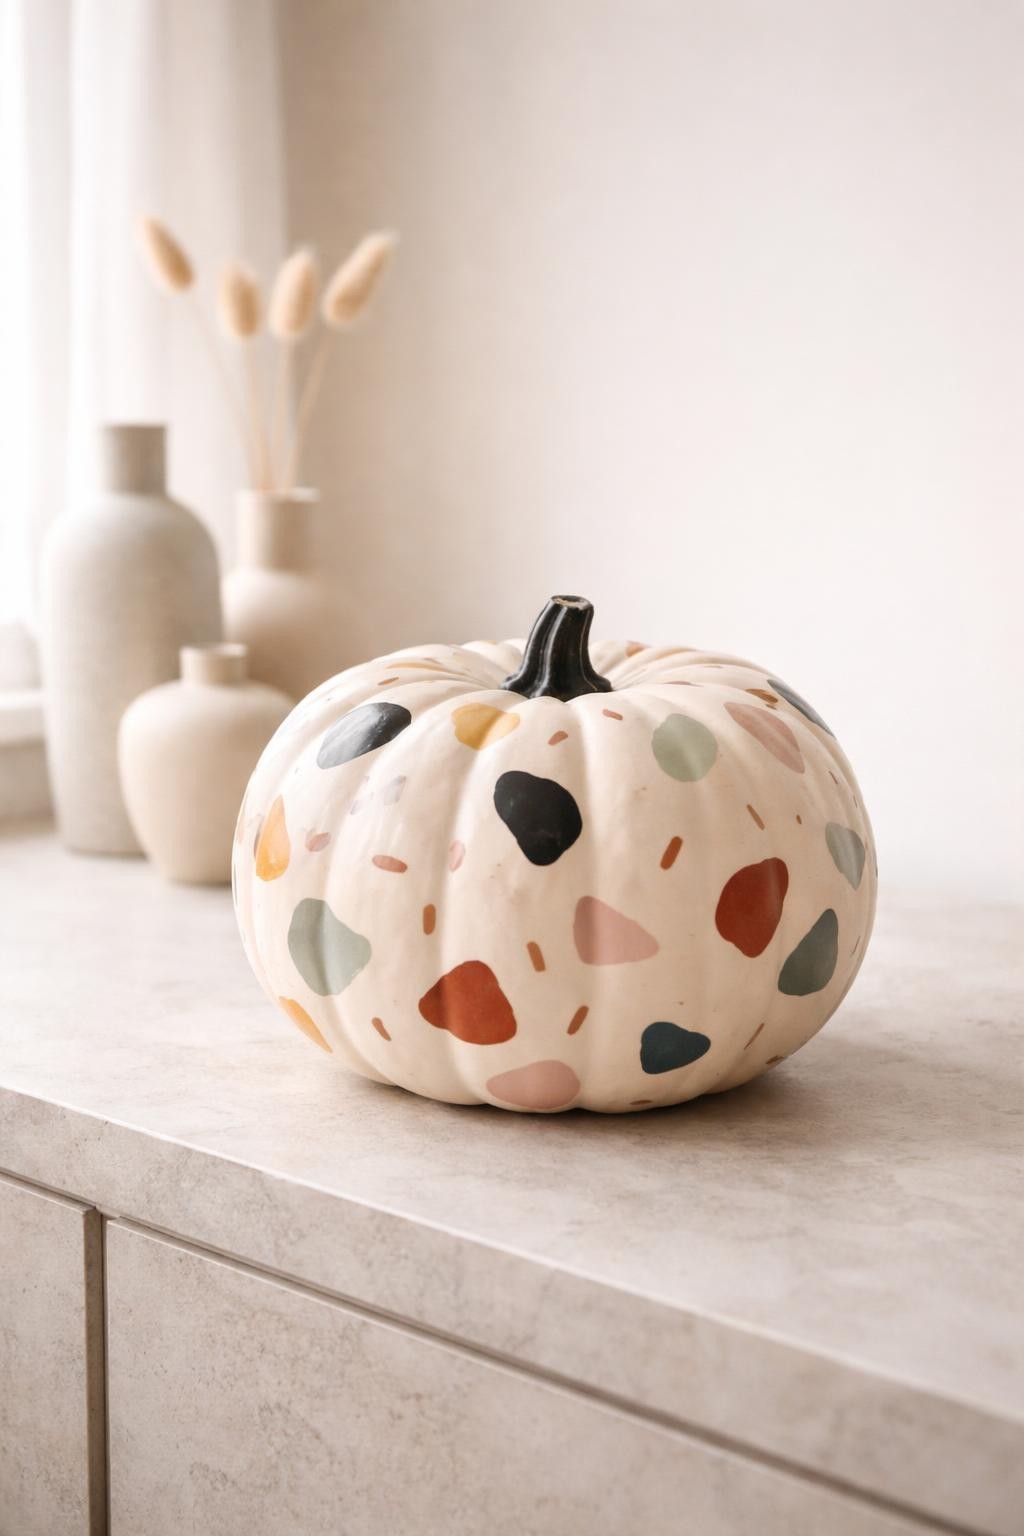
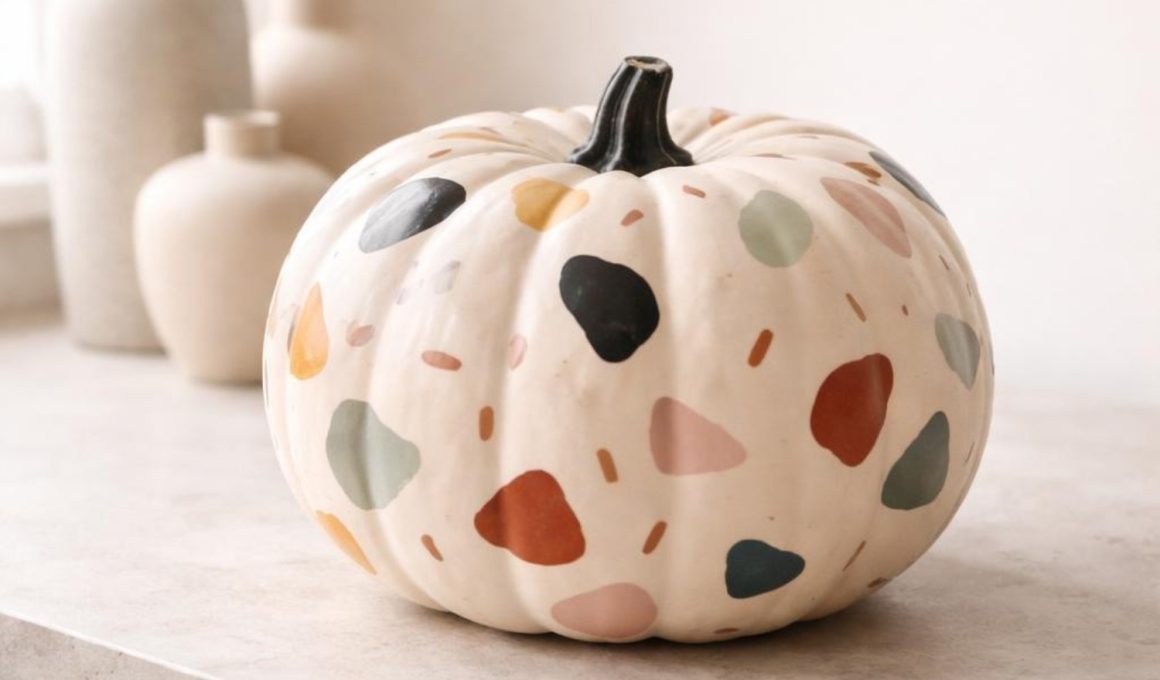
Paint the pumpkin in a warm neutral base color such as beige, cream, pale gray, or blush. Add small irregular shapes across the surface using several muted colors. Vary the size and angle of the pieces so the pattern resembles real terrazzo rather than evenly spaced polka dots.
Keep the chips small near the stem and slightly larger around the widest section. A matte finish will give the design a modern ceramic appearance. Create several pumpkins in related color palettes for a coordinated shelf or entryway display.
5. Mushroom Garden Pumpkin
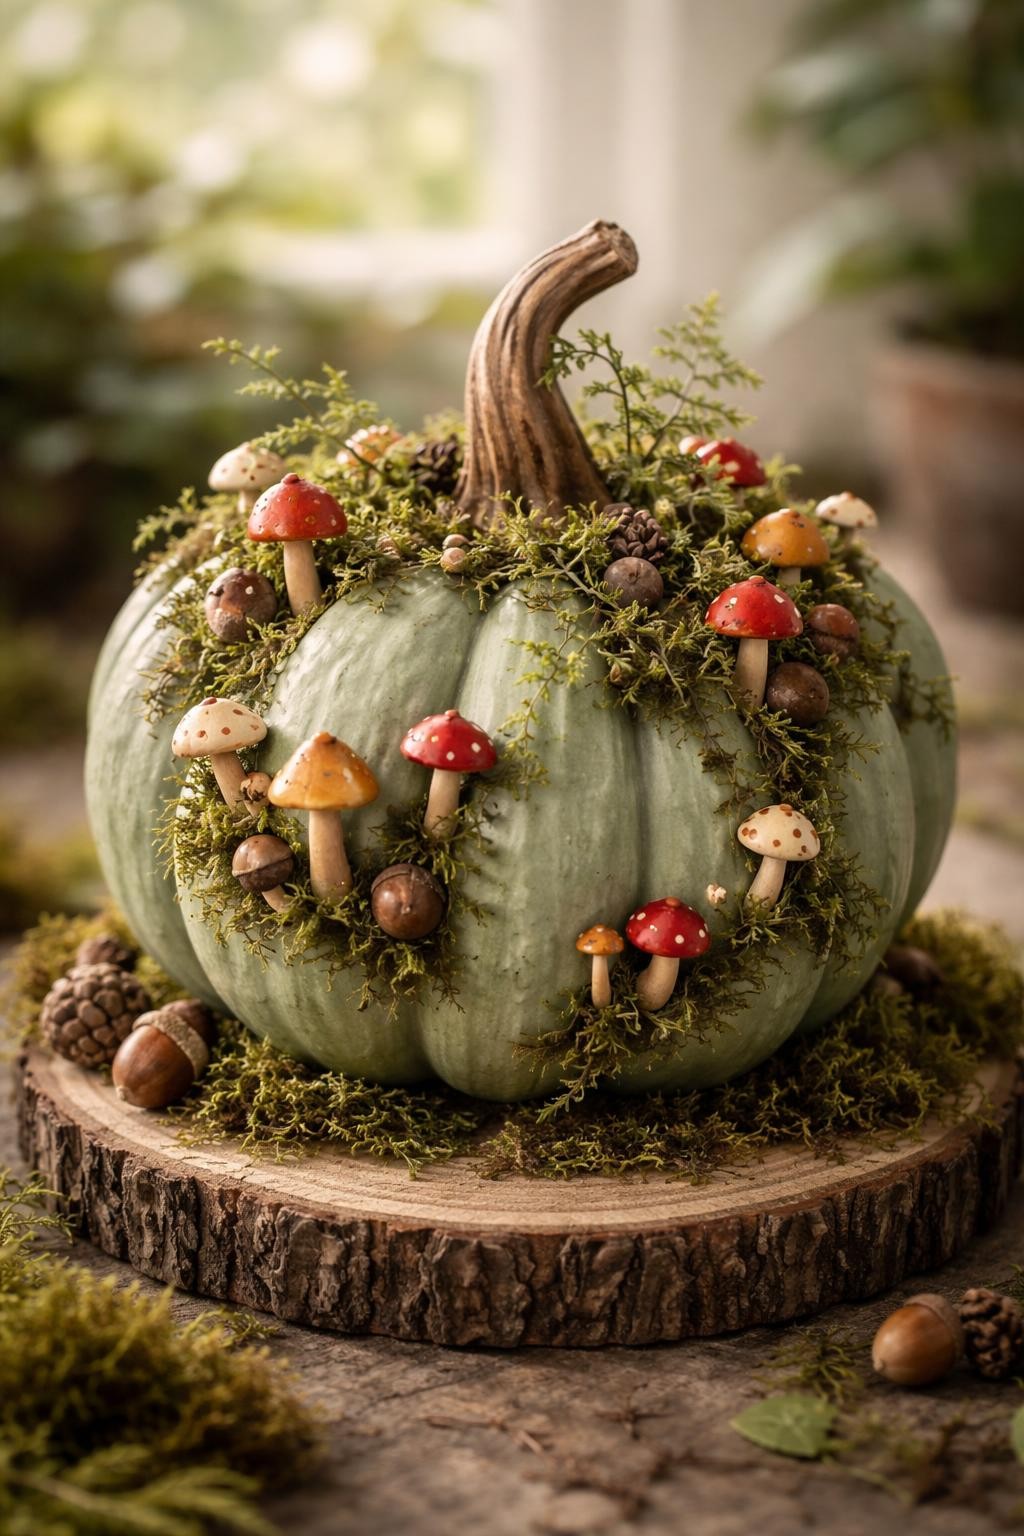
Make tiny mushrooms from air-dry clay by shaping simple stems and rounded caps. Paint them in woodland colors and attach them across the lower half of a sage, cream, or brown pumpkin. Use several heights and cap shapes so the arrangement looks like a naturally growing cluster.
Tuck preserved moss, tiny ferns, acorns, and small vine pieces between the mushrooms. Allow a few pieces to climb toward the stem, but leave enough open space to keep the pumpkin shape visible. This design turns a plain pumpkin into a miniature woodland scene without cutting into it.
6. Blue-and-Gold Celestial Pumpkin
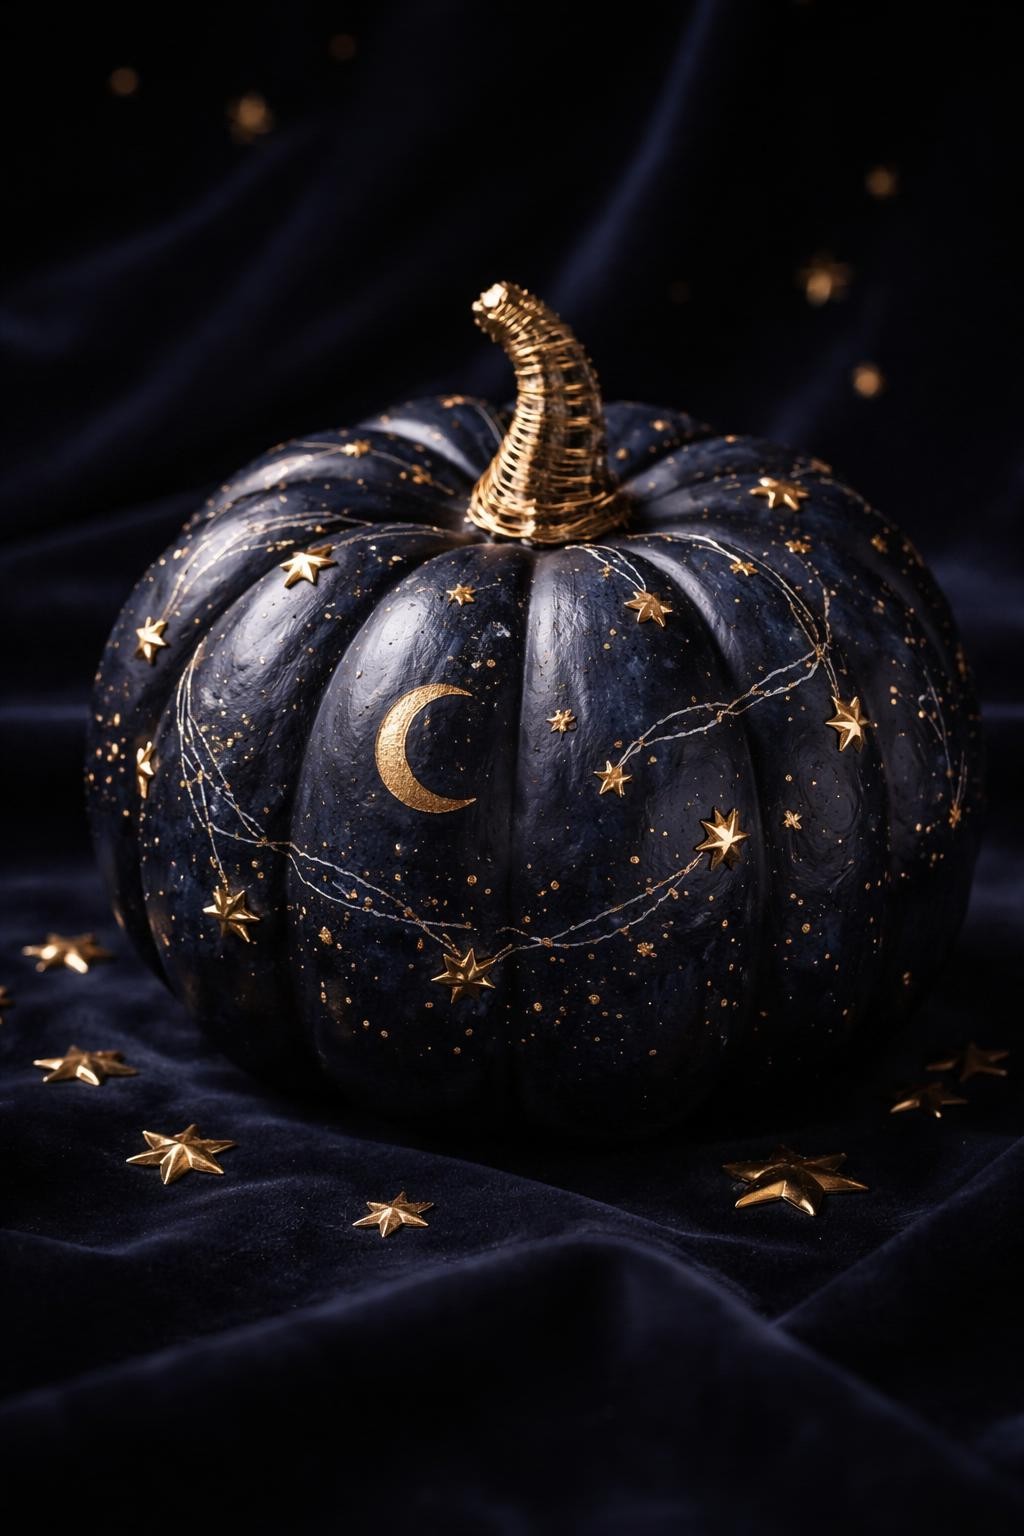
Paint the pumpkin deep navy or midnight blue and let it dry completely. Use a fine metallic marker to draw constellations, small moons, and shooting stars across the surface. Keep the pattern loose and uneven so it feels like a real night sky.
Attach a few lightweight gold stars with removable glue dots to create dimension. Wrap the stem in gold cord or paint it metallic to finish the look. This pumpkin works especially well in evening displays because low light brings out the reflective details.
7. Woven Cane Pumpkin
Cut small sections of cane webbing or woven paper to fit between alternating pumpkin ridges. Attach each panel carefully, then frame the edges with thin cord, ribbon, or faux leather trim. Leave some sections of the painted pumpkin visible to create contrast.
Wrap the stem in jute and add a small fabric or wooden leaf near the top. The natural weave gives the pumpkin a warm furniture-inspired look that fits well with neutral, coastal, or modern farmhouse interiors.
8. Pumpkin Ice Cream Cone
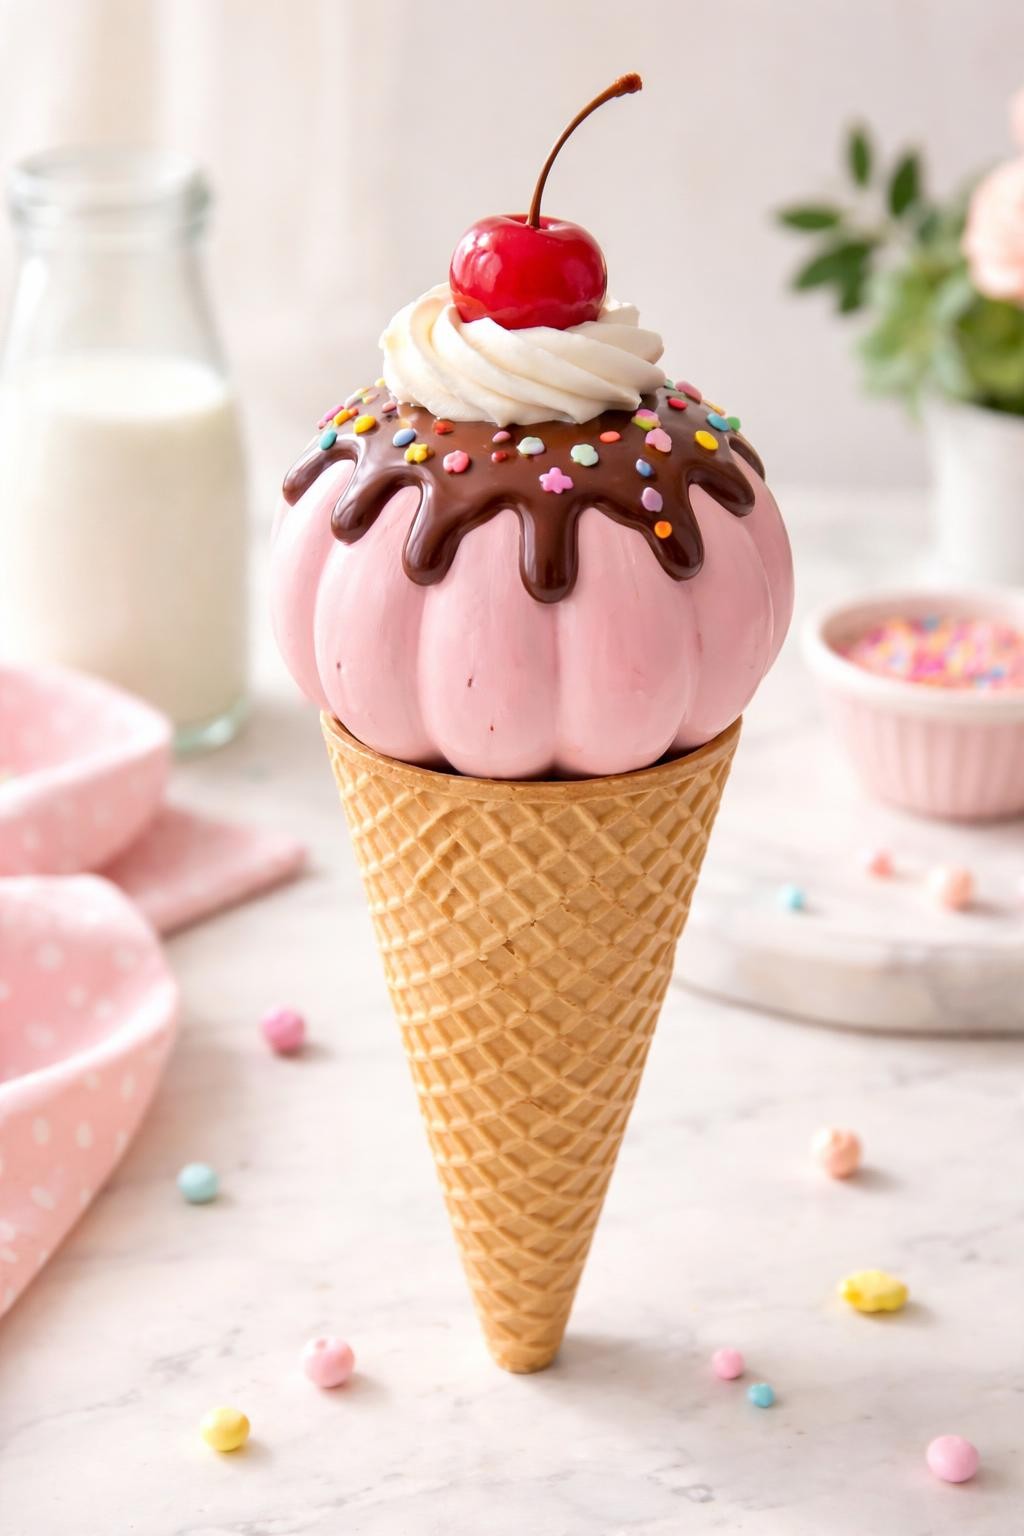
Place a small round pumpkin on top of a sturdy cone made from rolled cardboard. Draw or paint diagonal lines across the cone to create a waffle pattern. Paint the pumpkin pink, mint, chocolate brown, or leave a white pumpkin natural to resemble vanilla ice cream.
Add dimensional paint for syrup, tiny clay sprinkles, and a lightweight whipped-cream swirl around the stem. Finish with a red pom-pom or clay cherry. Make sure the cone has a flat base or hidden support so the finished decoration remains stable.
9. Layered Paper Feather Pumpkin
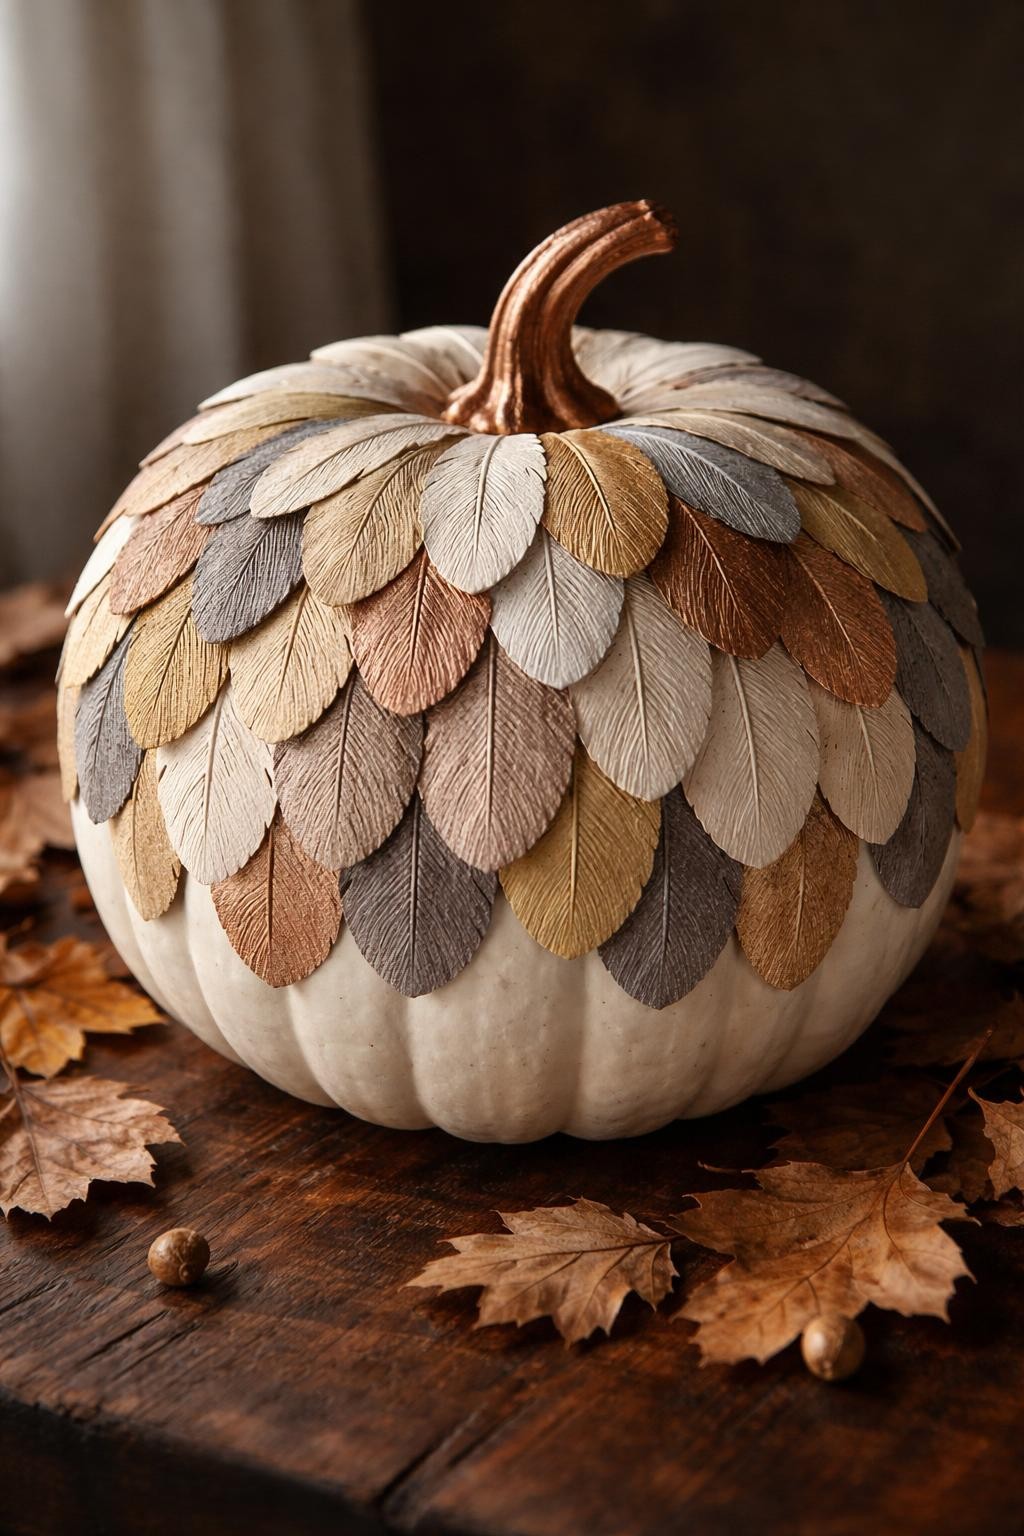
Cut narrow feather shapes from cardstock in several neutral and metallic shades. Draw fine center lines and small angled cuts along the edges to create texture. Begin near the bottom of the pumpkin and attach the feathers in overlapping rows.
Continue upward until the surface is covered or leave the upper section plain for a lighter look. Angle each row slightly differently so the feathers appear soft and dimensional. This design feels detailed but remains manageable because every piece follows the same basic shape.
10. Vintage Postcard Collage Pumpkin
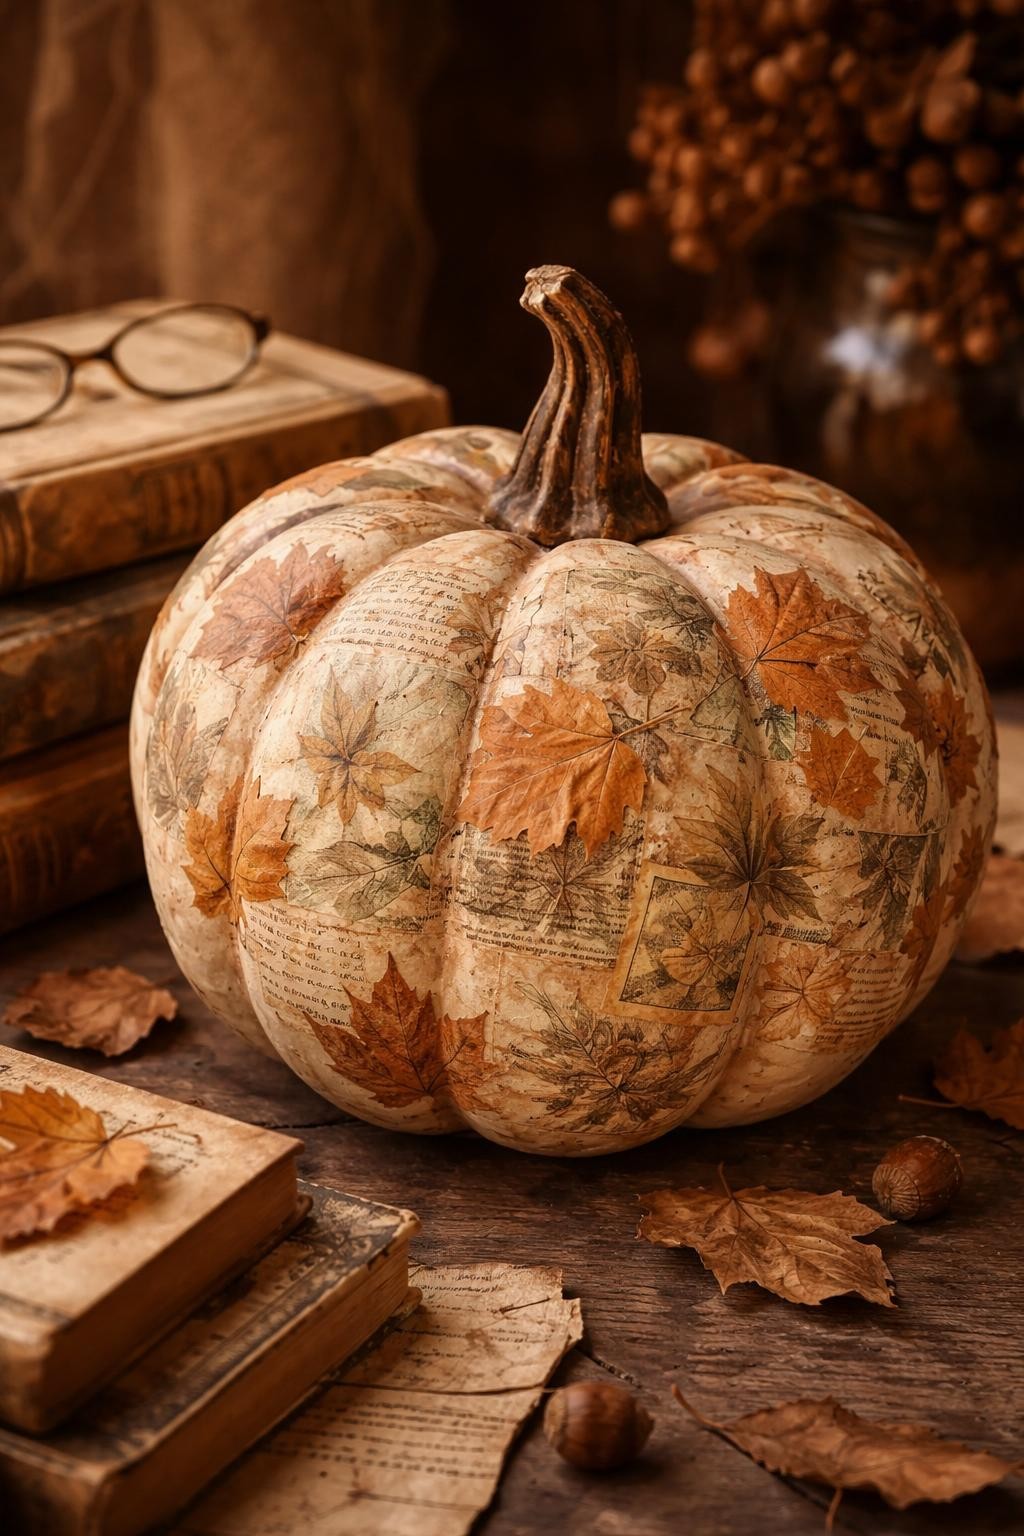
Collect small copies of vintage postcards, botanical prints, stamps, maps, and handwritten paper. Tear or cut them into pieces and arrange them across the pumpkin, overlapping the edges lightly. Keep the colors faded and warm so the collage feels coordinated.
Attach the pieces with decoupage medium and gently distress selected edges with brown ink or watered-down paint. Add a few pressed leaves between the paper layers for texture. The result resembles a well-loved travel journal and works beautifully in nostalgic fall displays.
11. Soft Bouclé Pumpkin
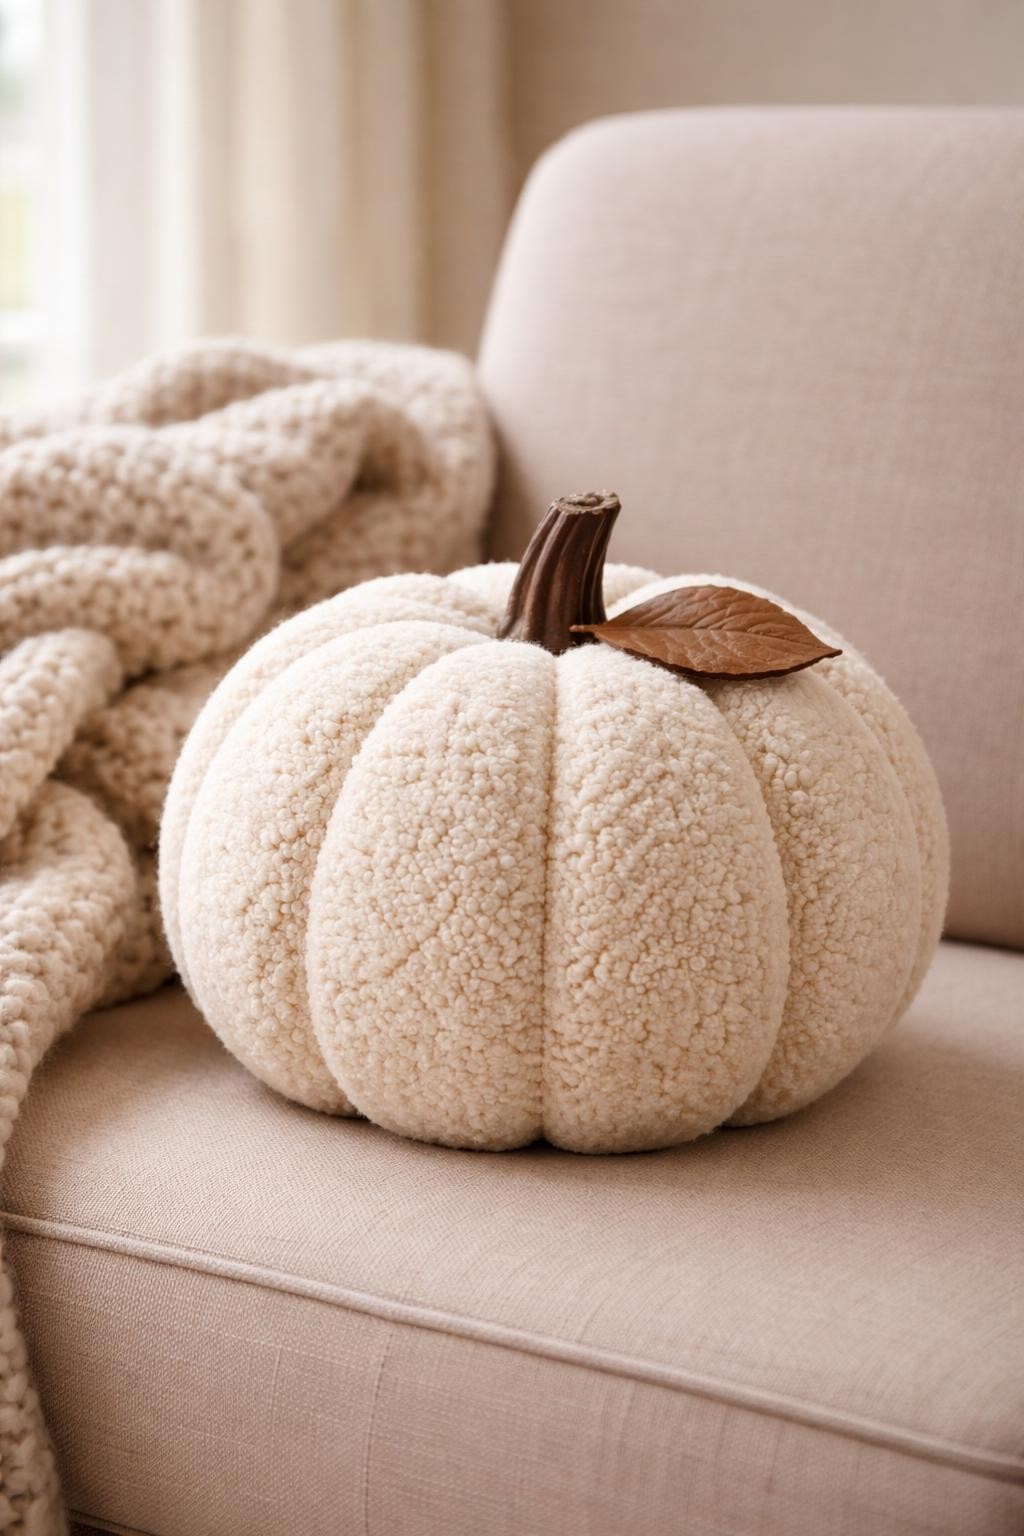
Cut bouclé or teddy fabric into long tapered sections that fit between the pumpkin’s ridges. Stretch and glue each piece carefully so the natural shape remains visible. Trim the edges neatly where the sections meet.
Replace or cover the stem with brown fabric, cord, or a short wooden piece. Add a small leather or felt leaf for contrast. The soft texture makes this pumpkin feel more like a decorative cushion, making it perfect for cozy neutral interiors.
12. Miniature Autumn Market Pumpkin
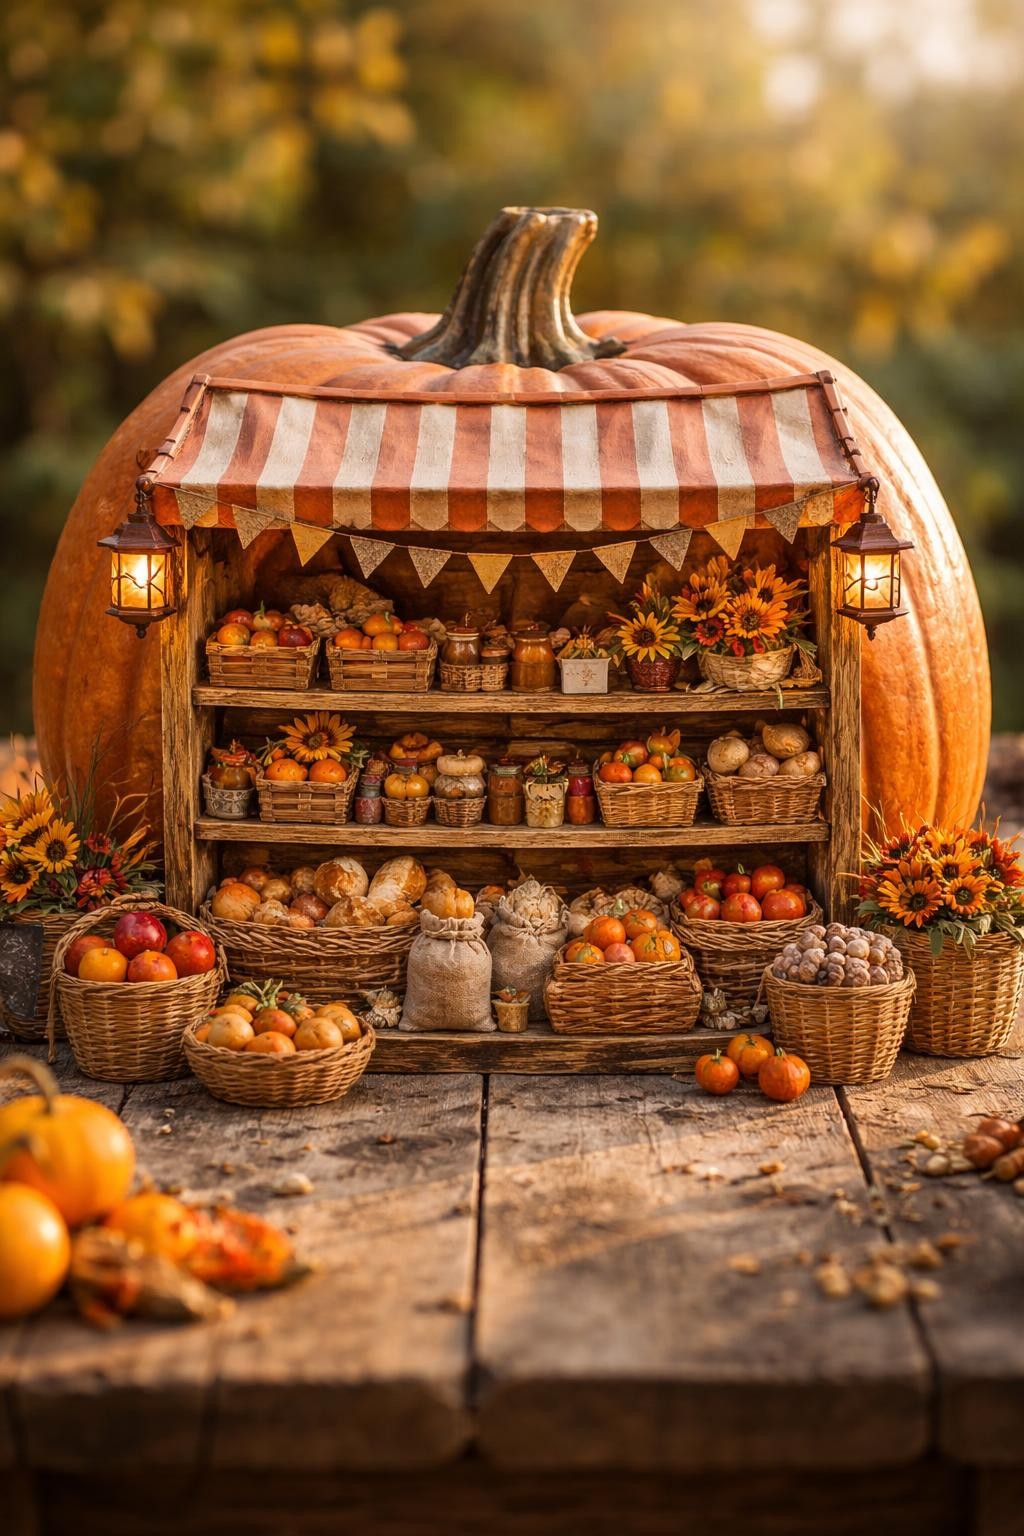
Build a shallow market stall directly onto the front of the pumpkin using craft sticks, thin foam board, or lightweight wood. Add a striped fabric awning above two narrow shelves, then fill them with miniature produce, bread, flowers, baskets, and sacks.
Paint the pumpkin terracotta, muted green, or cream before attaching the stall. Add tiny lanterns, bunting, and crates around the base to create a fuller scene. Because nothing is cut into the pumpkin, the decoration can be removed later and the pumpkin reused for another project.