In This Article Show
Cauliflower, or Brassica oleracea var. botrytis, is not just another vegetable in your garden; it’s a testament to patience and care, rewarding the gardener with an abundance of health benefits ranging from a high vitamin C content to essential minerals and dietary fiber.
The ability of cauliflower to adapt to different climates and seasons makes it a favorite among gardeners worldwide, yet its cultivation can be tricky, requiring a keen understanding of its growth stages and timelines.
In this guide, we’ll explore everything you need to know about growing cauliflower, from selecting the right variety for your garden to the final joy of harvesting. Whether you’re planning your first garden or looking to refine your approach to growing this cruciferous vegetable, I’ll share insights and tips garnered from over 13 years of hands-on gardening experience.
Cauliflower Growth Stages & Timelines
Let’s break down the growth stages of cauliflower, focusing on what each stage entails and how to best support the plant for optimal growth. This section will serve as a practical guide for gardeners aiming to cultivate cauliflower successfully.
1. Germination
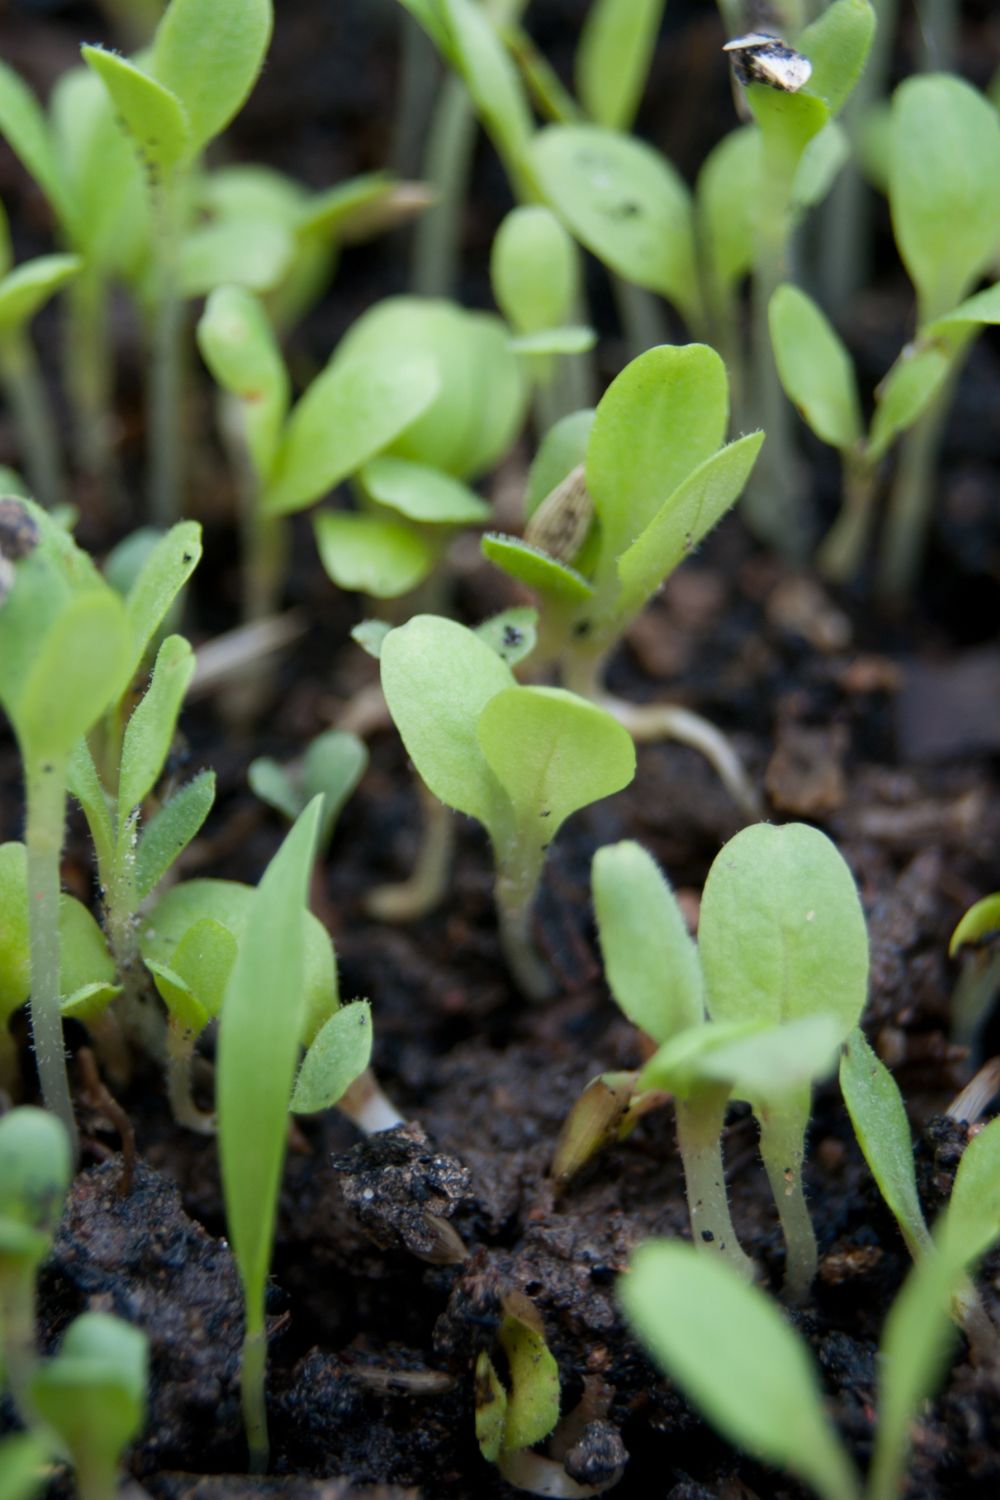
Cauliflower seeds typically germinate within 5 to 10 days when provided with the right conditions. The ideal temperature for germination ranges between 65°F and 70°F (18°C to 21°C). Consistent moisture is crucial during this period, so ensure the soil is kept damp but not waterlogged.
Care During Germination
Get Gardening For Beginners
Our new EBOOK shows newcomers and green thumbs alike a step by step guide to growing the garden of their dreams.
To achieve uniform germination, start your seeds in a well-draining soil mix within trays or pots. Covering the seeds lightly with soil helps retain moisture. Consider using a grow light or placing your seed trays in a location that receives ample indirect sunlight to maintain the optimal temperature and encourage strong, healthy growth.
2. Seedling
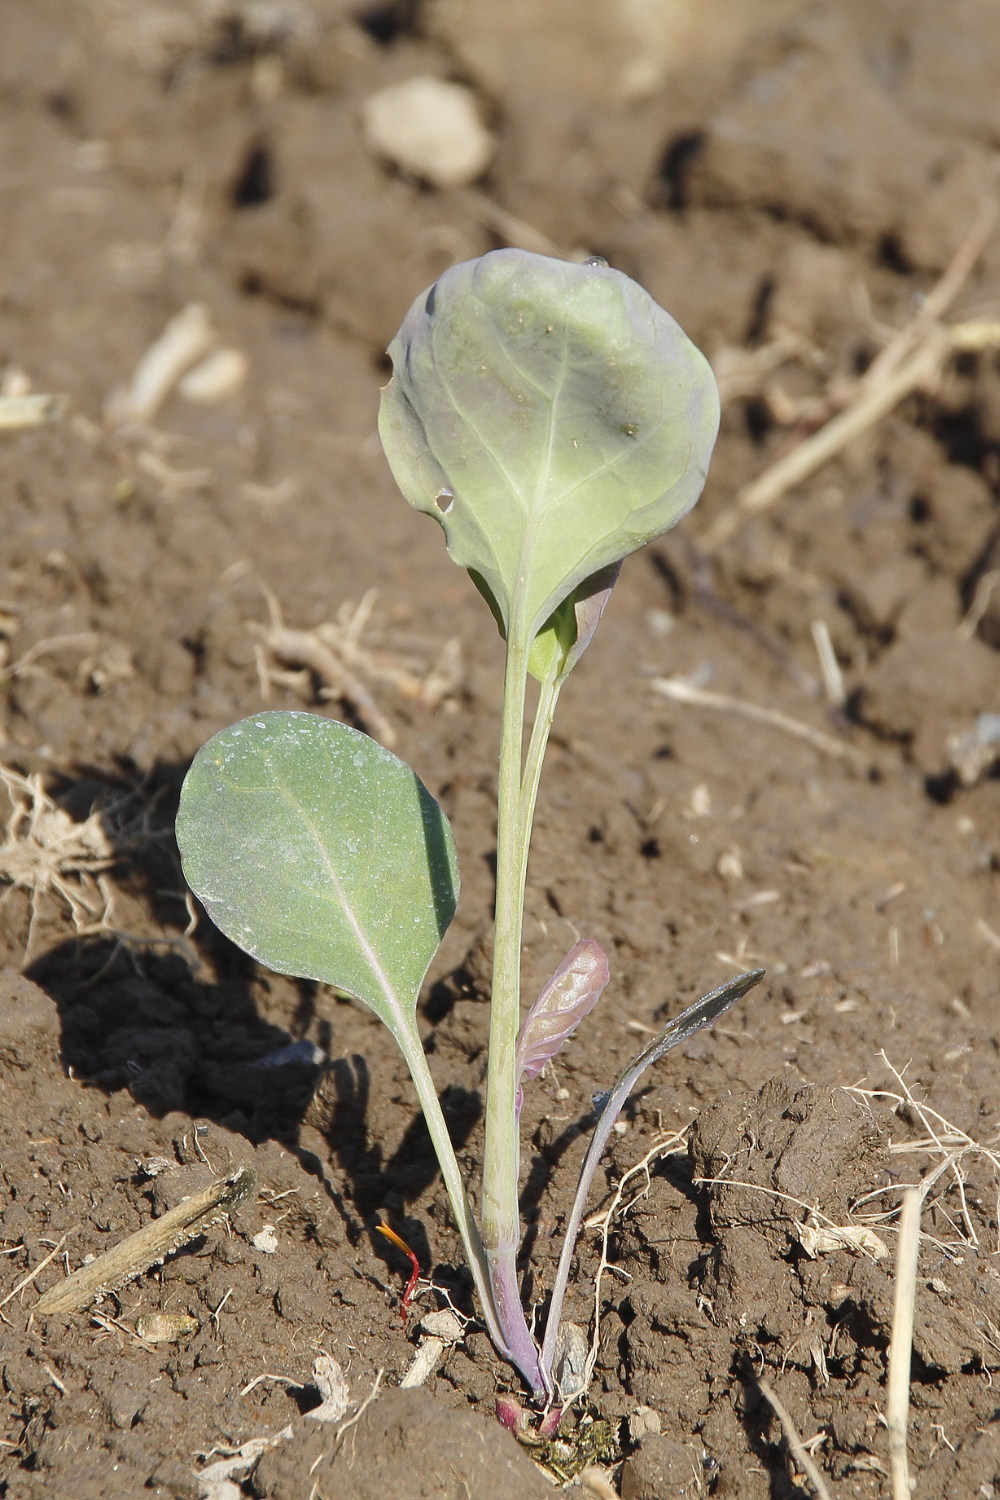
Healthy cauliflower seedlings should have sturdy stems and vibrant green leaves. Once they’ve developed 2-4 true leaves and stand about 4-6 inches tall, they’re ready to be transplanted to their final growing spot. To avoid transplant shock, harden off seedlings by gradually exposing them to outdoor conditions over a week.
Spacing and Depth Recommendations
When transplanting, space cauliflower plants about 18-24 inches apart in rows that are 30 inches apart. This spacing allows for adequate air circulation and room for growth. Plant seedlings at the same depth they were growing in their trays or pots to prevent stem rot.
3. Vegetative Growth
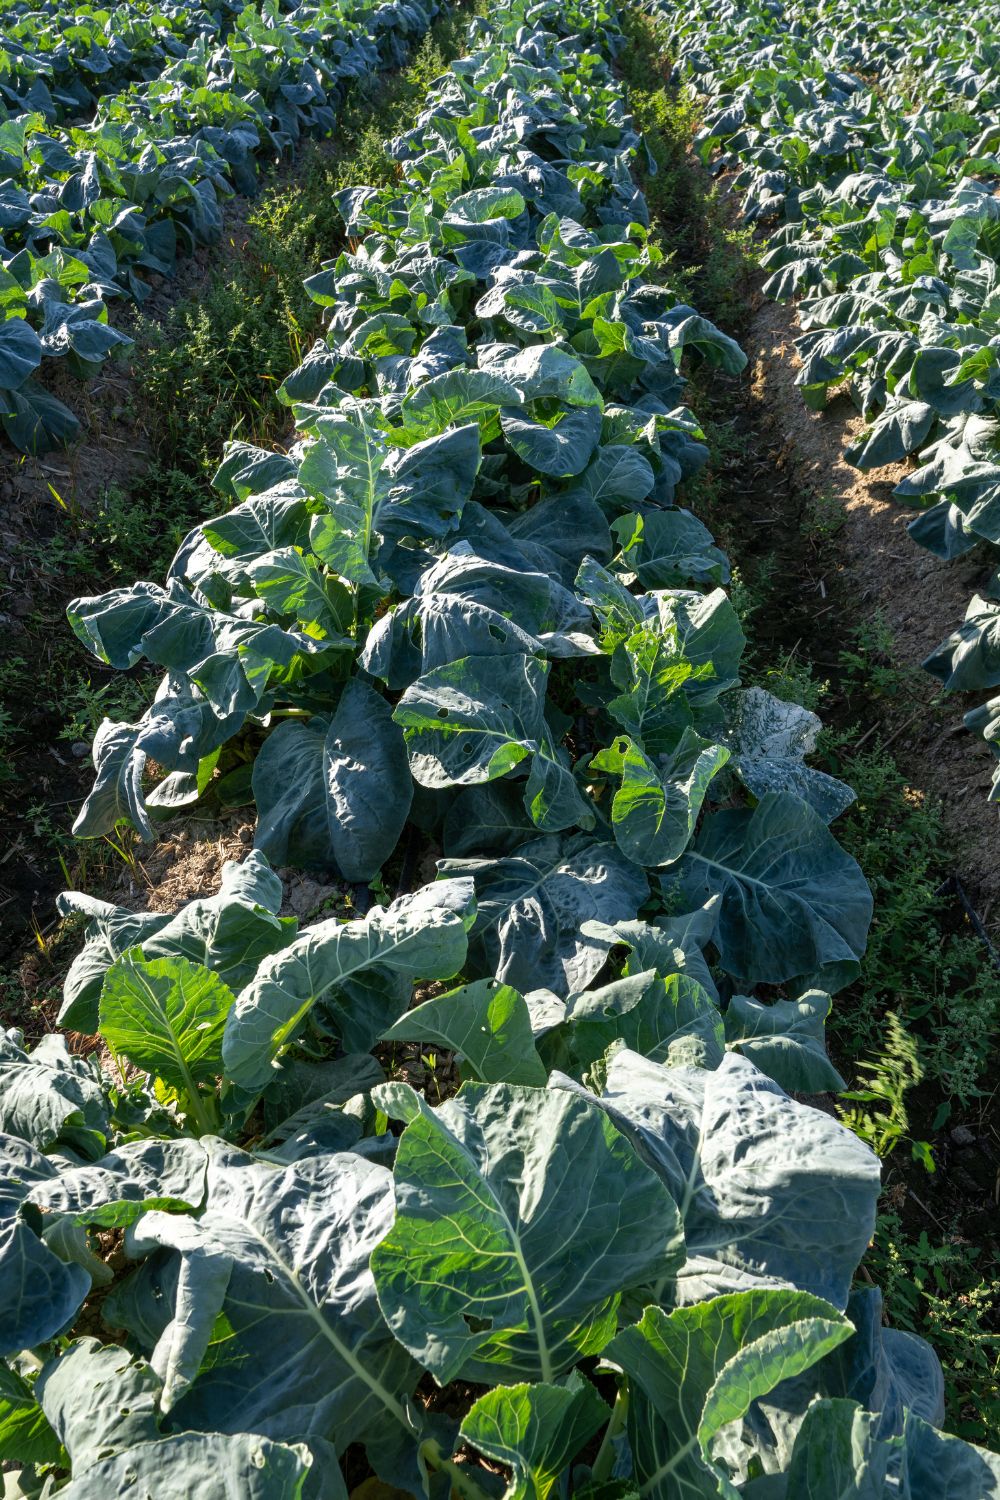
During this stage, you’ll notice rapid leaf growth. The plant’s energy is focused on developing a strong vegetative base to support the later development of the cauliflower head.
Watering, Weeding, and Mulching Practices
Cauliflower requires consistent soil moisture. Water the plants deeply once or twice a week, allowing the soil to dry slightly between waterings. Mulch around the base of the plants to retain soil moisture and suppress weeds. Regular weeding is essential to reduce competition for nutrients.
Get Gardening For Beginners
Our new EBOOK shows newcomers and green thumbs alike a step by step guide to growing the garden of their dreams.
4. Curd Formation
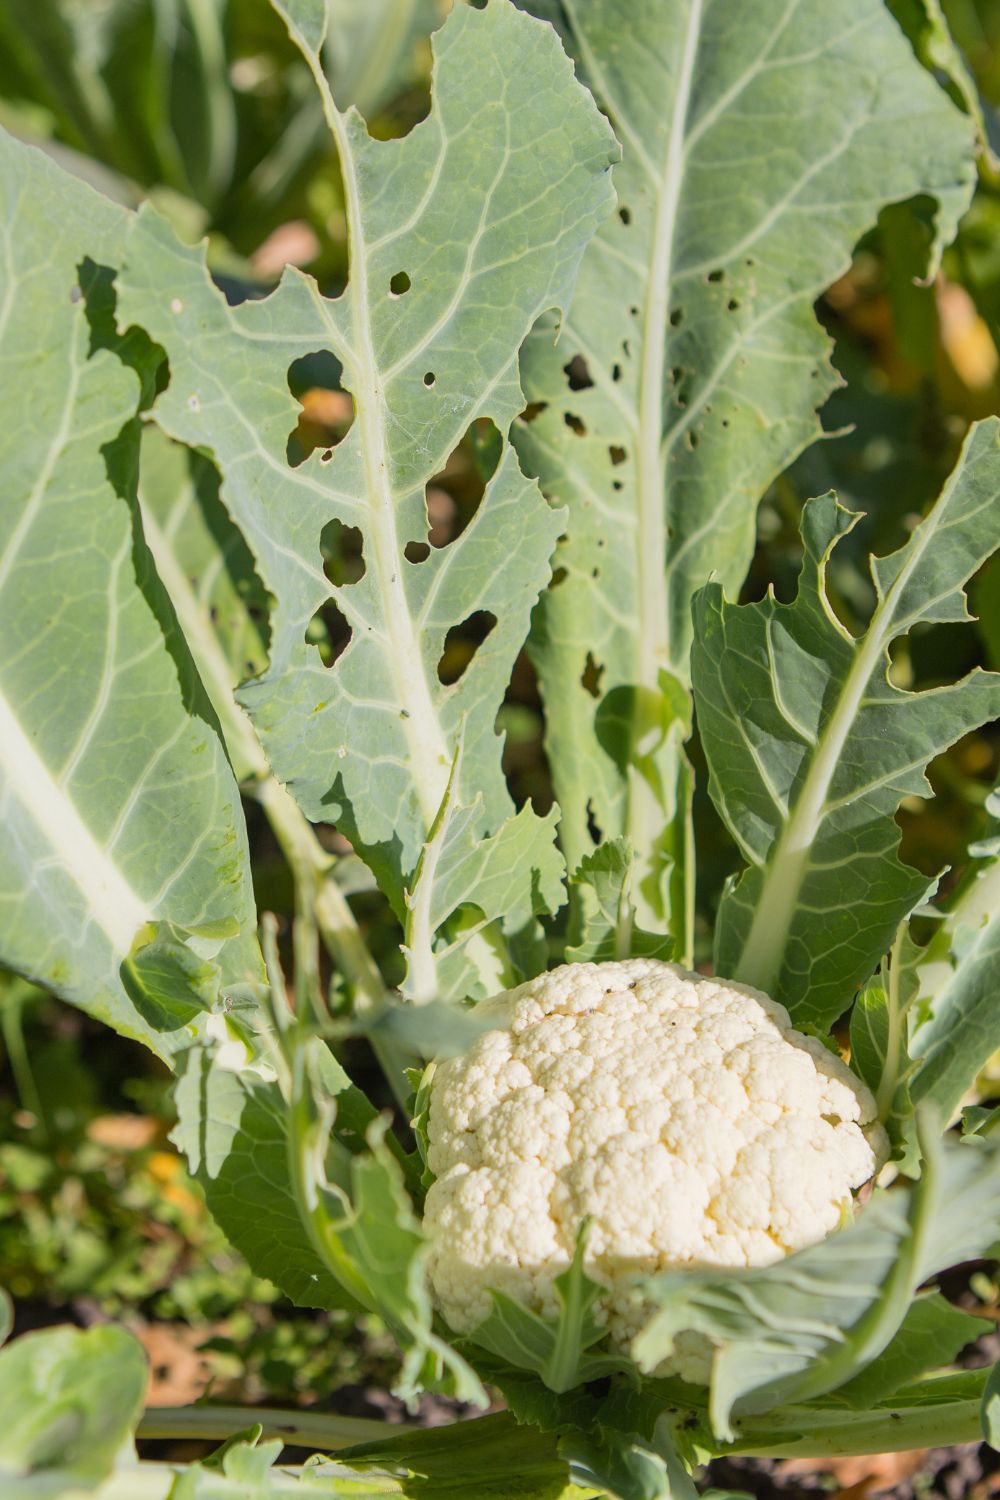
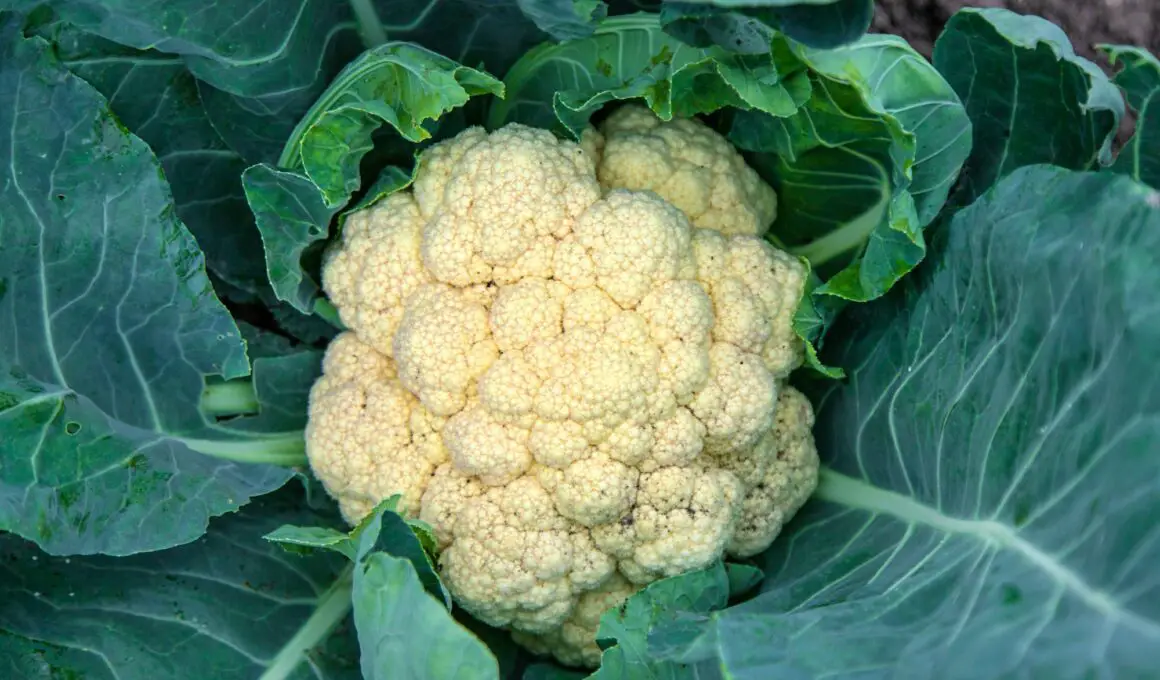
The formation of the cauliflower curd (the white head) is an exciting phase. You’ll first notice small, button-like formations at the center of the plant, which will gradually expand into the cauliflower head.
Protecting the Curd
To protect the developing curd from sunlight, which can cause yellowing, gently tie the outer leaves over the head with a soft twine or elastic band. This process, known as blanching, also helps to repel pests. Ensure the leaves are dry to prevent rot.
5. Maturation
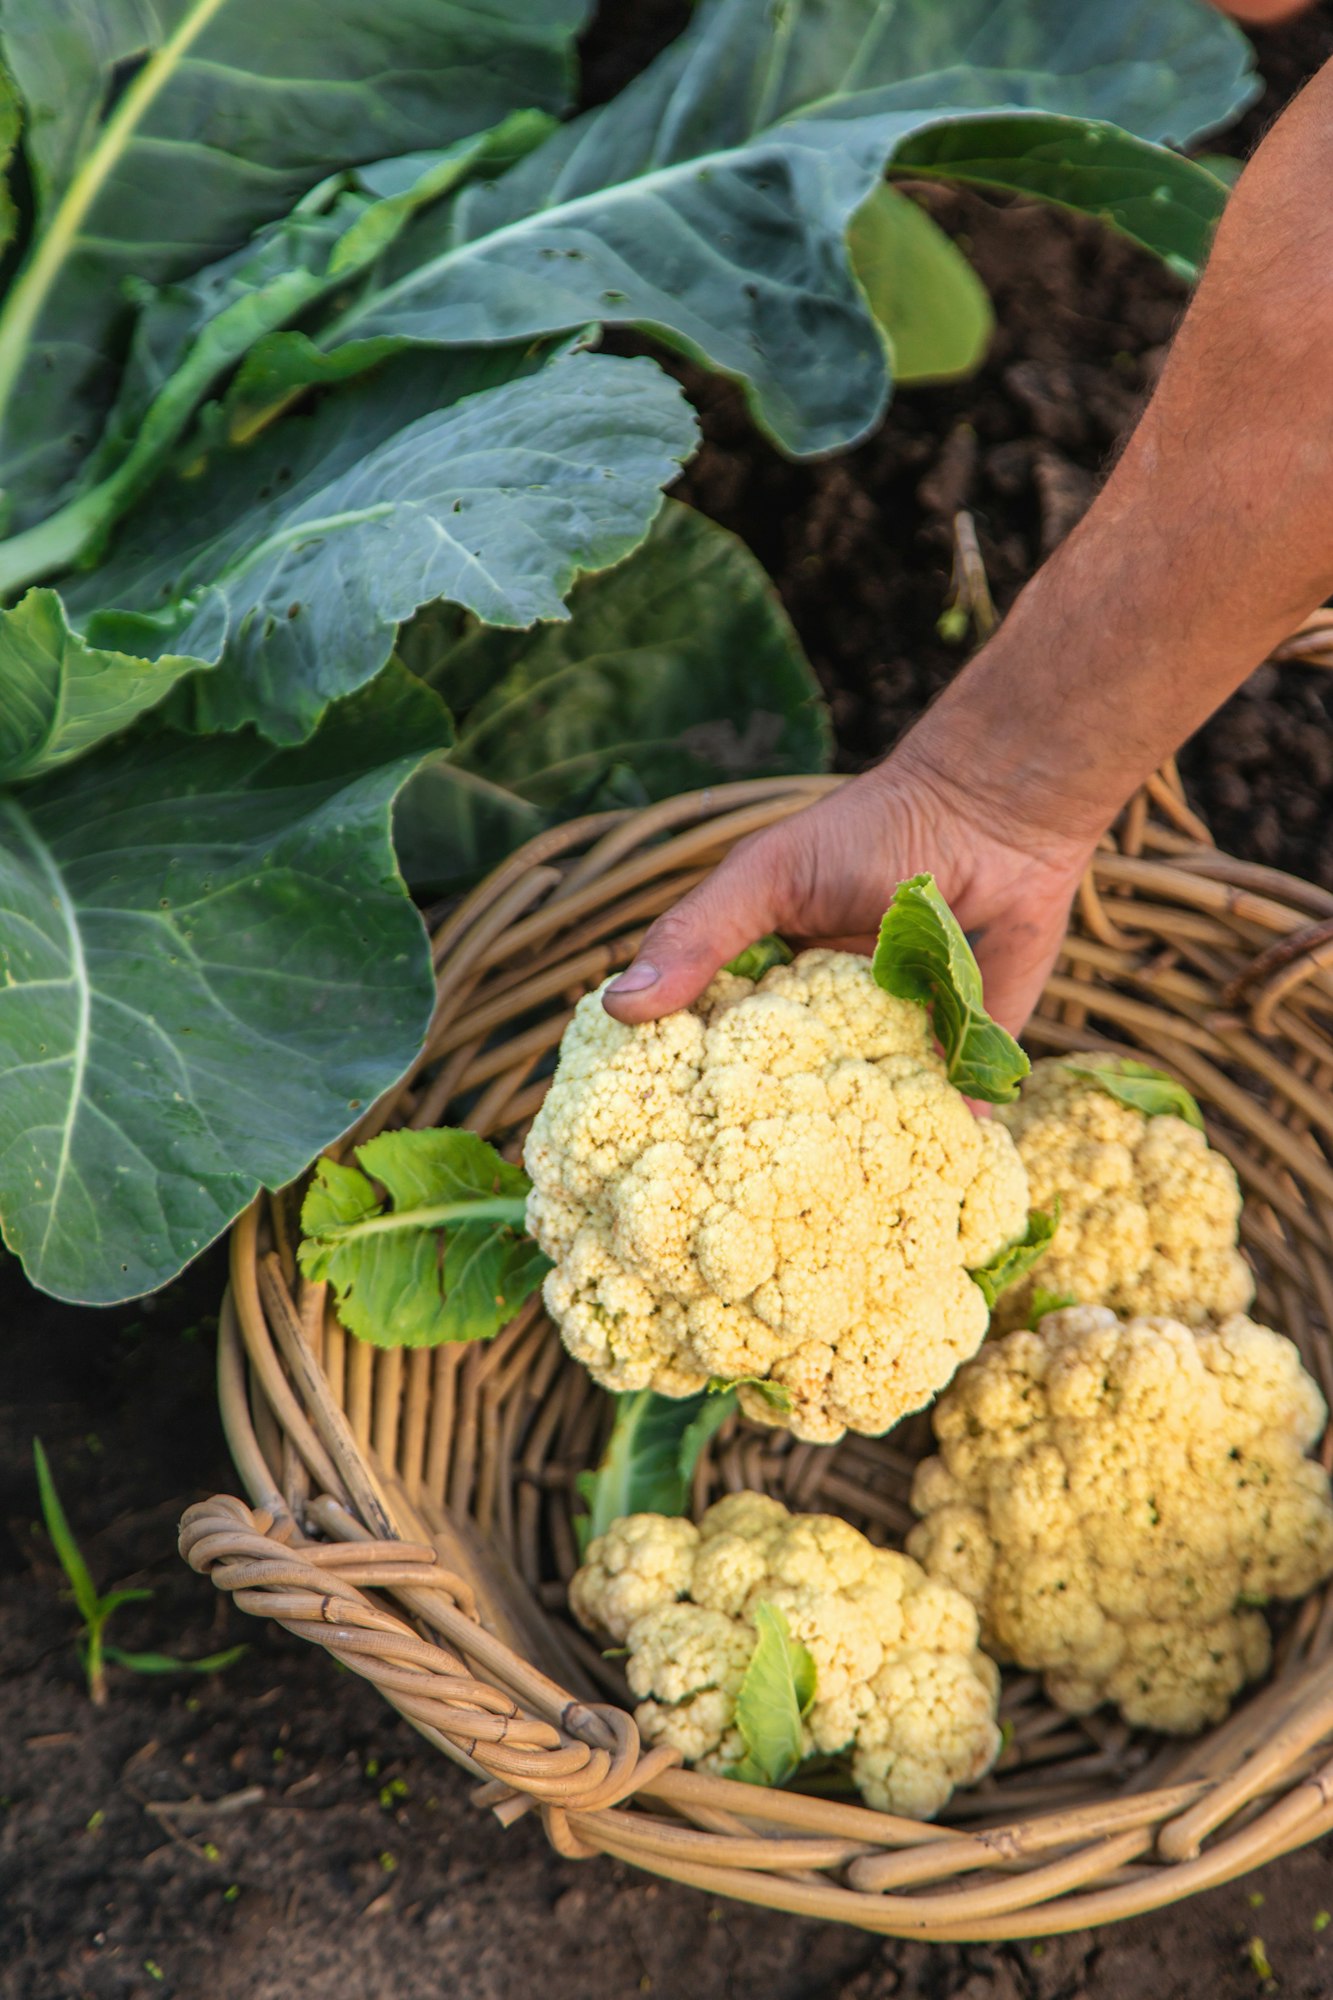
A mature cauliflower head will be firm, compact, and white, usually measuring 6-8 inches in diameter. The timing for harvest can vary, but generally, cauliflower is ready to harvest 7-12 weeks after transplanting.
Tips for Even Curd Development
For an even development of the curd, maintain consistent soil moisture and provide a balanced, slow-release fertilizer. Monitor for pests and diseases, taking action promptly to mitigate any issues.
Understanding and managing these growth stages effectively can significantly impact the success of your cauliflower crop. Regular observation and timely care will help ensure a bountiful and delicious harvest.


