


In This Article Show
As someone who has spent over a decade in the garden, cultivating everything from hearty vegetables to delicate herbs, I’ve learned that fennel, with its feathery leaves and bulbous base, is one of the more fascinating plants you can grow.
In this post, we’ll explore the timelines and key stages of fennel’s development, from the initial germination of seeds right through to the harvest. Our goal is to provide you with practical tips and insights that will help you grow healthy fennel plants.
Fennel Growth Stages & Timelines
Whether you’re planting a few seeds in a backyard garden or managing a larger plot, you’ll find the information necessary to ensure a bountiful harvest. So, let’s get started and look at how best to nurture your fennel from seedling to supper table.
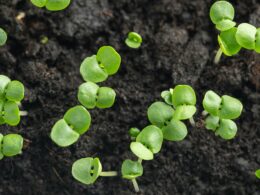
1. Seed Germination
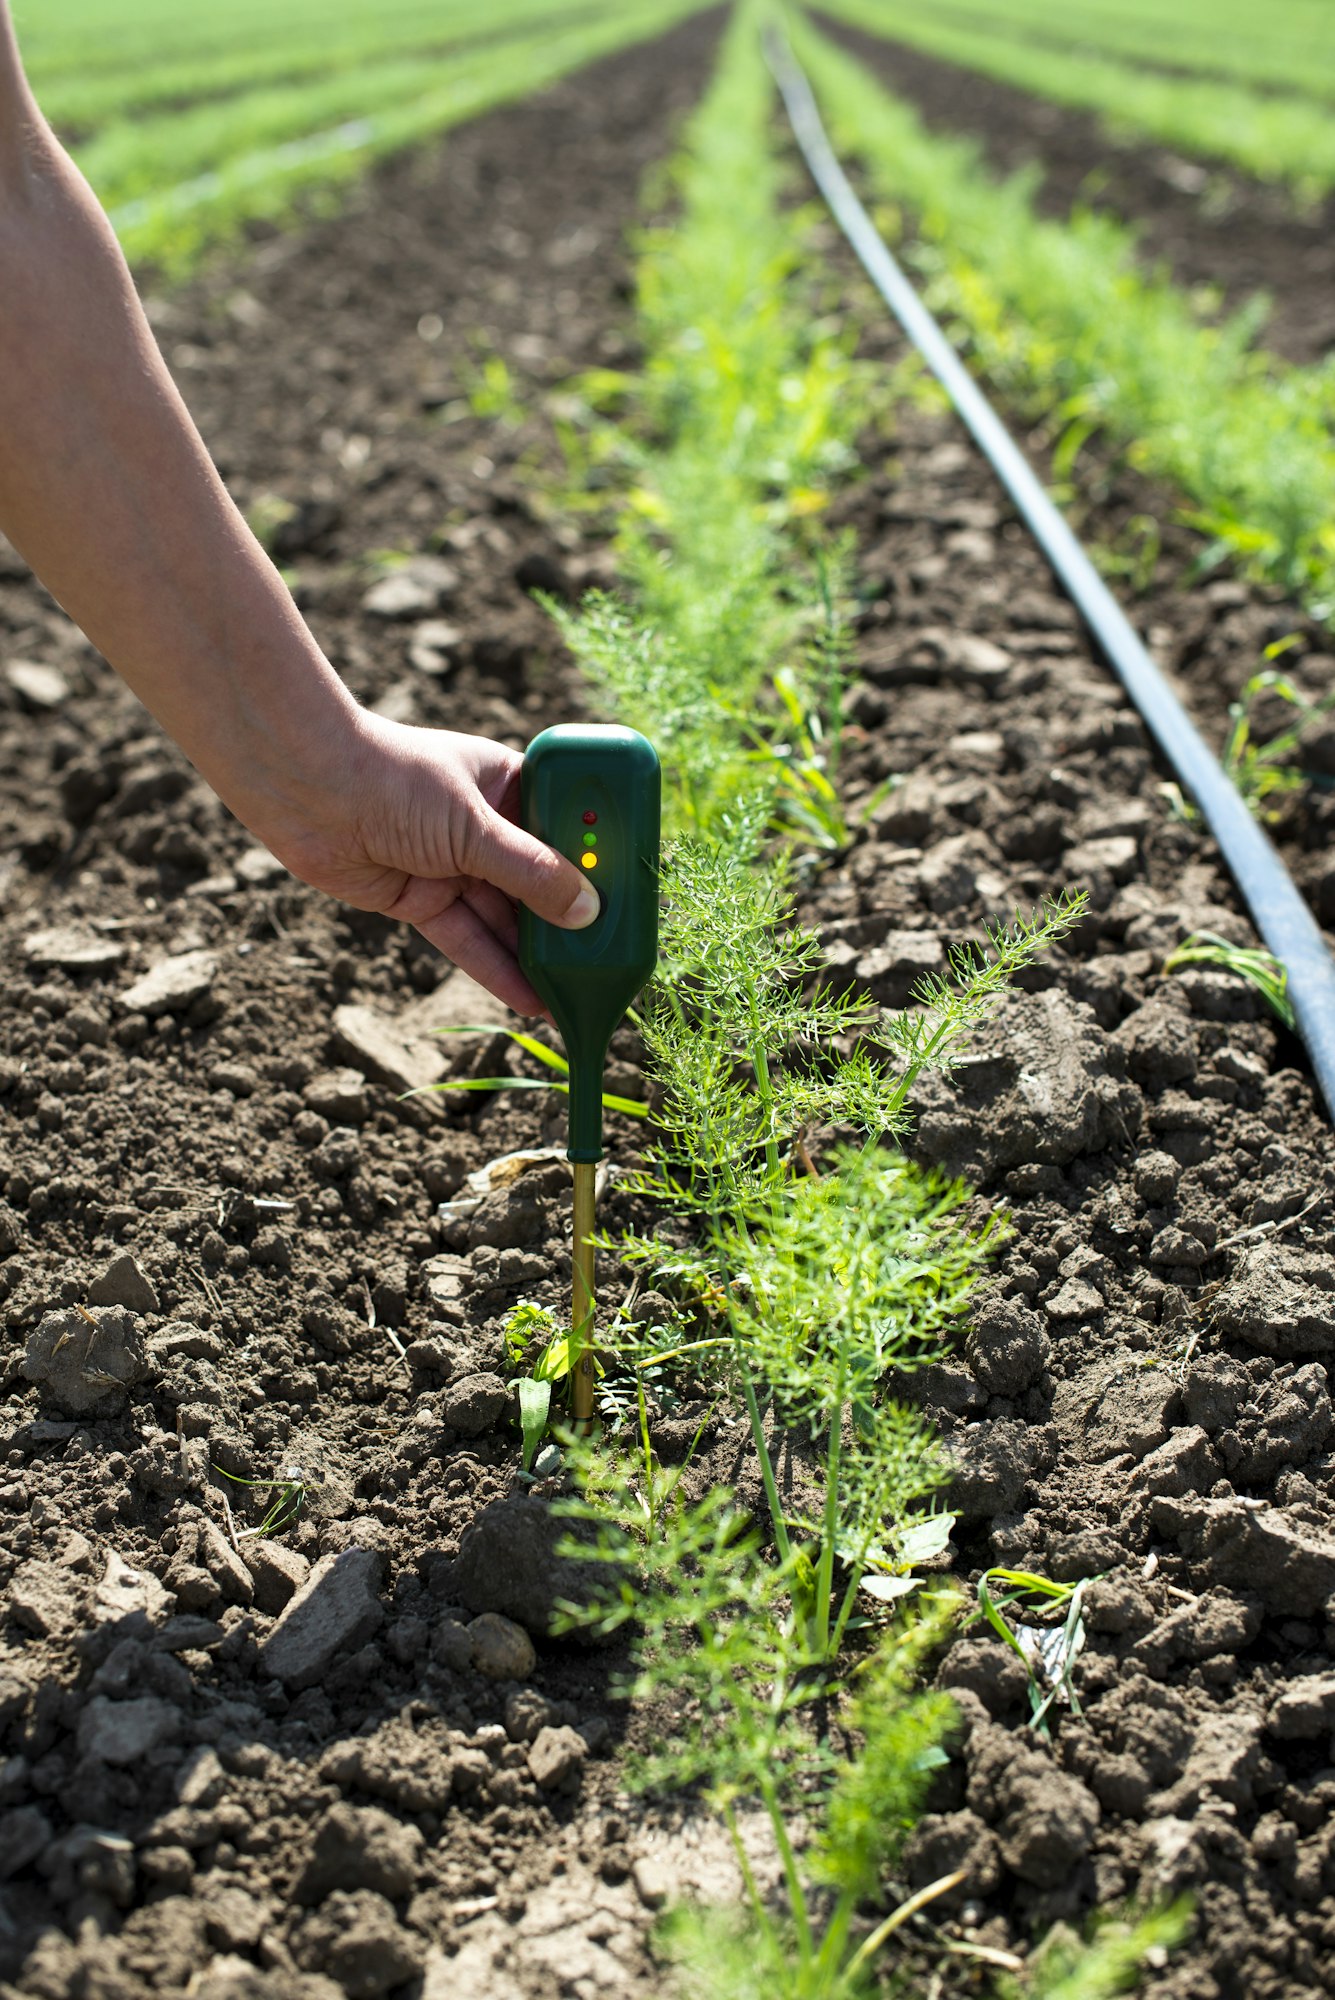
Fennel seeds are quite hardy, but like all plants, they require the right conditions to sprout successfully. Understanding the germination process is crucial if you want to kickstart your fennel garden on the right note.
Timeframe for Fennel Seed Germination
Fennel seeds typically begin to germinate within 7 to 14 days under optimal conditions. However, this timeframe can vary based on the soil temperature and moisture levels. Warmer soil temperatures, ideally between 60°F and 70°F (15°C to 21°C), can accelerate germination.
Conditions Needed for Successful Germination
- Temperature: Fennel seeds thrive in mild to warm temperatures. Keeping the soil consistently warm is key to promoting quick germination.
- Moisture: Seeds need moist, well-drained soil. Water your seeds gently to avoid washing them away or causing the seeds to clump together. Using a spray bottle to mist the soil can keep it sufficiently moist without being overly wet.
- Light: Unlike many other seeds, fennel does not require light to germinate. Covering the seeds lightly with soil can protect them while keeping the moisture balanced.
- Soil Quality: Use loose, loamy soil that allows for good drainage. Heavy clays or overly sandy soils can hinder germination by either retaining too much water or not enough.
Tips for Sowing Fennel Seeds Effectively
- Seed Depth: Sow fennel seeds at a depth of about 1/4 inch (0.6 cm). This shallow planting helps the fragile sprouts break through the soil surface more easily.
- Spacing: If you’re sowing directly in the garden, space the seeds or seedlings about 12 to 18 inches apart to give each plant enough room to mature. This spacing helps prevent competition for nutrients and reduces the risk of disease.
- Labeling: Always label your seed trays or garden patches. Fennel can be mistaken for other plants in its early stages, so proper labeling can prevent confusion.
- Record Keeping: Keep a gardening journal to record when you plant your seeds and track their progress. This can be incredibly helpful for learning and improving your planting strategies each season.
2. Seedling Stage
After your fennel seeds have germinated, the next crucial phase is the seedling stage. Proper care during this period is vital for establishing a strong foundation for healthy, mature plants. Let’s explore how to identify fennel seedlings, provide them with the best care, and address common issues that might arise.
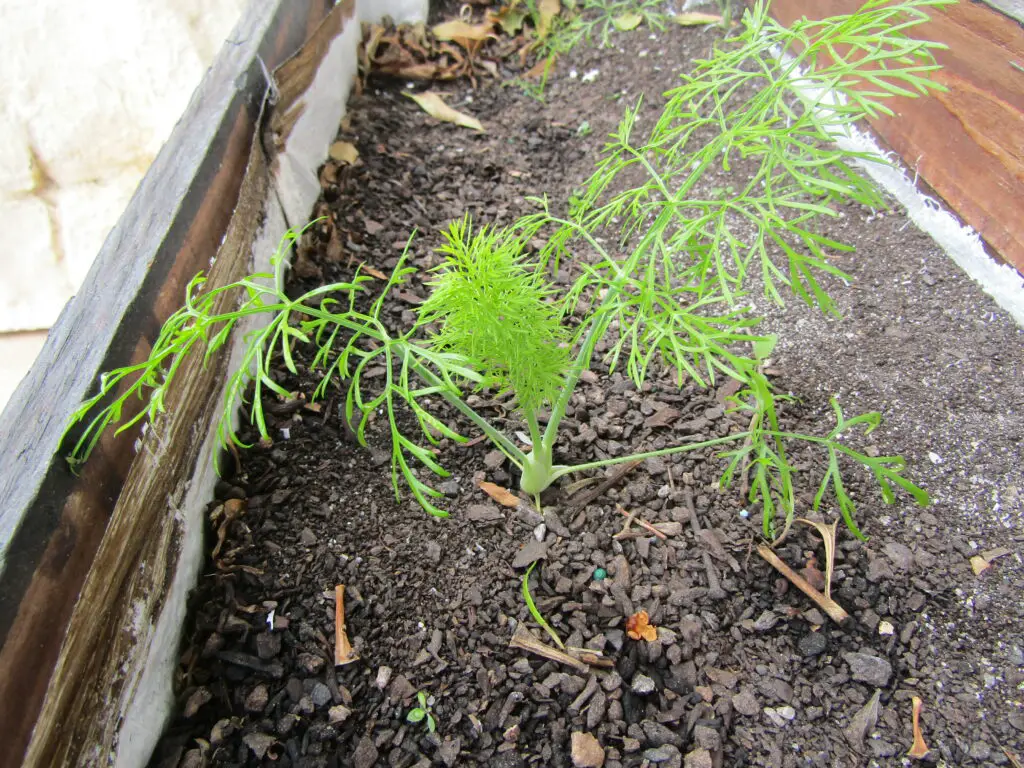
Identifying Fennel Seedlings
Fennel seedlings can be recognized by their thin, delicate stems and finely divided leaves. Initially, the leaves may look similar to those of dill, featuring a soft green color and feathery texture. As the plant matures, these characteristics become more pronounced. Identifying fennel early is important to ensure that it’s not mistaken for weeds or other plants and accidentally removed or damaged.
How to Care for Fennel Seedlings
- Light: Fennel seedlings need plenty of light. If you’re starting seeds indoors, place them near a sunny window or under grow lights to ensure they get at least 6-8 hours of daylight.
- Watering: Keep the soil consistently moist but not waterlogged. Overwatering can lead to root rot, while under-watering can stress the plants. A good rule of thumb is to water when the top inch of soil feels dry to the touch.
- Temperature: Fennel prefers cooler temperatures in the early stages of growth. Aim to keep the environment around 60°F to 65°F (15°C to 18°C). Extreme temperature fluctuations can stunt growth or kill young seedlings.
- Feeding: Once seedlings have established a few sets of true leaves, you can start feeding them with a balanced liquid fertilizer every few weeks. This will help support their growth and development.
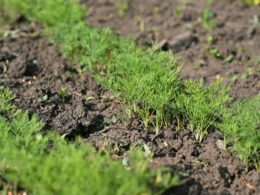
3. Vegetative Growth
As fennel seedlings transition into their vegetative stage, they begin to exhibit rapid growth and develop the characteristics of mature plants. This stage is critical as the foundation for later development, including bulbing and flowering. Understanding the key growth milestones and maintaining proper care is essential for nurturing robust fennel plants.
Transition from Seedling to Mature Plant
The vegetative phase begins once the fennel plant develops its true leaves and starts to grow in height and girth. During this stage, the plant’s energy is primarily focused on growing stronger roots and larger leaves. This sets the stage for healthy bulb formation in varieties like Florence fennel and prepares the plant for eventual seed production.
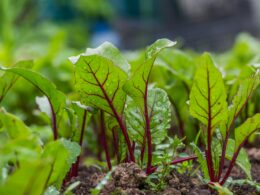
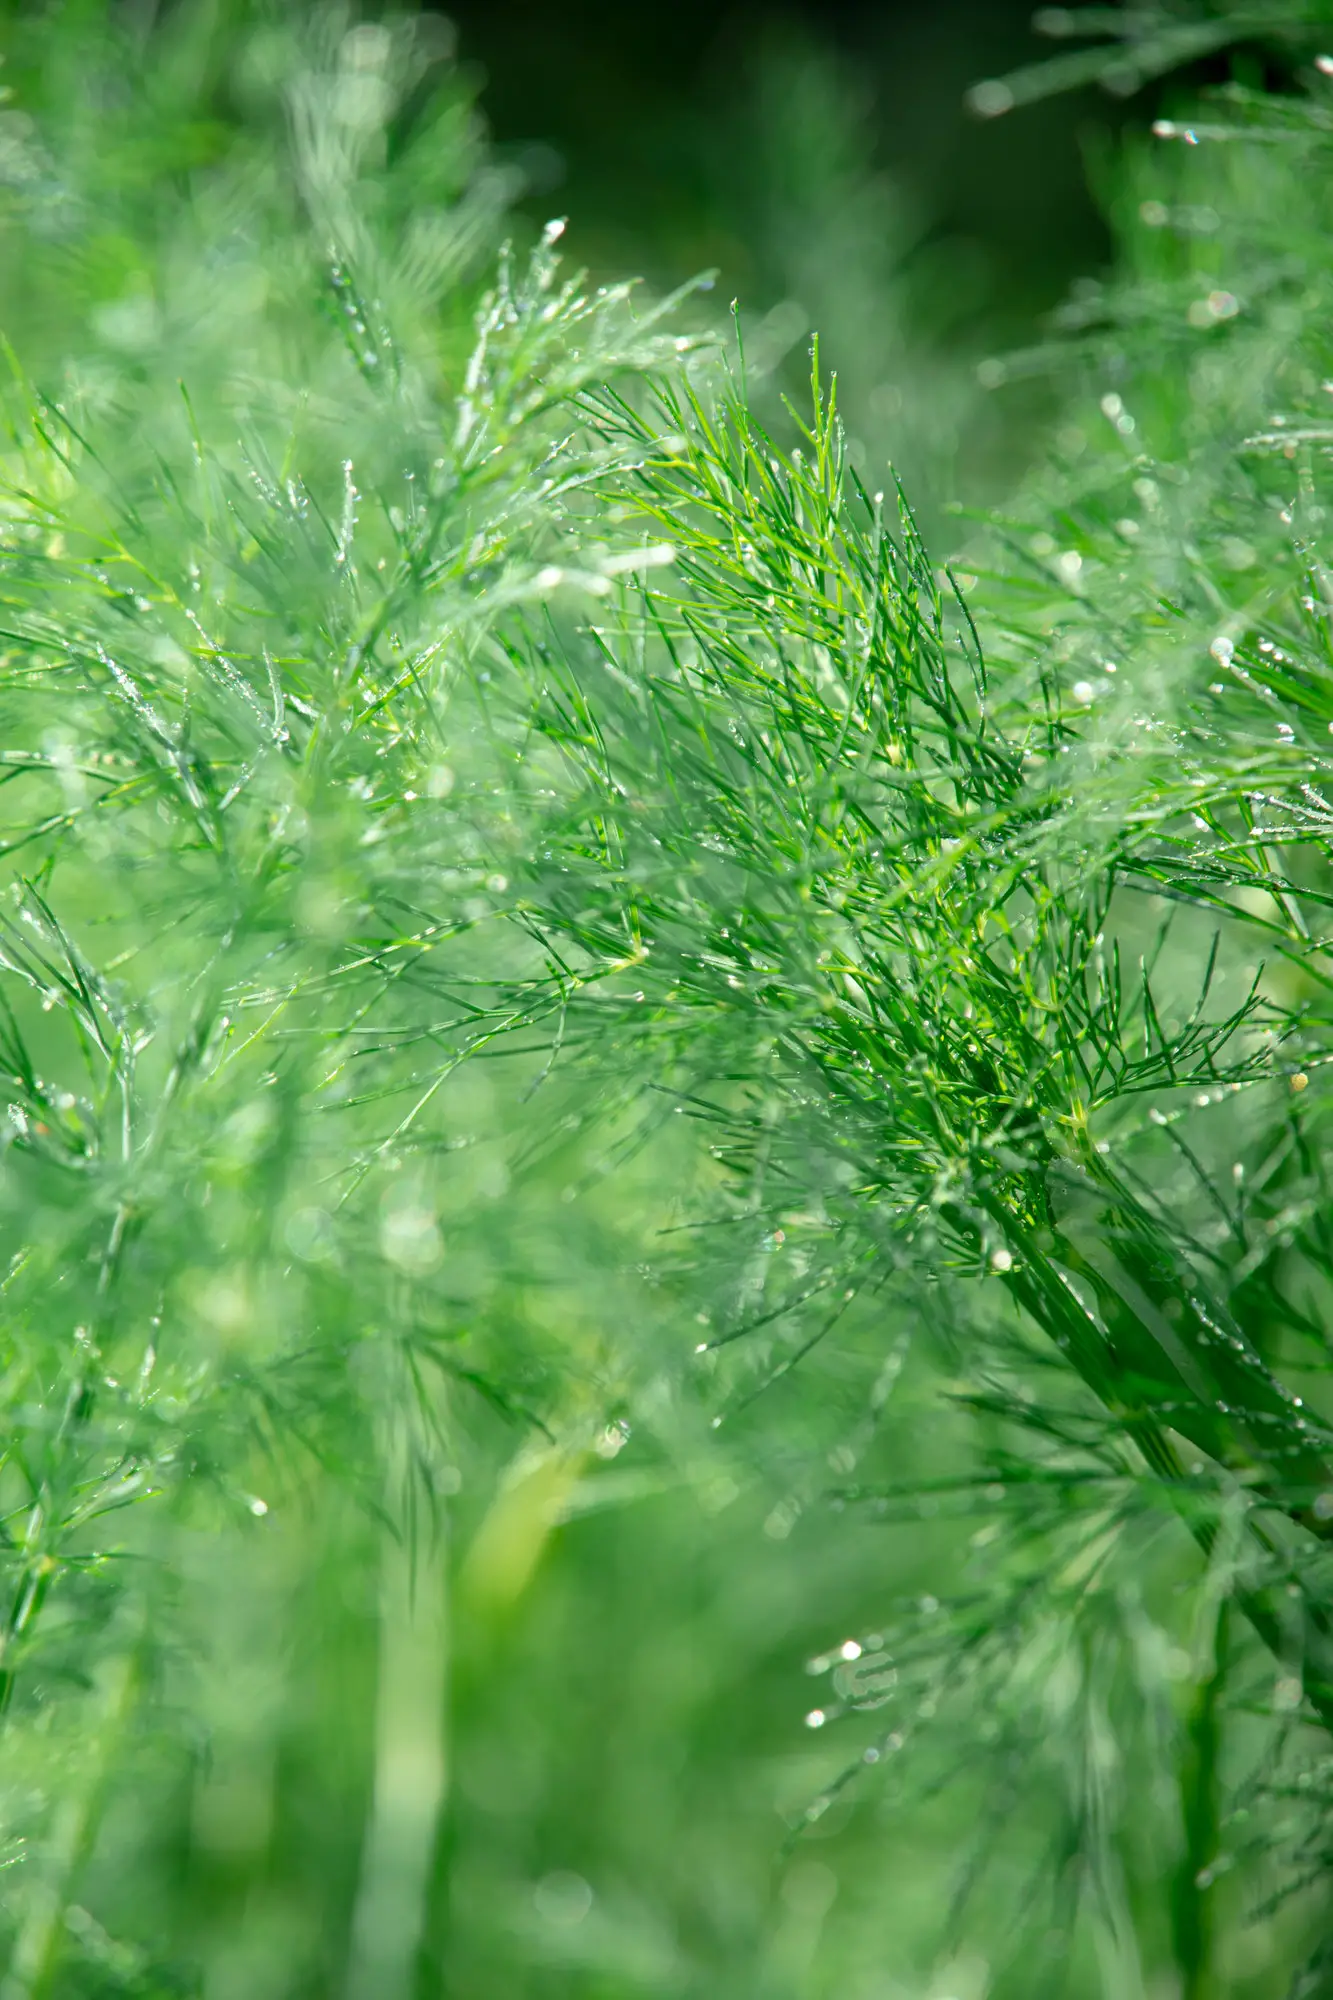
Key Growth Milestones in This Stage
- Development of True Leaves: After the initial seed leaves, the true leaves start to appear. These are more aromatic and have a more defined, feathery shape typical of fennel.
- Increase in Leaf Count and Size: As the plant grows, the number of leaves and their size will increase, enhancing the plant’s ability to photosynthesize more efficiently.
- Root System Expansion: A robust and expansive root system develops, which is crucial for nutrient uptake and overall plant health.
4. Bulbing Stage (for bulb fennel)
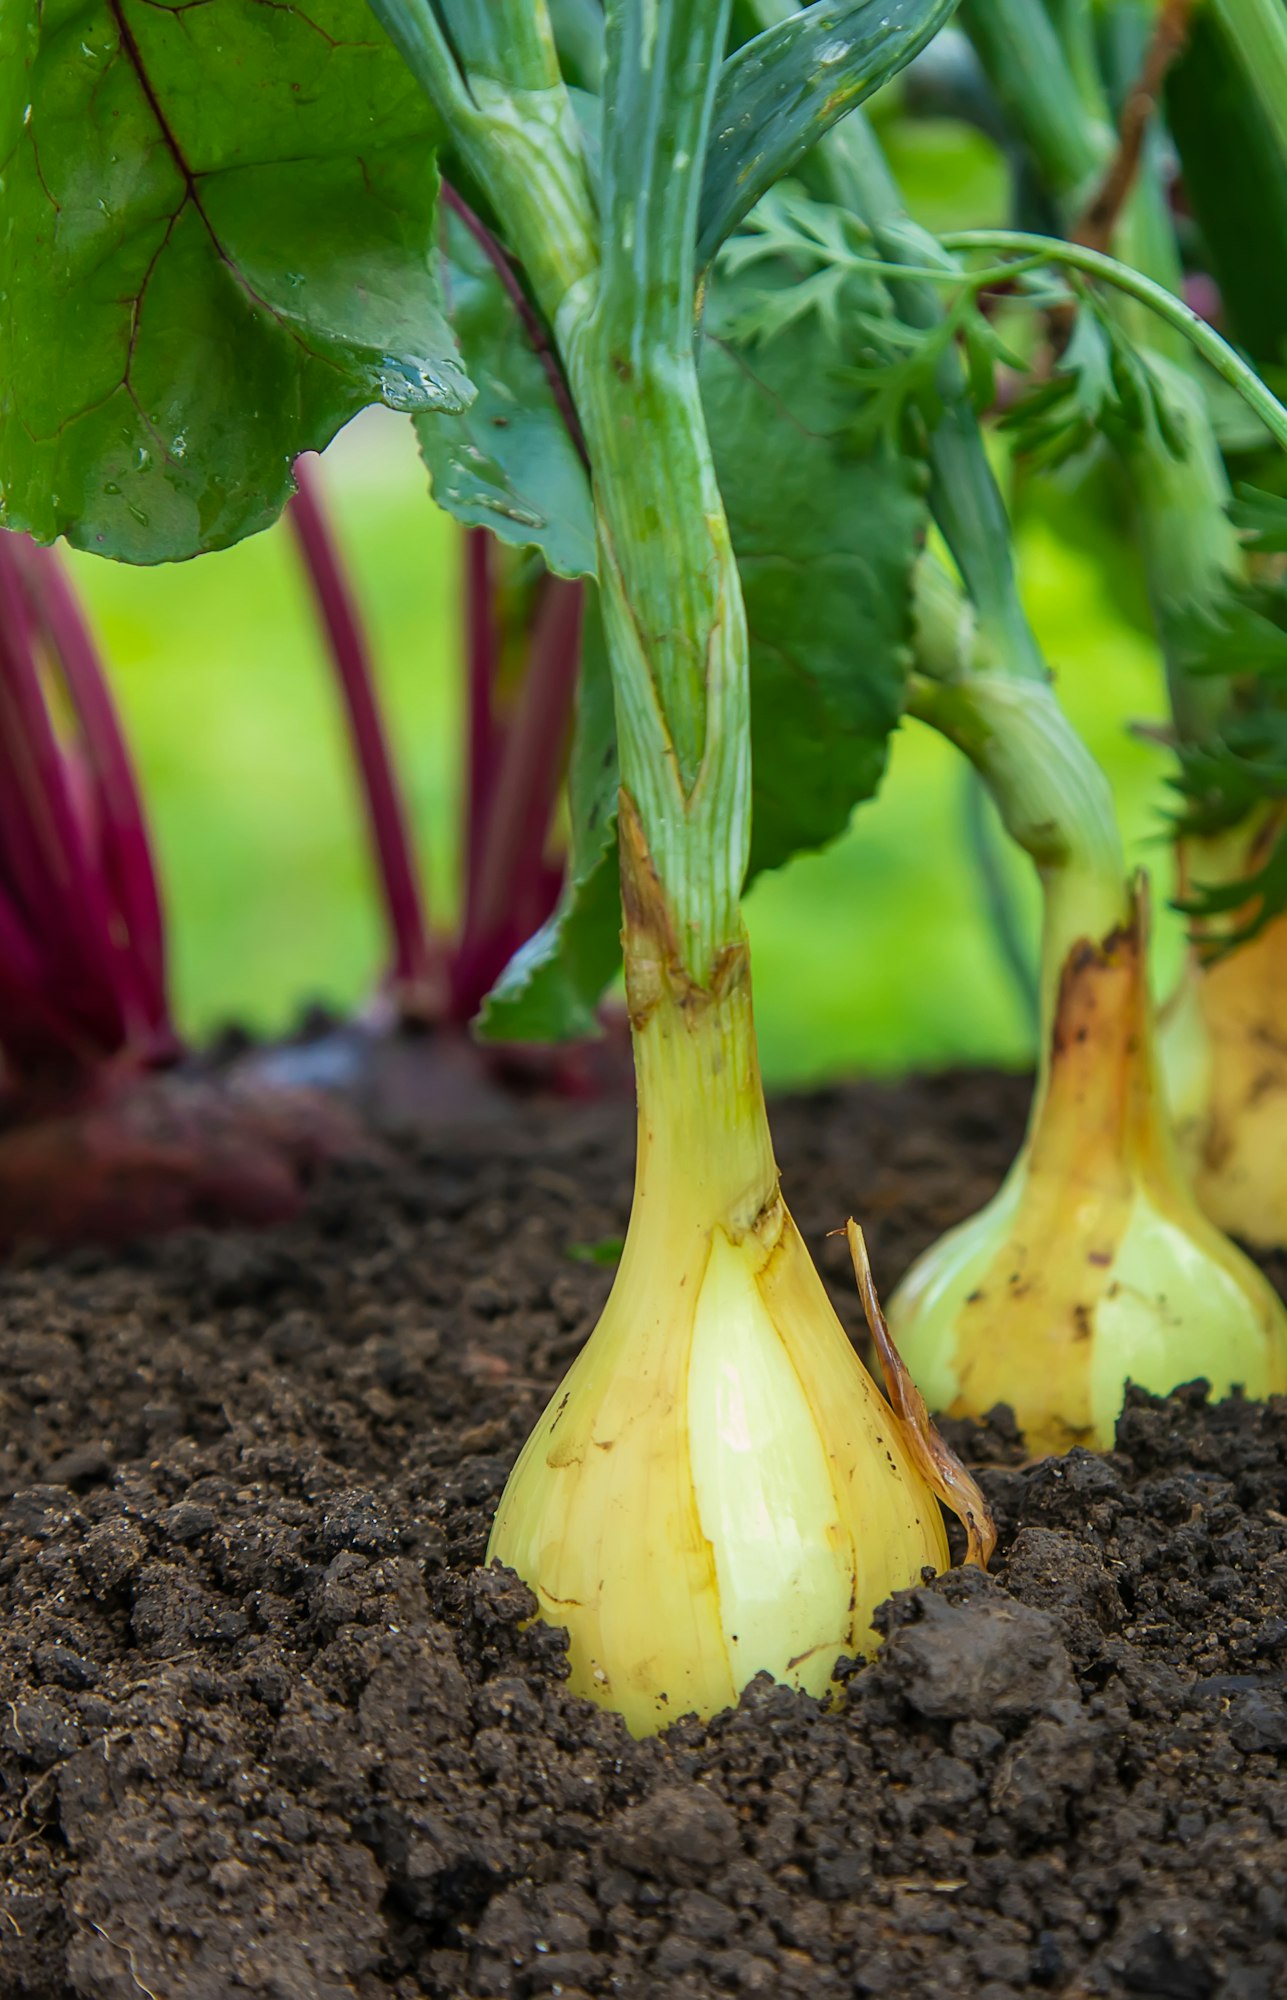
The bulbing stage is critical for varieties of fennel that develop a thick, edible bulb, primarily Florence fennel. This phase is where the plant begins to divert its energy from leaf growth to the development of the bulb at the base of the stem.
When and How the Bulbing Process Begins
The bulbing process typically begins when the plant has established a robust set of leaves and is sufficiently mature, usually about 60-70 days after sowing. Cooler temperatures and shorter days can trigger bulb development, so timing can vary based on climate.
Factors That Influence Bulb Development
- Light: Fennel bulbs develop best with plenty of sunlight. However, in very hot climates, some afternoon shade can prevent the bulbs from bolting.
- Watering: Consistent moisture is crucial during the bulbing stage. Irregular watering can lead to split bulbs or poor development.
- Soil Nutrition: A balanced diet is key. An application of a high-potassium fertilizer can encourage better bulbing once the plants are established.
How to Encourage Healthy Bulb Growth
- Soil Preparation: Before planting, incorporate plenty of organic matter into the soil to ensure it is fertile and well-draining.
- Spacing: Ensure plants are spaced about 12 to 18 inches apart to allow ample room for bulb expansion.
- Weed Control: Keep the area around the fennel free of weeds, which compete for nutrients and space.
5. Flowering and Seed Production
- The flowering stage follows the vegetative and, for some fennels, the bulbing stages. This phase is essential for seed production.
Signs That Fennel is Ready to Flower
- The appearance of tall, sturdy stalks topped with umbrella-shaped clusters of yellow flowers indicates that the fennel is entering its reproductive phase.
The Role of Flowers in Seed Production
- These flowers attract pollinators, which are crucial for cross-pollination. The resulting fertilization produces seeds necessary for propagation.
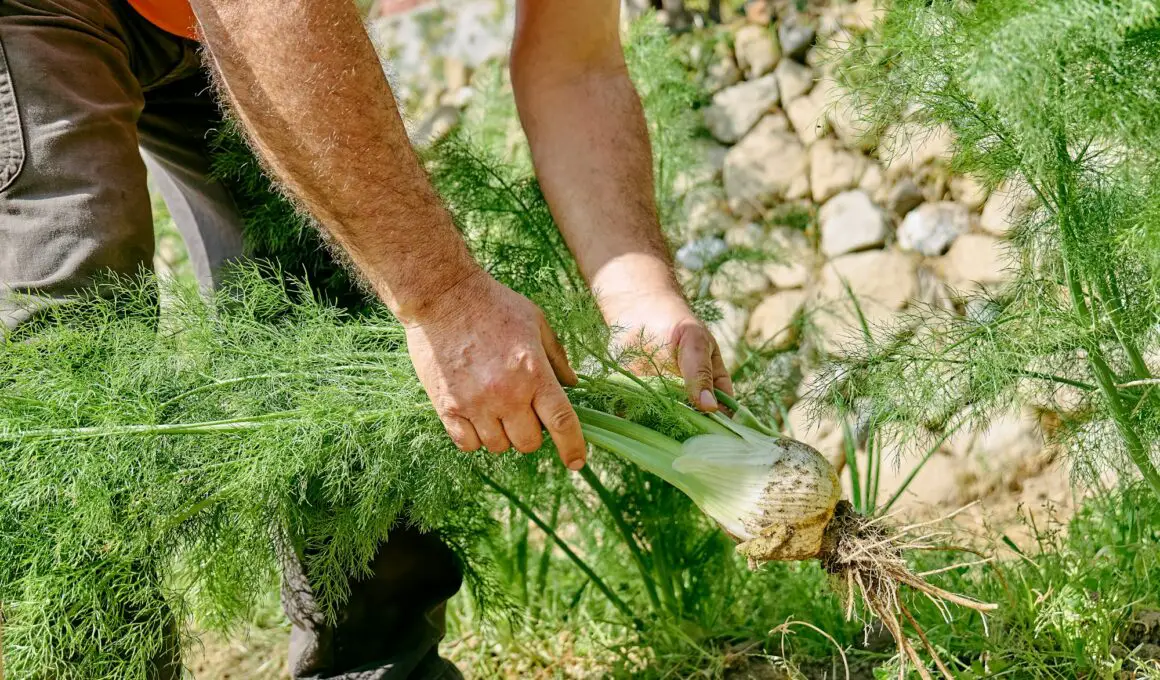
6. Harvesting Fennel
Harvesting practices vary depending on whether you are collecting leaves, bulbs, or seeds.
Best Practices for Harvesting Fennel Leaves, Bulbs, and Seeds
- Leaves: Can be picked as needed throughout the growing season. Choose the outer leaves and cut them close to the stem.
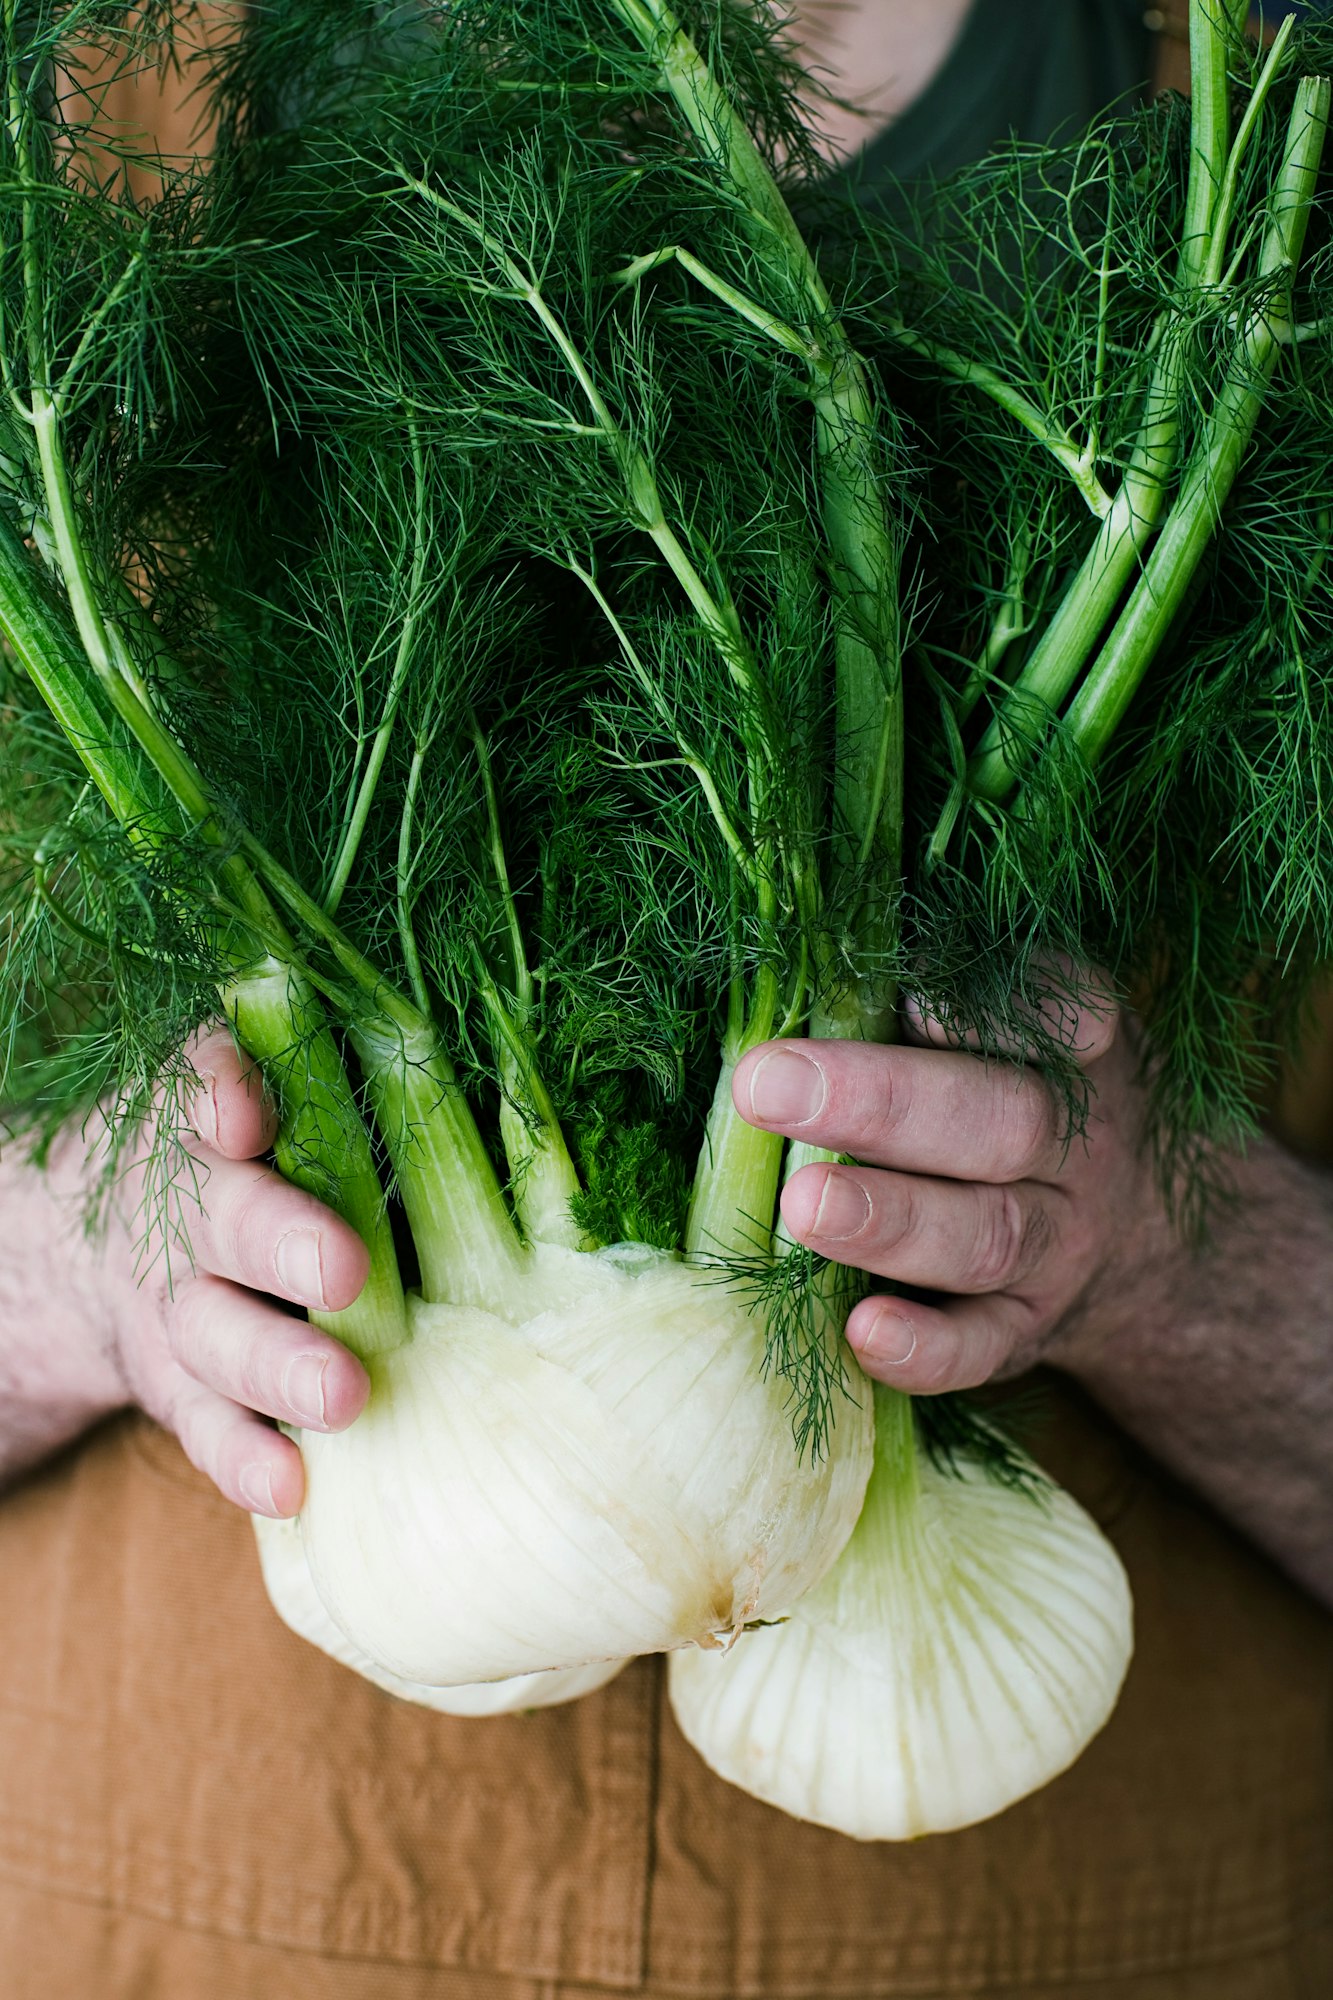
- Bulbs: Harvest when the bulbs are about the size of a tennis ball, typically before the plant starts flowering to ensure the best texture and flavor.
- Seeds: Collect as detailed above, once the seeds are mature.
How to Tell When Fennel is Ripe for Harvest
- Bulbs should be firm and white without splitting. Leaves should be vibrant and green. Seeds should be dry and brown.
Tips for Storing and Preserving Fennel
- Leaves: Store in the refrigerator wrapped in a damp paper towel for up to a week.
- Bulbs: Keep in the crisper drawer of your refrigerator; they can last up to two weeks.
- Seeds: Dry completely and store in an airtight container in a cool, dark place.
By following these guidelines, you can effectively manage the growth and harvest of fennel at various stages, ensuring you enjoy the best flavor and quality from your garden.