



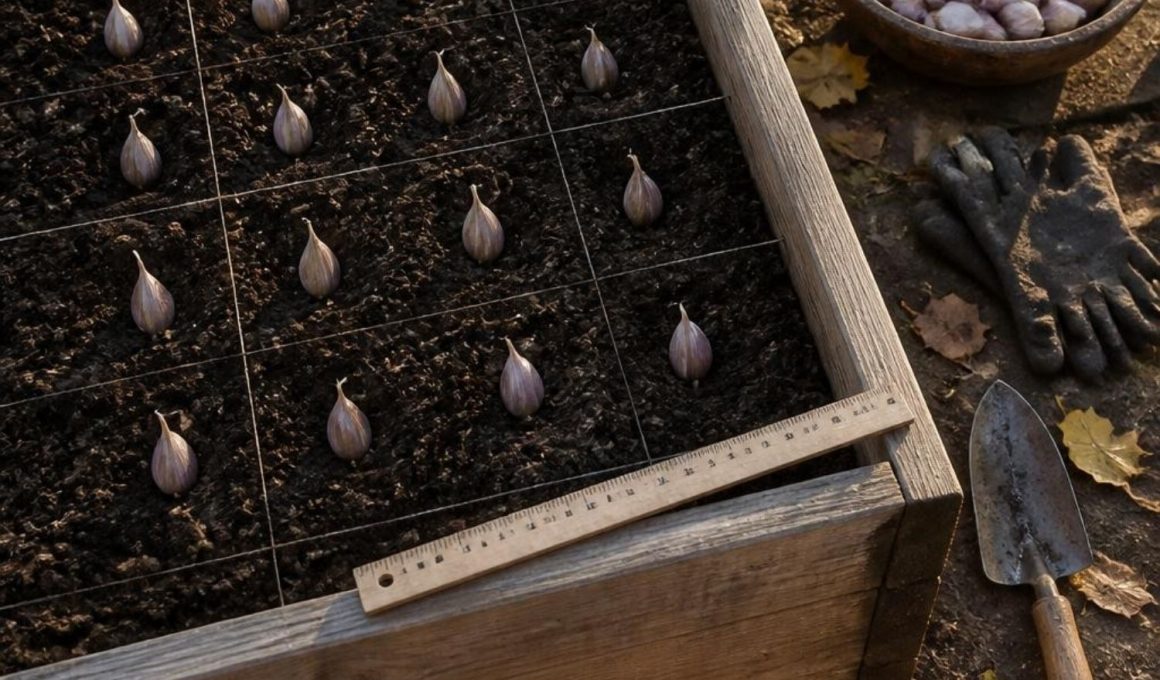
In This Article Show
Fall is one of the best times to take on garden projects that improve both the current season and the year ahead. Cooler weather makes digging, building, planting, and organizing much more comfortable, while warm soil gives new roots, bulbs, and hardy crops time to settle before winter.
The most worthwhile fall projects do more than make the garden look seasonal. They can extend your harvest, turn garden waste into useful material, create shelter for wildlife, and reduce the amount of work waiting for you in spring. These ideas include a practical mix of planting, building, improving, and organizing projects for gardens of different sizes.
1. Build a Simple Cold Frame
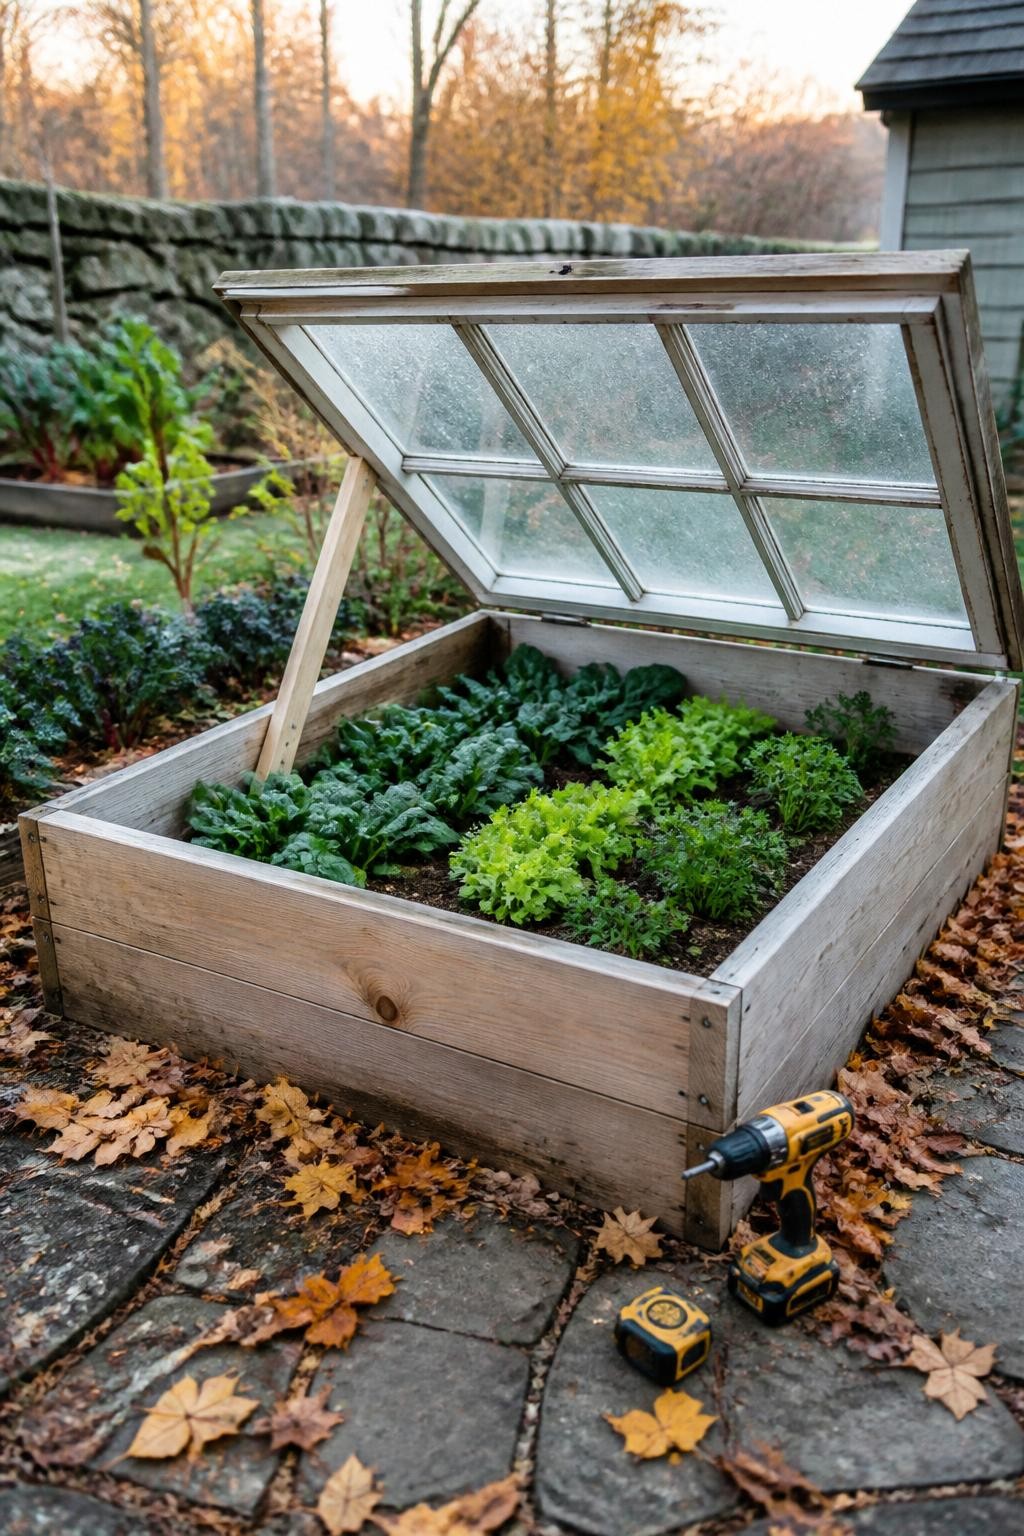
A cold frame acts like a small unheated greenhouse, protecting vegetables from wind and light frost. You can build one using reclaimed boards and an old window, clear polycarbonate panel, or another sturdy transparent lid. Position the taller side toward the back so rain runs off and more sunlight can enter.
Plant spinach, lettuce, parsley, arugula, and other cold-tolerant crops inside. Open the lid on sunny days because the space can warm up quickly, then close it before evening. A well-managed cold frame can extend the harvest for several weeks and give you an earlier start in spring.
2. Make a Leaf Mold Storage Cage
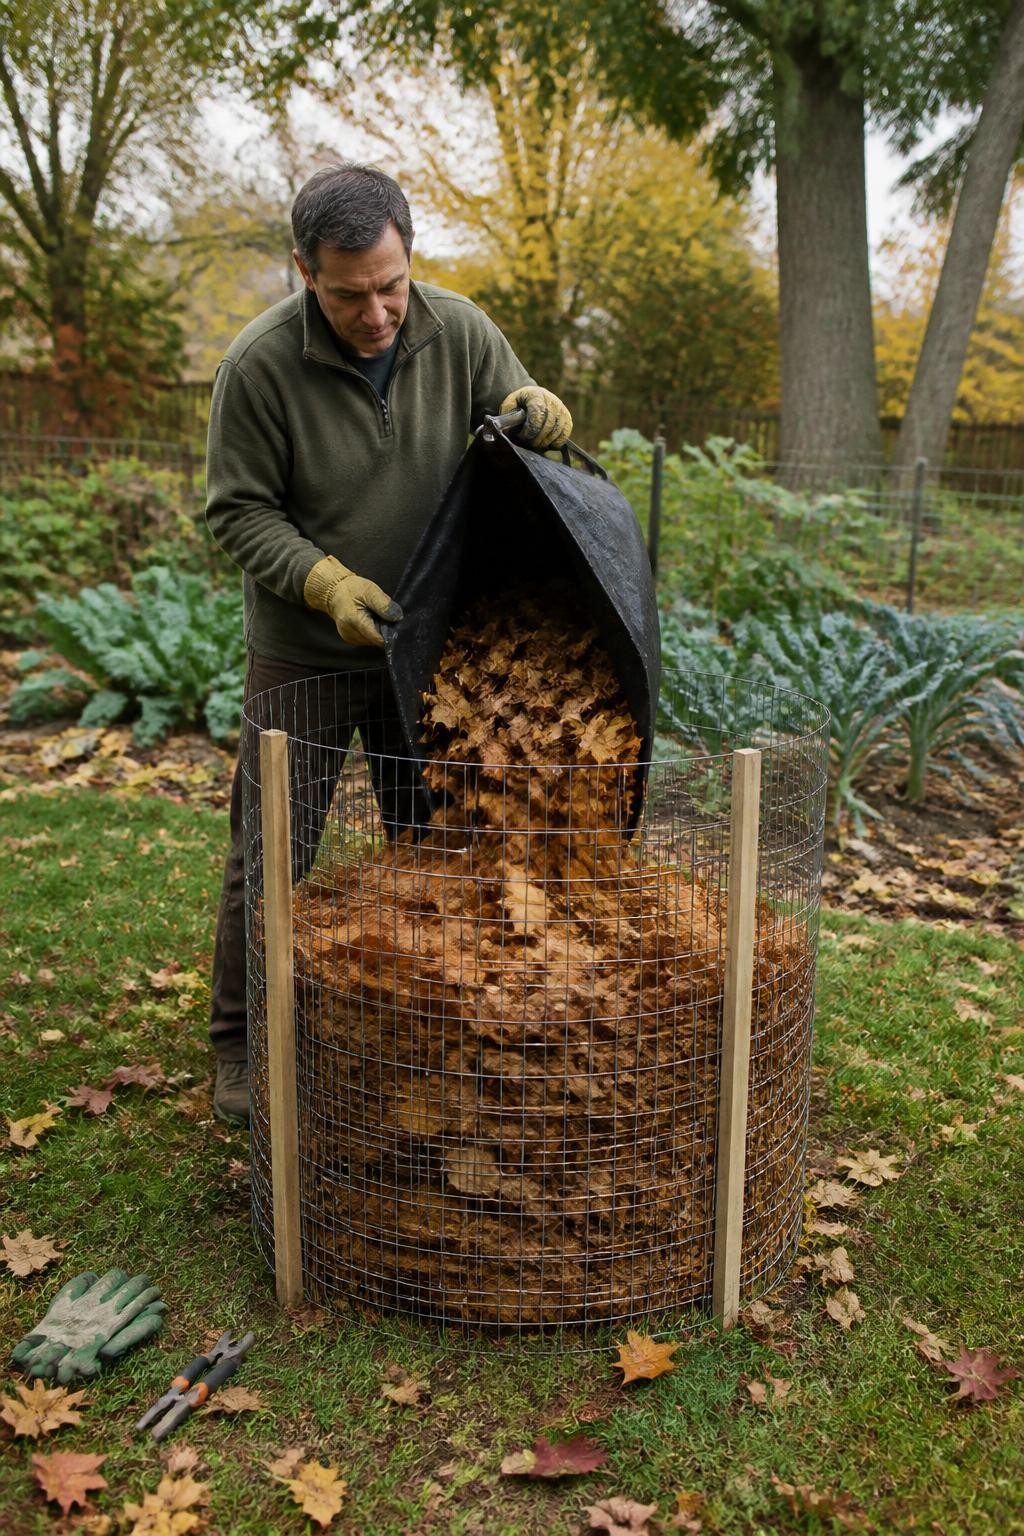
Fallen leaves can be turned into leaf mold, a soft soil-improving material that helps garden beds retain moisture. Build a simple cage from wire fencing or hardware cloth and secure it with stakes. Shred the leaves first when possible because smaller pieces break down faster and fit more easily inside the cage.
Moisten dry leaves as you add them, but do not soak the pile. Leave the cage in a quiet garden corner and allow fungi to break down the material over time. Partly decomposed leaf mold works well as mulch, while fully broken-down material can be mixed into beds and potting blends.
3. Plant a Dedicated Garlic Bed
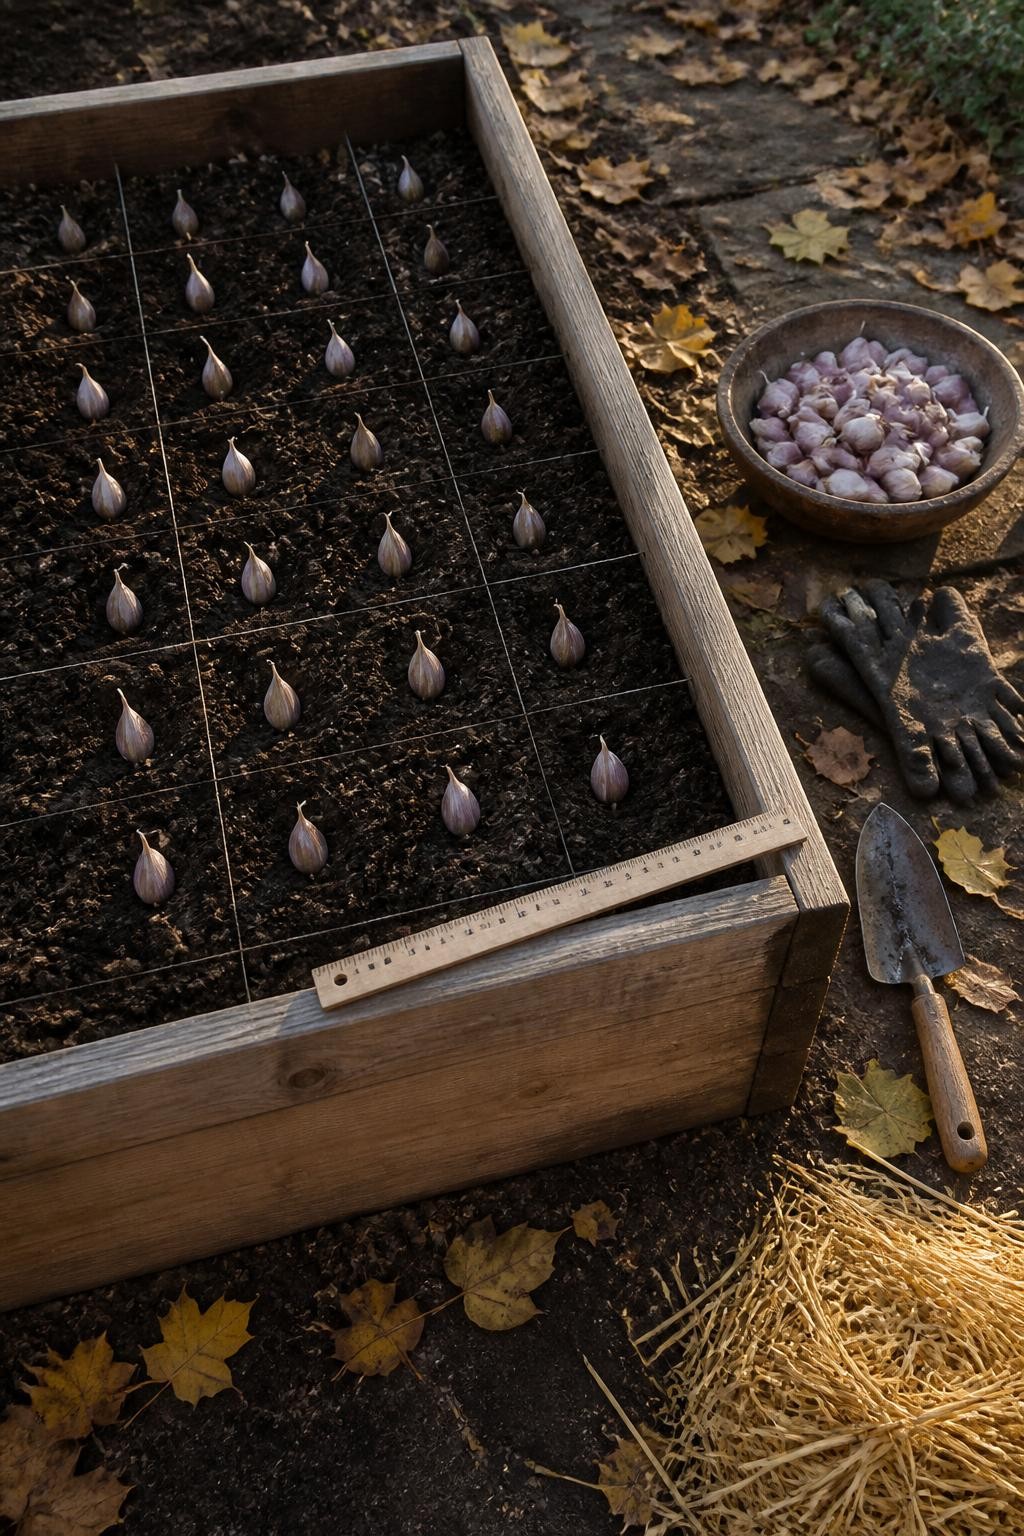
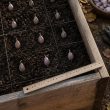
Turn one empty vegetable bed into a dedicated garlic patch for next summer. Separate healthy bulbs into individual cloves shortly before planting and use the largest cloves for the strongest potential plants. Arrange them in evenly spaced rows with the pointed ends facing upward.
Cover the cloves with soil and add a loose layer of straw or shredded leaves after the weather cools. Label the bed clearly so it is not disturbed during spring planting. Garlic requires patience, but the work is simple and the bed needs relatively little attention once planted.
4. Create a Layered Spring Bulb Planter
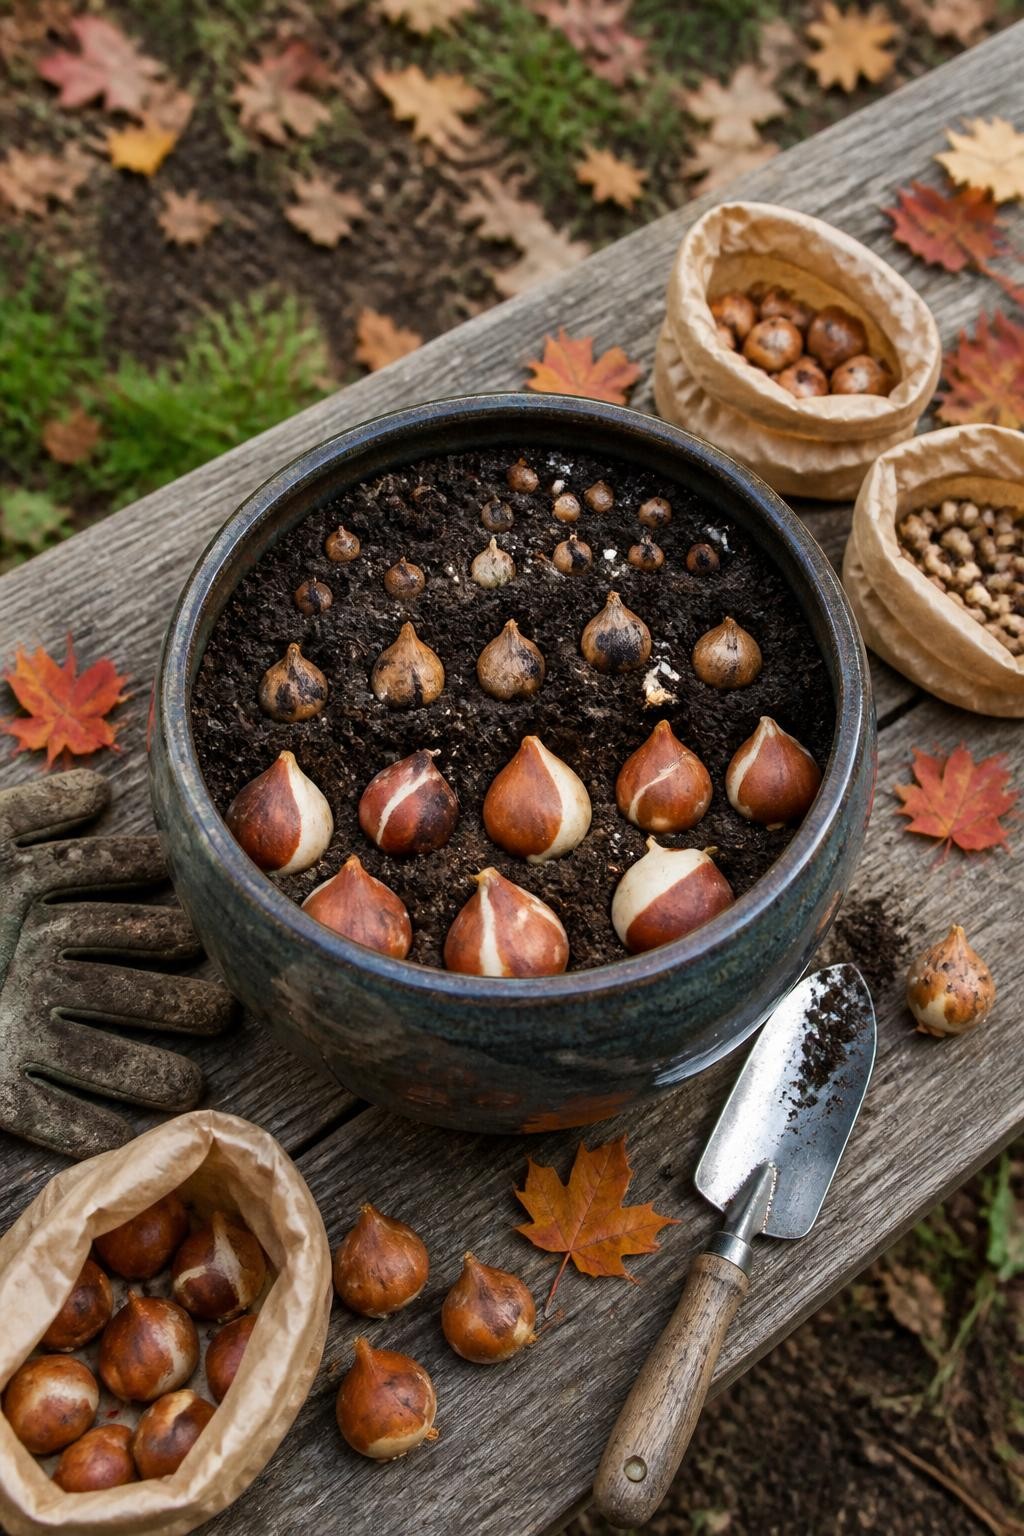
A layered bulb planter allows several types of flowers to emerge from one container in spring. Place large, later-blooming bulbs such as tulips near the bottom, medium bulbs such as daffodils in the middle, and smaller crocus or grape hyacinth bulbs near the surface.
Stagger the bulbs so they are not stacked directly above one another. Water the container after planting and place it in a sheltered outdoor location where it will receive winter chill. Use a frost-resistant pot with clear drainage holes to reduce the risk of cracking and bulb rot.
5. Install a Mini Hoop Tunnel
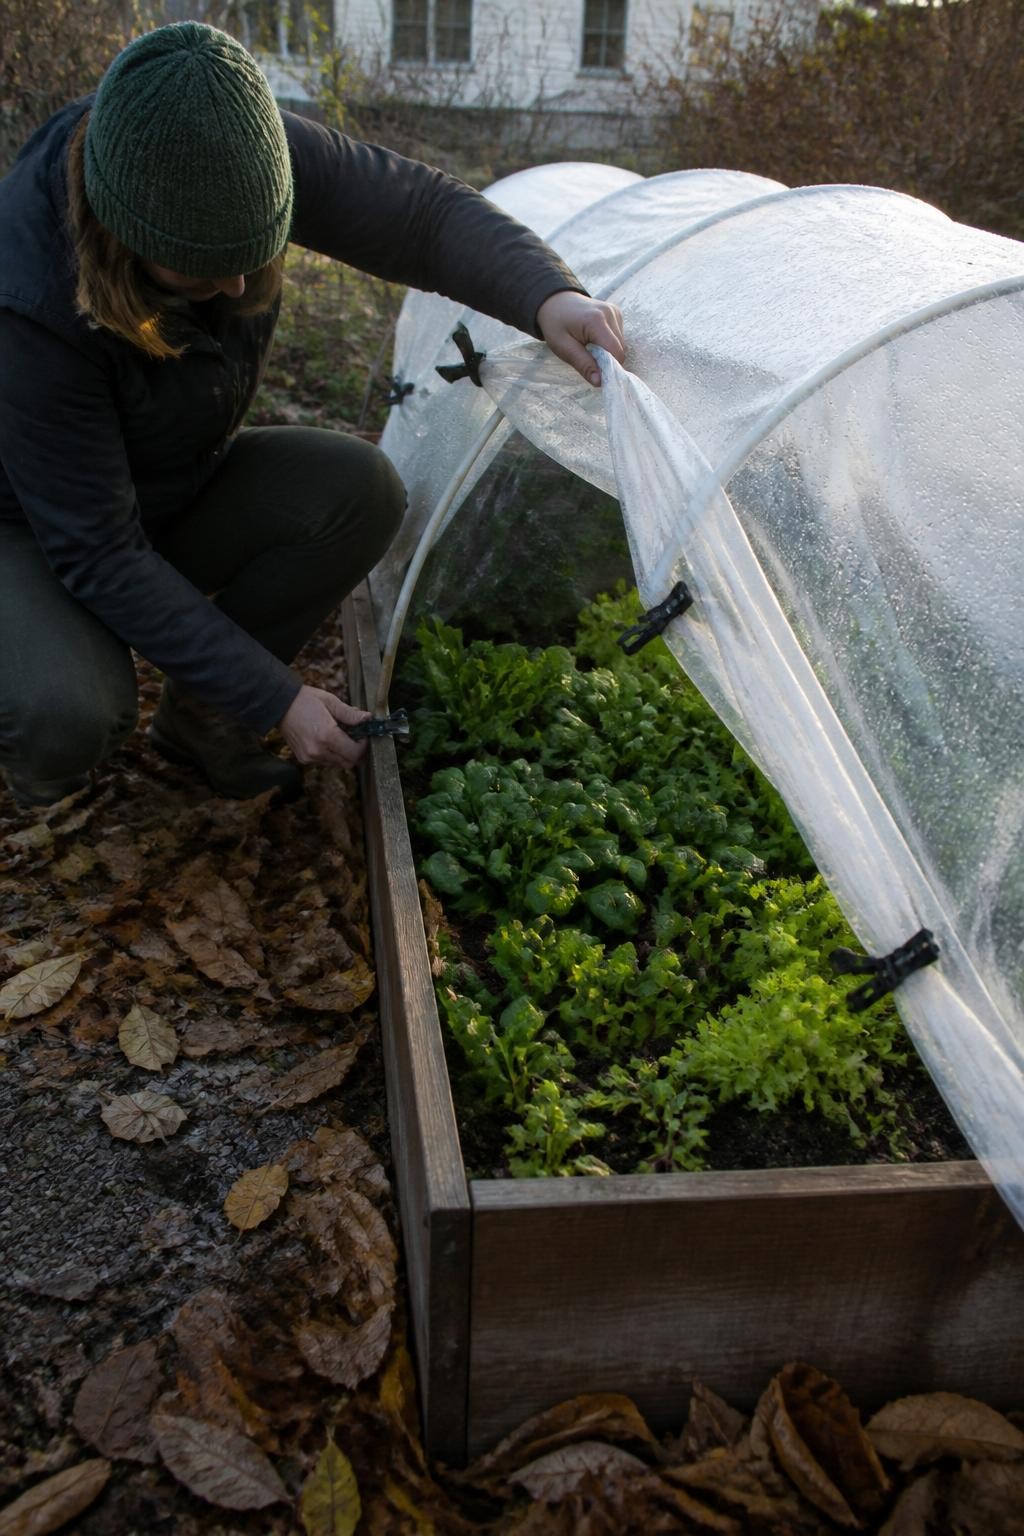
A low hoop tunnel is one of the most useful projects for extending the fall growing season. Insert flexible PVC, metal hoops, or sturdy wire arches along both sides of a raised bed. Cover the frame with frost cloth for light protection or greenhouse plastic for greater warmth.
Secure the cover against wind while keeping one side easy to open. Ventilation is important because a closed tunnel can become hot on bright days. Use the protected bed for leafy greens, radishes, parsley, carrots, and other vegetables that tolerate cool conditions.
6. Build a Three-Bin Composting Area
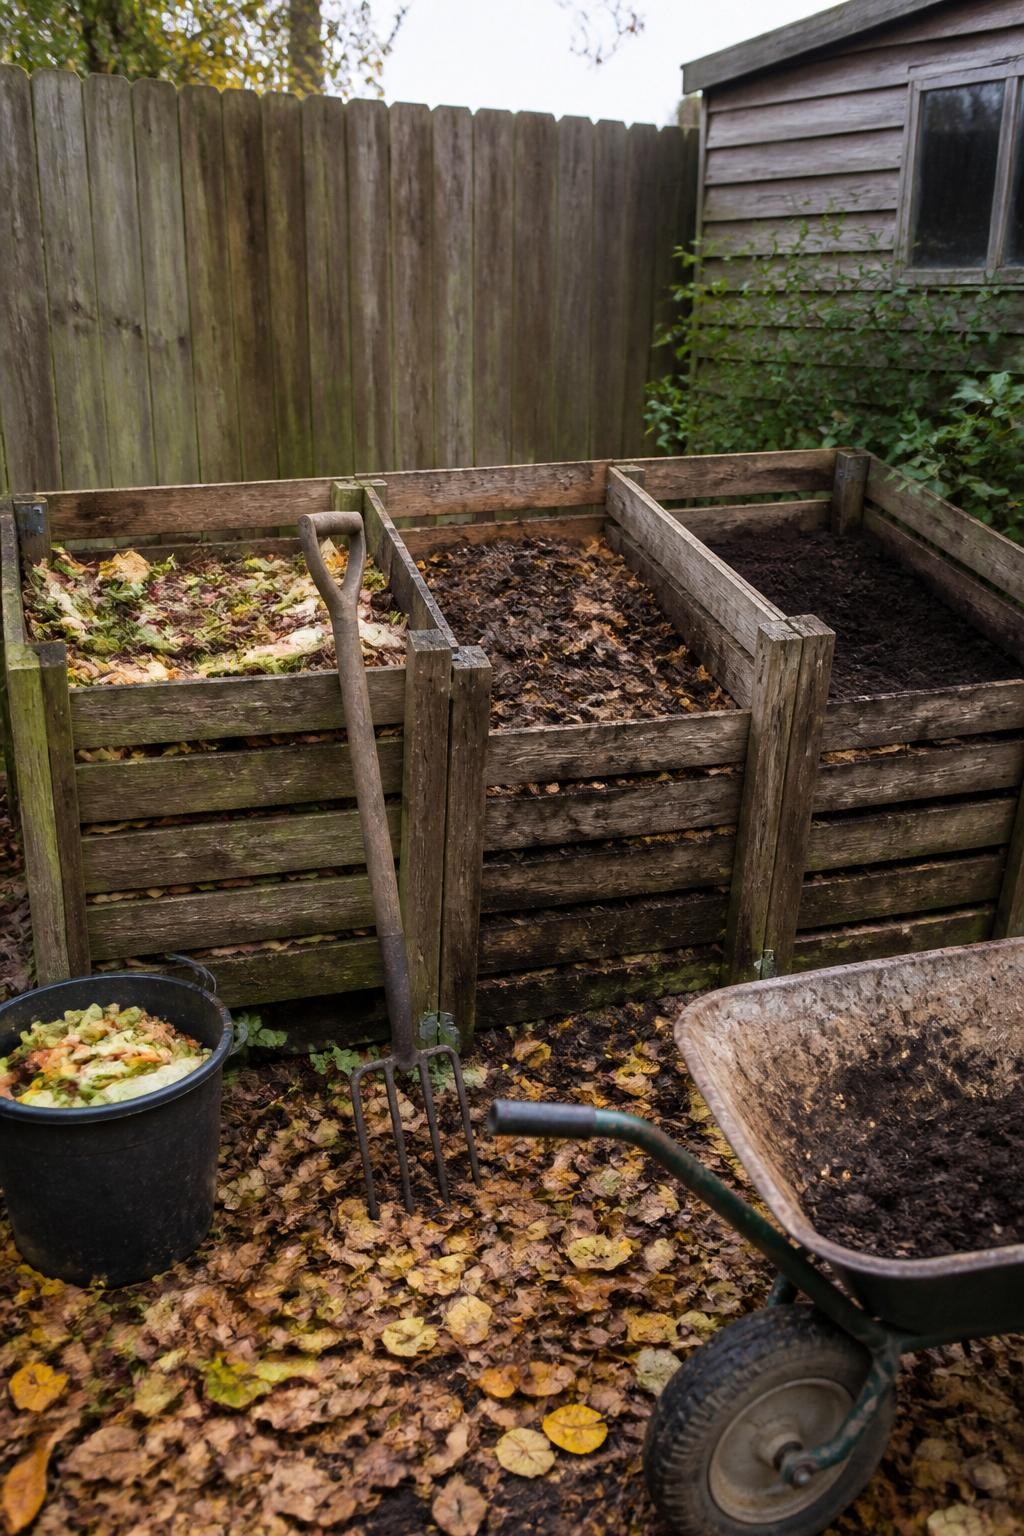
A three-bin compost system makes it easier to separate fresh materials, active compost, and finished compost. Build the bays from untreated wooden pallets or sturdy boards, leaving enough space at the front to turn and move the material with a garden fork.
Use one section for newly collected leaves and garden waste, one for material that is actively breaking down, and one for compost that is ready to use. The system does not need to be perfect or expensive. Its main advantage is keeping materials organized and preventing new scraps from being mixed constantly into finished compost.
7. Refresh and Divide an Overgrown Perennial Bed
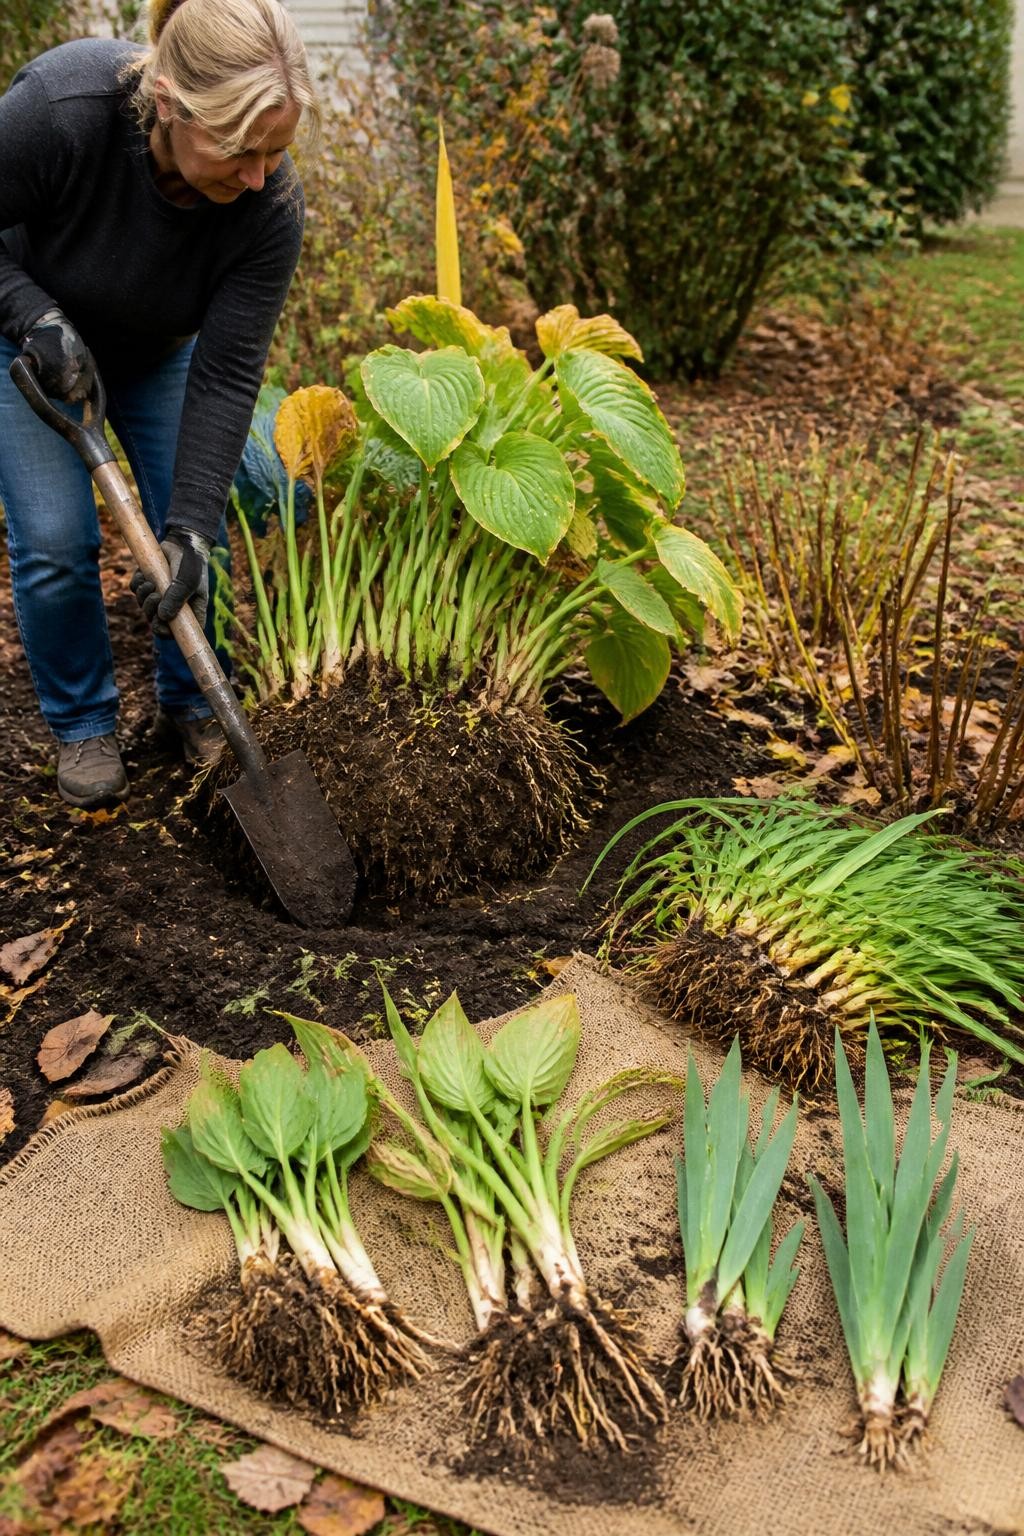
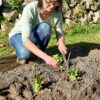
Perennials that develop bare centers, weak flowering, or crowded growth may benefit from division. Fall is suitable for dividing many plants when the weather is cool and there is still enough time for roots to settle before the ground freezes.
Water the plants before lifting them, divide the roots into healthy sections, and replant them at their previous depth. Use extra divisions to fill empty spaces or share them with other gardeners. Avoid dividing plants that are currently flowering heavily or are not recommended for fall division in your climate.
8. Create a Wildlife-Friendly Brush and Log Corner
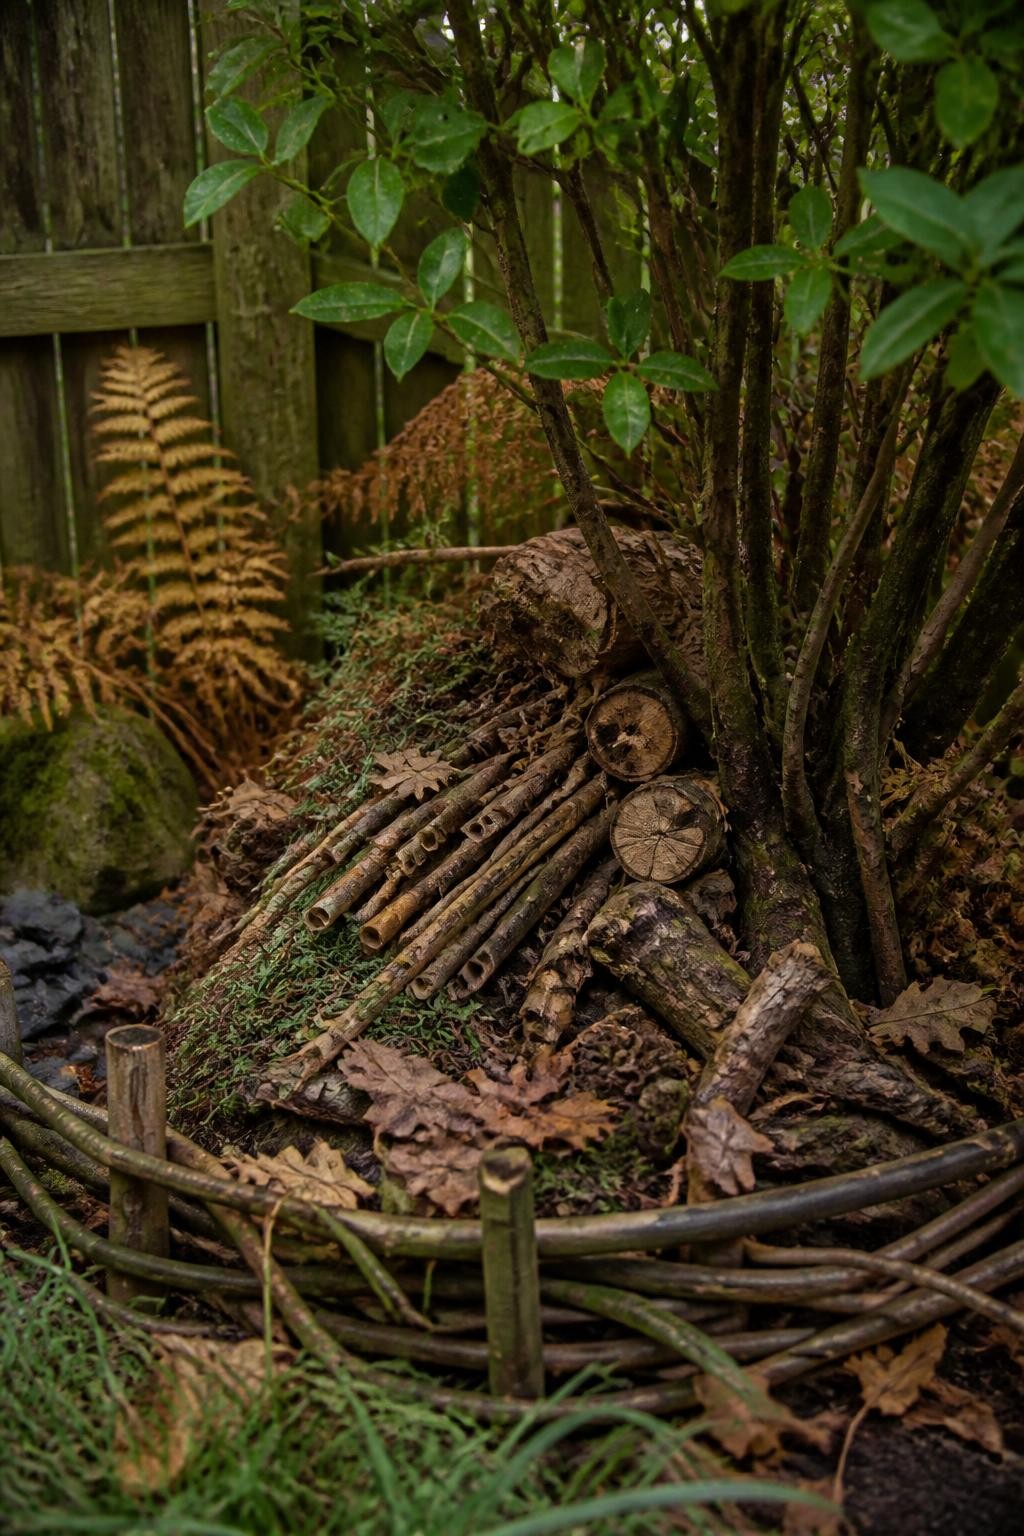
A small pile of untreated logs, branches, hollow stems, and dry leaves can create shelter for beneficial insects and other small garden wildlife. Choose a quiet, partly shaded corner where the materials will not block paths or remain in standing water.
Stack the materials loosely so there are spaces of different sizes. Avoid using painted, treated, or chemically preserved wood. Keep the project controlled by adding a simple branch or stone border, and leave some healthy perennial stems standing nearby for additional habitat.
9. Lay a Wood-Chip Garden Path
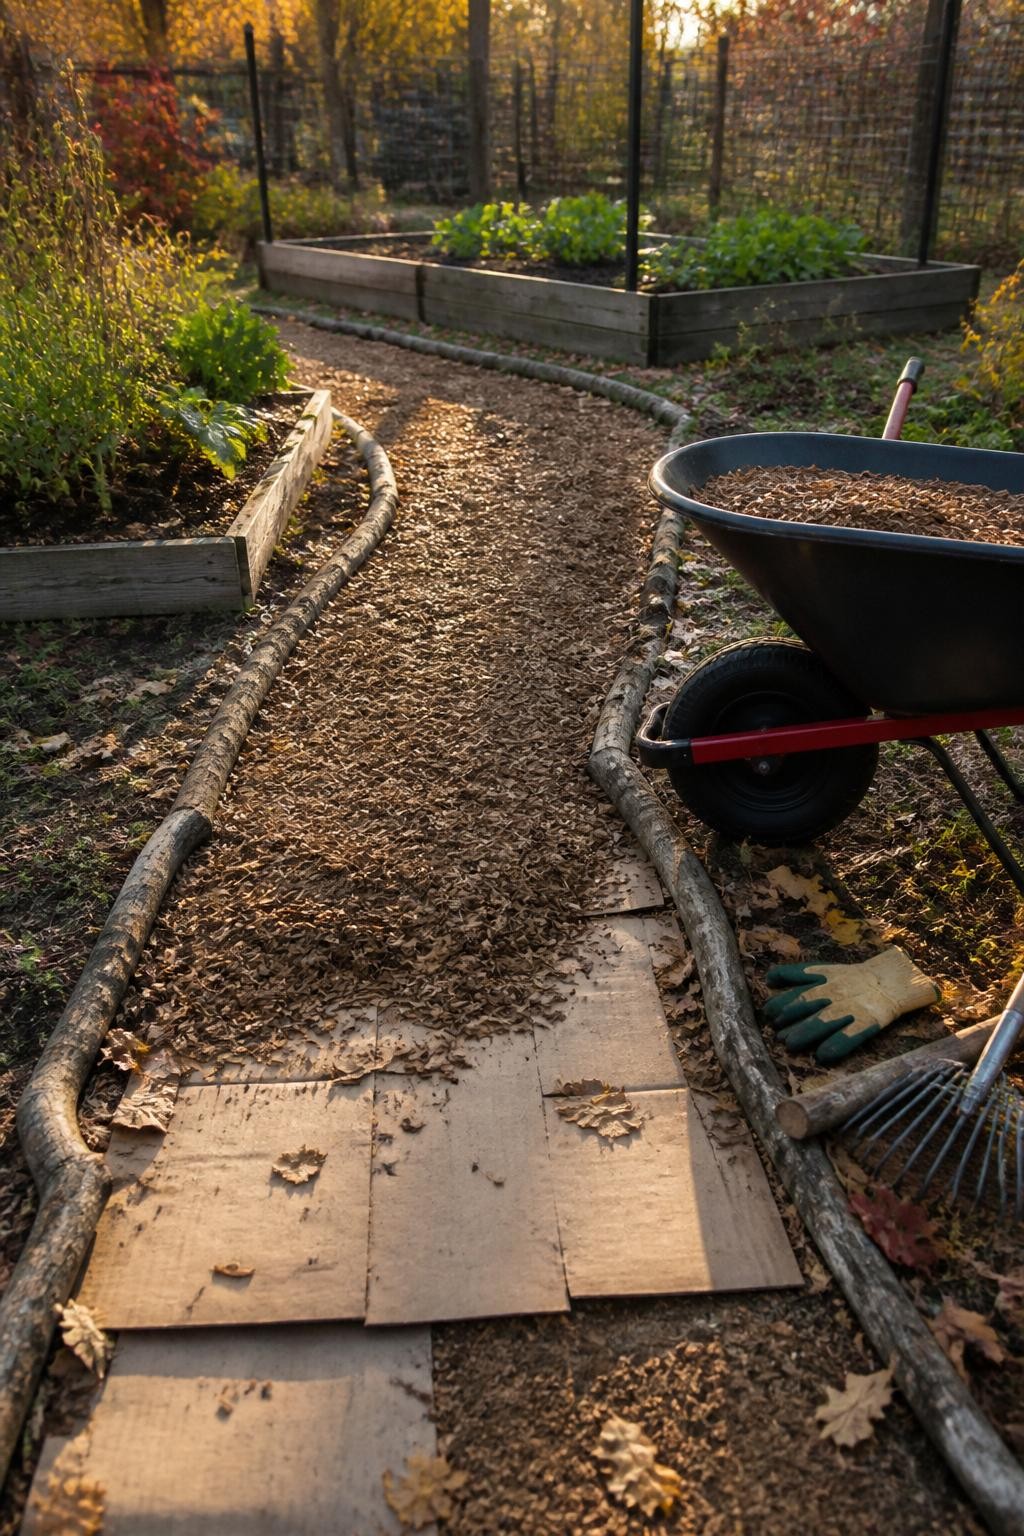
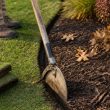
A wood-chip path can reduce mud, suppress weeds, and make garden beds easier to reach in wet fall and spring weather. Mark the route first, remove tall or seeding weeds, and place plain cardboard over the soil where extra weed control is needed.
Cover the area with several inches of untreated wood chips and rake the surface level. Keep the path wide enough for a wheelbarrow if space allows. Add more chips when the material settles, and avoid piling them against wooden bed frames or plant stems.
10. Build a Simple Herb-Drying Station
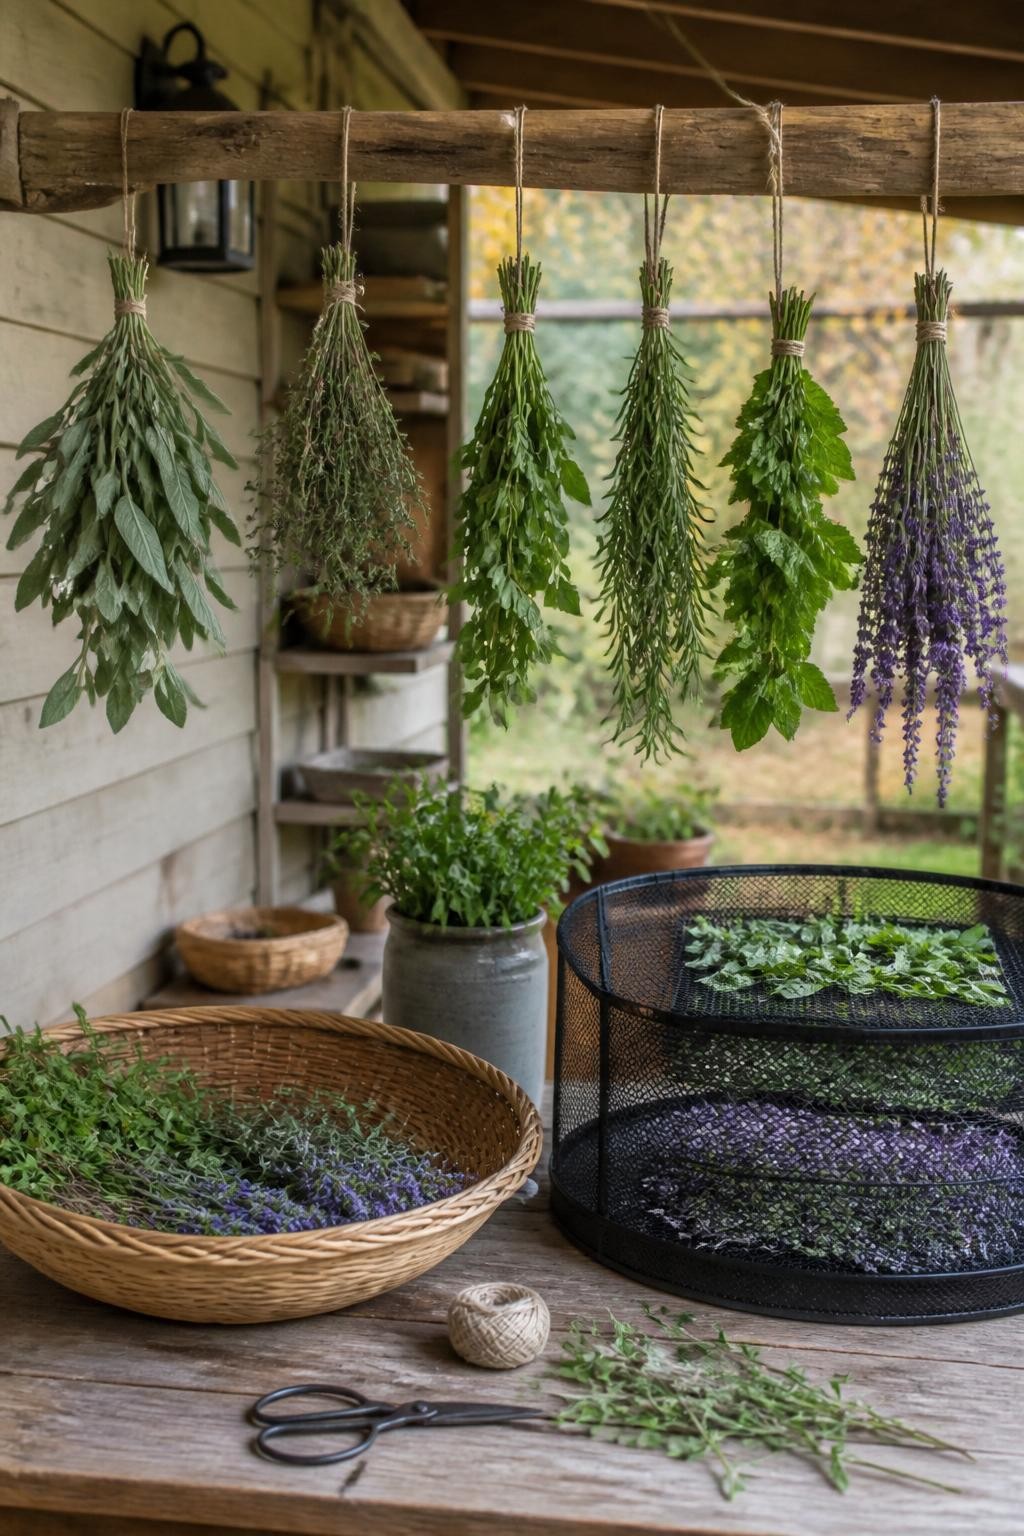
Use the final healthy herb harvest to create a drying station in a protected place. Hang small bundles from a wooden rail or use mesh racks for loose leaves. The area should be dry, shaded, and well ventilated rather than warm and humid.
Label each bundle before the leaves begin to look alike. Once the herbs are crisp and fully dry, remove the leaves from the stems and store them in airtight containers away from heat and light. This project preserves the harvest while clearing tender herbs before frost.
11. Turn an Empty Bed into a Pollinator Planting
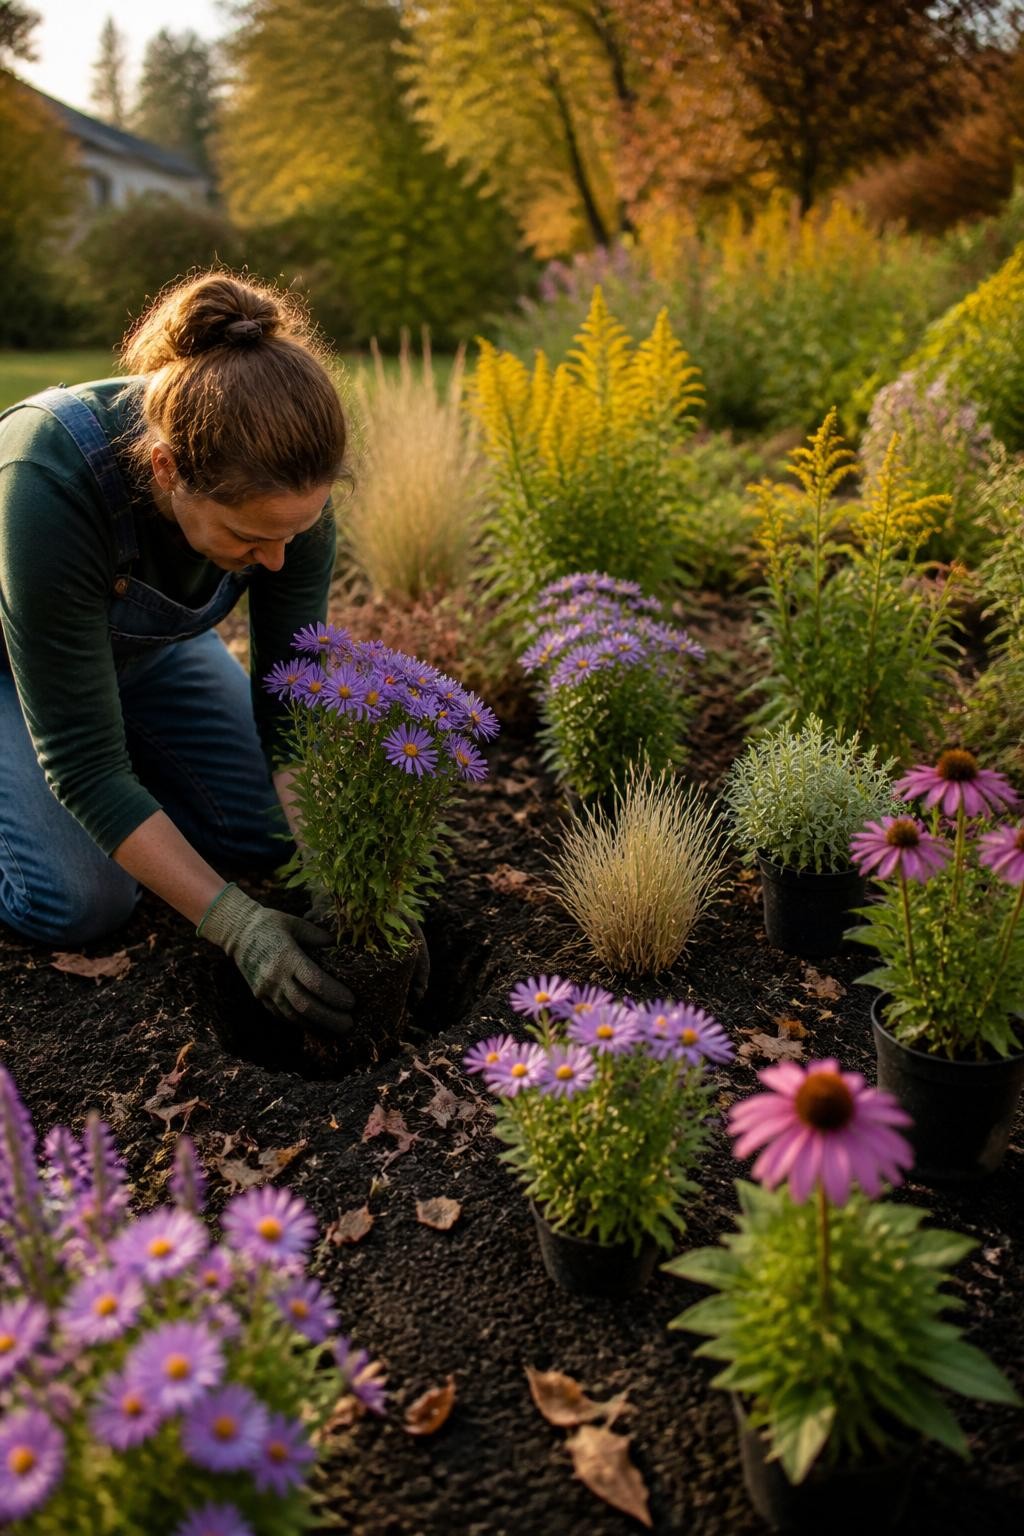
Fall is a good time to establish many hardy native perennials because cooler weather reduces stress while the soil remains warm enough for root growth. Select plants suited to your local rainfall, sunlight, and soil rather than choosing only by flower color.
Arrange plants in groups so pollinators can find them easily and leave enough space for their mature size. Water consistently until the ground freezes or seasonal rain becomes reliable. Add a light mulch while keeping it away from plant crowns.
12. Make a Garden Planning and Seed Station
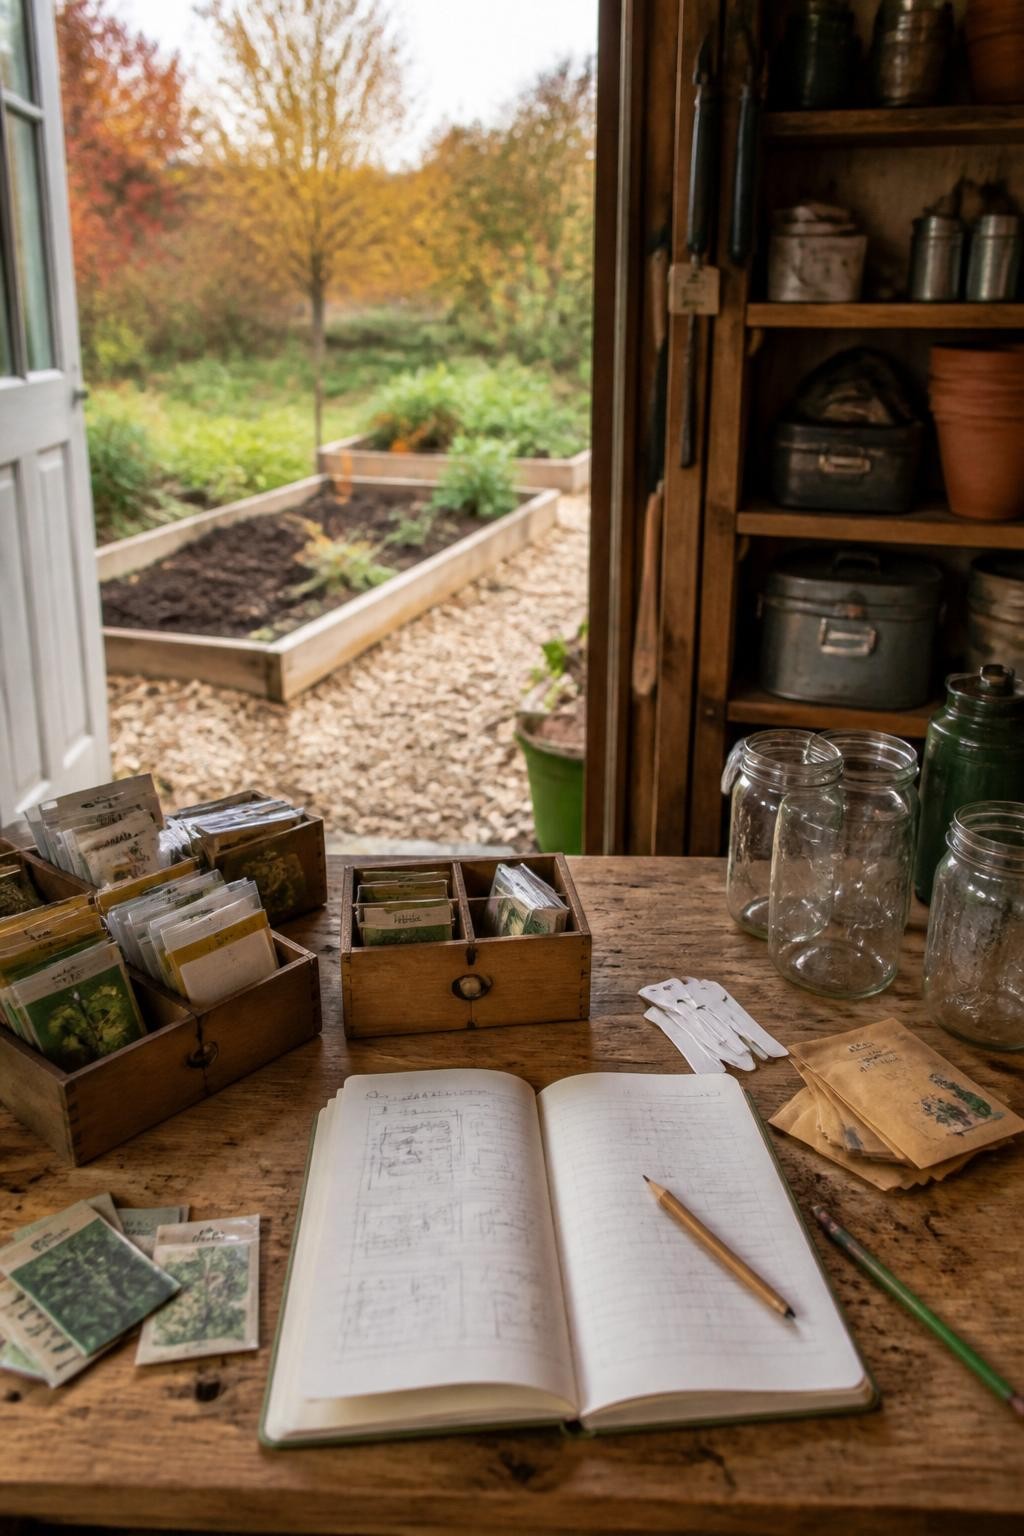
Set up a small area for sorting seeds, recording harvest results, and planning next year’s beds. Check packet dates, remove damaged seeds, and organize the rest by planting season or crop family. Store them in a cool, dry place inside clearly labeled containers.
Draw a basic map showing where major crops grew and note any problems with disease, drainage, shade, or poor production. These records will help with crop rotation and prevent you from repeating layouts that did not work well.
13. Add a Rainwater Collection Area
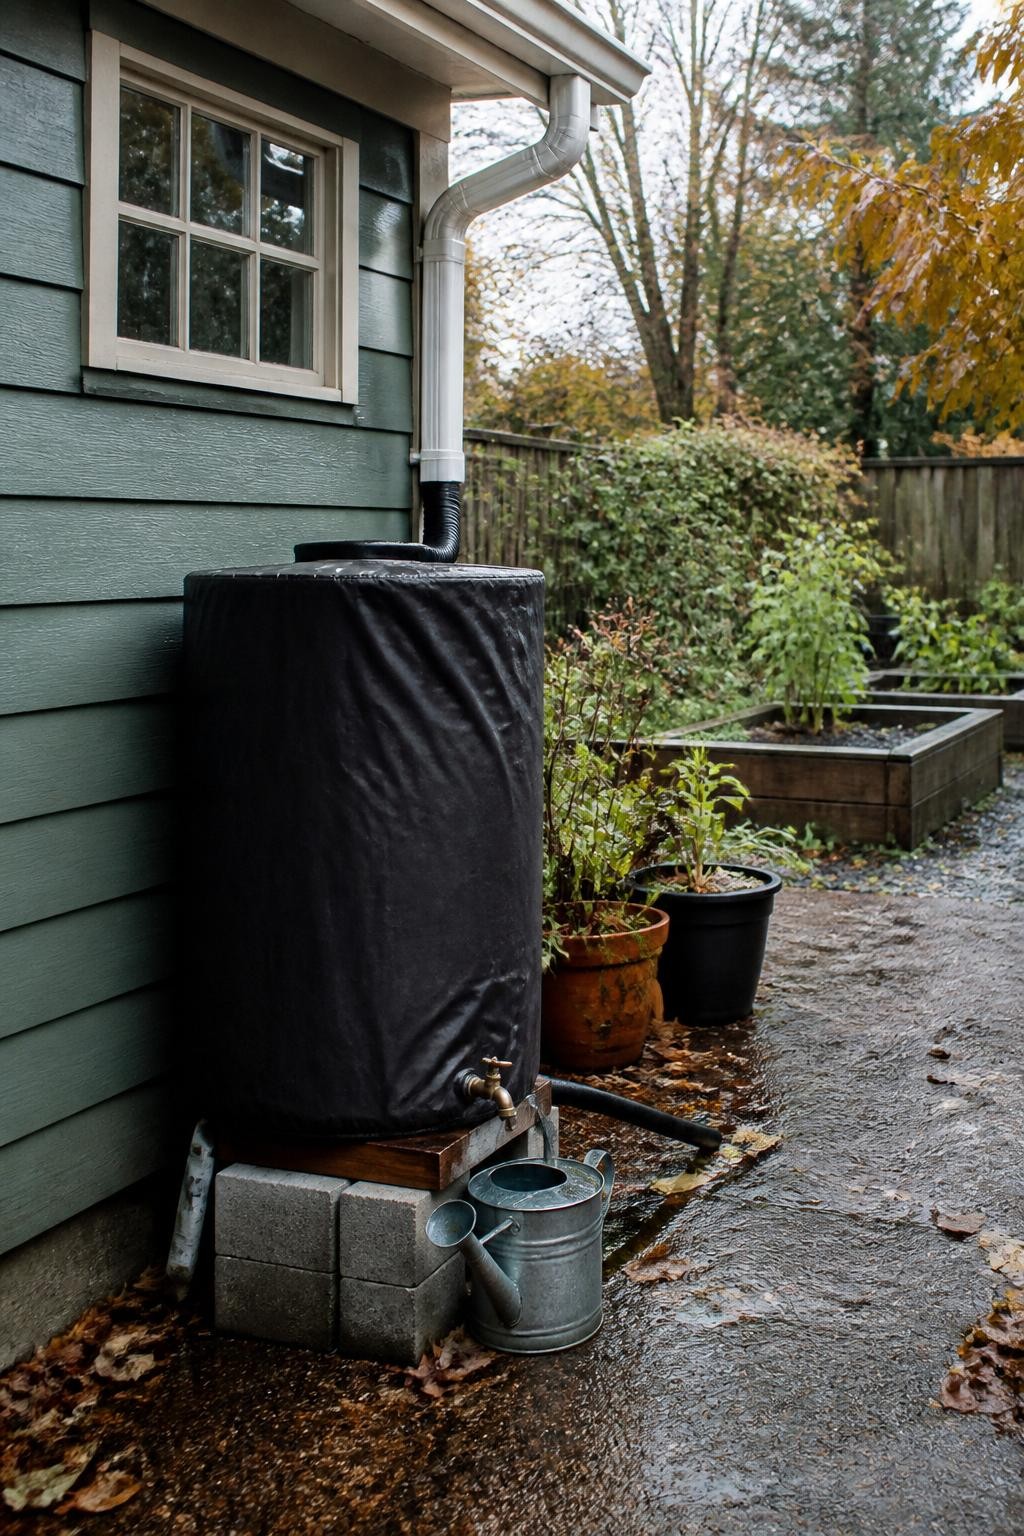
A rain barrel can collect roof runoff for watering containers, ornamental beds, and other suitable garden areas. Fall is a useful time to install one because you can observe how water moves around the property during seasonal rain and correct drainage issues before spring.
Place the barrel on a stable level base and use a fitted lid or screen to keep out leaves, insects, and debris. Direct overflow away from buildings and pathways. In freezing climates, empty and disconnect the barrel before winter unless the system is specifically designed to remain outdoors year-round.