
In This Article Show
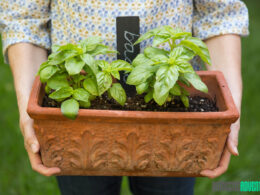
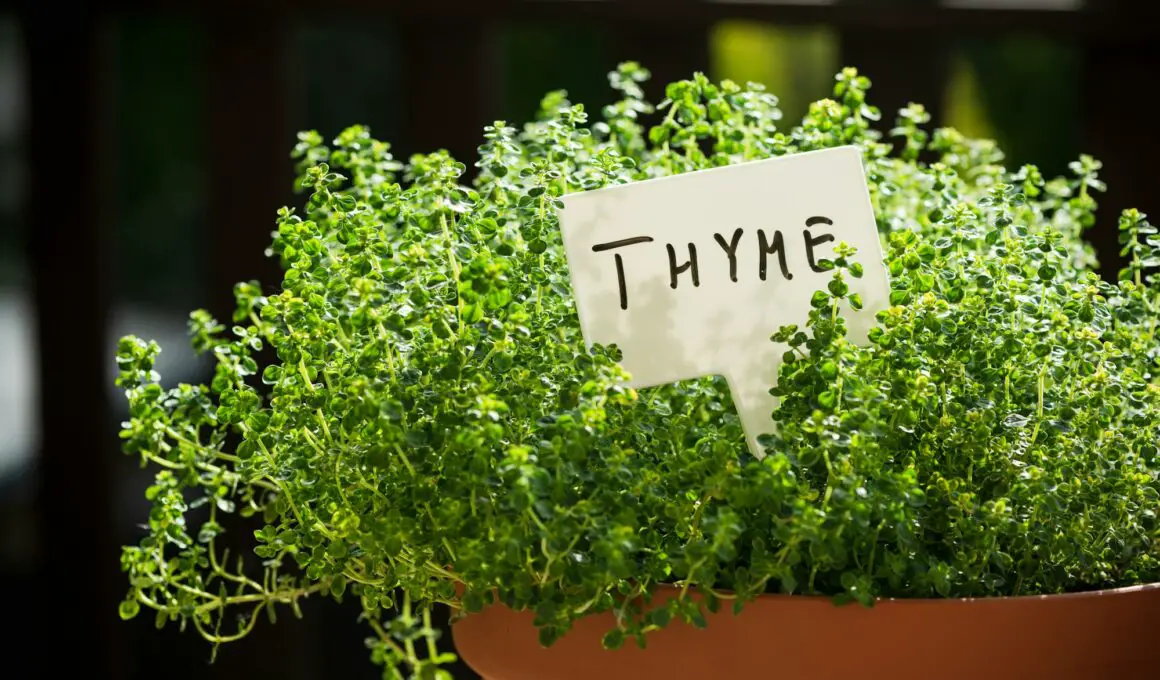
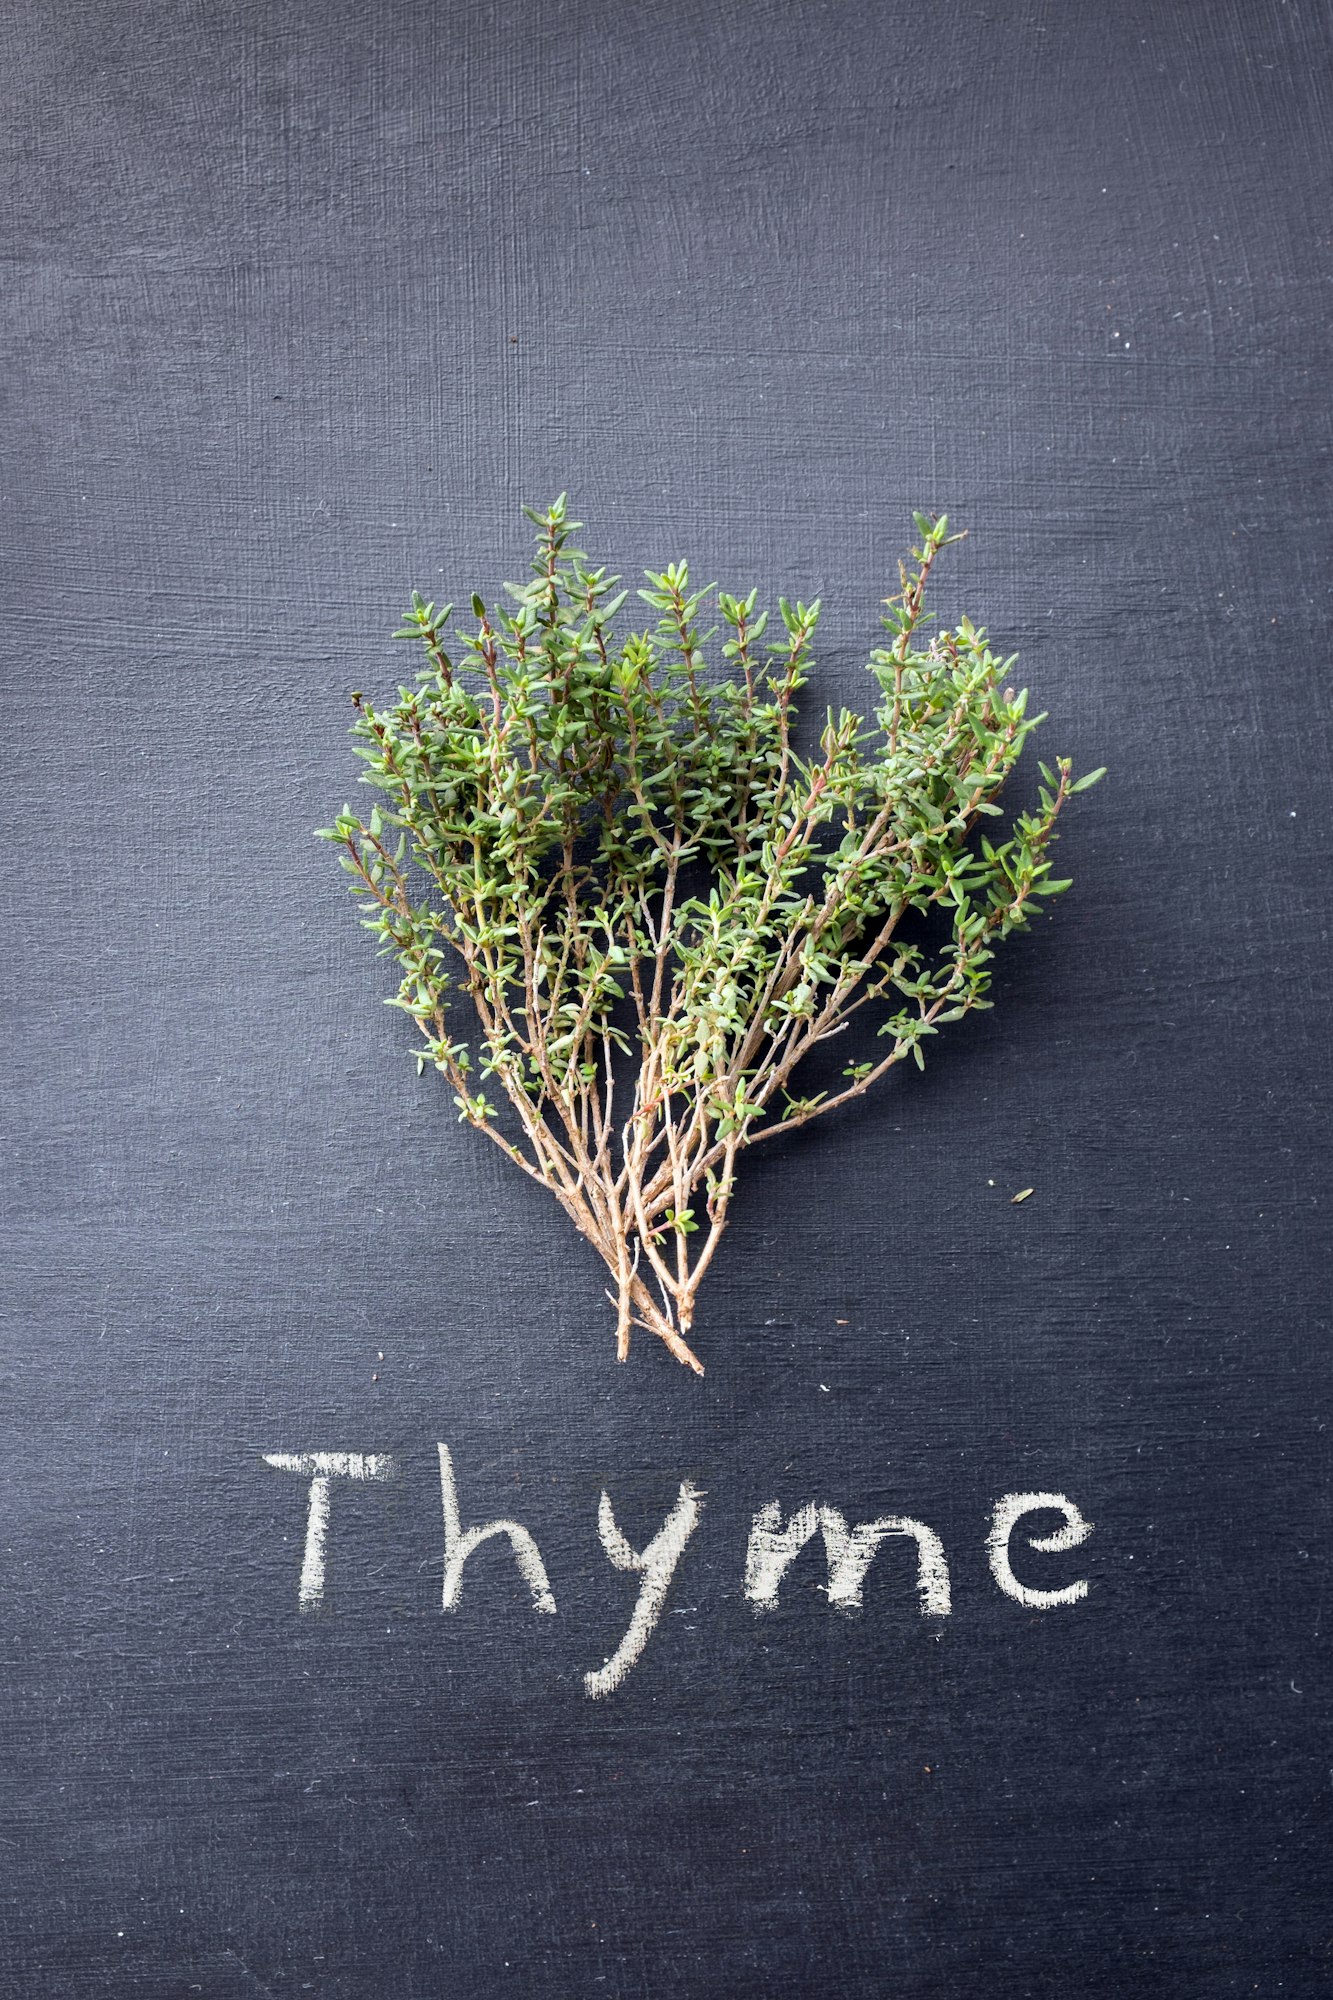
Thyme, a versatile and aromatic herb, is a must-have in any beginner’s garden due to its low maintenance and multitude of uses in cooking. In this post, I’ll guide you through five straightforward steps to successfully plant, nurture, and harvest thyme. We’ll cover everything from selecting the right variety to suit your environment and tastes, to the best planting techniques and care tips to ensure your thyme thrives. Let’s get your garden growing with this hardy, delightful herb!
Step 1: Choosing the Right Variety of Thyme
Thyme comes in several varieties, each with its unique flavor profile and growth habits, making it essential to choose the right one for your gardening goals and kitchen needs. The most popular type is Common Thyme (Thymus vulgaris), renowned for its strong, earthy flavor that is perfect for a wide range of dishes, from roasts to stews.
Lemon Thyme (Thymus citriodorus), on the other hand, offers a refreshing citrus twist which makes it ideal for flavoring fish, poultry, and summer beverages.
For those in cooler climates, Creeping Thyme (Thymus serpyllum) is an excellent choice as it’s not only hardy but also doubles as a fragrant ground cover that can tolerate light foot traffic. In warmer regions, Caraway Thyme (Thymus herba-barona) thrives and brings a hint of caraway flavor to culinary uses, which is unique.
Selecting a Thyme Variety
- Climate Compatibility: Check the hardiness zone for each thyme type to ensure it will prosper in your local weather conditions. Most thyme varieties are perennials in zones 5 through 9.
- Soil and Sunlight: Thyme generally prefers well-drained soil and a sunny spot. However, some varieties like creeping thyme can tolerate partial shade and are less demanding about soil quality.
- Culinary Use: Reflect on what dishes you enjoy cooking and select a thyme that matches the flavor profiles you’re most likely to use. For instance, common thyme is a great all-rounder, while lemon thyme is best for those who favor a citrusy note.
Step 2: Preparing for Planting

Choosing the right time to plant thyme and preparing the soil properly are key factors in establishing a successful thyme garden. Here’s how to get started:
Best Time of Year to Plant Thyme
Thyme is best planted in early spring after the last frost has passed. This timing allows the plant to establish itself during the cooler, wetter spring months, which helps ensure it can withstand the hotter summer. If you live in a milder climate, thyme can also be planted in the fall, allowing it to root and establish throughout the winter.
Get Gardening For Beginners
Our new EBOOK shows newcomers and green thumbs alike a step by step guide to growing the garden of their dreams.
Preparing the Soil
Thyme thrives in well-drained, sandy soil. Before planting, it’s important to ensure that your garden bed or containers are well-prepared:
- Soil Drainage: Amend compact soil by mixing in sand or gravel to improve drainage. Thyme does not do well in wet, heavy soils as poor drainage can lead to root rot.
- Soil pH: Thyme prefers a soil pH between 6.0 and 8.0. If necessary, you can test your soil pH with a kit from a garden store and adjust it using lime (to increase pH) or sulfur (to decrease pH).
Choosing the Right Location
Sunlight and spacing are crucial for growing healthy thyme
- Sunlight Requirements: Thyme needs a full sun location where it can receive at least 6 hours of direct sunlight per day. In hotter climates, afternoon shade can be beneficial to prevent scorching.
- Spacing: Space thyme plants about 12 to 24 inches apart. This spacing allows adequate air circulation, which is vital for preventing fungal diseases. If planting in containers, ensure there is enough room for roots to spread.
Starting from Seeds or Seedlings
- Seeds: Starting thyme from seeds can be more challenging and time-consuming as they require light to germinate and can take several weeks to sprout. If starting indoors, use a seed tray with seed starting mix, and maintain a temperature of about 70°F. Once seedlings develop a few true leaves, they can be transplanted outdoors.
- Seedlings: For beginners, purchasing thyme seedlings from a nursery is often easier and provides a head start on growth. Seedlings can be planted directly into prepared soil or containers, following the same spacing and care guidelines.
Whether starting from seeds or seedlings, preparing well in advance and following these tips will help ensure your thyme plants have the best start possible, paving the way for a bountiful and aromatic harvest.
Step 3: Planting Your Thyme
Once you have selected the right variety of thyme and prepared your garden spot, the next step is to plant your thyme. Whether you are starting with seeds or seedlings, proper planting techniques are essential for healthy growth.
Planting Thyme Seeds
- Surface Sowing: Thyme seeds need light to germinate, so they should be sown on the surface of the soil. Sprinkle the seeds over the prepared soil or seed starting mix in your container or garden bed.
- Pressing Seeds: Gently press the seeds into the soil with your hand or a flat object but do not cover them with soil. Make sure they make good contact with the soil, which is crucial for germination.
- Watering: Use a spray bottle to moisten the seeds and the soil. Keep the soil lightly moist but not soggy, as thyme seeds are prone to rot in overly wet conditions.
- Germination Environment: Cover the seed tray or planting area with clear plastic wrap or a glass pane to maintain humidity and warmth, essential for germination. Remove the cover once you see sprouts.
Planting Thyme Seedlings
- Digging Holes: Dig small holes in your prepared garden bed or container, each about as deep and twice as wide as the root ball of the seedlings.
- Planting: Remove the thyme seedlings from their nursery containers, gently tease the roots, and place them in the holes. Make sure the base of the stem is level with the soil surface.
- Soil Adjustment: Backfill the holes with soil, and press down around the bases to secure the seedlings and eliminate air pockets.
- Watering: Water the thyme gently but thoroughly at the base to settle the soil around the roots. Avoid wetting the foliage directly as this can promote fungal diseases.
Step 4: Ongoing Care and Maintenance

Proper ongoing care and maintenance are crucial for a healthy thyme plant that provides abundant harvests. Here’s how to manage watering, pruning, and pest control effectively:
Watering and Drainage
- Watering Frequency: Thyme is drought-tolerant once established, requiring water only when the top inch of soil feels dry to the touch. In hotter, dryer climates, watering may be necessary once or twice a week, while in cooler, moist climates, less frequent watering is needed.
- Importance of Drainage: Good drainage is essential to prevent root rot, a common issue with thyme. Ensure that your planting site or containers have well-draining soil and are not in locations where water pools. If you’re using pots, choose ones with adequate drainage holes.
Pruning and Harvesting
1. Pruning
Regular pruning not only maintains the shape of your thyme plant but also encourages fuller, bushier growth. Prune your thyme in early spring to remove any dead or woody stems and promote new growth. Additionally, light trimming throughout the growing season can help maintain vigor.
Get Gardening For Beginners
Our new EBOOK shows newcomers and green thumbs alike a step by step guide to growing the garden of their dreams.
2. Harvesting
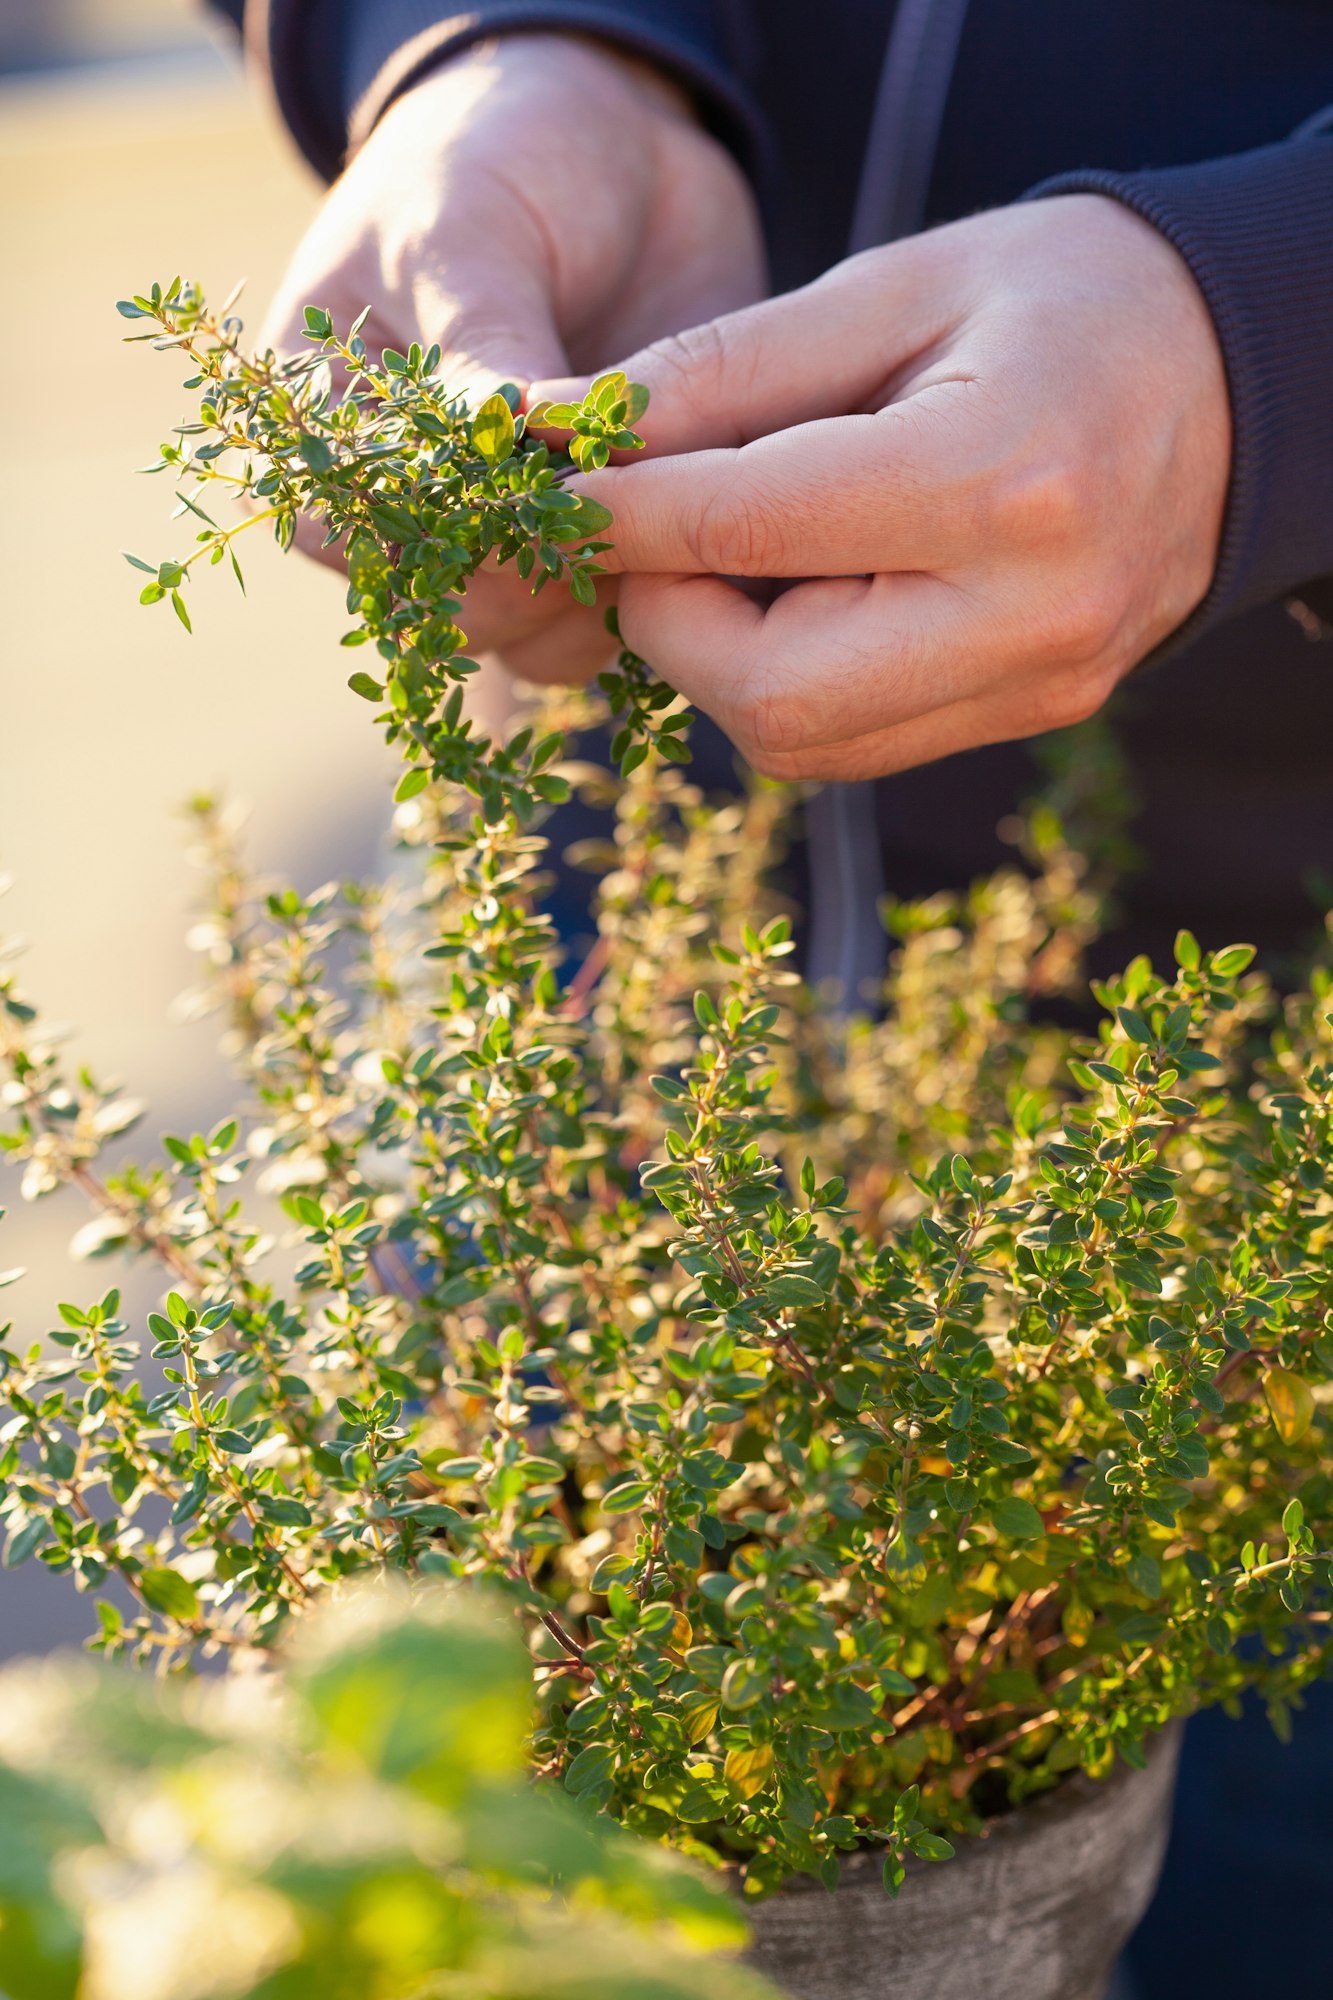
Begin to harvest thyme once the plant is established and has a good number of stems. Cut only about one-third of the branches at any one time to allow the plant to recover. Harvest in the morning after the dew has dried for the best flavor. Use sharp scissors or pruning shears to make clean cuts, which help prevent damage to the delicate stems.
Dealing with Common Pests and Diseases
1. Pests
Thyme is relatively resistant to pests, but it can sometimes attract aphids and spider mites, especially in warm, dry conditions. Regularly inspect your plants and wash pests off with a strong stream of water or use insecticidal soap as a treatment.
2. Diseases
Root rot and fungal diseases are the most common issues, often due to overwatering or poor drainage. Ensure your thyme is not sitting in soggy soil. If fungal issues are observed, reduce watering and improve air circulation around the plants. In severe cases, fungicidal sprays may be necessary.
3. Preventive Measures
Maintaining good air circulation, proper watering practices and regular pruning helps keep your thyme healthy and reduces the likelihood of pest and disease problems.
Step 5: Harvesting and Using Your Thyme
Harvesting thyme at the right time and using proper techniques can greatly enhance its flavor and longevity. Here’s how to harvest, store, and use your home-grown thyme to get the most out of your herb garden:
When and How to Harvest Thyme
- Best Time to Harvest: The ideal time to harvest thyme is just before the plant flowers, when the leaves contain the highest level of essential oils, making the flavor more potent. Morning time, after the dew has evaporated but before the sun is at its peak, is perfect as the essential oils are most concentrated then.
- Harvesting Technique: Use scissors or garden shears to snip off the top five to six inches of growth, making sure to leave the tough, woody parts of the stem behind. This method encourages new growth and prevents the plant from becoming woody and sparse.
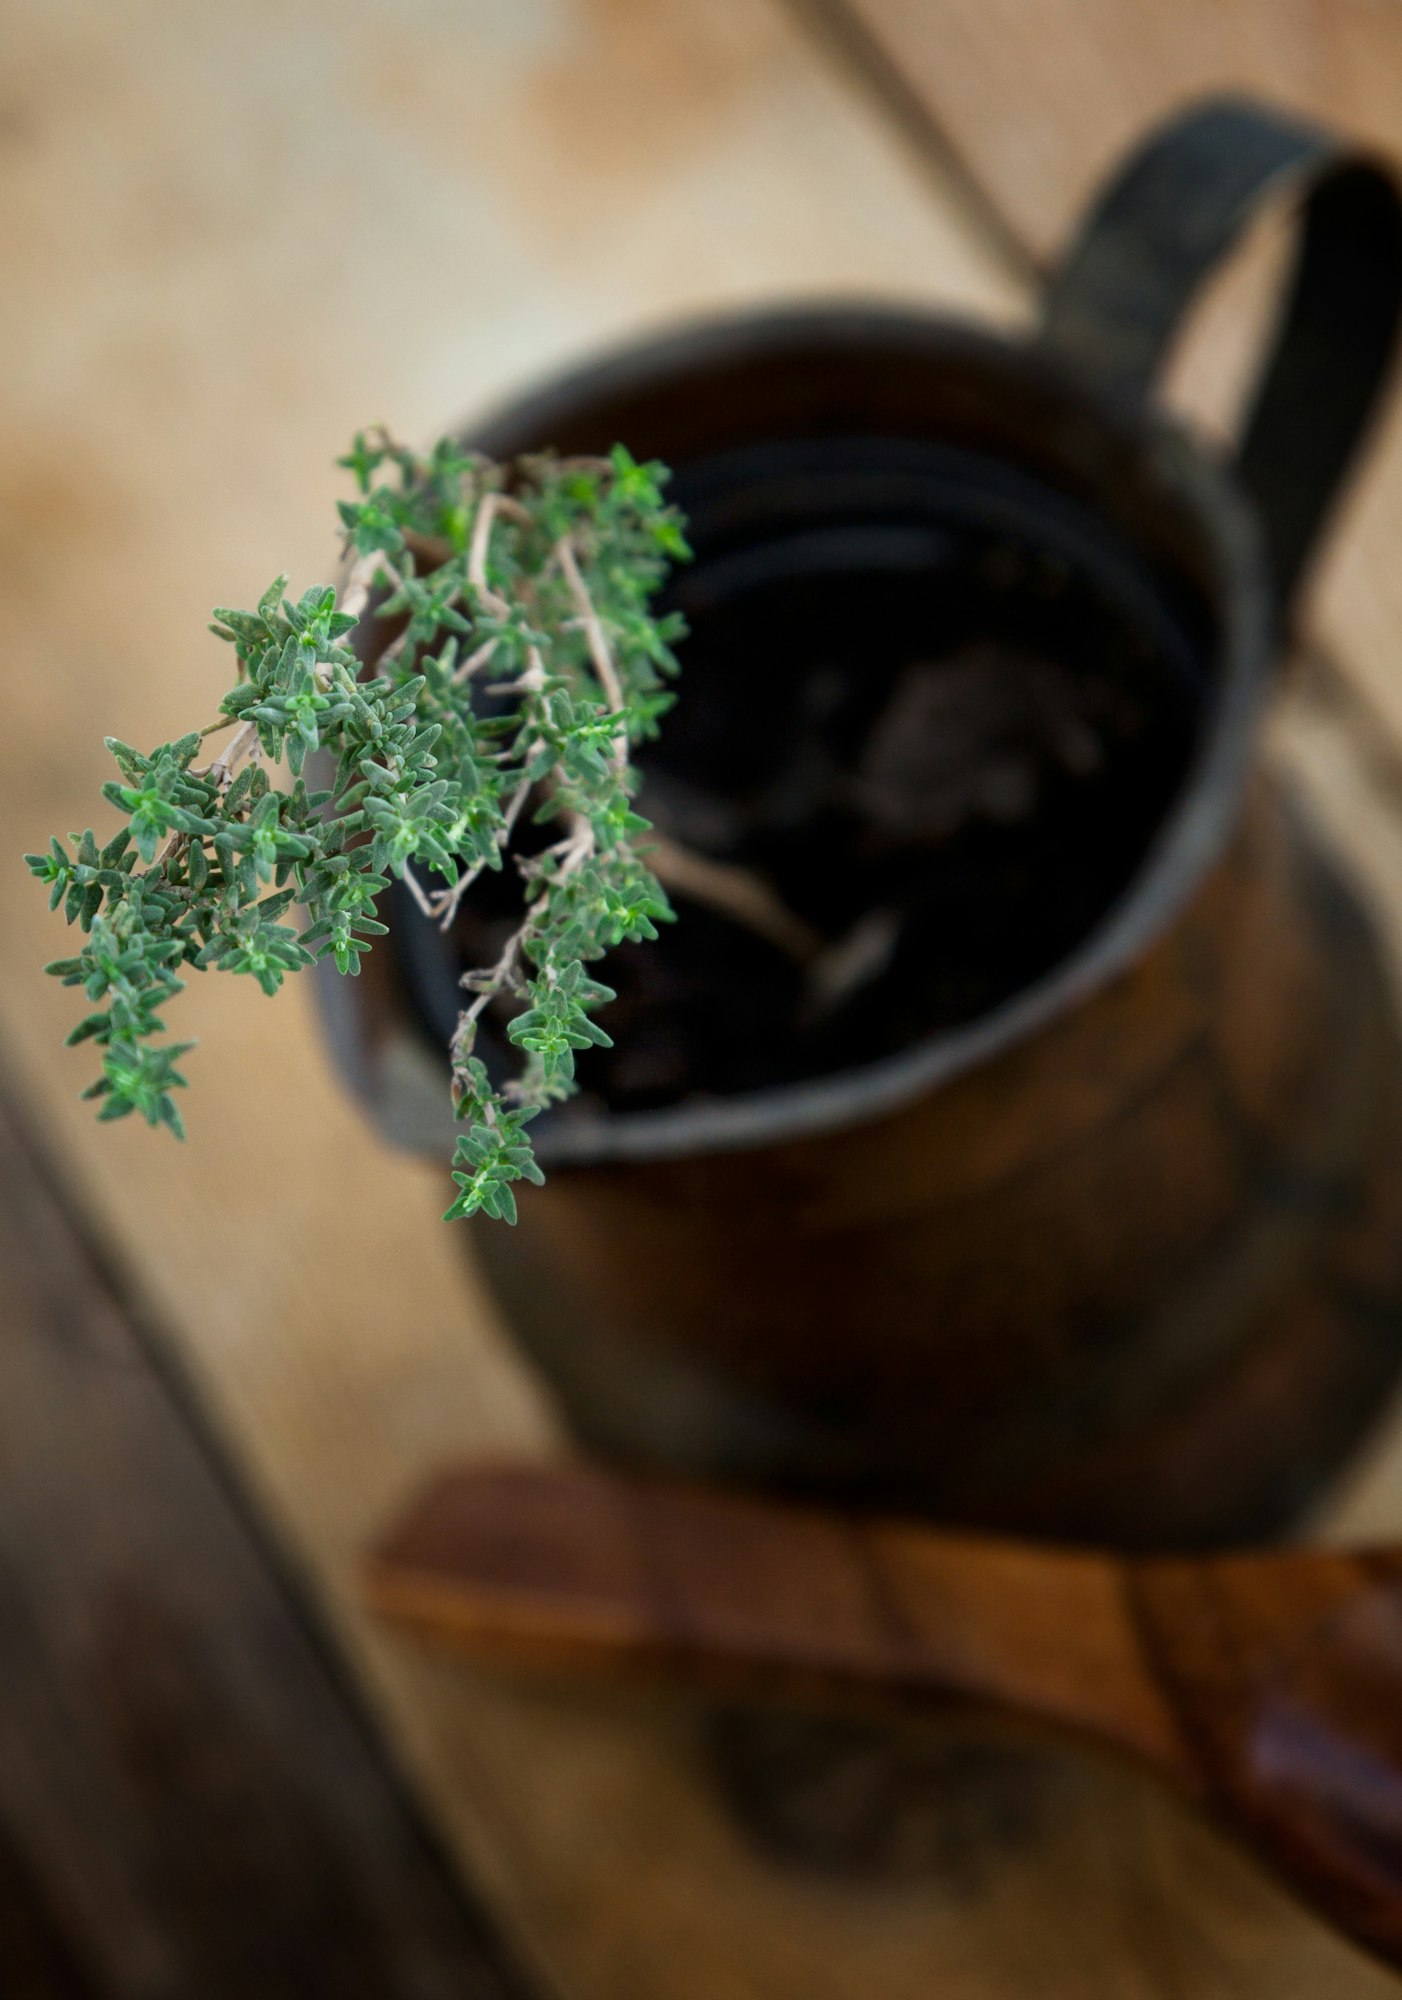
Storing Fresh Thyme
Short-Term Storage
Fresh thyme can be kept in the refrigerator for up to two weeks. To store, lightly wrap the thyme in a damp paper towel and place it inside a plastic bag in the vegetable drawer of your refrigerator.
Long-Term Storage
- Drying: Tie bunches of thyme stems together and hang them upside down in a warm, dry, and well-ventilated area away from direct sunlight. Once completely dry (which can take a few weeks), strip the leaves from the stems and store them in an airtight container.
- Freezing: Thyme also freezes well. You can either freeze whole sprigs in freezer bags or chop the leaves and freeze them in ice cube trays covered with water or olive oil, which is perfect for adding directly to soups or stews.
Using Your Thyme in Cooking
Thyme is incredibly versatile in the kitchen. It pairs well with meats like chicken and lamb, is excellent in stews and soups, and can be used in marinades or for seasoning vegetables.
Quick Recipes
- Lemon Thyme Chicken: Marinate chicken breasts with olive oil, lemon zest, crushed garlic, and chopped fresh thyme. Grill or bake until juicy and tender.
- Thyme Roasted Vegetables: Toss carrots, potatoes, and onions with olive oil, salt, pepper, and fresh thyme. Roast until golden and crispy.
- Thyme Infused Oil: Gently heat olive oil with a handful of fresh thyme on low heat for about 5 minutes. Let it cool, then strain. Use this infused oil to drizzle over salads, pasta, or bread.
By harvesting thyme properly and exploring different ways to incorporate it into your meals, you can make the most of this aromatic and flavorful herb. Whether fresh or preserved, thyme will enhance your dishes with its distinctive taste, bringing a touch of your garden to your kitchen