




In This Article Show
Keeping kids busy when the weather turns chilly can be hard, and it’s not always easy to find crafts that are simple, cute, and low-mess. This list brings you fun paper pumpkin ideas that work for classrooms, rainy days, and cozy weekends.
Each project is beginner friendly and uses basic supplies like paper, glue, and scissors. Pick a few to try, mix in your favorite colors, and enjoy a stack of easy fall crafts. Let’s jump into the pumpkin fun!
1. Simple Paper Pumpkin Cutout

This classic pumpkin is a bright orange cutout with a green stem and a sweet curved shape, perfect for hanging on the fridge. Kids love how fast it comes together and how they can change the size and shape to make a whole pumpkin patch.
Materials Needed:
- Orange construction paper
- Green construction paper (for stem and leaf)
- Pencil and scissors
- Glue stick
- Black marker (optional for lines)
How to make it:
- Fold orange paper in half and draw a pumpkin outline.
- Cut along the line to get a symmetrical pumpkin shape.
- Glue on a small green stem and leaf; add gentle curved marker lines.
- Let dry and tape it to a window or fridge.
2. Accordion-Fold Paper Pumpkin

This pumpkin looks 3D thanks to folded paper strips that puff out like a real pumpkin’s curves. Kids enjoy the folding and watching a flat strip turn into a plump shape, which feels satisfying and a little magical.
Materials Needed:
- Orange copy paper or construction paper
- Green paper for stem
- Ruler and pencil
- Scissors
- Glue stick or tape
How to make it:
- Cut several 1-inch-wide orange strips; accordion-fold each strip.
- Glue or tape strip ends into loops, then arrange loops in a circle.
- Add a small green stem and curl a thin green strip for a vine.
- Press gently to shape, then display on a shelf.
3. Paper Plate Pumpkin Face
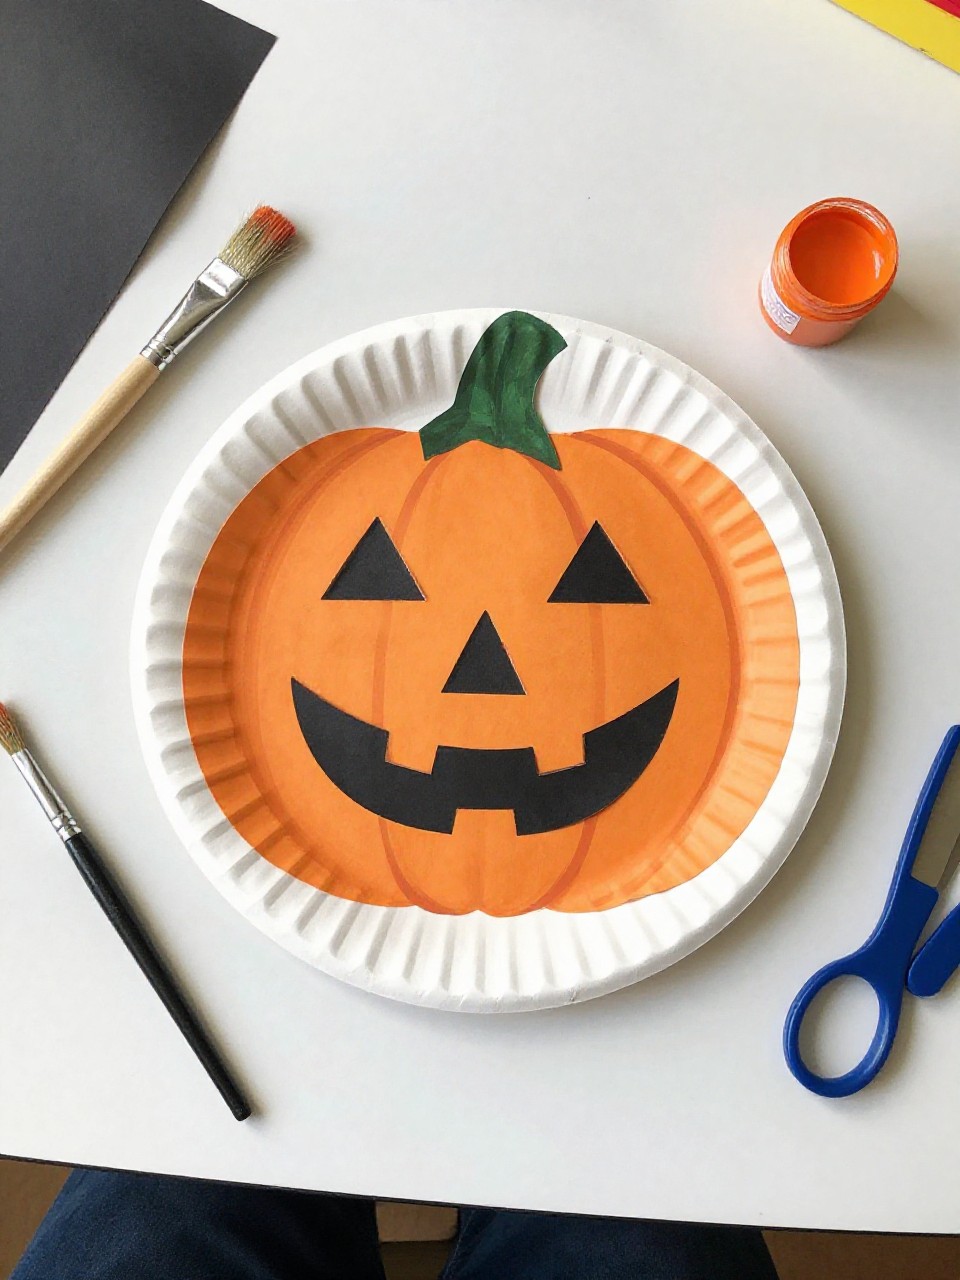
The finished craft is a round orange pumpkin made from a paper plate with a friendly or spooky face. Kids love choosing the face—happy, silly, or jack-o’-lantern—and it’s an easy paint-and-glue project.
Materials Needed:
- Plain paper plate
- Orange paint or orange tissue paper with glue
- Black paper (for eyes and mouth)
- Green paper (stem)
- Paintbrush and scissors
How to make it:
- Paint the plate orange or glue orange tissue squares all over it.
- Cut out black eyes, nose, and mouth; glue them on.
- Add a green stem and a paper leaf at the top.
- Let it dry and hang with tape or string.
4. Spiral Hanging Paper Pumpkin

This looks like a spiraled orange pumpkin that dangles and spins from the ceiling, showing cute curved lines. Kids enjoy the surprise when the flat spiral turns into a floating pumpkin when lifted.
Materials Needed:
- Orange construction paper
- Green paper (stem and leaf)
- Black marker
- Scissors
- String or yarn
How to make it:
- Draw a large spiral on orange paper and cut it out carefully.
- Add curved marker lines along the spiral for pumpkin ridges.
- Glue a green stem and leaf to the center top.
- Tie string through the center and hang to watch it spin.
5. Handprint Pumpkin Patch Art
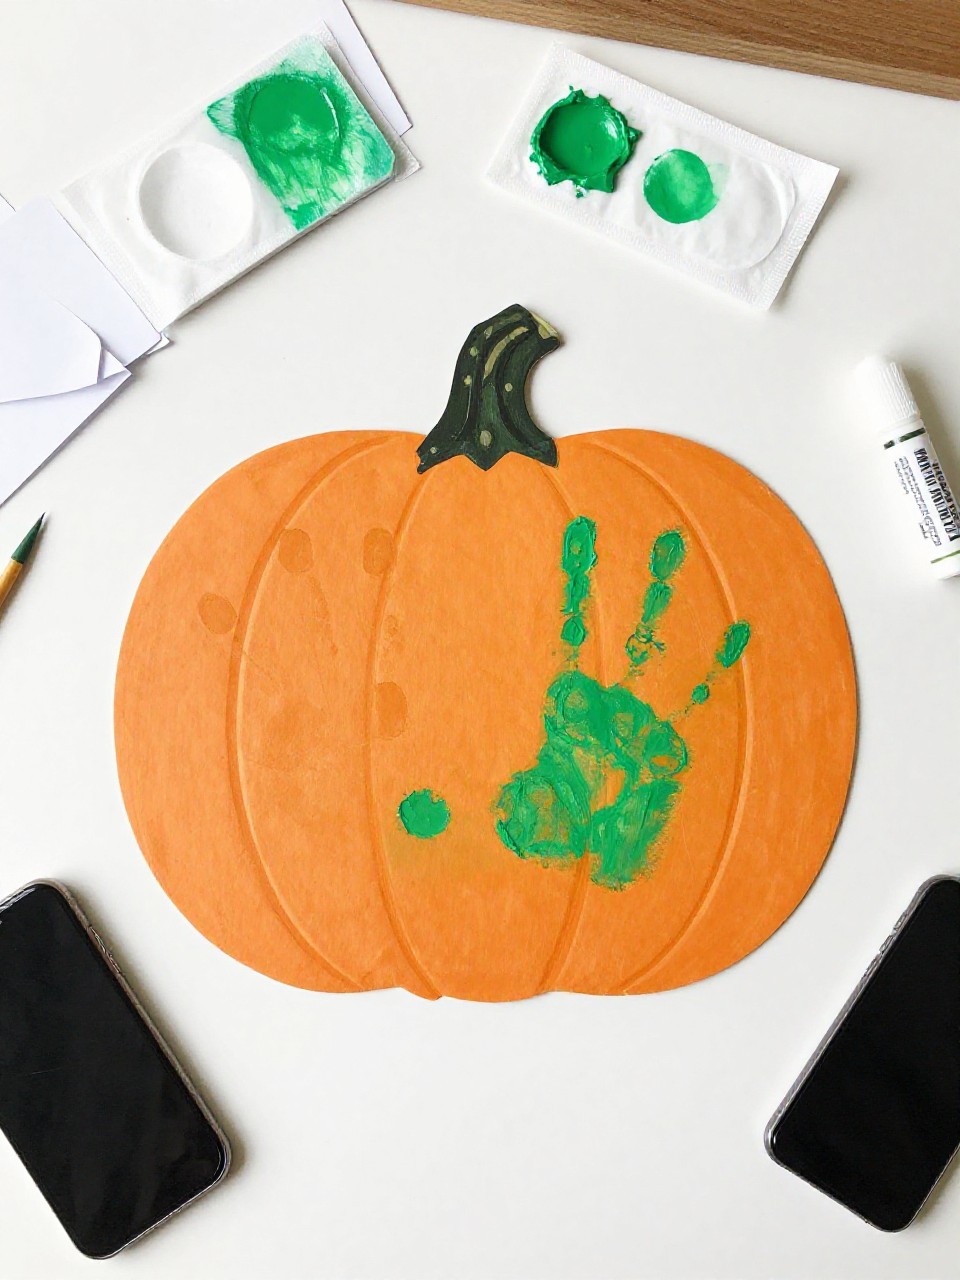
This is a flat art piece with several small paper pumpkins set on top of green handprint “vines.” Kids love using their hands for the leaves and keeping the art as a fall keepsake.
Materials Needed:
- White cardstock or construction paper (background)
- Orange, green, and brown paper
- Washable green paint (optional for handprints)
- Glue stick
- Marker for details
How to make it:
- Make green handprints on the background or trace and cut green hand shapes.
- Cut several small orange pumpkin ovals; add tiny brown stems.
- Glue pumpkins along the “finger vines”; draw curly tendrils.
- Add names and date, then let dry and display.
6. Puffy Tissue Paper Pumpkin

The pumpkin looks soft and textured, made from crumpled tissue paper squares glued inside a pumpkin outline. Kids enjoy the sensory squish of crumpling and the raised, bumpy finish.
Materials Needed:
- White cardstock
- Orange and green tissue paper
- Pencil and marker
- Glue bottle or glue stick
- Brown paper (stem)
How to make it:
- Draw a big pumpkin outline on cardstock.
- Tear or cut tissue into small squares; crumple lightly.
- Glue orange pieces inside the pumpkin and green at the leaf; add a brown stem.
- Let dry and frame or hang.
7. 3D Paper Strip Pumpkin
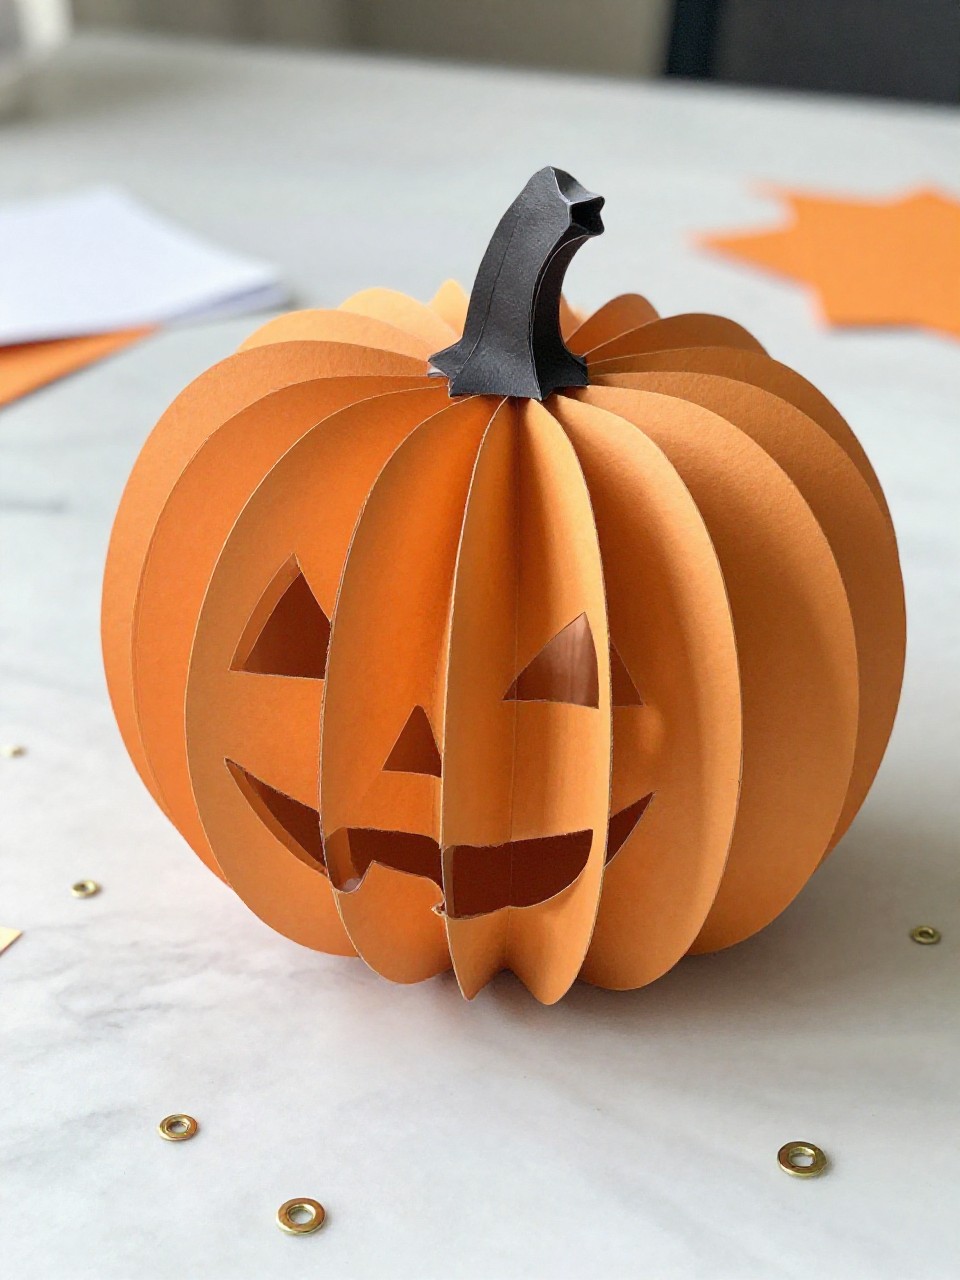
This 3D pumpkin sits on the table, made from curved orange paper strips connected at the top and bottom. Kids love seeing a flat pile of strips become a round pumpkin they can hold.
Materials Needed:
- Orange cardstock (for sturdy strips)
- Green cardstock (stem and leaf)
- Brass fasteners or stapler
- Hole punch (optional)
- Marker for ridges (optional)
How to make it:
- Cut 8–10 orange strips, about 1 x 8 inches.
- Stack strips; punch holes at both ends; secure one end with a fastener.
- Fan strips into a sphere and secure the other end; add a green stem and leaf.
- Gently round the strips and set on a shelf.
8. Paper Bag Pumpkin Luminary (LED Only)

This looks like a glowing pumpkin bag with a cutout face, lit by a safe LED tea light. Kids enjoy the cozy glow and choosing silly or spooky faces.
Materials Needed:
- Small brown or orange paper lunch bag
- Black paper for face pieces
- Orange paint or markers (if using brown bag)
- LED tea light (battery-powered)
- Glue stick and scissors
How to make it:
- Paint or color the bag orange if needed; let dry.
- Cut and glue black paper eyes, nose, and mouth on the front.
- Roll the top edge down and pinch to form a stem shape.
- Place an LED tea light inside and display safely.
9. Shape Collage Paper Pumpkin

This is a flat pumpkin built from simple paper shapes—ovals, circles, and rectangles—layered to create a bold, modern look. Kids like sorting and matching shapes, which makes it great for early learners.
Materials Needed:
- Orange, green, and brown paper
- Pre-cut shapes or scissors
- Glue stick
- White cardstock (background)
- Black marker for details
How to make it:
- Arrange orange circles or ovals into a pumpkin shape on the cardstock.
- Glue pieces down, overlapping slightly.
- Add a brown rectangle stem and a green leaf; draw curved lines.
- Label with the child’s name and hang.
10. Paper Doily Pumpkin Art

This craft features a lacy orange pumpkin using a round white paper doily painted or colored orange, with a green stem and leaf. Kids enjoy the delicate pattern and quick results.
Materials Needed:
- Round paper doily
- Orange watercolor or washable marker
- Green paper (stem/leaf)
- Glue stick
- White cardstock (background)
How to make it:
- Color or paint the doily orange; let it dry.
- Glue the doily onto the center of the cardstock.
- Add a small green stem and leaf at the top.
- Write a title like “Hello, Pumpkin” and display.
11. Washi Tape Stripe Pumpkin
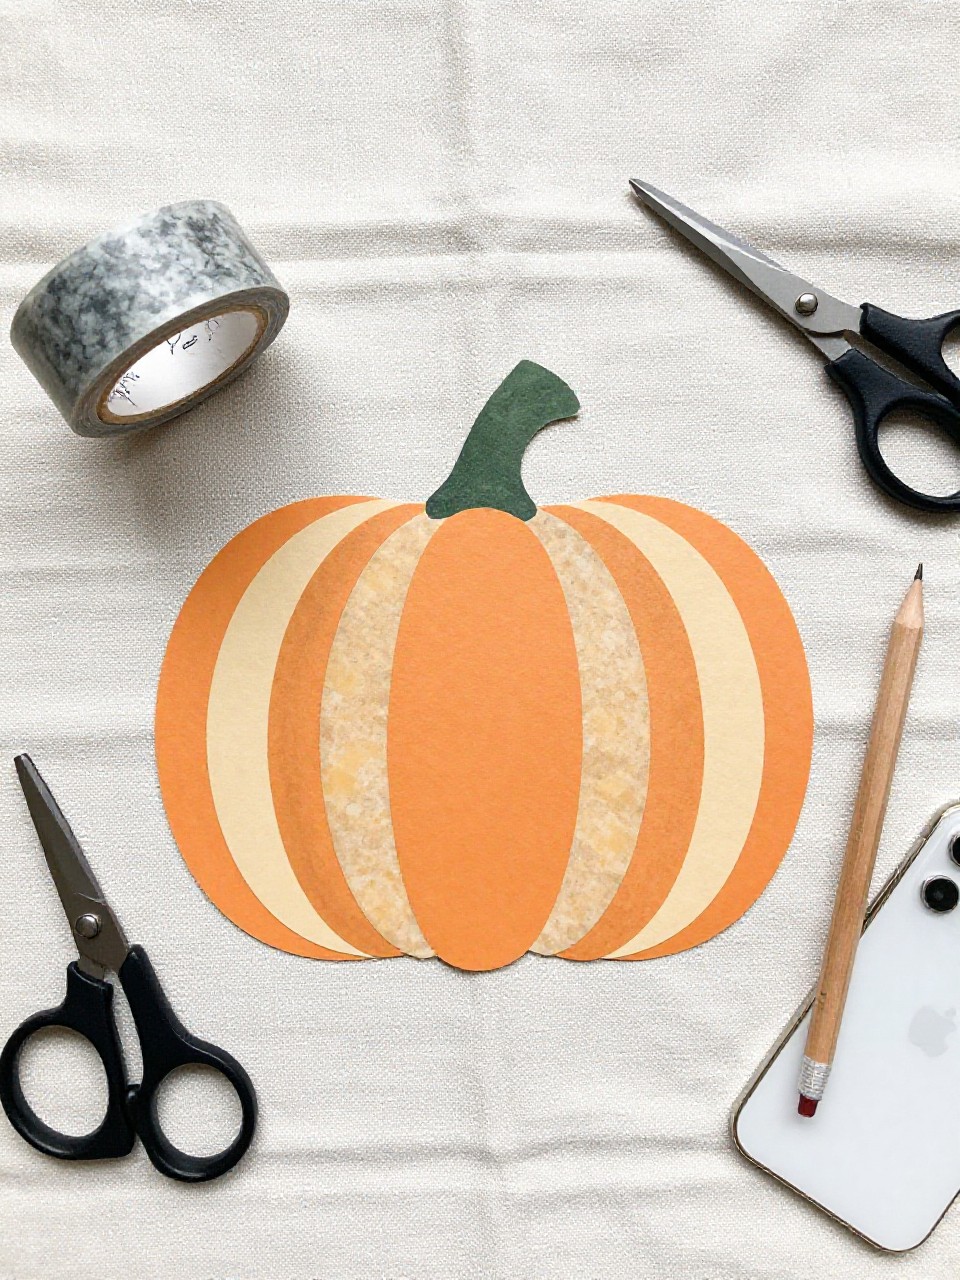
This pumpkin looks bold and graphic with colorful stripes of washi tape forming the pumpkin shape on cardstock. Kids love picking tape patterns and making tidy lines.
Materials Needed:
- White or kraft cardstock
- Orange and patterned washi tapes
- Green washi tape (for stem)
- Pencil
- Scissors (optional)
How to make it:
- Lightly sketch a pumpkin outline on the cardstock.
- Fill the shape with horizontal or curved strips of orange/patterned tape.
- Add a stem in green washi and a small leaf drawn or taped.
- Trim any extra tape and hang.
12. Fold-and-Cut Pumpkin Garland
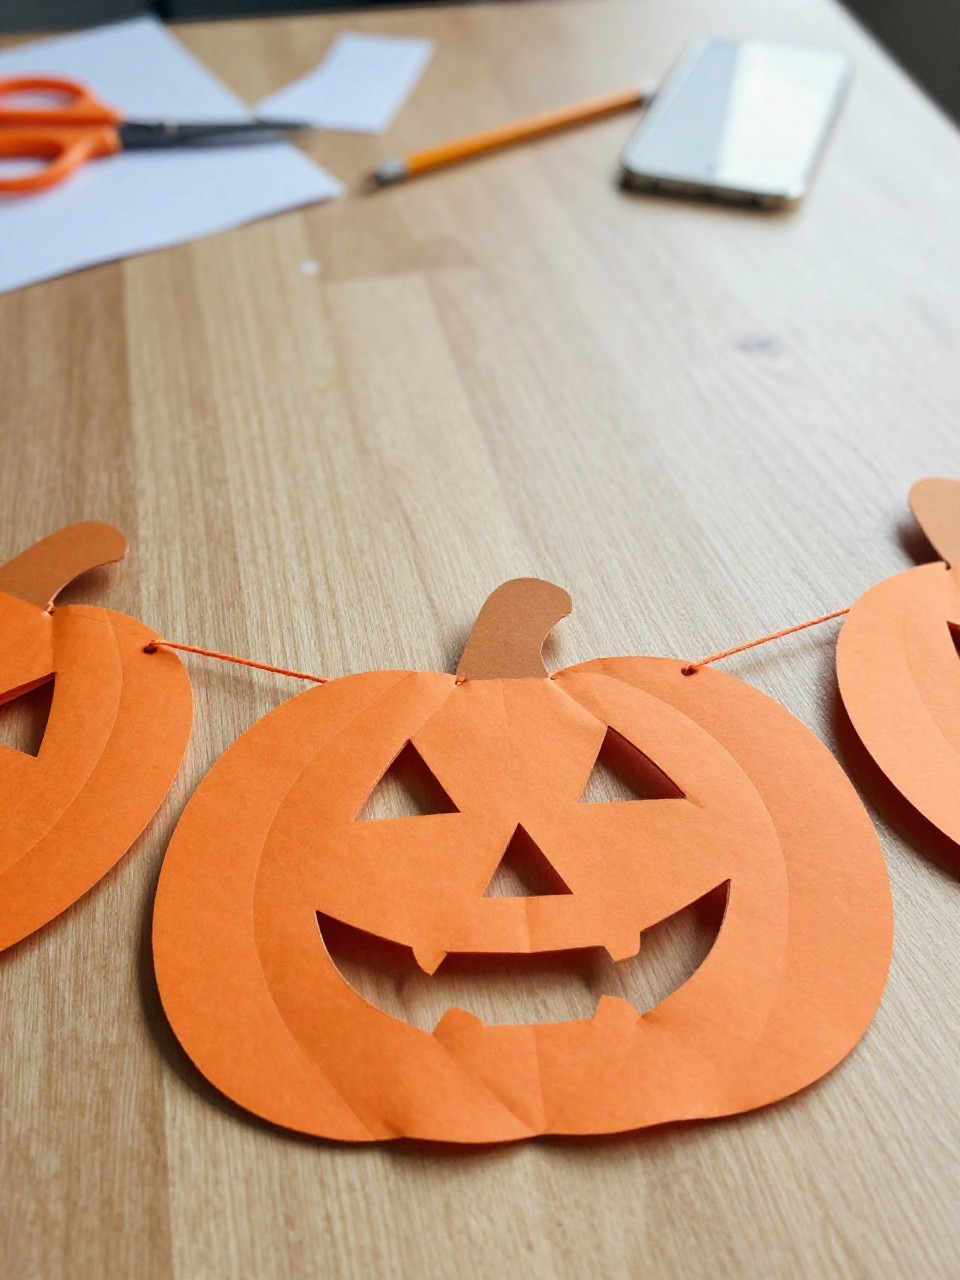
This is a chain of connected paper pumpkins that stretches across a mantel or board. Kids enjoy the reveal when they open the folded strip and see a line of pumpkins holding hands.
Materials Needed:
- Orange paper (long strips)
- Pencil
- Scissors
- Green ribbon or yarn (optional for hanging)
- Marker for faces (optional)
How to make it:
- Accordion-fold a long strip of orange paper.
- Draw half a pumpkin on the top panel with the sides touching the folds.
- Cut along the outline, leaving the folds uncut at the edges; unfold to reveal a chain.
- Add faces if you like, then hang with tape or ribbon.
13. Cupcake Liner Pumpkin Patch
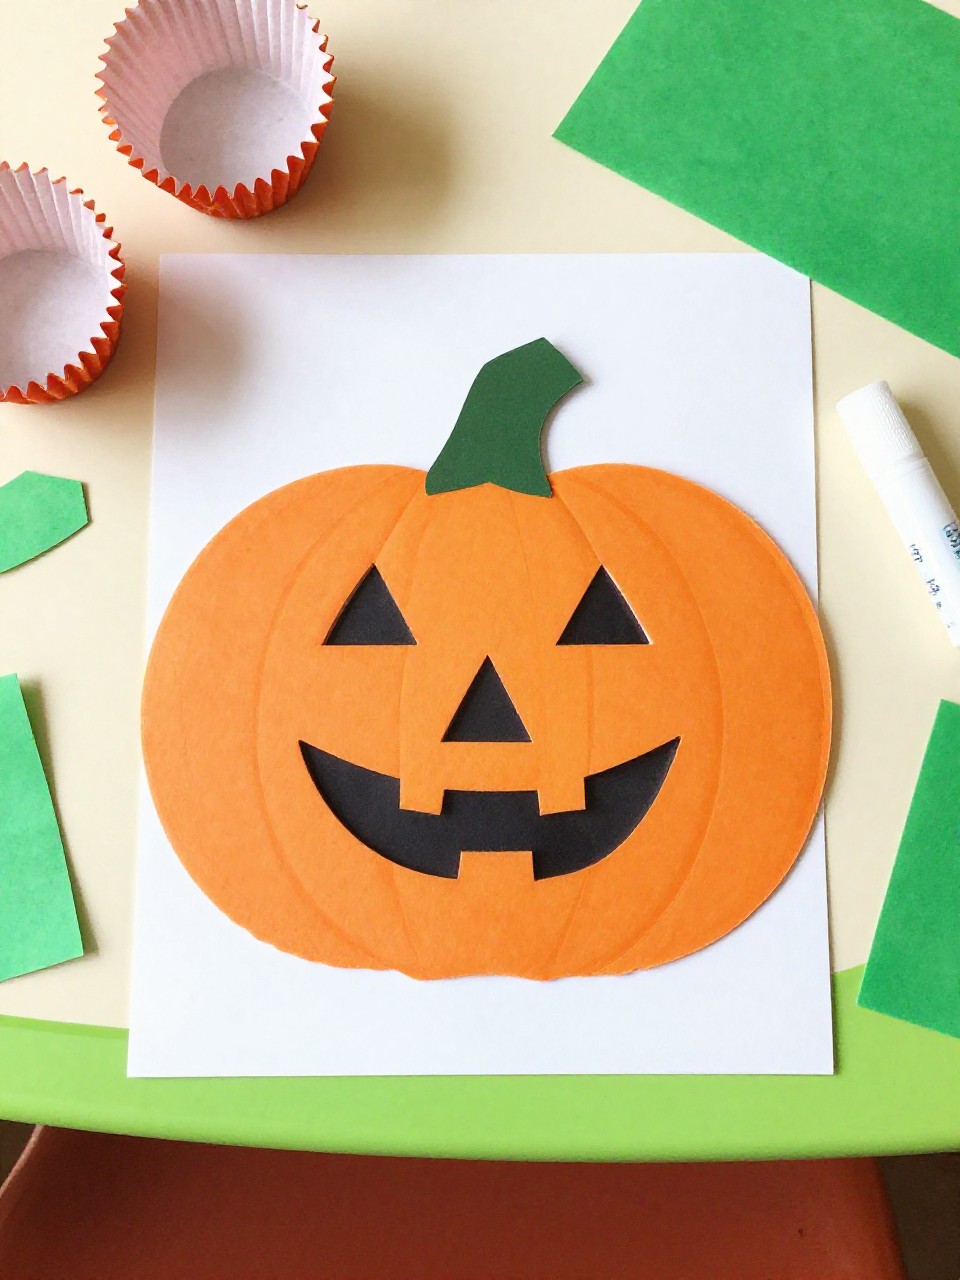
The finished piece is a set of small pumpkins made from flattened orange cupcake liners glued to a background. Kids love choosing liner patterns and making a mini patch.
Materials Needed:
- Orange cupcake liners (plain or patterned)
- Green paper (stems/leaves)
- Brown paper (vine or soil strip)
- Glue stick
- White or blue cardstock (background)
How to make it:
- Flatten cupcake liners and glue them in groups on the background.
- Add small green stems and leaves to each pumpkin.
- Glue a brown strip at the bottom as soil; draw curly vines.
- Let dry and display as a patch scene.
14. Paper Mosaic Jack-o’-Lantern

This craft looks like a bold jack-o’-lantern made from tiny orange paper tiles with a black cutout face. Kids enjoy the calm, puzzle-like process of filling the shape.
Materials Needed:
- White cardstock
- Orange and black paper
- Scissors
- Glue stick
- Pencil
How to make it:
- Draw a large pumpkin shape on the yardstick.
- Cut orange paper into small squares and glue them inside the shape.
- Cut and glue back eyes, nose, and a mouth on top.
- Let dry and trim the edges for a neat finish.
15. Paper Roll Stamped Pumpkin Prints

These are stamped pumpkins made by dipping a shaped paper roll into paint and printing circles that get stems and faces. Kids love the stamping action and making a whole pumpkin field fast.
Materials Needed:
- White or kraft paper (poster size works great)
- Orange paint and small trays
- Toilet paper or paper towel rolls
- Green and black markers
- Paintbrush for stems (optional)
How to make it:
- Gently press the paper roll into an oval shape.
- Dip the rim into orange paint and stamp pumpkins across the paper.
- Add stems and leaves with green; draw faces with black marker.
- Let dry and hang as a big fall mural.
16. Layered Paper Ombre Pumpkin

This pumpkin has layered paper bands from light to dark orange, creating a soft ombre effect with a tidy green stem. Kids enjoy choosing the gradient and seeing the color shift across the pumpkin.
Materials Needed:
- Light, medium, and dark orange paper
- Green paper (stem/leaf)
- Pencil and scissors
- Glue stick
- White cardstock (background)
How to make it:
- Cut several oval bands in different orange shades, each slightly smaller than the last.
- Glue the largest band down first and layer the others to form a pumpkin.
- Add a green stem and leaf; draw gentle curved lines if desired.
- Press flat under a book briefly, then display.