


In This Article Show
Having spent over a decade tending to gardens and sharing my insights through this blog, I’ve come to appreciate the humble potato not just as a staple in our diets but as a rewarding plant to cultivate. Understanding the growth stages of potatoes is crucial for anyone looking to get the most out of their garden.
Potatoes, with their rich history of cultivation, are grown in various climates and conditions worldwide, making them a versatile crop for many gardeners. The journey from sprouting to harvest involves several stages, each with its own set of needs and markers of progress. By breaking down these stages, I aim to equip you with the knowledge to not only grow your potatoes but to understand them, enhancing both yield and quality.
In this post, we’ll cover everything from the initial sprouting of your potato seeds to the exciting moment of harvest. Plus, we’ll touch upon the common challenges you might face and how to tackle them effectively. Growing potatoes can be incredibly rewarding, and with a little guidance, anyone can make their garden flourish.
The Growth Stages and Timelines of Potato Plant
The journey of a potato plant from a tiny seed to a bountiful harvest is a marvel of nature. Understanding this lifecycle not only enhances our appreciation for these tubers but also enables us to optimize their growth conditions, leading to a more successful harvest.
1. Sprouting (Germination)
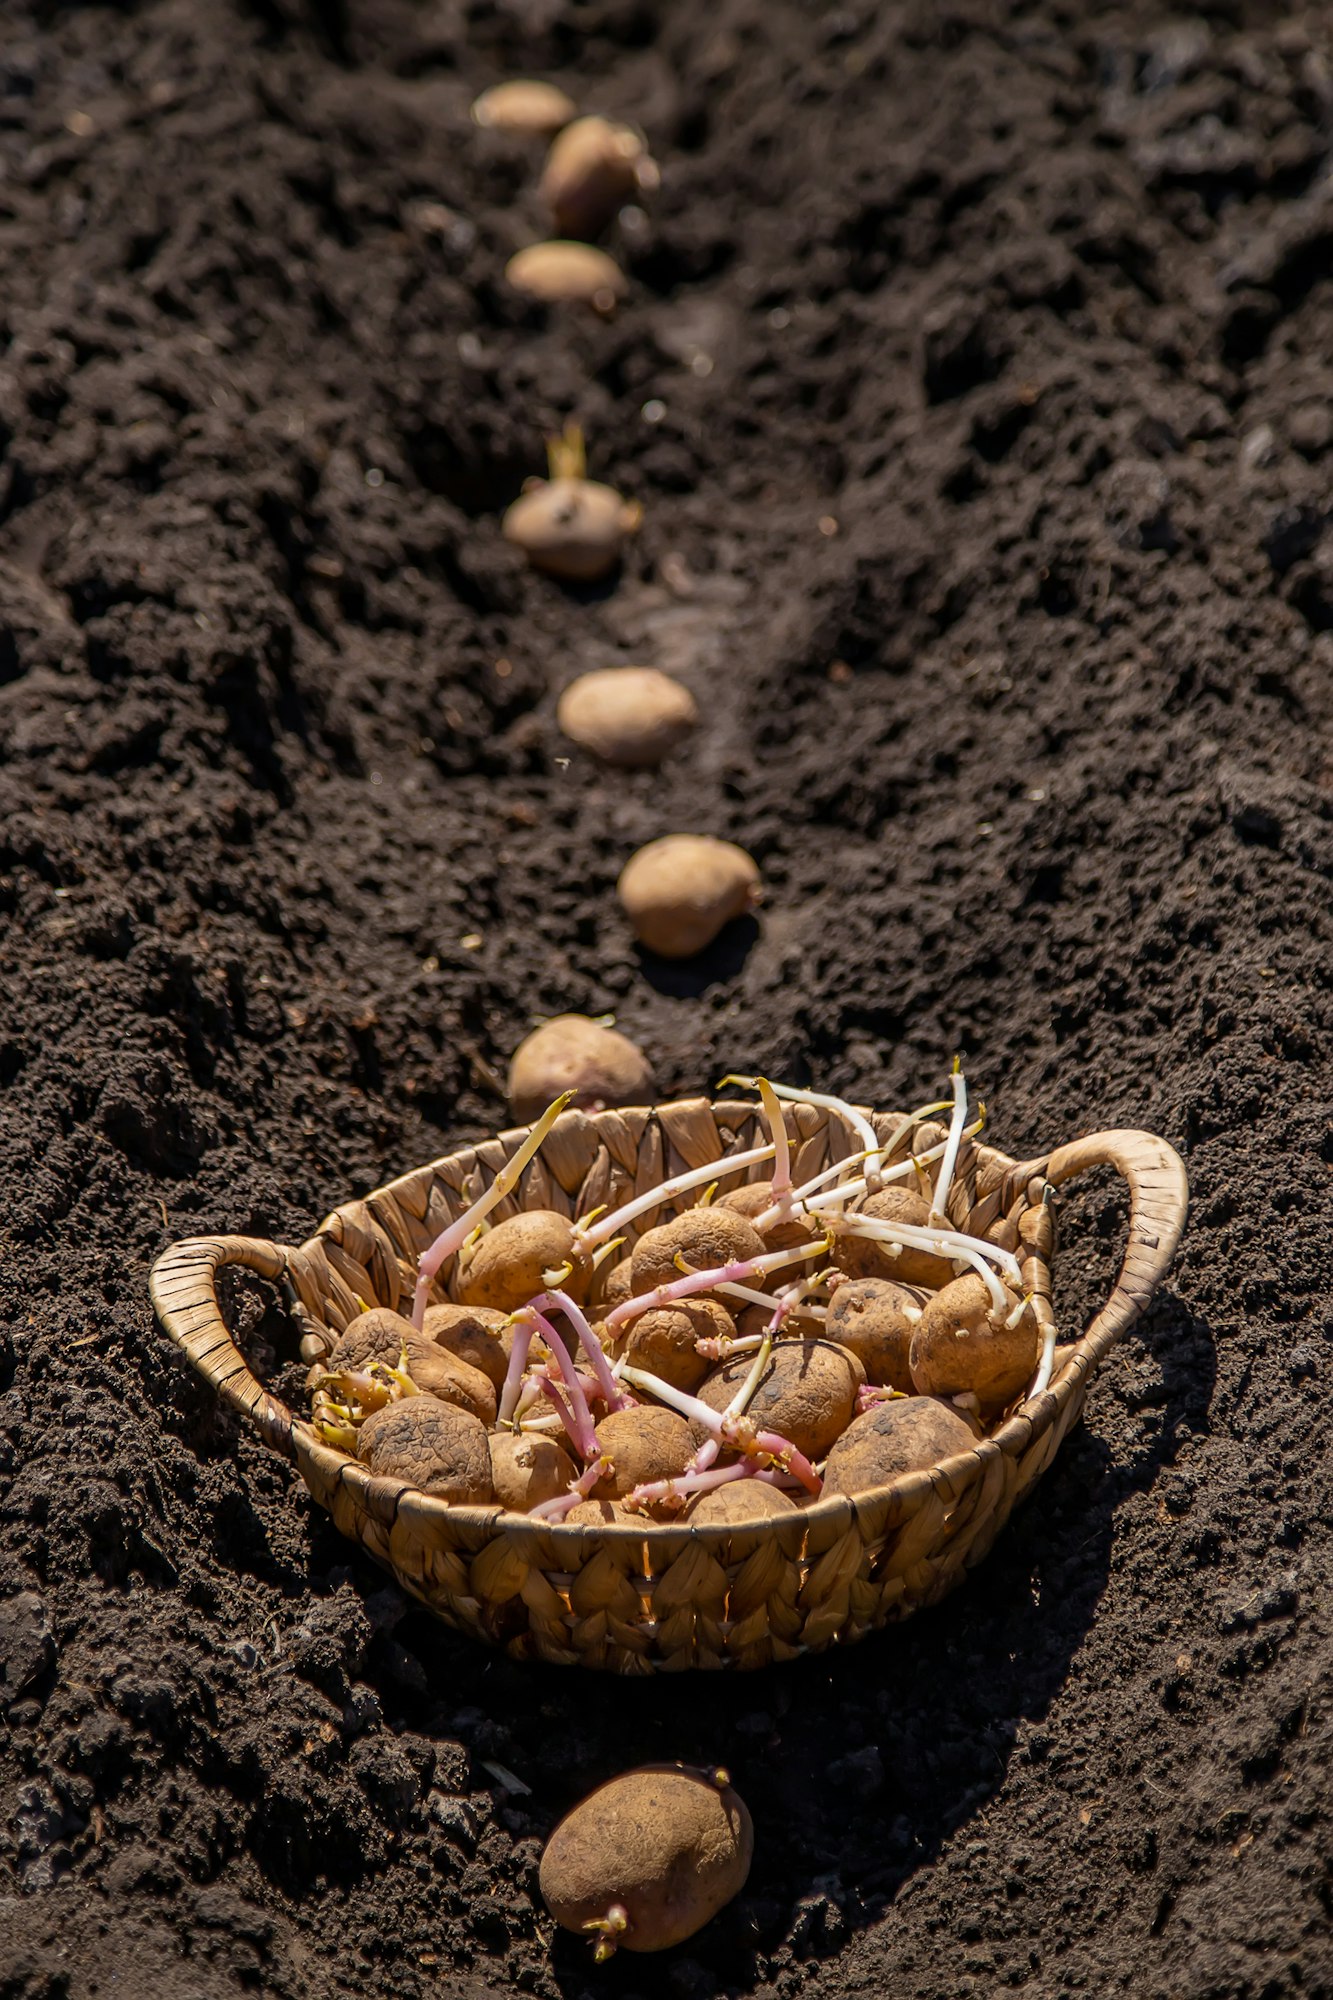
The first step in the life of a potato plant begins with germination, also known as sprouting. This stage kicks off when potato seeds or, more commonly, seed potatoes (sections of a potato with “eyes” or buds) are planted in the soil. The ideal conditions for sprouting include a temperature range of about 45-55°F (7-13°C) and well-drained, fertile soil. Moisture is crucial, but overwatering should be avoided to prevent rot.
You can identify the sprouting stage by the appearance of small shoots emerging from the seed potatoes. These shoots, initially fragile and pale, will grow stronger and greener with exposure to light. Expect to see sprouting within two to three weeks of planting, depending on soil temperature and conditions.
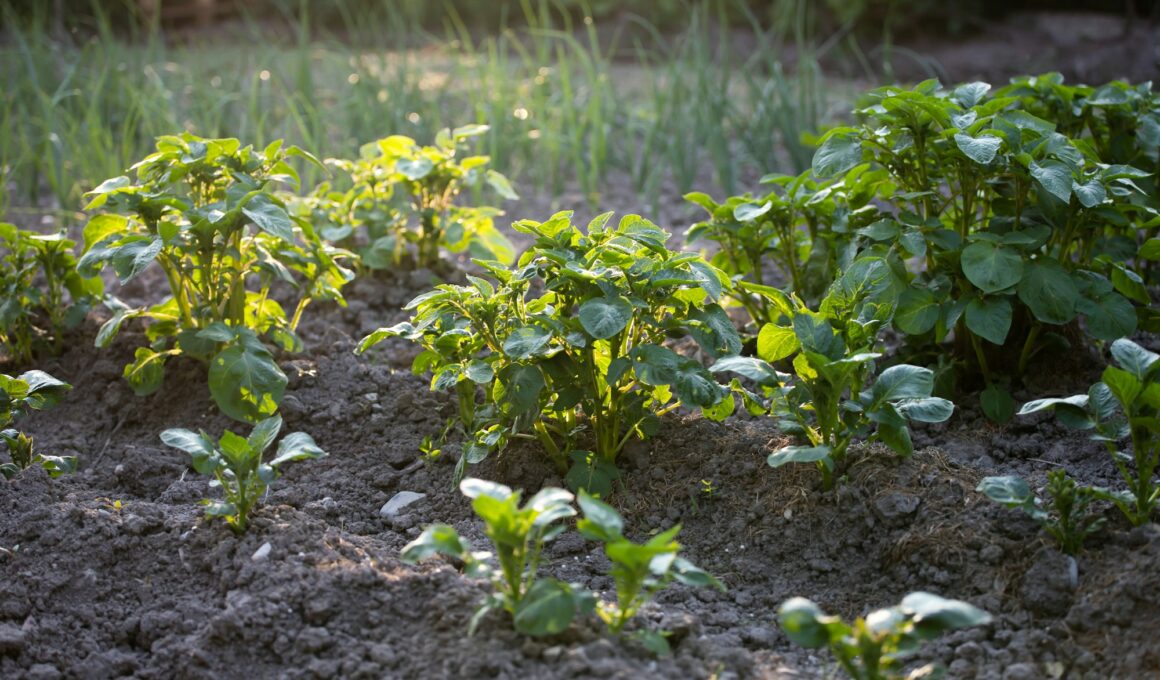
2. Vegetative Growth
After sprouting, the plant enters the vegetative growth phase, where it focuses on developing a strong above-ground structure. This stage is characterized by the rapid growth of leaves and stems, providing the necessary photosynthesis to feed the growing plant.
To care for potatoes during this critical phase, ensure they’re receiving plenty of sunlight — at least six hours daily. Regular, light watering helps the plant grow but be wary of waterlogging. Soil should be hilled around the base of the plants to support their development and prevent tubers from being exposed to sunlight, which can turn them green and toxic.
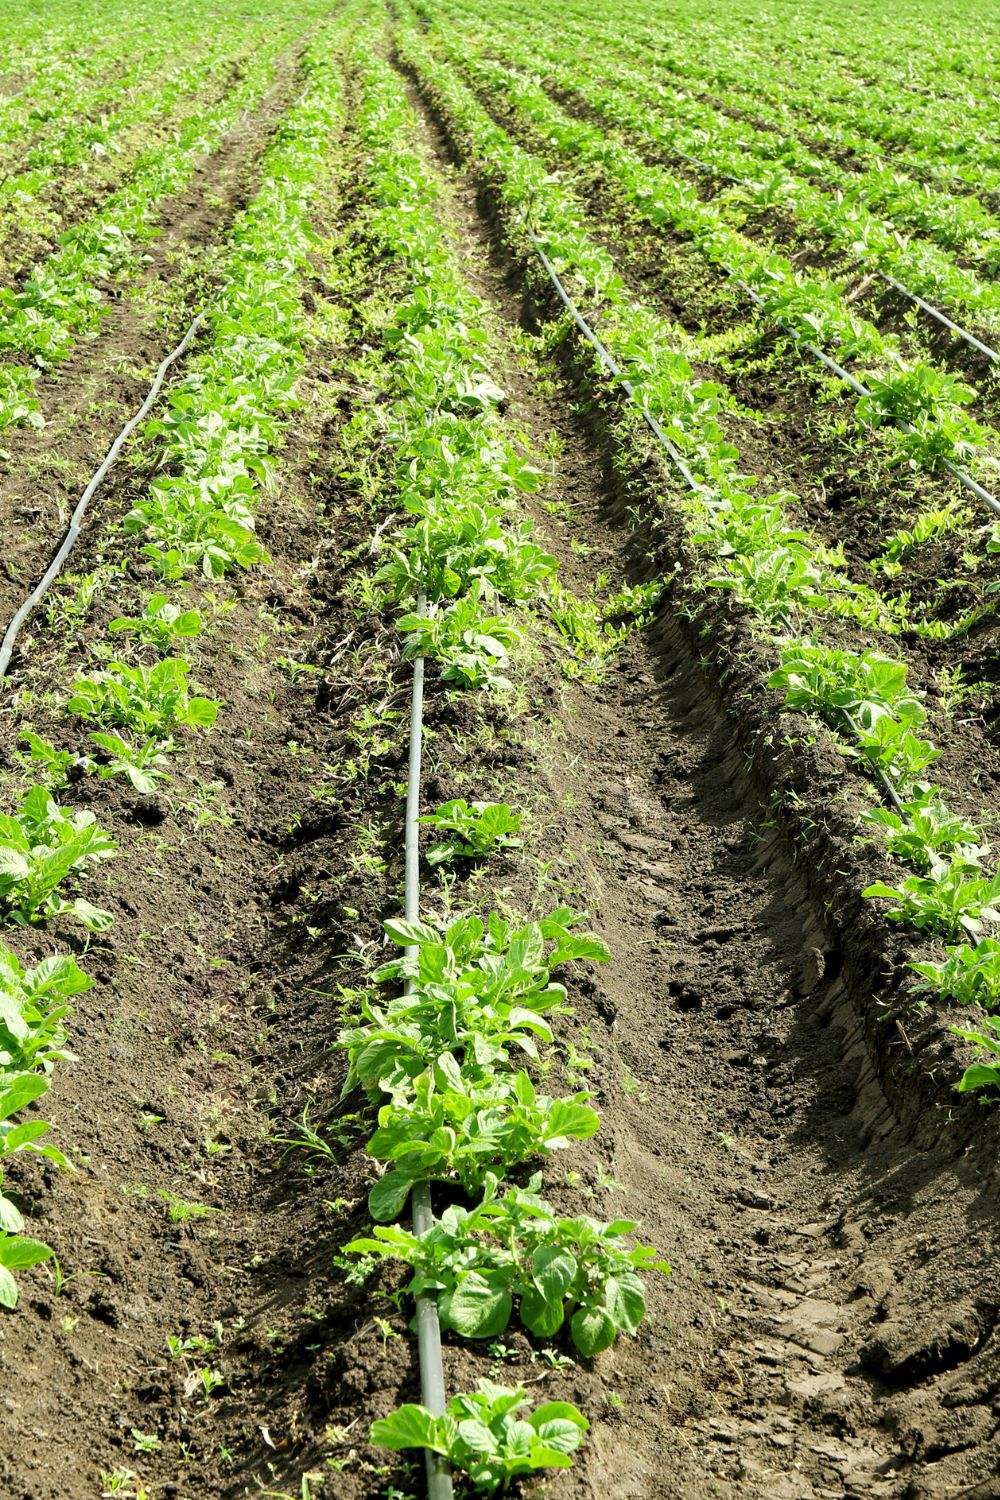
3. Tuber Formation
Following vegetative growth, the plant begins to channel its energy into forming tubers. This stage is crucial for the development of what will eventually become your harvested potatoes. Tubers start forming at the tips of the underground stems or stolons.
Factors influencing tuber size and quantity include consistent watering (potatoes need more water during tuber formation), soil quality, and the prevention of pests and diseases. A balanced fertilizer low in nitrogen can promote tuber development without encouraging excessive foliage growth.
4. Tuber Bulking
Tuber bulking is where the potatoes gain their mass. This stage is critical for yield and requires careful attention to ensure the tubers develop well. Key to this stage is maintaining consistent soil moisture and providing a steady supply of nutrients, particularly potassium, which supports tuber growth.
Avoid disturbing the soil around the tubers too much during this time, as this can damage the developing potatoes. Mulching can help maintain soil moisture and temperature, creating ideal conditions for tuber bulking.
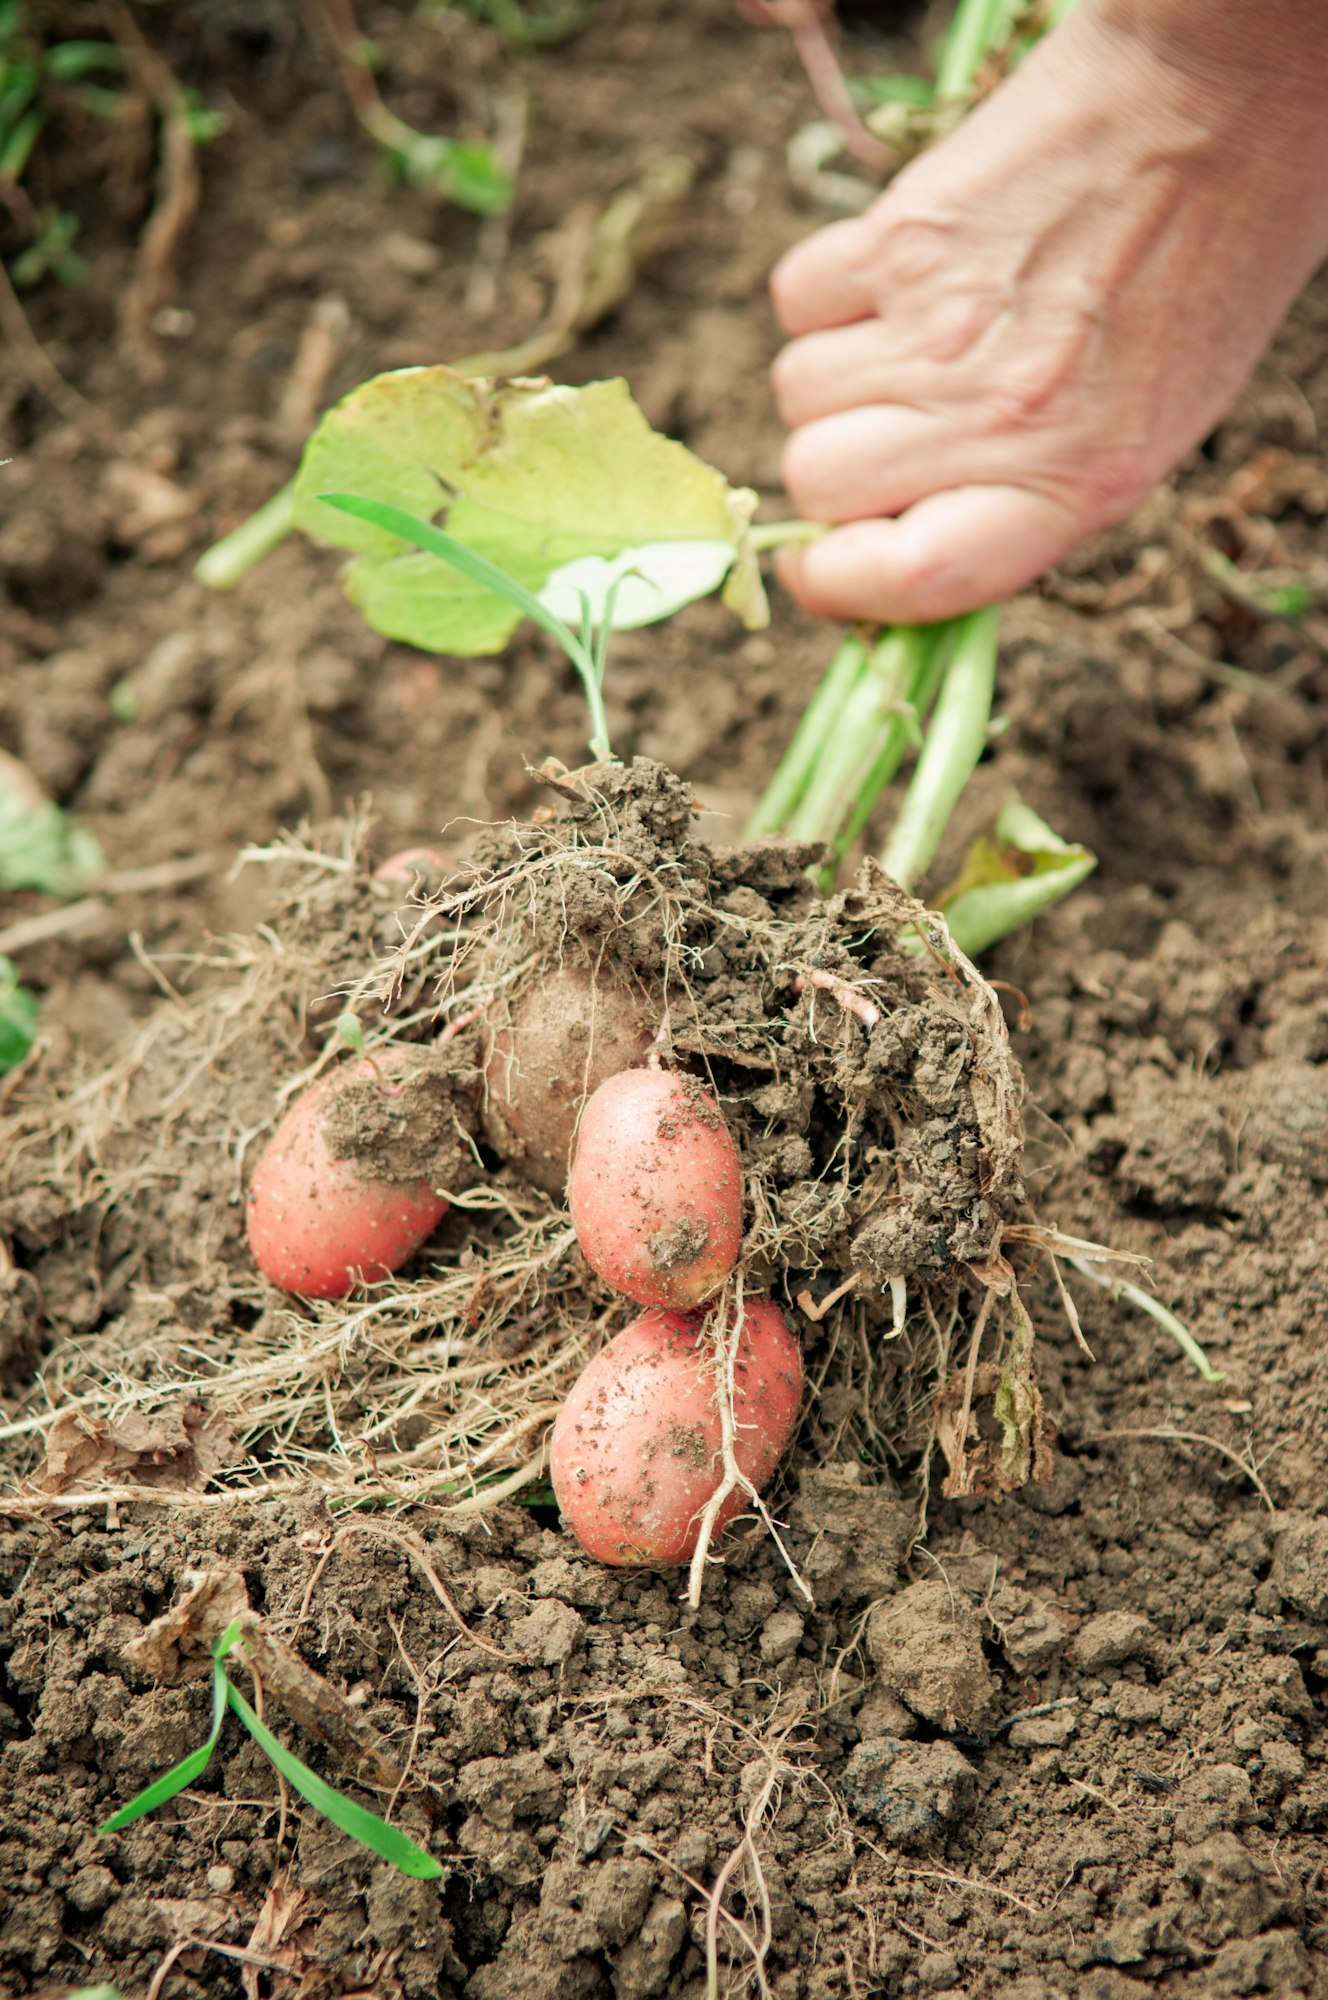
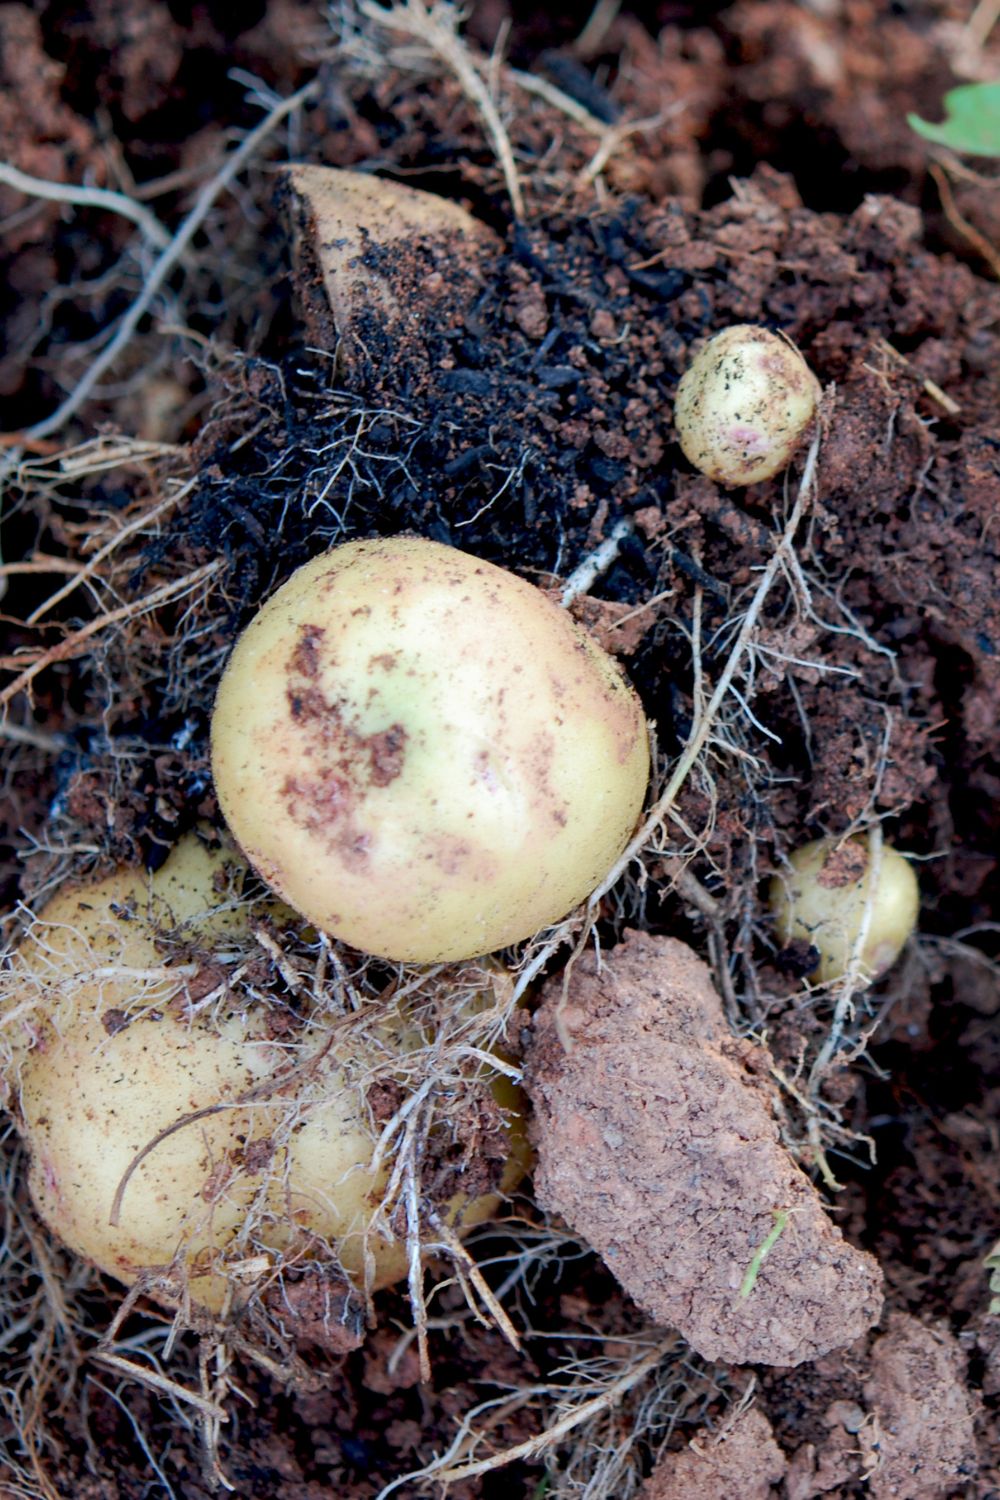
5. Maturation and Harvest
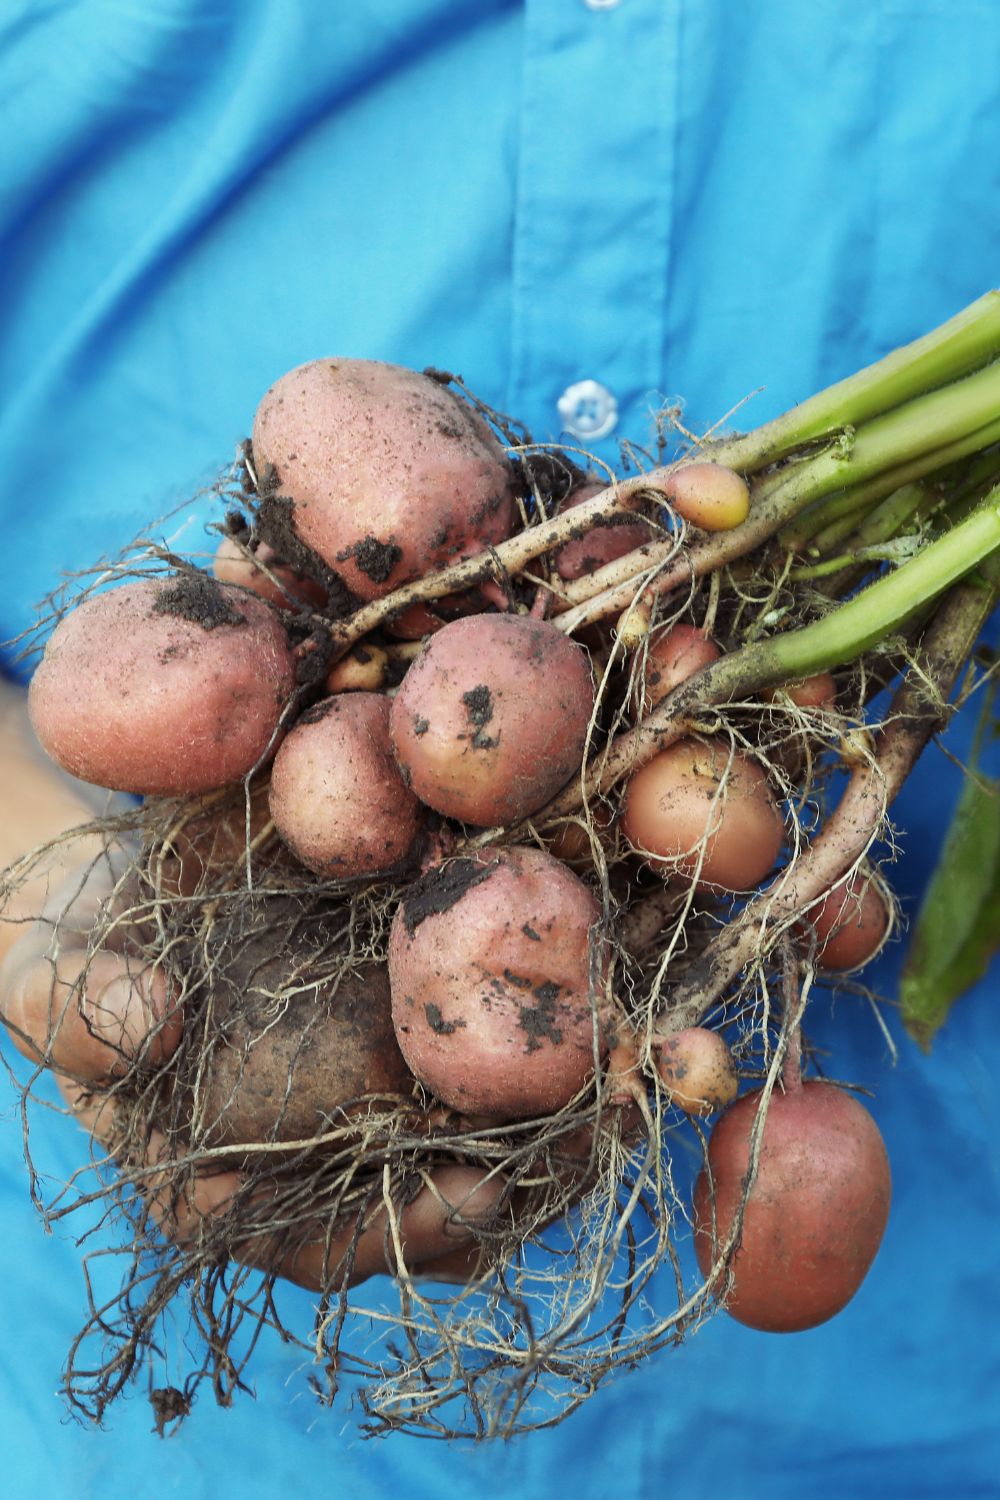
The final stage of the potato plant’s lifecycle is maturation and harvest. As the plant’s foliage begins to yellow and die back, it’s a sign that the potatoes are nearing readiness for harvest. Waiting for the complete die-back of the plant ensures the skins of the potatoes have toughened, making them better suited for storage.
Harvesting should be done carefully to avoid damaging the tubers. Use a garden fork to gently lift the potatoes from the soil. After harvesting, allow the potatoes to cure for a few days in a dry, dark place to further toughen their skins.
Following these stages and tips can lead to a successful potato harvest. From the excitement of seeing the first sprouts to the satisfaction of unearthing the potatoes, the lifecycle of a potato plant is a rewarding journey for any gardener.


Good information, thank you.