
In This Article Show
Keeping kids busy on a rainy afternoon or during a calm classroom hour can be tough, especially when you want activities that don’t make a mess or cost a lot. That’s why I love turning waste paper into something fun and useful.
This list gives you simple, beginner-friendly projects that use old magazines, newspapers, junk mail, and scrap paper. You’ll find ideas that are colorful, hands-on, and easy to set up—let’s jump right into the crafts.
1. Magazine Mosaic Picture Frame
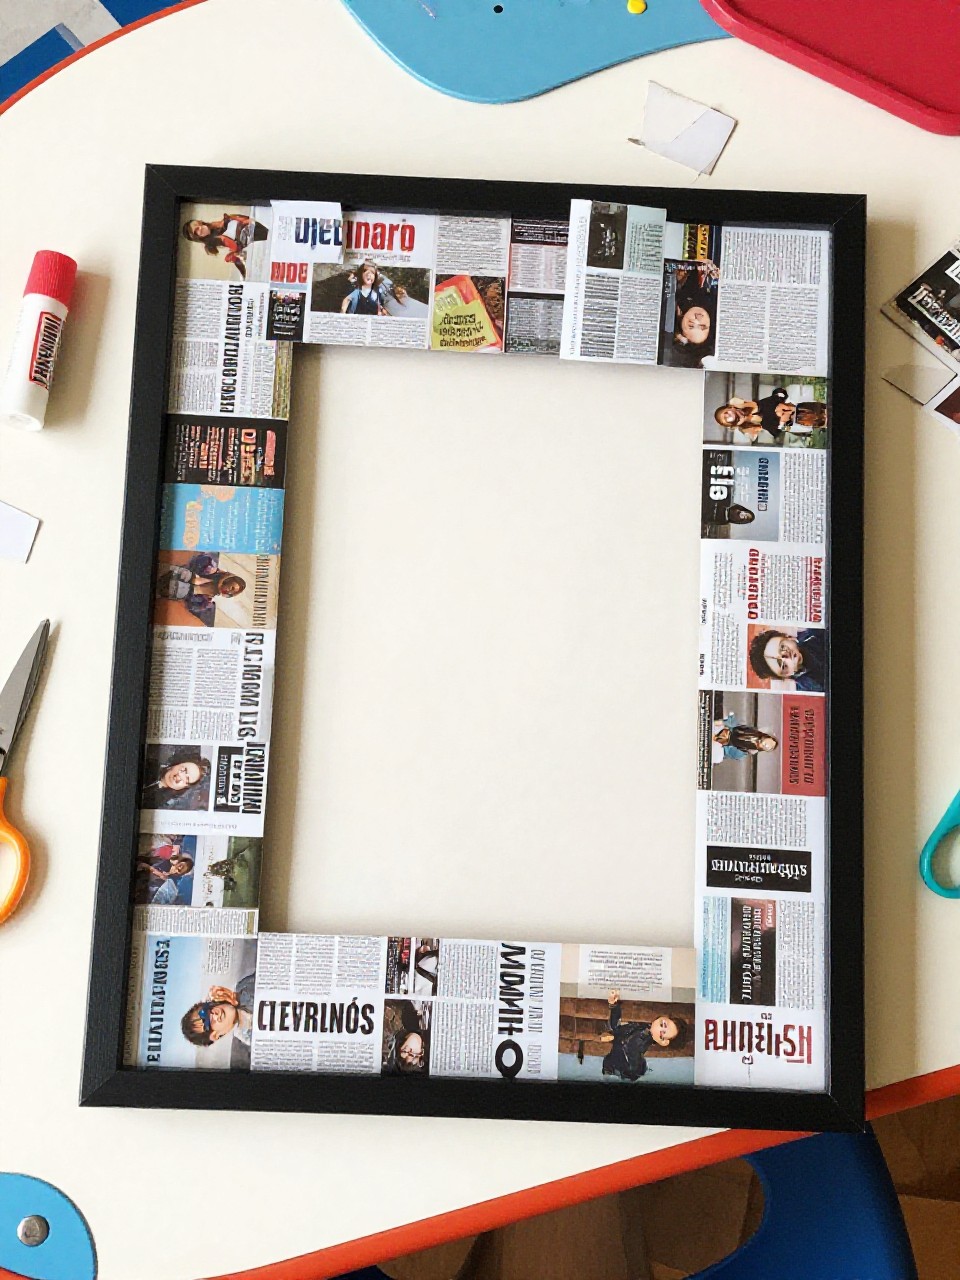
This frame is made by gluing tiny squares of magazine paper onto a cardboard base, creating a bright, tiled look. Kids enjoy choosing colors and patterns from old pages, and the slow, patch-by-patch process is relaxing and neat for beginners.
Materials Needed:
- Cardboard from a cereal box (frame base)
- Old magazines or catalogs
- Glue stick or white glue
- Scissors
- Clear tape or scrap acetate (for photo window, optional)
How to make it:
- Cut a frame shape from cardboard and a matching back piece; cut a window for the photo.
- Snip magazine pages into small squares or rectangles.
- Glue pieces in a mosaic pattern around the front, mixing colors and textures.
- Let dry, tape a photo behind the window, and display upright or hang.
2. Junk Mail Bead Bracelet
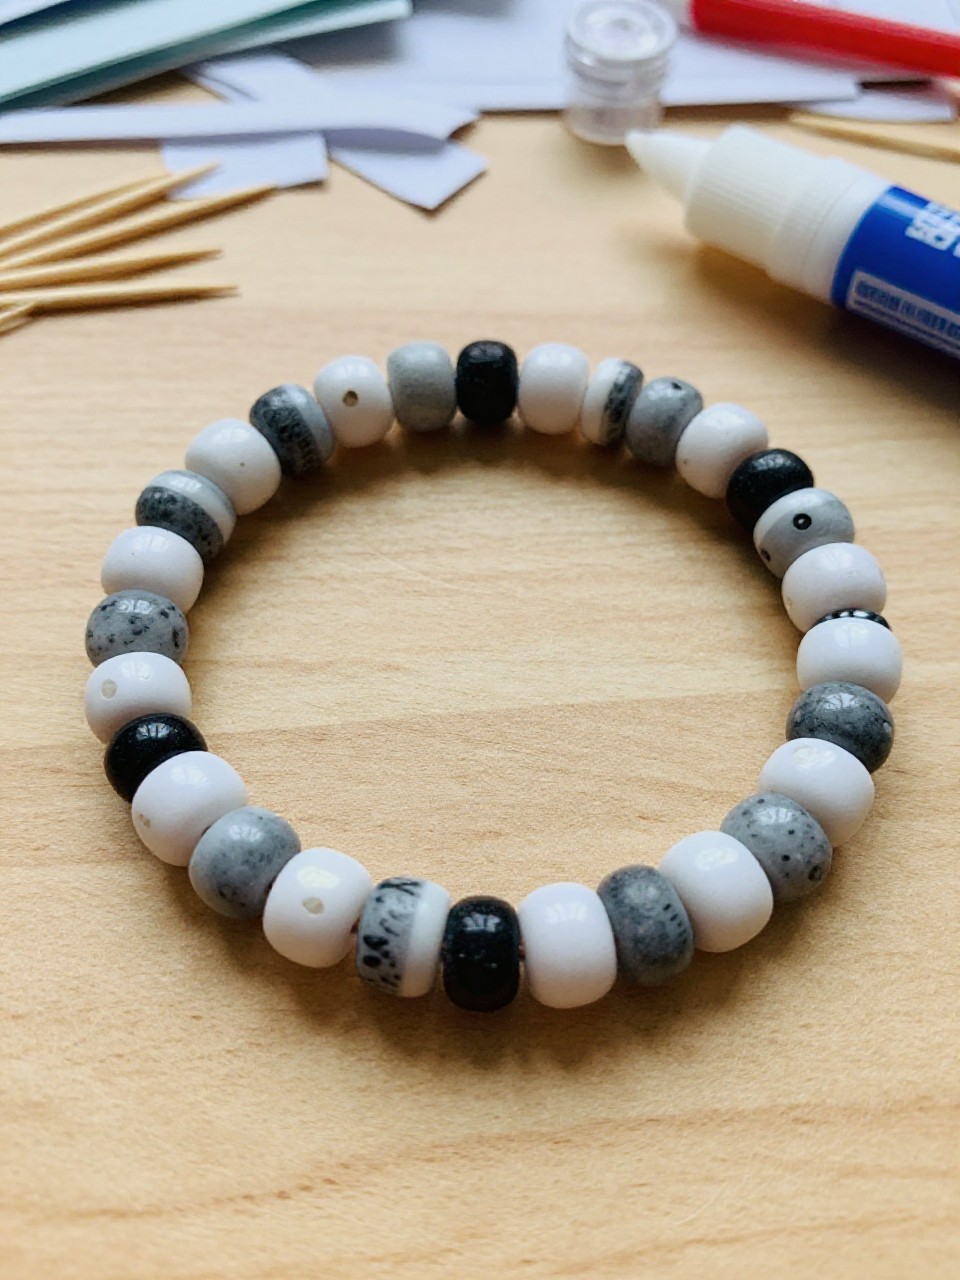
Rolled paper beads from junk mail turn into a bright bracelet with playful patterns and stripes. Kids love seeing plain ads become shiny beads, and rolling each strip is simple and satisfying.
Materials Needed:
- Colorful junk mail or flyers
- Glue stick
- Toothpicks or thin skewers (for rolling)
- Clear nail polish or Mod Podge (to seal, optional)
- Elastic string
How to make it:
- Cut long triangular strips from junk mail (about 1 x 6 inches).
- Roll strips tightly around a toothpick, glue the tip, and slide off.
- Seal beads if desired and let dry.
- Thread onto elastic, tie a secure knot, and wear.
3. Newspaper Seedling Pots
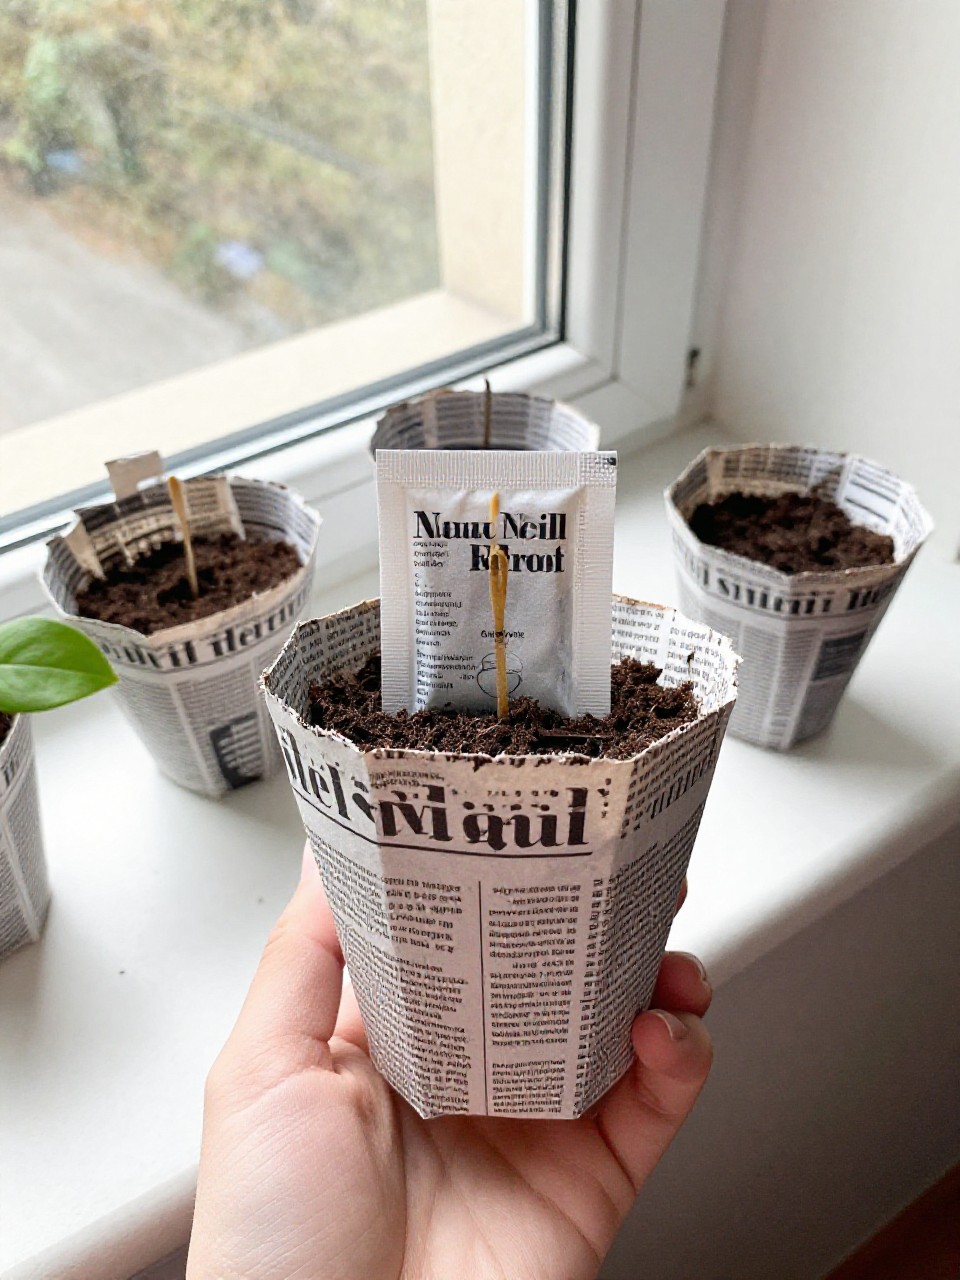
These small plant pots are folded from old newspaper, perfect for starting seeds on a windowsill. Kids enjoy shaping and stacking them, and it feels great to turn trash into something that grows.
Materials Needed:
- Newspaper sheets
- Small glass jar or spice bottle (mold)
- Tape or a dab of glue (optional)
- Potting soil
- Seeds
How to make it:
- Cut newspaper into strips about 4 x 12 inches.
- Wrap a strip around the jar, fold the bottom under, and slide off the jar.
- Press the bottom folds flat and secure with tape or glue.
- Fill with soil, plant seeds, water lightly, and place in a sunny spot.
4. Scrap Paper Confetti Bookmarks
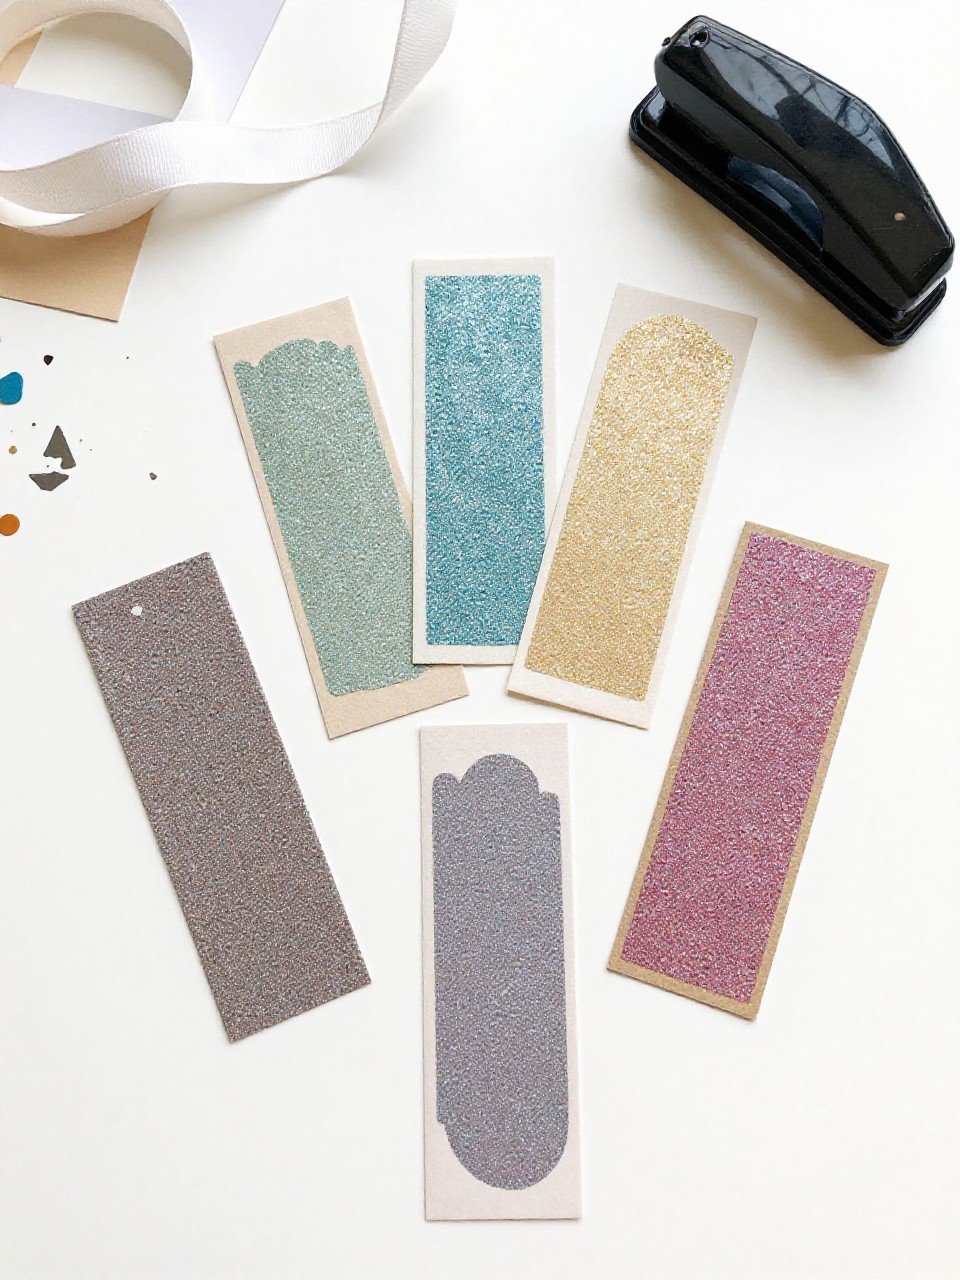
These slim bookmarks are filled with tiny punched bits of colorful scrap paper sealed under tape. Kids love sprinkling “confetti” and designing patterns, and the result is a cheerful reading buddy.
Materials Needed:
- Cardstock from a box or thick junk mail
- Colorful scrap paper or leftover paper trimmings
- Hole punch or scissors
- Clear packing tape or self-adhesive laminate
- Ribbon or yarn (optional)
How to make it:
- Cut bookmark strips about 2 x 6 inches from sturdy waste paper.
- Punch or snip small confetti pieces from colorful scraps.
- Sprinkle confetti on the strip and cover both sides with clear tape.
- Trim edges, punch a hole, add ribbon, and press flat.
5. Torn Paper Landscape Collage
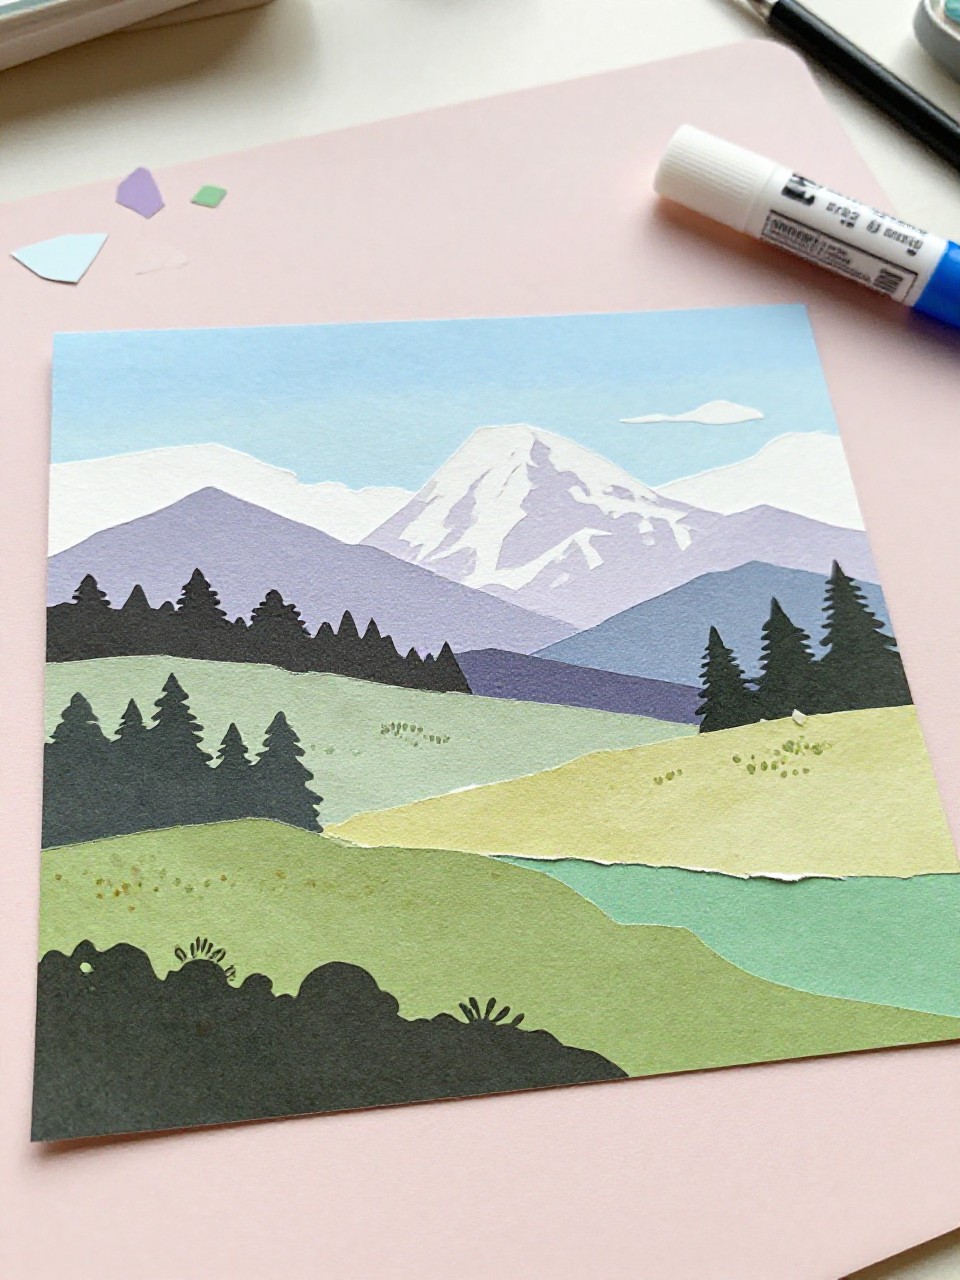
This artwork shows hills, trees, and a sky made only from torn pieces of old magazines and colored junk mail. Tearing is easy for little hands, and arranging the layers teaches depth and color mixing.
Materials Needed:
- Old magazines, catalogs, or painted scrap paper
- A sheet of cardboard or thick paper (background)
- Glue stick
- Pencil (for a light sketch, optional)
- Black marker (for outlines, optional)
How to make it:
- Lightly sketch a simple landscape on the background.
- Tear paper into strips and shapes for sky, hills, and trees.
- Glue pieces from background to foreground, overlapping for texture.
- Add marker outlines, let dry, and hang.
6. Paper Tube Desk Organizer
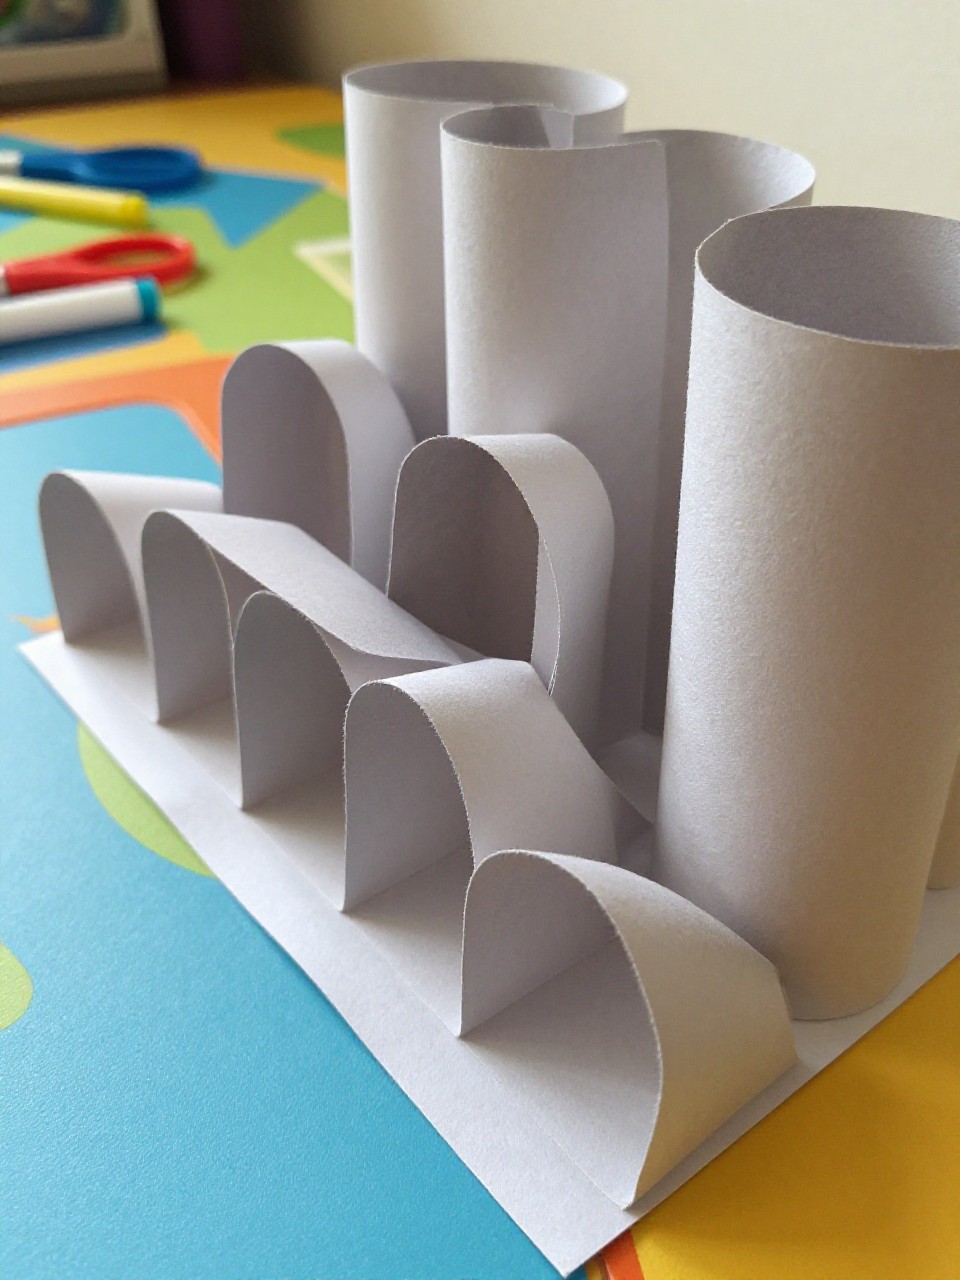
Recycled toilet paper tubes become a neat pen and brush holder covered with bright paper scraps. Kids like arranging different tube heights and decorating each one like a tiny tower.
Materials Needed:
- Empty toilet paper or paper towel tubes
- Cardboard base (cereal box)
- Scrap paper pieces
- White glue or hot glue (adult help)
- Stickers or washi tape (optional)
How to make it:
- Cut tubes to different heights and glue them to a cardboard base.
- Wrap each tube with colorful scrap paper and glue in place.
- Add stickers, washi tape, or labels for each section.
- Let dry and fill with pencils, brushes, or markers.
7. Magazine Weaving Placemat
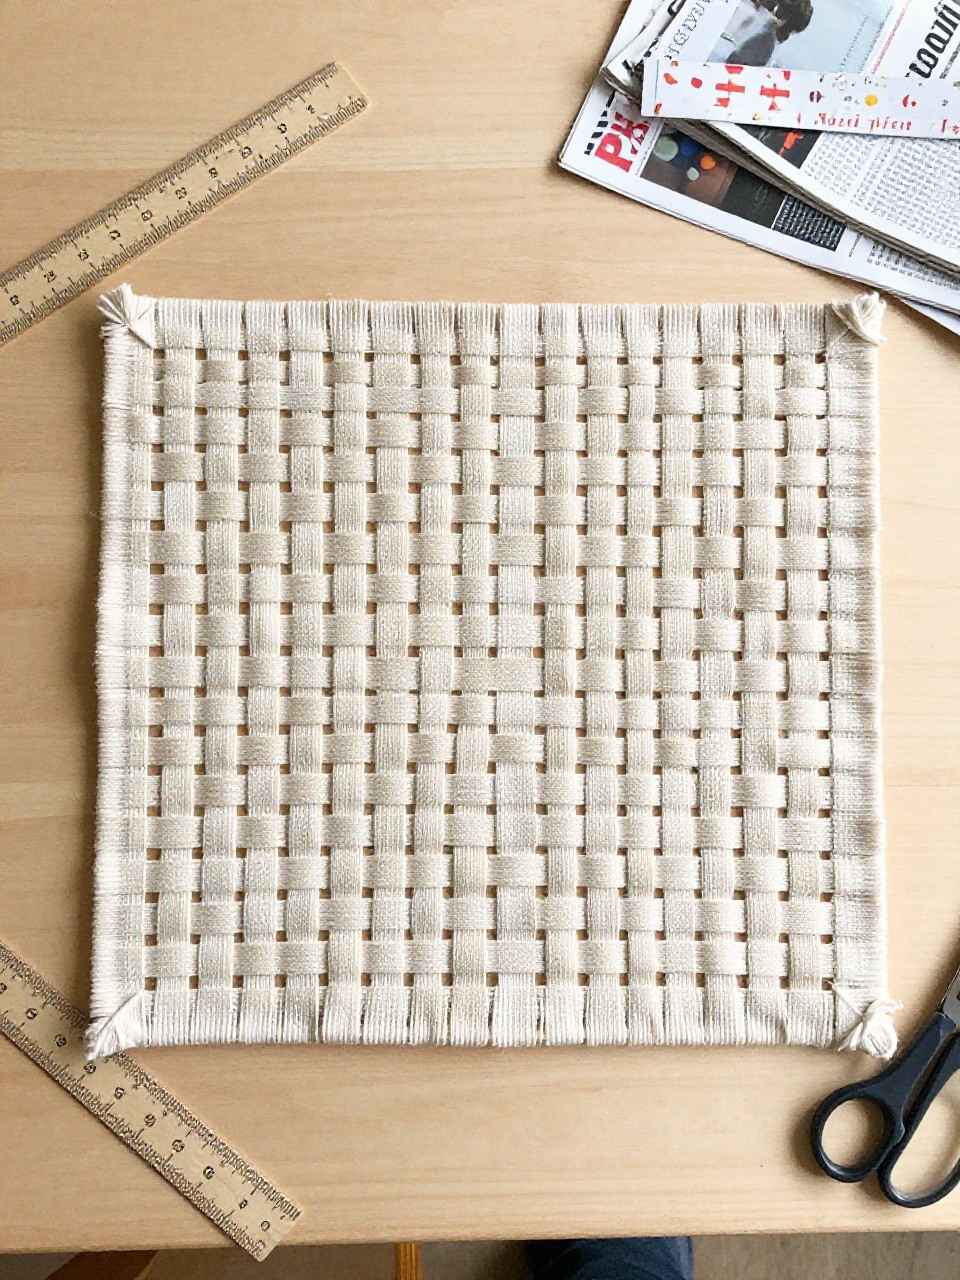
Strips from glossy magazines are woven into a sturdy, striped placemat. The over-under pattern is soothing, and kids enjoy watching new colors appear as they weave.
Materials Needed:
- Old magazines
- Tape or glue stick
- Ruler and pencil
- Scissors or paper trimmer
- Clear contact paper (optional for lamination)
How to make it:
- Cut many strips about 1 x 10 inches from magazines.
- Tape several strips side by side to start a warp row.
- Weave more strips over and under, alternating each row.
- Secure edges with tape, and laminate with contact paper if desired.
8. Envelope Scrap Notepad

Use leftover envelopes and paper scraps to make a tiny flip notepad bound with staples or yarn. Kids love having a pocket-size pad for doodles and lists, and it’s quick to assemble.
Materials Needed:
- Used envelopes and junk mail paper (blank backs)
- Cardboard scrap (for cover)
- Stapler or hole punch with yarn
- Markers for decorating
- Washi tape (optional)
How to make it:
- Cut paper scraps to match a small notepad size, about 3 x 5 inches.
- Cut a cover from cardboard and fold at the top edge.
- Stack pages inside and staple or hole-punch and tie with yarn.
- Decorate the cover and use for notes.
9. Paper Straw Garden Flowers
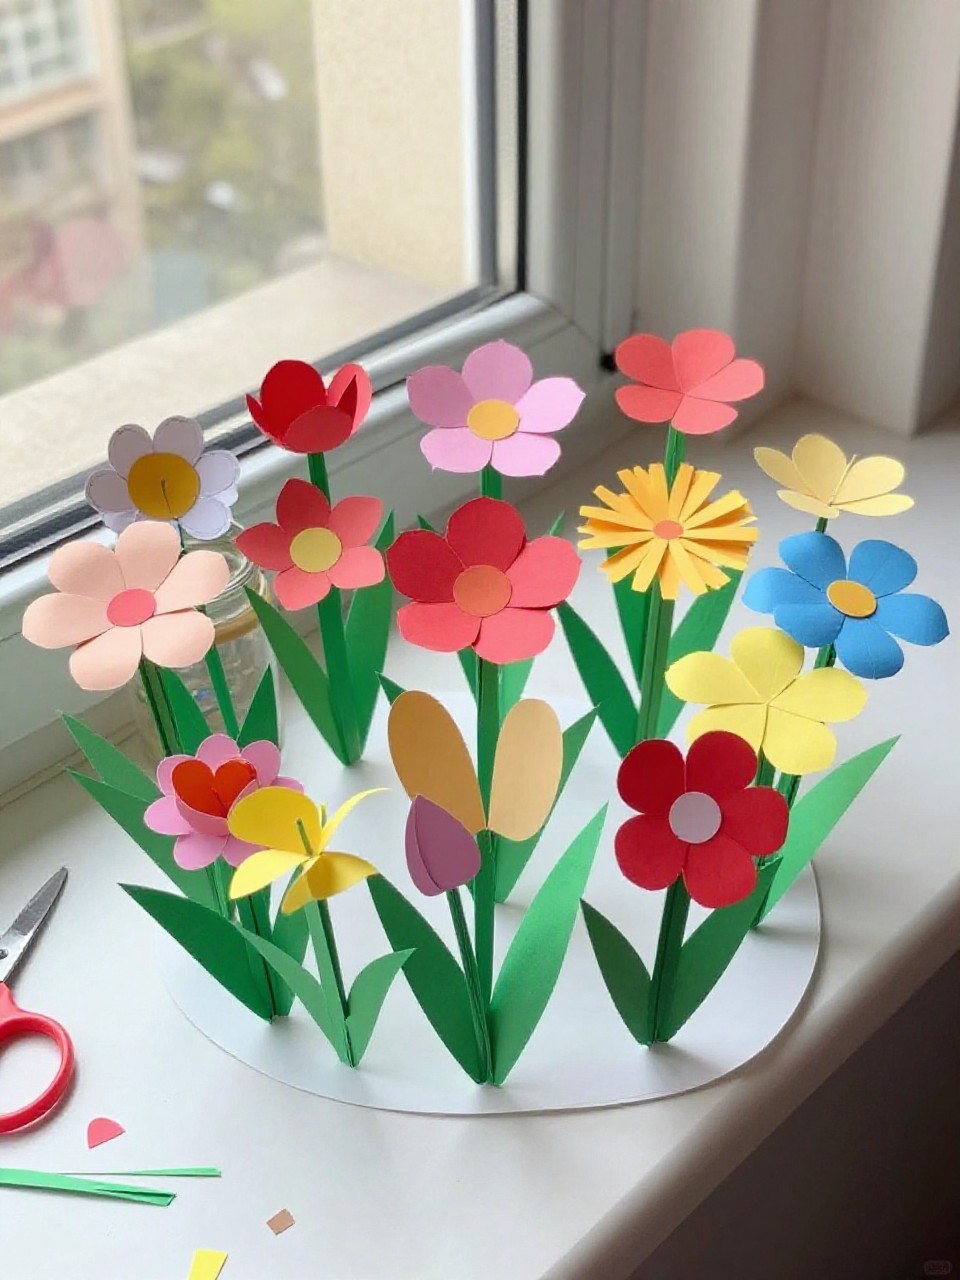
Rolled paper “straws” from magazine strips become stems and petals for bold, 3D flowers. Kids enjoy rolling and shaping petals, then building a happy bouquet for a jar.
Materials Needed:
- Magazine or colored scrap paper
- Glue stick
- Scissors
- Bottle cap or circle punch (flower centers, optional)
- A small jar or cup (vase)
How to make it:
- Roll narrow paper strips diagonally to form tight paper straws; glue edges.
- Cut petals and leaves from more scraps and curl slightly.
- Glue petals around a center and attach to a paper straw stem with leaves.
- Make several flowers and arrange in a jar.
10. Shredded Paper Stuffed Animals
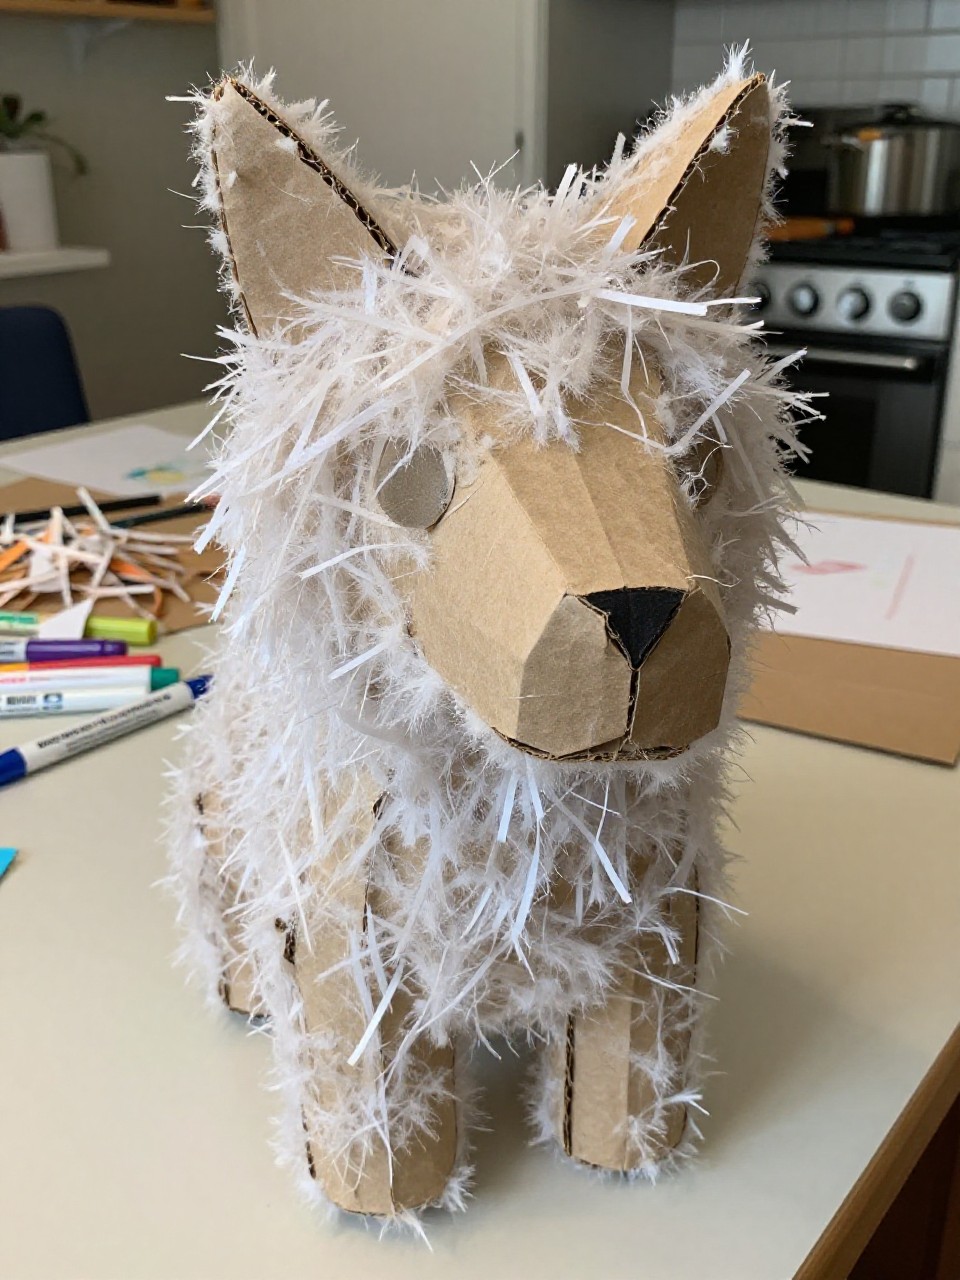
Simple animal shapes are cut from cardboard and stuffed with soft shredded paper to make puffy pals. Kids love choosing an animal and feeling the crunchy, squishy texture as they fill it.
Materials Needed:
- Cardboard from boxes
- Old paper shredded or torn into strips
- White glue
- Markers or paint
- Tape or stapler (for edges)
How to make it:
- Cut two matching animal shapes (like a cat or fish) from cardboard.
- Staple or tape edges together, leaving a small gap.
- Stuff with shredded paper until puffy and glue the gap shut.
- Draw or paint eyes and patterns, then let dry.
11. Newspaper Kite Wall Hanging
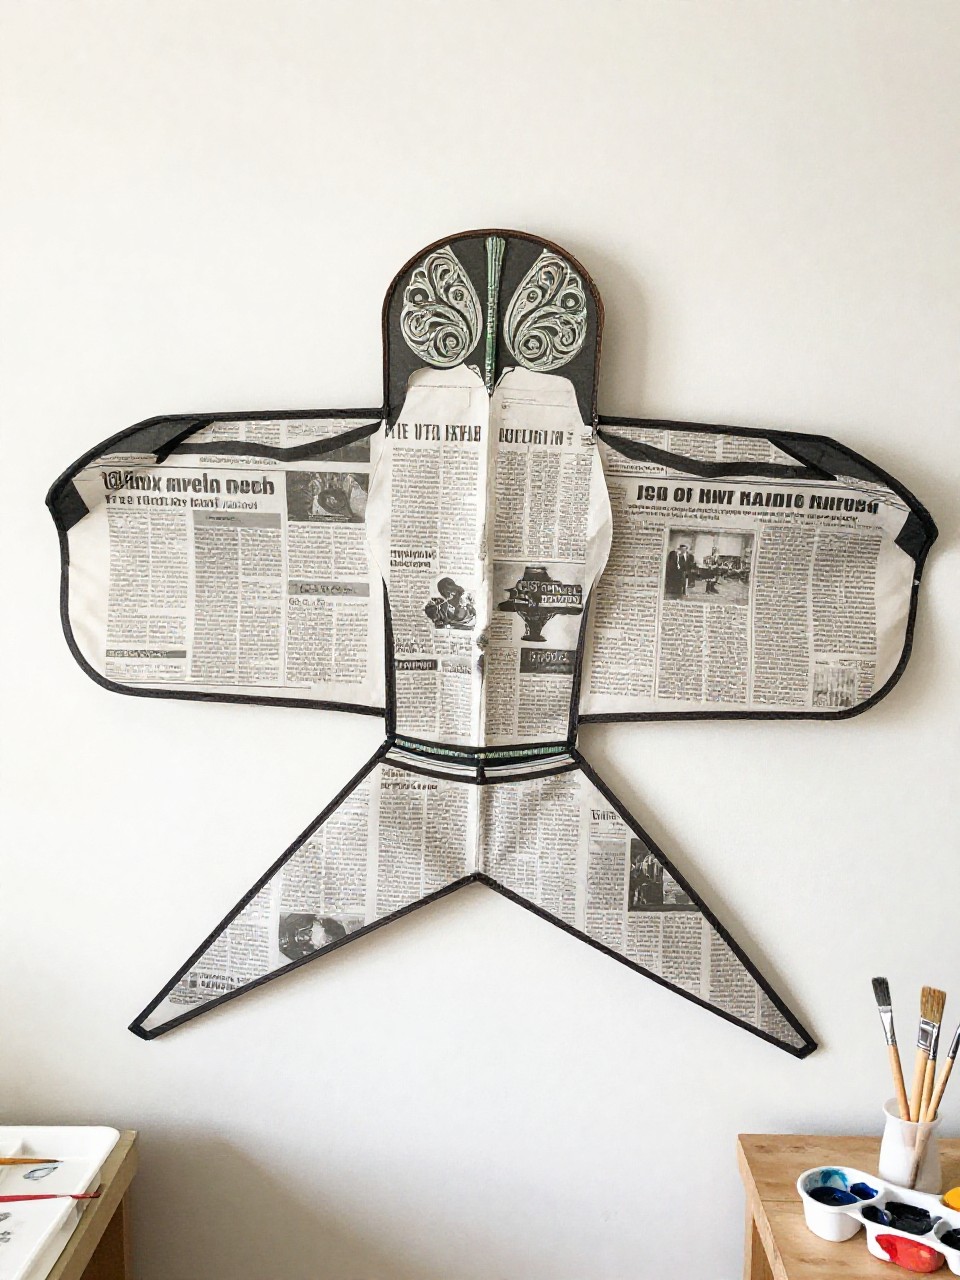
A mini decorative kite made from newspaper and string looks light and breezy on the wall. Kids enjoy painting gentle colors over newsprint and tying a cute paper tail.
Materials Needed:
- Newspaper sheet
- Thin sticks or skewers (or rolled paper struts)
- String or yarn
- Paint or markers
- Tape and glue
How to make it:
- Cut a diamond kite shape from newspaper and paint soft colors.
- Tape sticks or rolled paper to the back in a cross for support.
- Glue string around the edge and add a long tail with paper bows.
- Let dry and hang with a loop of yarn.
12. Scrap Paper City Skyline
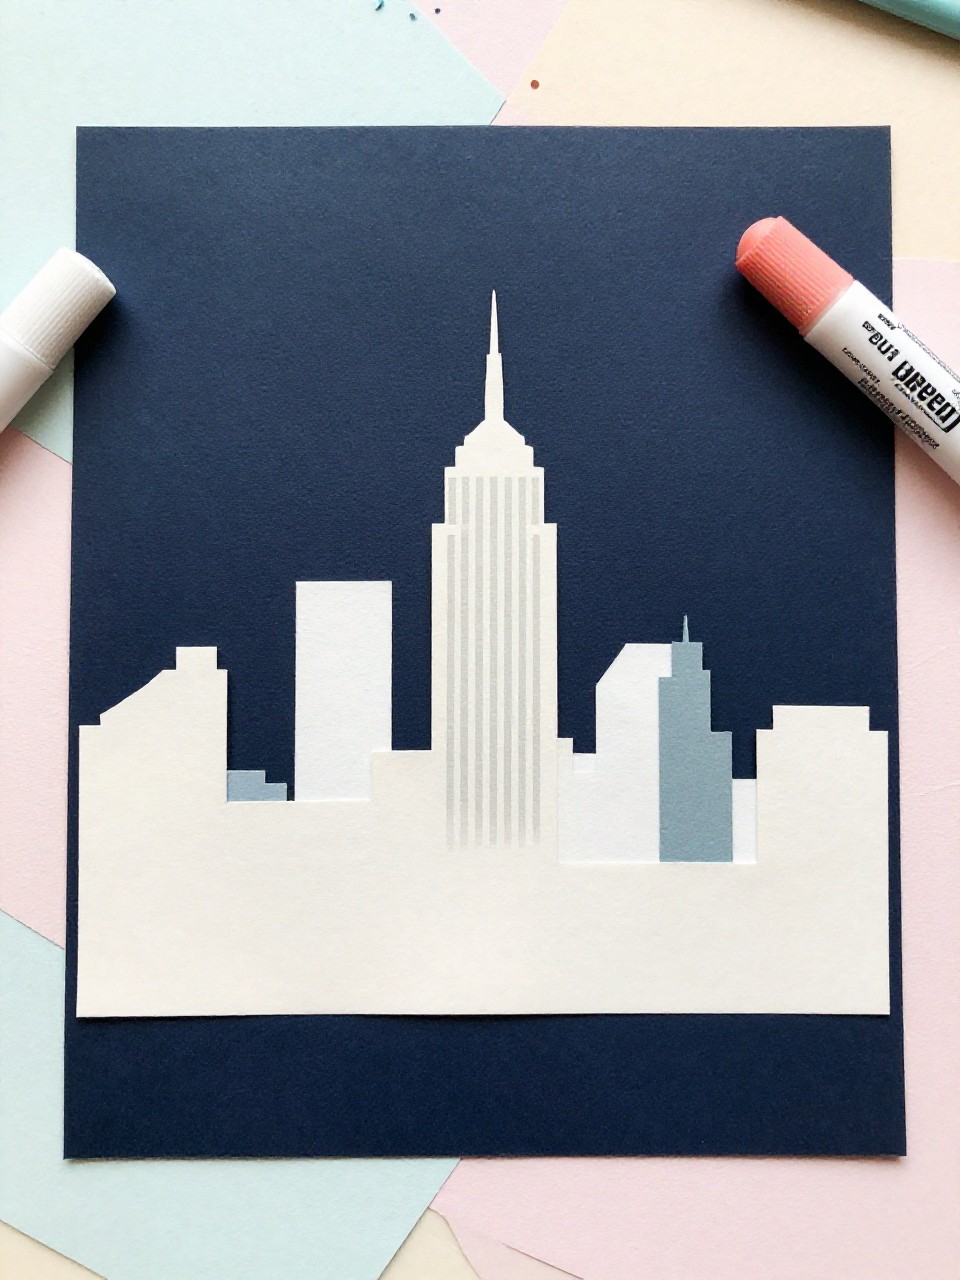
This bold city silhouette uses black or dark scraps for buildings and shiny magazine bits for windows. Kids love placing tiny windows and street lights to bring the skyline to life.
Materials Needed:
- Dark paper scraps or painted junk mail (for buildings)
- Glossy magazine bits (for windows)
- Background paper or cardboard
- Glue stick
- White gel pen (stars, optional)
How to make it:
- Cut varied rectangles and roof shapes for buildings.
- Glue buildings along the bottom of the background to form a skyline.
- Add small glossy windows and signs from magazine pieces.
- Dot stars with a gel pen and display.
13. Paper Roll Binoculars
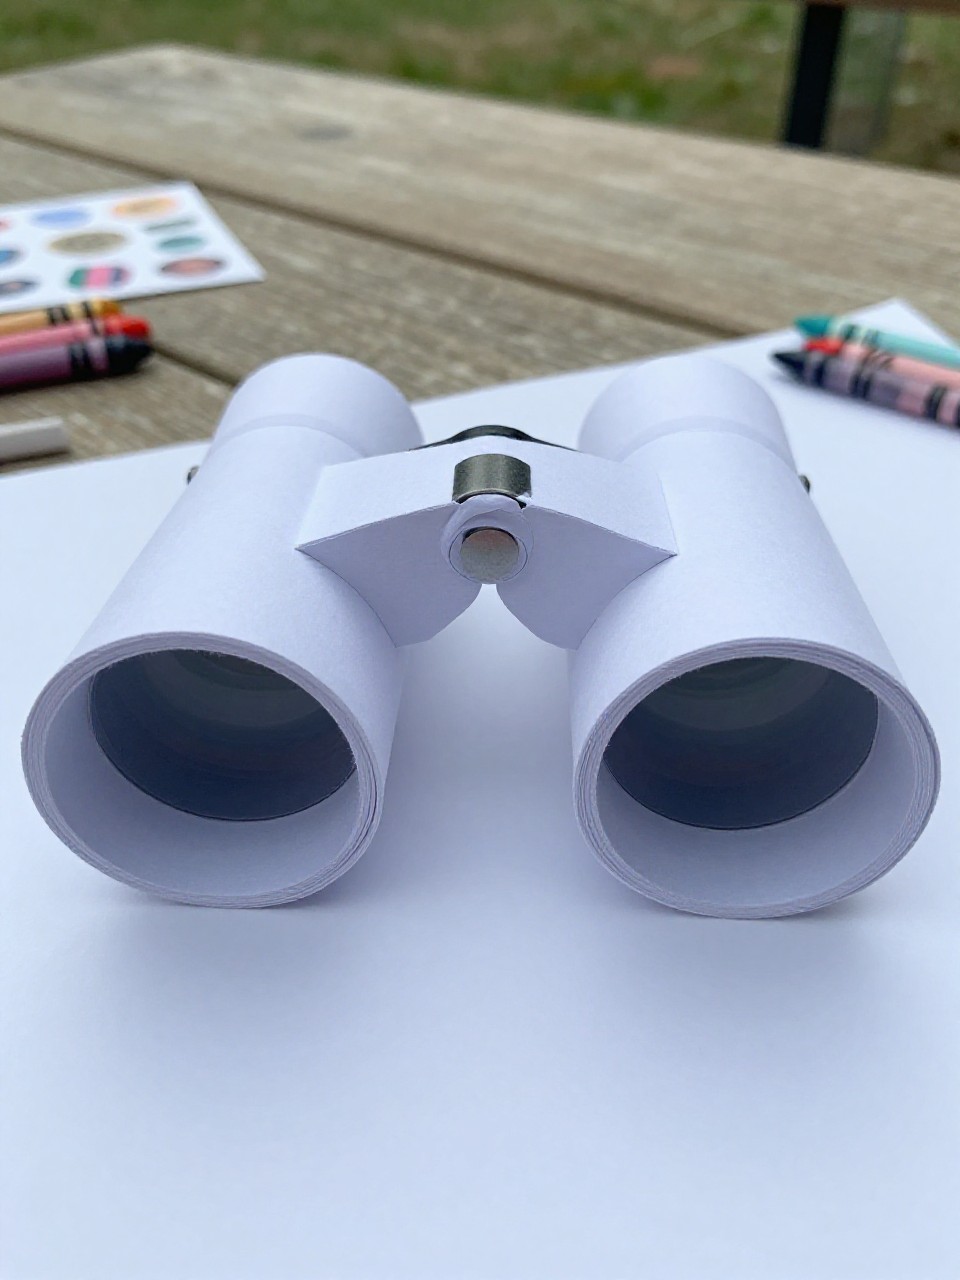
Two toilet paper rolls become pretend-play binoculars wrapped in colorful scraps. Kids enjoy decorating and then using them for indoor “safaris.”
Materials Needed:
- Two toilet paper rolls
- Scrap paper and stickers
- White glue or tape
- Hole punch
- Yarn or string (neck strap)
How to make it:
- Wrap each roll with colorful paper scraps and decorate.
- Glue or tape the two rolls side by side.
- Punch two holes and tie on a yarn strap.
- Let dry and go exploring.
14. Junk Mail Stained-Glass Sun Catcher
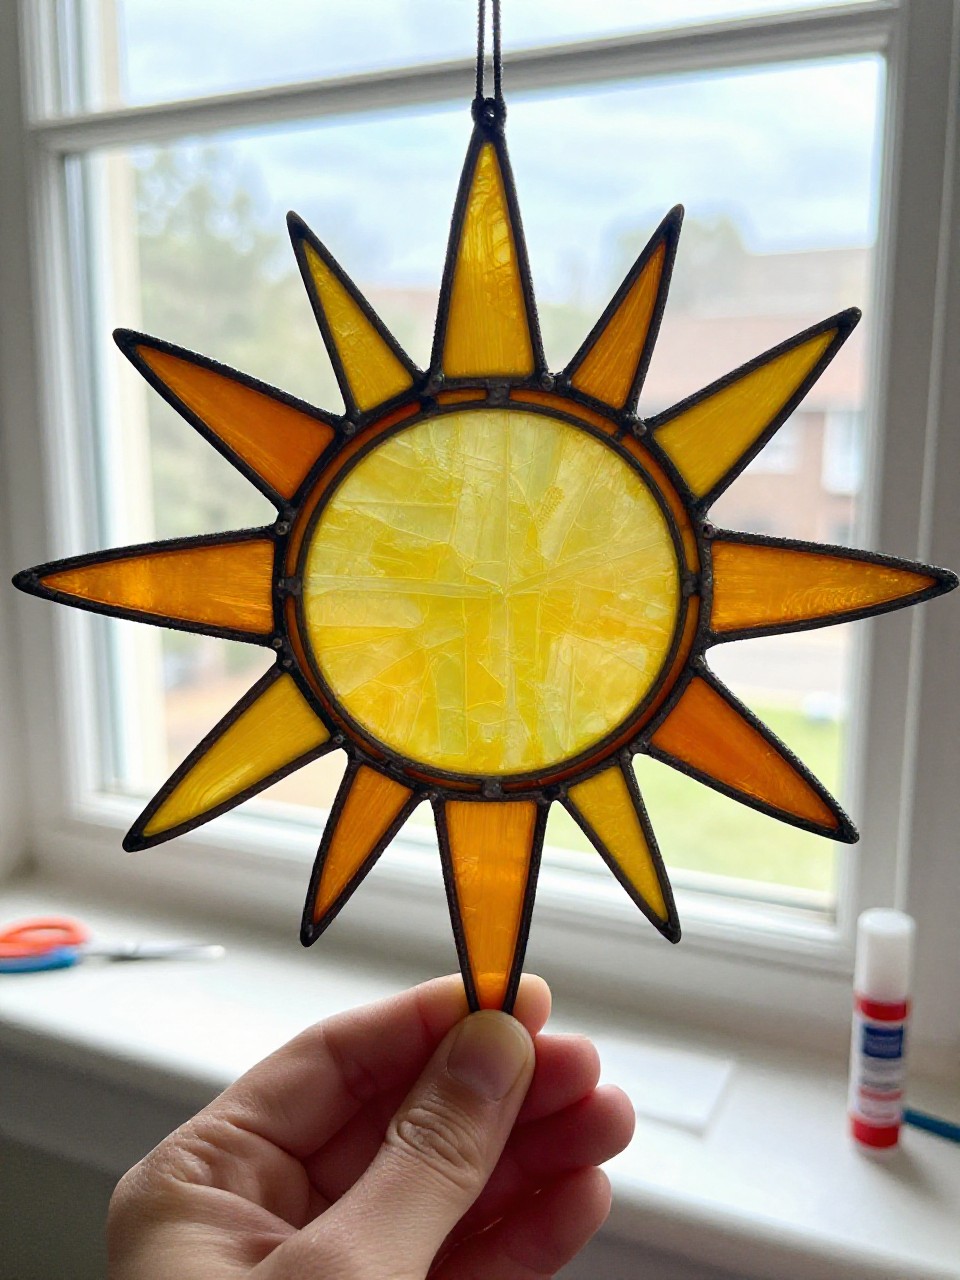
Bright shapes from translucent candy wrappers and thin magazine pieces form a faux stained-glass circle. Kids love sticking colorful bits to clear plastic to see the light shine through.
Materials Needed:
- Clear plastic from packaging or acetate
- Junk mail and candy wrappers (thin, colorful)
- Glue stick
- Black paper strip (for frame)
- String or tape for hanging
How to make it:
- Cut a circle of clear plastic and a black paper ring for the frame.
- Glue the black ring to the edge of the plastic.
- Add colorful thin paper pieces overlapping to fill the center.
- Punch a hole, add string, and hang in a sunny window.
15. Paper Bag and Newspaper Crown
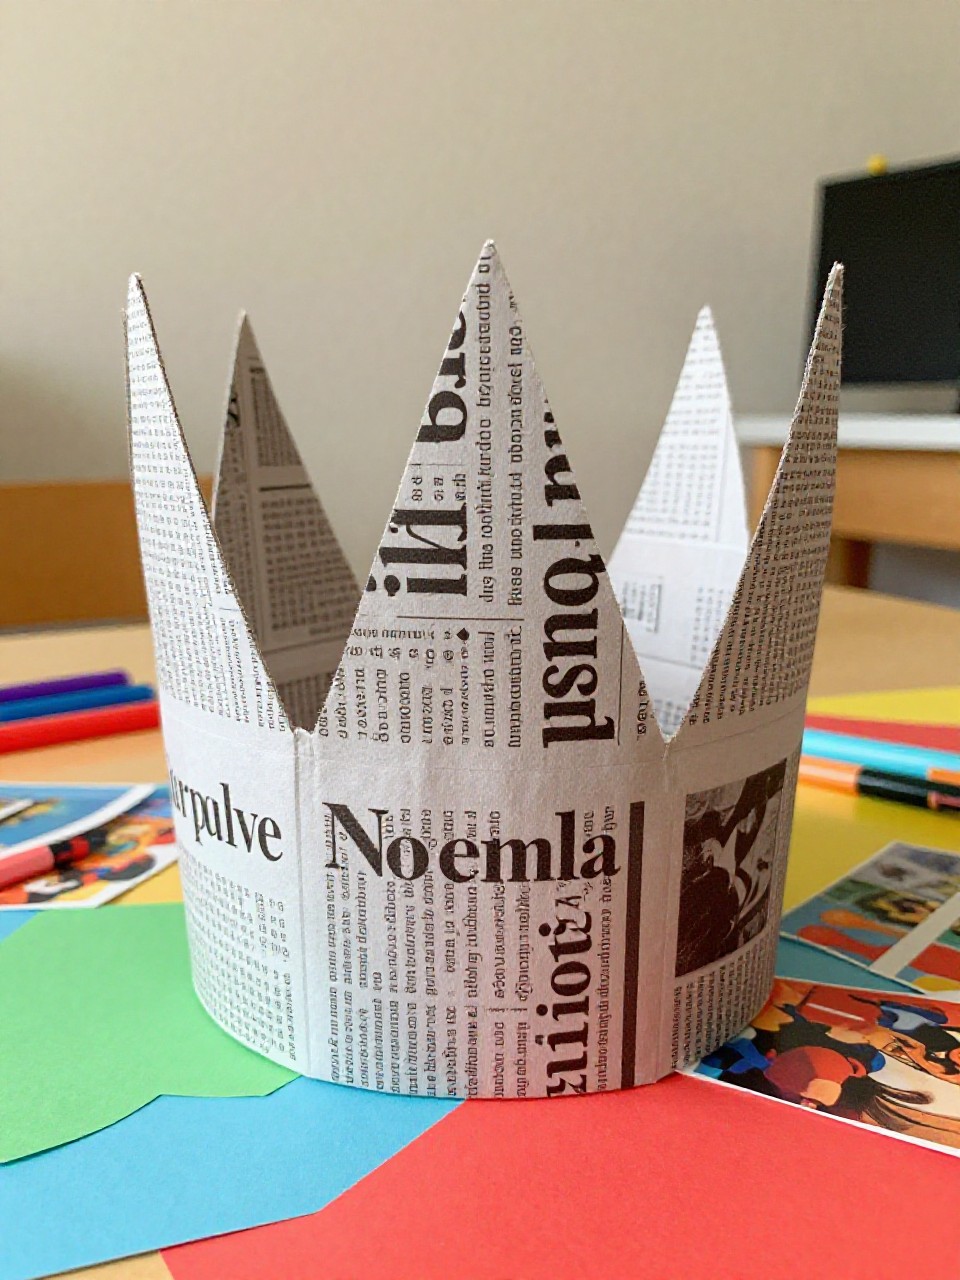
A playful king or queen crown made from a paper bag base and decorated with shiny magazine jewels. Kids enjoy pretending while choosing bright “gems” to glue on.
Materials Needed:
- Brown paper bag or long strip of sturdy waste paper
- Old magazines (for jewel shapes)
- Glue stick
- Stapler or tape
- Markers
How to make it:
- Cut a long strip from a paper bag and snip triangle points along one edge.
- Fit the strip around the head and staple or tape to size.
- Cut jewel shapes from magazines and glue them on.
- Add marker details and wear for pretend play.
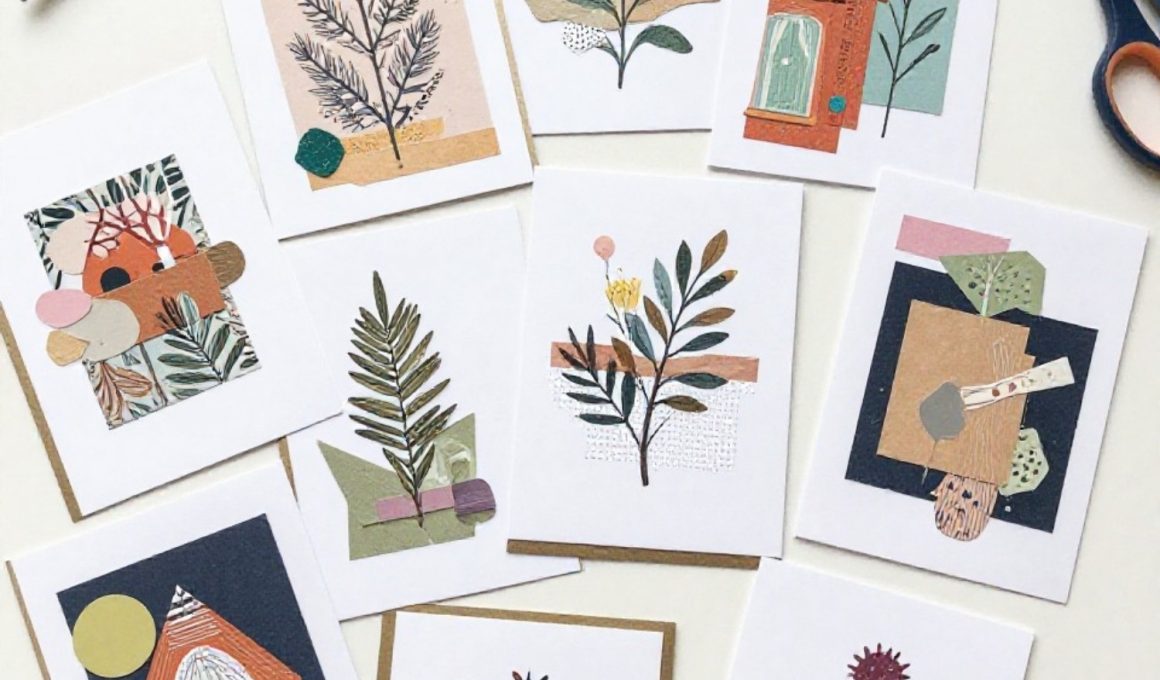
16. Collaged Greeting Cards
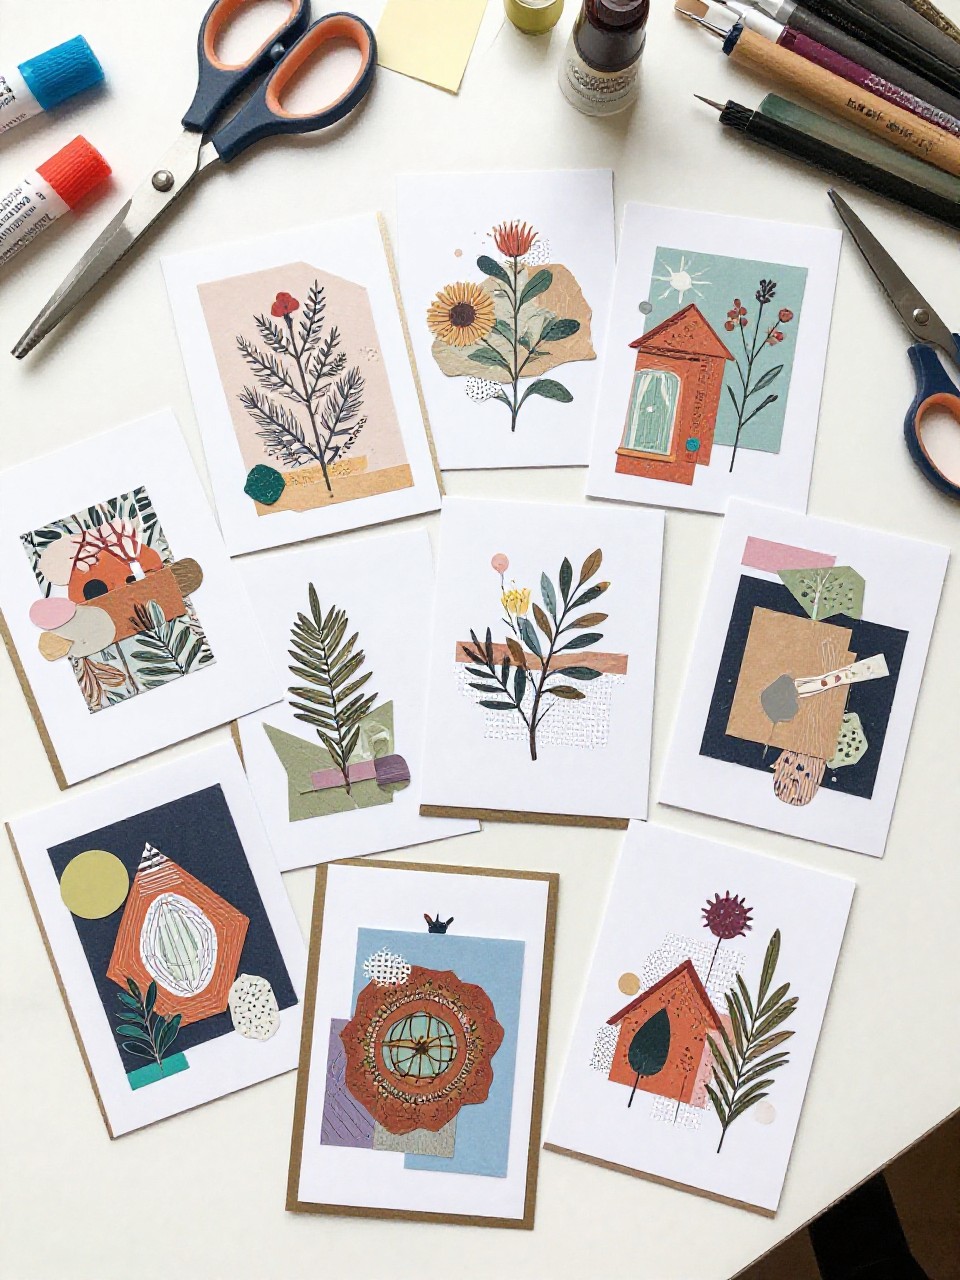
Folded cards get decorated with tidy scraps, patterned layers, and cut-out words from junk mail. Kids like making quick, personal cards for birthdays or thank-yous.
Materials Needed:
- Card bases from folded cereal box or thick scrap paper
- Assorted paper scraps and magazine cut-outs
- Glue stick
- Scissors
- Stickers or washi tape (optional)
How to make it:
- Cut and fold card bases to your favorite size.
- Arrange a background layer, then smaller shapes on top.
- Add magazine words or letters as a message.
- Press flat, let dry, and write inside.
17. Paper Chain Animal Garlands
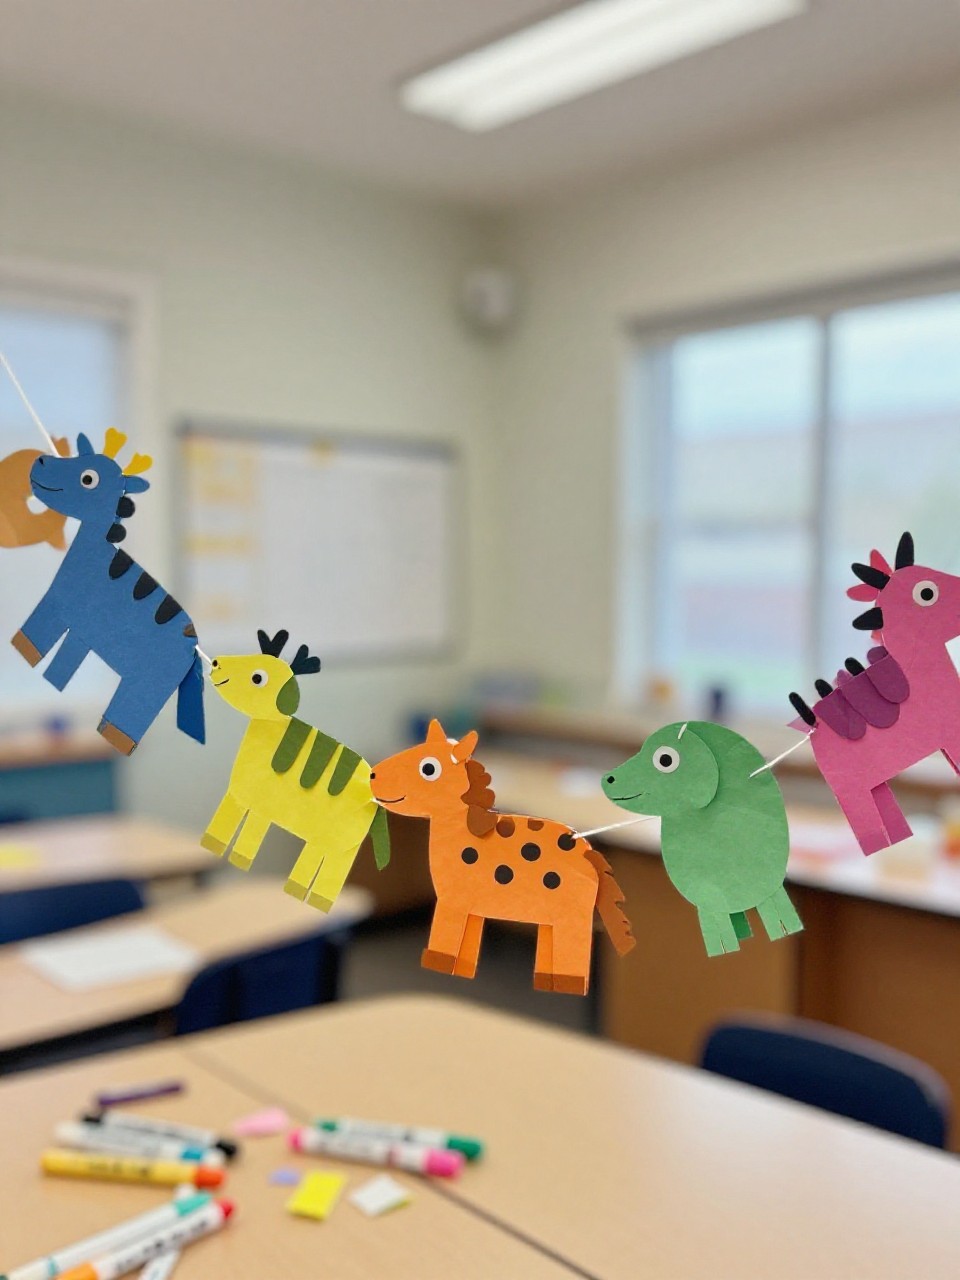
Make a string of animals—cats, birds, or fish—cut from waste paper and linked into a cheerful garland. Kids enjoy repeating shapes and watching the chain grow across a wall or window.
Materials Needed:
- Old magazines, newspapers, or painted scrap paper
- Pencil and simple animal template
- Scissors
- Glue stick or tape
- String or yarn for hanging
How to make it:
- Trace and cut several of the same animal shape from waste paper.
- Decorate faces and patterns, then add a glue tab to connect pieces.
- Link animals side by side or clip them onto a yarn line.
- Hang across a window, shelf, or party table.