


In This Article Show
Growing watermelons can be one of the most rewarding experiences for any gardener. With over 13 years of gardening under my belt, I’ve come to see each watermelon vine as a little adventure in my backyard. Whether you’re a seasoned gardener or just starting, understanding the growth stages of watermelons is key to a successful harvest.
Watermelons, with their juicy sweetness, are not just a summer favorite but are packed with vitamins A, B6, and C, as well as being high in lycopene, antioxidants, and amino acids. They’re also incredibly versatile, being used in salads, drinks, and desserts or enjoyed on their own.
In this guide, I’ll walk you through each stage of watermelon growth, from planting the seed to harvesting the fruit. This isn’t just about timelines; it’s about nurturing your plant every step of the way.
Watermelon Growth Stages & Timelines
Let’s break down the growth stages of watermelon, ensuring clarity and practical insights for every gardener looking to embark on this fruitful journey.
Stage 1: Germination (0-10 days)
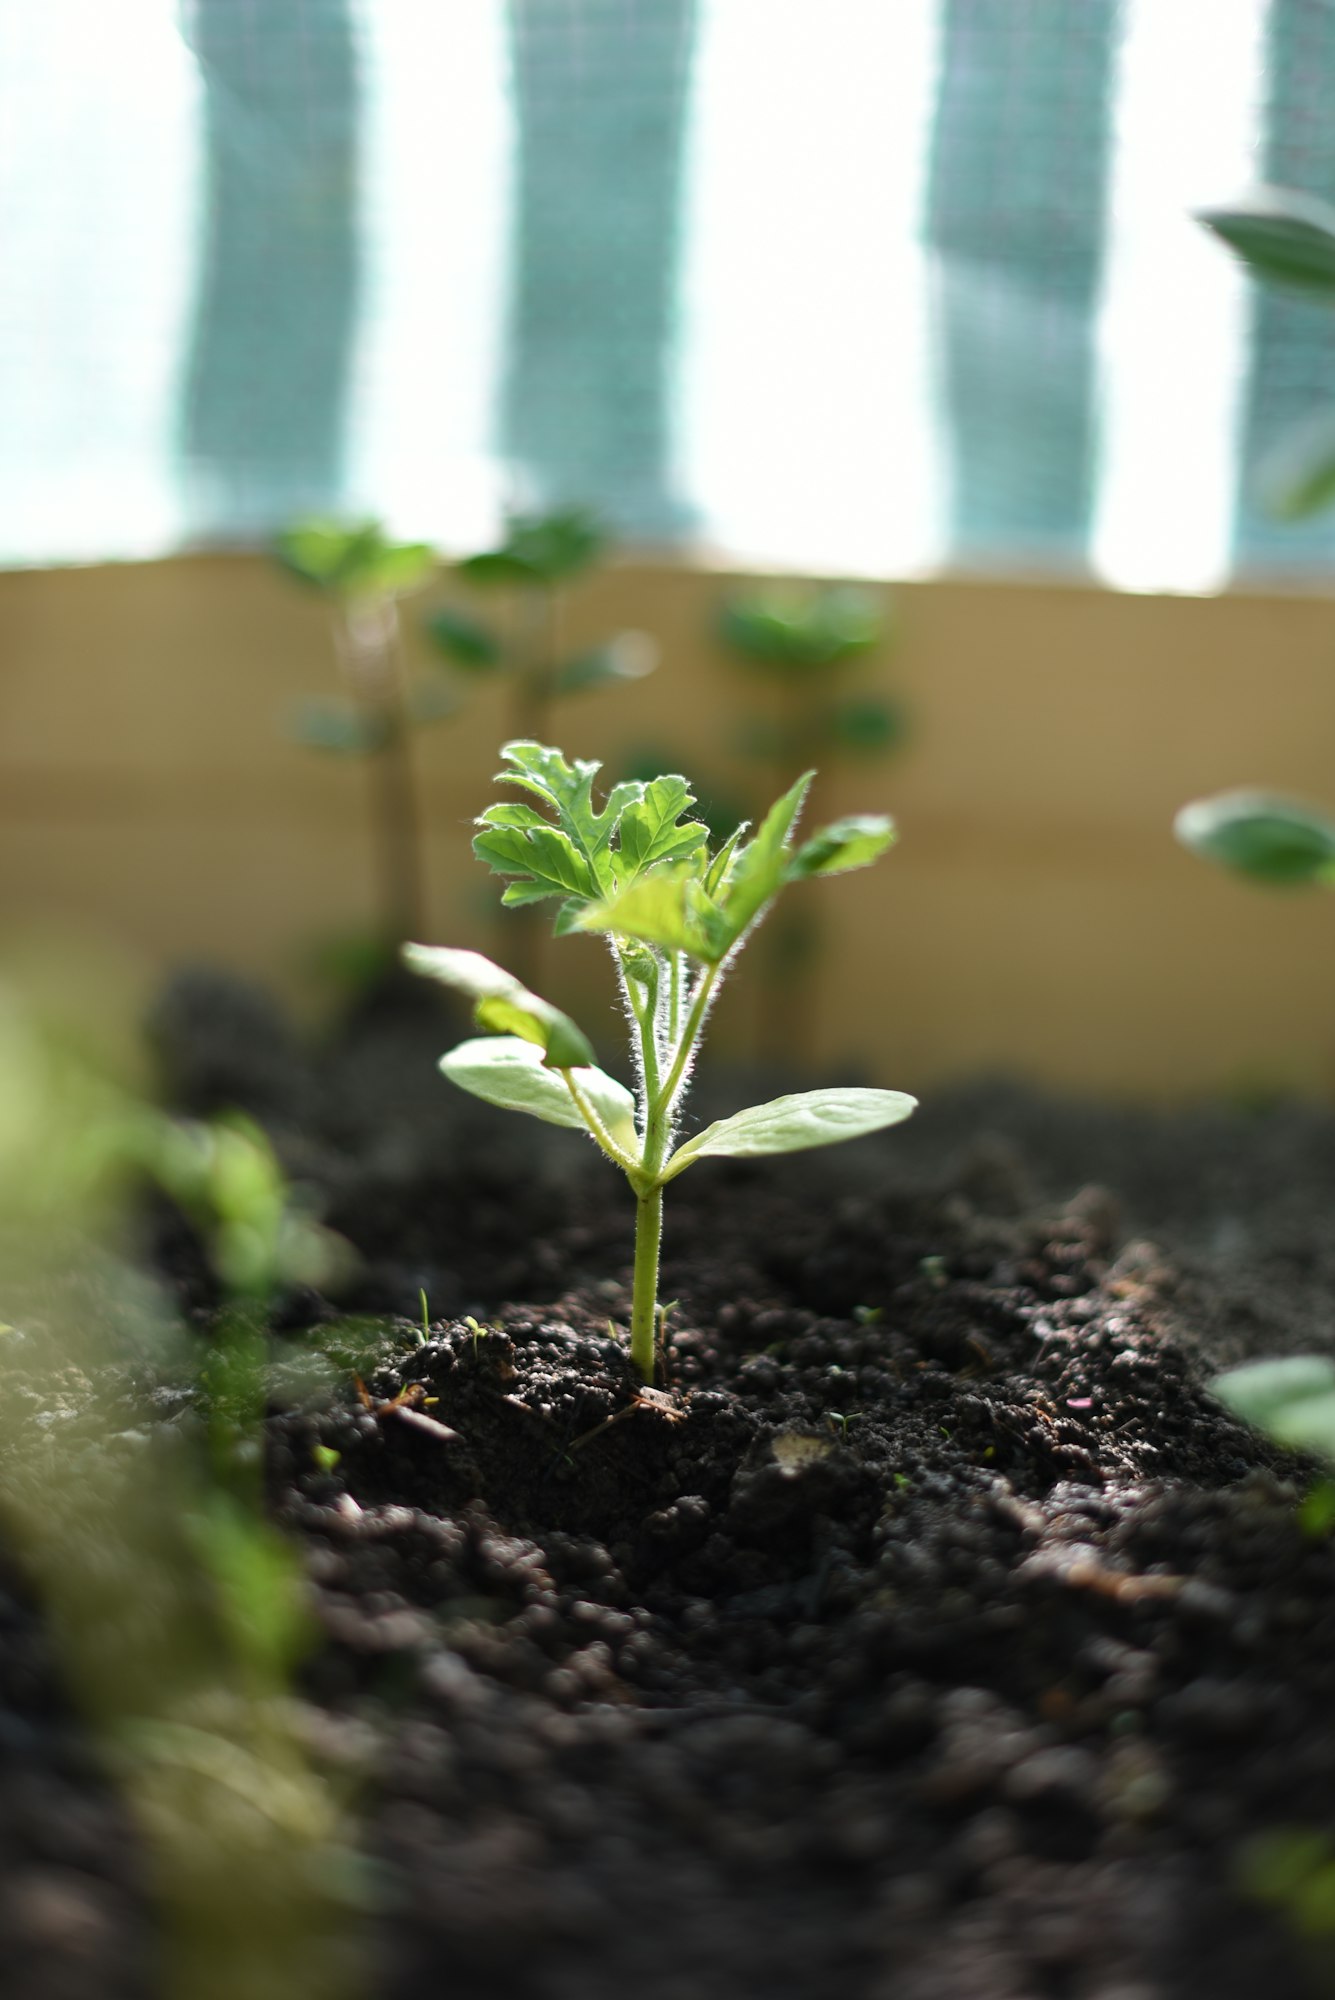
Germination is the first step in the life of any watermelon plant, a magical moment when the seed wakes up.
For successful germination, watermelon seeds require warm soil, ideally between 70°F and 95°F (21°C and 35°C). This warmth, combined with moist soil, encourages the seed to sprout.
Within 3 to 10 days, you’ll see the first signs of life as the seedlings push through the soil, eager to soak up the sunlight. Make sure the soil is not waterlogged; consistent moisture is key, but too much water can drown the seeds.
Stage 2: Seedling (10-20 days)
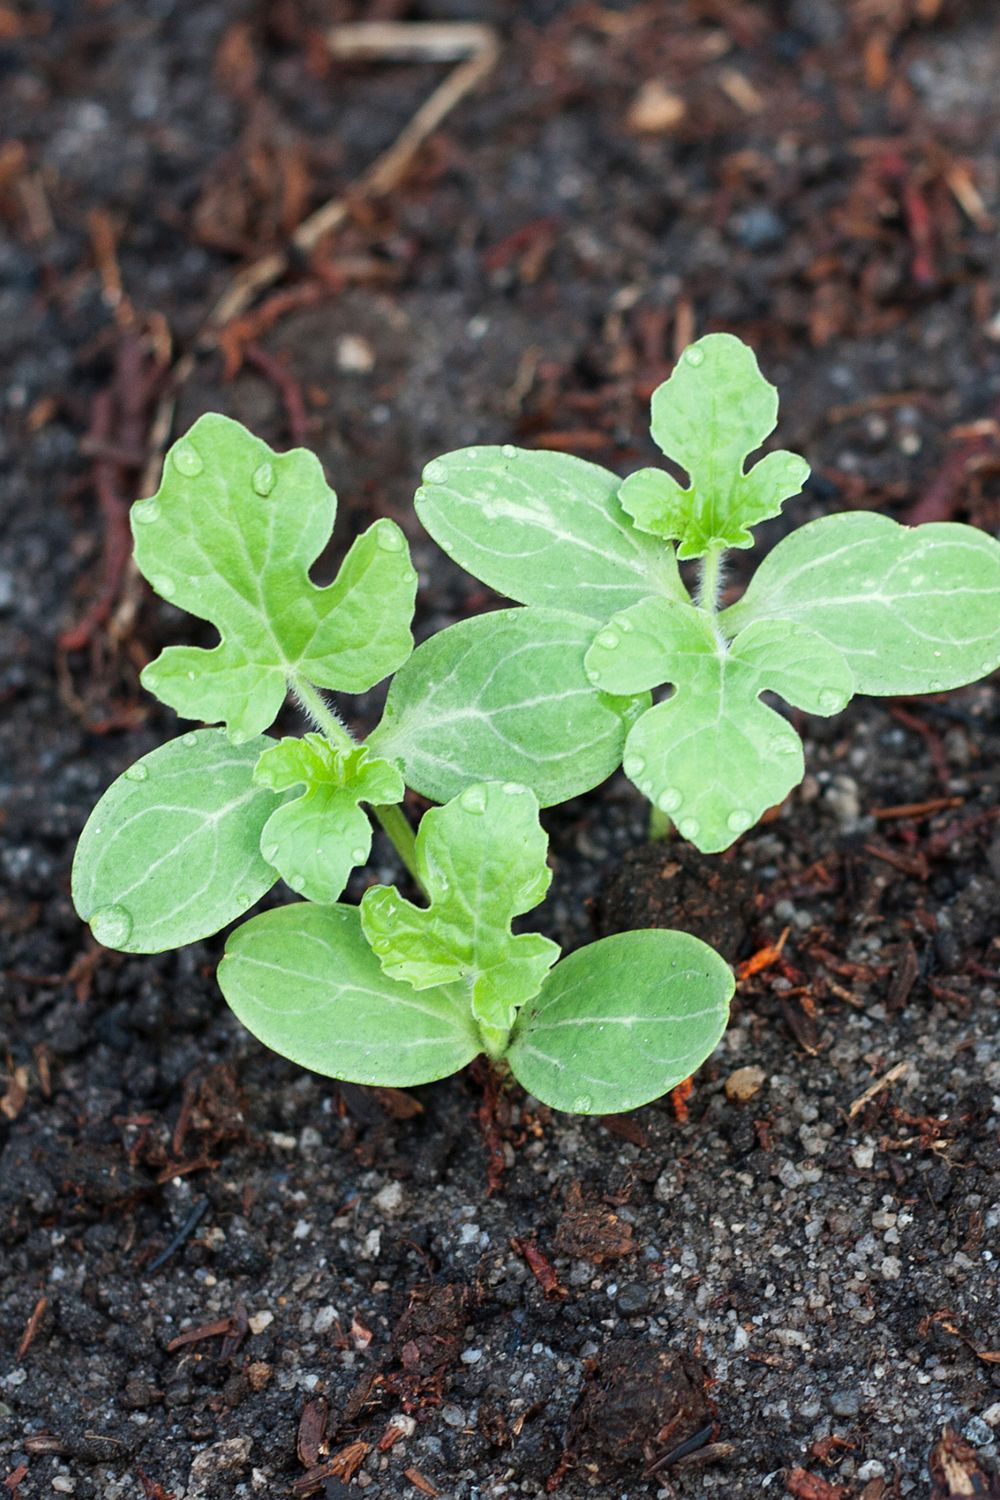
As the seedlings emerge, you’ll notice two initial leaves, known as cotyledons, which are not true leaves but will help the plant begin photosynthesis.
True leaves will soon follow, displaying a more intricate pattern. These early days are critical for seedlings; they require plenty of sunlight (at least 6 hours daily) and steady moisture.
If you started the seeds indoors, wait for the seedlings to grow 3-4 true leaves before considering transplanting them outside. This is also the time to ensure they are not crowded, promoting strong, healthy growth.
Stage 3: Vine Development (20-30 days)
Now, your watermelon plants start showing their true character as the vines begin to grow and spread. This vigorous growth is a good sign, indicating your plants are well on their way.
Provide support or ample space for the vines to spread out, which can be up to 20 feet (6 meters) in some varieties. This stage is crucial for developing a strong plant foundation capable of supporting future fruits.
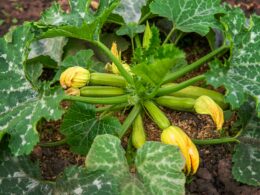
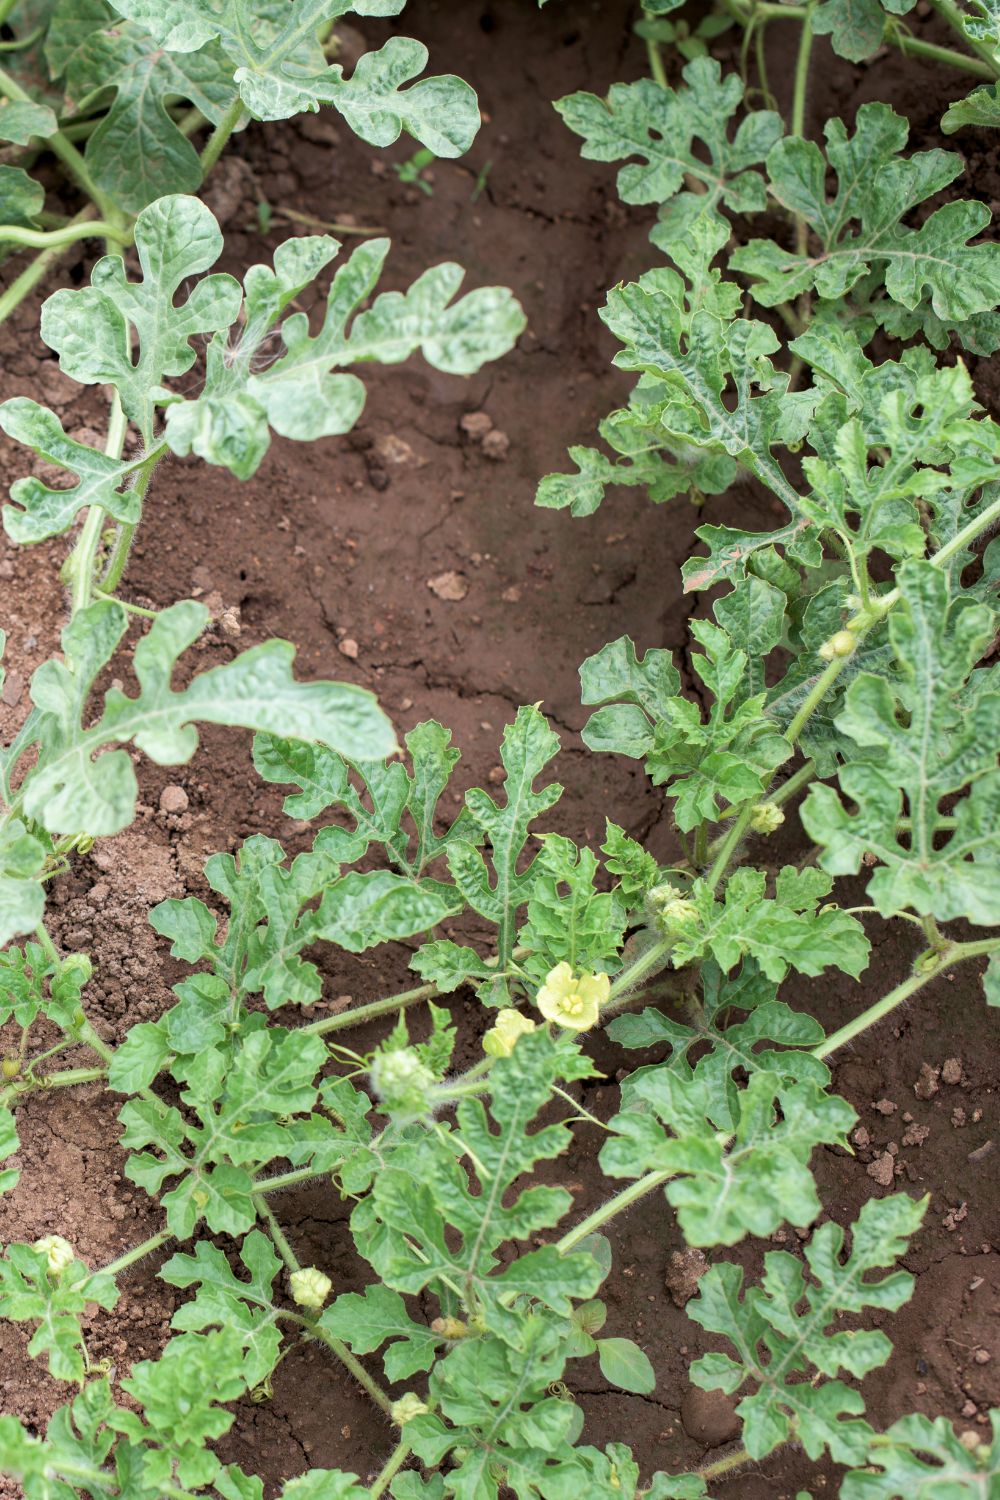
Stage 4: Flowering (35-50 days)
Watermelon plants produce male and female flowers separately on the same plant, known as monoecious. The male flowers appear first, followed by the female flowers, which you can identify by the small bulb (ovary) at the base, soon to become a watermelon.
Pollination is key here; bees play a vital role in transferring pollen from male to female flowers. In areas with low bee activity, you may need to hand pollinate to ensure fruit set.
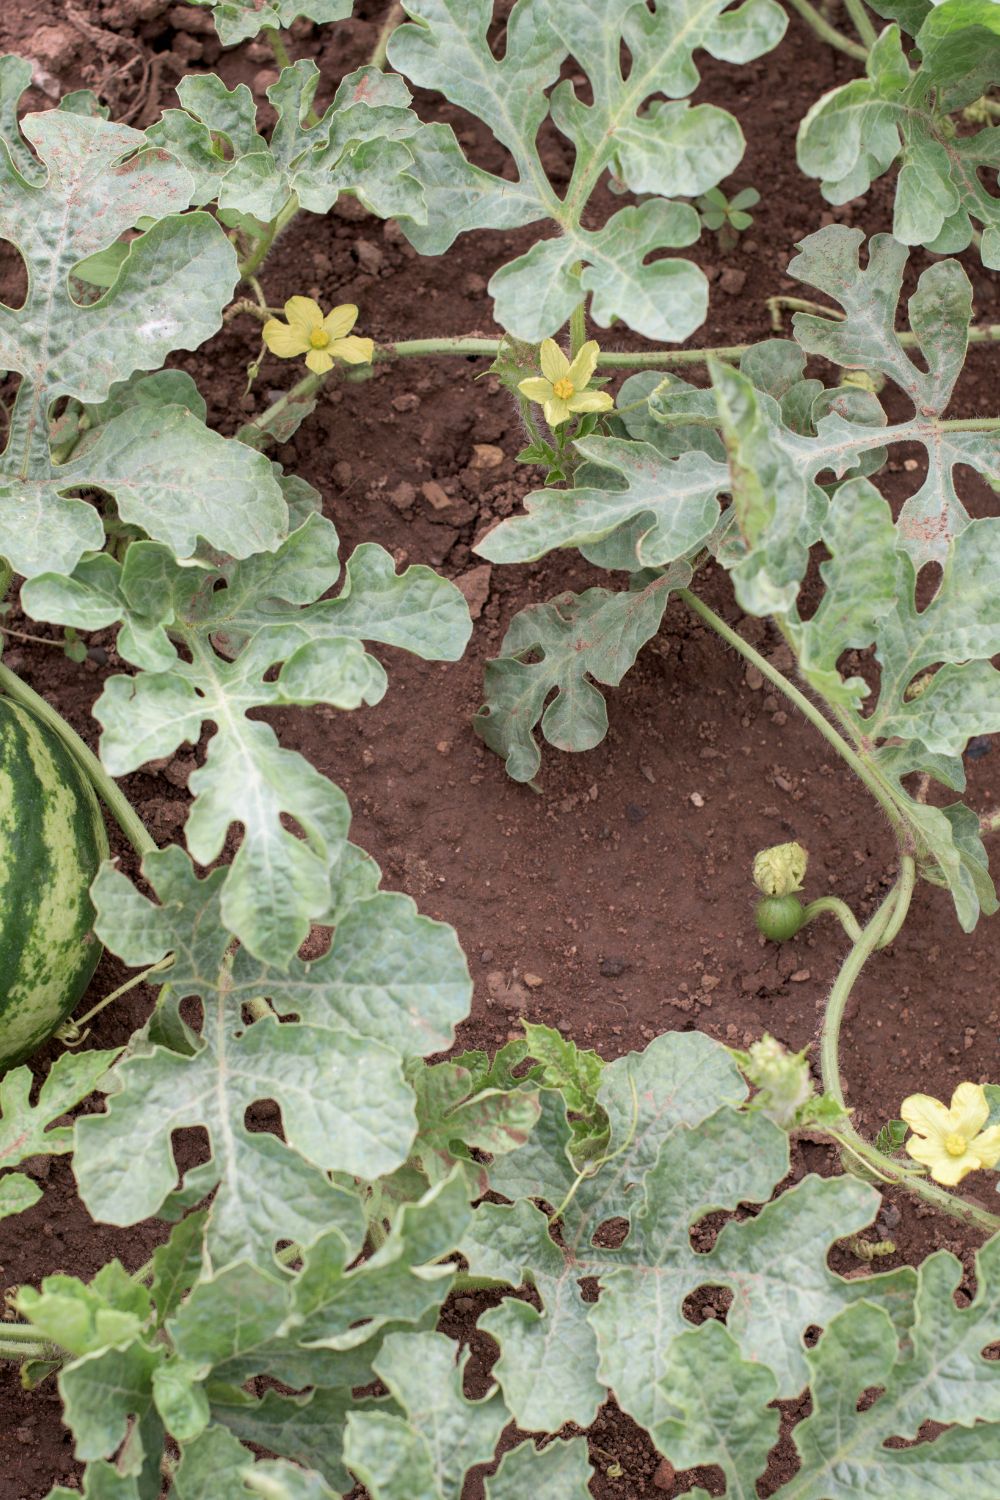
Stage 5: Fruit Set (after successful pollination)
After successful pollination, the female flowers will begin to develop fruits. Initially, the fruit is tiny and grows at a pace where daily changes are noticeable. This stage is exciting as you start to see the fruits of your labor, quite literally.
Regular watering becomes even more crucial to support the growing fruits, but avoid watering the leaves directly to reduce the risk of disease.
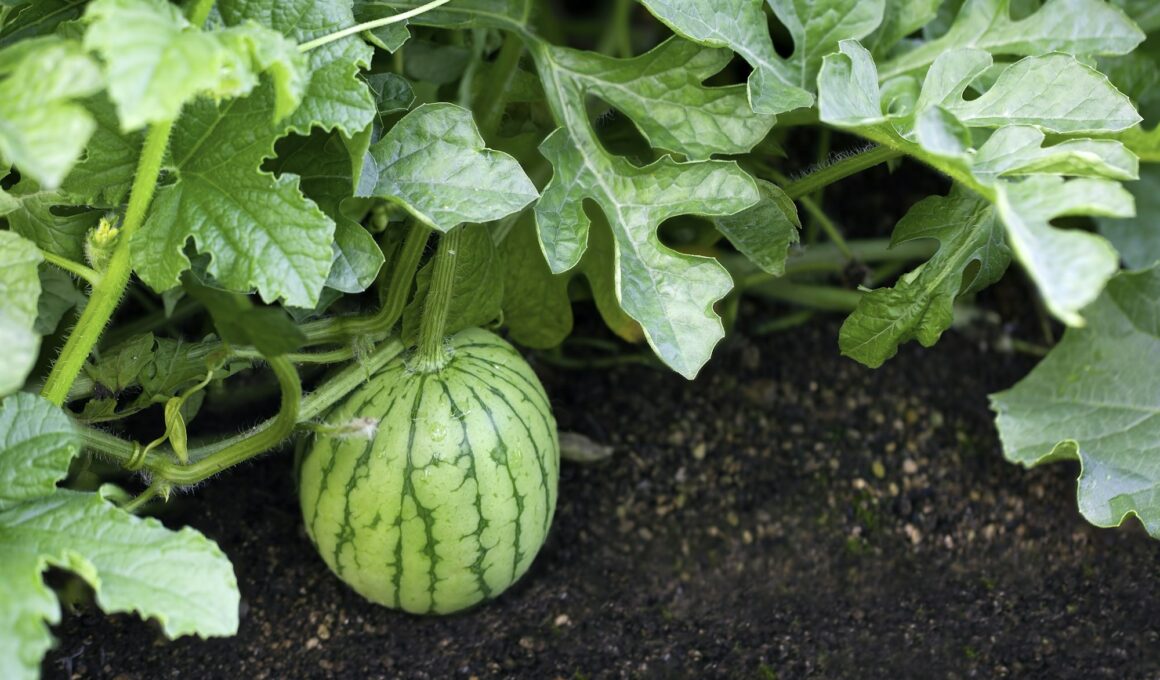
Stage 6: Fruit Growth and Ripening (70-90 days from planting)

The watermelon continues to grow, filling out and gaining weight. Watermelons are mostly water, so consistent, deep watering is essential, but reduce frequency as the fruit matures to avoid splitting.
Signs of ripeness include a dull sound when tapped, a yellowing underside where it rests on the ground, and a drying tendril near the fruit’s stem. Harvesting at the right time is crucial; once picked, watermelons do not continue to ripen.
Understanding these stages and what each requires can make the difference between a good harvest and a great one. Each stage builds on the last, guiding your watermelon from a simple seed to a ripe, juicy fruit ready to be enjoyed.