


In This Article Show
Keeping kids engaged or planning a simple classroom activity can be tough, especially on rainy days. Paper rose crafts are a peaceful way to create something beautiful with easy supplies you already have.
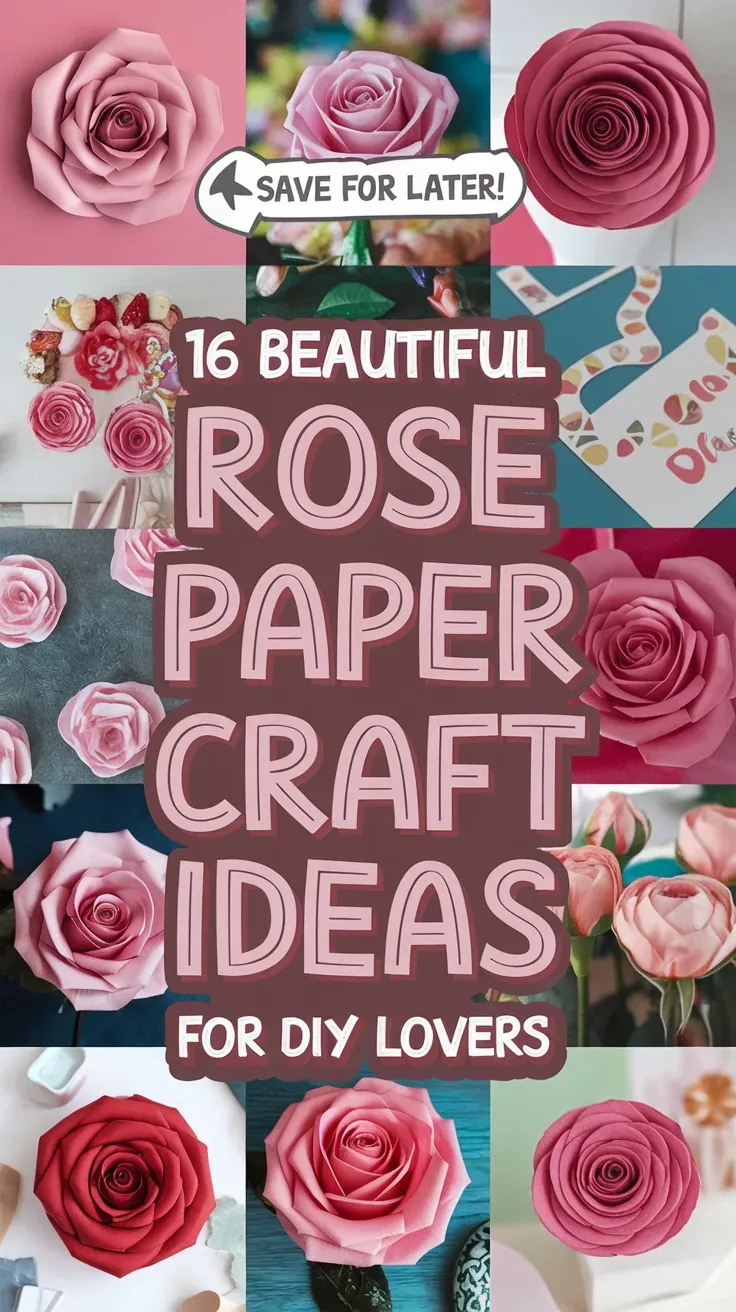
This list gives you fun, simple rose ideas that work for beginners and still look special.
Try one or try them all—let’s make some lovely paper roses together.
1. Spiral Paper Rose Cutout

This craft makes a classic curled rose with layered petals that spiral toward the center. Kids enjoy watching a flat circle turn into a 3D flower with just a few snips and twists—very satisfying for beginners.
Materials Needed:
- Colored paper (red, pink, or any color)
- Pencil and scissors
- Glue stick
- Green paper for a leaf
- Bottle cap or small lid for tracing
How to make it:
- Trace a circle on colored paper and cut it out, then draw a spiral inside.
- Cut along the spiral line to make one long strip.
- Start rolling from the outside in, then glue the base to hold the rose shape.
- Cut and glue a green paper leaf, then display on a card or shelf.
2. Handprint Rose Bouquet

This project turns children’s painted handprints into blooming roses on stems, arranged like a bouquet. It’s personal, cute, and makes a sweet keepsake for Mother’s Day or classroom walls.
Materials Needed:
- White cardstock
- Washable paint (red/pink and green)
- Paintbrush
- Marker for details
- Ribbon (optional)
How to make it:
- Paint a child’s palm red or pink and stamp 3–5 handprints as rose heads.
- Use green paint to add stems and simple leaves.
- Outline petals or write a message with marker; add ribbon bow at stems.
- Let it dry and hang or gift as a card.
3. Paper Plate Rose Wreath

A ring of small paper roses glued around a paper plate base makes a cheerful door or wall wreath. Kids love choosing colors and seeing the circle fill up with blooms.
Materials Needed:
- Paper plate (cut into a ring)
- Colored paper for roses
- Glue stick or tacky glue
- Ribbon or yarn for hanging
- Green paper for leaves
How to make it:
- Cut the center out of a paper plate to make a ring.
- Make mini spiral roses from colored paper and glue them around the ring.
- Add green paper leaves between roses to fill gaps.
- Tie ribbon at the top and hang your wreath.
4. Tissue Paper Crumple Roses

These fluffy roses look soft and full, made by crumpling tissue paper layers. Kids enjoy the mess-free crumpling and the instant, puffy look.
Materials Needed:
- Tissue paper squares (reds, pinks, whites)
- Green pipe cleaners (stems)
- Glue stick
- Pencil (for shaping)
- Tape (optional)
How to make it:
- Stack 4–6 tissue squares and poke a pipe cleaner through the center.
- Twist the pipe cleaner to secure, then scrunch each layer upward around a pencil.
- Fluff the layers into petals and add a dab of glue if needed.
- Bend the pipe cleaner for a leaf and place in a jar as a bouquet.
5. Origami Mini Rose Magnet

A tiny folded rose sits on a small magnet—cute for lockers or the fridge. Kids like the neat folds and the quick reward of a pretty magnet.
Materials Needed:
- Origami paper (small squares)
- Strong glue or glue dots
- Small round magnets
- Green paper for a leaf
- Marker (optional)
How to make it:
- Fold a simple origami rose (beginner versions use a rolled or squash fold).
- Glue the back of the rose to a magnet.
- Add a tiny green paper leaf under the rose and press.
- Let it set and decorate your fridge.
6. Cupcake Liner Rose Card

Flattened cupcake liners become layered petals on a greeting card. It’s simple, cute, and perfect for thank-you or birthday notes.
Materials Needed:
- Cupcake liners (assorted colors)
- Blank folded card or cardstock
- Glue stick
- Buttons or paper circles for centers
- Green paper or markers for stems
How to make it:
- Flatten 2-3 cupcake liners and stack them on the card.
- Glue a button or paper circle in the middle for the rose centre.
- Draw or glue green stems and leaves under the flower.
- Write a message and let it dry.
7. Newspaper Painted Rose Art
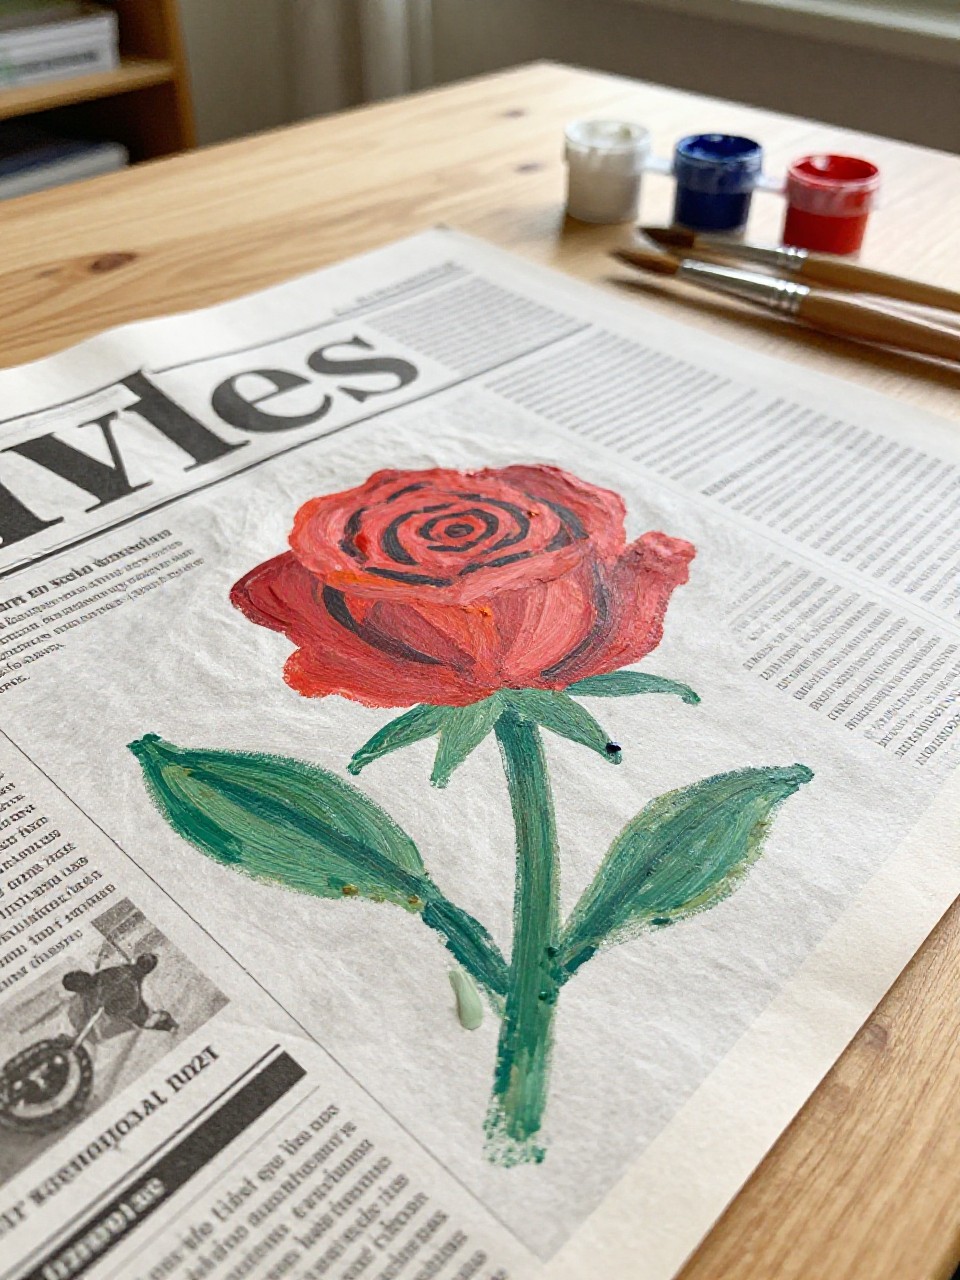
Recycled newspaper becomes the background for painted rose blooms with bold brushstrokes. Kids enjoy the texture of the print showing through the petals.
Materials Needed:
- Newspaper sheets
- Acrylic or tempera paint (reds, pinks, greens)
- Paintbrushes
- Cardboard backing
- Glue stick or tape
How to make it:
- Glue newspaper to cardboard to make a sturdy canvas.
- Paint simple rose shapes: start with a red circle, add darker swirls, and green stems.
- Add highlights with white or lighter pink.
- Let it dry and display as wall art.
8. Rolled Paper Straw Rose Stem

A spiral paper rose attached to a paper straw stem makes a playful single bloom. Kids like choosing patterned straws and matching petal colors.
Materials Needed:
- Colored paper for rose
- Paper straw (green or striped)
- Glue stick
- Green paper leaves
- Tape (optional)
How to make it:
- Make a small spiral rose from colored paper.
- Glue the rose to the top of a paper straw.
- Cut and glue two green paper leaves to the straw.
- Stand it in a cup or give as a simple gift.
9. Coffee Filter Watercolor Roses

Coffee filters painted with watercolors make soft, blended roses when folded and twisted. Kids love watching the colors spread and mix.
Materials Needed:
- Round coffee filters
- Washable markers or watercolors
- Spray bottle with water
- Pipe cleaners or paper stems
- Paper towel for drying
How to make it:
- Color or paint the coffee filter with reds and pinks.
- Lightly mist with water to blend, then let dry on a paper towel.
- Fold and twist the filter center, securing with a pipe cleaner.
- Fluff the petals and arrange as a bouquet.
10. Heart Petal Rose Collage

Heart-shaped paper pieces build a layered rose on a page. Kids enjoy arranging the hearts like a puzzle to form a realistic bloom.
Materials Needed:
- Colored paper (reds, pinks)
- Green paper for leaves
- Scissors and glue stick
- Cardstock base
- Pencil for light guides
How to make it:
- Cut small hearts for inner petals and larger hearts for outer petals.
- Glue the smallest hearts in the center, layering larger ones outward in a circle.
- Add green heart leaves and a stem at the bottom.
- Press flat and display in a frame.
11. Paper Doily Vintage Rose

A lace paper doily forms delicate outer petals around a colored paper rose center. Kids like the fancy look with very little effort.
Materials Needed:
- Paper doilies
- Colored paper circle
- Glue stick
- Green paper leaves
- Small pearl stickers (optional)
How to make it:
- Fold a paper doily into gentle pleats to make ruffled petals.
- Glue a rolled or spiral paper rose in the center.
- Tuck green leaves under the doily edges and glue.
- Add a tiny pearl sticker and mount on a card.
12. Finger-Painted Rose Garden

Thumbprints and finger swirls become playful rose heads across a page. Kids enjoy the sensory painting and the quick garden scene.
Materials Needed:
- White cardstock
- Washable finger paints
- Baby wipes or damp cloth
- Black/green fine marker
- Glitter glue (optional)
How to make it:
- Dab round thumbprints in red or pink for rose bases.
- Swirl a fingertip to add darker centers, then draw stems and leaves with marker.
- Add tiny dots of glitter glue for morning dew.
- Let dry and hang as a cheerful poster.
13. Layered Cardstock Rose Topper

Sturdy cardstock petals stacked in layers create a neat, graphic rose perfect for gift boxes. Kids like punching or cutting simple shapes and seeing a tidy flower appear.
Materials Needed:
- Colored cardstock
- Circle or petal shape template
- Scissors
- Foam dots or glue
- Double-sided tape
How to make it:
- Cut several petal shapes in small, medium, and large sizes.
- Stack with foam dots or glue, rotating petals to fill gaps.
- Add a small circle in the center.
- Stick the finished rose on a gift, notebook, or jar.
14. Paper Quilling Rose Buds

Thin paper strips rolled and pinched become tiny rose buds with curled leaves. Kids find the rolling motion calming and love the delicate results.
Materials Needed:
- Quilling paper strips (or thin-cut paper)
- Slotted quilling tool or toothpick
- Glue
- Card base
- Green strips for leaves
How to make it:
- Roll a tight coil for the bud, then let it loosen slightly and glue.
- Pinch one side to form a teardrop petal; make 3–5 and group into a rose.
- Add curled green strips as leaves and a stem.
- Glue onto a card and let dry flat.
15. Stamped Rose Gift Wrap

Simple rose stamps make custom wrapping paper with repeating blooms. Kids enjoy printing patterns and seeing the sheet fill up.
Materials Needed:
- Brown or white kraft paper
- Rose-shaped stamp or carved potato stamp
- Washable paint or stamp ink
- Paint tray
- Twine or ribbon
How to make it:
- Spread out kraft paper on the table.
- Dip the stamp in paint and press roses in rows or a scattered pattern.
- Add green stamped leaves or draw them with marker.
- Let dry, wrap a gift, and tie with twine.
16. Paper Cone Rose Bouquet in a Cone Wrap

Small cone-shaped petals glued around a center make a plump rose, then grouped in a paper cone wrap. Kids like building the flower piece by piece and gifting the bouquet.
Materials Needed:
- Colored paper (rose colors and kraft for wrap)
- Glue stick or tacky glue
- Green paper leaves
- Ribbon or string
- Tape
How to make it:
- Cut petal squares and roll each into a tiny cone; glue the edge.
- Glue cones around a small paper center, adding layers to form a rose; make 3–5.
- Cut a triangle of kraft paper and roll into a cone wrap; tape to hold.
- Tuck roses and leaves inside, tie with ribbon, and gift it.