

In This Article Show
Keeping kids busy can be hard, especially on rainy days, during parties, or when you need a quick classroom activity. If you want something fun that doesn’t make a big mess, paper cake crafts are a sweet answer. These ideas are simple, colorful, and easy to set up with basic supplies.
Below you’ll find cute, cake-themed paper projects that spark imagination and look great for parties or play.
Let’s jump into the crafty fun!
1. Paper Slice Birthday Cake

This craft looks like a single triangular slice of birthday cake with layers and sprinkles made from paper strips. Kids love picking colors for each “flavor” and adding pretend frosting. It’s easy and great for party decorations.
Materials Needed:
- Colored construction paper (pastels or brights)
- White paper (for frosting)
- Glue stick
- Scissors
- Markers or confetti for sprinkles
How to make it:
- 1. Cut a triangle for the cake slice and a thin rectangle for the side layer.
- 2. Glue the rectangle along one triangle edge to make the side of the slice.
- 3. Add white “frosting” strips and decorate with marker sprinkles or tiny confetti.
- 4. Let it dry and display on a plate or hang as party decor.
2. Cupcake Liner Mini Cakes
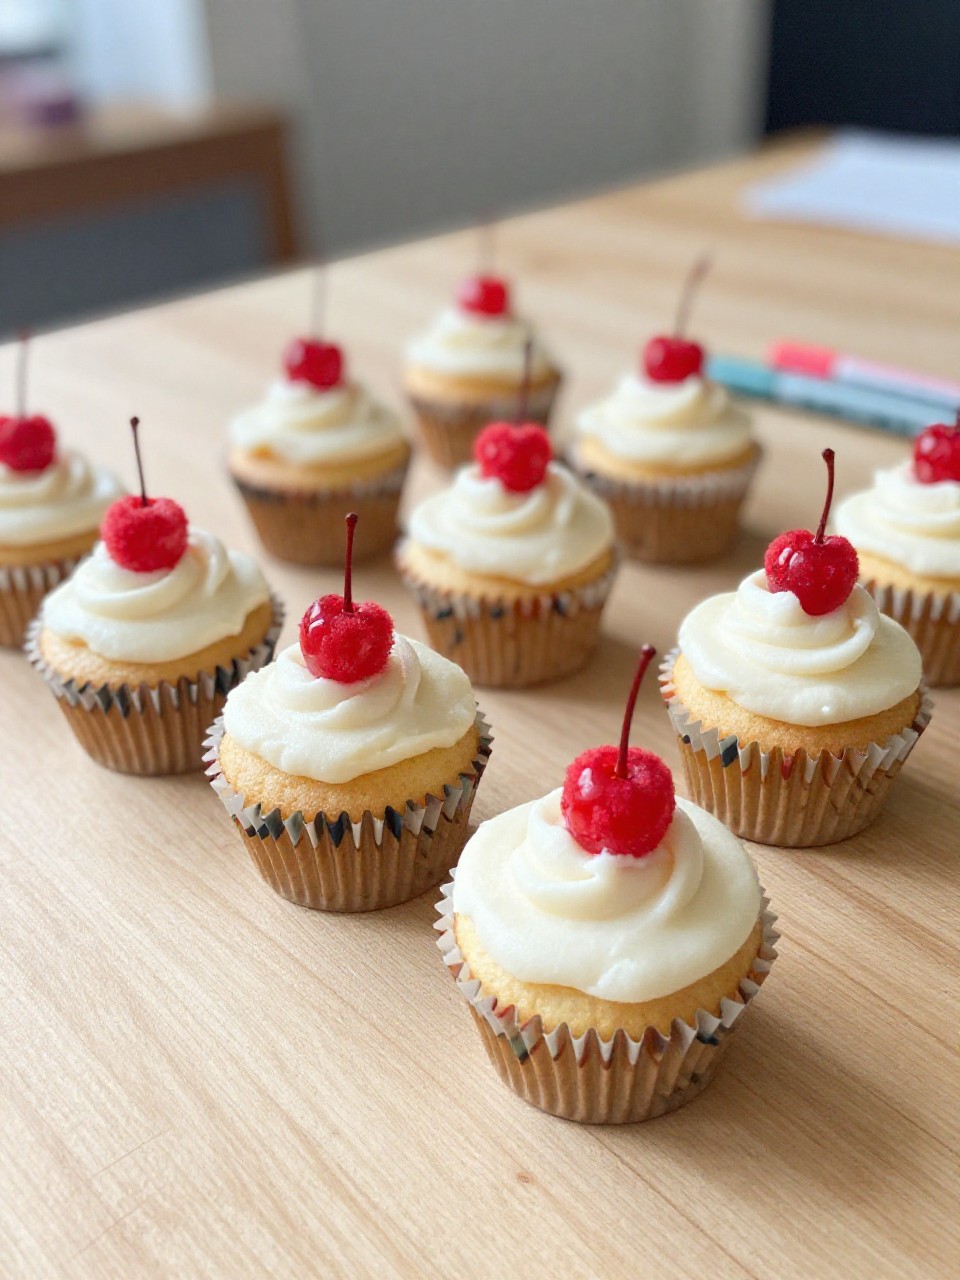
This craft uses real cupcake liners stacked to look like mini cakes with a cherry on top. Kids enjoy crinkling, stacking, and choosing fun liner patterns. It’s quick and satisfying for small hands.
Materials Needed:
- Cupcake liners (assorted colors/patterns)
- Pom-poms (small red for cherry)
- Glue stick or tacky glue
- Cardstock circles (base)
- Markers (optional for sprinkles)
How to make it:
- 1. Flatten a liner and glue it onto a cardstock circle as the base layer.
- 2. Stack 1–2 more liners on top, slightly pinched for height.
- 3. Draw sprinkles or glue tiny paper bits, then add a pom-pom cherry.
- 4. Let dry and line them up like a tiny dessert table.
3. Paper Plate Layer Cake

This looks like a round, two-layer cake made from a paper plate folded and stacked with “frosting” edges. Kids love painting or coloring the frosting and adding big bold sprinkles. It’s a great beginner project.
Materials Needed:
- Small paper plates (2)
- Paint or markers
- Glue or tape
- Colored paper scraps
- Safety scissors
How to make it:
- 1. Fold one plate in half and glue it on top of the full plate as the second layer.
- 2. Color or paint the “frosting” around the rims.
- 3. Cut small sprinkle shapes and glue them around the top.
- 4. Dry, then display on a windowsill like a bakery treat.
4. Handprint Birthday Cake Card

This card looks like a tiered cake where each handprint layer stacks to make a sweet birthday card. Kids enjoy tracing and seeing their hands become a cake. It’s perfect for a classroom birthday board.
Materials Needed:
- Folded cardstock (card base)
- Colored paper for handprints
- Glue stick
- Markers
- Small paper flames or yellow tissue (for candles)
How to make it:
- 1. Trace and cut 2–3 handprints in different colors.
- 2. Glue handprints stacked on the card, smallest on top, to form cake tiers.
- 3. Draw frosting lines and add paper candles with tissue flames.
- 4. Write a message inside and let it dry flat.
5. Pop-Up Paper Cake Slice Card

This card opens to reveal a pop-up triangle cake slice with icing trim. Kids love the surprise and the simple pop-up mechanism. It feels impressive but is still beginner-friendly.
Materials Needed:
- Cardstock (card base)
- Colored paper (cake and icing)
- Glue stick
- Scissors
- Stickers or glitter (optional)
How to make it:
- 1. Fold cardstock into a card; cut a triangle cake slice from colored paper.
- 2. Fold the triangle and glue only the folded edge inside so it pops up.
- 3. Add icing strips, sprinkle dots, and stickers if you like.
- 4. Close the card to press flat, then open to enjoy the pop-up.
6. Confetti Sprinkle Sheet Cake Collage
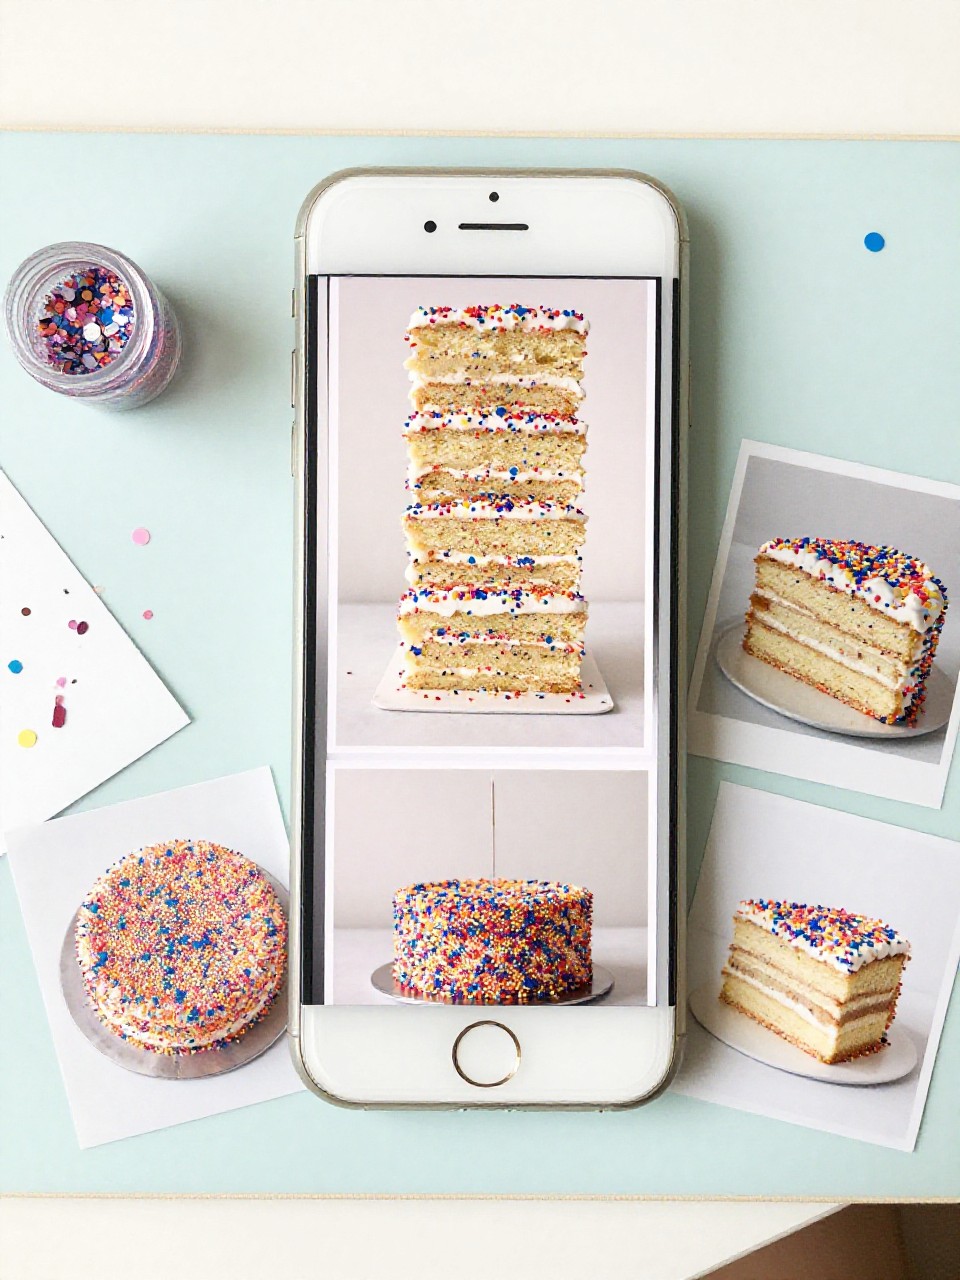
This craft looks like a rectangle sheet cake covered in colorful paper confetti sprinkles. Kids enjoy tearing and sprinkling bits like real cake toppings. It’s a fun sensory-style collage.
Materials Needed:
- White cardstock (cake base)
- Brown or pastel paper (cake edge)
- Colored paper scraps (confetti)
- Glue stick
- Ruler and marker (to outline pan edges)
How to make it:
- 1. Draw and cut a rectangle “cake” and glue it to a background.
- 2. Add a thin strip around the edge as the cake’s side.
- 3. Spread glue and shower the top with confetti bits.
- 4. Press flat with a book, then display like a bakery poster.
7. Layered Tissue Paper Frosting Cake
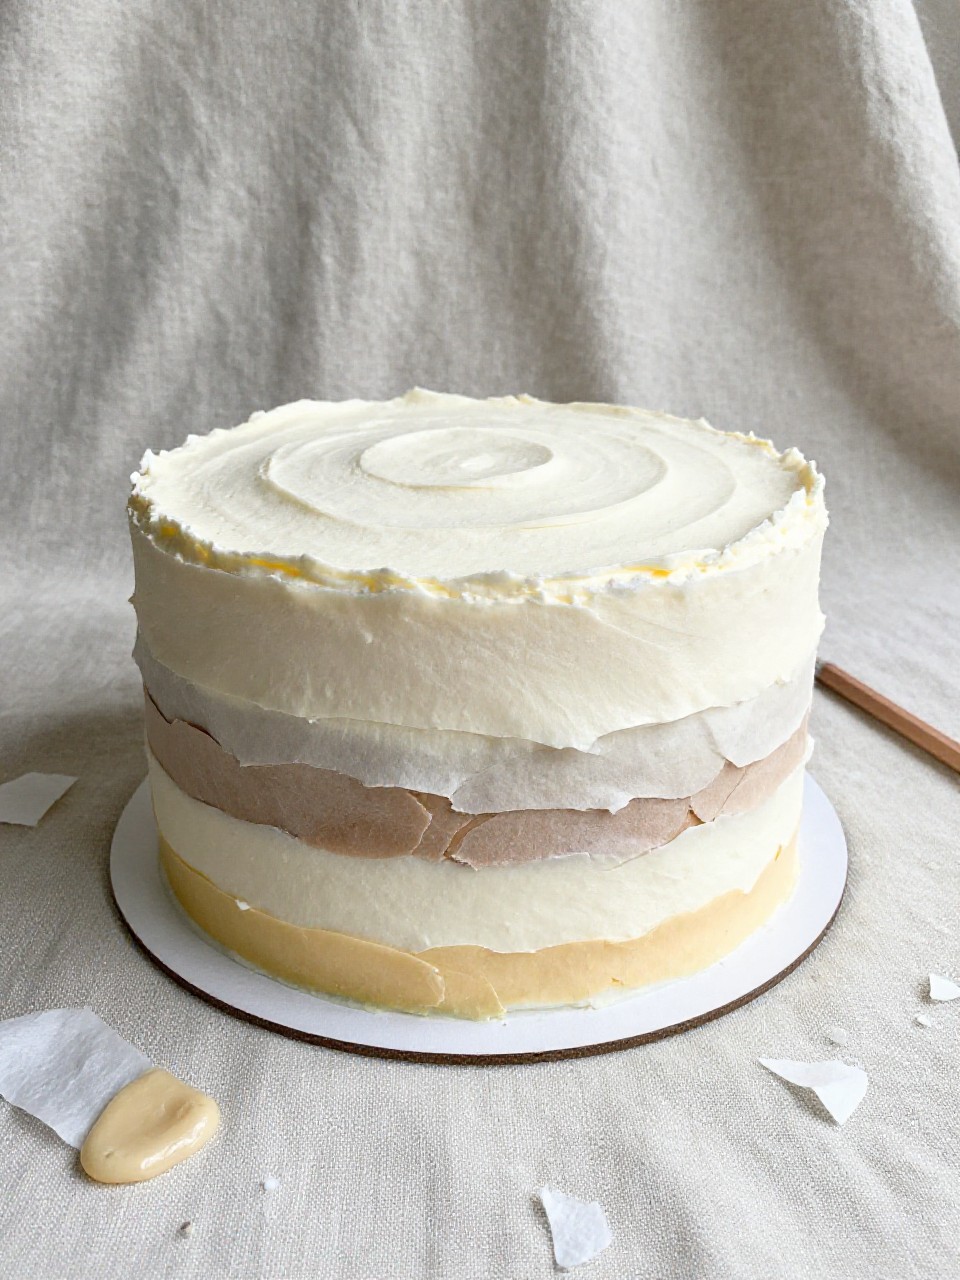
This looks like a small cake slice with fluffy, ruffled tissue frosting. Kids love scrunching tissue and building texture. It’s simple and very touchable.
Materials Needed:
- Cardstock (cake slice base)
- Tissue paper (white, pink, or mint)
- Glue
- Small pom-poms or sequins (optional)
- Pencil (to poke and shape tissue)
How to make it:
- 1. Cut a triangle cake slice from cardstock.
- 2. Tear small tissue squares and scrunch them around a pencil tip.
- 3. Dab glue and press each tissue puff to build “frosting” layers.
- 4. Add pom-pom cherries or sequins, then let dry.
8. Paper Roll Birthday Cake Tower

This craft turns a toilet paper roll into a tall birthday cake with icing drips and candles. Kids enjoy painting the roll and making tiny flames. It stands up for party play.
Materials Needed:
- Clean toilet paper roll
- Paint or colored paper wrap
- Glue
- Yellow and orange paper (flames)
- Thin paper strips (candles)
How to make it:
- 1. Paint the roll or wrap it with colored paper.
- 2. Add wavy icing strips around the top edge.
- 3. Roll thin paper candles and glue them on top with small flame shapes.
- 4. Dry upright and use as a table centerpiece.
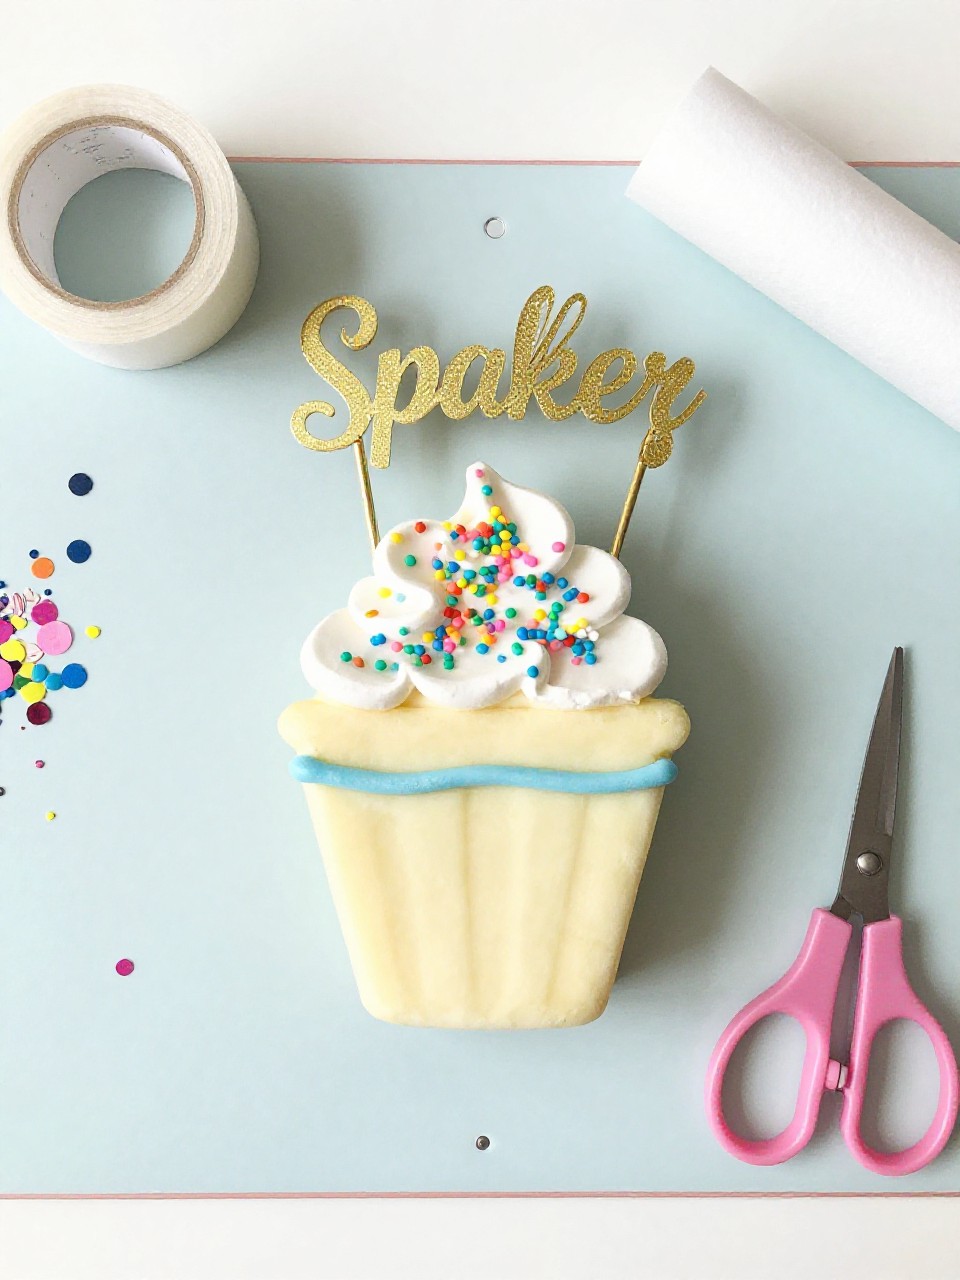
9. Kawaii Face Paper Cupcake

This looks like a cute cupcake with a smiling face, rosy cheeks, and a cherry on top. Kids love choosing expressions and pastel colors. It’s trendy and great for party banners.
Materials Needed:
- Colored paper (cup liner and frosting)
- Black marker (face)
- Small pink paper circles (cheeks)
- Red pom-pom or circle (cherry)
- Glue stick and scissors
How to make it:
- 1. Cut a trapezoid for the liner and a fluffy frosting top.
- 2. Glue pieces together and draw big eyes and a happy mouth.
- 3. Add pink cheeks and a cherry.
- 4. Let dry and string onto ribbon for a garland.
10. Paper Candle-Topped Cake Banner
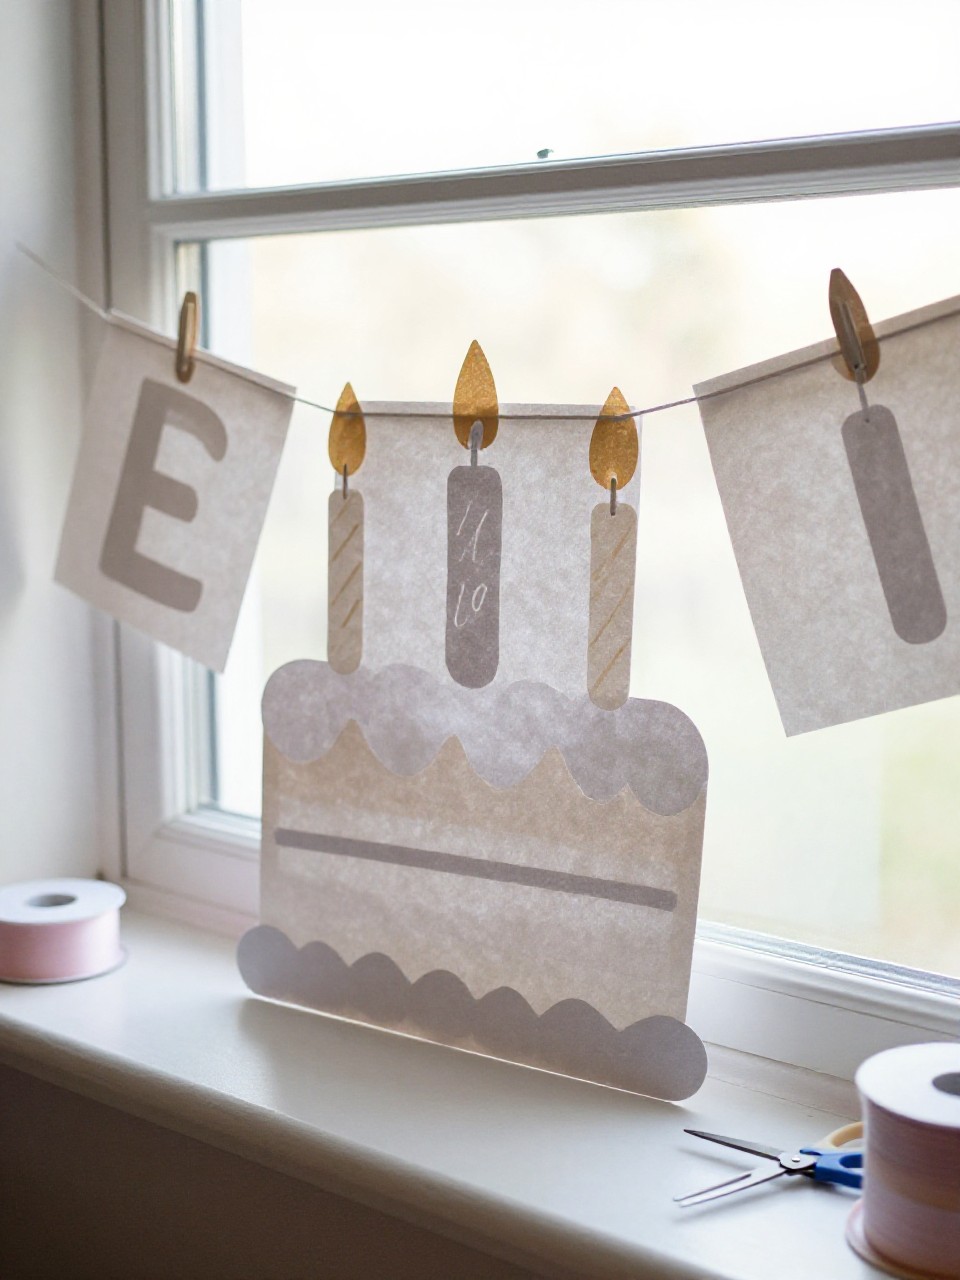
This is a banner of small paper cake slices, each with a tiny candle, strung across a wall. Kids enjoy repeating the simple shapes and building a long decoration. It’s perfect for birthdays.
Materials Needed:
- Colored cardstock (cake slices)
- String or ribbon
- Hole punch or tape
- Thin paper strips (candles)
- Yellow paper triangles (flames)
How to make it:
- 1. Cut several triangle cake slices in fun colors.
- 2. Glue a small candle and flame on each slice.
- 3. Punch holes or tape the backs to a long string.
- 4. Hang across a doorway or table edge.
11. 3D Rolled Paper Swiss Roll Cake

This craft looks like a chocolate Swiss roll with a white spiral center. Kids enjoy rolling paper strips to see the swirl appear. It’s easy and looks very real.
Materials Needed:
- Brown construction paper
- White paper strip (filling)
- Glue stick
- Scissors
- Tiny paper sprinkles (optional)
How to make it:
- 1. Glue a white strip along one long edge of a brown sheet.
- 2. Roll tightly from the white side to form a spiral log.
- 3. Add thin icing lines and sprinkles if you like.
- 4. Let it set, then place on a paper “plate.”
12. Paper Tiered Party Cake Standee
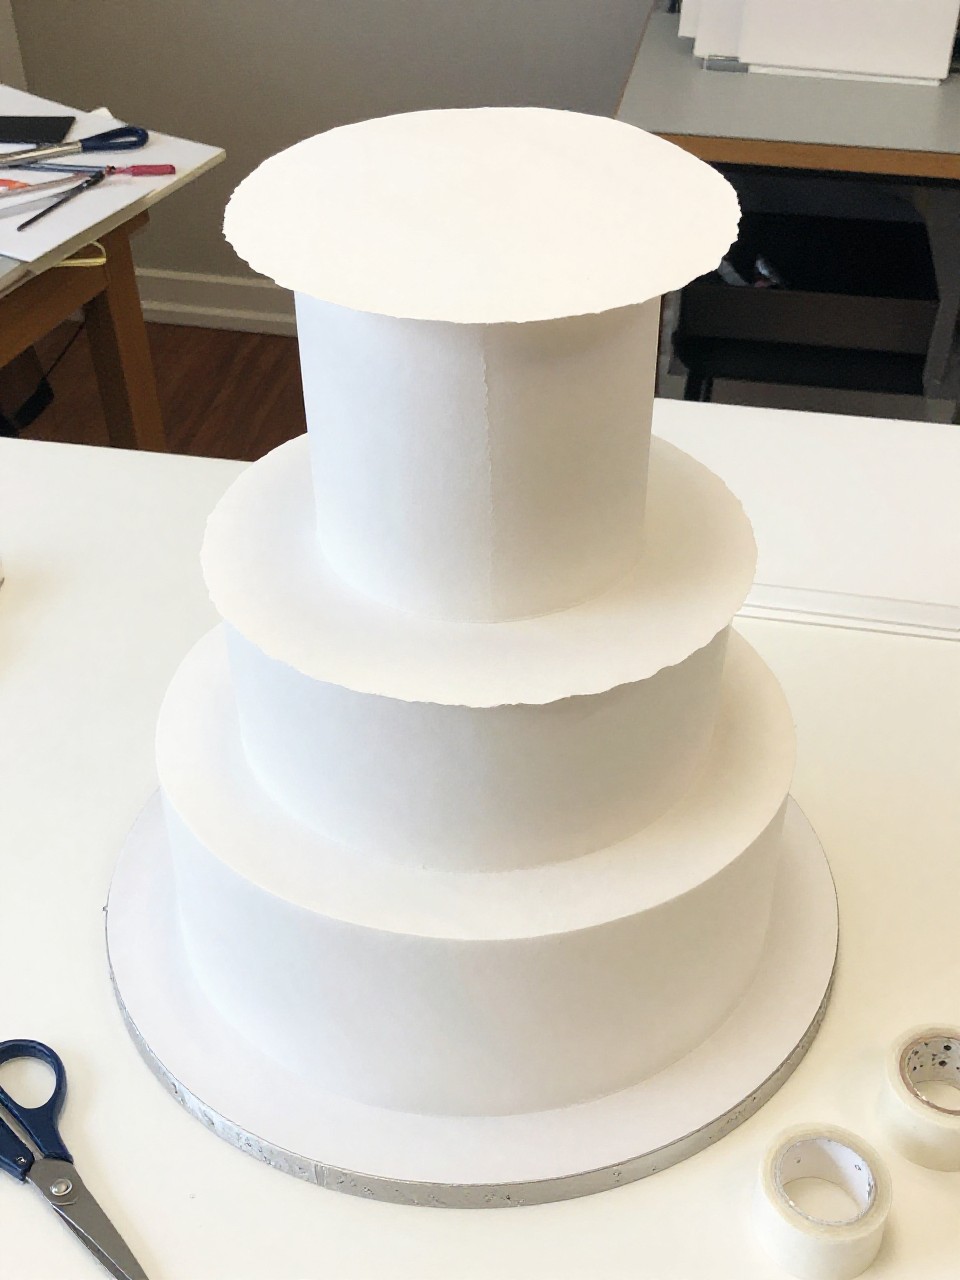
This looks like a tall three-tier cake made from stacked paper circles on a flat base, like a party prop. Kids love choosing colors and patterns for each tier. It stands up for play scenes.
Materials Needed:
- Cardstock (various colors)
- Glue or double-sided tape
- Craft sticks or folded support strip
- Sequins or stickers
- Scissors
How to make it:
- 1. Cut three graduating circles and a rectangle base.
- 2. Glue circles stacked smallest to largest on the base.
- 3. Add a folded support strip or craft sticks on the back to help it stand.
- 4. Decorate with sequins, stickers, and a tiny top candle.
13. Sprinkle Shaker Cake Topper (Paper + Acetate)
This looks like a mini paper cake topper with a clear window filled with moving paper sprinkles. Kids love shaking it and watching the sprinkles dance. It’s a bit fiddly but still beginner-friendly.
Materials Needed:
- Colored cardstock (front and back)
- Clear acetate or recycled packaging window
- Tiny paper confetti
- Glue or foam tape
- Paper straw (to hold)
How to make it:
- 1. Cut two matching cake slice shapes; cut a window in the front.
- 2. Glue acetate behind the window and add confetti on the back piece.
- 3. Seal edges with glue or foam tape, trapping the confetti.
- 4. Attach to a paper straw and use as a party cake topper prop.
14. Origami Cupcake With Frosting Swirl
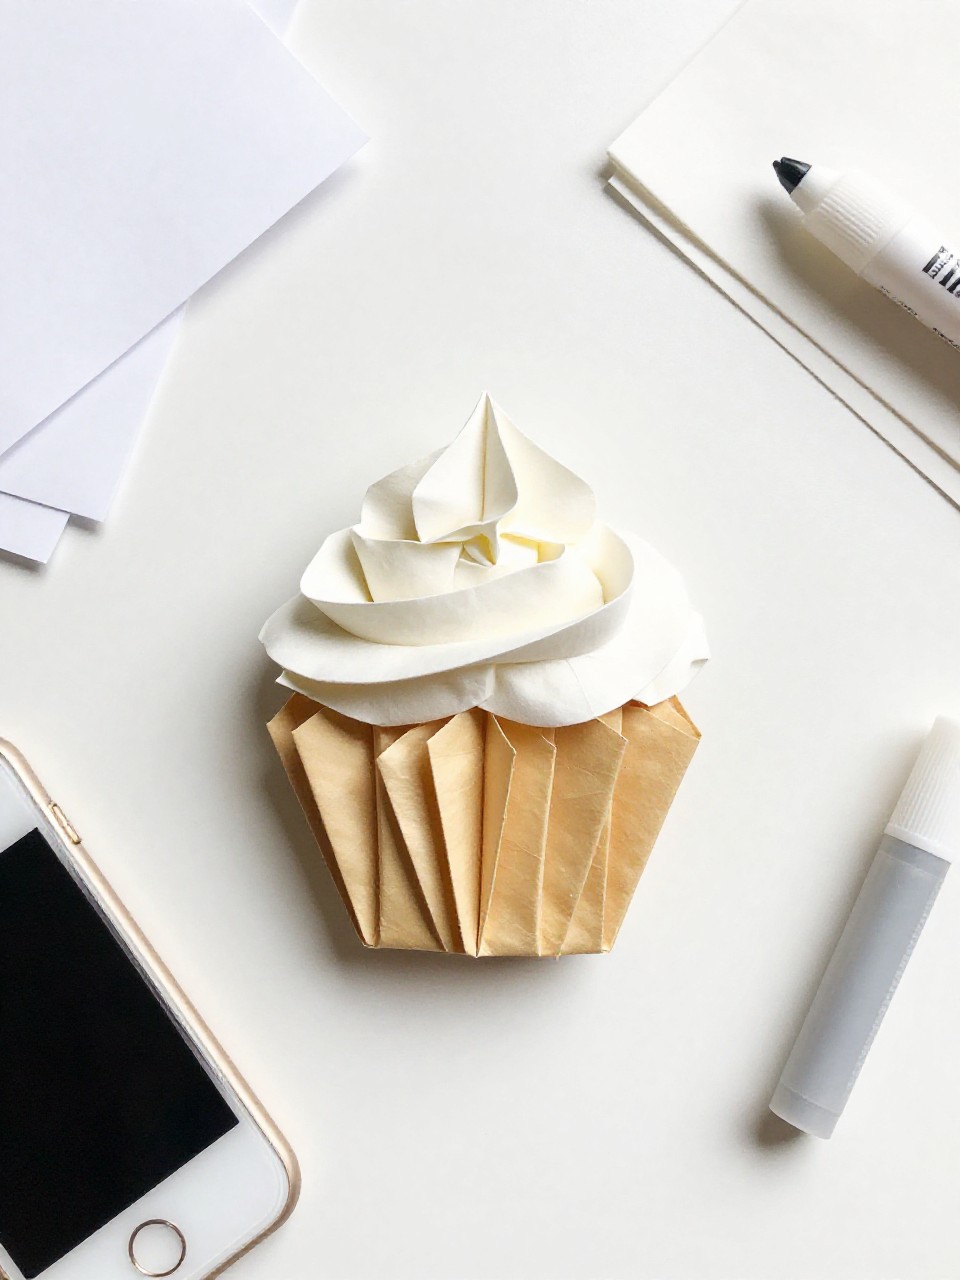
This is a folded paper cupcake base with a separate frosting swirl glued on top. Kids enjoy the simple folds and choosing flavors. It looks clean and cute for cards or posters.
Materials Needed:
- Square origami paper (liner)
- Colored paper (frosting)
- Glue stick
- Marker (face or sprinkles)
- Small gem sticker (optional)
How to make it:
- 1. Fold the origami square into a simple pocket to form the cupcake liner.
- 2. Cut a curved frosting top and glue it above the liner.
- 3. Add sprinkles or a tiny face with marker; stick on a gem.
- 4. Press flat under a book and add to a card or display.
15. Paper Ice Cream Cake Slice

This looks like a pastel “ice cream” cake slice with drip icing and a wafer triangle. Kids love the dreamy colors and drippy details. It’s trendy and perfect for summer parties.
Materials Needed:
- Pastel cardstock (mint, lavender, peach)
- White paper (drip icing)
- Tan paper (wafer)
- Glue stick and scissors
- Markers (sprinkles)
How to make it:
- 1. Cut a triangle slice from pastel cardstock and a thin side strip.
- 2. Glue on the side strip, then add a wavy white drip icing layer.
- 3. Draw sprinkles and add a tan triangle “wafer” on top.
- 4. Dry and prop it up on a mini easel or plate.