


In This Article Show
Keeping kids busy can be tough, especially on rainy days or when you need a quick classroom activity. Paper crafts are simple, low-mess, and use supplies you probably already have.
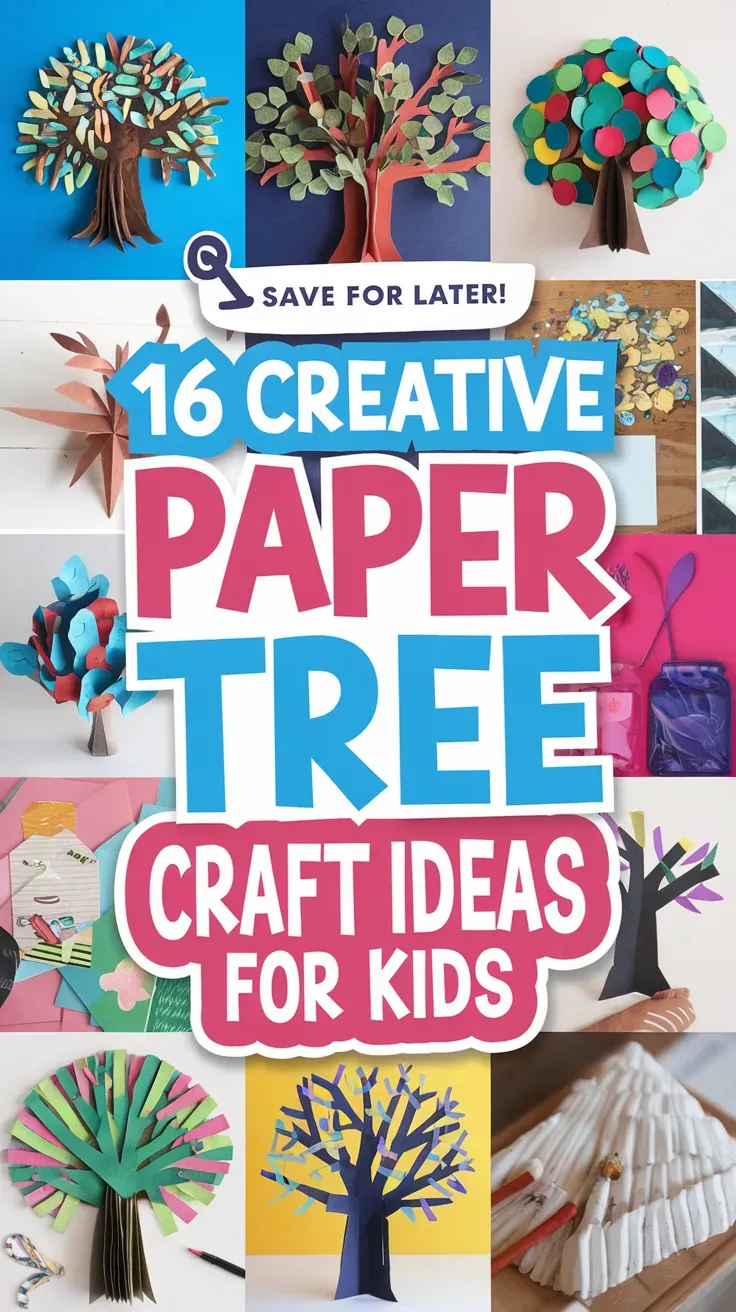
This list gives you fun, creative paper tree projects that look great and are easy for beginners. You’ll find ideas for every season and age, so grab some paper and let’s start making trees!
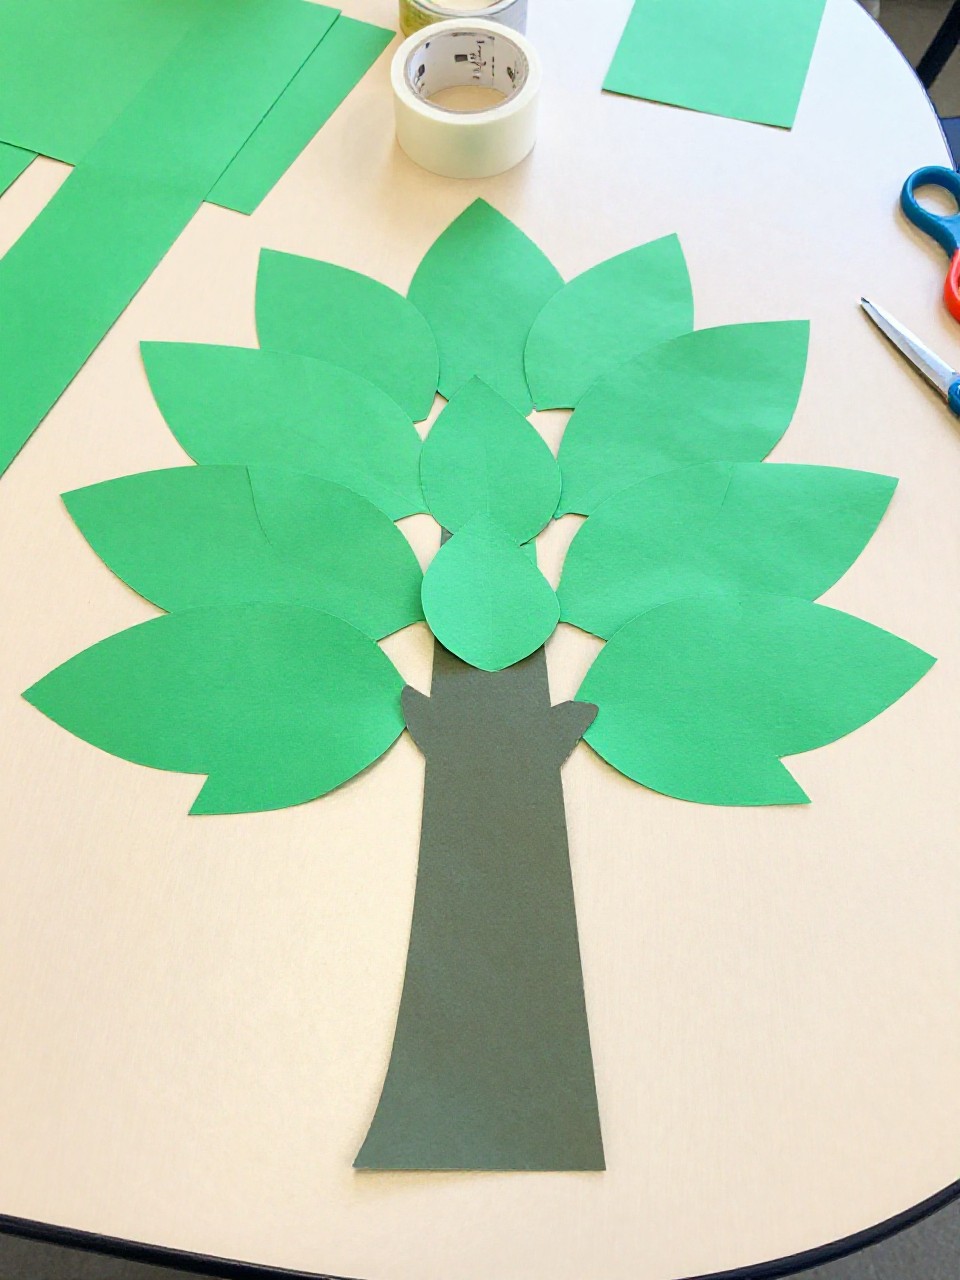
1. Handprint Paper Tree
This tree uses a child’s traced hand and arm as the trunk with colorful paper leaves on each fingertip. Kids love seeing their own hand shape become a tree, and it makes a sweet keepsake for home or classroom displays.
Materials Needed:
- Brown construction paper
- Green, red, yellow, and orange paper for leaves
- Pencil and scissors
- Glue stick
- Markers (optional)
How to make it:
- Trace the child’s hand and forearm on brown paper and cut it out for the trunk and branches.
- Glue the handprint trunk onto a background sheet.
- Cut small leaf shapes from colored paper and glue them to each “finger” branch.
- Add grass or a sun with markers, let dry, and hang it up.
2. Tissue Paper Fall Foliage Tree
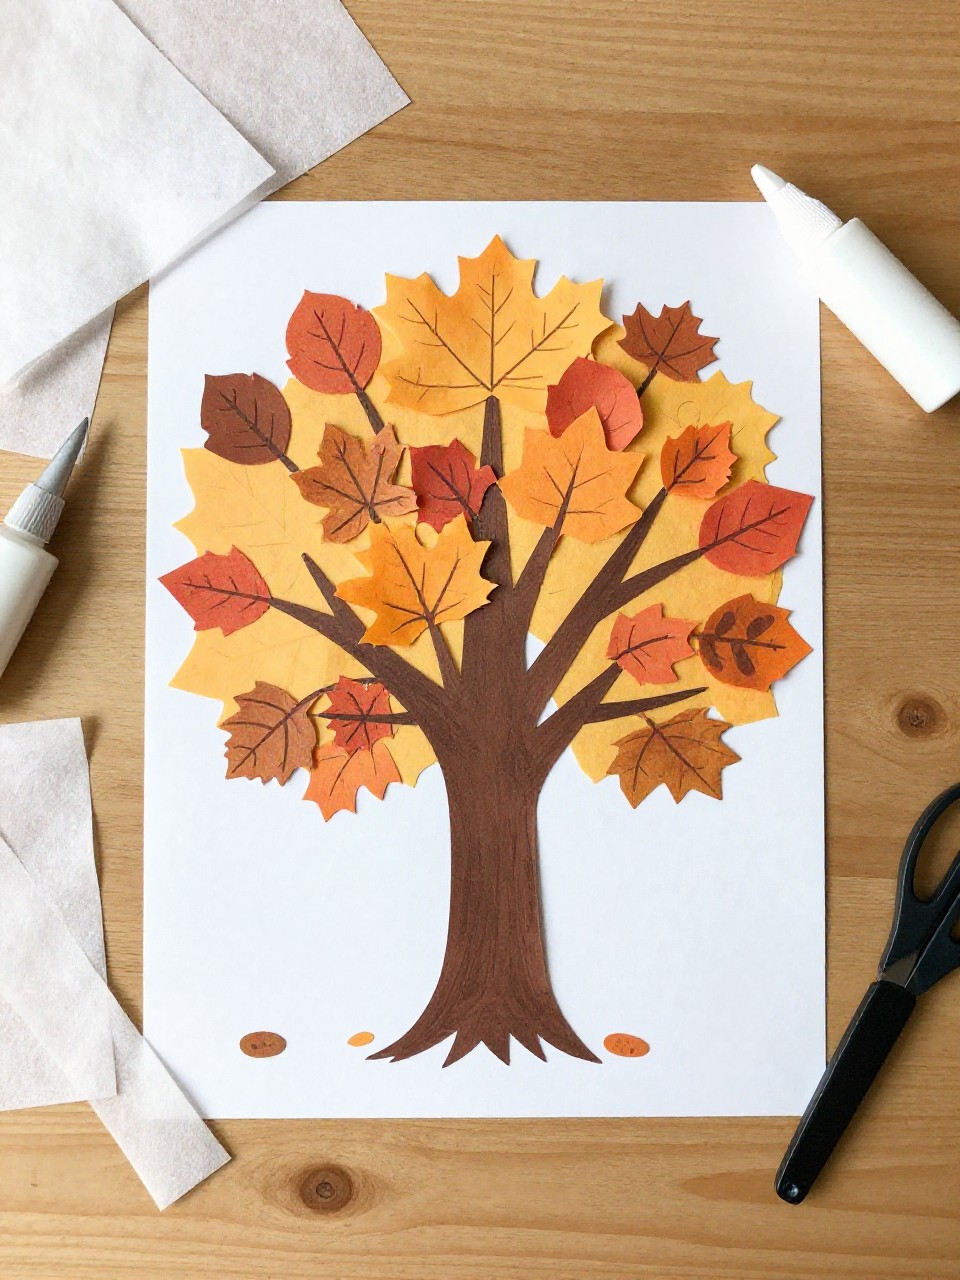
The finished tree has a brown paper trunk with fluffy tissue paper leaves in rich autumn colors. Kids enjoy crumpling the tissue squares and watching the tree come alive with texture.
Materials Needed:
- Brown construction paper
- Tissue paper squares in red, orange, yellow
- Glue
- Background cardstock
- Pencil (optional)
How to make it:
- Cut a simple trunk and branches from brown paper and glue onto the background.
- Crumple tissue squares into little puffs.
- Glue the tissue puffs all over the branches to form full fall foliage.
- Add a few fallen leaves around the base and let dry before displaying.
3. Paper Strip Pine Tree
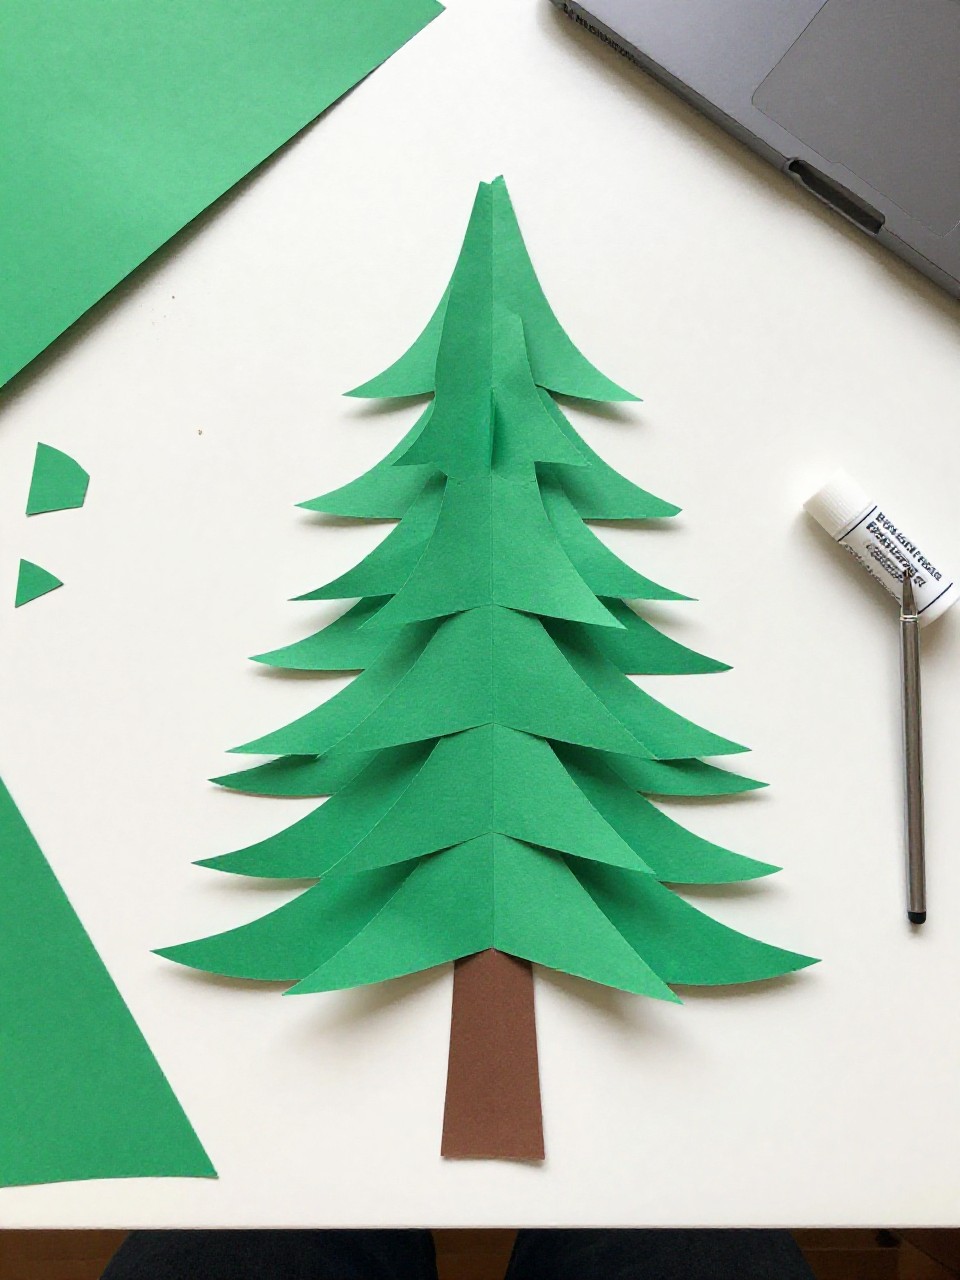
This tree stacks green paper strips from long to short to make a neat pine or Christmas tree shape. Kids like arranging the strips by size and seeing a clean, modern tree appear quickly.
Materials Needed:
- Green construction paper
- Brown paper for trunk
- Star sticker or yellow paper
- Scissors and glue
- Optional sequins or dot stickers
How to make it:
- Cut green paper into strips of gradually shorter lengths and a small brown rectangle for the trunk.
- Glue the trunk and then layer the longest strip at the bottom, shortest at the top.
- Add a paper star and dot stickers or sequins as ornaments.
- Press flat to dry and place on the fridge or bulletin board.
4. Spiral Paper Evergreen

The evergreen looks 3D with a curly spiral that drops down like tree branches. Kids love snipping and then lifting the spiral to see it spring into shape.
Materials Needed:
- Green cardstock or construction paper
- Brown paper for trunk
- Pencil and scissors
- Glue
- Hole punch and string (optional for hanging)
How to make it:
- Draw a spiral on a green circle and cut along the line.
- Glue a small brown trunk to the center bottom point of the spiral.
- Lift and twist the spiral so it hangs like layered branches; add tiny sticker ornaments if you like.
- Punch a hole at the top coil and hang with string or display standing.
5. Cherry Blossom Paper Tree
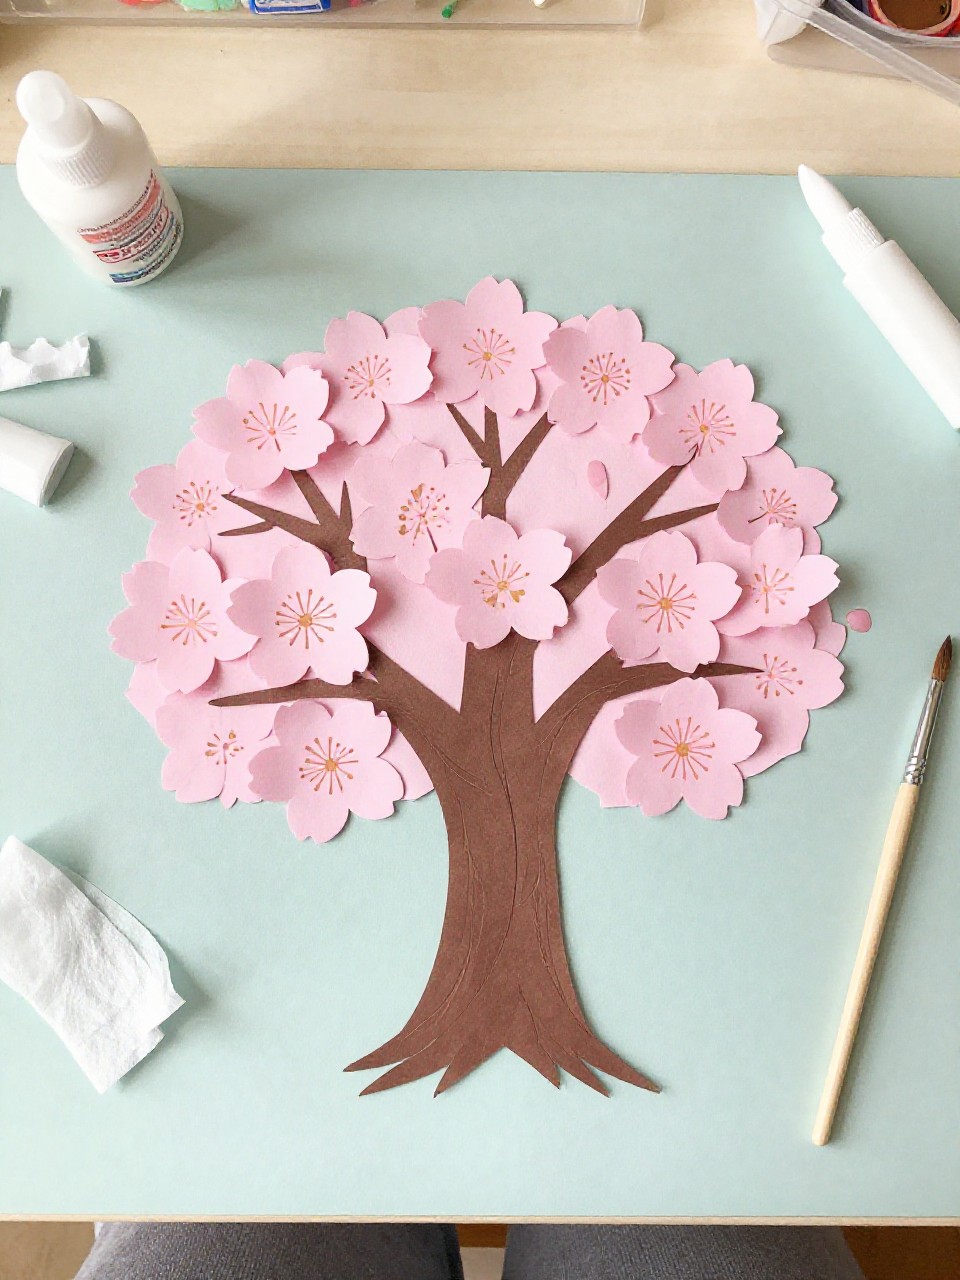
This tree features a dark trunk with soft pink blossom clusters made from scrunched paper or punched dots. Kids enjoy pinching tiny blossoms and arranging them into fluffy spring branches.
Materials Needed:
- Brown or black construction paper
- Pink tissue paper or pink paper dots
- Glue
- Background paper
- Cotton swab for dabbing glue (optional)
How to make it:
- Cut and glue a trunk with lots of branching arms on your background.
- Scrunch small bits of pink tissue or use a hole punch to make pink dots.
- Glue blossoms along the branches in clusters.
- Add a few petals “falling” for motion and let dry flat.
6. Four-Season Window Tree
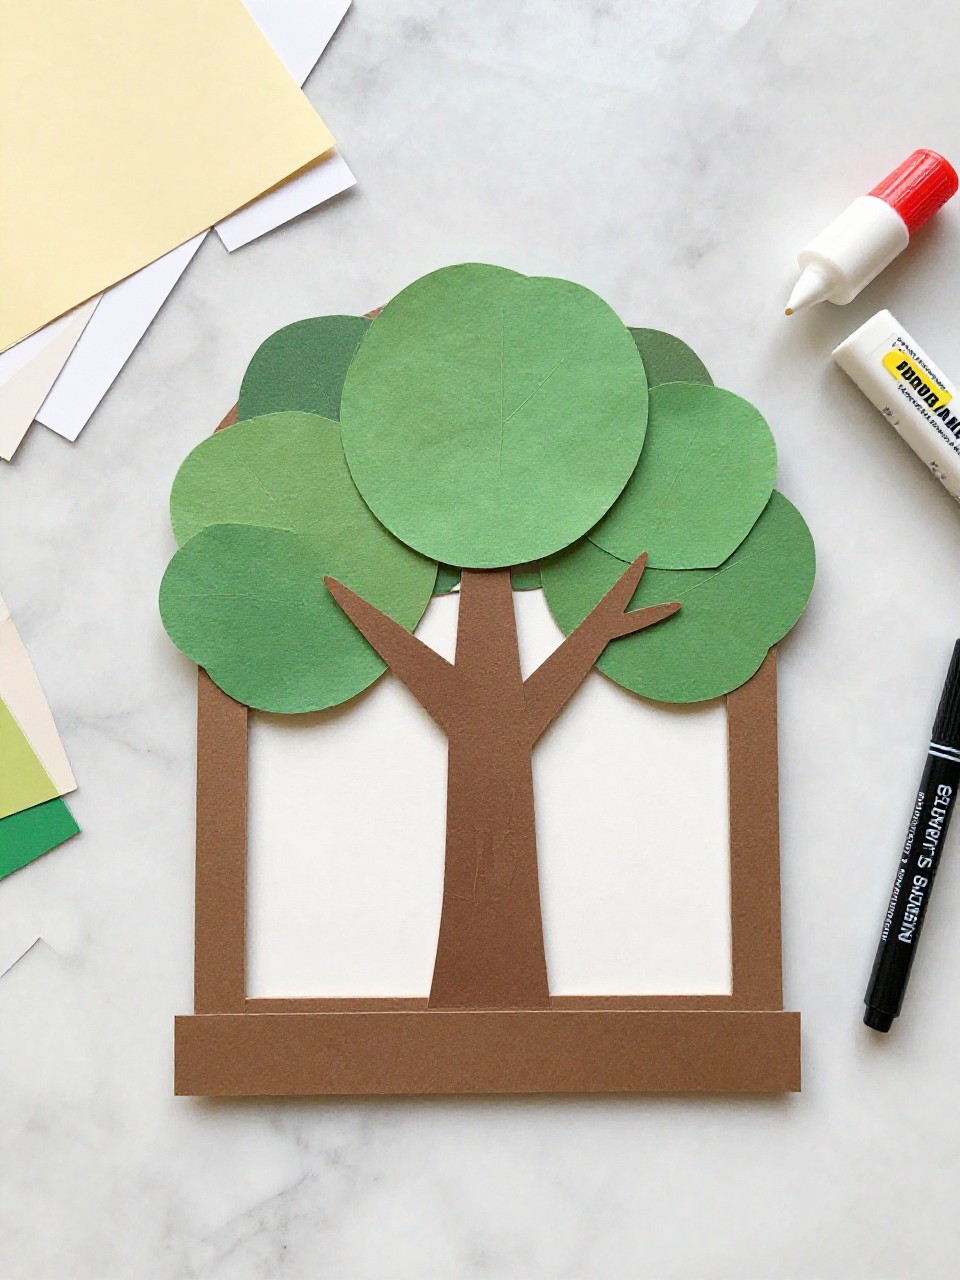
One tree appears in four mini scenes showing winter, spring, summer, and fall inside windowpanes. Kids like comparing the seasons and decorating each panel with unique colors and textures.
Materials Needed:
- White cardstock base
- Black paper strips for window frame
- Brown paper for trunk
- Colored paper/tissue for leaves, snow, blossoms
- Glue and scissors
How to make it:
- Divide the base into four squares with black paper strips like a window.
- Glue a small trunk and branches in each square.
- Add seasonal details: snowflakes for winter, blossoms for spring, green leaves for summer, warm leaves for fall.
- Label each season if desired and display as a learning piece.
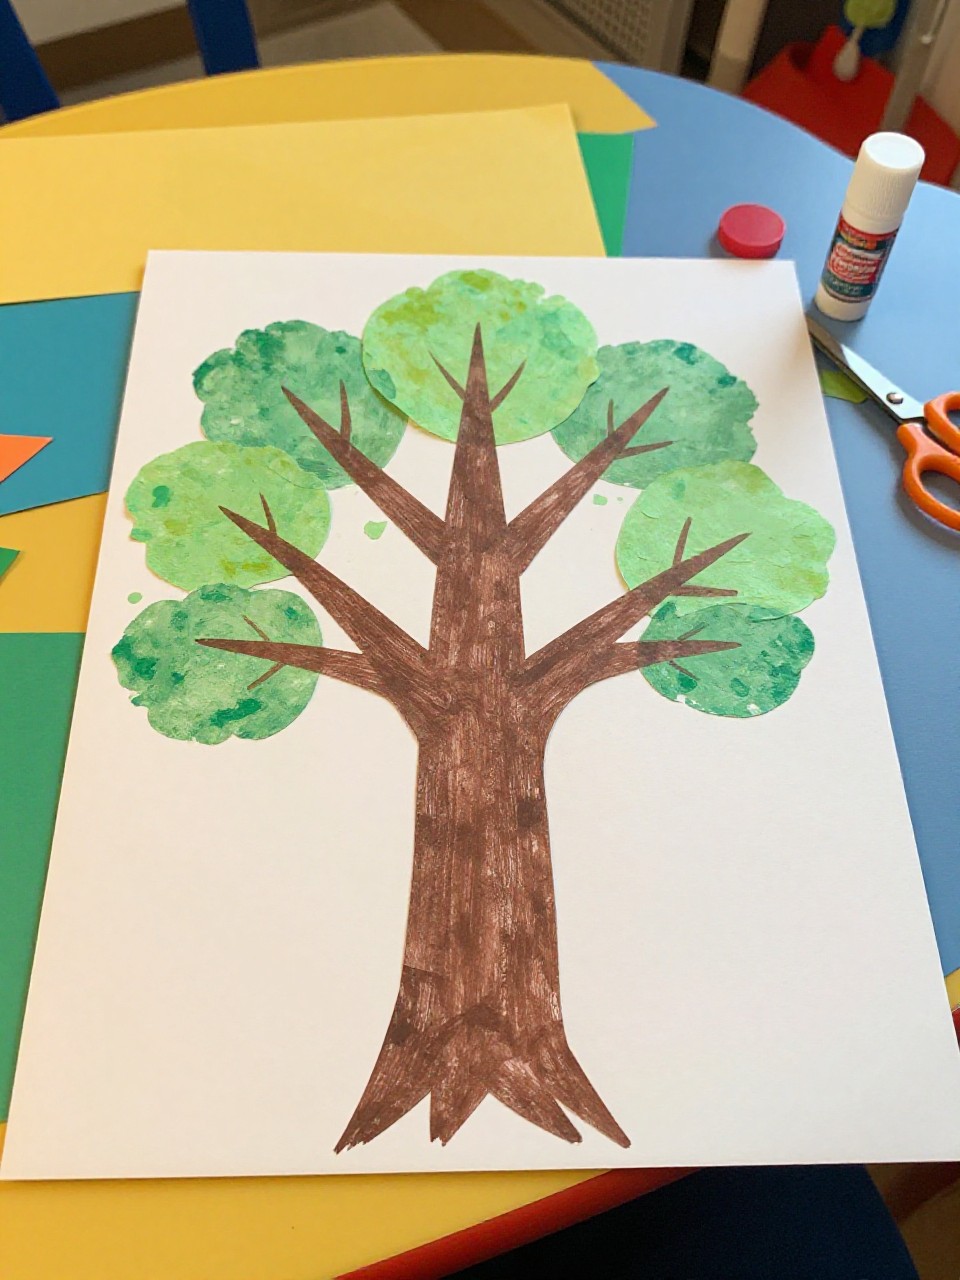
7. Paper Plate Apple Tree
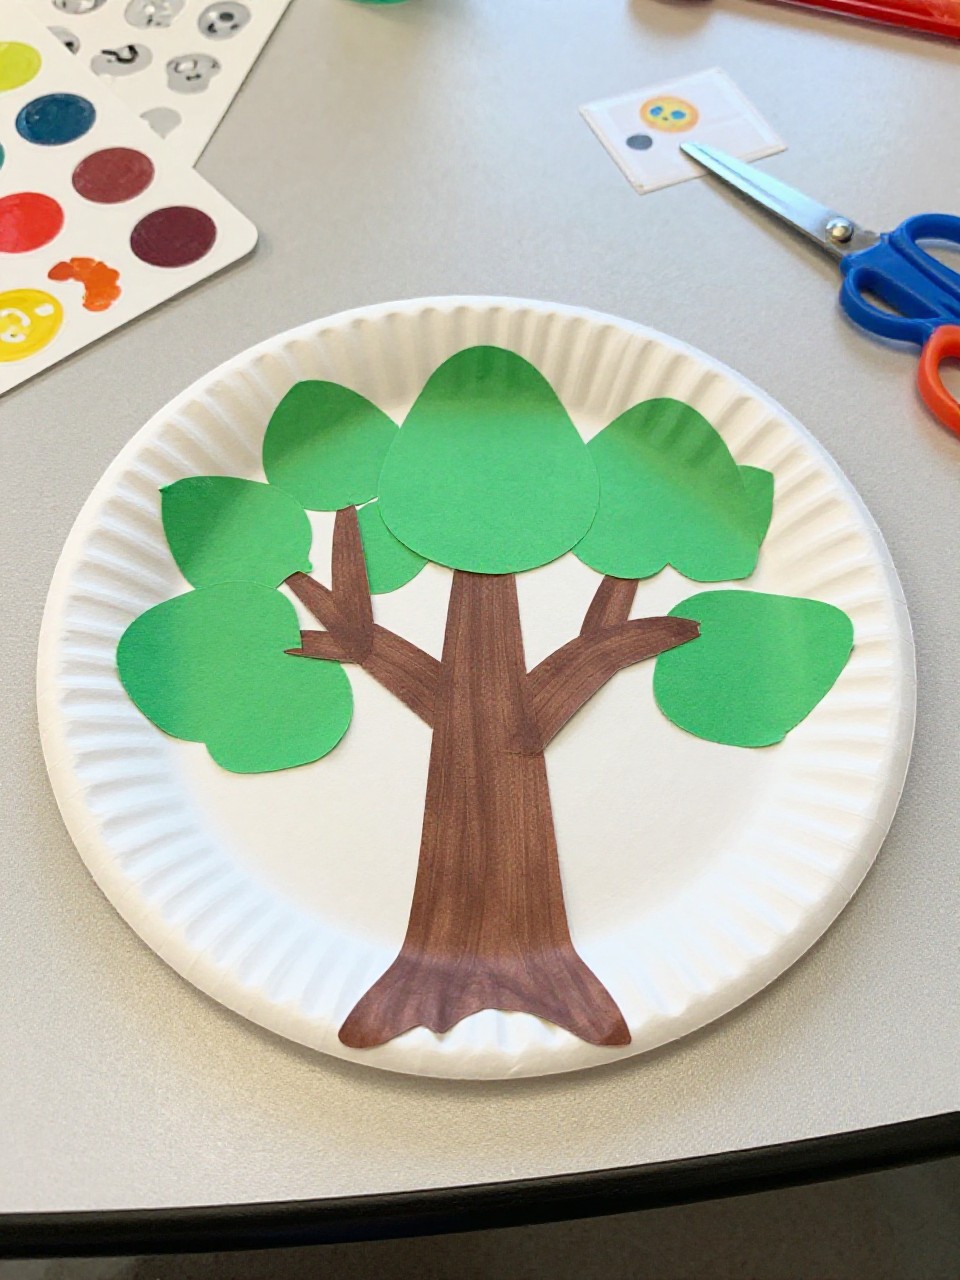
A painted paper plate becomes a round tree top dotted with red apples and a simple paper trunk. Kids love stamping or sticking lots of apples and naming their tree.
Materials Needed:
- Paper plate
- Green paint or green paper
- Red dot stickers or red paper circles
- Brown paper for trunk
- Glue, paintbrush, scissors
How to make it:
- Paint the plate green or cover it with green paper pieces.
- Cut and glue a brown trunk below the plate.
- Add red apples with stickers or glued paper circles.
- Draw leaves with marker, let dry, and hang.
8. Accordion-Fold Pop-Up Tree Card
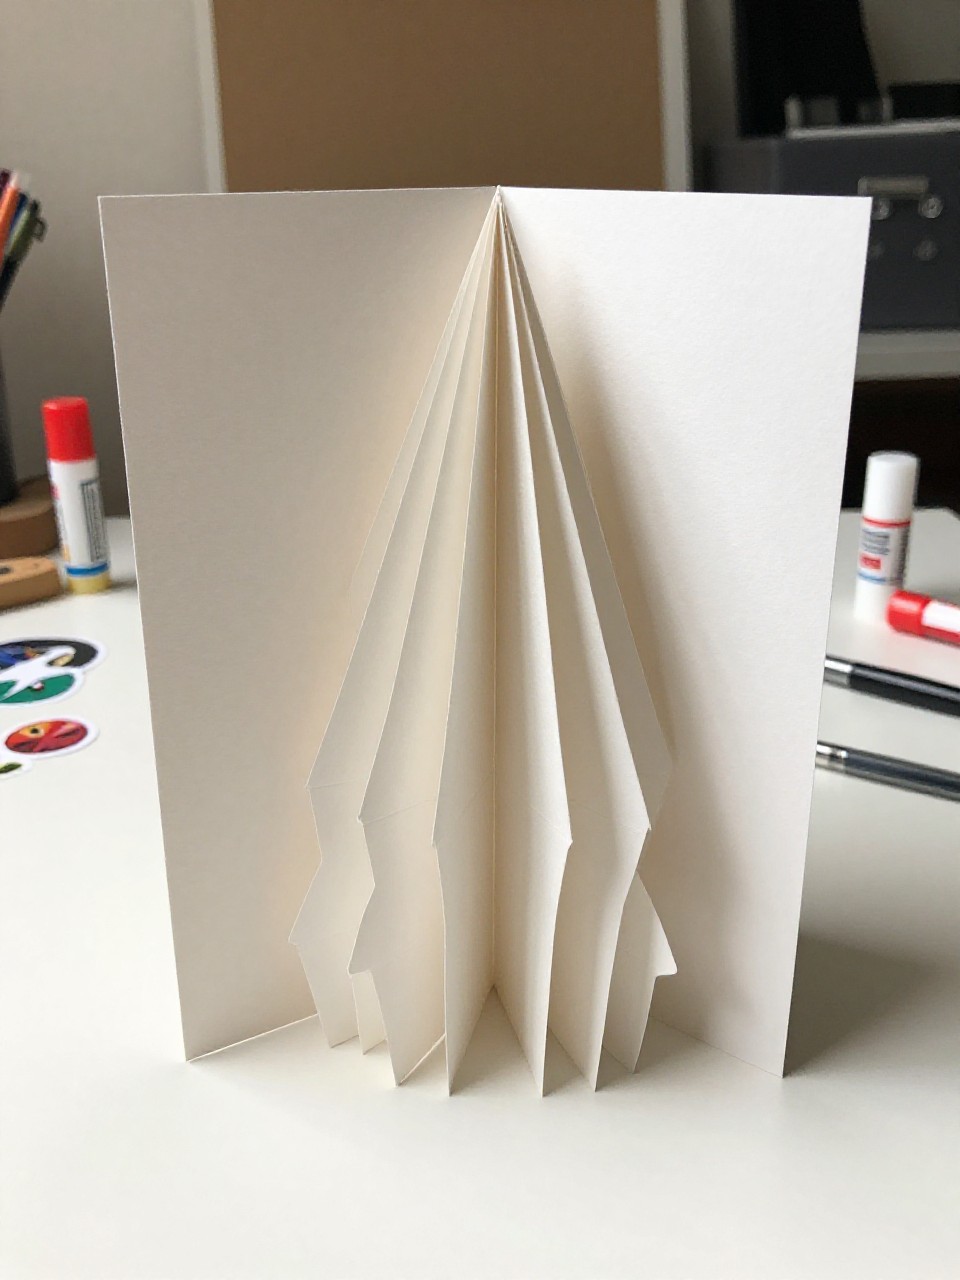
This craft opens into a 3D tree inside a greeting card using a simple accordion-fold triangle. Kids enjoy the surprise pop-up and can gift it to family or friends.
Materials Needed:
- Cardstock for card base
- Green paper for tree
- Brown marker or small trunk piece
- Glue stick
- Star or sticker decorations
How to make it:
- Fold a piece of cardstock in half to make the card.
- Cut a green triangle and accordion-fold it back and forth.
- Glue one side of the folded triangle to each side of the card fold so it pops up; add a small trunk.
- Decorate with stickers and write a message.
9. Watercolor Resist Night Tree

A silhouette tree stands against a starry sky made with watercolor and crayon resist. Kids like watching the wax resist the paint and seeing stars appear.
Materials Needed:
- Watercolor paper
- White crayon
- Watercolor paints and brush
- Black paper or marker for tree silhouette
- Cup of water and paper towel
How to make it:
- Draw stars and a moon with white crayon on the paper.
- Paint a night sky over it; the crayon will show through.
- Cut and glue a black tree silhouette on top or draw it in with marker.
- Let dry and tape to a window for a glowing look.
10. Torn-Paper Forest Collage
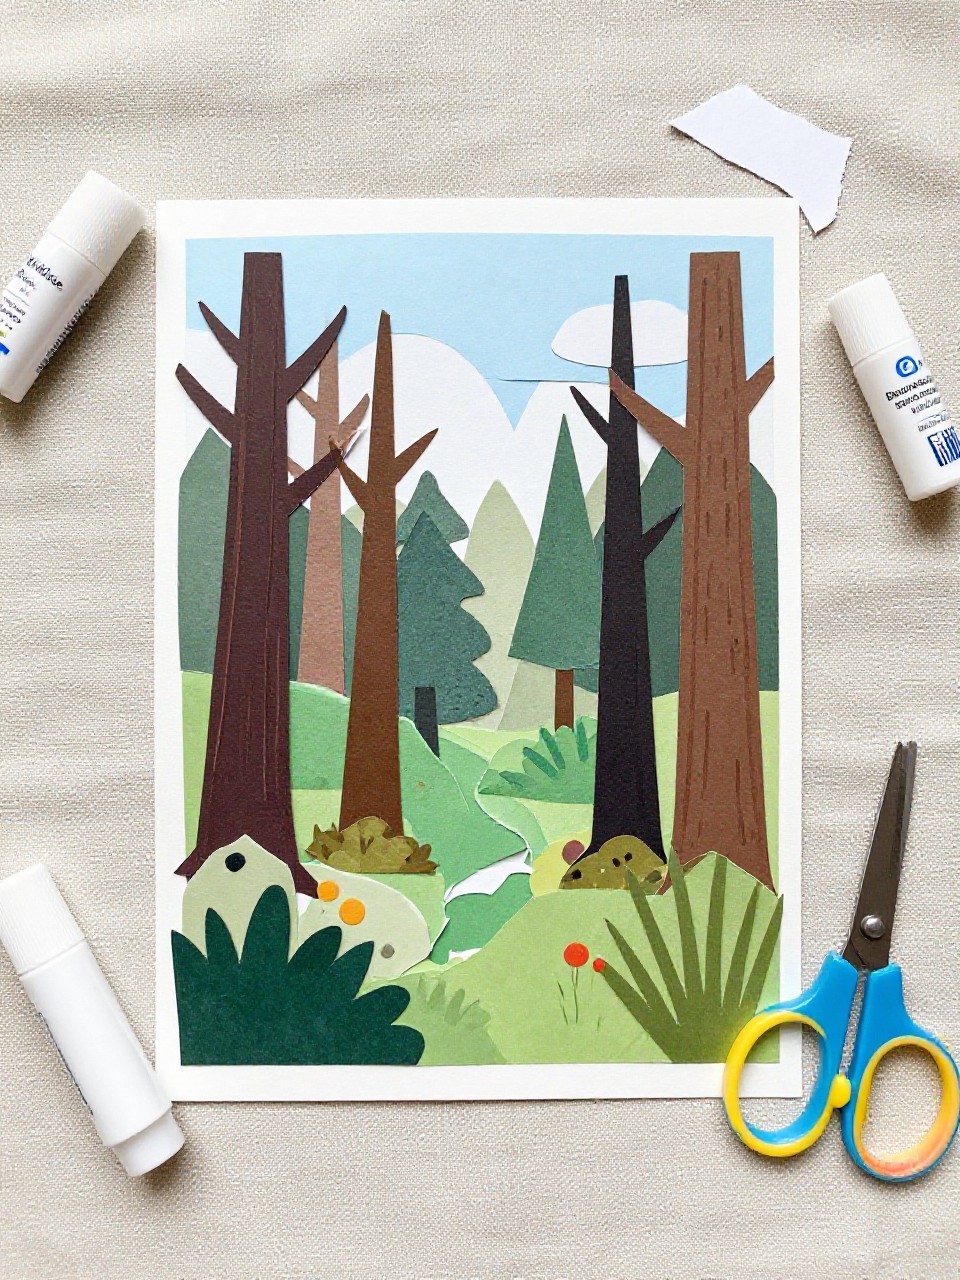
This artwork shows a cluster of trees made from torn paper shapes with rough, organic edges. Kids enjoy tearing instead of cutting and building a whole forest scene.
Materials Needed:
- Assorted green papers (light to dark)
- Brown paper
- Blue paper for sky base
- Glue stick
- Optional animal stickers
How to make it:
- Tear triangles and ovals from green paper and strips from brown for trunks.
- Arrange several trees on the blue base to create depth.
- Glue pieces, overlapping shades for a layered forest.
- Add animal stickers or draw birds and let it dry.
11. Coffee Filter Rainbow Tree
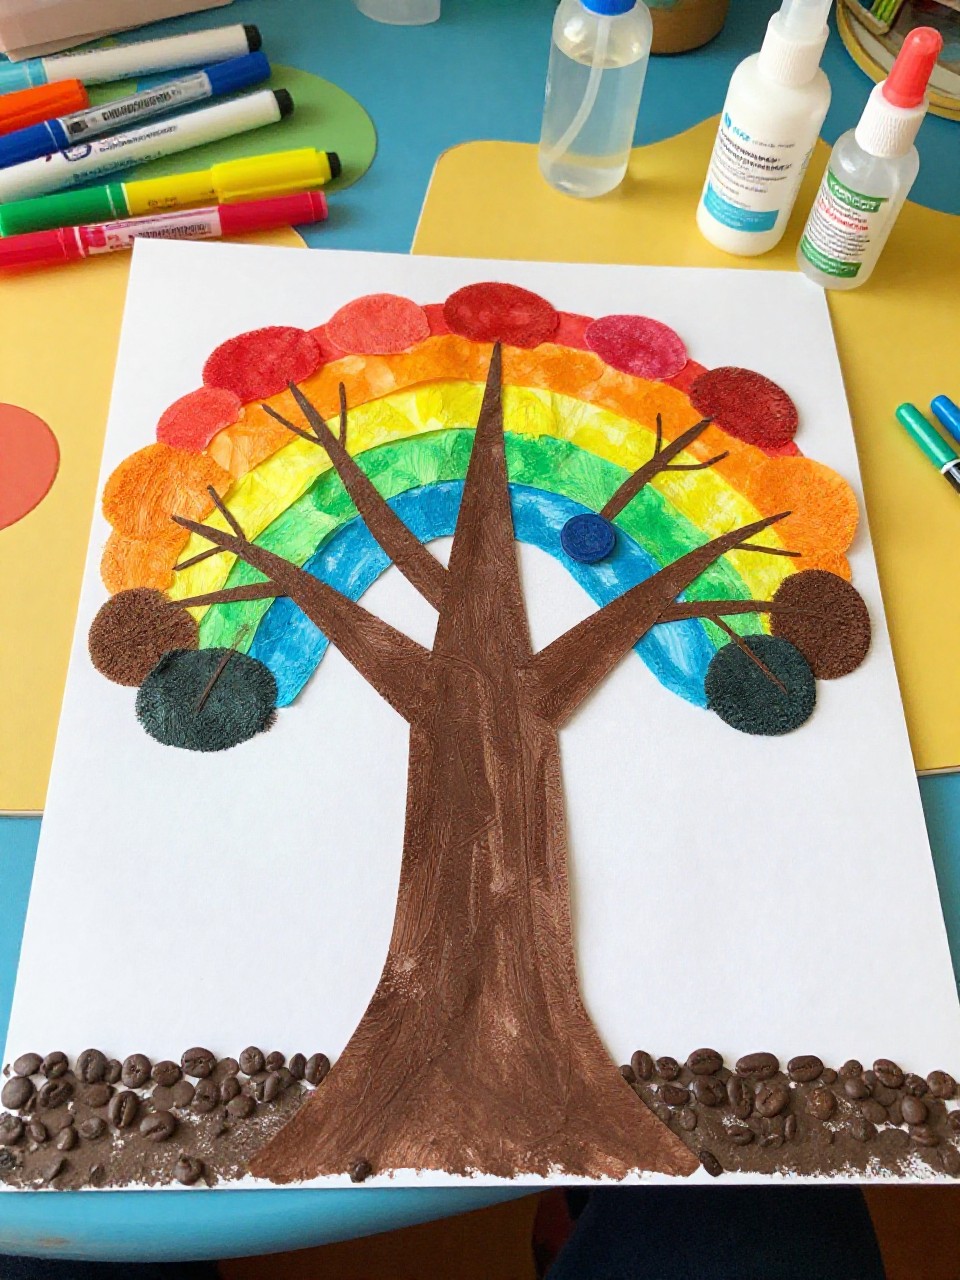
A tree with a brown trunk holds a bright rainbow canopy made from a dyed coffee filter. Kids love dropping markers and water to watch colors blend.
Materials Needed:
- Basket coffee filter
- Washable markers
- Spray bottle or brush with water
- Brown construction paper
- Glue
How to make it:
- Color the coffee filter with patches of rainbow markers.
- Lightly mist with water so colors spread; let dry.
- Cut and glue a brown trunk on a background, then glue the filter as the treetop.
- Add grass or clouds with marker to finish.
12. Origami Mini Forest
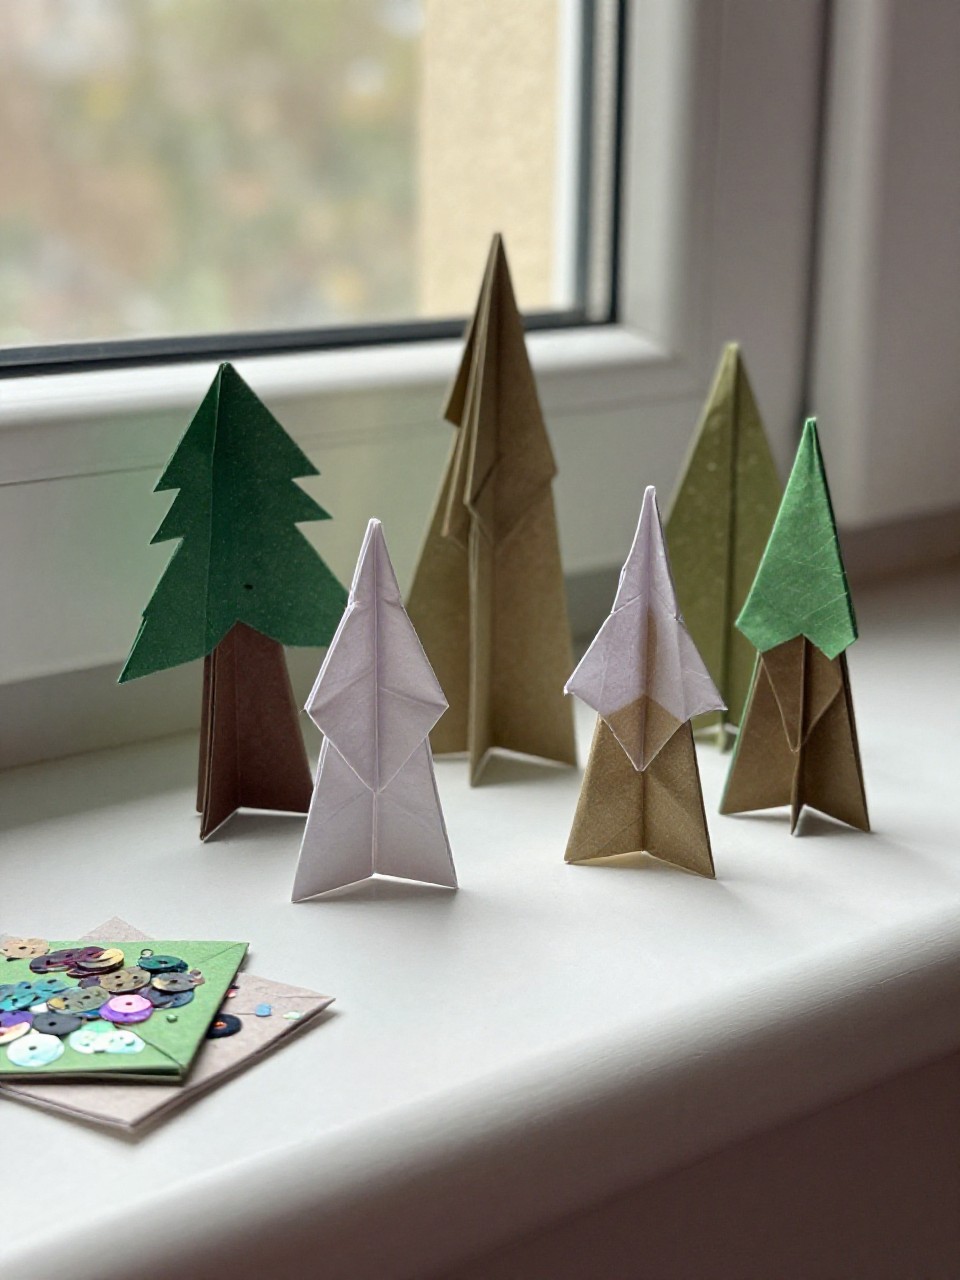
Small folded origami trees stand upright like a tiny paper forest. Kids enjoy the simple folds and arranging different sizes into a scene.
Materials Needed:
- Green origami paper or cut squares
- Brown paper for bases (optional)
- Stickers or sequins (optional)
- Glue dots (optional)
- White cardstock for display base
How to make it:
- Fold several simple origami trees (cone or triangle style) in different sizes.
- Mount them on a white base with glue dots so they stand.
- Decorate with small stickers or sequins if desired.
- Set on a windowsill or shelf to display.
13. Recycled Newspaper Birch Trees
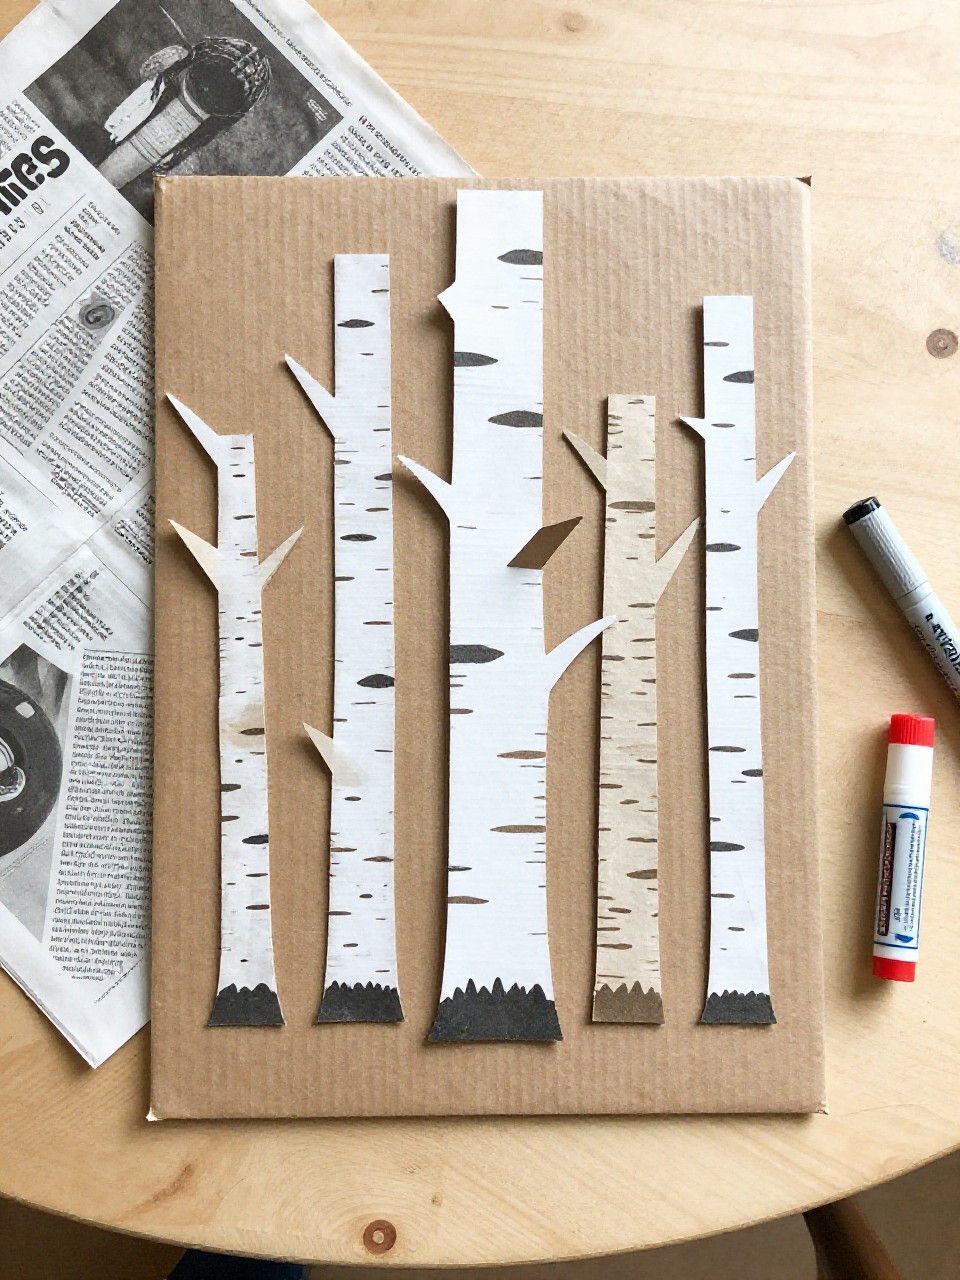
Tall white birch trunks made from newspaper strips sit against a painted or colored sky. Kids like adding black bark marks and seeing everyday paper turn into art.
Materials Needed:
- Old newspaper
- White paint or white crayon
- Black marker
- Blue construction paper for sky
- Glue stick
How to make it:
- Tear long newspaper strips and lightly paint or color them white.
- Glue strips vertically on the blue sky.
- Draw short black bark lines across the trunks.
- Add simple leaf clusters or snowflakes depending on season.
14. Button-Leaf Paper Tree

A sturdy paper trunk holds colorful button “leaves” glued onto branches. Kids enjoy picking button colors and making patterns or rainbows.
Materials Needed:
- Brown construction paper
- Assorted buttons
- Background cardstock
- Glue (tacky glue works best)
- Pencil
How to make it:
- Cut and glue a trunk with spreading branches onto the background.
- Arrange buttons like leaves along the branches.
- Glue each button and press to secure.
- Let dry flat and frame if desired.
15. Pop Dot 3D Layered Tree

This tree looks dimensional with stacked paper layers separated by foam dots. Kids like building the layers and seeing shadows make the tree pop.
Materials Needed:
- Various greens of cardstock
- Brown cardstock for trunk
- Foam adhesive dots or tape
- Scissors
- Star or tiny pom-poms (optional)
How to make it:
- Cut 3–4 tree shapes from different green papers, each slightly smaller.
- Glue the trunk on a background, then attach the largest tree, adding foam dots between each layer.
- Decorate with a star or tiny pom-poms.
- Press gently to secure and display upright.
16. Paper Chain Leaves Tree
A tall trunk holds looping paper chains that form a leafy canopy. Kids enjoy making and linking chains, and it’s a great teamwork craft for groups.
Materials Needed:
- Brown construction paper for trunk
- Green paper cut into strips
- Glue stick or tape
- Background poster board
- Stickers or markers (optional)
How to make it:
- Cut and glue a large brown trunk on the poster board.
- Make green paper chains by looping and gluing strips, then attach chains to the top of the trunk.
- Add more chains for a full treetop and decorate with stickers if you like.
- Hang the big poster in a hallway or classroom.