


In This Article Show
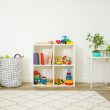
Spring decor can feel pricey, but you don’t need a big budget to make your home feel fresh. These Dollar Tree projects look polished and store-bought, yet they’re simple enough for a weekend afternoon.
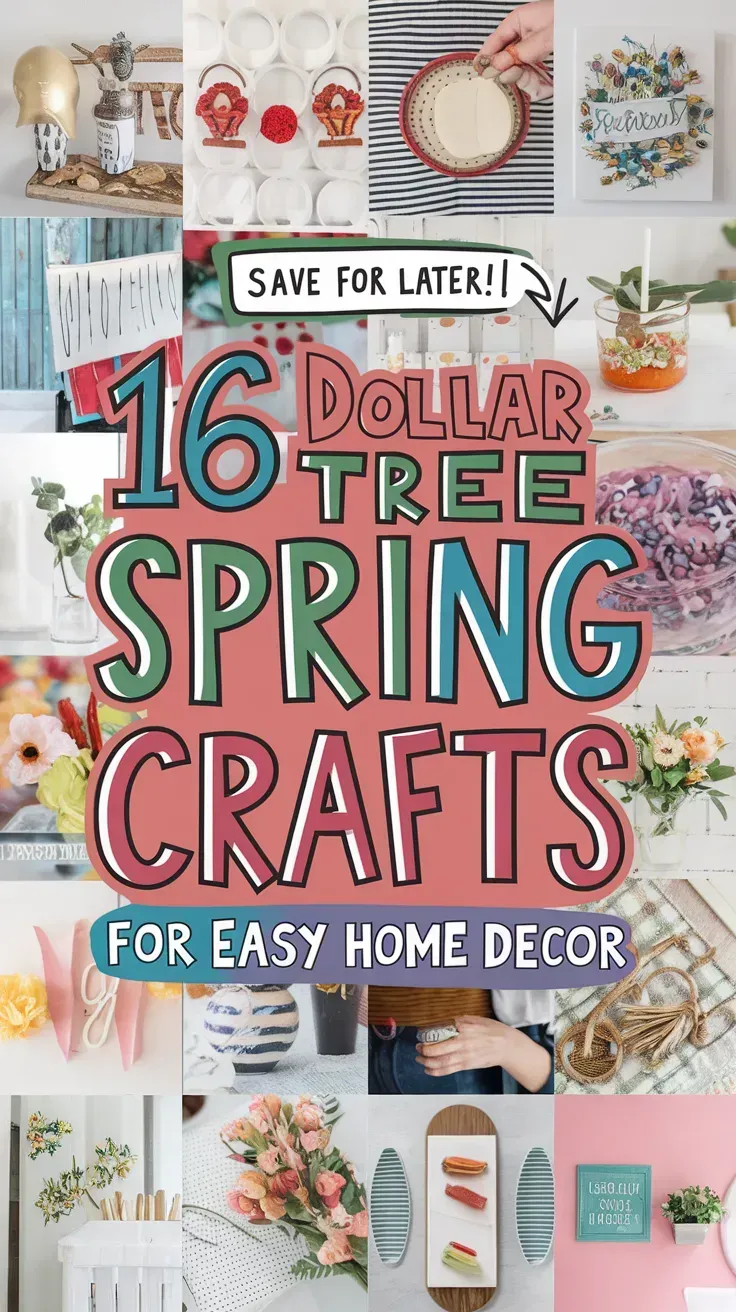
If you’ve ever stared at your mantel or entry table thinking it needs a lift, these ideas will help—no special tools or tricky skills.
Grab a basket, take a quick Dollar Tree run, and let’s make spring show up in every room.
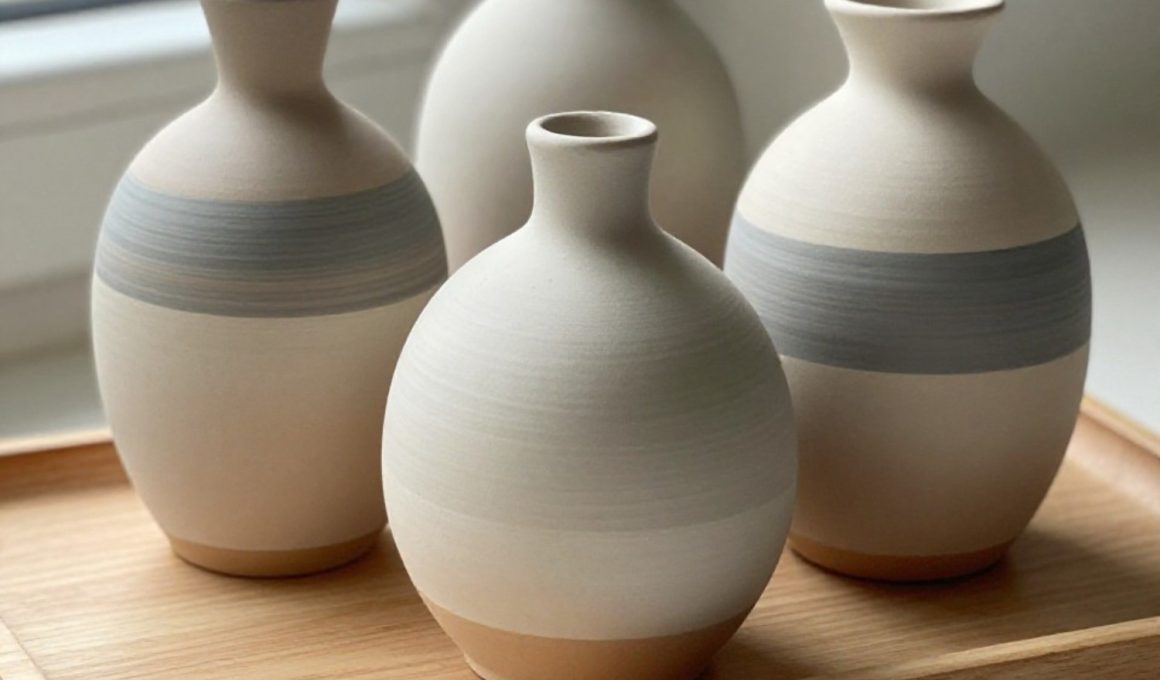
1. Faux Pottery Bud Vase Trio
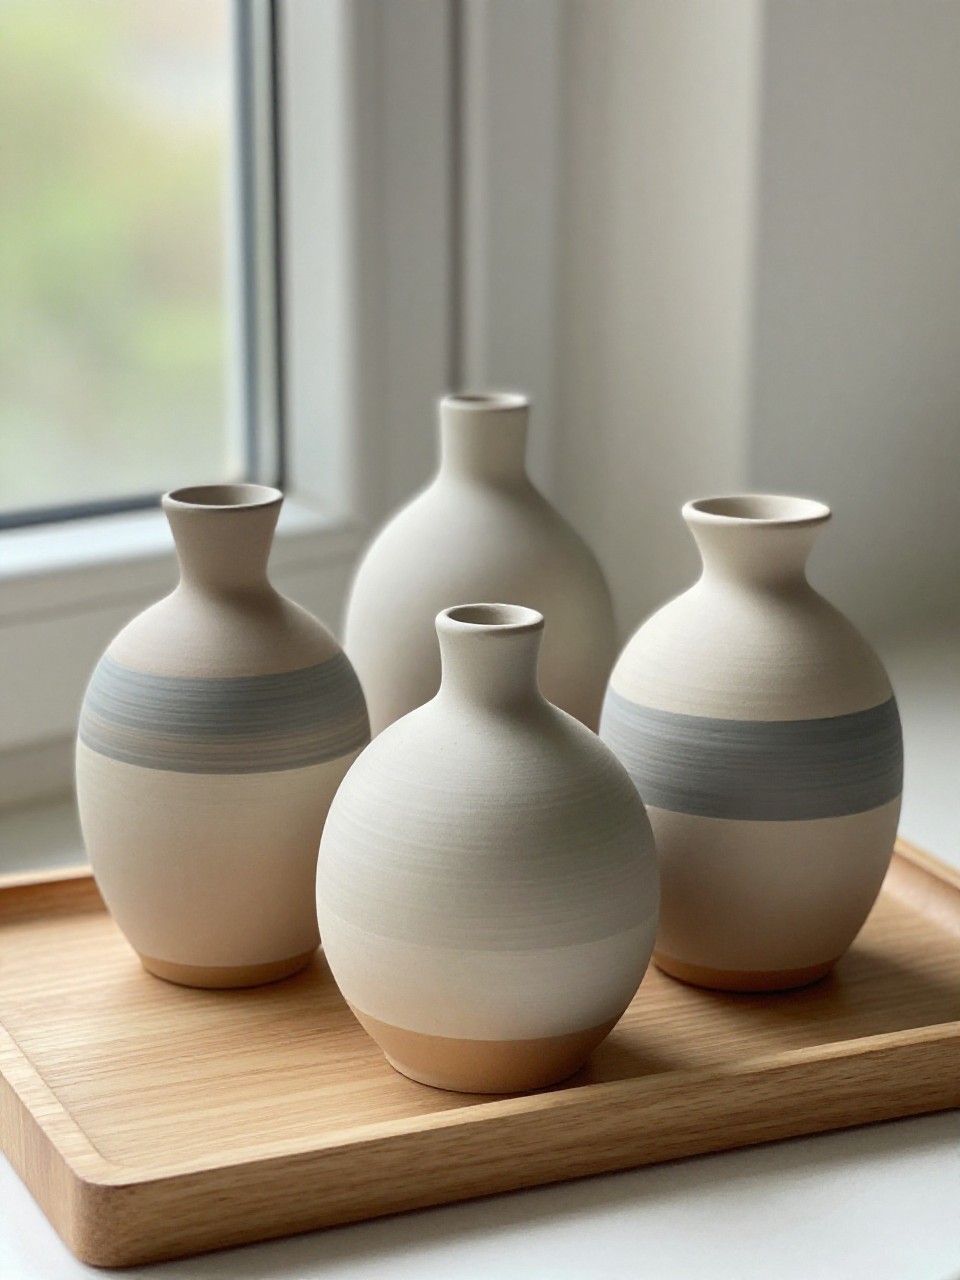
Matte, chalky “pottery” vases that look like boutique finds. The sandy texture and soft colors make even a single stem look special on a tray or windowsill.
Materials Needed:
- Dollar Tree glass bud vases (3)
- Acrylic paint + baking soda
- Masking tape
How to make it:
- Mix 1 tablespoon of baking soda into 2 tablespoons of acrylic paint to create a chalky texture.
- Tape off a band or diagonal stripe on each vase.
- Paint two thin coats, letting each dry for 20 minutes.
- Remove tape and touch up edges; style with faux or real stems.
2. Pressed Flower Frame Suncatchers
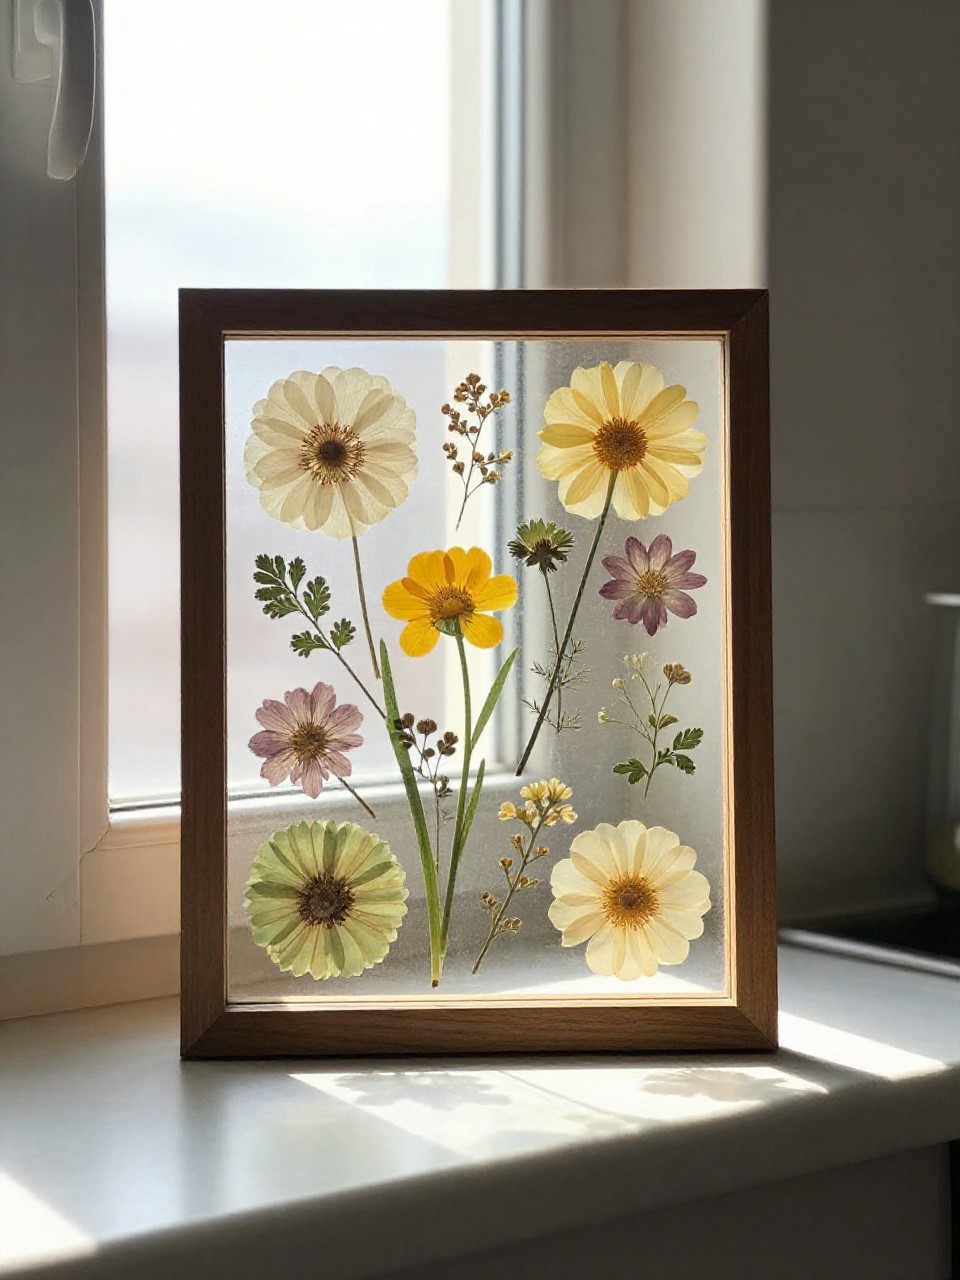
Delicate flowers float between panes and glow when sunlight hits. They add a romantic, airy vibe to kitchens and bathrooms.
Materials Needed:
- Dollar Tree glass clip frames (5×7 or 8×10)
- Faux florals or pressed real flowers
- Clear-drying glue stick
How to make it:
- Open the frame and clean the glass.
- Arrange small petals or leaves flat on one glass pane.
- Lightly tack them in place with a glue stick.
- Sandwich with the second pane and clip closed; hang near a sunny window.
3. Moss-Covered Bunny Silhouette
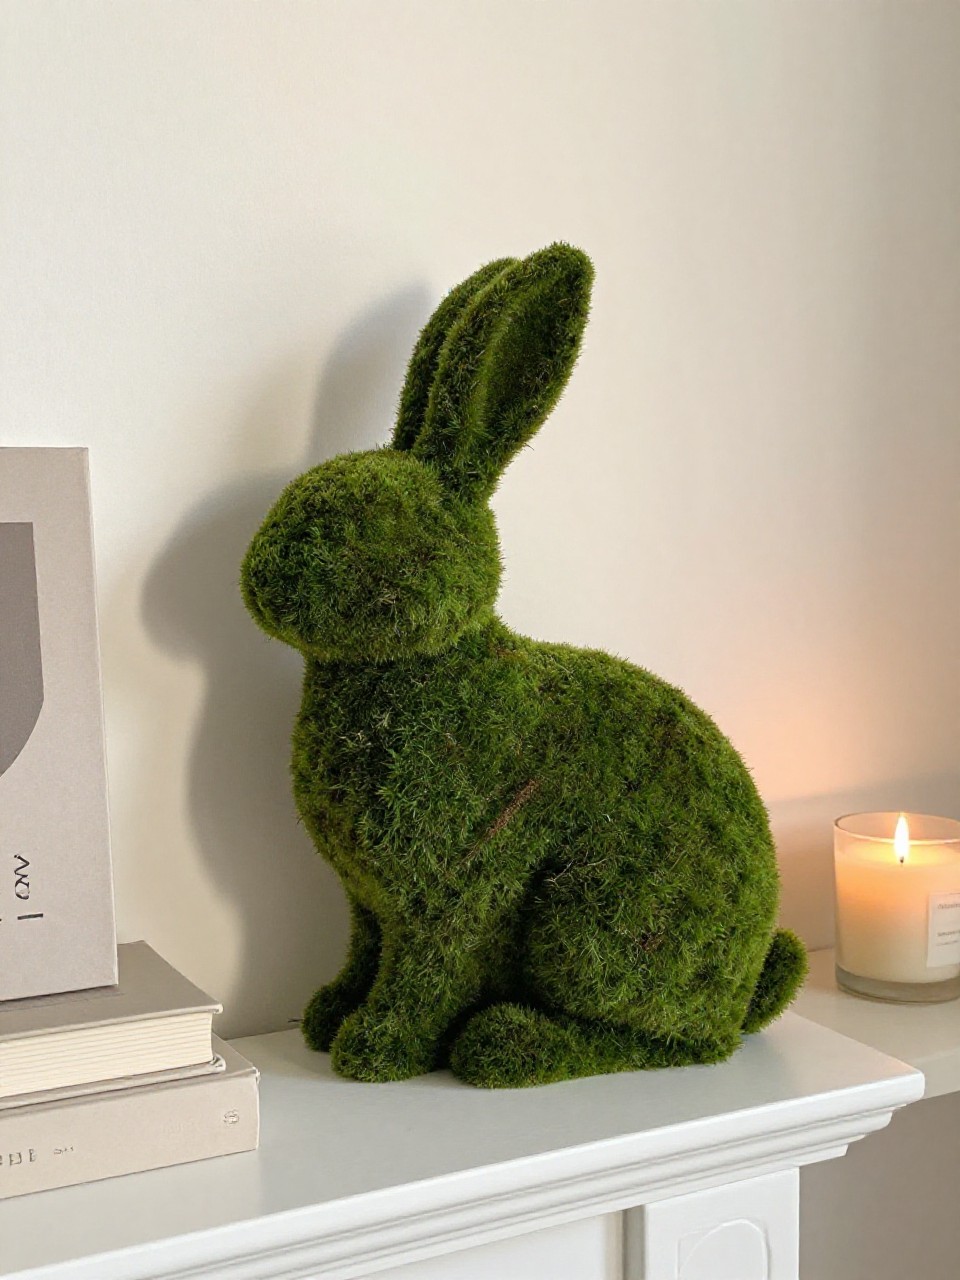
A modern, textural rabbit shape that screams spring without being cutesy. It looks great on a shelf or as a door accent.
Materials Needed:
- Dollar Tree foam board
- Sheet moss or moss from the floral aisle
- Hot glue sticks
How to make it:
- Draw a simple bunny silhouette on foam board and cut it out with a craft knife.
- Pull moss into thin pieces for clean edges.
- Hot glue moss to fully cover the front and sides.
- Add a loop of ribbon to the back for hanging, or lean on a shelf.
4. Pleated Napkin Wall Flowers

Crisp, sculptural “blooms” from paper napkins that look like designer wall art. Light, airy, and super inexpensive.
Materials Needed:
- White paper napkins (dinner size)
- Floral wire or twist ties
- Command strips or push pins
How to make it:
- Open a napkin, accordion-fold it into 1-inch pleats.
- Cinch the center with floral wire.
- Gently pull layers apart on both sides to form petals.
- Mount a cluster of 3–5 at different heights on the wall.
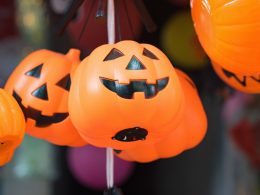
5. Painted Terracotta Mini Lanterns
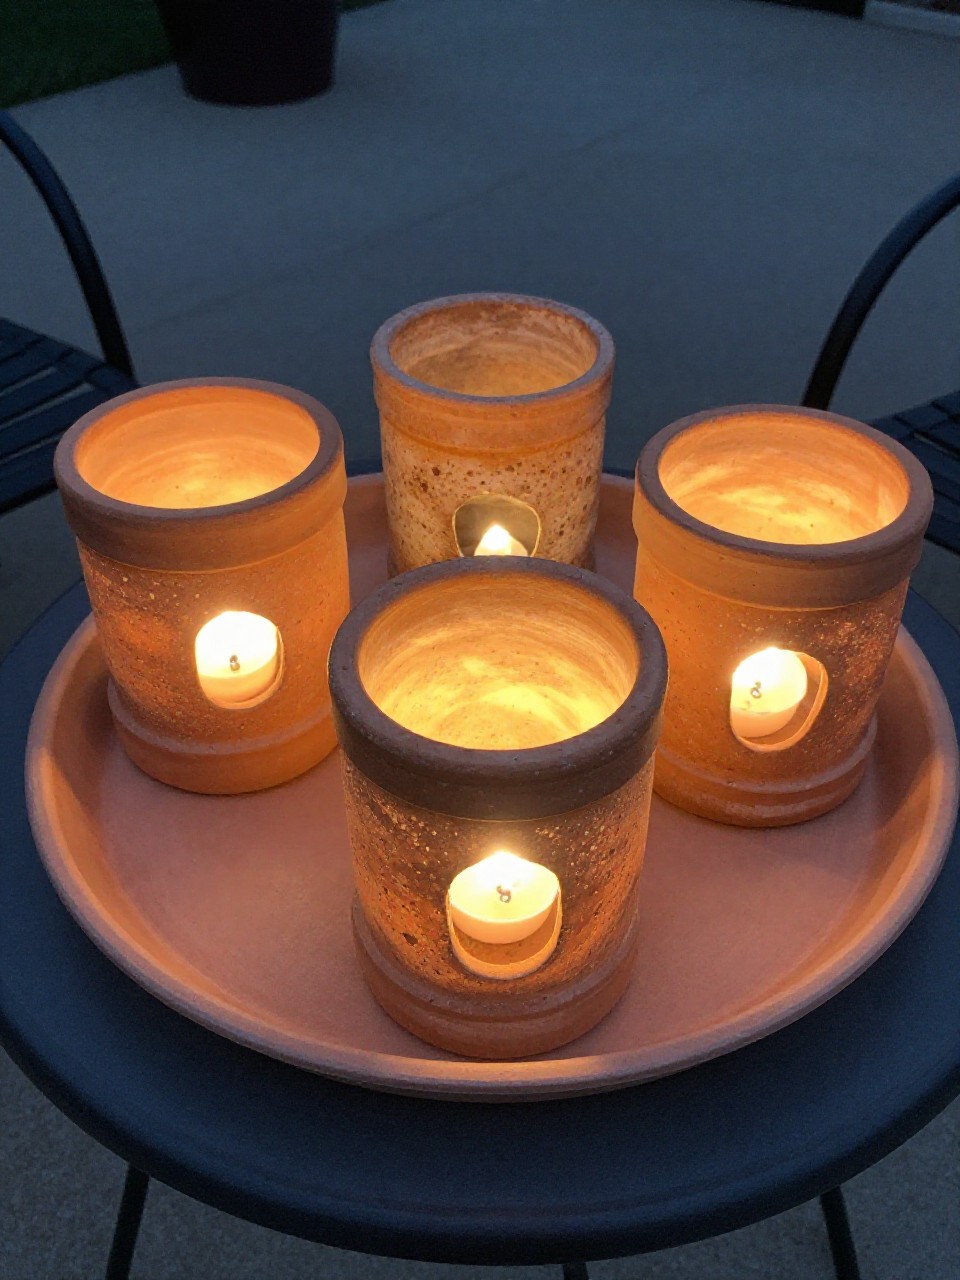
Warm, speckled “ceramic” lanterns made from clay pots. Tea lights glow through drilled holes for cozy evenings.
Materials Needed:
- Mini terracotta pots
- White acrylic paint + black paint for speckles
- Battery tea lights
How to make it:
- Paint pots white; let dry.
- Dip a stiff brush in watered black paint and flick for tiny speckles.
- Turn pots upside down; place tea lights underneath.
- Arrange in a trio on a tray or patio table.
6. Citrus Slice Wood Bead Garland
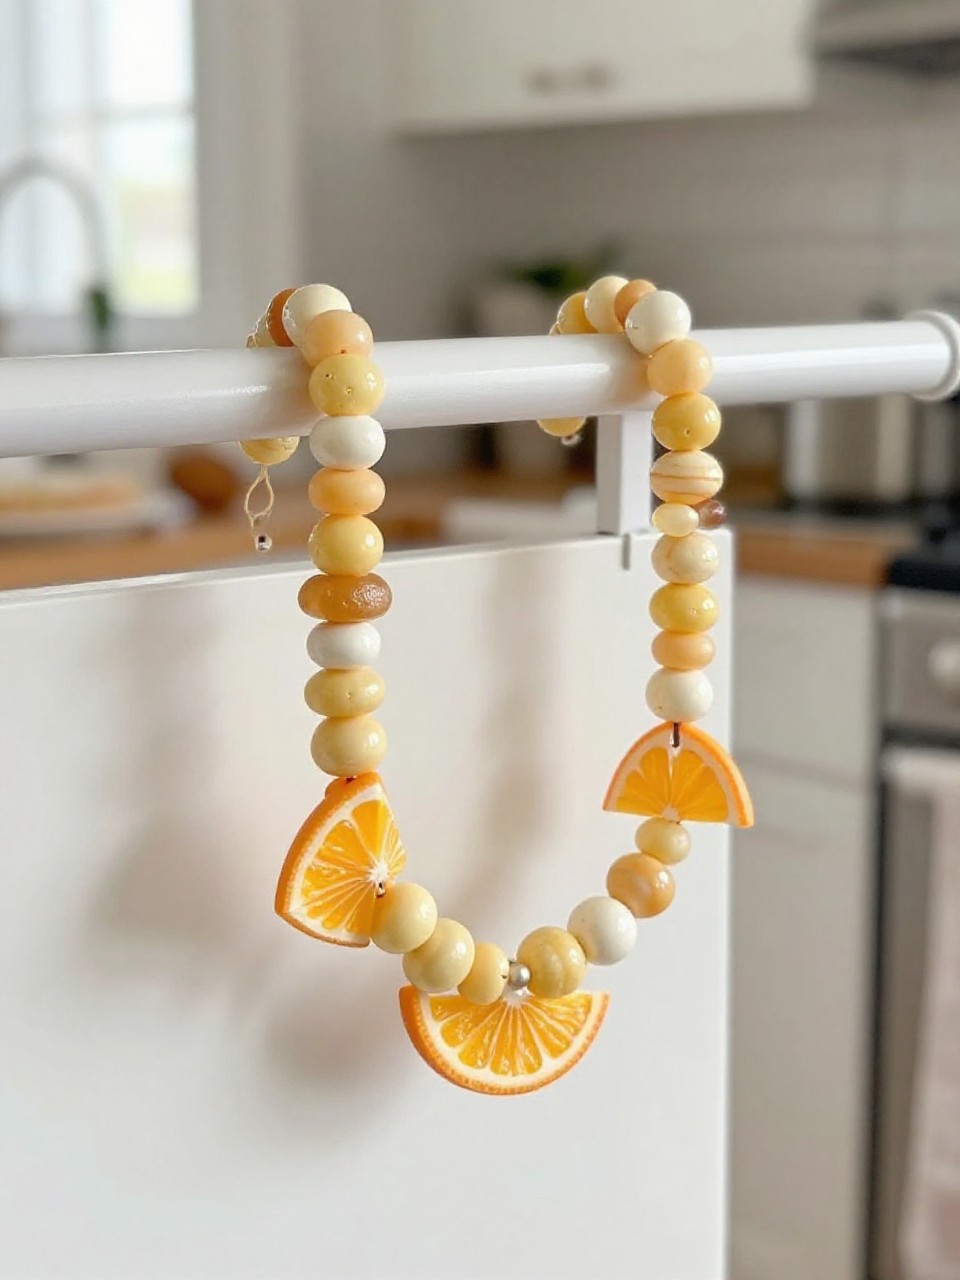
A fresh, kitchen-friendly garland with painted lemon and lime slices. Drape it around a vase or hook it on a peg rail.
Materials Needed:
- Wood beads (assorted sizes)
- Craft foam sheet (white) + acrylic paint (yellow/green)
- Jute twine
How to make it:
- String beads on twine, alternating sizes.
- Cut small circles from foam; paint half as lemons, half as limes with white “pith” lines.
- Punch a tiny hole in each foam slice.
- Tie slices onto the garland knots and finish with twine tassels.
7. Ombre Painted Bottle Reed Diffuser
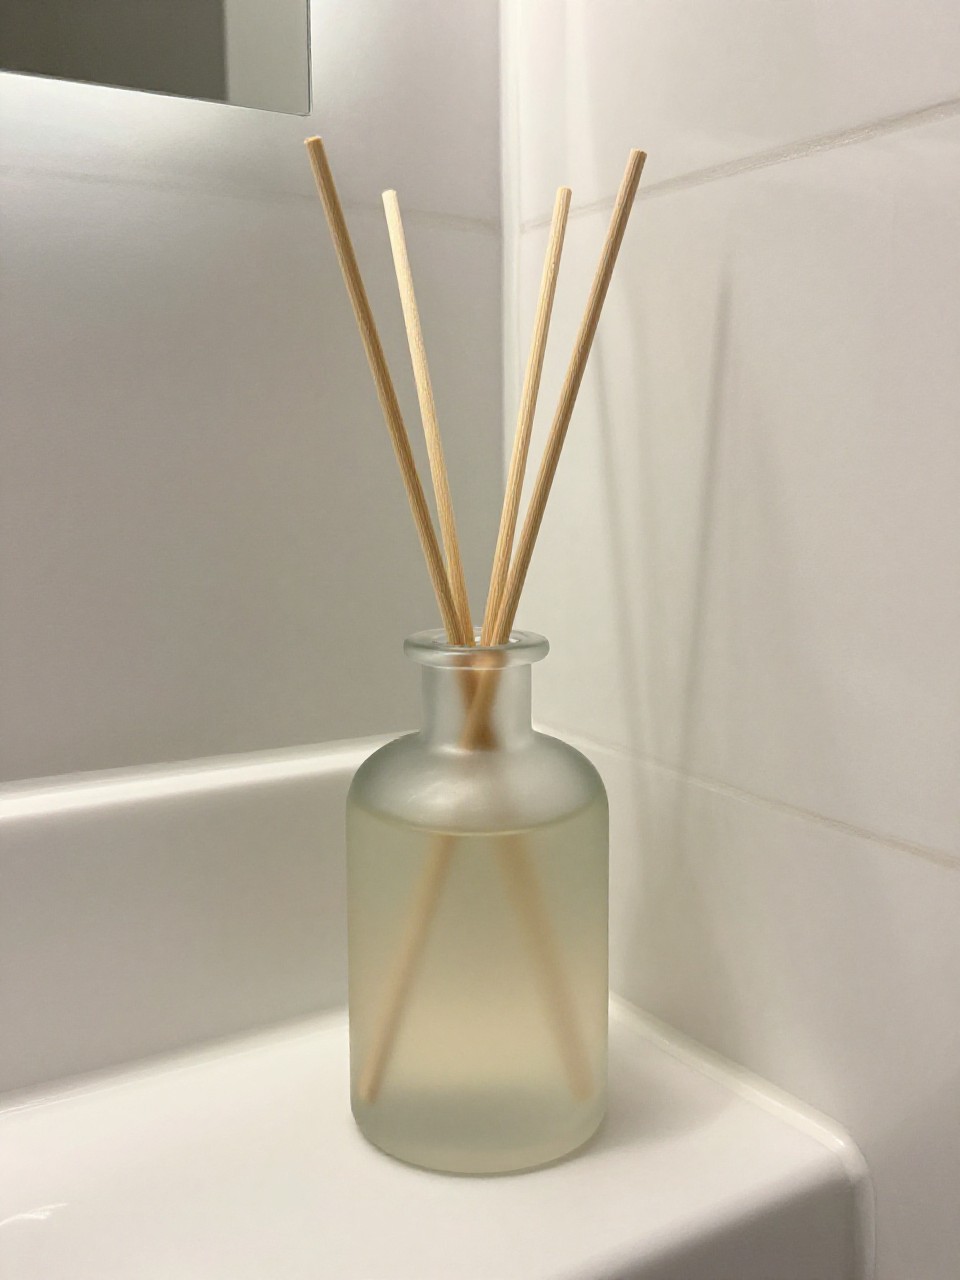
A soft ombre glass bottle that doubles as decor and a natural scent diffuser. It looks spa-like on a bathroom shelf.
Materials Needed:
- Dollar Tree glass bottle
- Acrylic paint (two coordinating pastels)
- Bamboo skewers + essential oil
How to make it:
- Pour a teaspoon of paint into the bottle; rotate to coat the lower half.
- Add a second color, tilting for a smooth ombre; let dry upside down.
- Mix 1/4 cup carrier oil with 20–30 drops of essential oil.
- Fill the bottle and add skewers for reeds.
8. Fabric-Wrapped Books with Ribbon Tabs
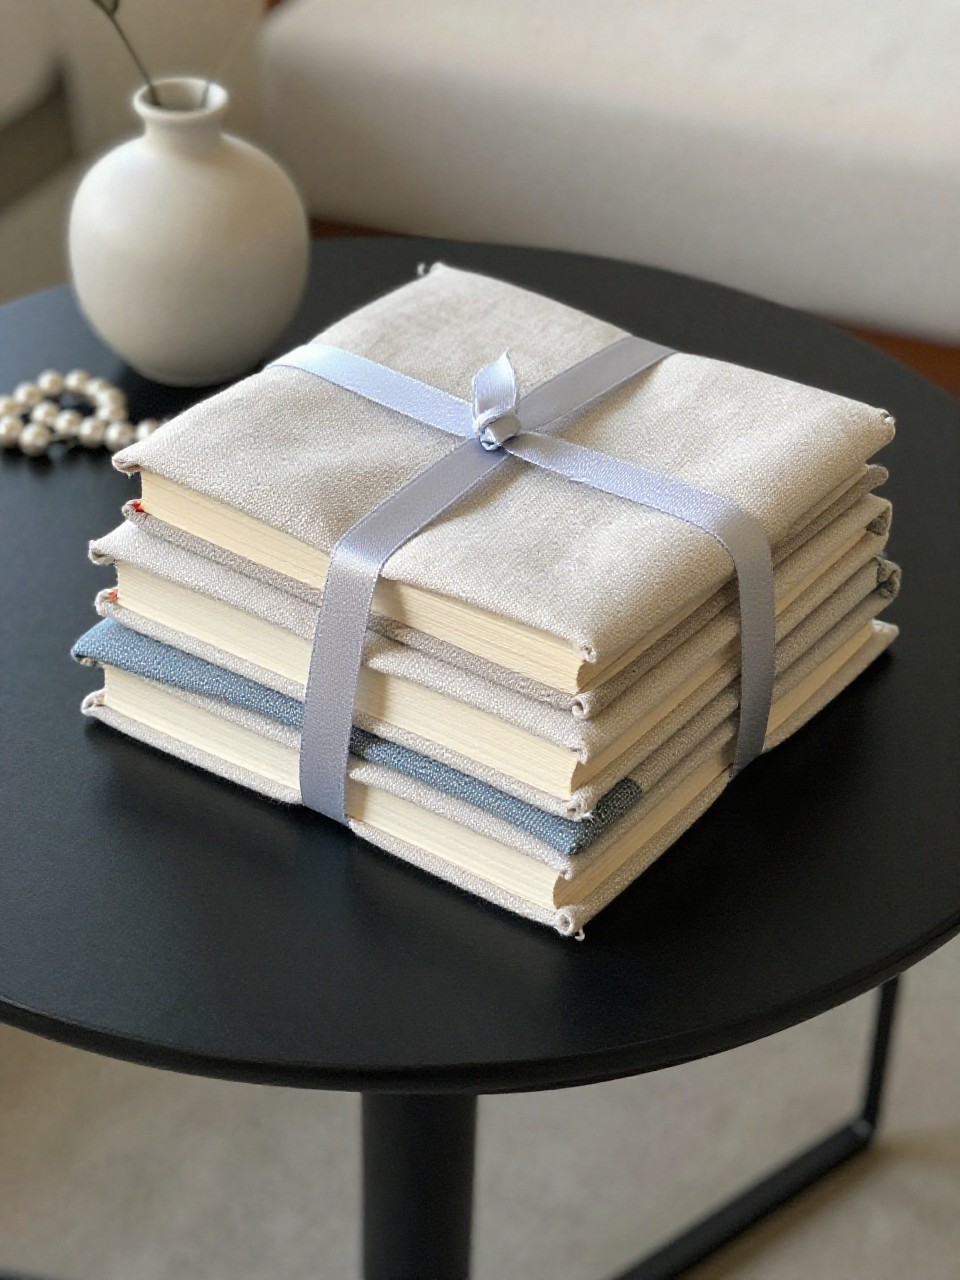
Turn old paperbacks into charming decor stacks. Soft fabric and tidy ribbon tabs give them a boutique, curated feel.
Materials Needed:
- Old books
- Fat quarter fabric or Dollar Tree tea towels
- Ribbon
How to make it:
- Cut fabric to wrap like a dust jacket with 1-inch fold-ins.
- Crease and glue the inside flaps to hold fabric tight.
- Stack three books and tie with twine.
- Add a short ribbon strip at the top spine as a “tab.”
9. Faux Jadeite Cake Stand
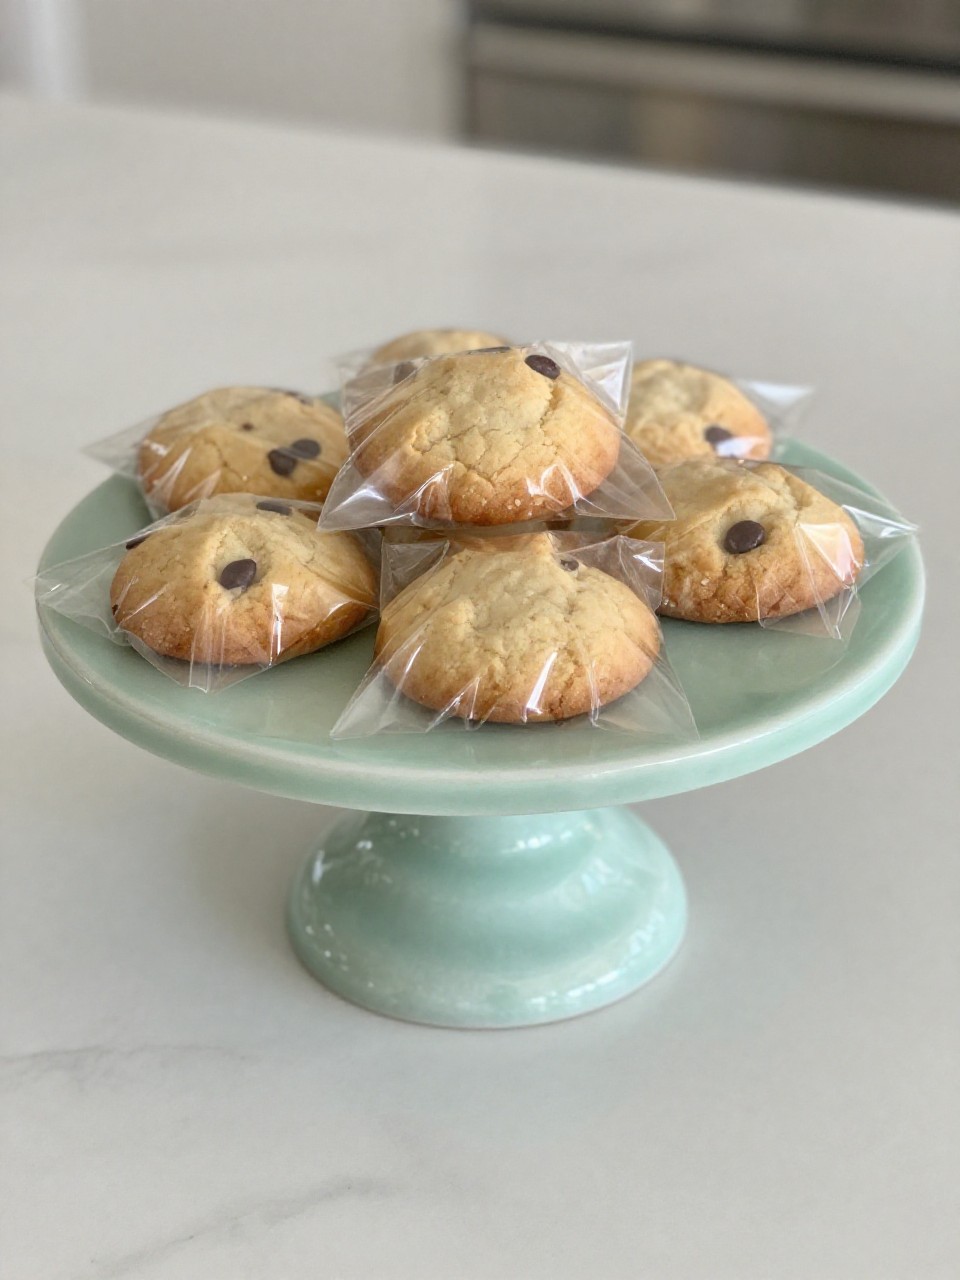
A sweet pedestal made from a plate and a candleholder, painted to mimic vintage jadeite glass. It instantly elevates cookies or soaps.
Materials Needed:
- Glass plate + glass candleholder
- E6000 or strong glass adhesive
- Pastel green spray paint
How to make it:
- Glue the candleholder upside down to the center underside of the plate; let cure.
- Spray paint the assembled stand with even coats.
- Let dry fully and wipe clean.
- Style with wrapped treats or decor (not for direct food contact).
10. Hanging Herb Test Tube Rack
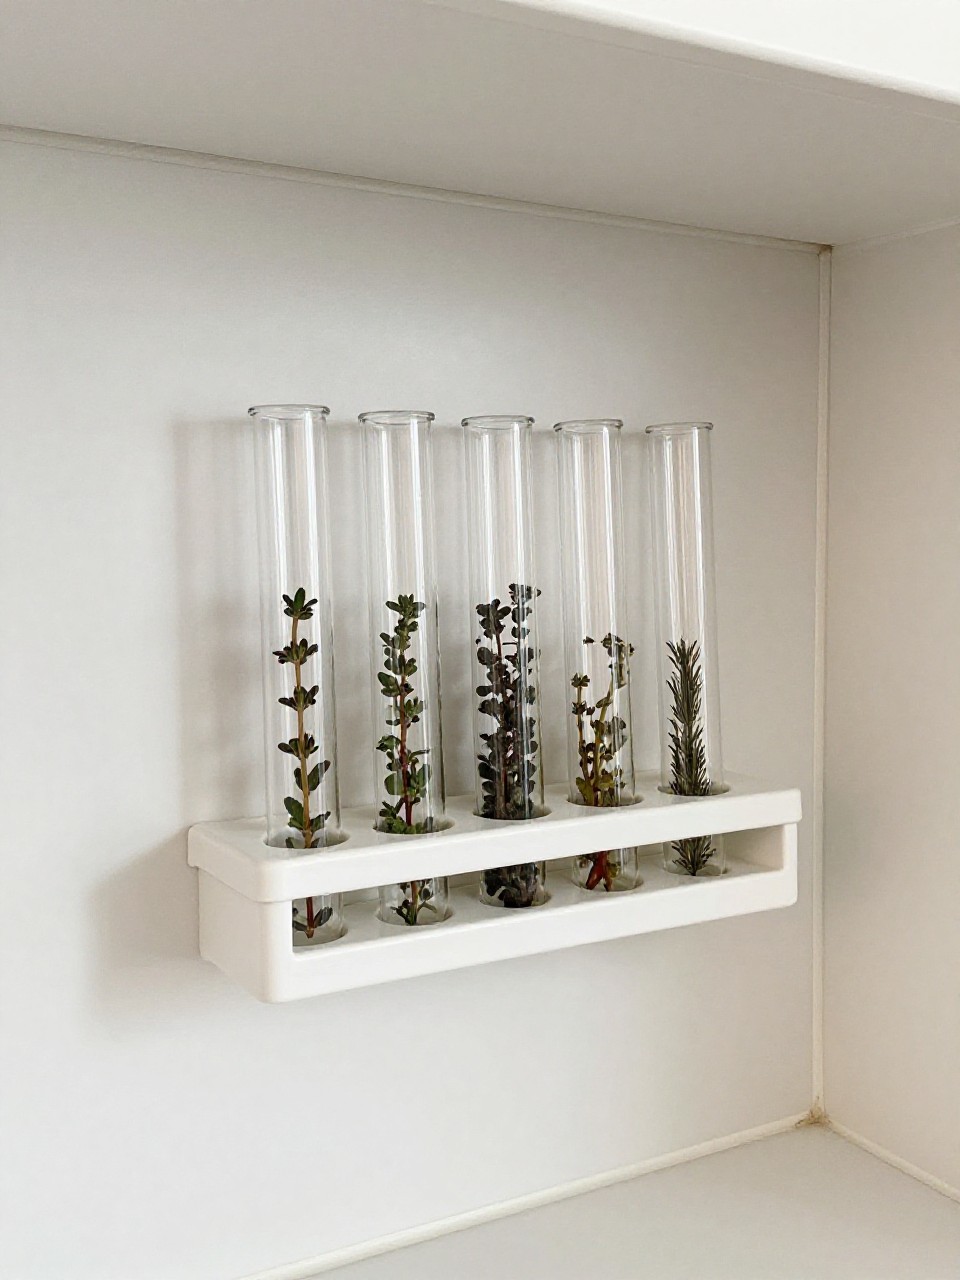
Sleek wall bud vases for small herb sprigs. Adds life to a backsplash or sunny nook.
Materials Needed:
- Dollar Tree mini test tubes or slim bud vases
- Wood rulers (2) or paint stir sticks
- Jute twine
How to make it:
- Cut rulers to the same width and glue tubes between them, spaced evenly.
- Wrap twine around both ends to secure and create a hanging loop.
- Optional: stain or paint the wood.
- Fill tubes with water and add herb clippings.
11. Spring Meadow Candle Rings
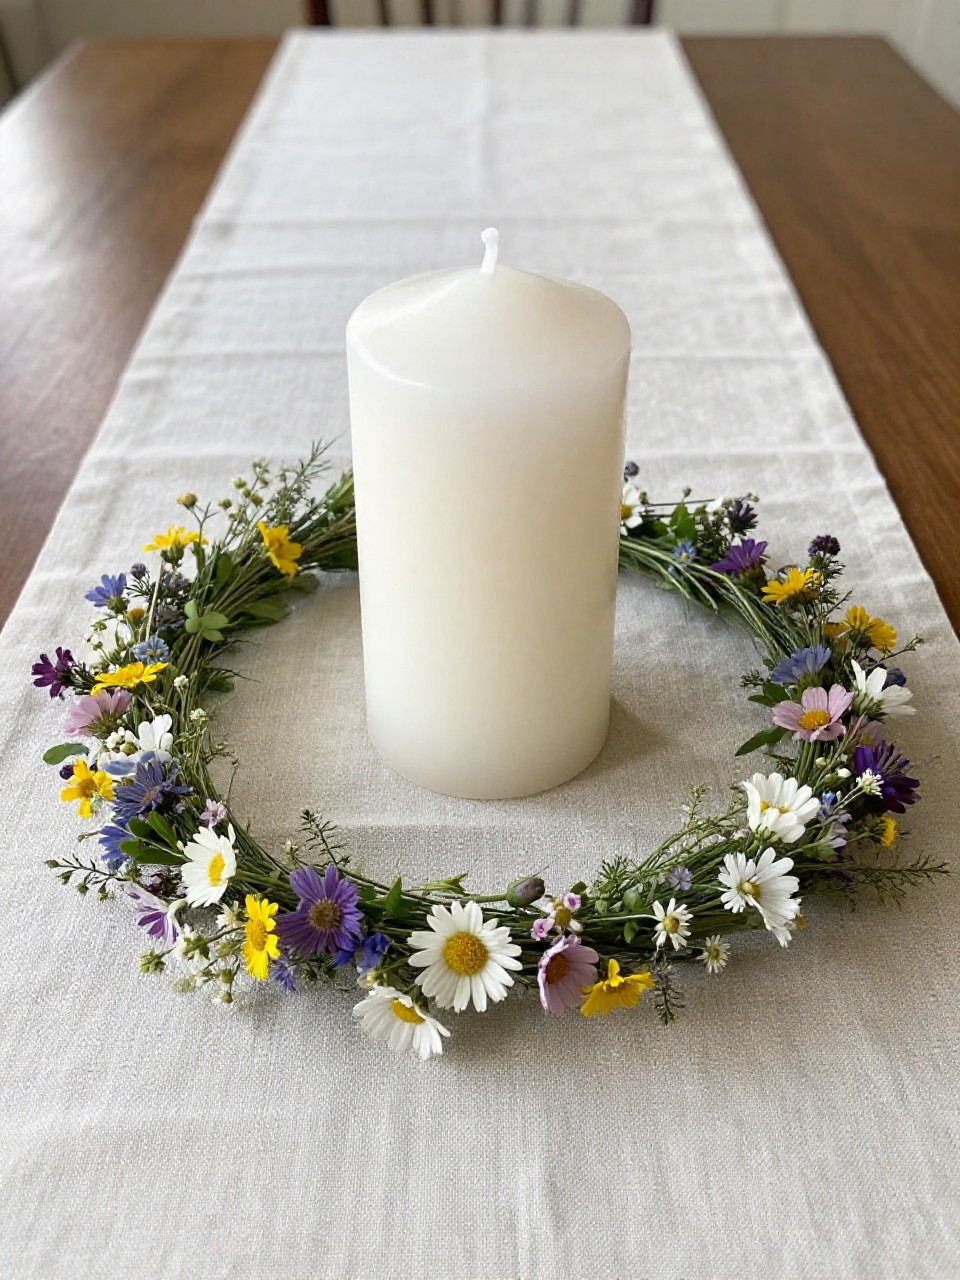
A ring of tiny blooms that turns any candle into a centerpiece. Looks lush and high-end with minimal effort.
Materials Needed:
- Foam wreath forms (small)
- Faux wildflower stems
- Floral tape or hot glue
How to make it:
- Cut stems into small sprigs.
- Tape or glue sprigs around the wreath, all facing the same direction.
- Tuck in greenery to fill gaps.
- Place a pillar or jar candle in the center.
12. Glass Jar “Watercolor” Lanterns

Dreamy, translucent color that glows when lit. They’re perfect for patios or bedtime reading.
Materials Needed:
- Clean glass jars
- Mod Podge + food coloring
- Jute or wire handle
How to make it:
- Mix a spoonful of Mod Podge with a few drops of food dye.
- Brush inside the jar with thin, uneven strokes for a watercolor look.
- Dry upside down; add a jute or wire handle.
- Drop in a battery tea light.
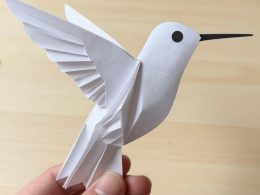
13. Embroidery Hoop Bird Art
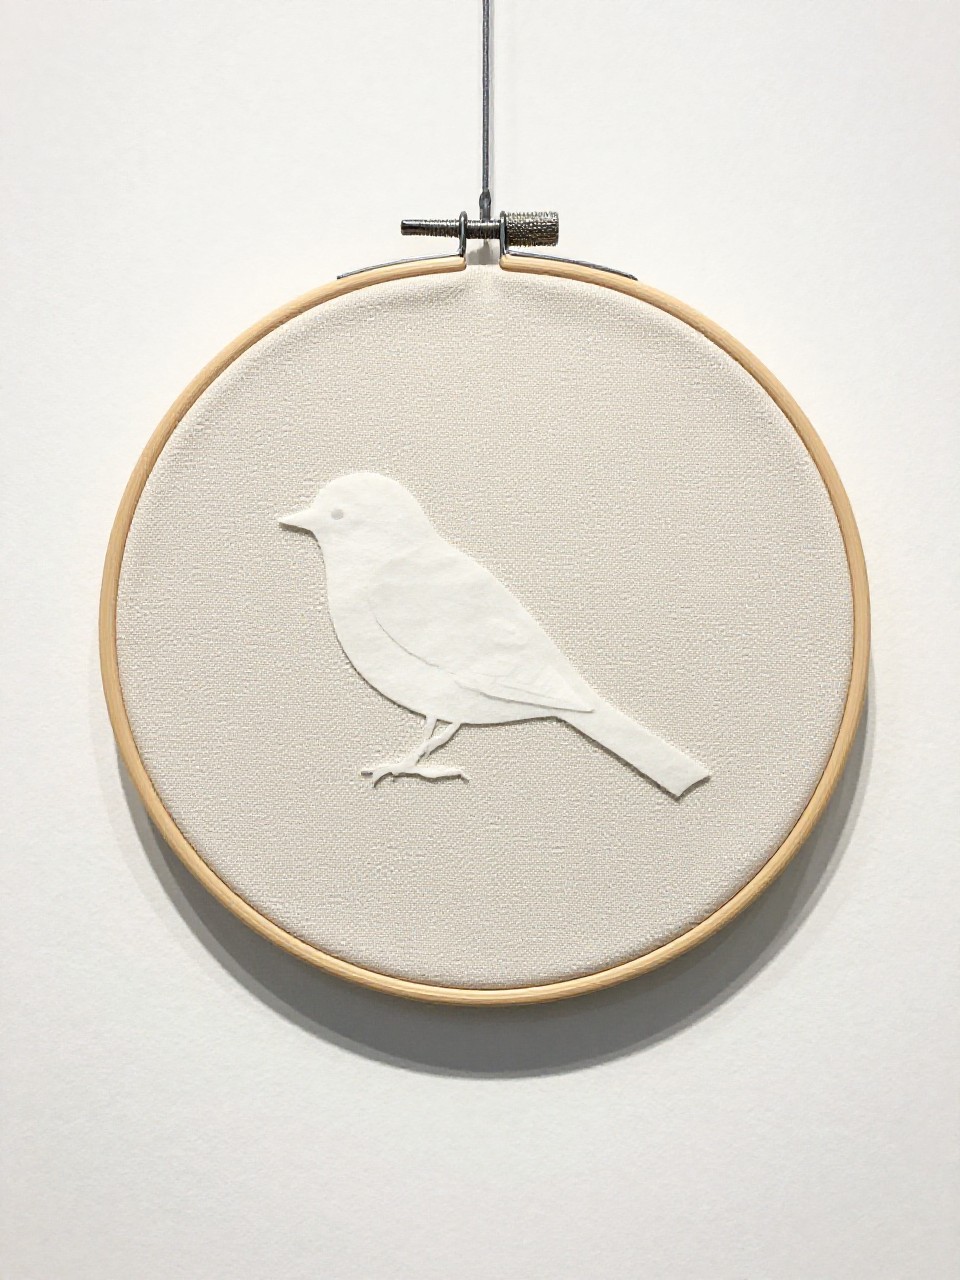
A simple fabric hoop with a layered paper bird silhouette. Sweet and Scandinavian.
Materials Needed:
- Embroidery hoop (6–8 inch)
- Scrap fabric (linen or cotton)
- Colored cardstock
How to make it:
- Stretch fabric in the hoop; trim the excess.
- Cut a bird body and wing from cardstock.
- Layer and glue to fabric slightly off-center.
- Add a tiny paper leaf or stitched line for detail; hang.
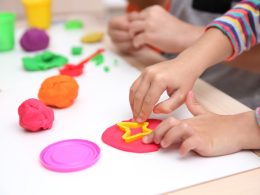
14. Terra-Cotta Herb Markers with Stamps
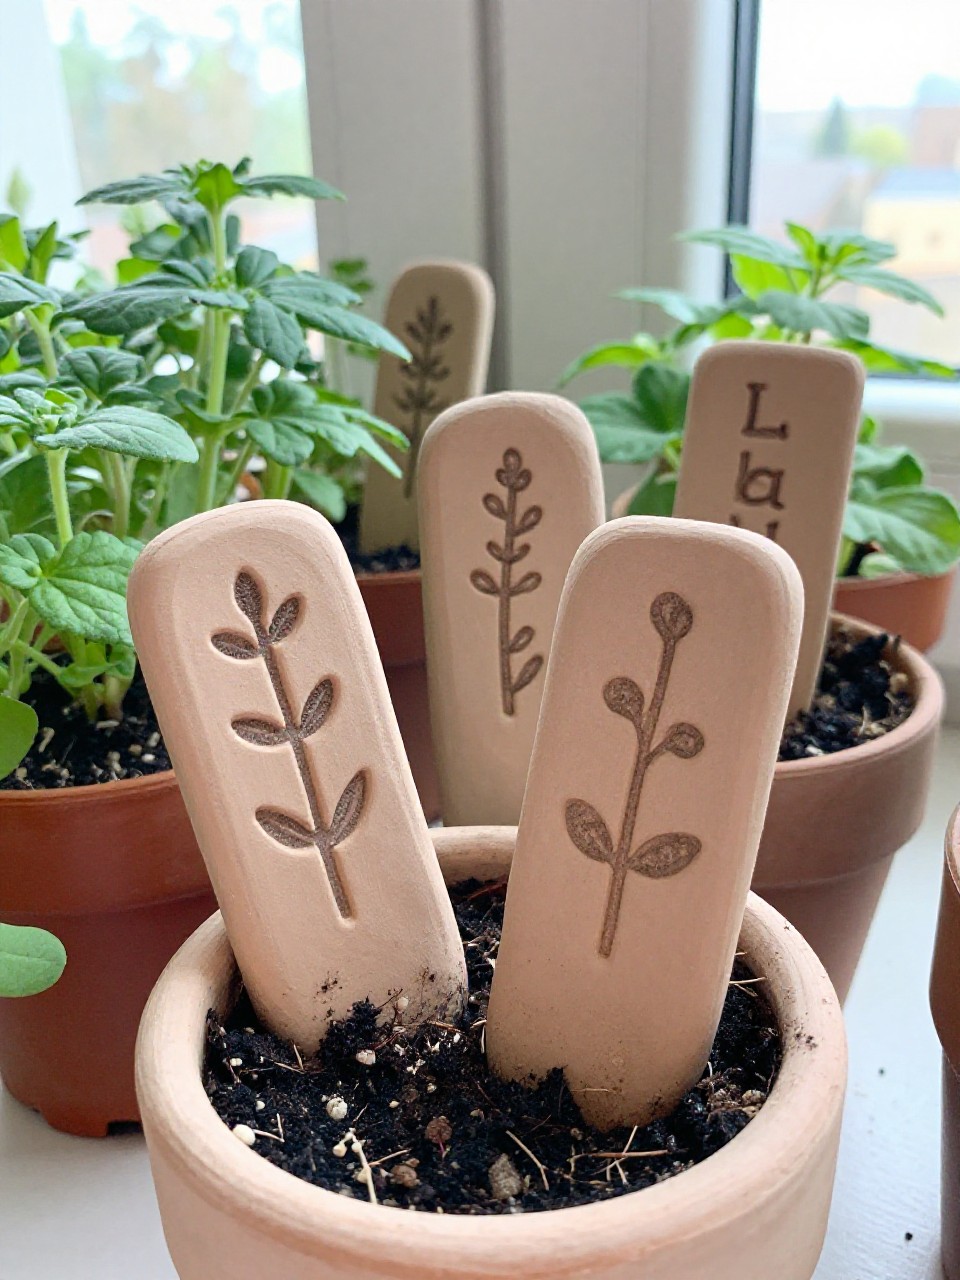
Chic plant labels that look artisan-made. The stamped letters feel tactile and earthy.
Materials Needed:
- Air-dry clay
- Alphabet stamps
- Bamboo skewers
How to make it:
- Roll clay to 1/4-inch thick; cut small rectangles or leaves.
- Stamp herb names (BASIL, MINT, THYME).
- Poke a hole at the bottom and insert a skewer.
- Let dry fully, then paint a thin terracotta wash if desired.
15. Woven Ribbon Cane Tray
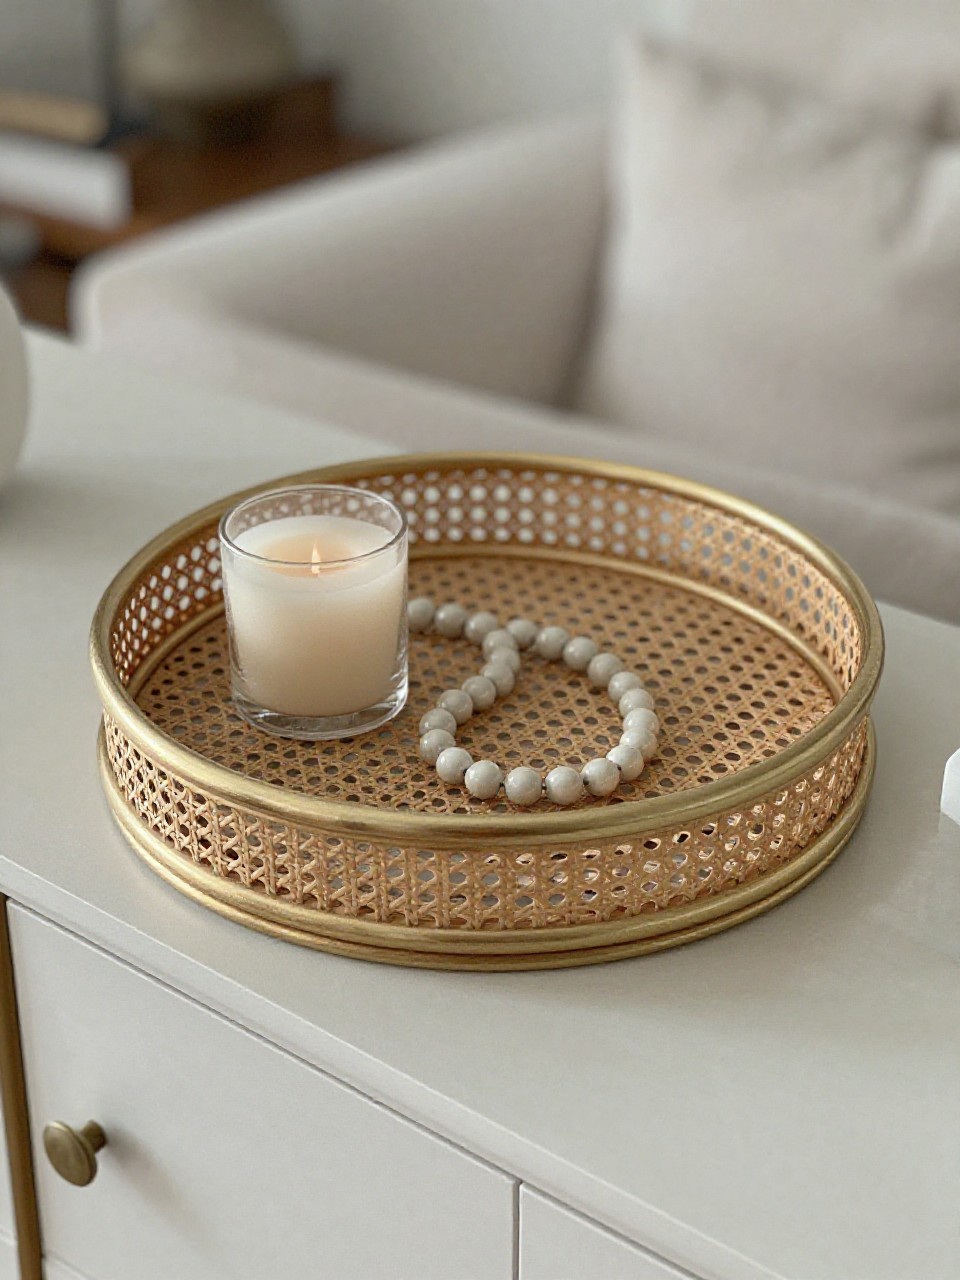
Create a fake “cane” look using ribbon over a picture frame. Light, airy, and perfect for corralling keys or remotes.
Materials Needed:
- Shallow picture frame (remove glass)
- 1/2-inch ribbon (two colors)
- Hot glue
How to make it:
- Remove backing and glass; keep the frame and backer.
- Weave ribbons over the opening: vertical then horizontal, alternating.
- Glue ribbon ends to the underside of the frame.
- Reattach the backer to secure; add felt pads.
16. Painted Seed Packet Gallery Ledge
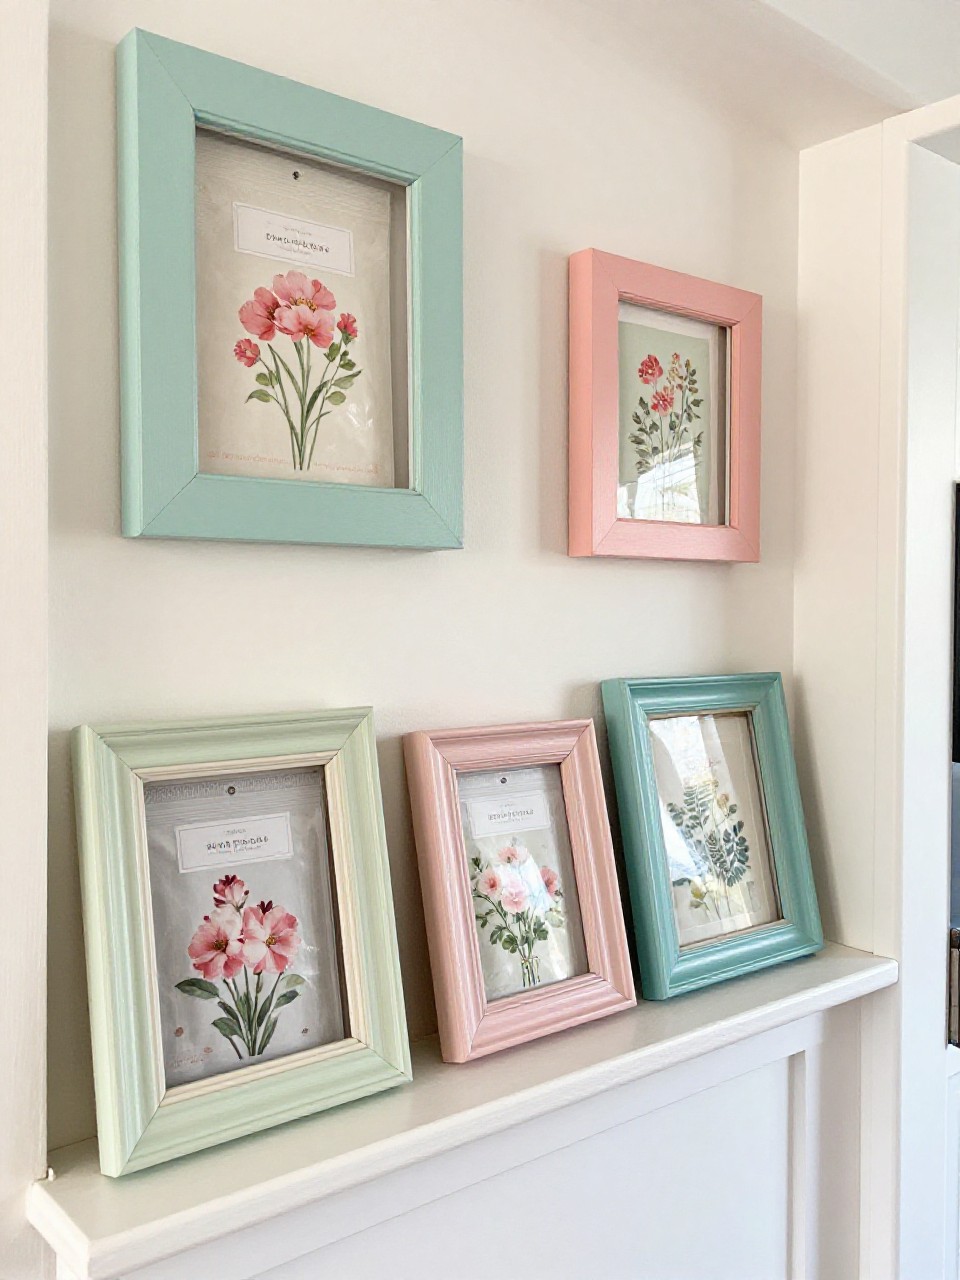
Turn pretty seed packets into art on a slim ledge. It’s colorful, seasonal, and so easy to swap.
Materials Needed:
- Assorted floral seed packets
- Dollar Tree photo frames (4×6)
- Acrylic paint (pastels)
How to make it:
- Paint the frame edges in soft spring colors; let dry.
- Insert seed packets as the “photos.”
- Arrange 5–7 frames on a narrow shelf or ledge.
- Layer heights and overlap slightly for a curated look.